If you want to expand your living space by adding an extra floor to your home, Plan7Architect is the perfect software to get started. With this intuitive 3D CAD program, you can easily plan a vertical house extension in both 2D and 3D – even without previous architectural experience.
You can add new floors above your existing structure, adjust the roof, integrate staircases, and visually walk through the extended building before any construction work begins. Plan7Architect works with both metric (meters, centimeters) and imperial (feet, inches) units, making it suitable for use worldwide.
Key Features for Vertical Extensions
Add New Floors with One Click
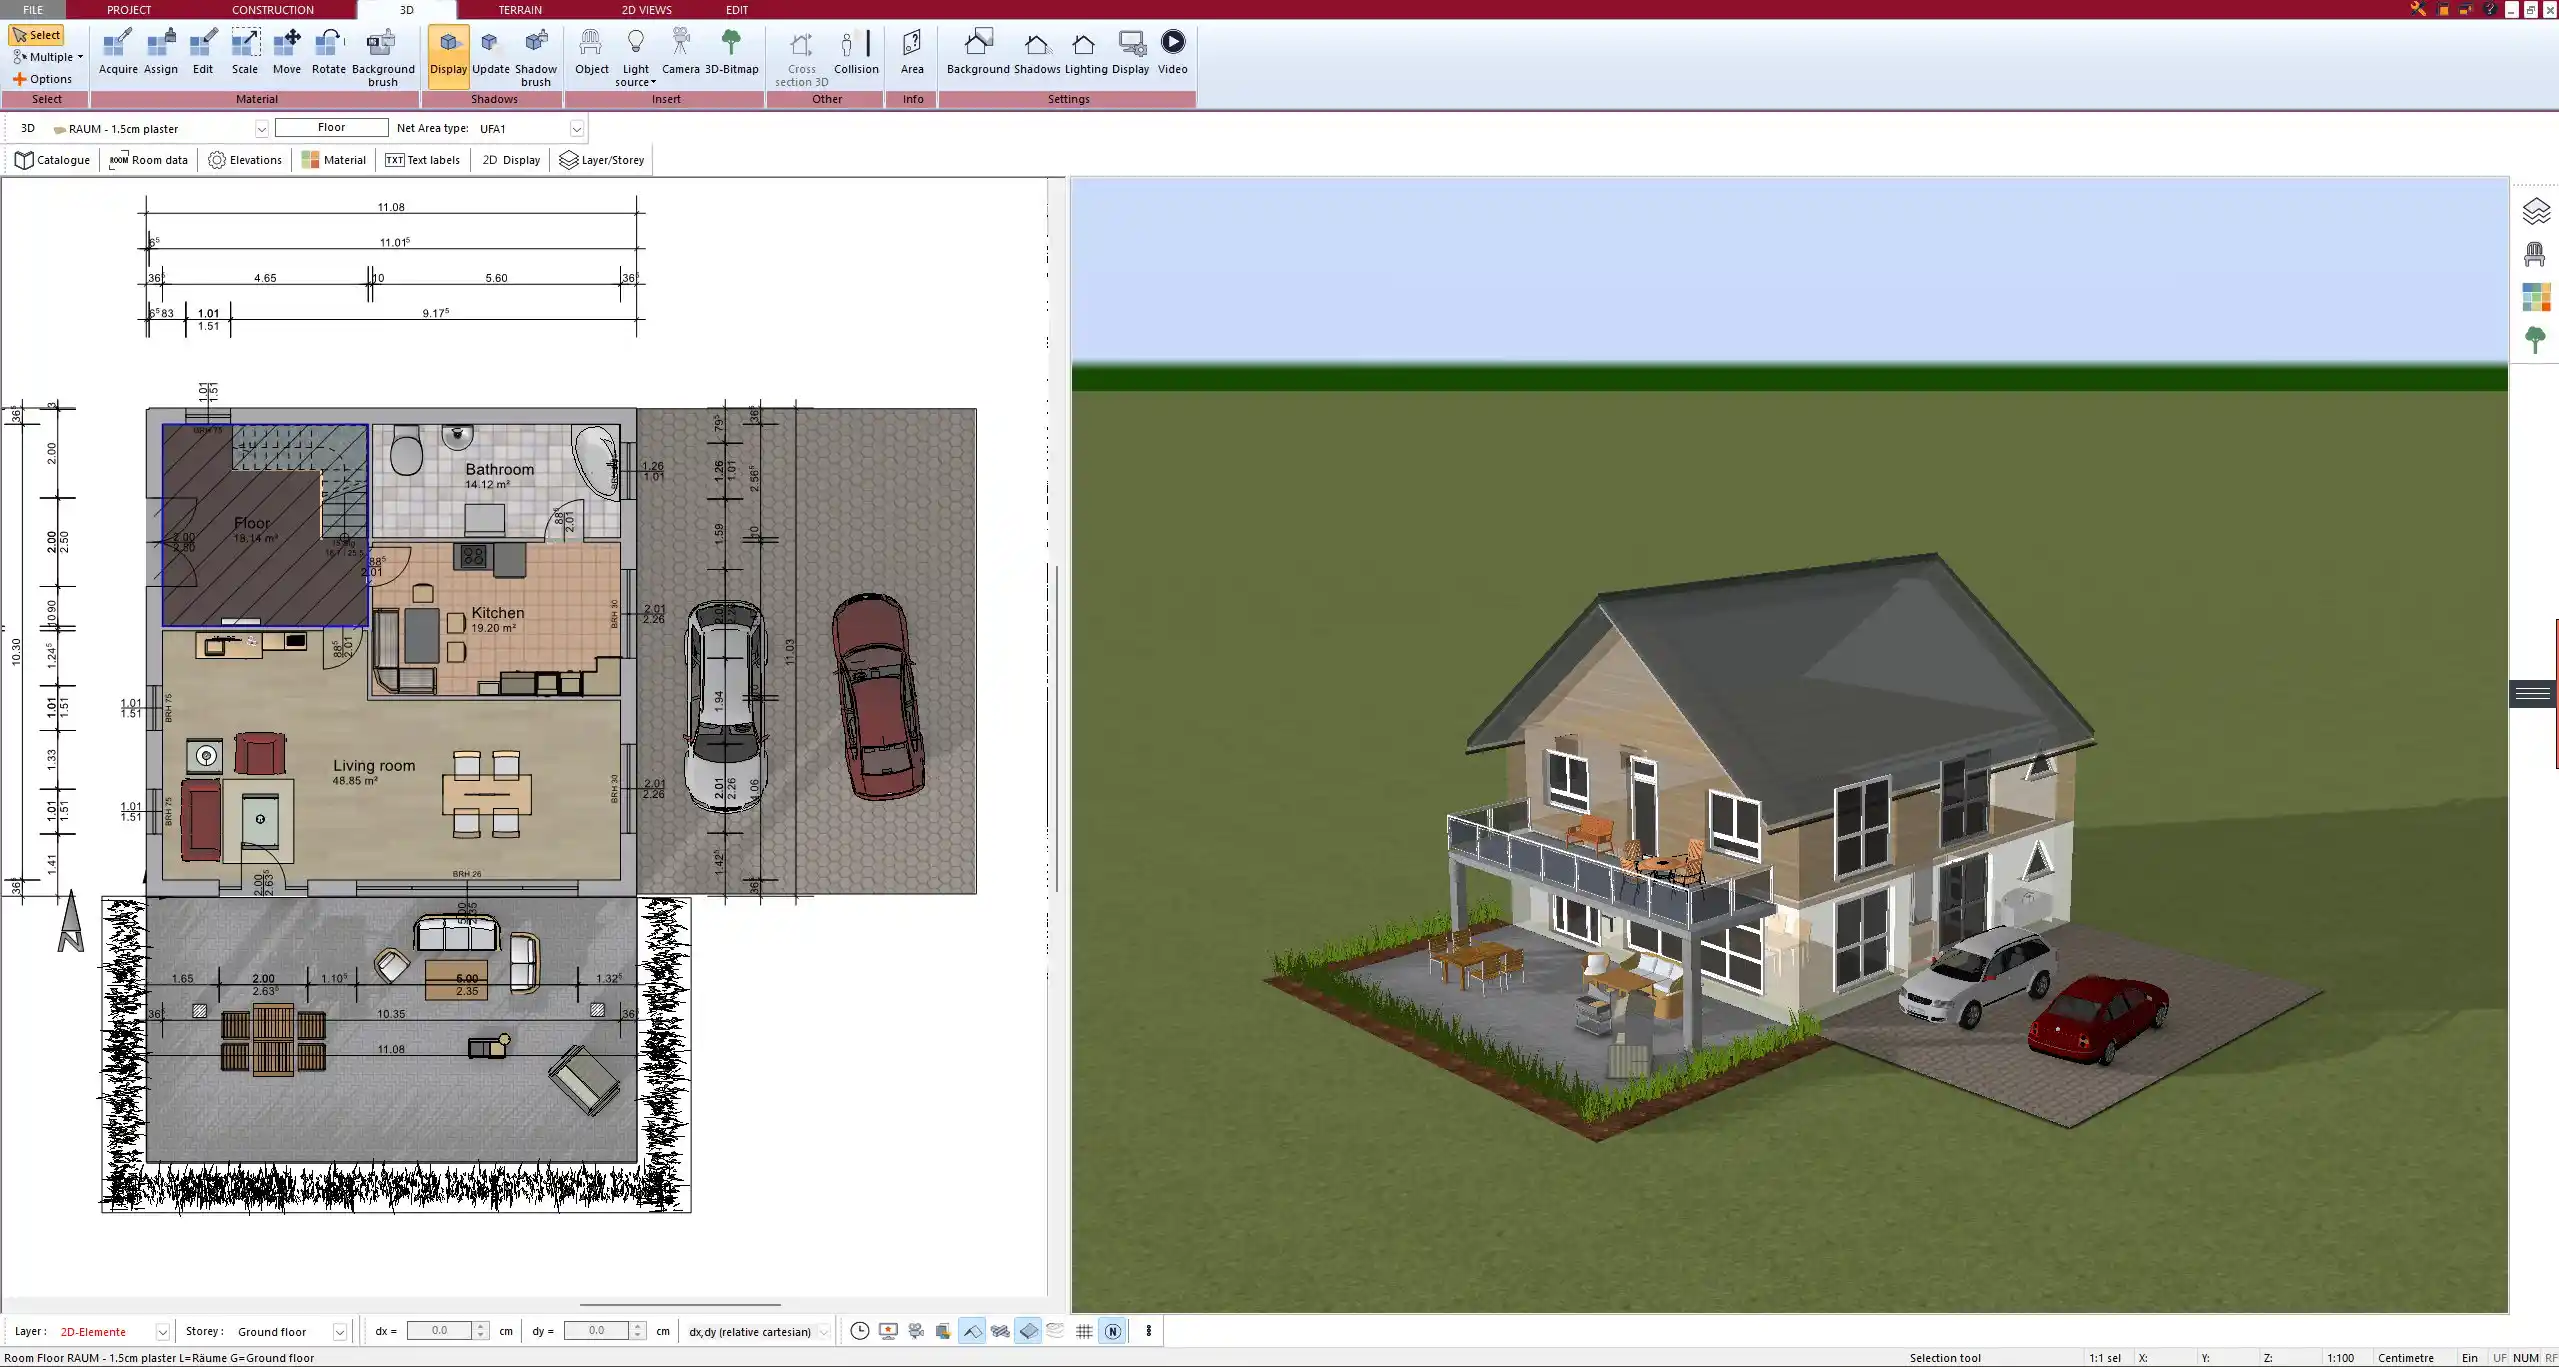
With Plan7Architect, adding an additional story is straightforward. The software includes a “floor manager” that allows you to add one or more floors above the current level with a single click. You can duplicate the layout of the existing floor or start from scratch.
Once added, each floor can be edited independently. The wall tool adapts automatically to height requirements, and you can freely place or remove walls, windows, doors, and structural elements.
You can also define the exact height of the new floor and adjust ceiling and wall thickness per project requirements.
Structural Elements Adapt Automatically
One of the biggest advantages I noticed when working with Plan7Architect is how structural transitions between floors are handled. Load-bearing walls from the ground floor are automatically extended upward unless you deactivate them, which makes structural alignment easier.
The roof tool recognizes when a new floor is added and allows you to either delete the old roof or replace it. This is especially useful if you want to switch from a pitched roof to a flat roof or add a rooftop terrace.
Accurate Measurements in Any System
In Plan7Architect, you can switch between metric and imperial systems at any time. Whether you’re working in meters or feet, centimeters or inches – all dimensions, labels, and area calculations adjust accordingly.
This flexibility is especially helpful for international projects or if you’re used to working in a specific measurement system.
Tip:
You can configure the measurement units in the project settings before you start drawing. It’s also possible to switch between systems mid-project if necessary.
Planning Considerations Before You Start
Load-Bearing Assessment
Before you begin any actual design, it’s important to consider the structural limits of your current building. Not every house can support a second or third floor. While you can freely draw anything in Plan7Architect, real-world feasibility must be checked.
It’s highly recommended to consult a structural engineer or architect to determine:
-
Which walls are load-bearing
-
What the foundation can support
-
Whether reinforcements are required
This ensures your plan is not only visually correct but also structurally sound.
Staircase and Access Planning
A crucial part of any vertical extension is accessibility. You need to plan how to reach the new floor – usually via an internal staircase or possibly an elevator.
Plan7Architect includes various stair types you can insert:
-
Straight stairs
-
Spiral stairs
-
L-shaped stairs
-
U-shaped stairs
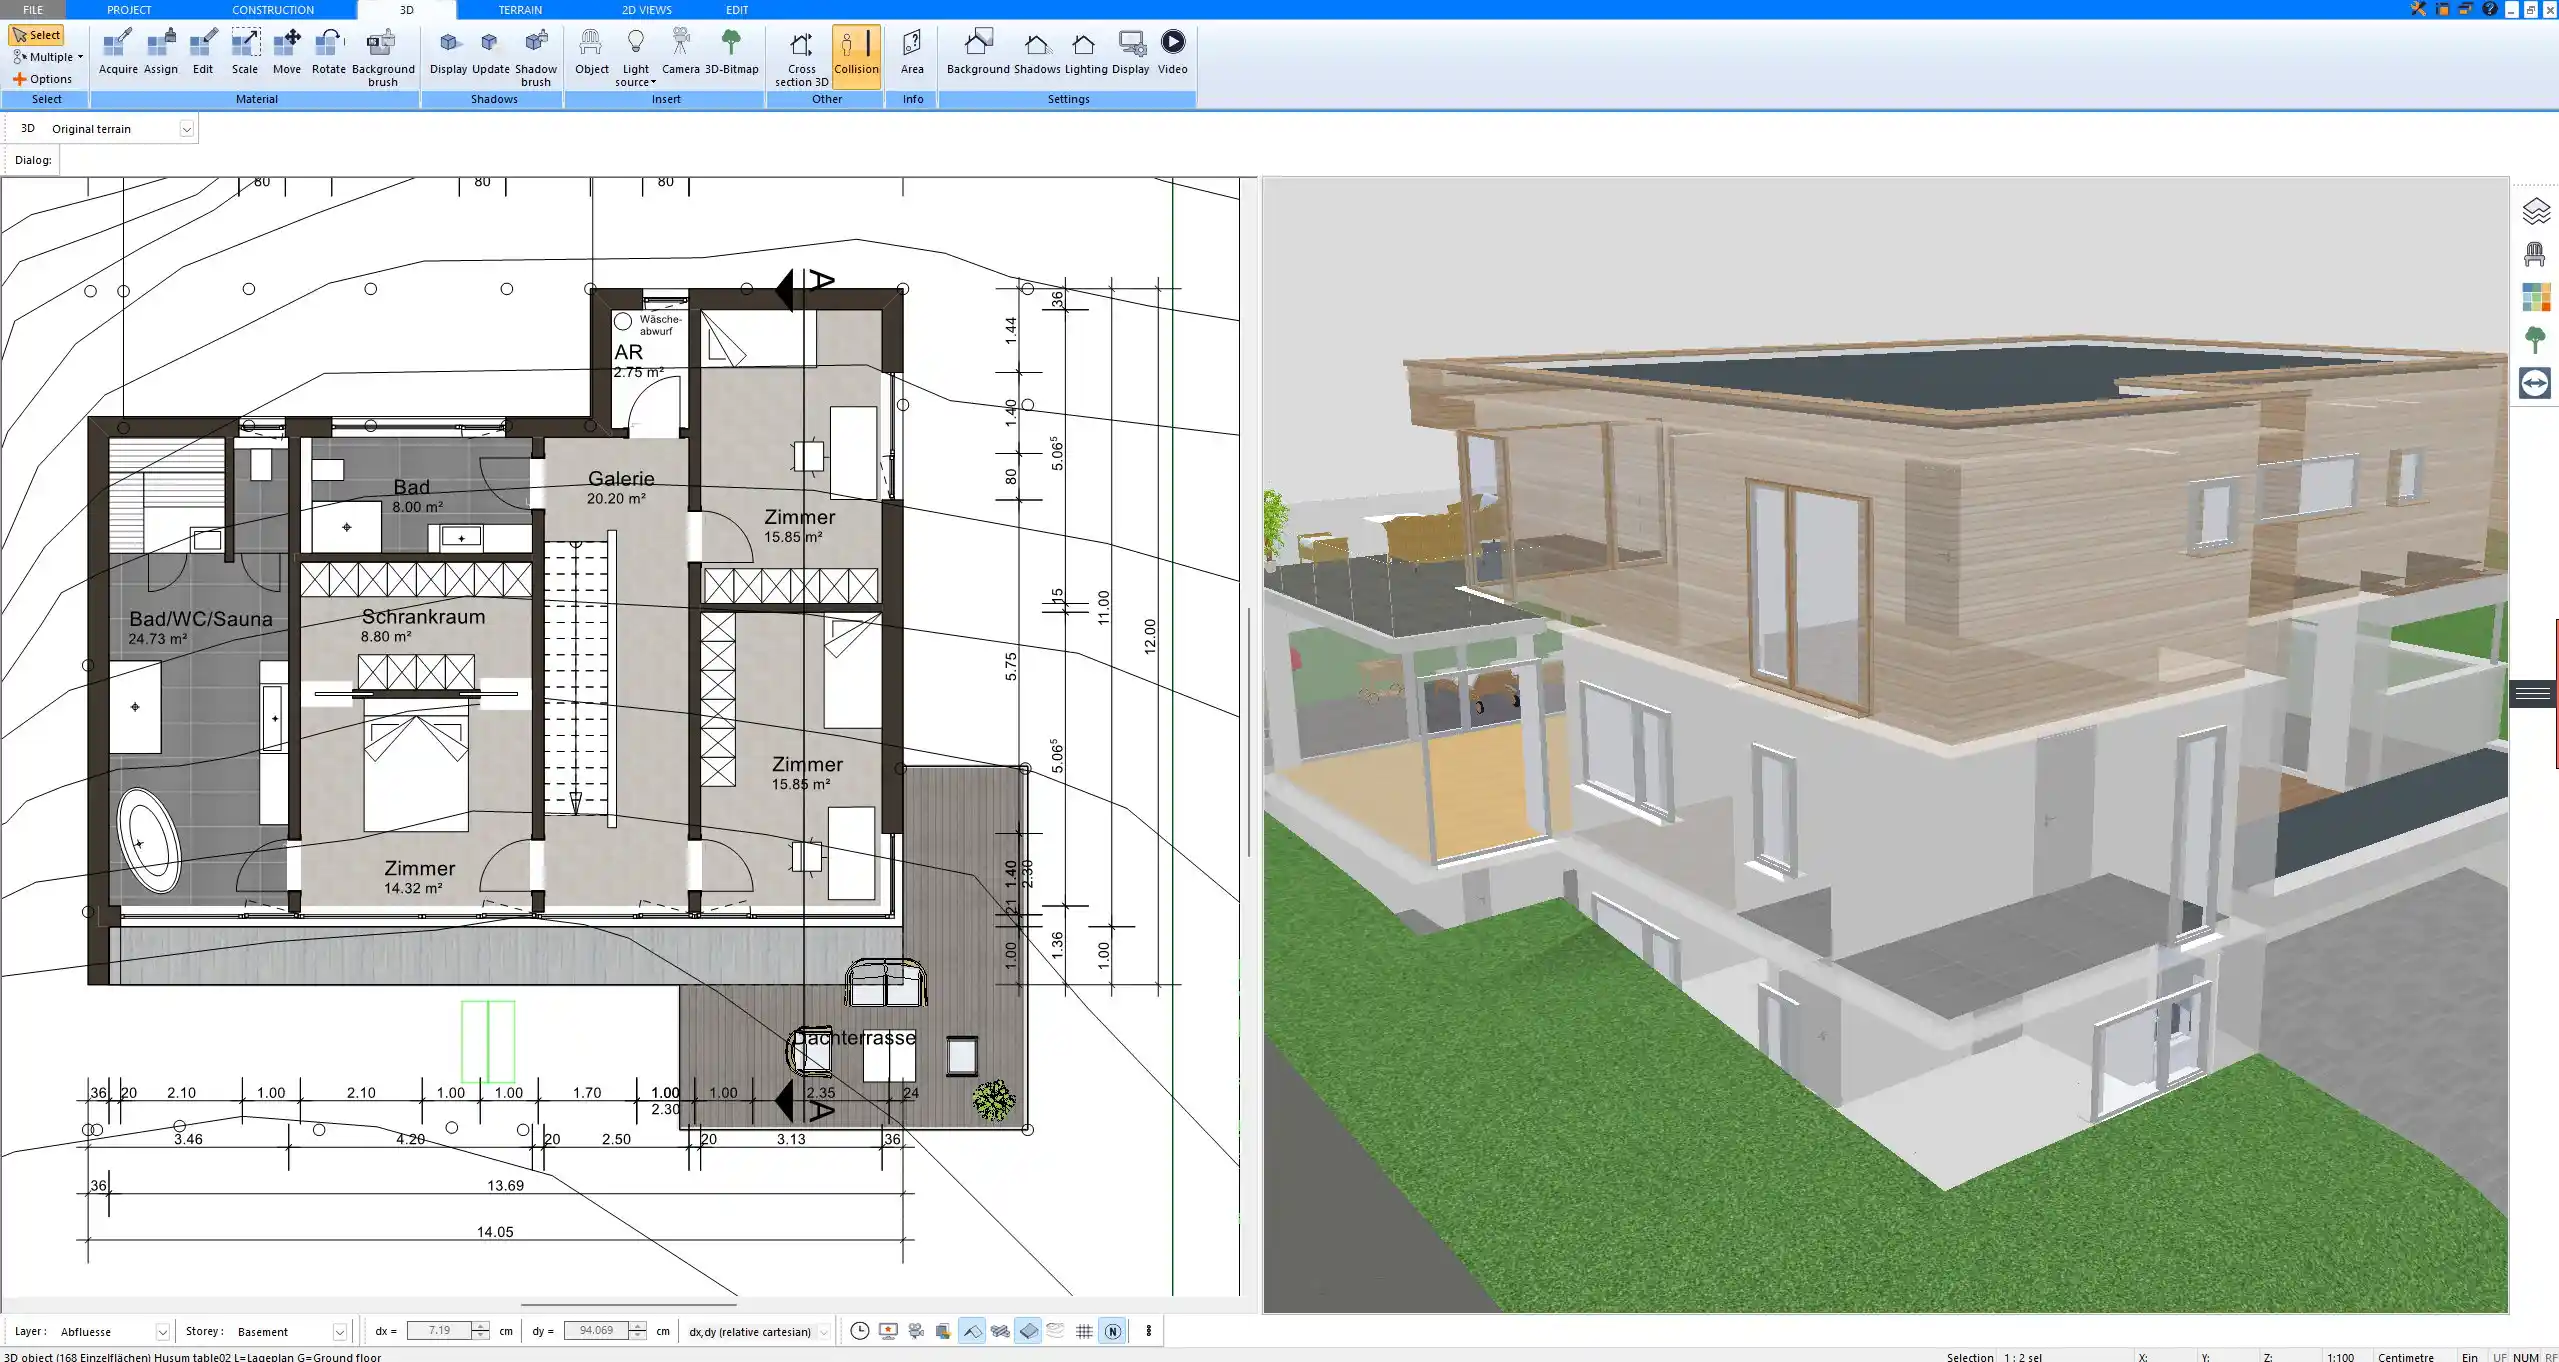
Each can be freely positioned, rotated, and customized in size. The software automatically adjusts the floor openings to fit the staircase design. You can also use the cross-section view to check the visual alignment across floors.
Roof Adaptation
If your existing house has a pitched or gabled roof, it needs to be modified or removed before extending upward. Plan7Architect offers an advanced roof editor where you can:
-
Delete the existing roof
-
Create a new roof on top of the new floor
-
Add parapets, skylights, or terraces
You can select between different roof types such as:
-
Flat roofs
-
Gabled roofs
-
Hip roofs
-
Shed roofs
This allows you to adapt the upper level visually and structurally to your preferences.
How to Plan a Vertical Extension in Plan7Architect – Step by Step
1. Load Your Existing Floor Plan
You can start your project by importing a scanned floor plan or creating one manually in Plan7Architect. The wall tool lets you trace or draw the base layout quickly.
If you already have your ground floor modeled, simply open the project and proceed to the next step.
2. Add a New Floor Above
In the “Floor Management” section, add a new level above the existing one. You can:
-
Duplicate the existing layout
-
Start with a blank floor
Each floor has its own layer, which keeps the design organized and avoids confusion when placing elements.
3. Customize Walls, Roofs, and Windows
Now draw or modify the walls of the new story. You can use the same wall styles as on the lower floors or define new materials and thicknesses.
Windows and doors can be freely placed and resized using drag-and-drop. Plan7Architect provides an extensive object library with modern and traditional styles.
If needed, delete the old roof and design a new one using the roof editor.
4. Place Interior Elements and Stairs
Insert your stairs or elevator shaft to connect the floors. You can test various configurations to see which one fits your layout best.
Then add rooms, partition walls, bathrooms, and other elements as needed.
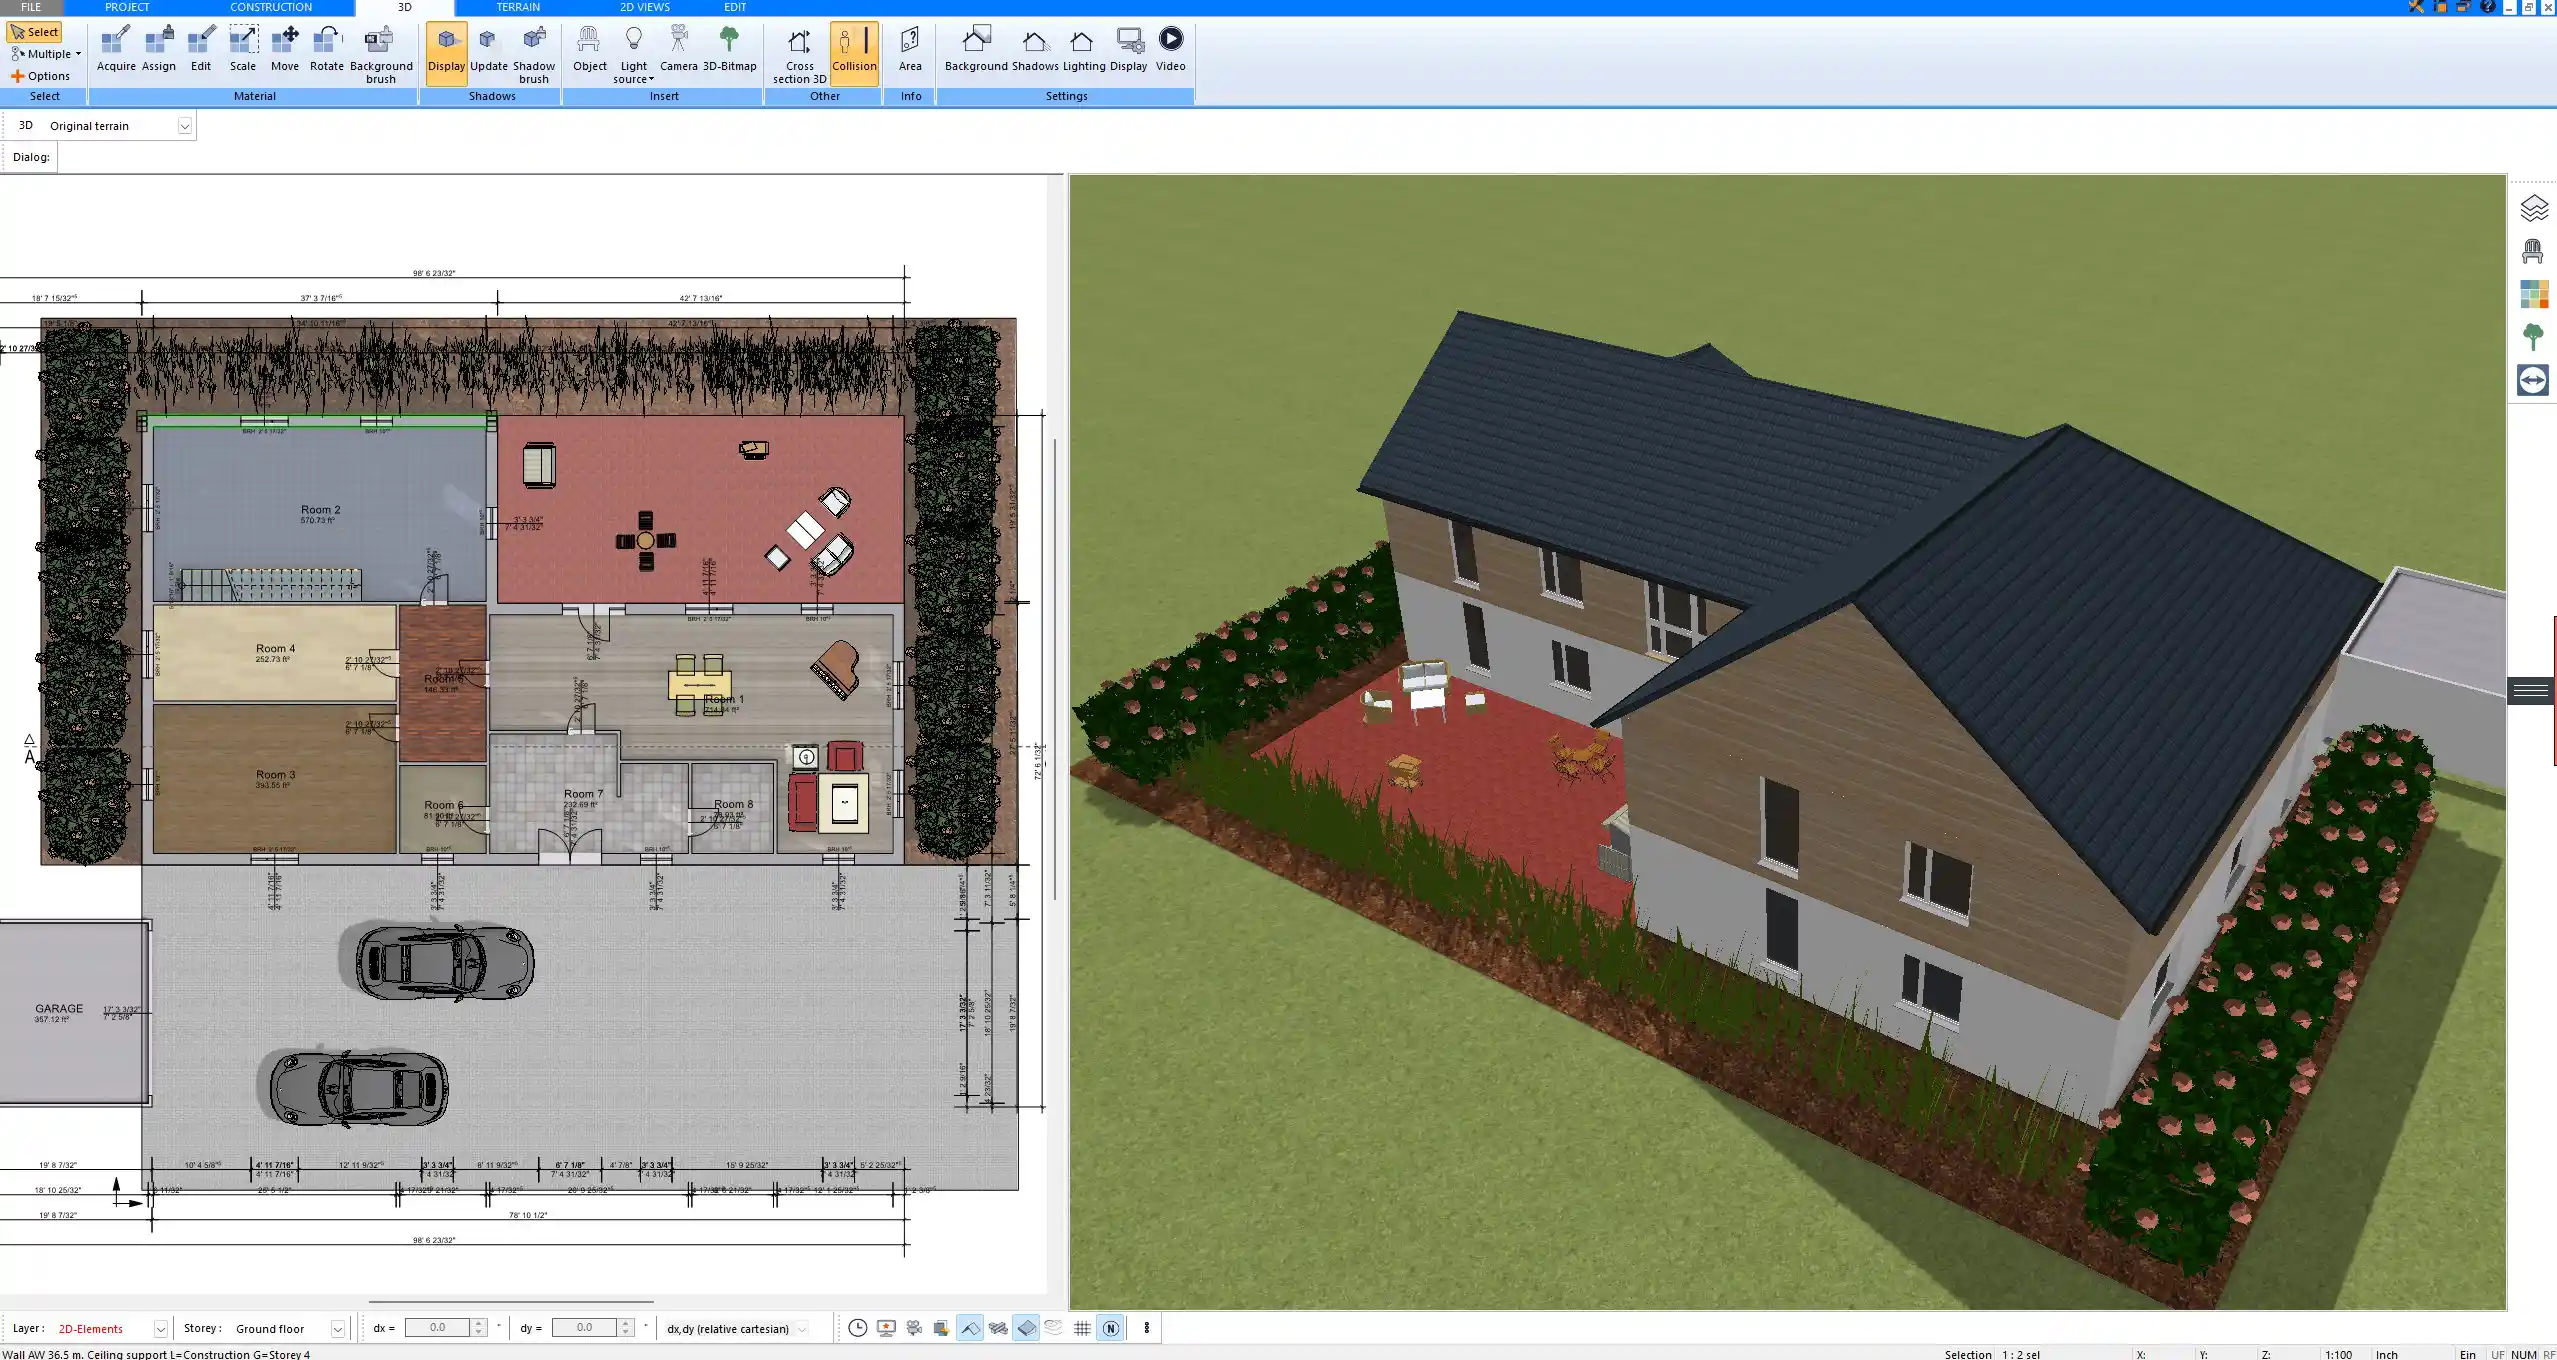
5. Use 3D Mode for Full Visualization
Switch to 3D view to walk through your building. You’ll get a real sense of space and can:
-
View each floor individually
-
Render photorealistic images
-
Detect errors before construction
The 3D preview updates live while you draw in 2D, making it easy to spot inconsistencies or design issues.
Tip:
Use the built-in lighting simulation to see how daylight enters the new floor through windows and skylights.
Benefits of Using Plan7Architect for Upward Extensions
-
No architectural experience required
-
Multi-floor management for clear planning
-
Works with both imperial and metric units
-
Real-time 2D and 3D synchronization
-
Accurate area calculation per floor
-
Detailed roof editor for adjustments or replacement
-
Custom wall and material settings
-
Furniture and object library included
-
Export in PDF, DXF, and 3D formats
| Feature | Available in Plan7Architect |
|---|---|
| Add multiple floors | yes |
| Custom stair placement | yes |
| Roof editor | yes |
| Imperial & metric units | yes |
| Real-time 3D visualization | yes |
| Section and elevation views | yes |
| Professional layout export | yes |
Expert Tips for a Successful Vertical Expansion
Plan Utilities and Vertical Shafts Early
When adding a new floor, you must think about vertical utility runs – for example:
-
Water pipes
-
Electrical wiring
-
Heating/cooling ducts
-
Drainage systems
These must be planned in coordination with the lower floors and should ideally share common shafts or spaces.
Don’t Forget Permits
Most regions require a building permit for upward expansions. Make sure you check local laws and submit your drawings if necessary. Plan7Architect lets you export professional floor plans for submission.
Use the Software’s Layer System
Each floor in Plan7Architect is assigned to a layer. Keep them organized by naming them clearly (e.g. “Ground Floor,” “New 1st Floor”) and toggling visibility during planning to avoid overlaps or confusion.
Try It Yourself – Without Risk
If you want to plan your vertical extension yourself, Plan7Architect offers the perfect combination of power and simplicity. From managing multiple floors to editing roof structures and inserting staircases – everything is intuitive and visual.
There is no trial version, but you can test the software risk-free thanks to the 14-day cancellation policy. Simply download the full version, start planning, and if it doesn’t meet your needs, cancel your purchase by email – no explanation required.
Plan your project with Plan7Architect

Plan7Architect Pro 5 for $109.99
You don’t need any prior experience because the software has been specifically designed for beginners. The planning process is carried out in 5 simple steps:
1. Draw Walls

2. Windows & Doors

3. Floors & Roof

4. Textures & 3D Objects

5. Plan for the Building Permit

6. Export the Floor Plan as a 3D Model for Twinmotion

- – Compliant with international construction standards
- – Usable on 3 PCs simultaneously
- – Option for consultation with an architect
- – Comprehensive user manual
- – Regular updates
- – Video tutorials
- – Millions of 3D objects available


