Plan7Architect Installation Guide
Installation Guide for Windows 10 & 11
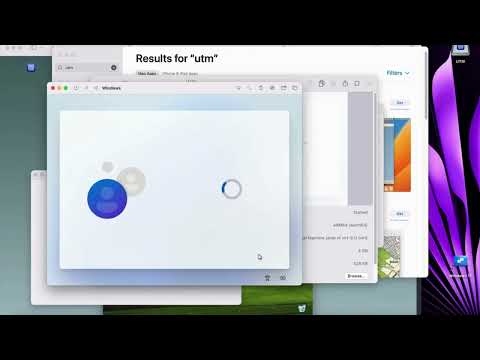
Installation Guide for Mac (using UTM)
Once you have purchased the Pro version of Plan7Architect, you will receive a download link for the installation file in ZIP format.
Step 1: Download the File
- Download the ZIP file. It is usually saved in the “Downloads” folder.
Step 2: Extract the ZIP File
Important! The ZIP file must be extracted before installation.
- Right-click on the file and select “Extract All” to unzip it.
Step 3: Choose a Storage Location
- Select a location for the extracted files.
- It is recommended to create a dedicated folder for these files.
Step 4: Start the Installation (Run as Administrator)
- Open the folder containing the extracted files.
- Right-click on “Setup.exe” and select “Run as Administrator” to start the installation.
- Follow the on-screen instructions and confirm any security prompts.
Step 5: Accept the License Agreement
- Accept the license agreement to proceed with the installation.
Step 6: Installation Path
The default installation paths are:
- Program Files:
C:\Program Files\Plan7Architect - Databases & Templates:
C:\ProgramData\Plan7Architect
Step 7: Running the Program (Run as Administrator)
After installation, it is recommended to always start Plan7Architect as Administrator to avoid permission issues.
To do this:
- Right-click on the Plan7Architect shortcut on your desktop.
- Click “Properties”. Go to the “Compatibility” tab.
- Check “Run this program as an administrator” and click OK.
Step 8: Troubleshooting
- If you encounter error messages, such as a missing mfl file, install the Visual C++ Redistributables (x64) from this link:
Download Visual C++ Redistributables
Installation & Activation Troubleshooting Guide
License Activation
Step 1: Desktop Shortcut
- After installing Plan7Architect, a shortcut will automatically be created on your desktop.
- Double-click this icon to start the program.
Step 2: License Activation
- When launching the program for the first time, a prompt will appear requesting license activation.
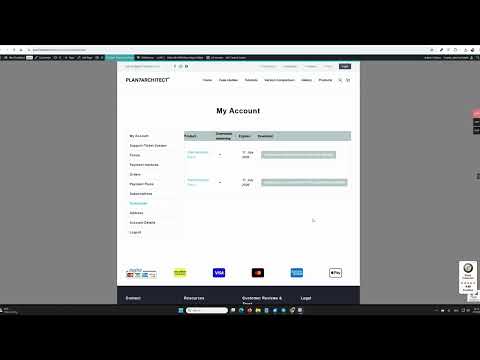
- Enter your license key, which you received via email after purchase or, for Amazon purchases, in the accompanying letter.

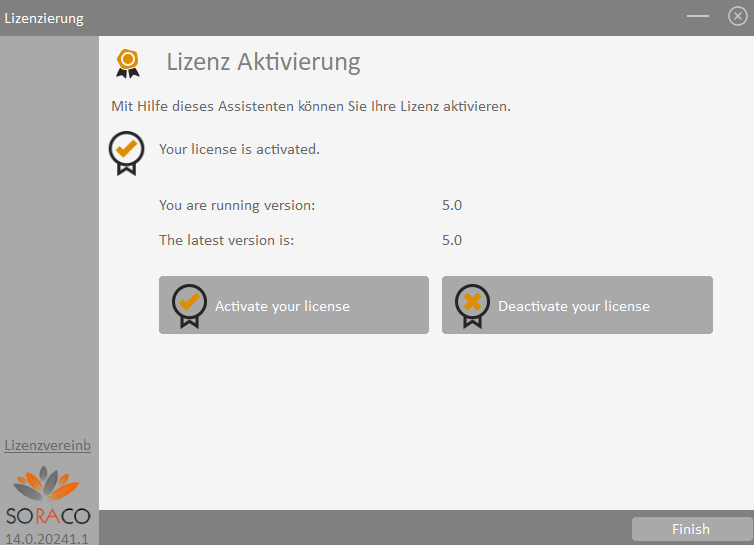

- After entering the license key, select “Activate License Key”.
- Keep your license key in a safe place, as it is required for the initial setup of the program.

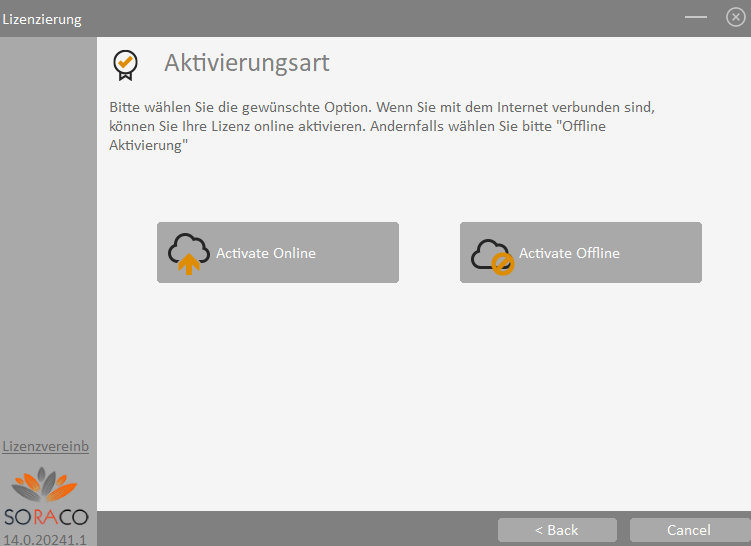

- Make sure to select the online activation option.

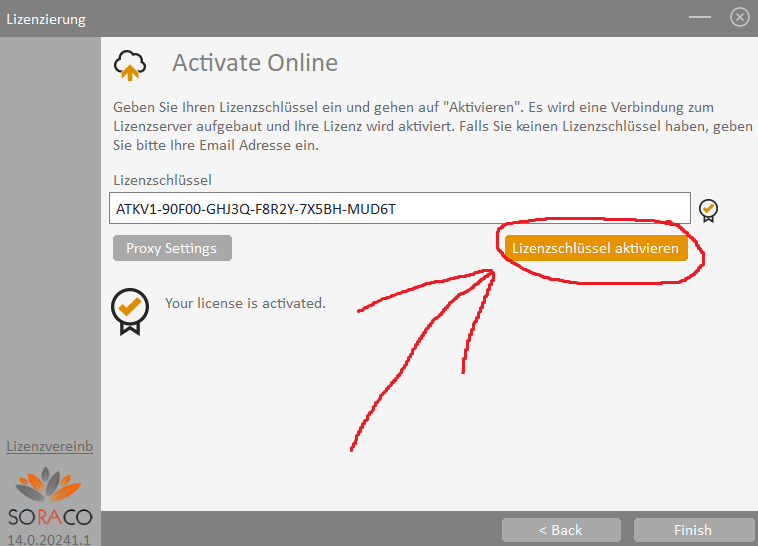

- Click “Finish” to complete the setup.
- The program will now start, and you can begin working with Plan7Architect.
Deactivating the License in Plan7Architect
If you want to deactivate a license on one computer to use it on another device, follow these steps:
- Open the program and click on the question mark in the top right corner.
- Select and click on “License Management”.
- In the pop-up window, click on “Activate/Deactivate”.
- Another window will open – click on “Deactivate your license”.
This will release the license, allowing you to activate it on another device.
