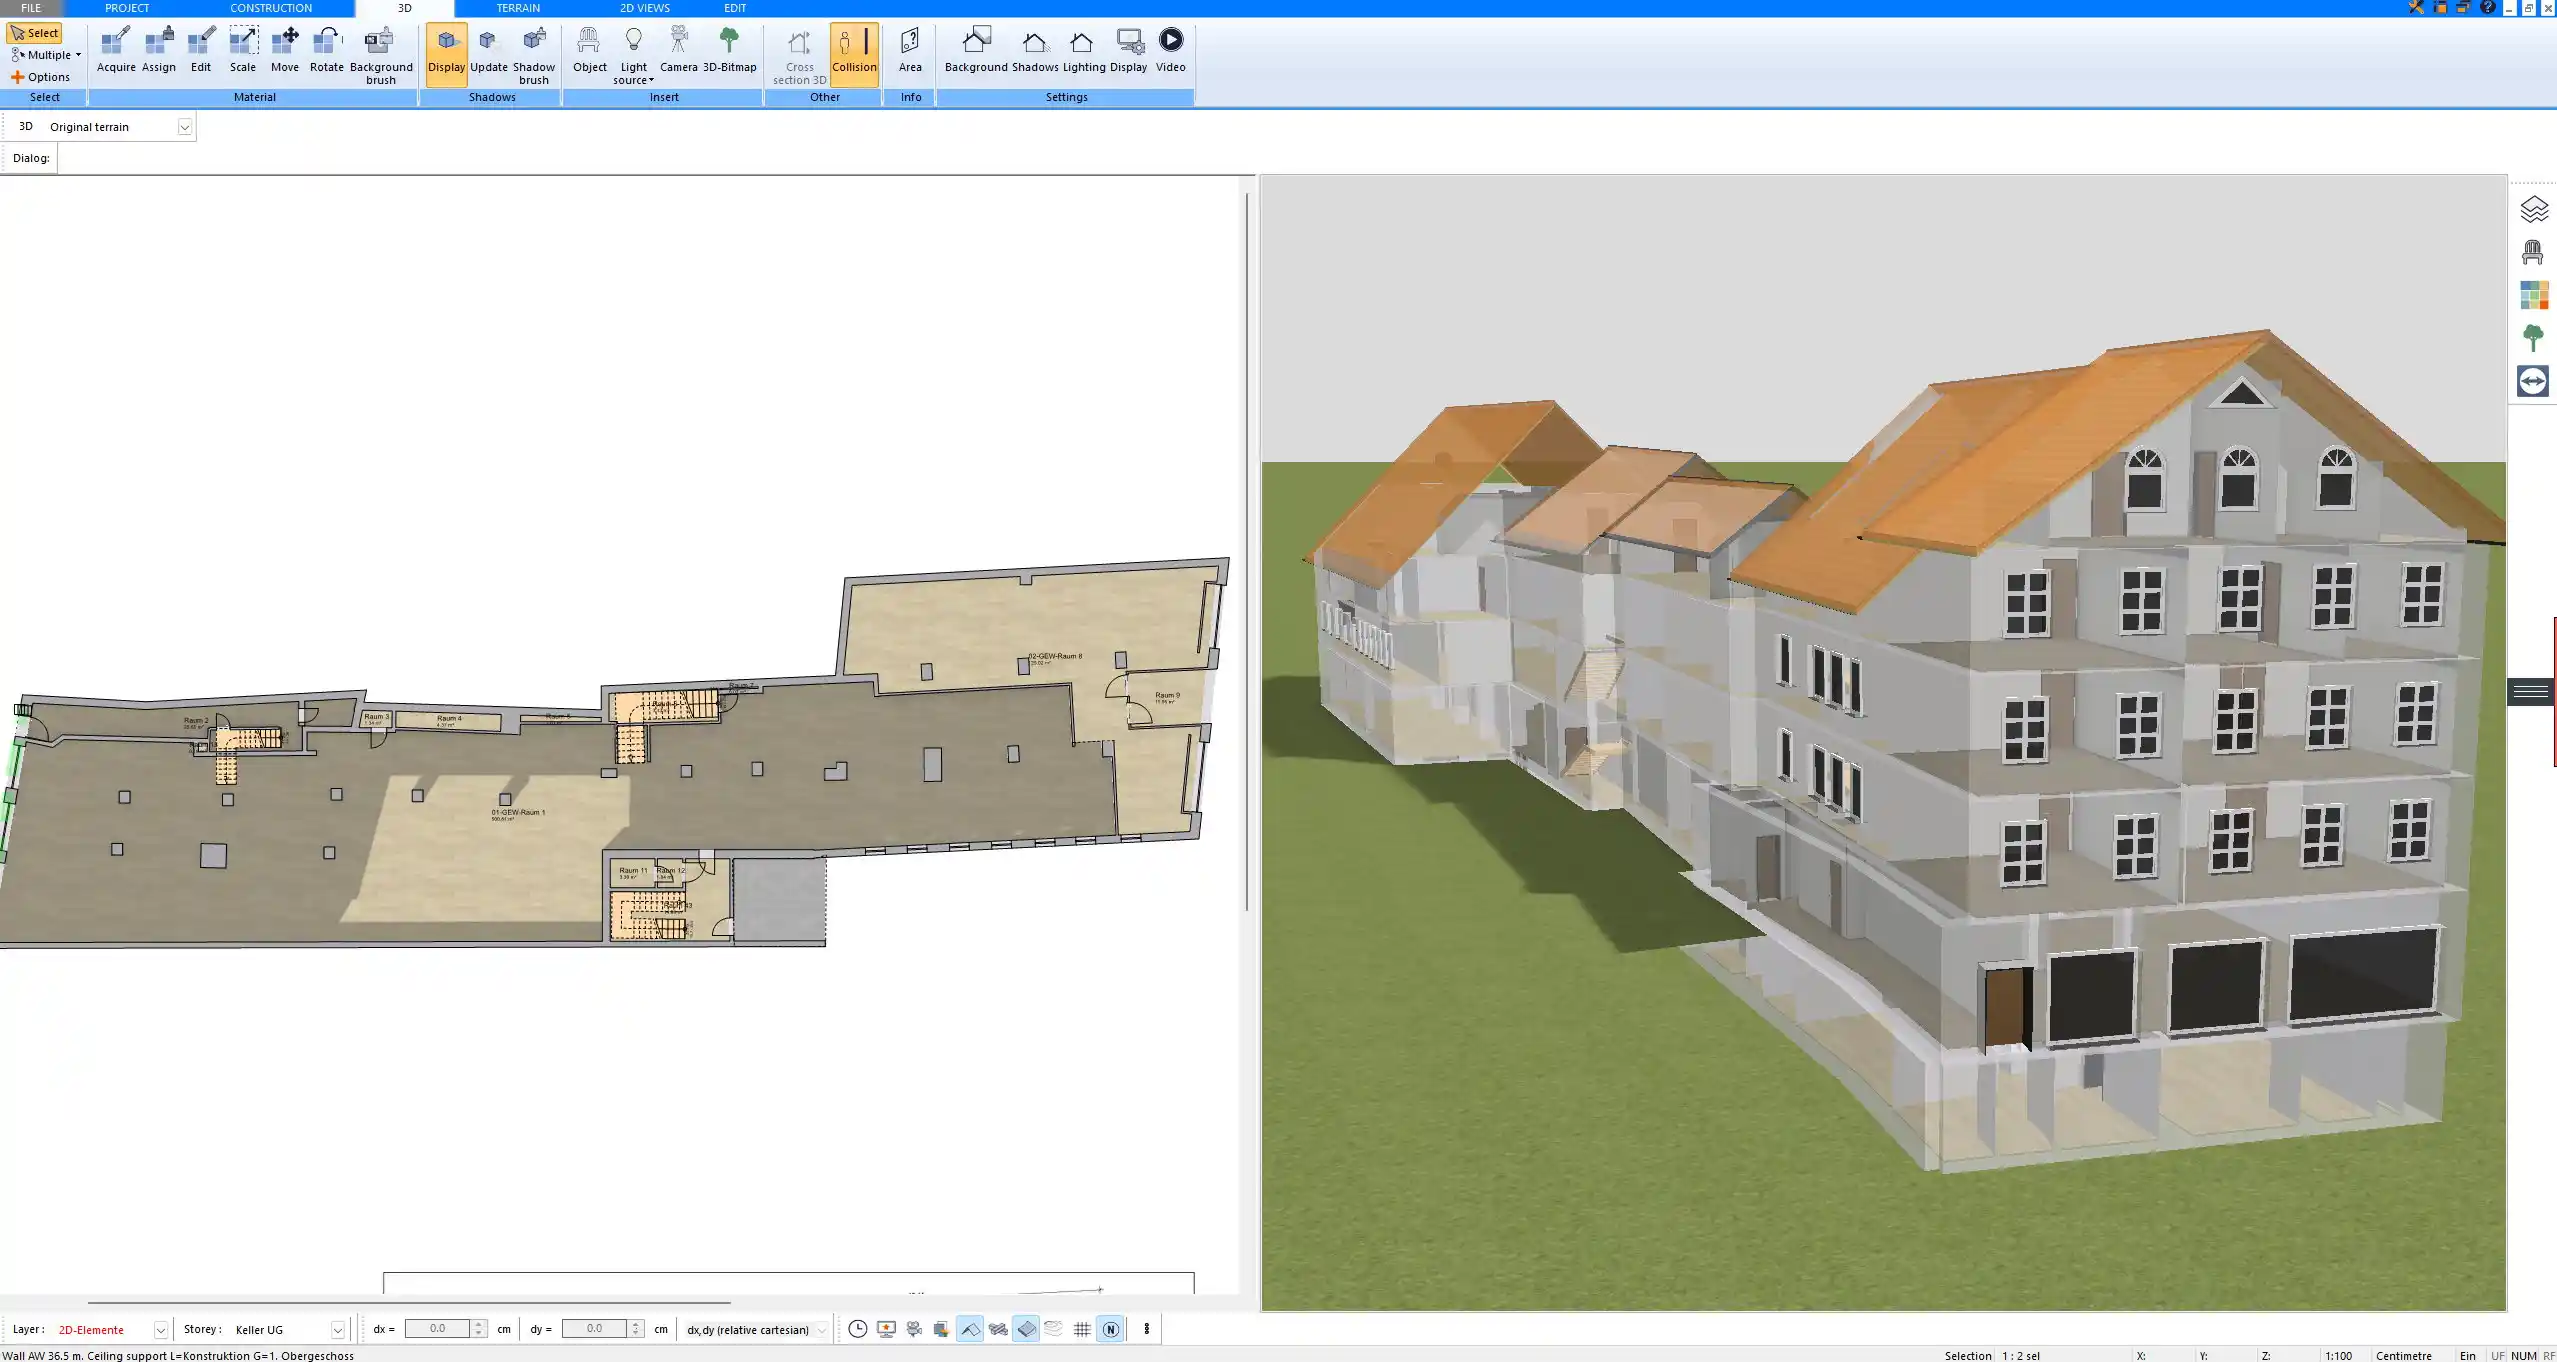
With the Plan7Architect software, planning a riding arena is straightforward, even without any prior design experience. The program allows you to draw and visualize your riding arena in both 2D and 3D, offering complete freedom of dimensions, layout, and structural elements. You can switch between metric and imperial units depending on your region or preference.
To get started quickly, you can either load a blank project or use customizable templates. Define the overall size of the arena (for example, 20×40 m or 66×131 ft for a standard dressage arena), then add the required elements like wall structures, roof types, footing layers, drainage, doors, lighting, and additional rooms such as tack rooms or lounges. All of this can be done with drag-and-drop tools and real-time visual feedback.
Quick setup checklist in Plan7Architect:
-
Select “riding arena” from project types or start from scratch
-
Input arena dimensions in either meters or feet
-
Add perimeter walls and define height and thickness
-
Insert roof structure and skylights
-
Plan for ground layers and proper drainage
-
Place access points, gates, and emergency exits
-
Add lighting systems, viewing galleries, and side rooms
-
Visualize everything in 3D instantly
Choosing the Right Arena Dimensions
Common standard sizes
Depending on the riding discipline, arenas come in different standard sizes. If you are designing for dressage, show jumping, or general riding, the size you choose will significantly affect construction and layout.
| Use Case | Standard Metric Size | Approx. Imperial Size |
|---|---|---|
| Small Dressage | 20 x 40 m | 66 x 131 ft |
| Large Dressage | 20 x 60 m | 66 x 197 ft |
| Jumping Arena | 30 x 70 m or more | 98 x 230 ft or more |
| Training Arena | Flexible | Flexible |
These sizes can be entered directly into Plan7Architect, and you can freely adjust the dimensions as needed. This is particularly useful if you’re working with restricted plot sizes or want to align your arena with existing buildings.
Custom size planning with Plan7Architect
Not every riding arena fits into a standard box. With Plan7Architect, I often work with fully custom layouts—for example, when planning a smaller indoor lunging hall or combining an arena with a barn. You can define exact measurements, including rounded values or angled corners, and easily adjust as the design evolves. This flexibility is ideal when working with non-standard parcels or renovating existing structures.
Structural Design – From Foundation to Roof
Wall construction and height planning
The structural planning of the walls is essential for stability, insulation, and the safety of horse and rider. In Plan7Architect, you can define the wall length, height, material type, and thickness. I usually plan walls at a height of 4 to 5 meters (13 to 16 ft) to provide sufficient air circulation and comfort for both horse and rider. Kickboards are also a must – they can be drawn as lower wall segments or added later as a detail layer.
Mirrors are another element many riders appreciate. You can insert them on one or both short sides of the arena. They are easy to position and scale in the software.
Roof design and weather protection
The software gives you a variety of roof types: gable, arched, mono-pitched, or even flat. You can simulate how each roof type affects interior light and air volume in the 3D view. Especially in cold climates, I prefer high gabled roofs with added insulation layers. In warmer regions, an arched roof with side ventilation flaps works well.
Plan7Architect lets you edit roof slope, ridge height, overhangs, and even add functional elements like rain gutters and snow guards.

Lighting and insulation options
Lighting is crucial in any indoor riding arena. You can place LED spotlights or ceiling-mounted lights in the 2D plan and view their coverage area in 3D. The software also allows you to place skylights and test how natural light affects visibility during the day.
For insulation, especially in colder regions, you can include layered wall structures. The software allows multi-layered walls, so you can simulate insulation, paneling, and even acoustic padding.
Floor Surface and Drainage Design
Planning the riding surface structure
A good footing structure typically includes:
-
Sub-base (e.g., compacted gravel)
-
Drainage layer (e.g., crushed stone)
-
Geotextile membrane
-
Riding surface (e.g., sand, fiber, rubber)
Each of these can be visually mapped in the Plan7Architect software using different textures or layers. I often use sand textures for visual clarity and label each layer for reference during construction.
Drainage planning
Proper drainage is especially important in outdoor arenas, but even indoor ones can suffer from water damage without proper planning. You can simulate a slightly sloped arena floor in Plan7Architect by adjusting terrain height or setting a minimal floor tilt. Linear or point drains can be drawn into the floor plan and visually placed for later construction use.
Additional Elements to Include
Entrance and gate planning
You’ll likely need one or two large gates for tractors and maintenance, along with standard doors for rider access. In Plan7Architect, I typically place a large gate at one short end (approx. 3.5 m / 11.5 ft wide), and add a side door near the tack room. You can define custom door dimensions and see exactly how they work with your wall layout.
Viewing areas and lounge zones
If the arena is also used for clinics or competitions, you’ll want a comfortable place for visitors or judges. I usually reserve a corner or sidewall for a lounge area with large windows or a glass wall, often elevated above arena level. This can be easily drawn with a floor elevation and interior wall separation in Plan7Architect.
Adjacent spaces – tack rooms, wash bays, storage
Most riding arenas benefit from having adjacent functional rooms. With the software’s zoning and wall tools, you can integrate:
-
Tack rooms with wall-mounted storage
-
Grooming or wash bays with drainage lines
-
Equipment storage with wide doors
I often combine these in a side wing parallel to the arena’s long side, which keeps access short and efficient.
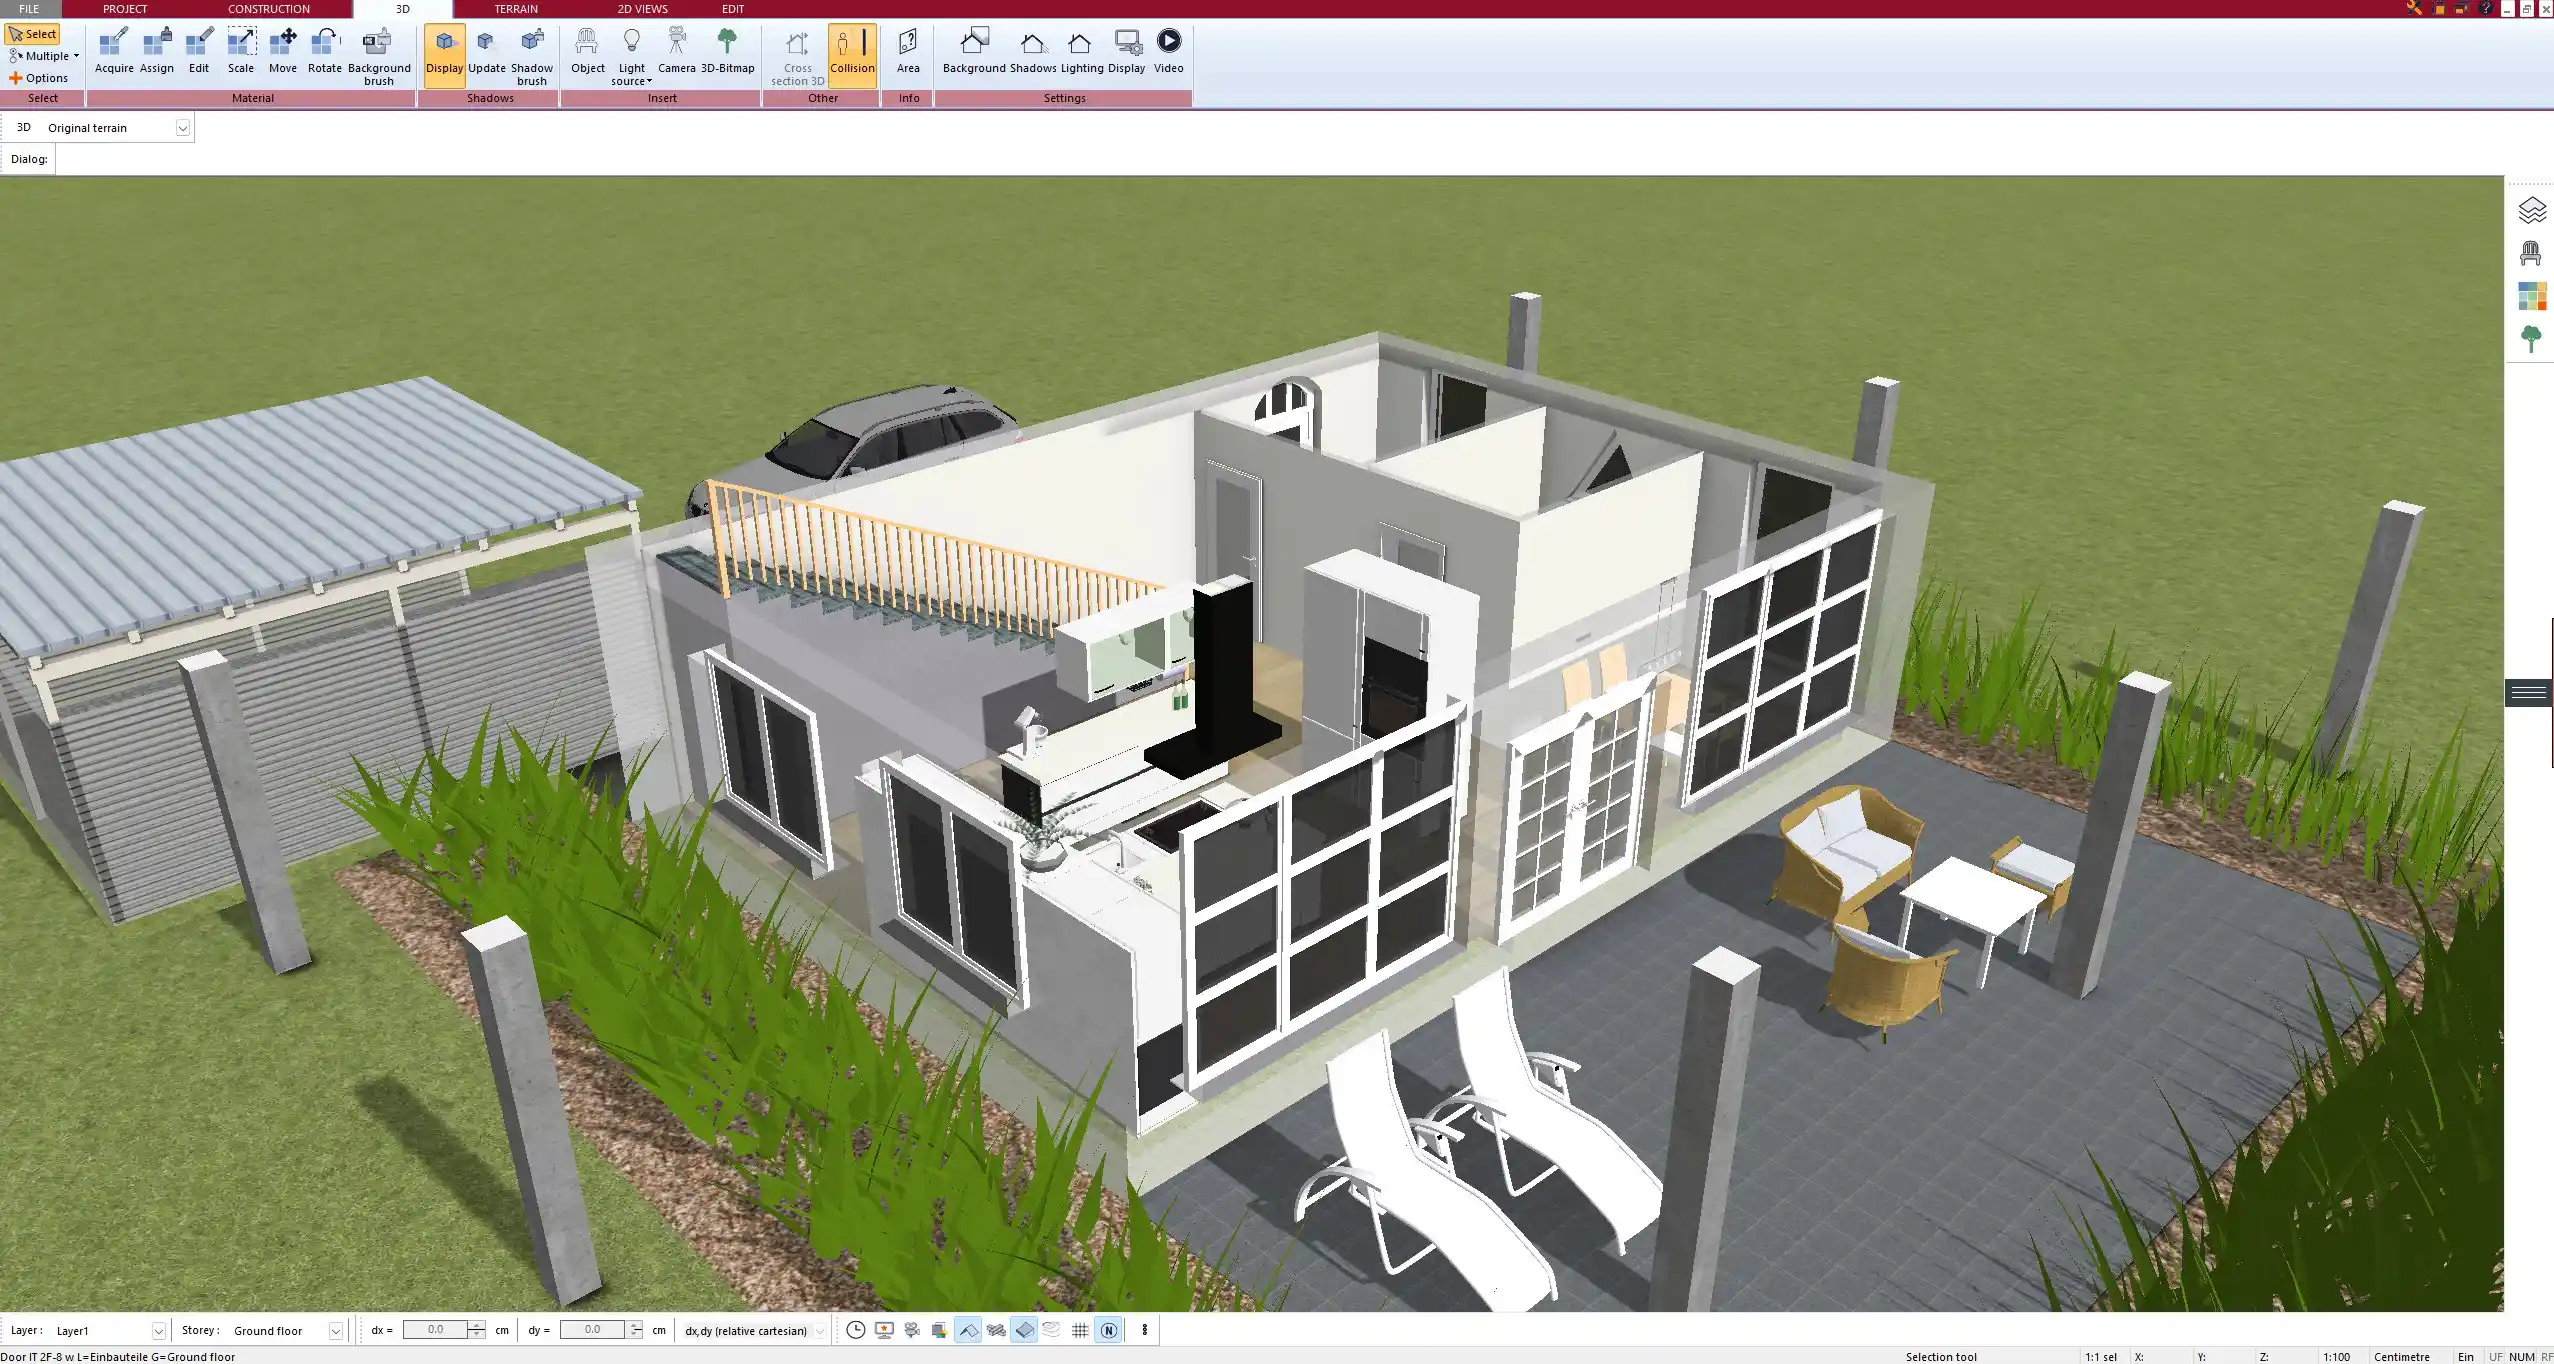
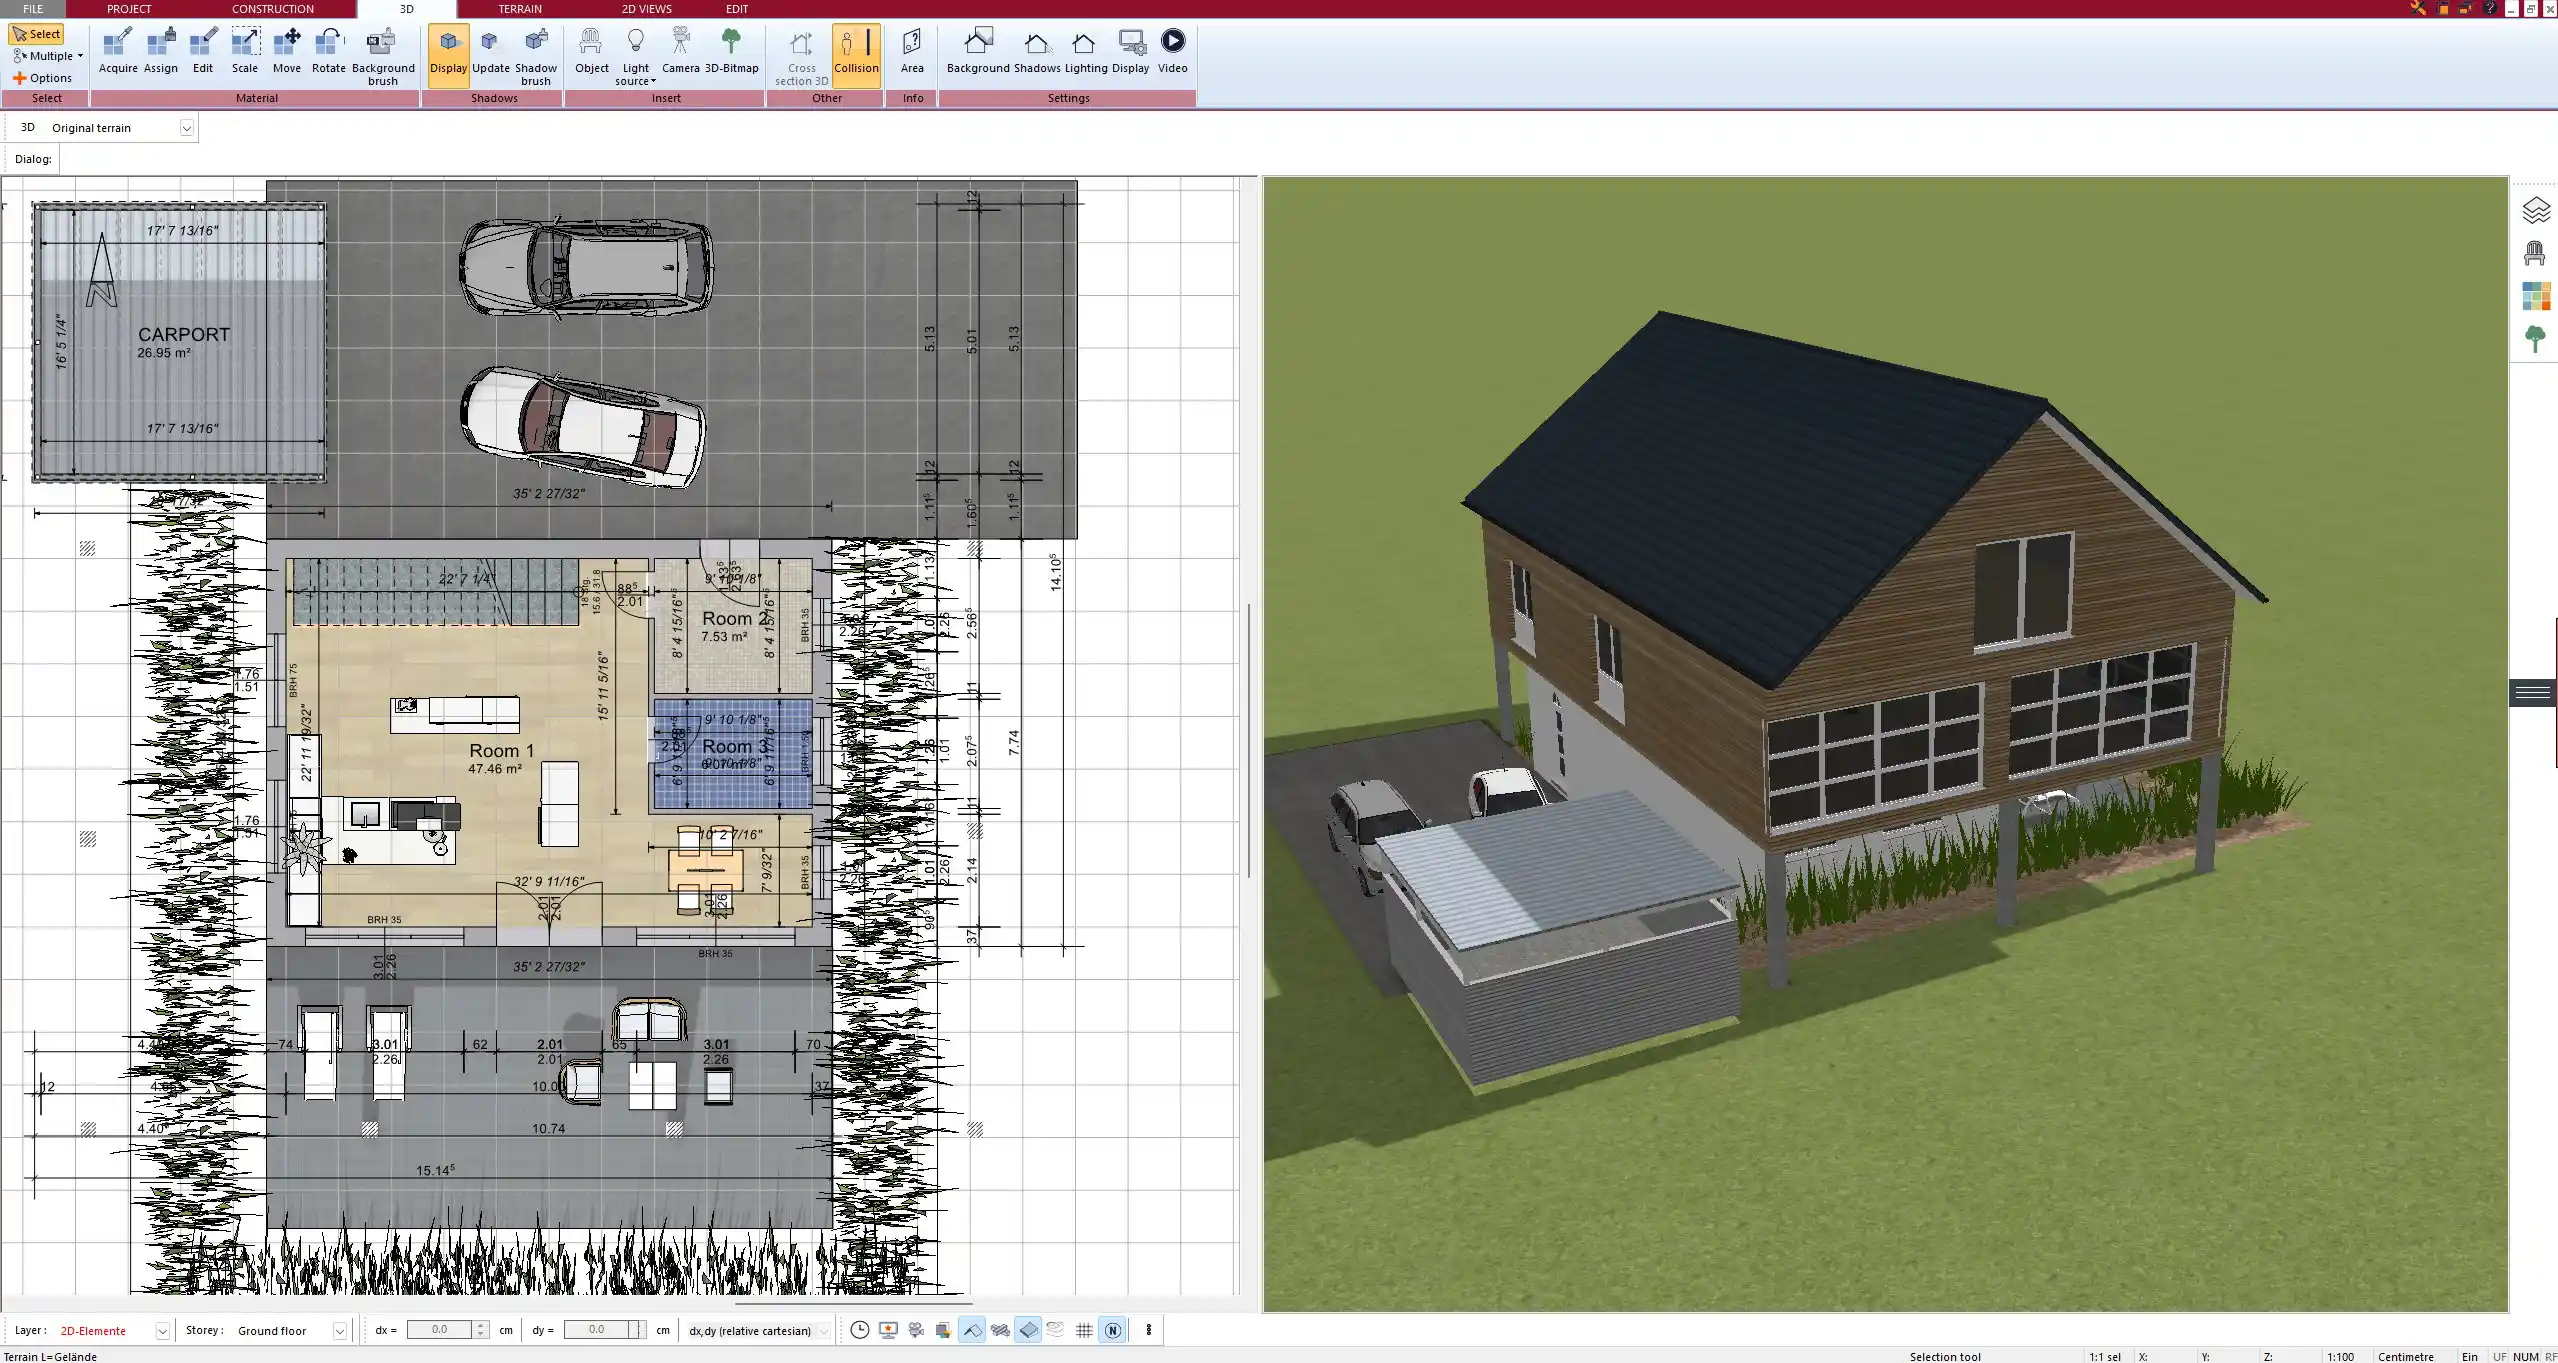
2D and 3D Planning Benefits with Plan7Architect
Plan7Architect offers simultaneous 2D and 3D planning. Every wall, door, or piece of equipment added in 2D is automatically displayed in the 3D window. This is especially helpful when visualizing roof angles, light sources, and floor levels.
Whether you’re working in meters or feet, you can switch the unit system at any time, and the software updates all dimensions automatically. This makes it suitable for users in Europe, the US, Canada, Australia, or anywhere else.
Once your arena plan is complete, you can export:
-
Professional 2D blueprints
-
Realistic 3D views or walkthroughs
-
Files for builders or planning authorities
No prior CAD knowledge is needed. The software is designed to be accessible and intuitive, even for private builders or stable owners.
Tips for Effective Arena Floor Plan Design
-
Allow at least 2–3 meters (6–10 ft) clearance on each side of the arena for maintenance and snow clearance
-
Plan ceiling height according to intended use: 4 m (13 ft) for flatwork, 5+ m (16+ ft) for jumping
-
Ensure large gates are accessible for tractors or watering equipment
-
Keep lighting uniform to avoid shadows that might startle horses
-
Avoid placing mirrors directly opposite windows – it can cause glare
Tip: In Plan7Architect, use layer copies to experiment with different roof types, arena widths, or entrance positions without deleting your main plan. I always create 2–3 layout versions before settling on a final one.
Design Your Riding Arena Professionally with Plan7Architect
With the Plan7Architect software, you can design your own professional riding arena without hiring a specialist. From custom floor dimensions to roof structures and even viewer lounges, every detail can be planned and visualized. The software supports both metric and imperial units, making it easy to adapt your design regardless of your location.
You can purchase the software risk-free thanks to a 14-day cancellation policy. If it doesn’t suit your needs, simply send an email to cancel the purchase – no questions asked.
Plan your project with Plan7Architect

Plan7Architect Pro 5 for $119.99
You don’t need any prior experience because the software has been specifically designed for beginners. The planning process is carried out in 5 simple steps:
1. Draw Walls

2. Windows & Doors

3. Floors & Roof

4. Textures & 3D Objects

5. Plan for the Building Permit

6. Export the Floor Plan as a 3D Model for Twinmotion

- – Compliant with international construction standards
- – Usable on 3 PCs simultaneously
- – Option for consultation with an architect
- – Comprehensive user manual
- – Regular updates
- – Video tutorials
- – Millions of 3D objects available


