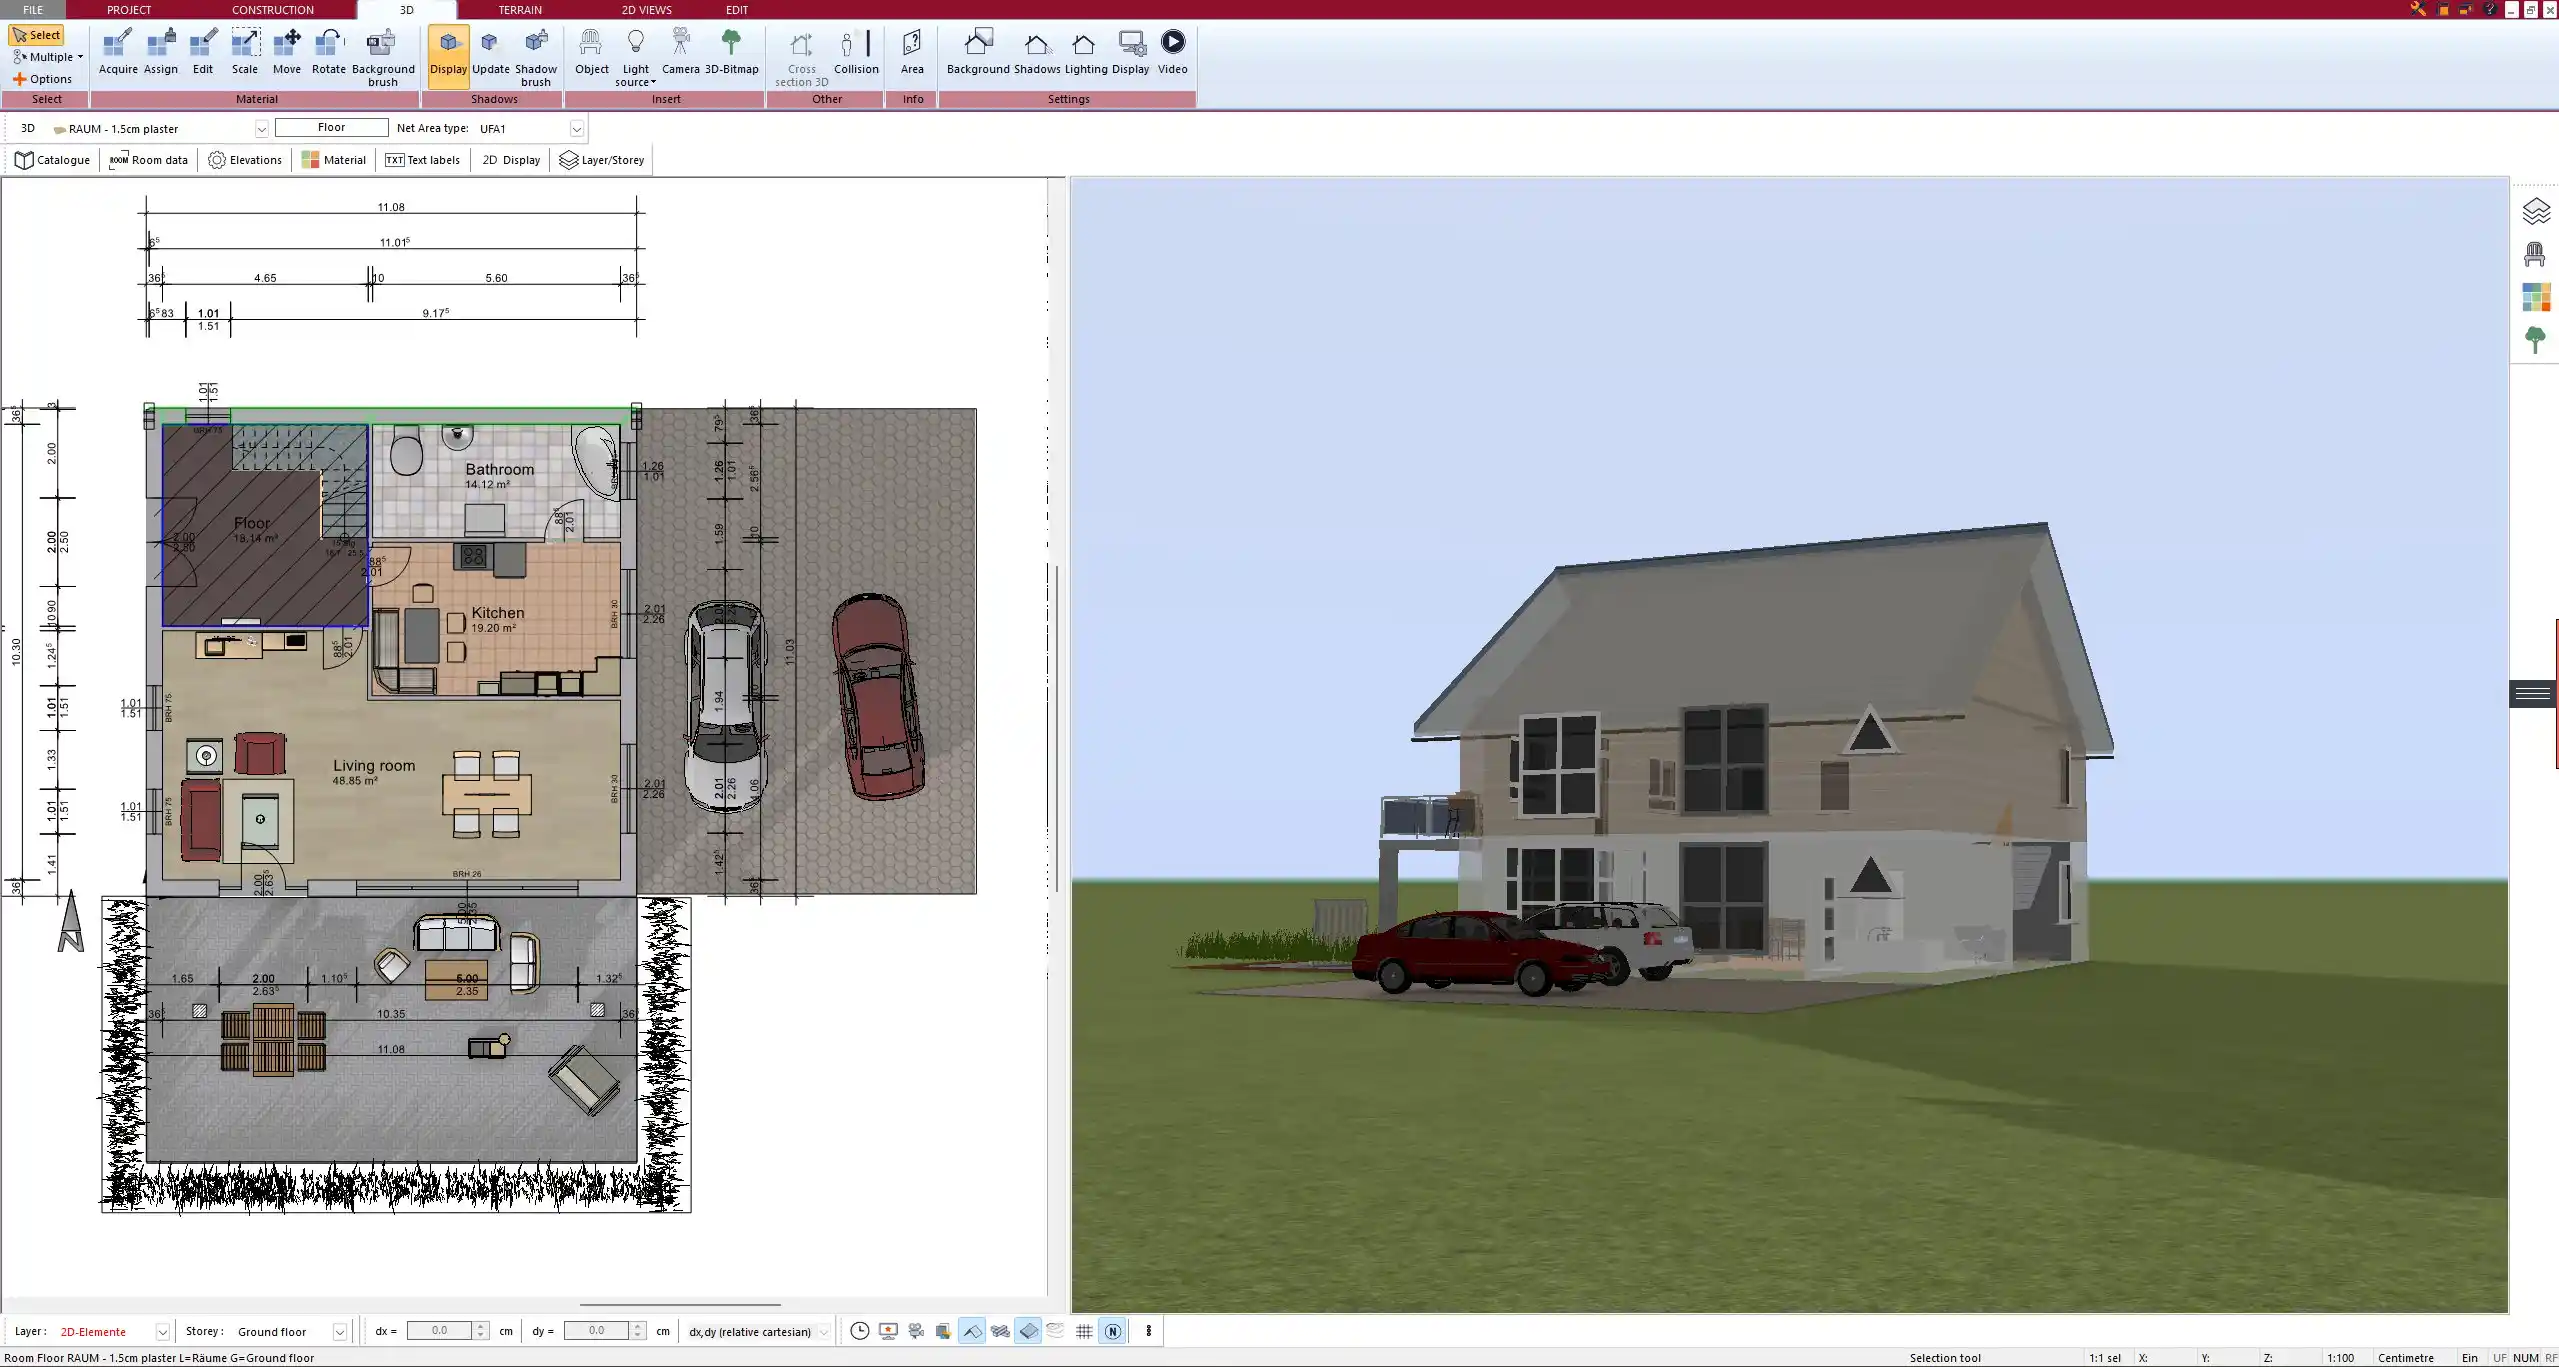
If you want to model your house floor plan yourself, you can do so quickly and intuitively with Plan7Architect. You start directly in either 2D or 3D mode, draw walls with the mouse, and add windows, doors, and rooms with simple drag-and-drop tools. The software supports both metric (centimeters, meters) and imperial (feet, inches) units, which you can choose in the project settings.
You can switch between 2D and 3D views at any time and see your design from different angles. It is also possible to create multi-story floor plans, assign room types, calculate floor areas, and export everything as a construction-ready plan or 3D presentation. No architectural training or previous experience is required.
Step-by-Step Guide to Modeling Your House Floor Plan
Step 1 – Set up your project
When you open Plan7Architect, the first thing to do is select your preferred unit system. You can work with metric units (centimeters and meters) or imperial units (inches and feet), depending on your location or personal preference. This setting can be changed at any time, even during the planning process.
Next, define the number of stories in your building. You can add basements, ground floors, upper floors, or attics. For each story, you can enter floor heights, ceiling heights, wall thicknesses, and floor slab details. These values will be used as the structural base for your layout.
It is also useful to set up the default wall type and material at the beginning, so you don’t have to change each wall later individually.
Step 2 – Draw exterior and interior walls
Use the wall tool to draw the outline of your house. Simply click to place corner points and connect them. Plan7Architect supports precise snapping and angle alignment, so you can draw straight or angled walls easily. You can also draw curved walls if needed.
After you’ve created the outer shape, switch to drawing interior walls to define rooms and sections inside the building. Each wall can be edited by clicking on it – you can change its length, height, material, or position later.
You can also use construction lines or measurement guides if you want exact dimensions between specific points.
Step 3 – Add windows, doors, and structural features
In the building catalog, you’ll find a large selection of windows, doors, and structural elements. Simply drag the element you need onto a wall and release it. The software automatically adjusts the cutout in the wall.
Each component can be edited: you can change its width, height, sill height, material, and opening direction. You can place sliding doors, double doors, French doors, panoramic windows, or skylights.
If needed, you can also add stairs, balconies, beams, pillars, chimneys, and other construction details. Everything you add is visible in both 2D and 3D.
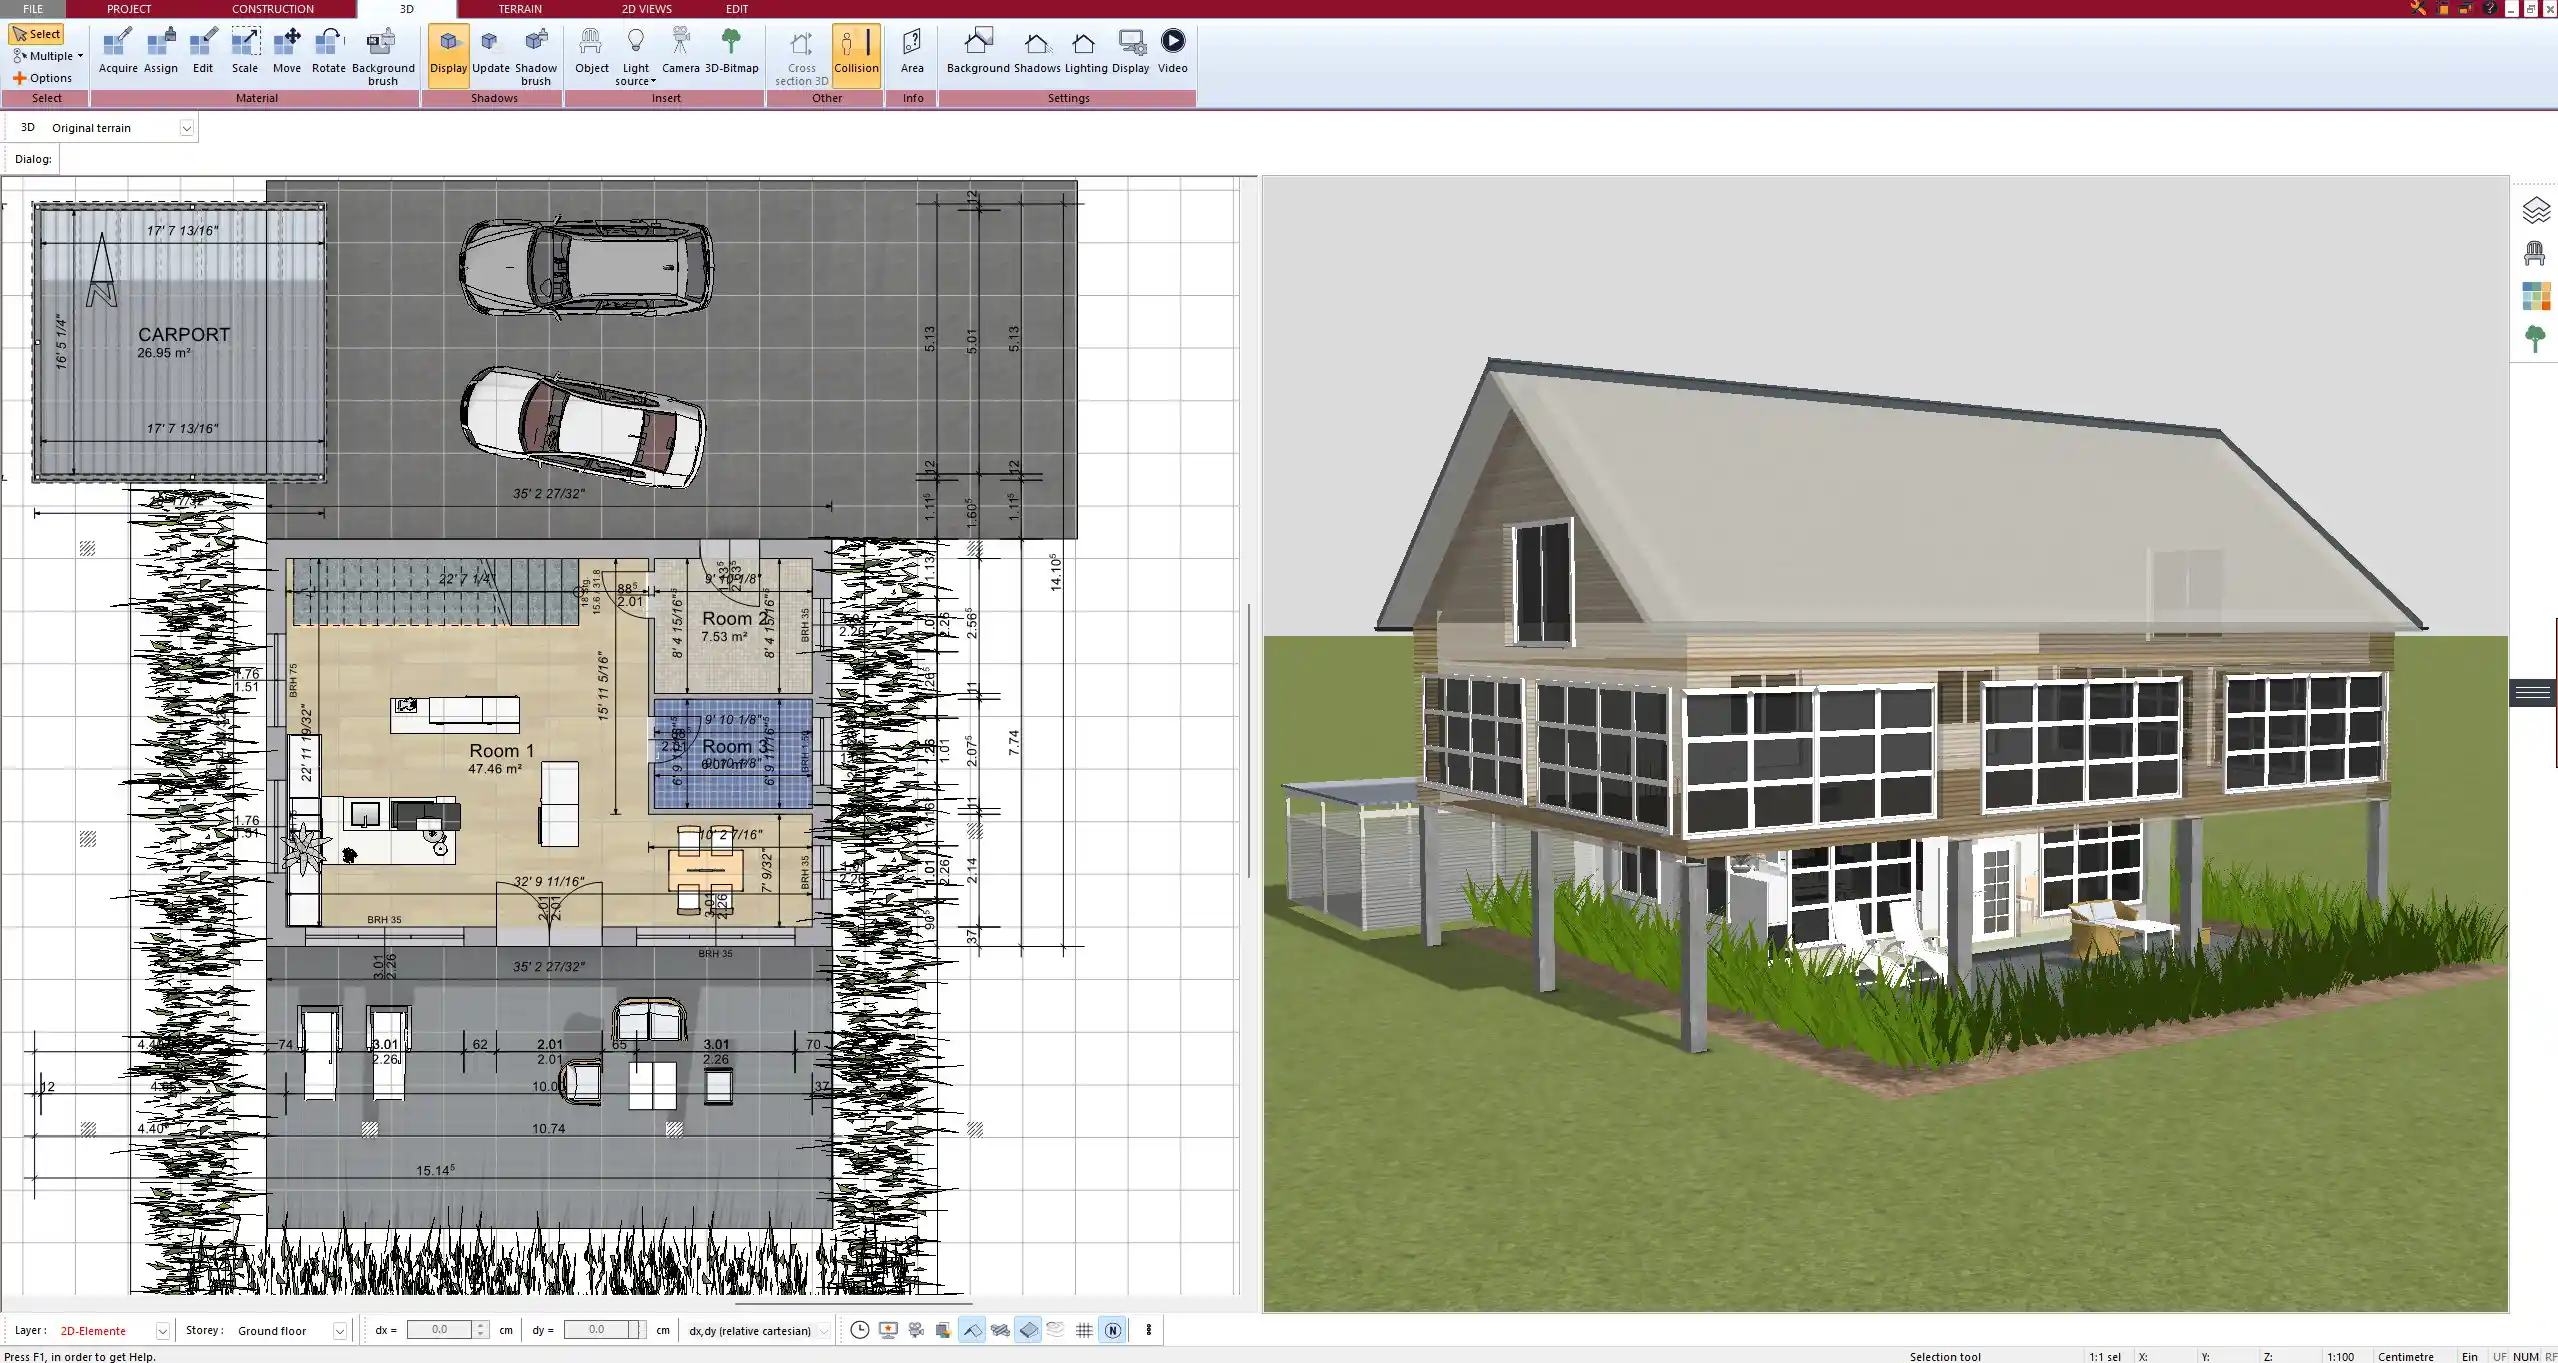
Step 4 – Customize each room
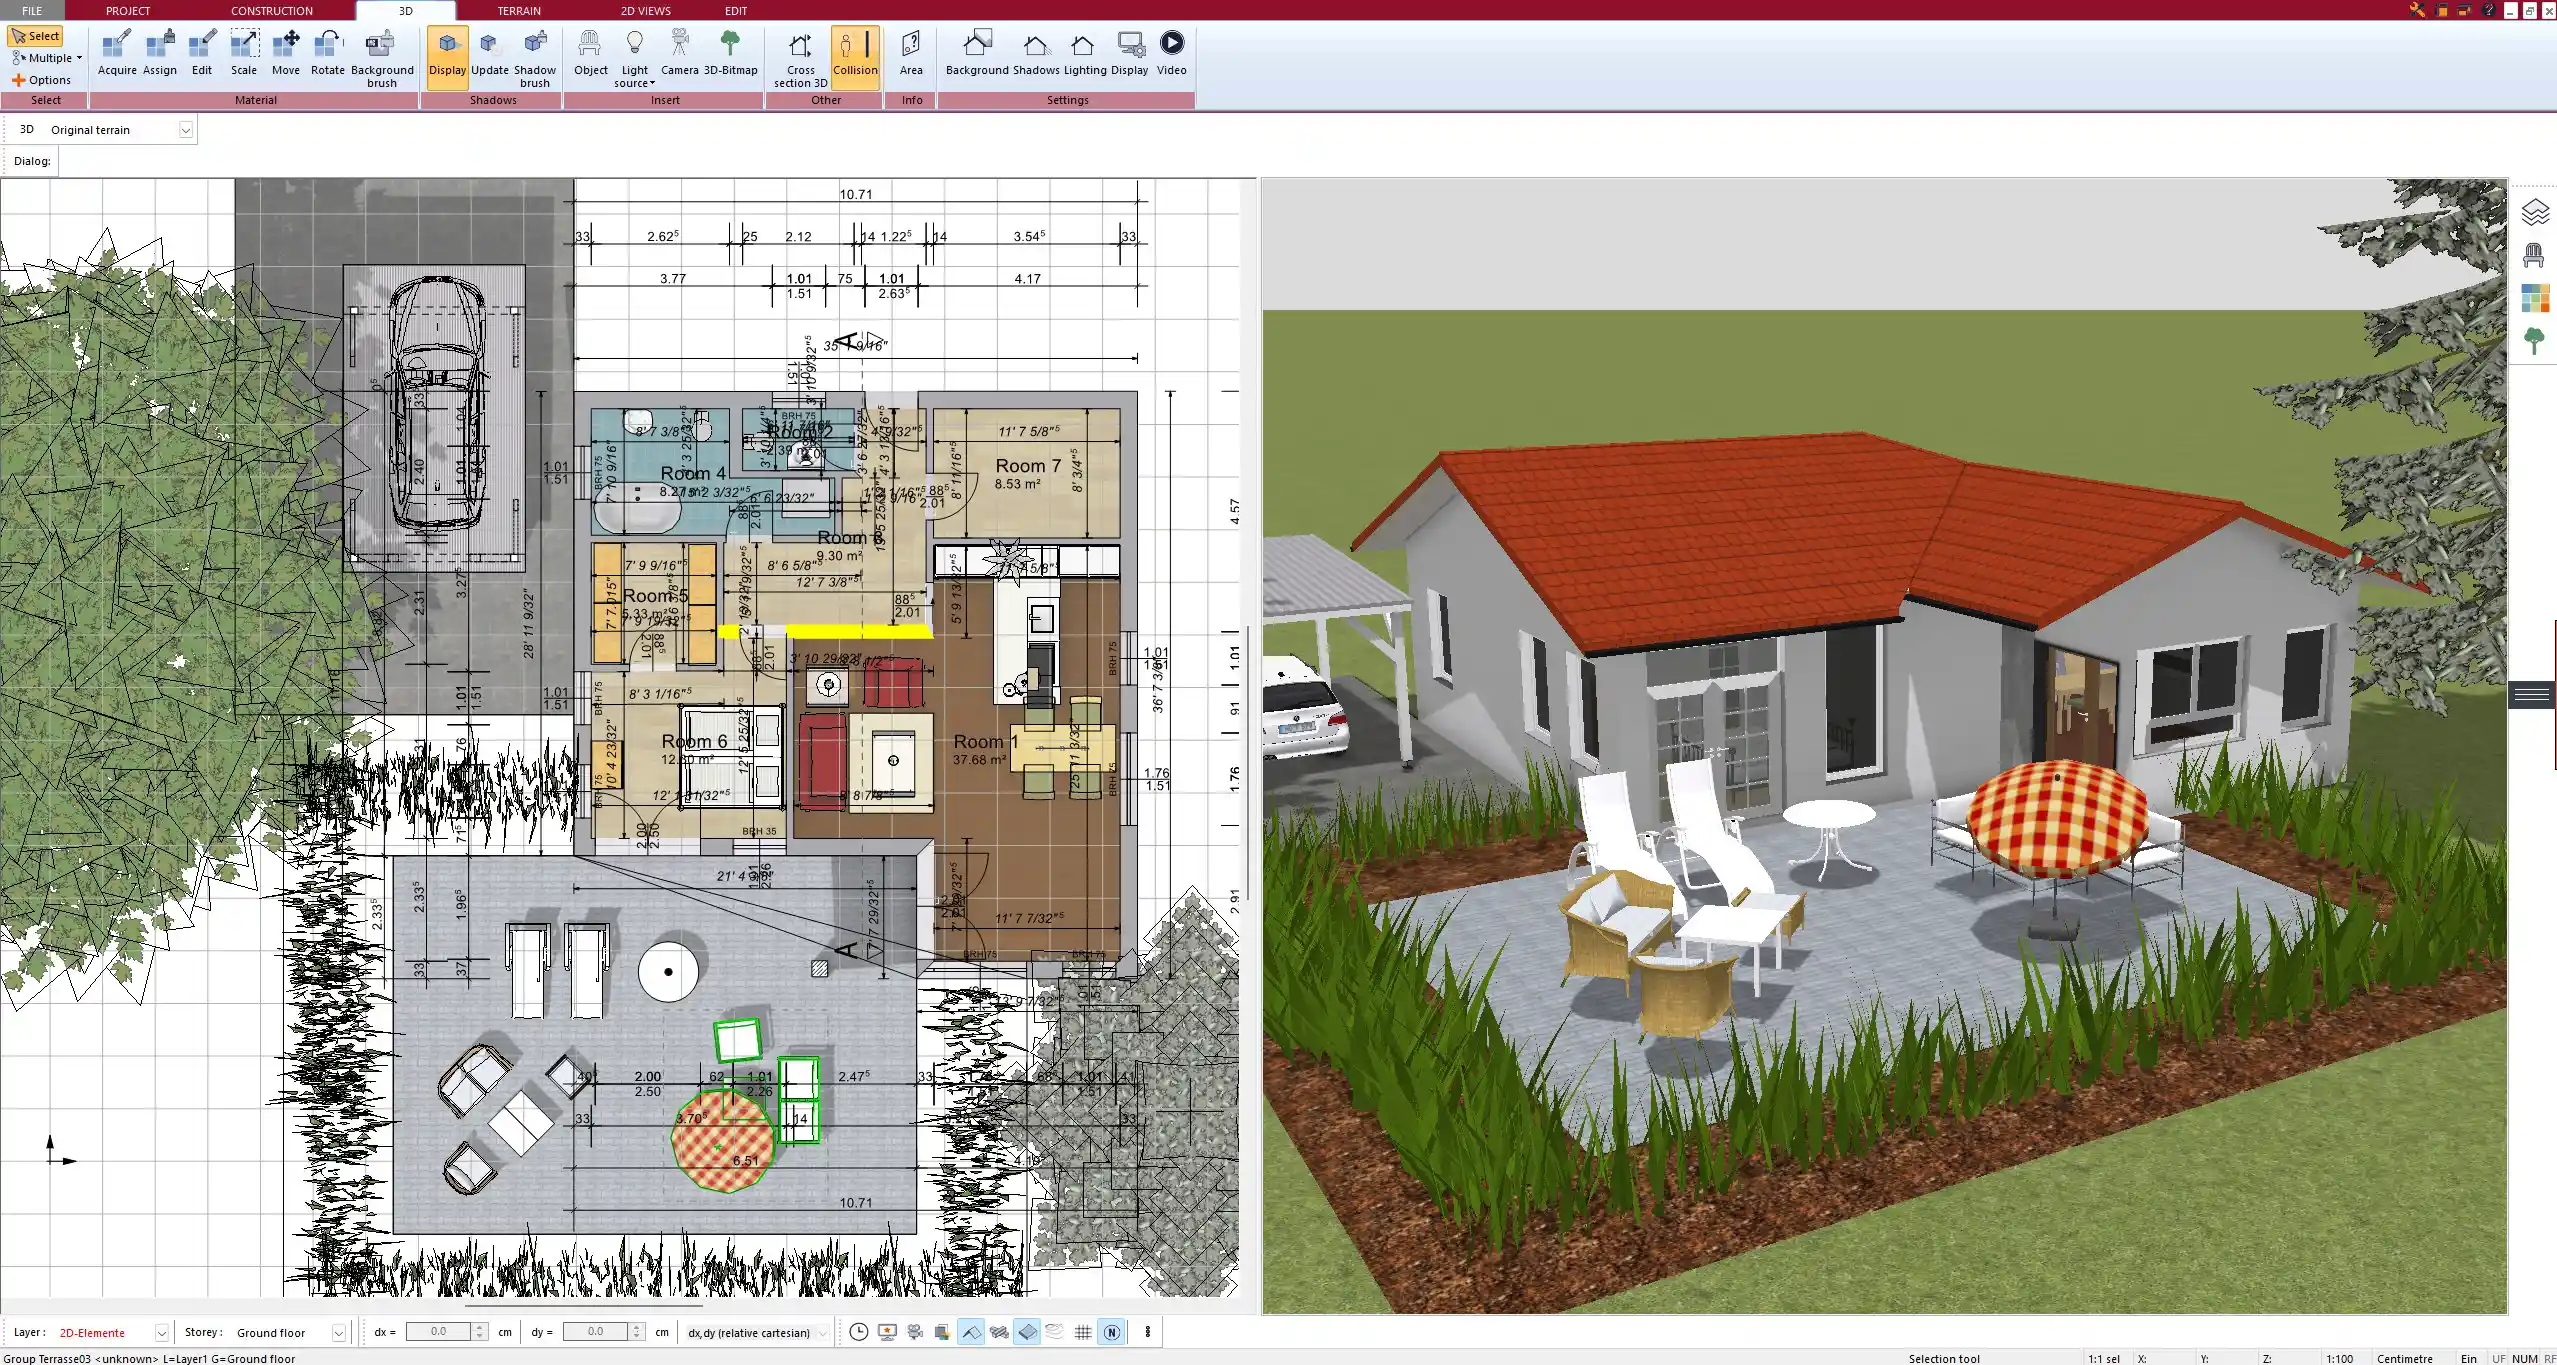
Once the layout is complete, define each room by assigning a room label (e.g., kitchen, living room, bedroom). The software then displays the calculated area of each room directly on the plan – in either square meters or square feet, depending on your settings.
You can select individual floor materials, wall finishes, and ceiling designs for each room. This is useful not only for planning but also for visualization and interior design.
There’s also a function to display zones or functional areas, for example, open-plan living zones or work areas.
Tip: If you need to present your plan to authorities or submit it for a permit, use the built-in layer manager to add separate levels for measurements, technical elements, and structural changes.
Step 5 – Furnish and decorate in 3D
After the structural work is done, you can furnish your home in the 3D view. The furniture library includes thousands of objects such as sofas, beds, tables, kitchen elements, office furniture, and even outdoor equipment.
Each object can be resized, rotated, and customized. You can drag items directly into the 3D environment and move them around freely.
You can also apply realistic materials and textures to floors, walls, and ceilings. This helps you get a better feeling for proportions and style.
Tip: Use the real-time shadow simulation and lighting options to create a natural look for your rooms and see how daylight enters at different times of day.
Step 6 – Export and save your plan
When you’re satisfied with your design, you can export it in multiple ways. The most common options include:
| Export Format | Use Case |
|---|---|
| PDF or image (PNG/JPG) | For printouts, presentations, or emails |
| 3D model (OBJ/DAE) | For visualizations or rendering |
| DXF/DWG | For professional use or technical planning |
| Project file (.p7a) | To continue editing later |
You can include measurement lines, labels, room names, and layers in your export. This way, your floor plan is ready for sharing, review, or construction planning.
Key Features That Make Floor Plan Modeling Easy in Plan7Architect
-
Direct modeling in both 2D and 3D
-
Real-time switching between views
-
Drag-and-drop interface for components
-
Support for metric and imperial units
-
Customizable room labels and areas
-
Automatic area calculations per room
-
Furniture and decoration tools in 3D
-
Professional export formats available
-
Layer management for technical planning
-
Suitable for all experience levels
Use Cases – What You Can Model with It
Plan7Architect is not limited to one type of building. You can use it for a variety of projects, including:
-
Detached houses (one-story or multi-story)
-
Townhouses and duplexes
-
Apartment layouts and remodeling projects
-
Renovations, extensions, and conversions
-
Visualization of existing homes
-
Permit-ready floor plans
Pro Tips for Modeling Like a Professional
-
Use layers to separate walls to be demolished, new walls, and furniture
-
Label all rooms clearly from the beginning to avoid confusion later
-
Regularly switch between 2D and 3D views to check alignment
-
Save frequently and create version backups before big changes
-
Activate grid snapping to improve alignment and precision
-
Group objects when working on repeated structures like multi-room apartments
Tip: If you are working on a renovation project, you can assign different wall types and use colors or textures to visually mark changes. This is useful when presenting the project to clients or contractors.
Conclusion – Why Plan7Architect Is Ideal for Floor Plan Modeling
If you want to model a house floor plan yourself, Plan7Architect offers the perfect balance of simplicity and depth. You can draw and customize your layout in both 2D and 3D, work in metric or imperial units, and export everything in professional formats. Whether you’re a private user planning your own home or a professional preparing client projects, this software allows you to work independently – without subscriptions, complex CAD tools, or steep learning curves.
Let me know if you’d like help creating matching image captions for your screenshots or visuals.
Plan your project with Plan7Architect

Plan7Architect Pro 5 for $109.99
You don’t need any prior experience because the software has been specifically designed for beginners. The planning process is carried out in 5 simple steps:
1. Draw Walls

2. Windows & Doors

3. Floors & Roof

4. Textures & 3D Objects

5. Plan for the Building Permit

6. Export the Floor Plan as a 3D Model for Twinmotion

- – Compliant with international construction standards
- – Usable on 3 PCs simultaneously
- – Option for consultation with an architect
- – Comprehensive user manual
- – Regular updates
- – Video tutorials
- – Millions of 3D objects available


