An old floor plan can be a very useful starting point for a renovation. It may show the original room layout, wall positions, doors, windows, stairs, and building dimensions. But before you rely on it, you should always update it.
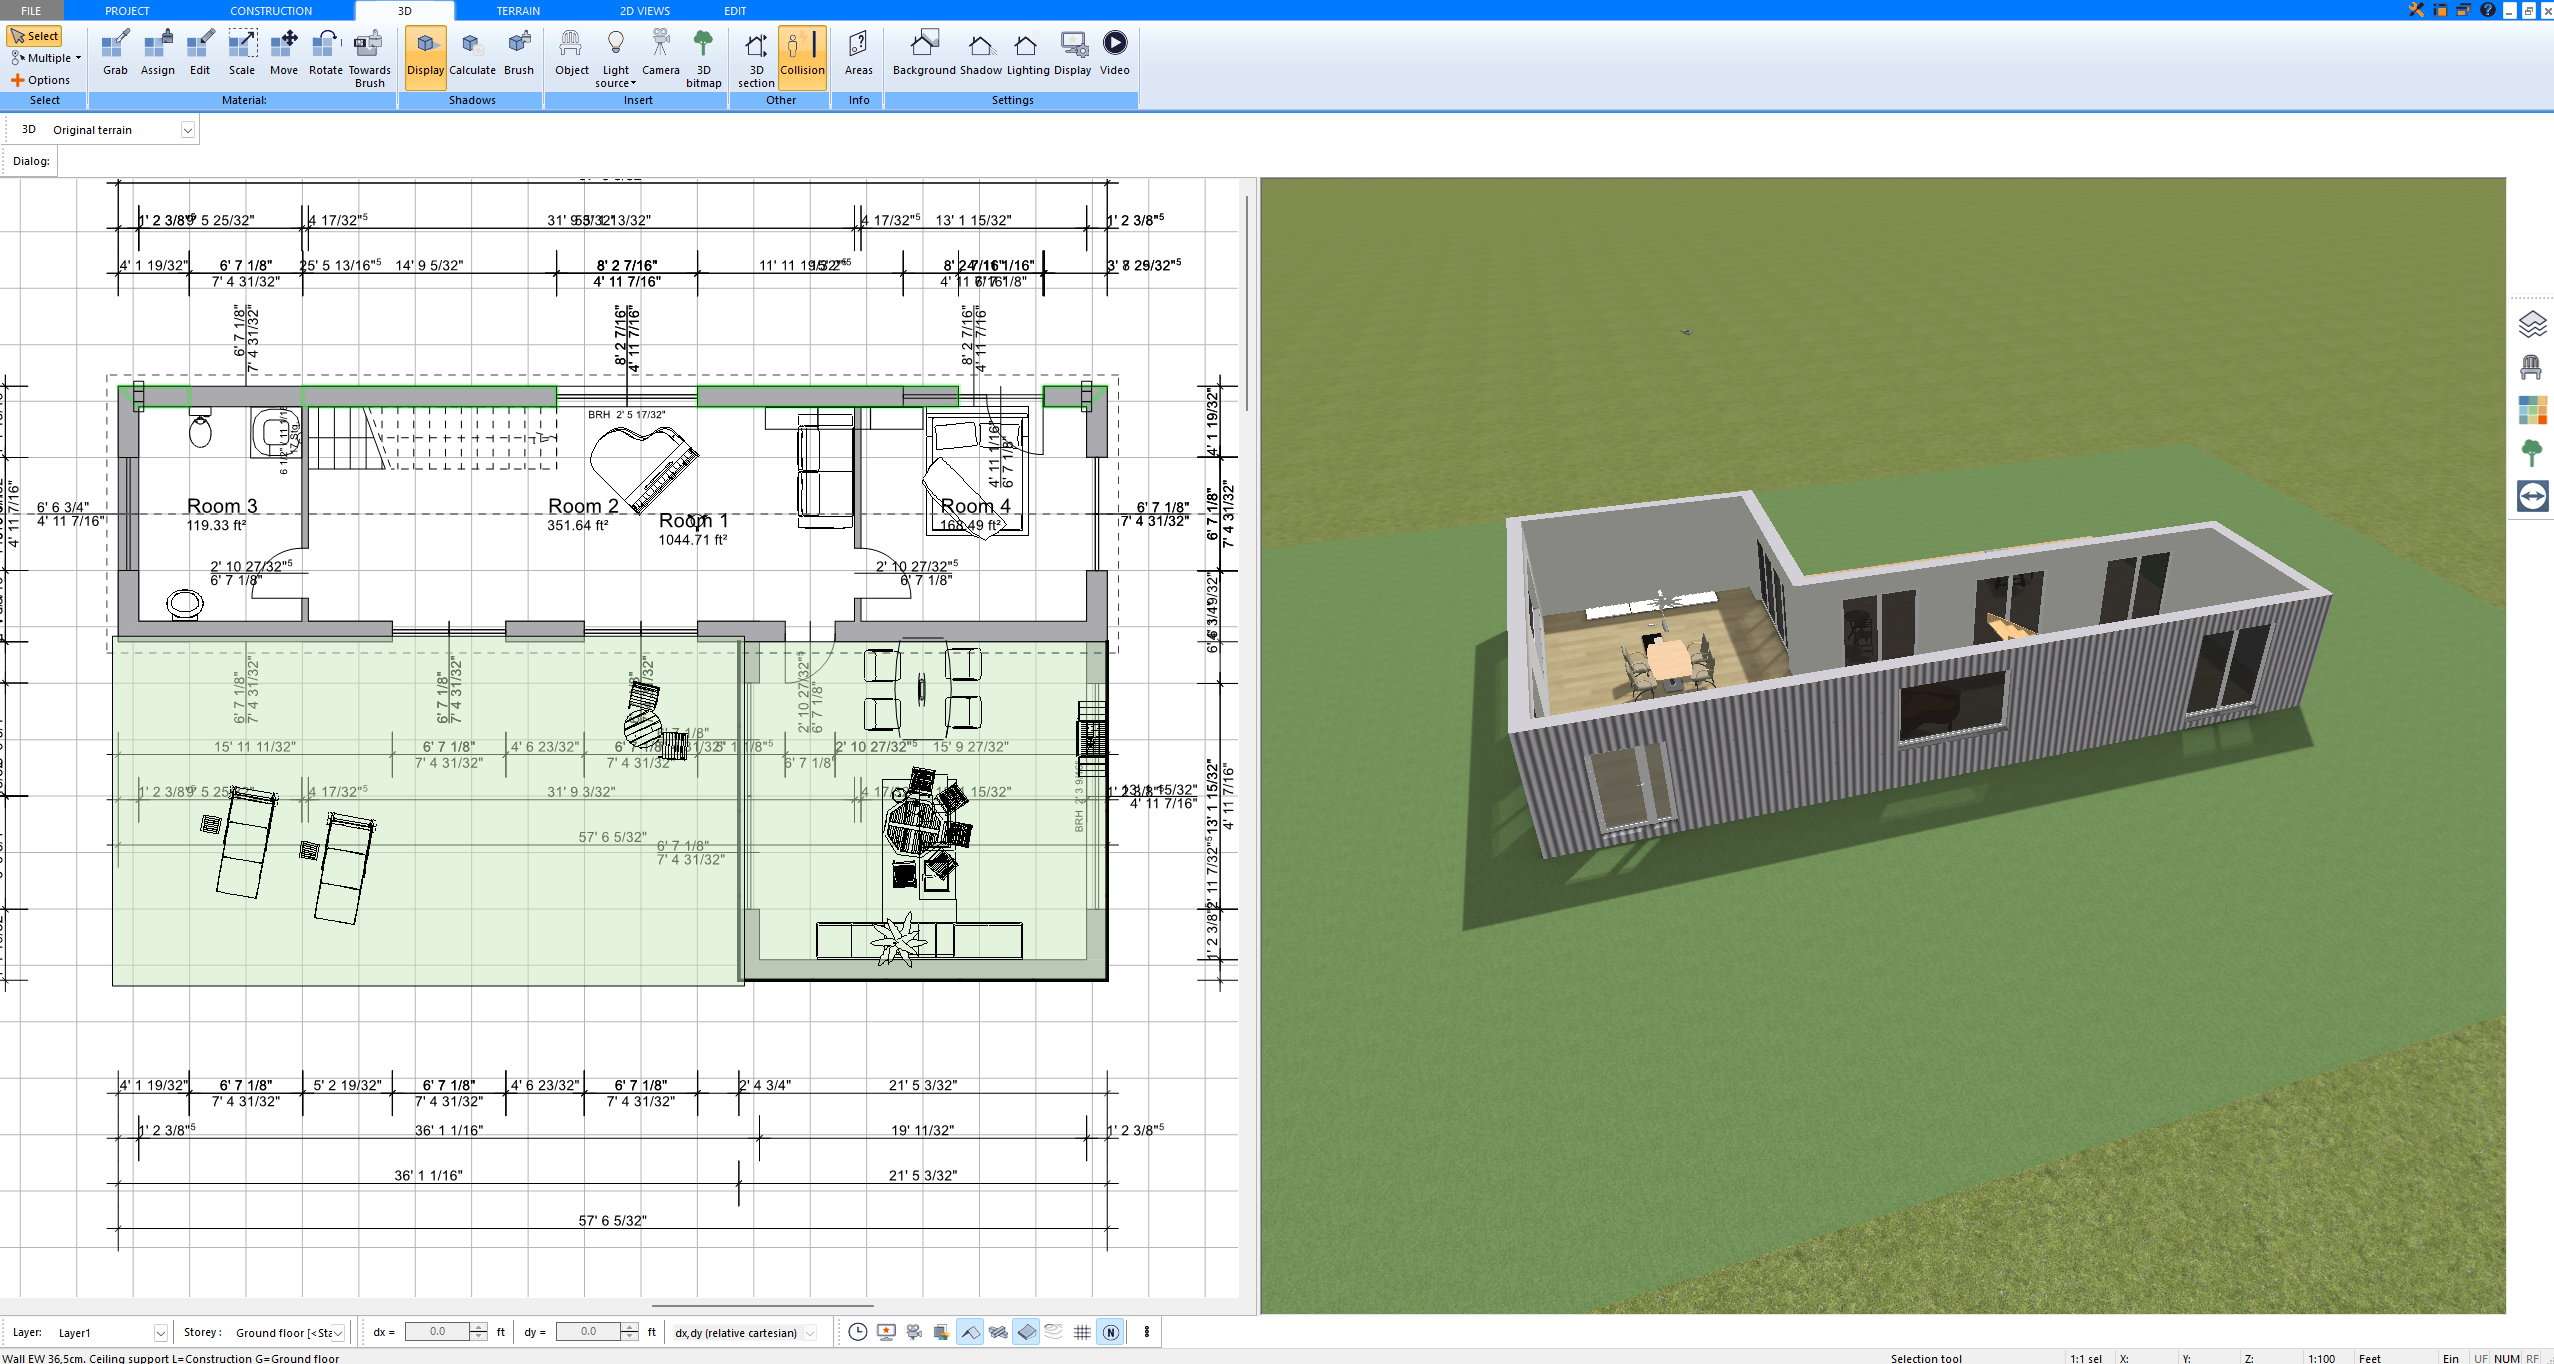
Old floor plans are often incomplete, outdated, inaccurate, or different from the house as it exists today. Walls may have been moved, doors replaced, windows changed, rooms combined, additions built, or measurements altered during previous renovations.
Before you hire a contractor or start planning a remodel, you should turn the old plan into an accurate current floor plan. This gives you a reliable base for renovation ideas, cost estimates, contractor discussions, and design decisions.
With Plan7Architect Pro, you can import or recreate an old floor plan, trace it digitally, correct the dimensions, add missing details, and turn it into a usable 2D and 3D planning project.
Why You Should Not Trust an Old Floor Plan Blindly
An old floor plan may look official, but that does not mean it still matches the building.
Over time, many things can change:
- Interior walls may have been removed or added
- Doors may have been moved
- Windows may have been replaced or resized
- Rooms may have changed function
- Bathrooms or kitchens may have been remodeled
- Extensions may have been added
- Stairs, closets, or utility areas may have changed
- Measurements may no longer be accurate
Even if the plan was correct when it was created, it may no longer show the current condition of the house.
That is why an old plan should be treated as a reference, not as the final truth.
Step 1: Check What Type of Old Plan You Have
First, look at the plan and identify what kind of document it is.
It could be:
- A builder’s floor plan
- A permit drawing
- A real estate floor plan
- An architect’s drawing
- A scanned paper plan
- A PDF plan
- A hand-drawn sketch
- A CAD file
- A low-quality image from an old listing
A real estate floor plan may be useful for understanding the layout, but it may not be accurate enough for renovation planning. A permit or architectural plan may contain more detail, but it can still be outdated.
If you do not have an old plan yet, this guide on where to get a floor plan of your house can help you find possible sources.
Step 2: Compare the Plan with the Real House
Walk through the house with the old plan in your hand and compare it room by room.
Check:
- Are all rooms still in the same place?
- Are all walls shown correctly?
- Are any walls missing?
- Have any doors been moved?
- Are the windows correct?
- Are stairs shown properly?
- Are bathrooms and kitchens still in the same location?
- Are closets, storage areas, and utility spaces shown?
- Is the garage, basement, attic, or extension included?
Mark every difference directly on a copy of the old plan.
This step is important because it helps you understand how much work is needed before the plan can be used for renovation planning.
Step 3: Measure the Current House
After comparing the old plan with the real building, measure the current house.
You do not need to measure every decorative detail, but you should measure all important planning elements:
- Room length and width
- Wall positions
- Door widths and locations
- Window widths and locations
- Ceiling heights
- Stairs
- Hallways
- Built-in elements
- Kitchen and bathroom fixture positions
- Wall thickness where possible
Do not assume the old dimensions are correct. Use them as a starting point, but verify the important measurements yourself.
If you are updating the plan for a renovation, accurate measurements are especially important because contractors, builders, or designers may use the plan to understand the scope of work.
Step 4: Mark What Has Changed
Once you have checked and measured the house, mark all changes clearly.
Useful notes include:
- “Wall removed”
- “New wall added”
- “Door moved”
- “Window replaced”
- “Room enlarged”
- “Bathroom remodeled”
- “Kitchen layout changed”
- “Extension added”
- “Old measurement incorrect”
- “Needs verification”
- “Possible load-bearing wall”
This helps separate the old information from the current condition.
For renovation planning, this is very important. You need to know what exists today before you can design what should happen next.
Step 5: Import or Recreate the Old Plan Digitally
The next step is to create a clean digital version of the current floor plan.
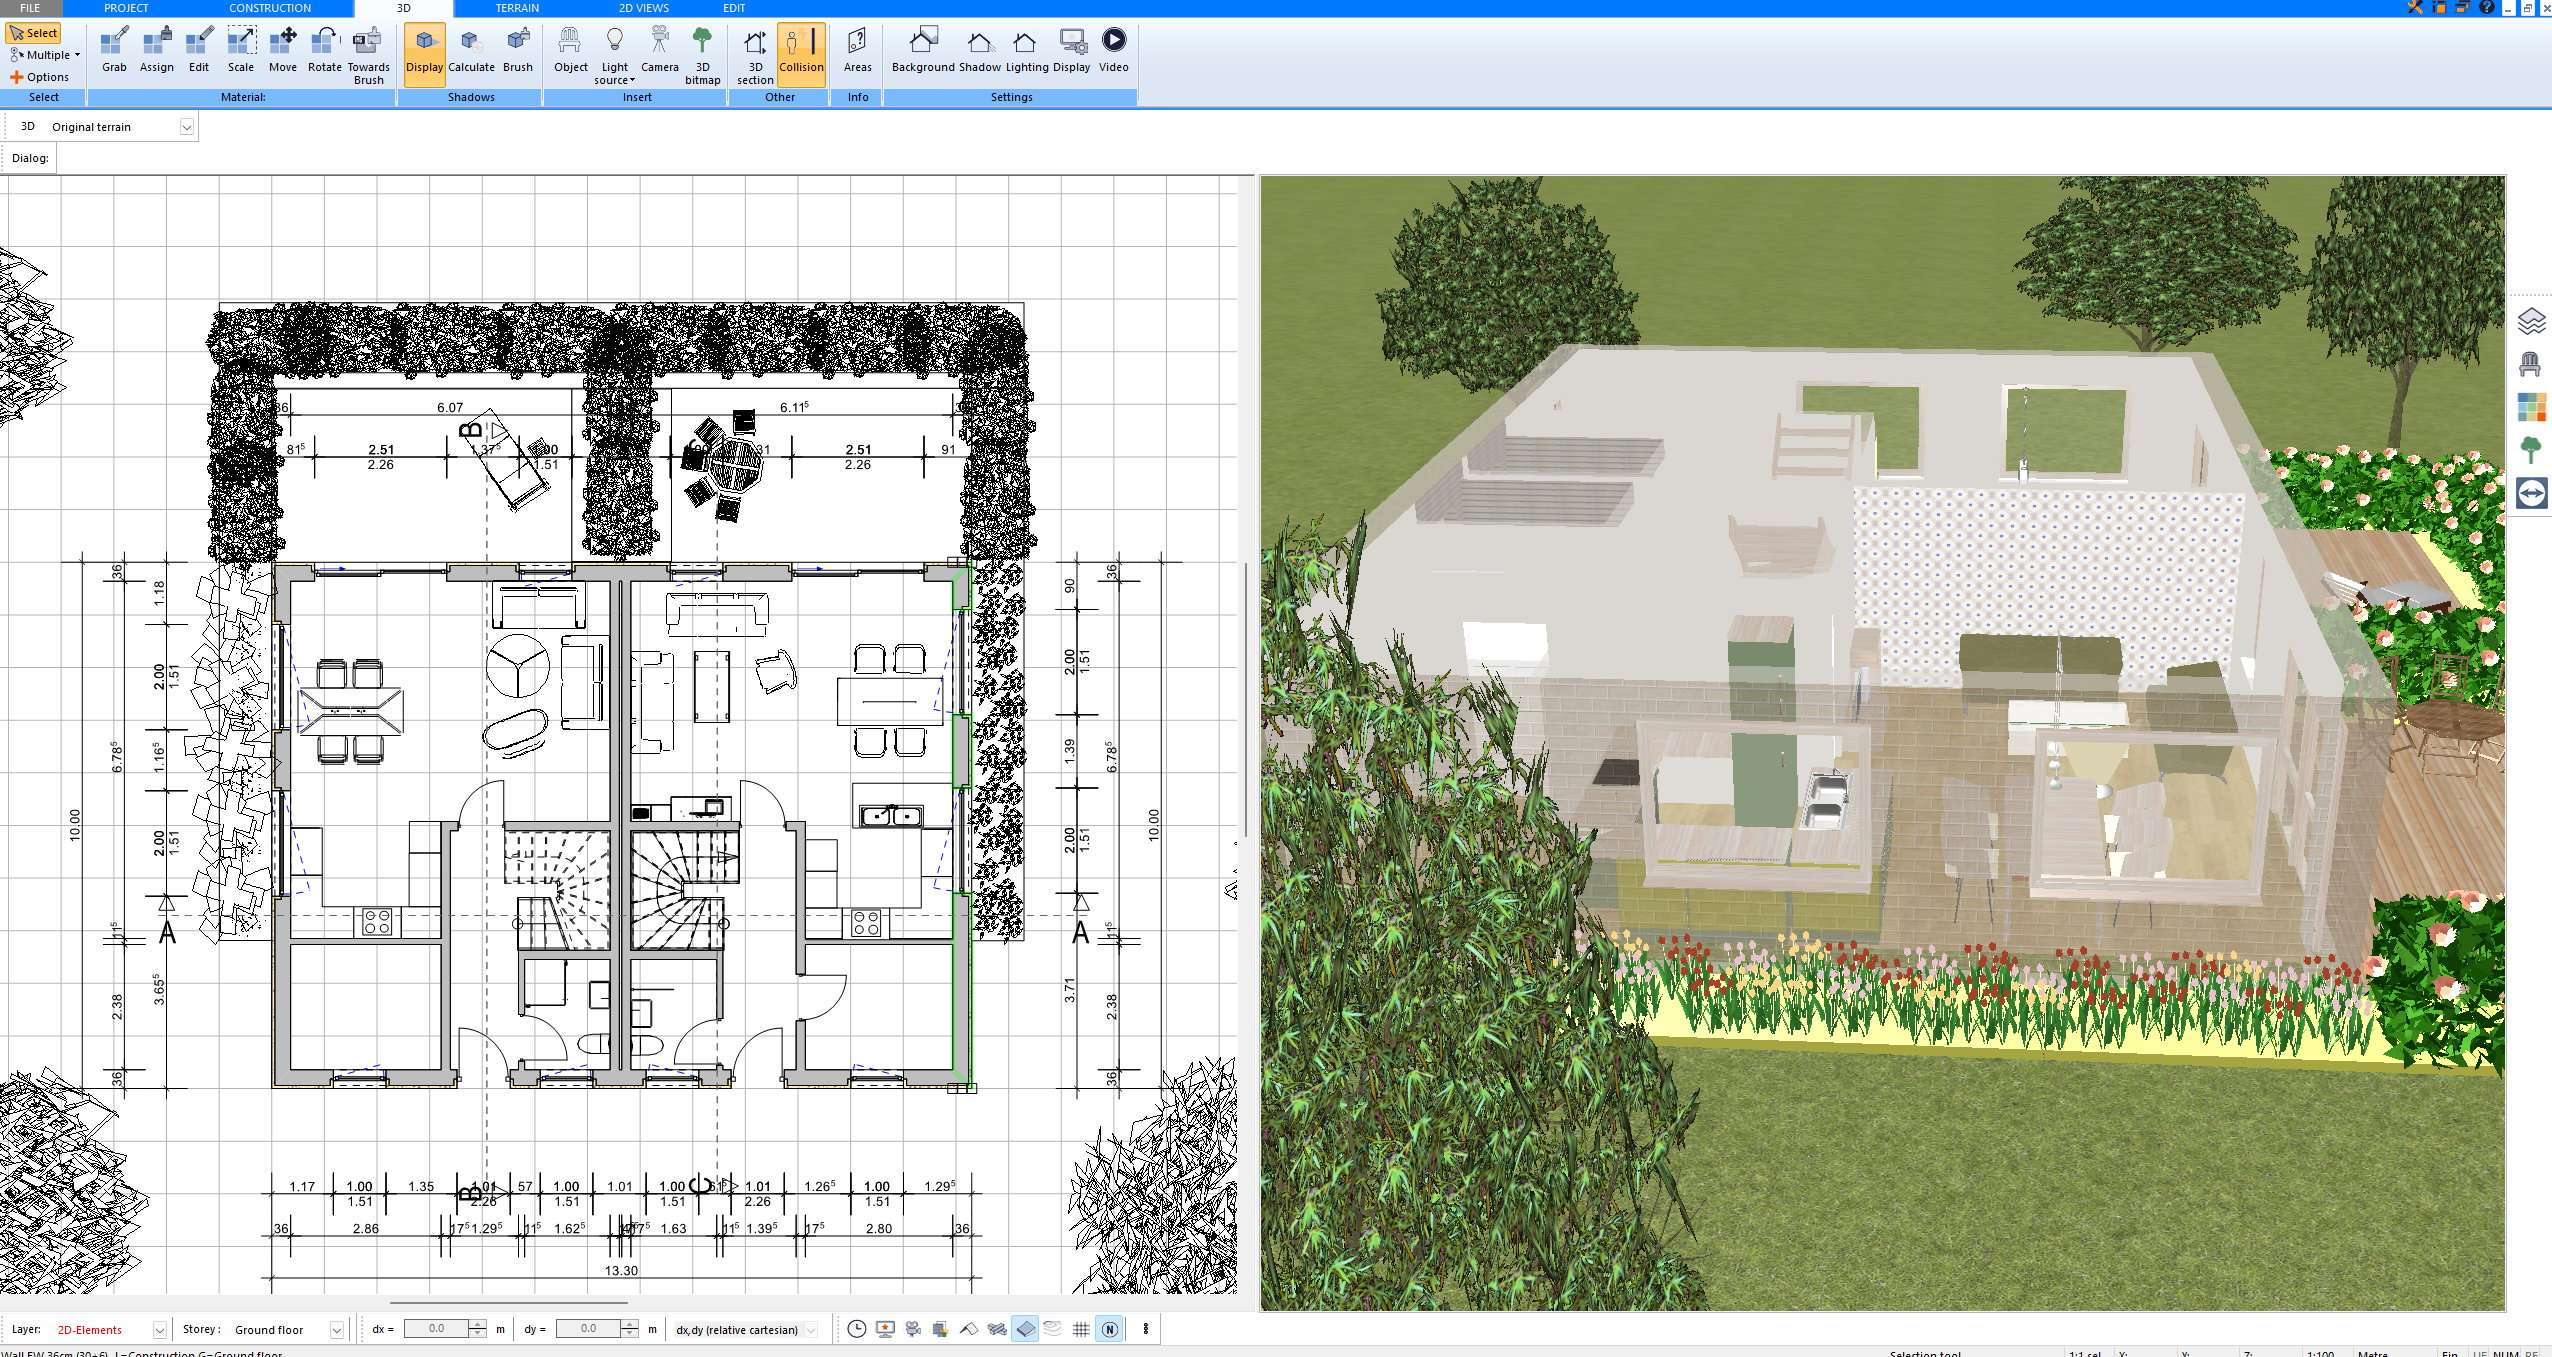
With Plan7Architect Pro, you can either recreate the old plan manually or import it as an image and trace over it. This is useful if you have a scanned plan, PDF image, photo, or old drawing.
You can use the old plan as a visual base, then redraw the walls, correct the dimensions, add doors and windows, and update the layout to match the current house.
This guide explains how to import a floor plan image and trace over it with Plan7Architect.
If you want to create the plan from scratch, this guide on how to draw a floor plan is a good starting point.
Step 6: Correct the Scale and Dimensions
An old plan may not be perfectly scaled, especially if it is scanned, photographed, or downloaded from a listing.
Before using it for renovation planning, make sure the digital version is drawn to scale.
A scaled plan helps you check:
- Room sizes
- Wall lengths
- Door and window positions
- Furniture placement
- Kitchen and bathroom layouts
- Hallway widths
- Stair positions
- Overall building size
If the scale is wrong, the entire renovation plan can become misleading.
You can learn more about this here: create a floor plan to scale.
Step 7: Add Missing Details
Old floor plans are often missing details that matter for renovation.
Add important elements such as:
- Door swing directions
- Window positions
- Wall thicknesses
- Stairs and landings
- Built-in cabinets
- Kitchen fixtures
- Bathroom fixtures
- Utility areas
- Ceiling height notes
- Room labels
- Dimension lines
For renovation planning, door swings, windows, and fixtures can make a big difference. A room may look usable on the old plan, but once you add real doors, furniture, and fixtures, the layout may need to change.
If you need a cleaner and more useful plan, this guide explains how to create floor plans with dimensions.
Step 8: Check Wall Thickness and Structural Questions
When updating an old floor plan, pay close attention to walls.
Not all walls are the same. Some are simple partition walls. Others may be load-bearing or contain plumbing, electrical lines, ducts, or structural elements.
If you are planning to remove, move, or open a wall, do not rely only on the old plan. The wall should be checked by a qualified professional before construction begins.
For planning purposes, you can mark possible wall changes in your updated plan. But structural decisions should be confirmed by a contractor, engineer, or other qualified professional.
This guide explains more about wall thickness for interior, exterior, and load-bearing walls.
Step 9: Create the Proposed Renovation Version
Once the current floor plan is updated, duplicate it and create a second version for the renovation idea.
This gives you two useful plans:
- Existing floor plan
- Proposed renovation floor plan
The existing plan shows the house as it is today.
The proposed plan shows what you want to change.
This is much clearer than drawing everything on one plan. It also makes contractor discussions easier because everyone can see what stays, what changes, and what needs to be checked.
If you are planning the renovation yourself, this guide on planning a home renovation with Plan7Architect may be useful.
Step 10: View the Updated Plan in 3D
A 2D plan is important, but a 3D view helps you understand the renovation more clearly.
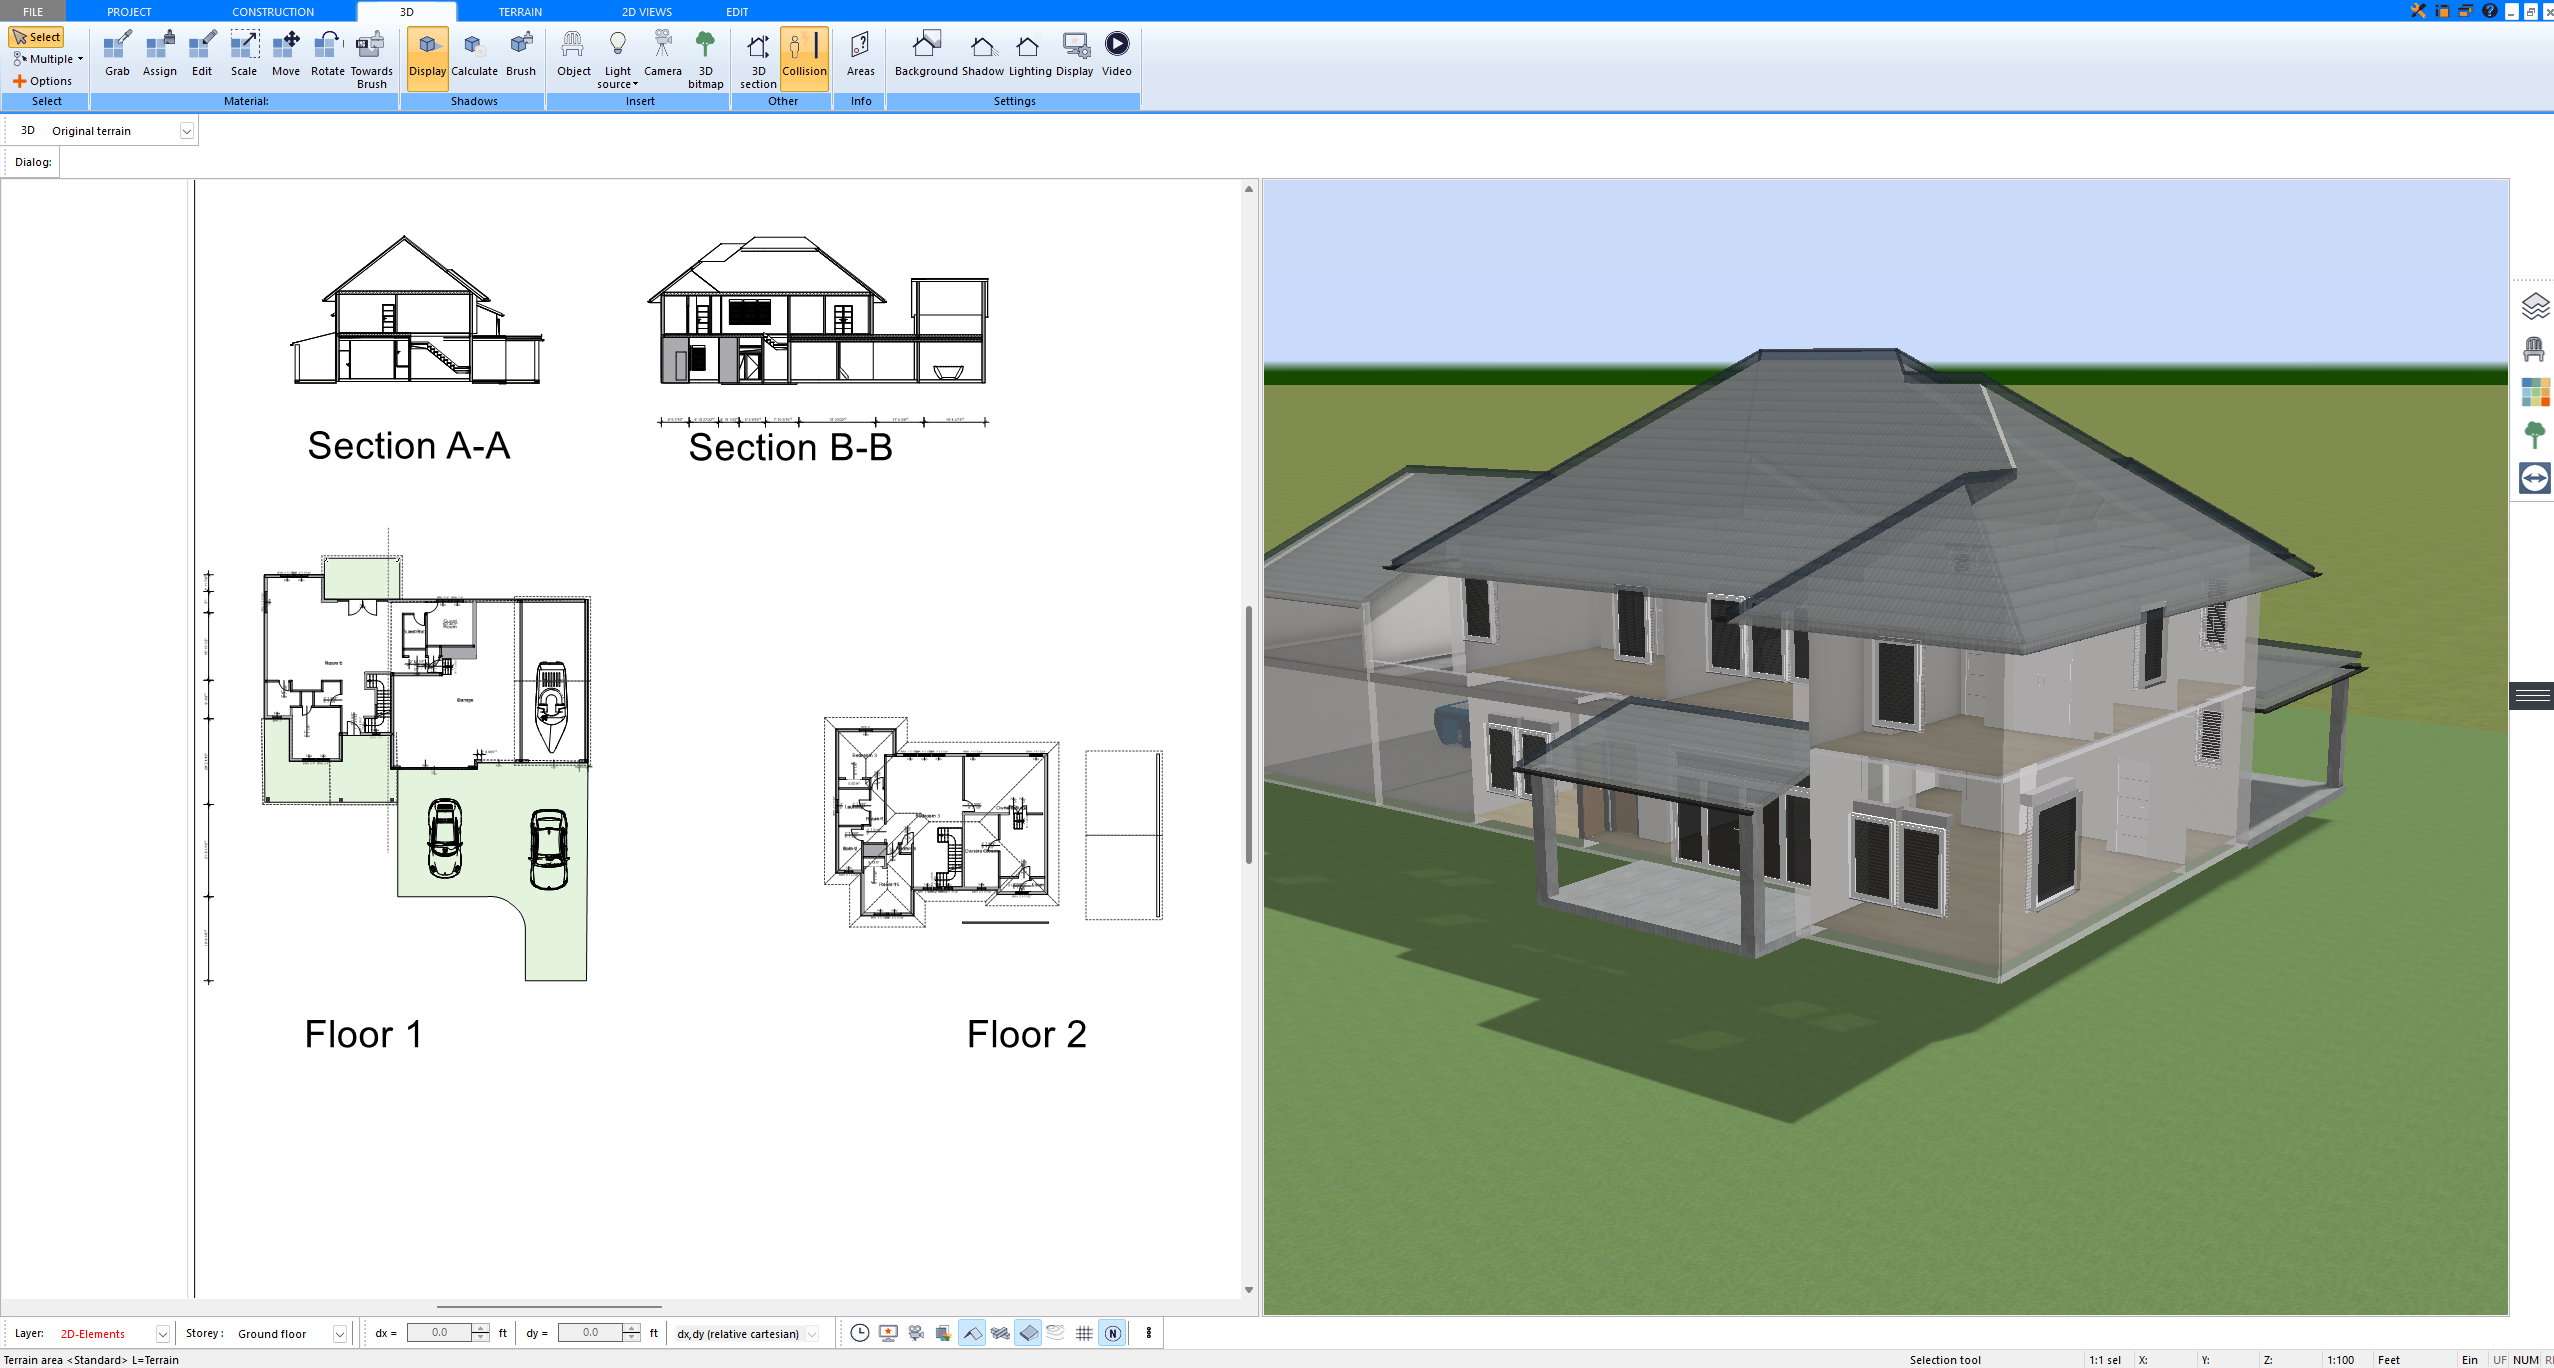
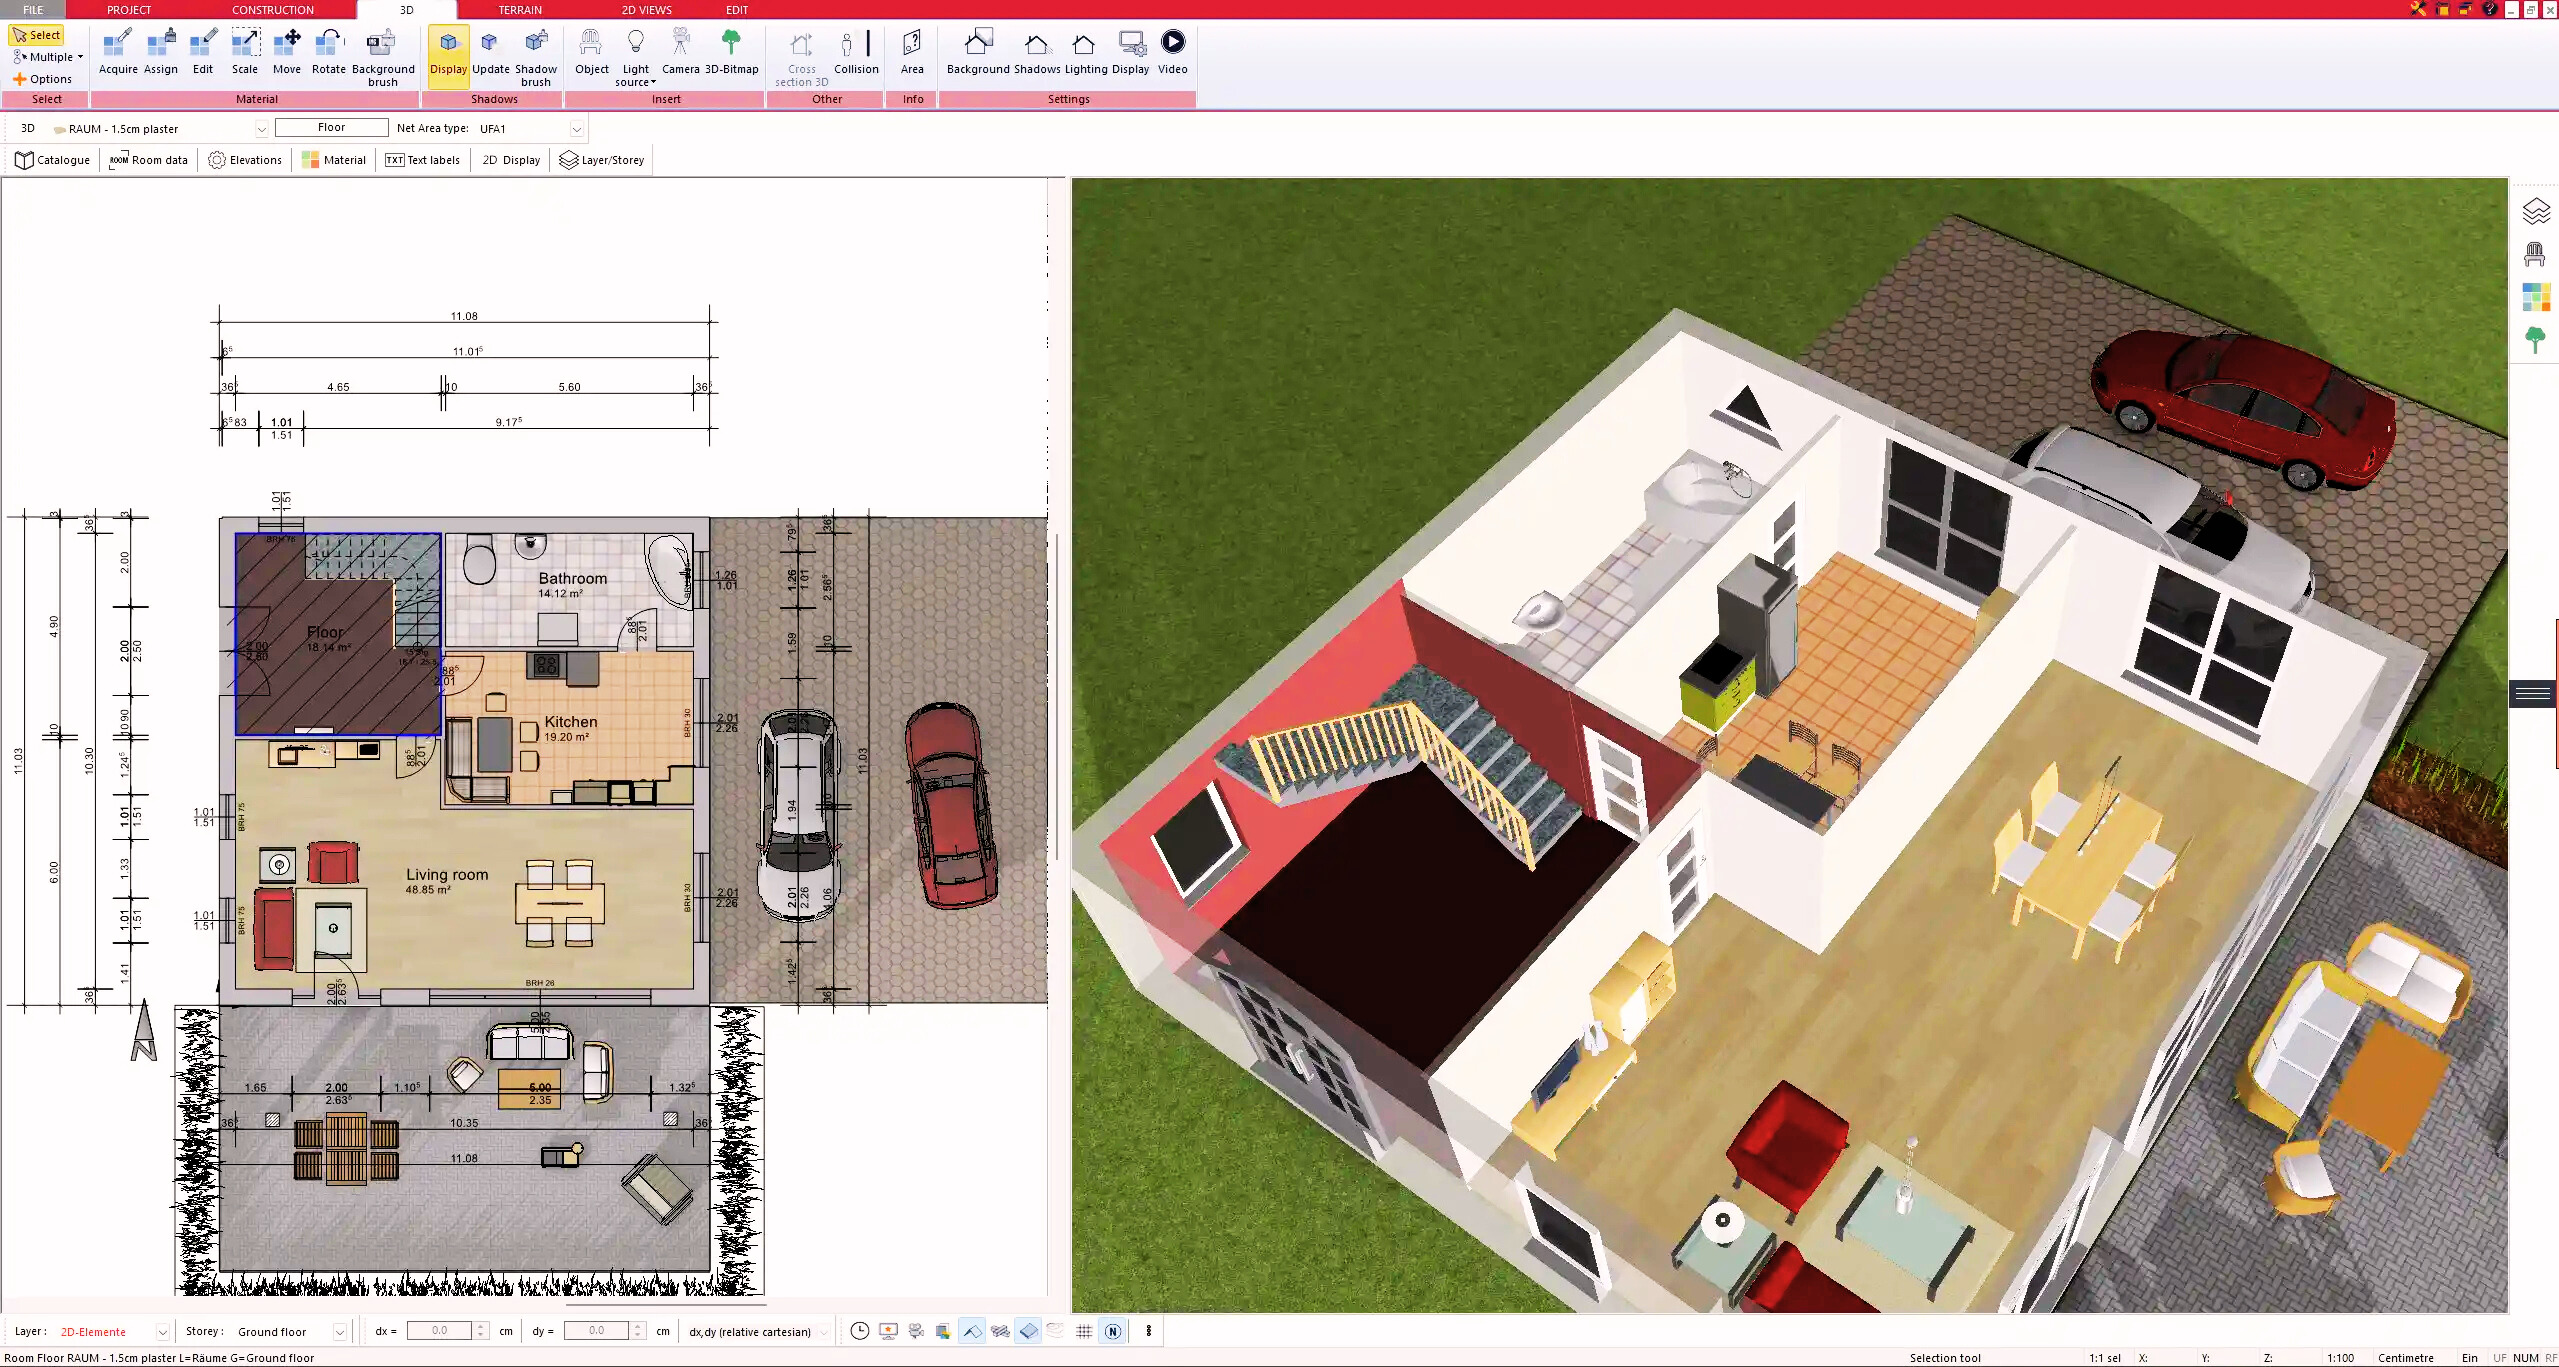
With Plan7Architect Pro, you can turn the updated floor plan into a 3D planning project. This helps you see room proportions, openings, stairs, furniture, windows, and how the renovation may feel after the changes.
This is especially helpful when the old plan is difficult to understand or when several people need to discuss the project.
A 3D model can also make it easier to explain the renovation to contractors, family members, or clients.
Step 11: Prepare the Updated Plan for Contractors
Before speaking with contractors, prepare a clean version of the updated plan.
It should show:
- The current layout
- Correct room dimensions
- Doors and windows
- Stairs
- Important fixed elements
- Proposed changes
- Notes about uncertain areas
- Walls that may need structural review
- Optional design ideas
This makes the first contractor meeting much more productive.
Instead of explaining everything verbally, you can show the updated existing plan and the proposed renovation version. The contractor can then give more useful feedback and identify technical questions earlier.
Common Mistakes to Avoid
When updating an old floor plan, avoid these mistakes:
- Trusting the old plan without checking the real house
- Forgetting previous renovations
- Not measuring current room sizes
- Ignoring door and window changes
- Using a scanned plan without correcting the scale
- Forgetting wall thickness
- Not marking uncertain areas
- Mixing existing and proposed changes in one confusing drawing
- Assuming the updated plan is automatically permit-ready
The goal is not to create a perfect construction document immediately. The goal is to create a reliable current plan that can be used as a strong base for renovation planning.
Final Answer: How Do You Update an Old Floor Plan Before Renovating?
To update an old floor plan before renovating, first compare the plan with the real house, measure the current layout, mark all changes, and correct inaccurate or outdated information. Then recreate or trace the plan digitally, adjust the scale, add missing details, and create a separate proposed renovation version.
With Plan7Architect Pro, you can import or recreate the old plan, update it with real measurements, create a clean 2D floor plan, view the project in 3D, and prepare clearer drawings for contractors or renovation planning.
An old floor plan is a useful starting point. An updated floor plan is what you actually need before renovating.
Plan your project with Plan7Architect
Plan7Architect Pro 5 for $169.99
You don’t need any prior experience because the software has been specifically designed for beginners. The planning process is carried out in 5 simple steps:
1. Draw Walls
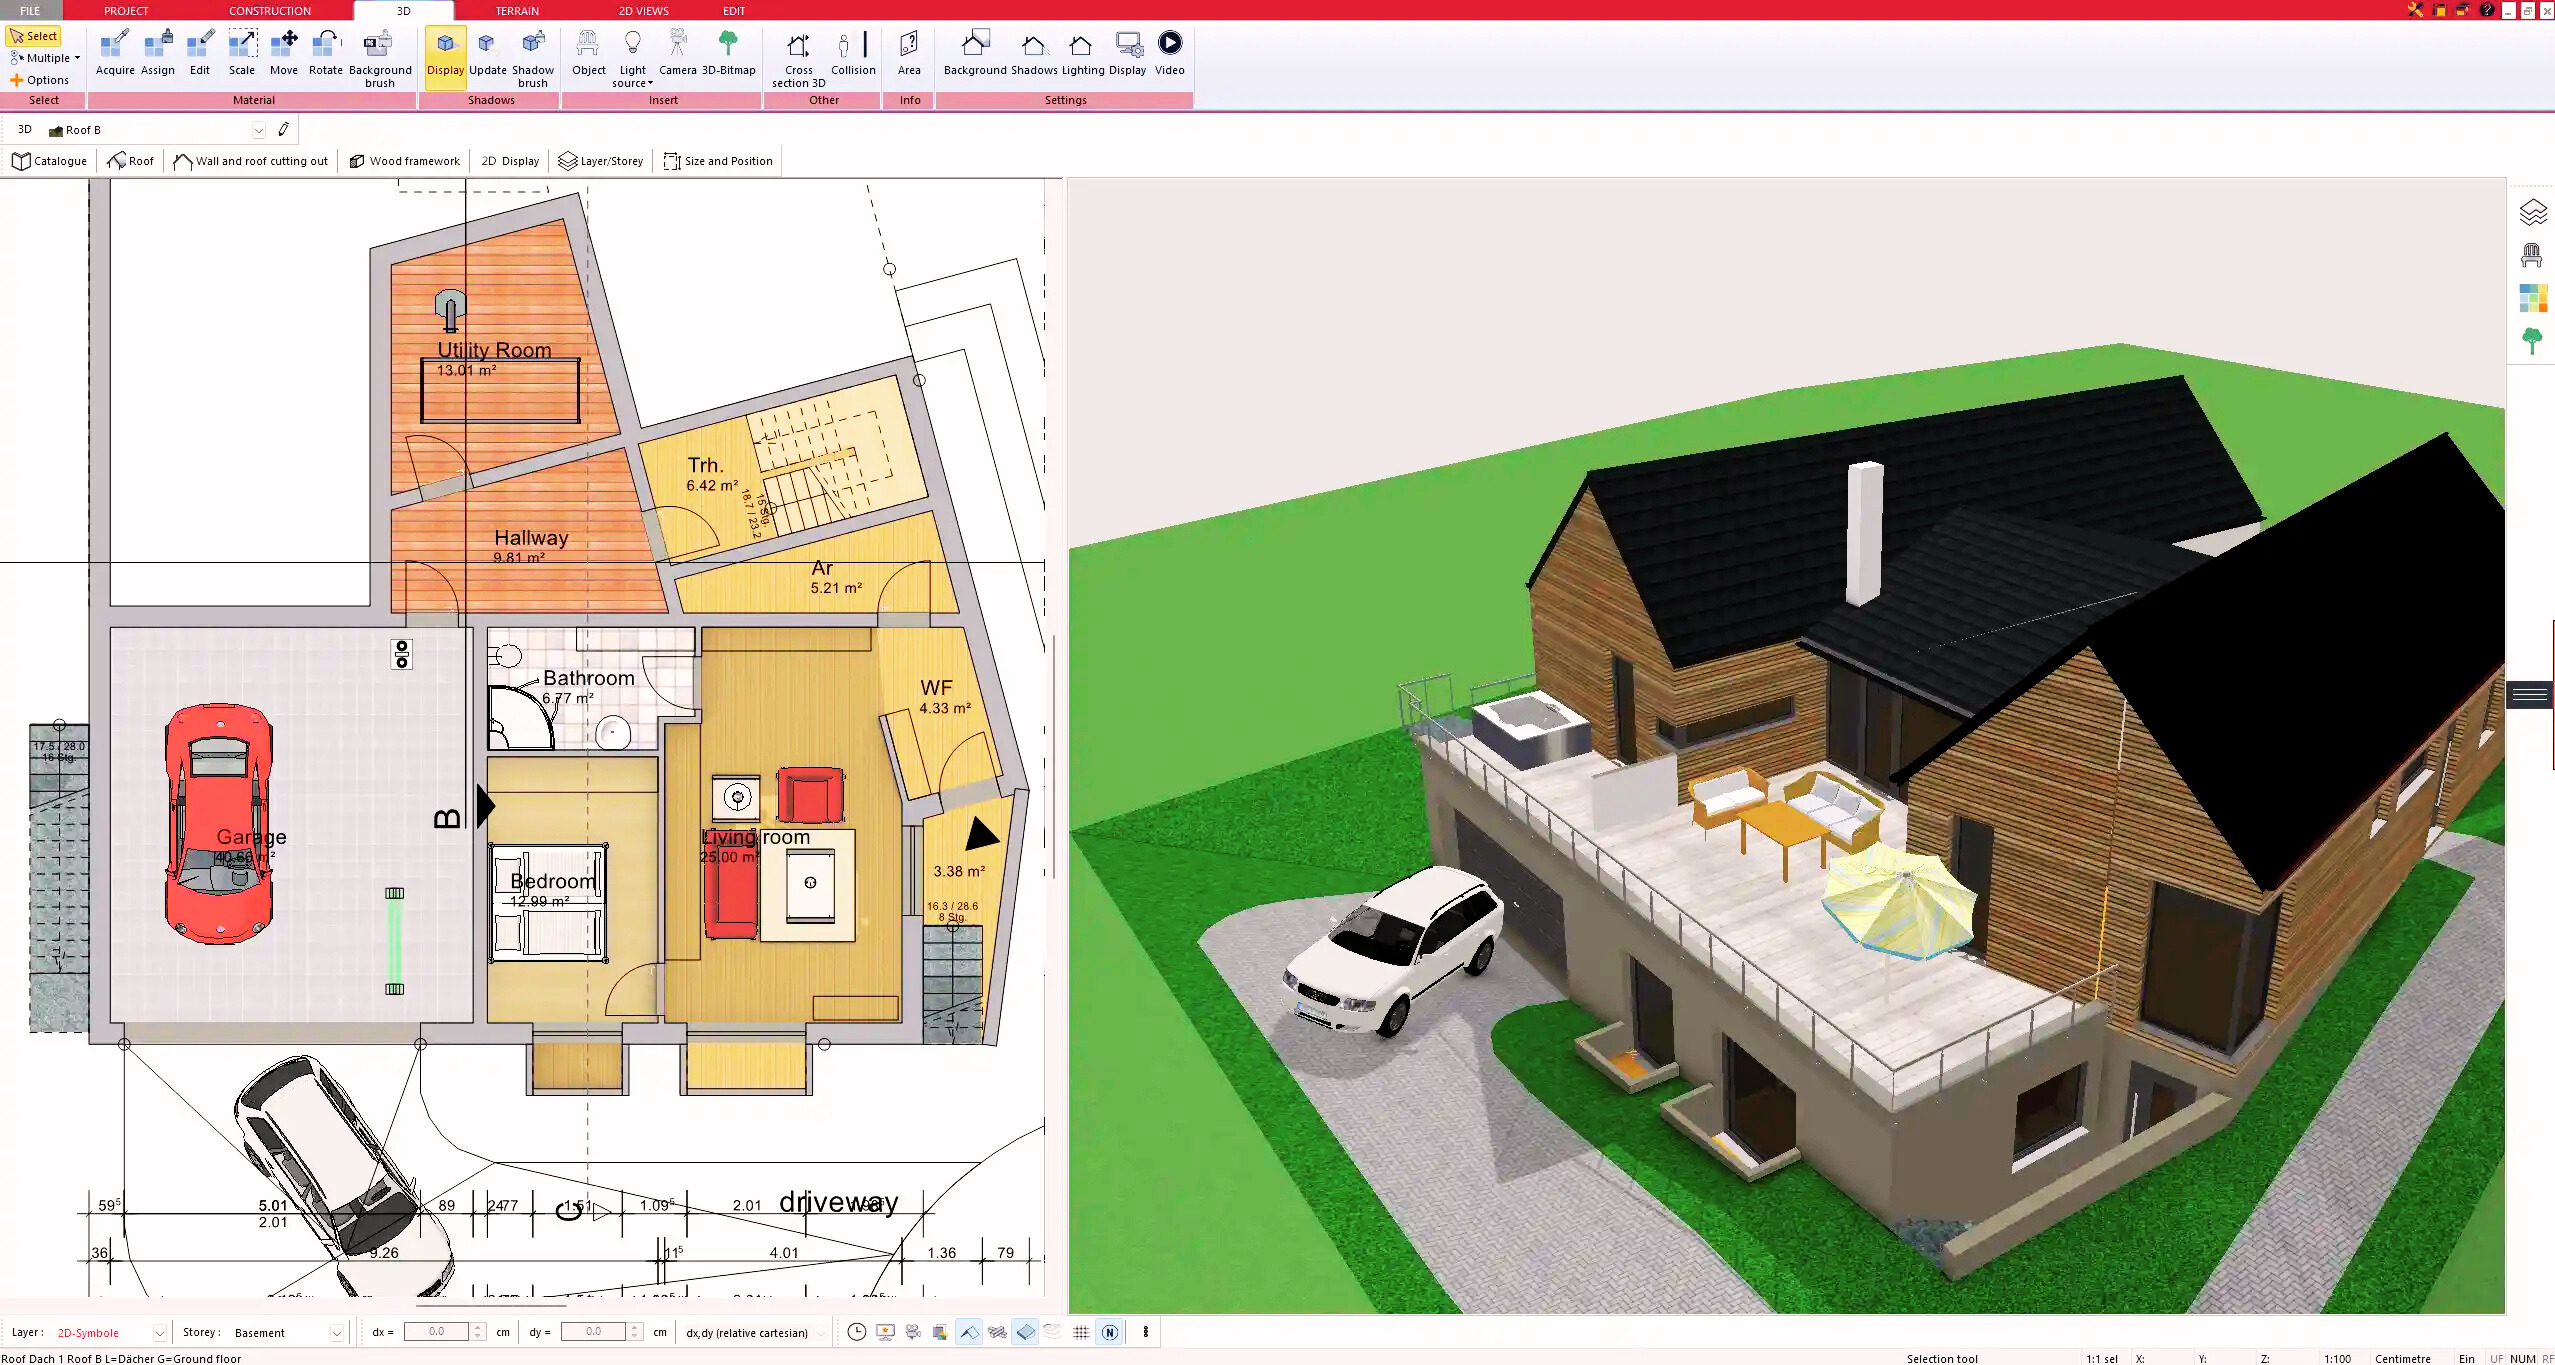
2. Windows & Doors
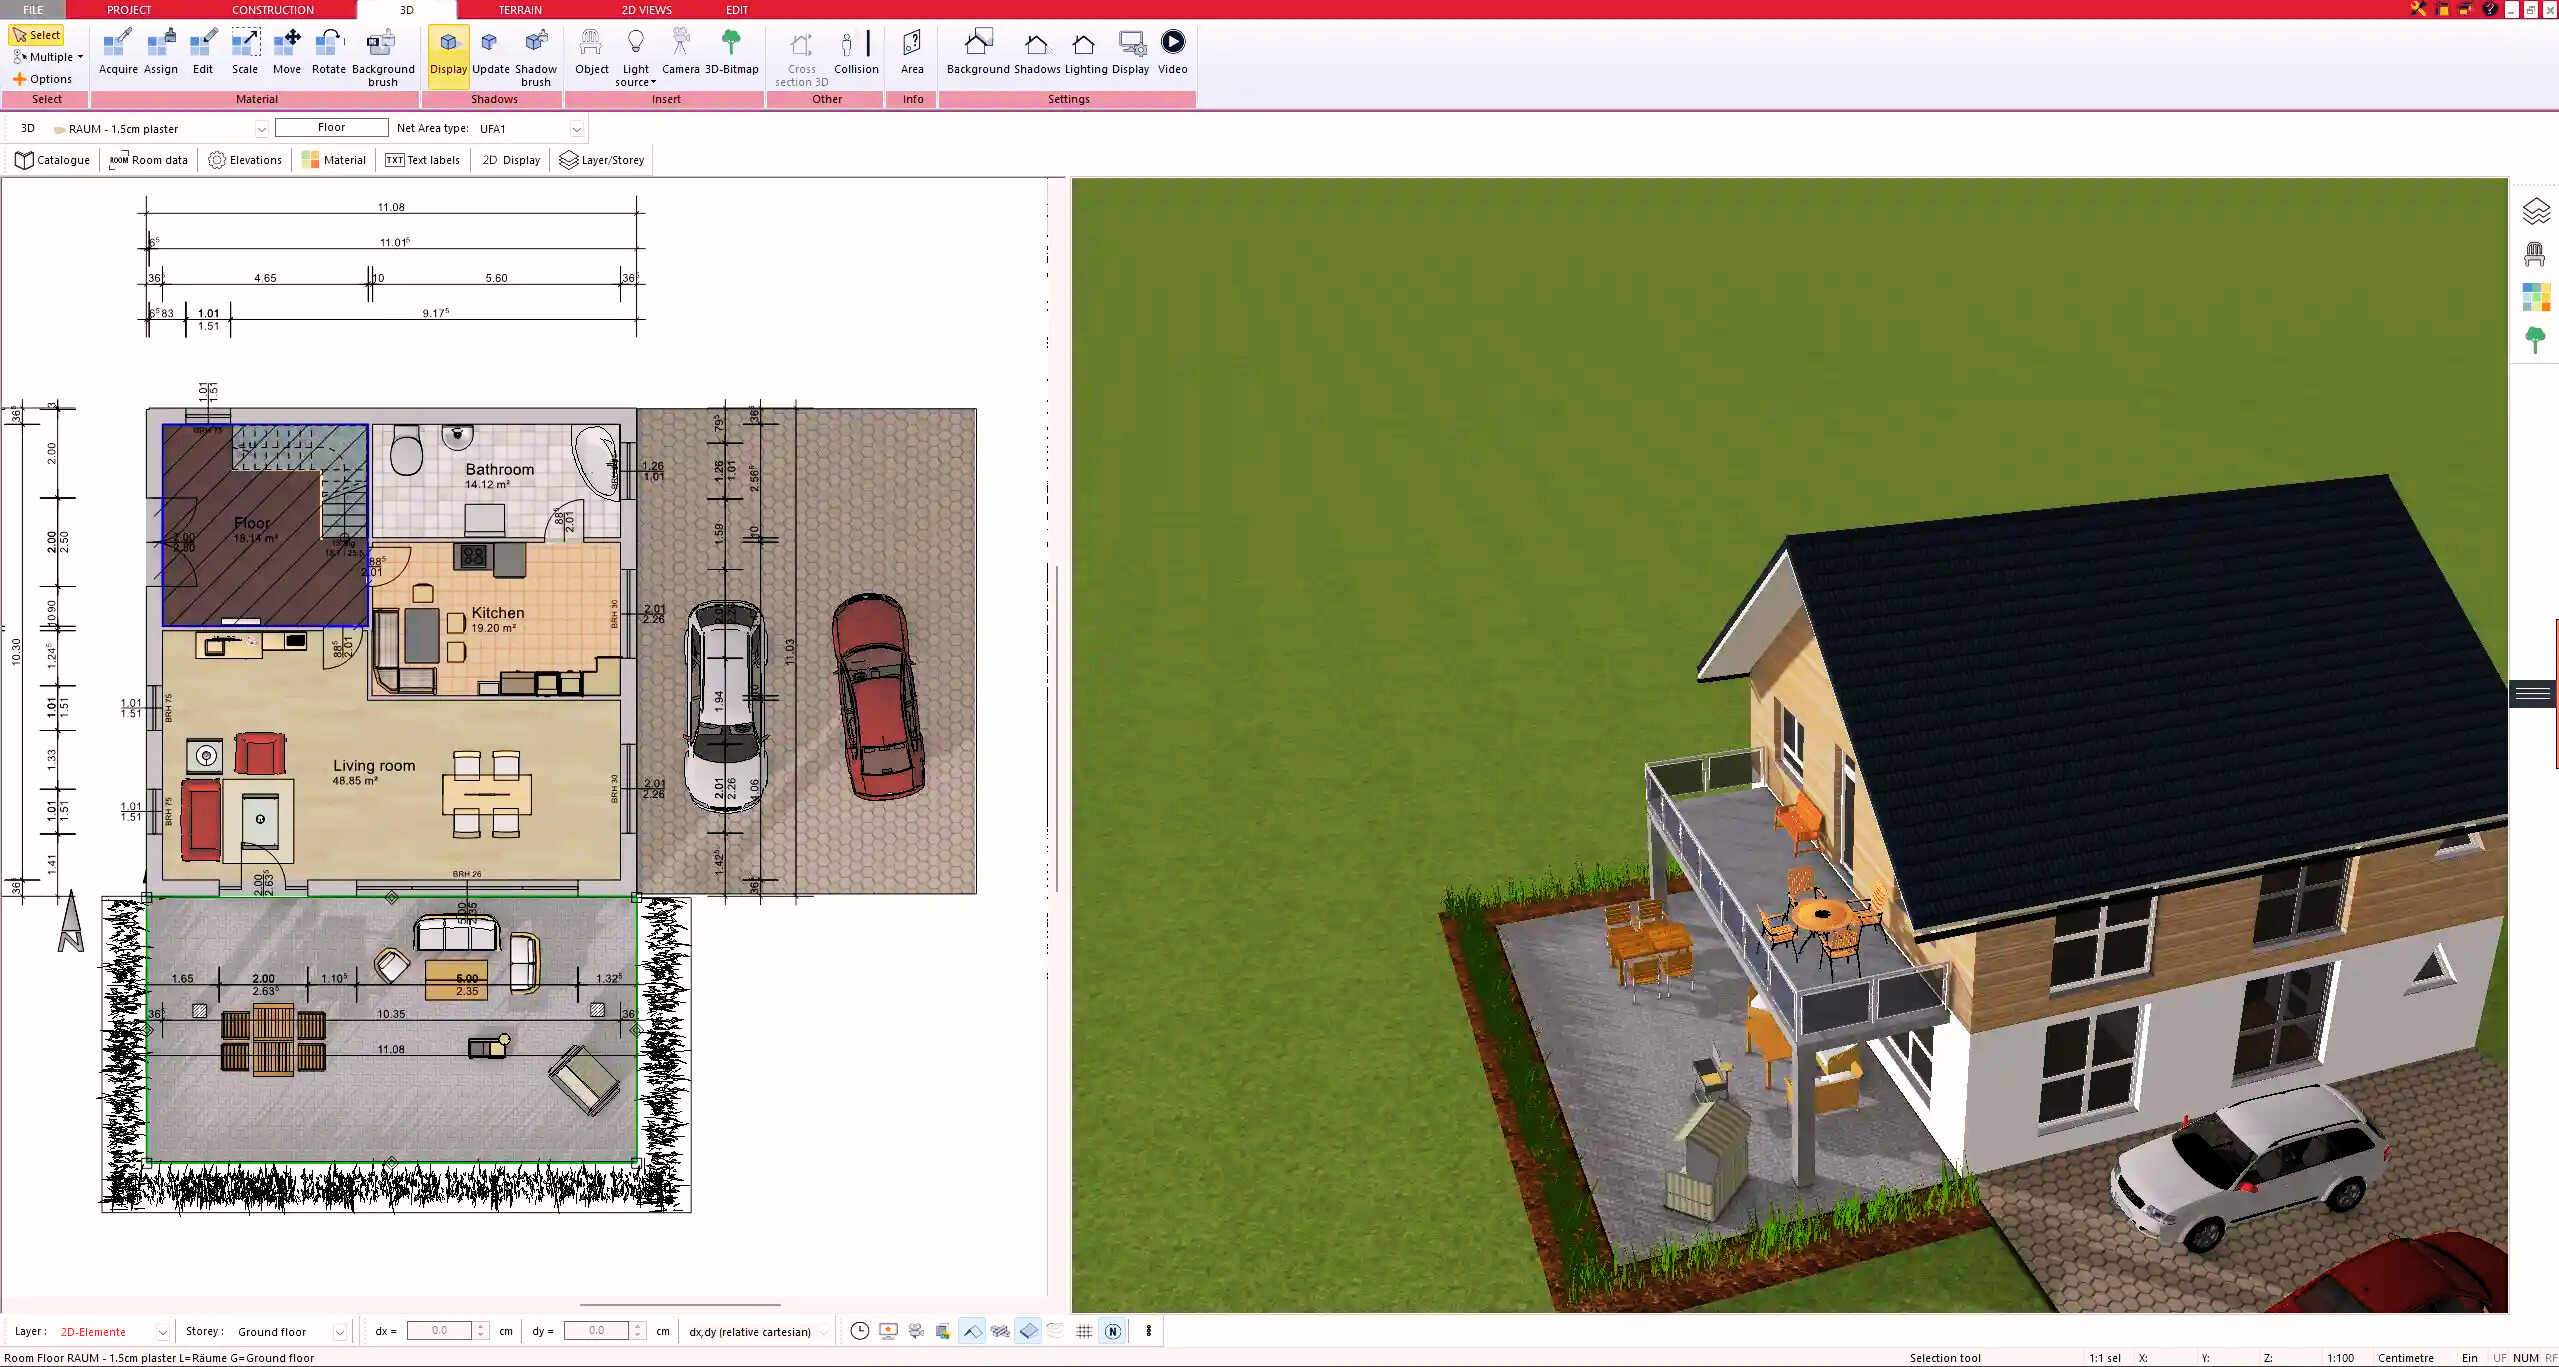
3. Floors & Roof
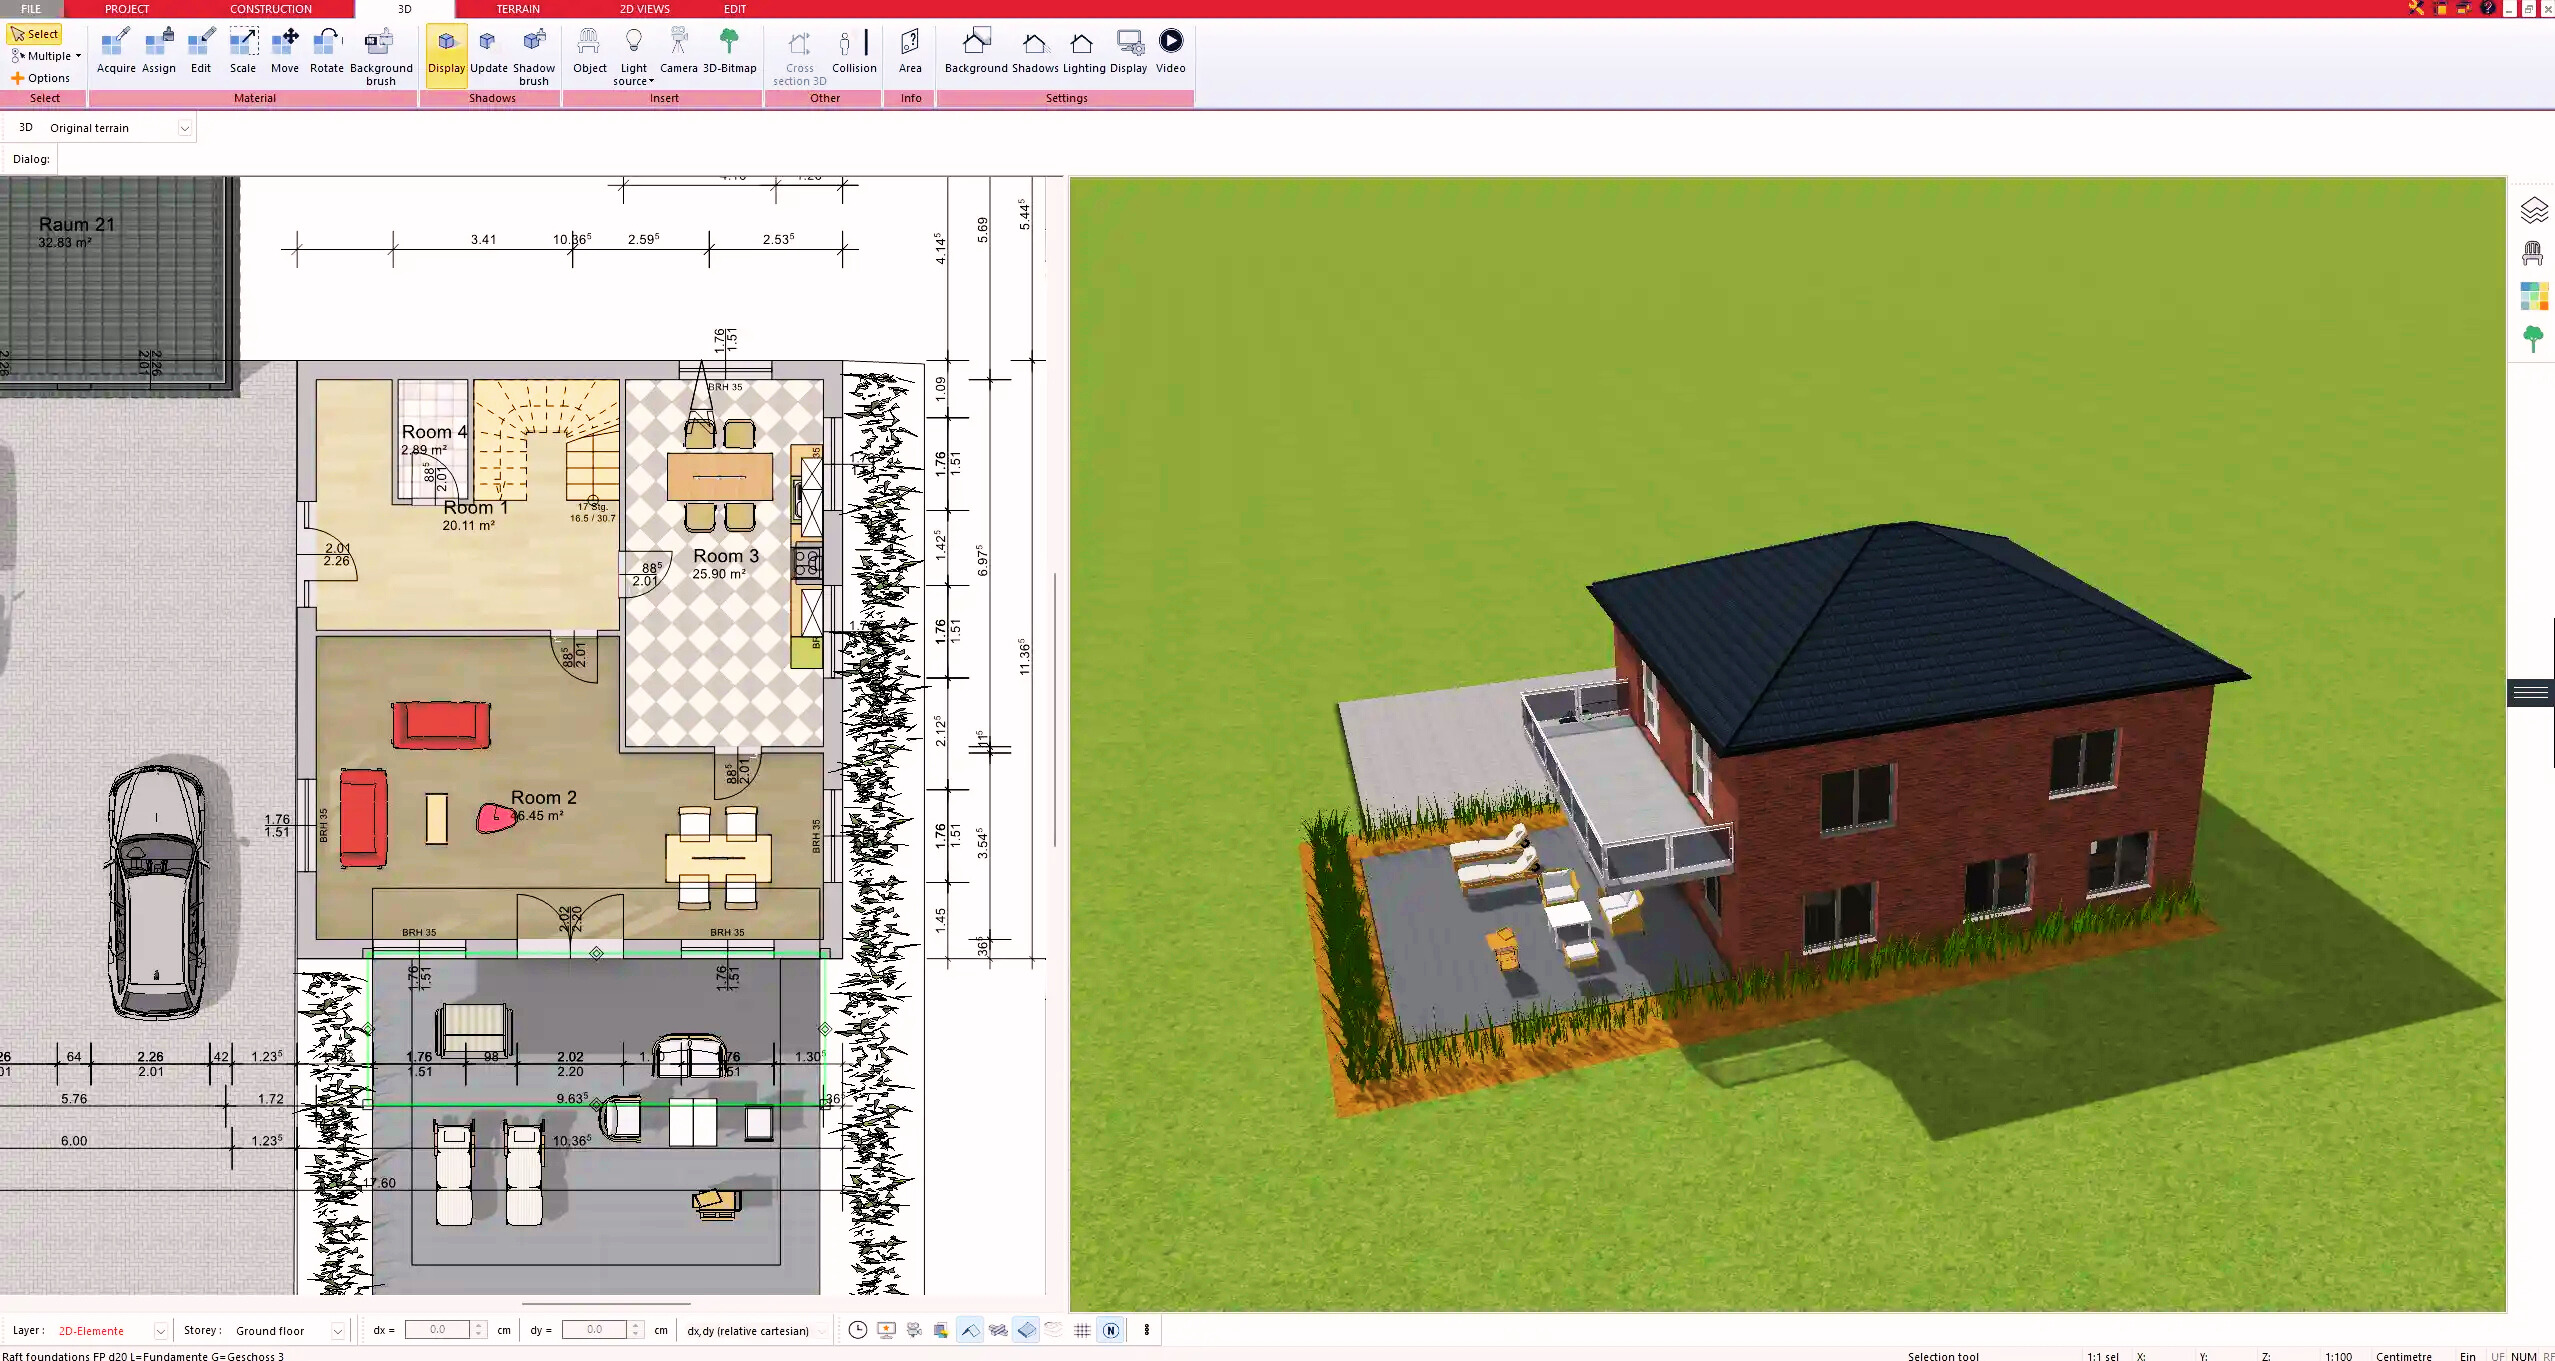
4. Textures & 3D Objects
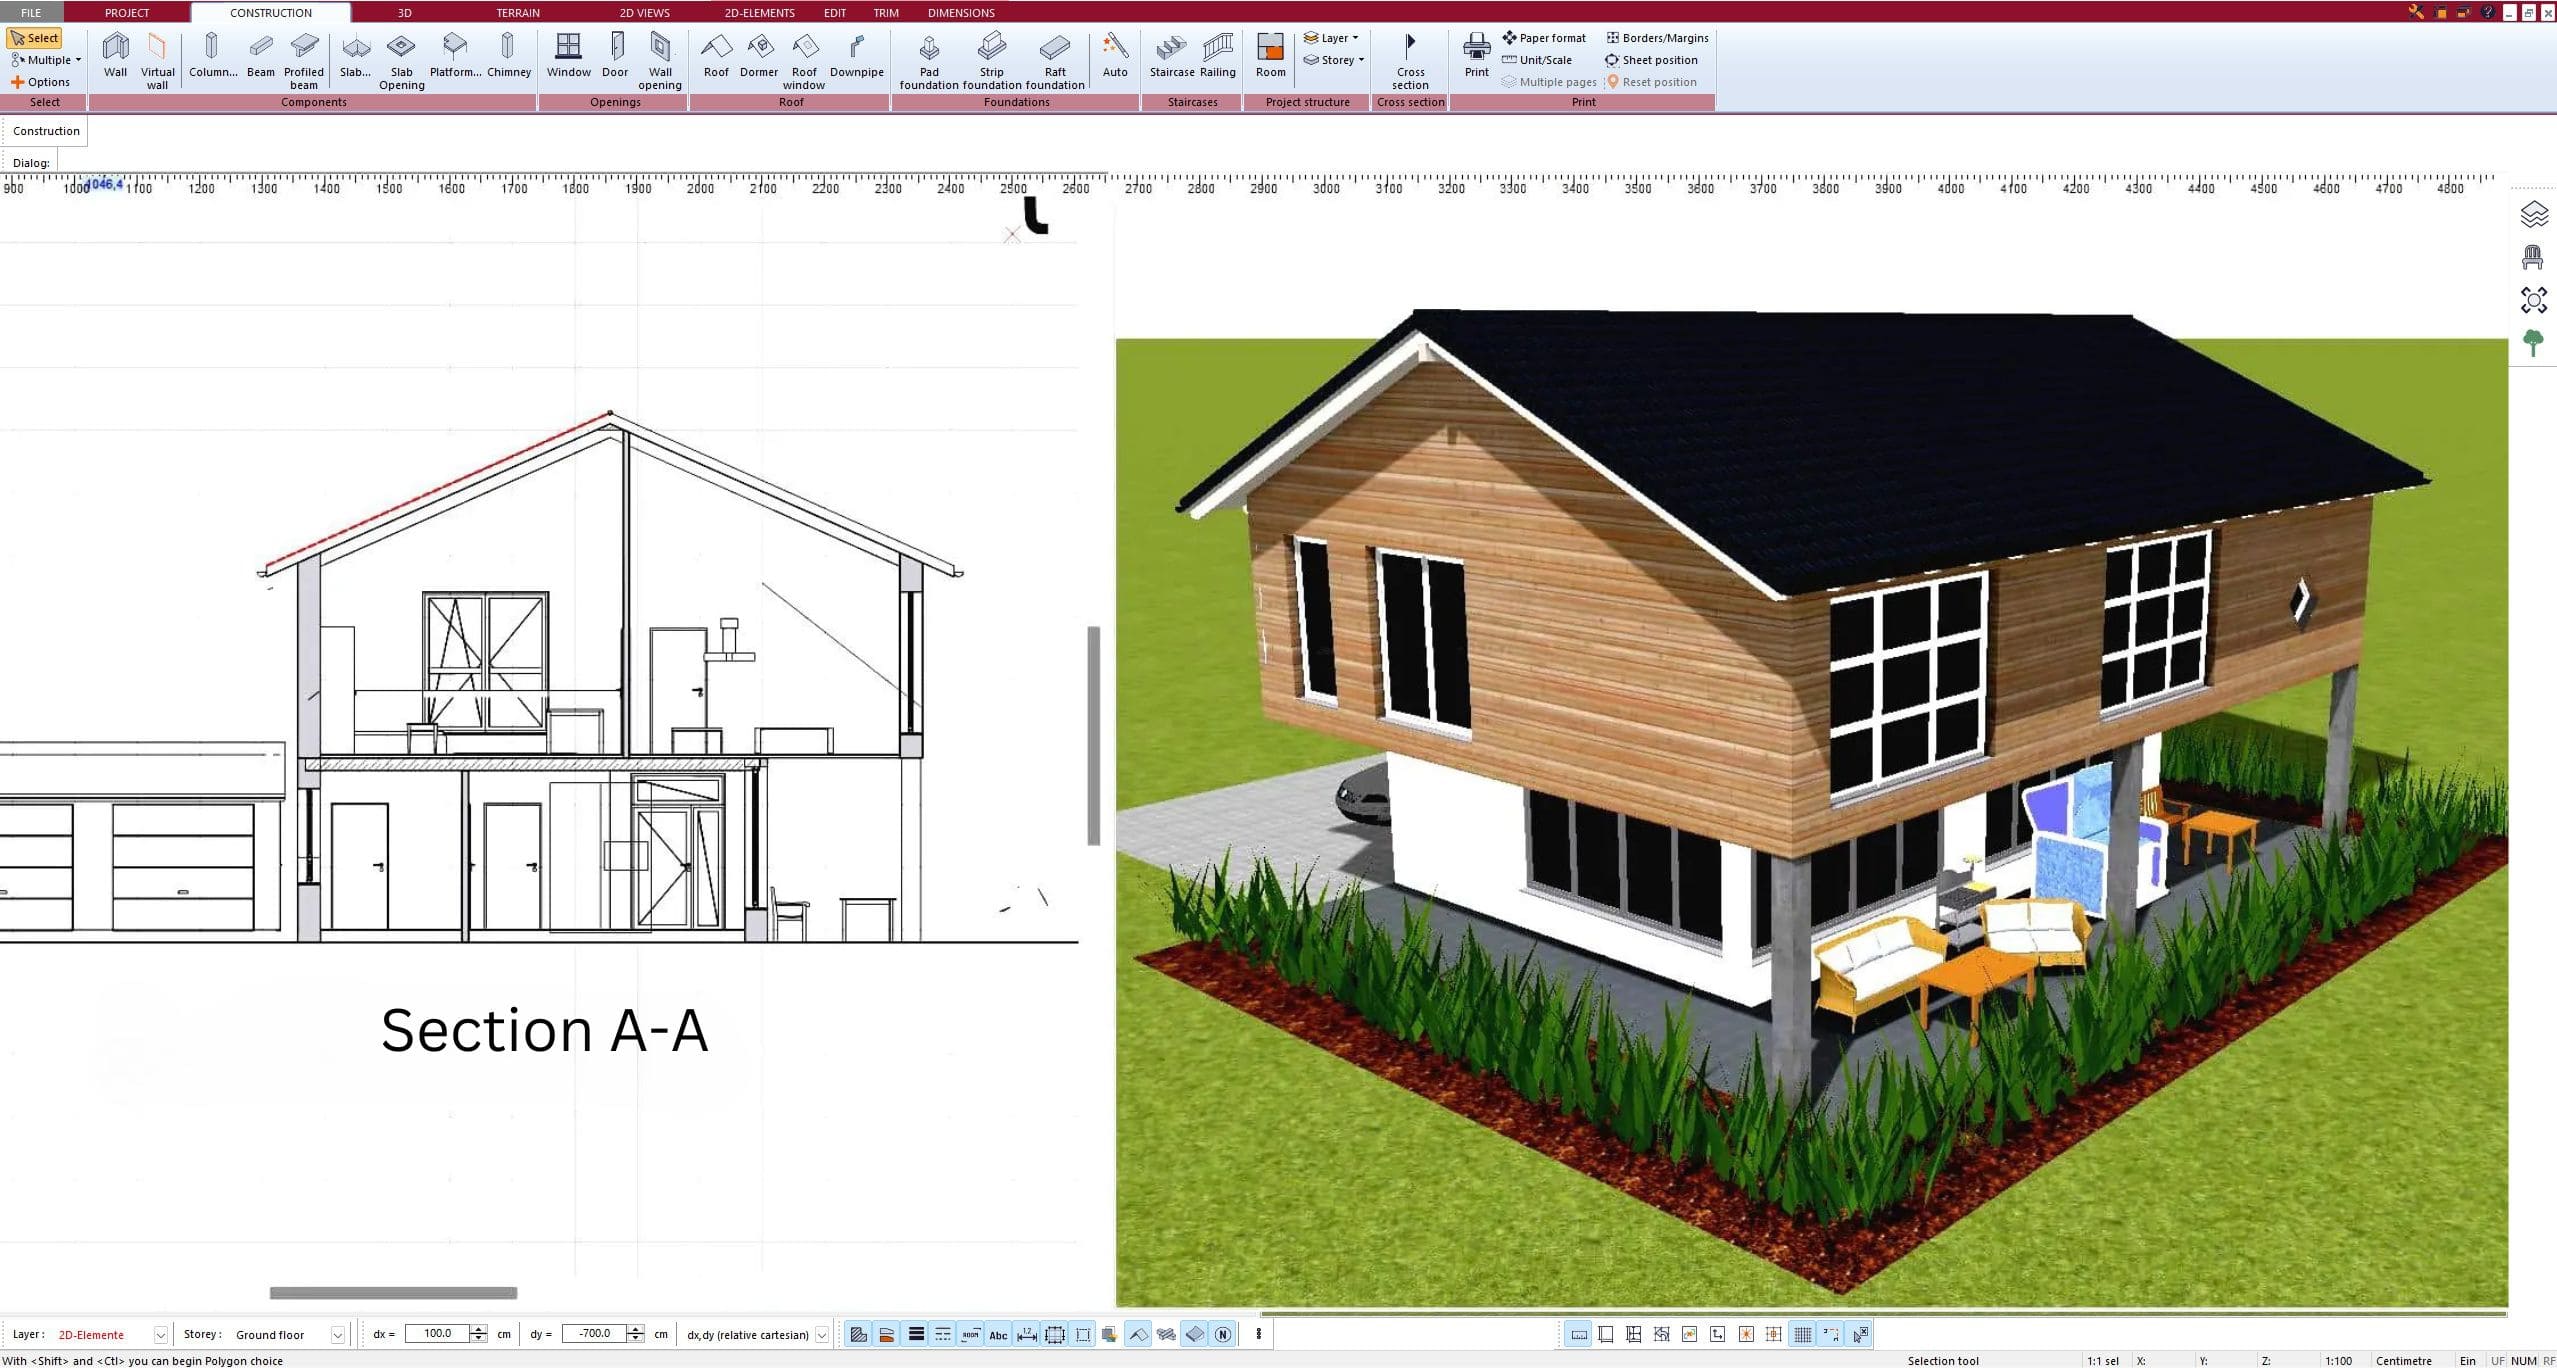
5. Plan for the Building Permit
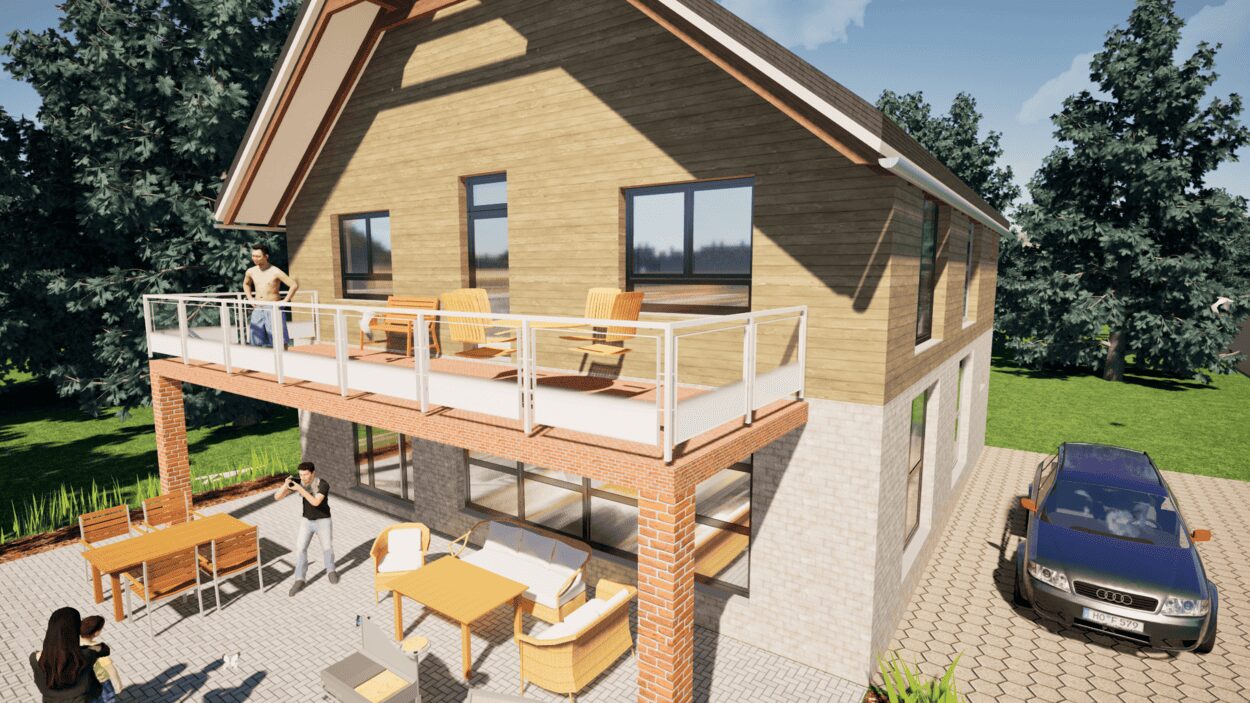
6. Export the Floor Plan as a 3D Model for Twinmotion
- – Compliant with international construction standards
- – Usable on 3 PCs simultaneously
- – Option for consultation with an architect
- – Comprehensive user manual
- – Regular updates
- – Video tutorials
- – Millions of 3D objects available
Why Thousands of Builders Prefer Plan7Architect
Why choose Plan7Architect over other home design tools?