When you want to create a staircase in your floor plan using Plan7Architect, the process is straightforward and fast. First, open the software and select the staircase tool from the catalog. You will immediately see various staircase types available, such as straight staircases, L-shaped staircases, U-shaped staircases, spiral staircases, and more.
Choose the staircase design that fits your project and click to place it into your plan. After that, you can enter the exact dimensions: floor-to-floor height, stair width, riser height, tread depth, and number of steps. Plan7Architect supports both metric units (meters, centimeters) and imperial units (feet, inches), so you can freely use the measurement system that suits your project or location.
Once you input the critical data, Plan7Architect automatically calculates the number of steps, riser height, and tread depth for you. You can then easily adjust the staircase visually in your 2D plan and immediately check the result in the 3D view. This way, you can precisely design and position your staircase within minutes without complicated calculations.
Step-by-Step: Planning a Staircase with Plan7Architect
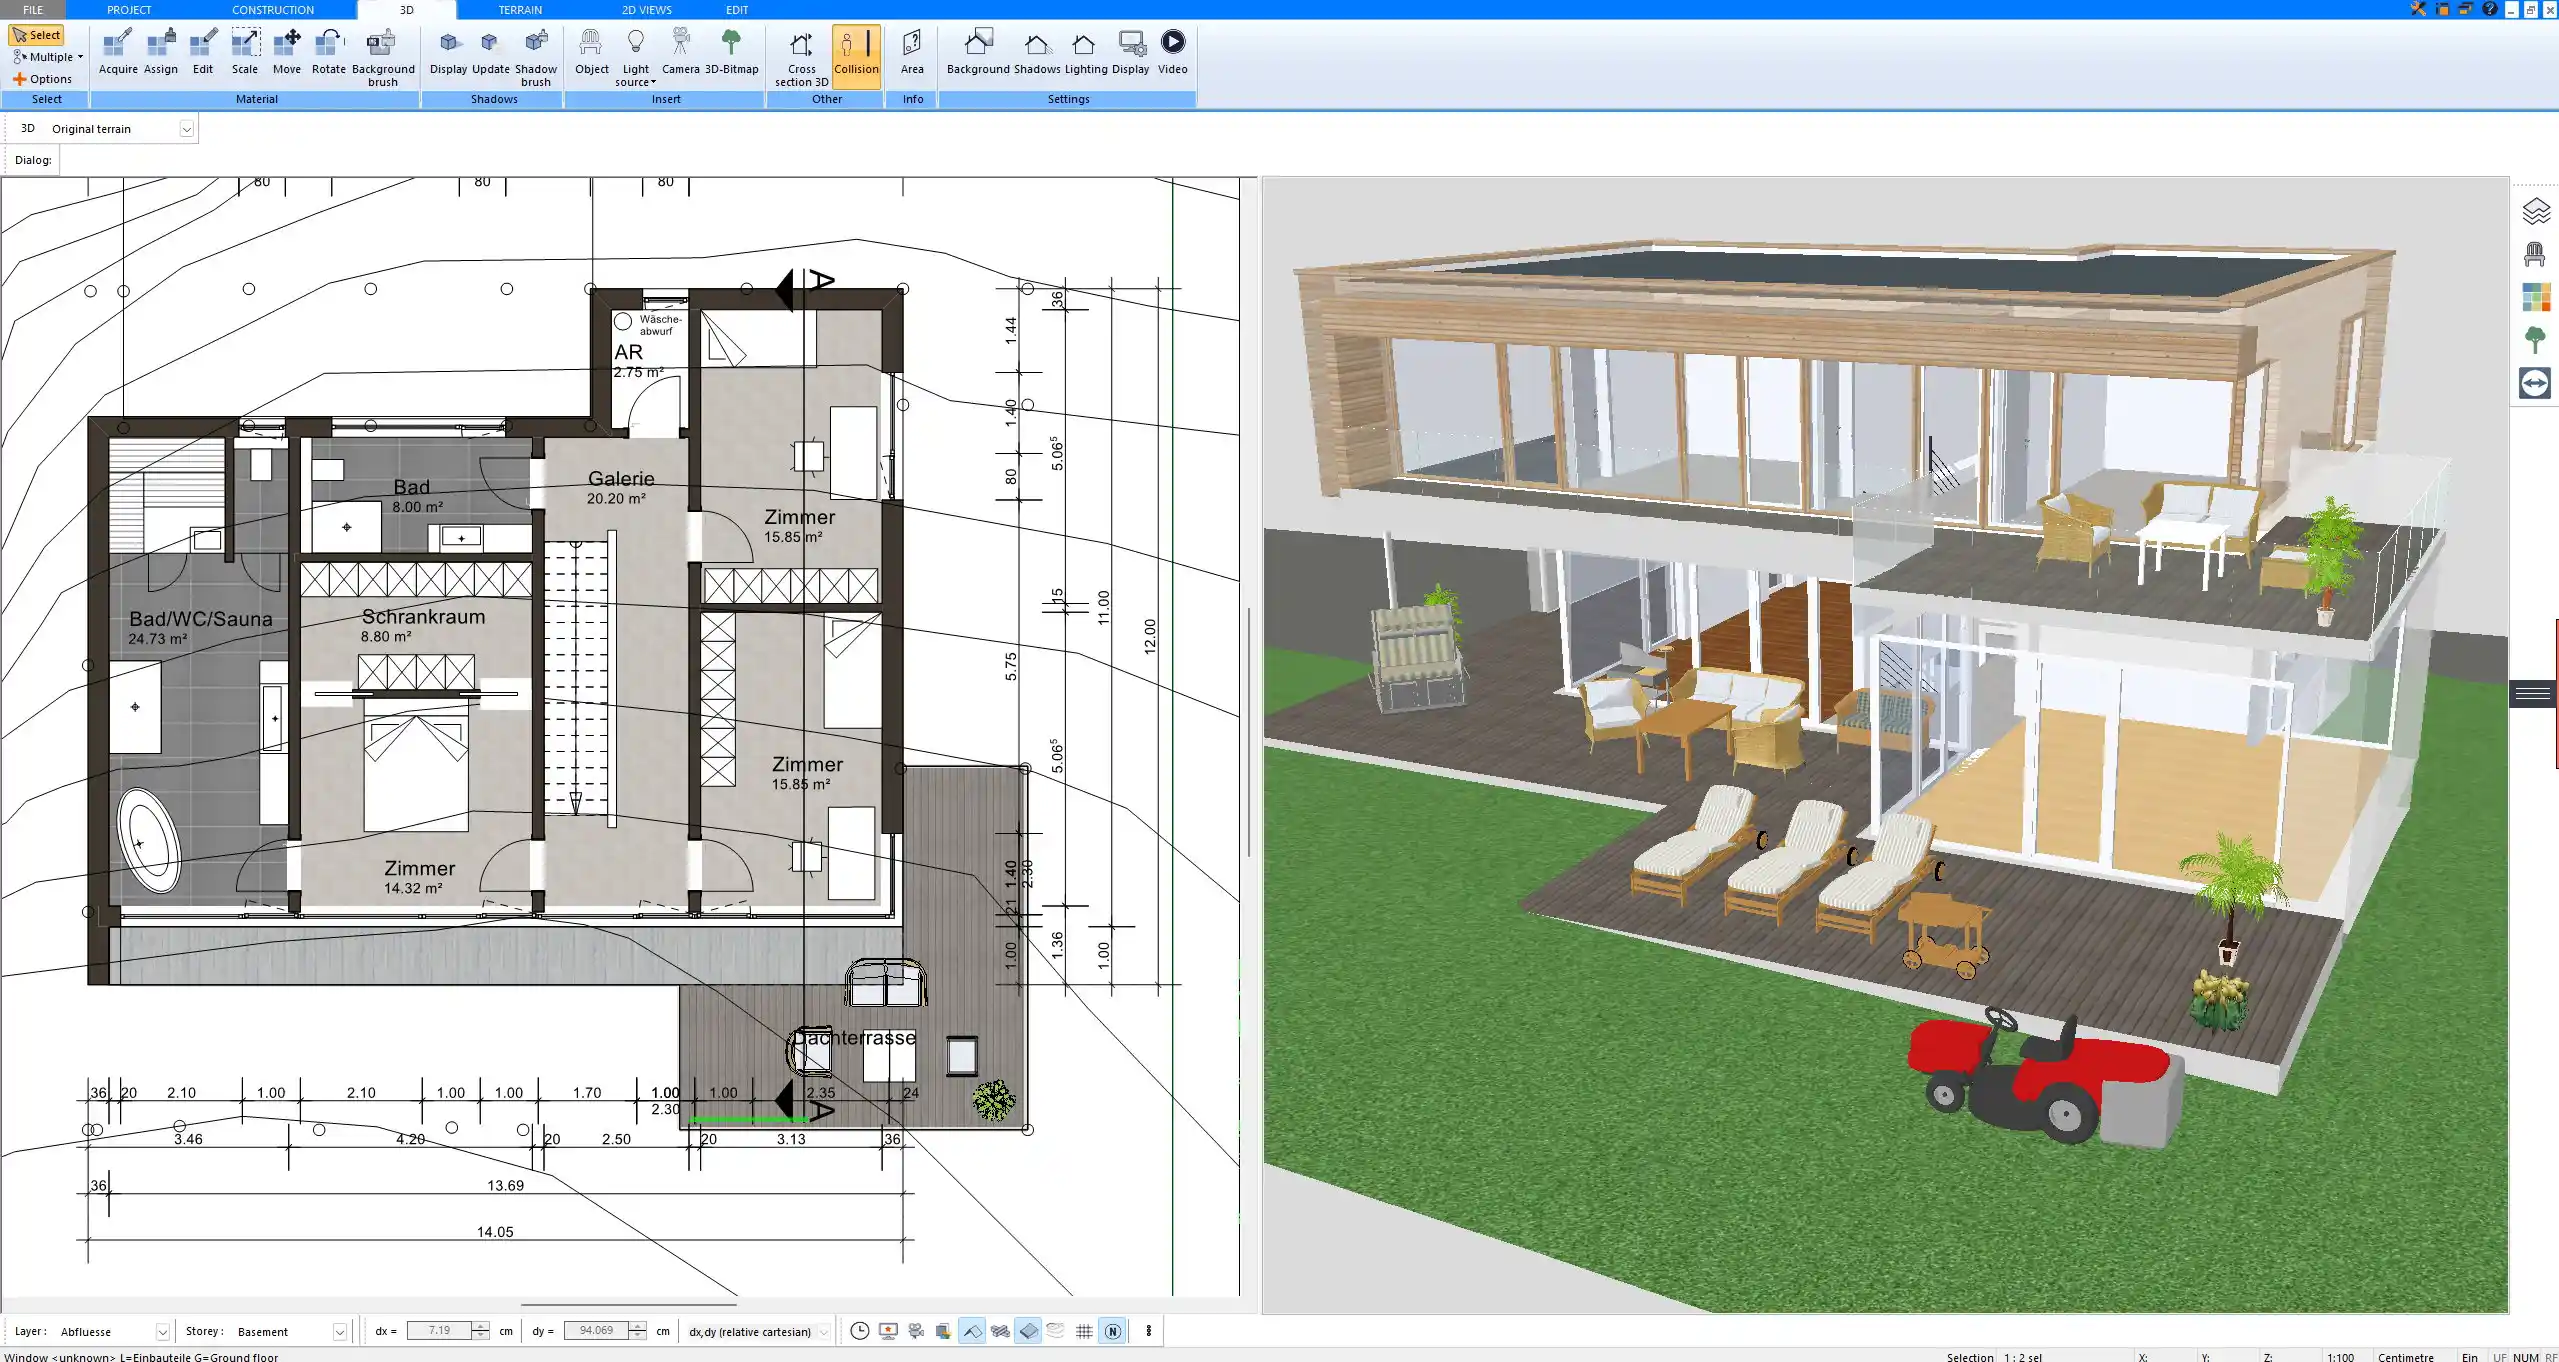
2D Floor Plan Setup
Before you insert a staircase, it is essential to make sure your 2D floor plan is properly prepared. Begin by setting up the base floor and the upper floor. Always define the exact floor-to-floor height, as this value is crucial for the correct calculation of the staircase.
To define the floor-to-floor height:
-
Select the floor properties in Plan7Architect
-
Enter the vertical distance between the finished floors (e.g., 2.80 meters or 9 feet 2 inches)
This ensures that when you place a staircase, it automatically calculates based on real construction parameters.
Selecting and Configuring the Staircase
Once your floor levels are set, open the staircase library. Plan7Architect offers a wide range of staircase models:
-
Straight staircase
-
Quarter-turn staircase (L-shaped)
-
Half-turn staircase (U-shaped)
-
Spiral staircase
-
Helical staircase
After selecting your preferred type, click into the drawing area to insert it. A properties window will open where you can configure all parameters manually or leave automatic calculation enabled.
You can modify:
-
Number of steps
-
Step width
-
Step height
-
Stair width
-
Step depth
Thanks to Plan7Architect’s intelligent system, if you change one value, the software automatically adjusts the others to maintain realistic and safe proportions.
Setting Dimensions Correctly
Correctly defining dimensions is crucial for a functional and comfortable staircase. The most important parameters are:
| Parameter | Recommended Range (Metric) | Recommended Range (Imperial) |
|---|---|---|
| Riser height | 17–19 cm | 6.5–7.5 inches |
| Tread depth | 25–30 cm | 10–12 inches |
| Stair width | 80–120 cm | 32–48 inches |
| Headroom height | Minimum 200 cm | Minimum 78 inches |
Make sure to always maintain a comfortable relationship between riser height and tread depth. Plan7Architect provides visual feedback when values fall outside typical comfort ranges.
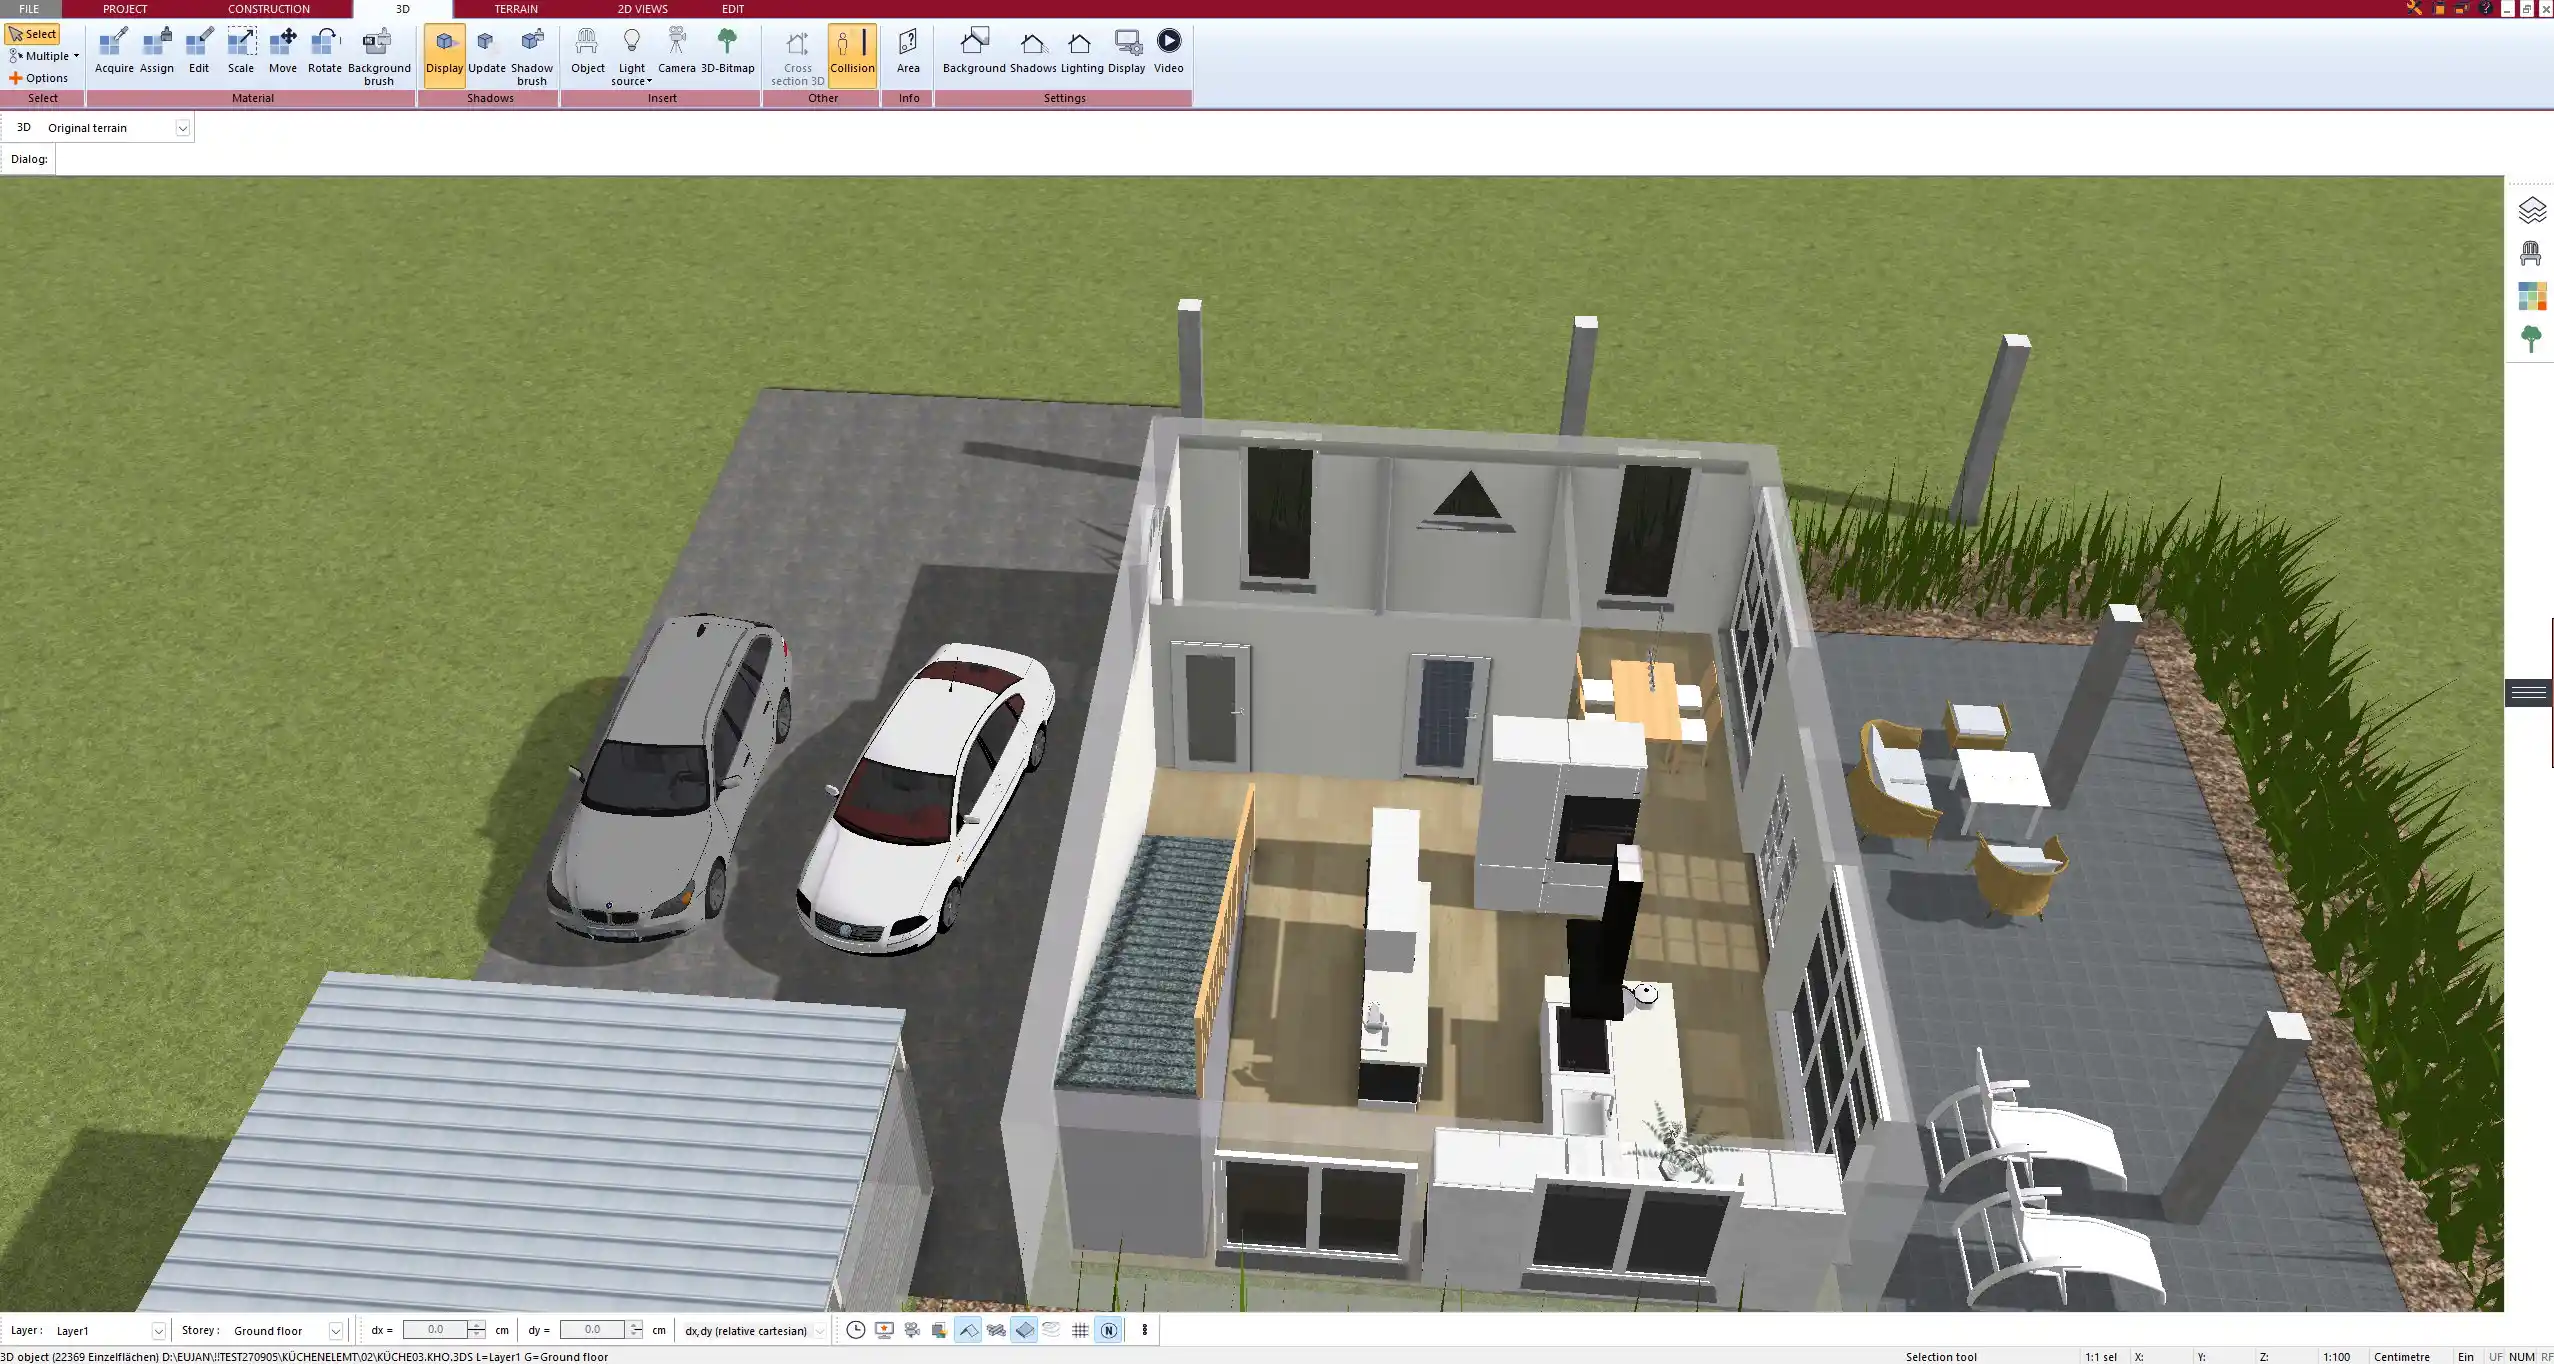
Fine-Tuning and Drawing
After inserting the staircase into the plan, you can move and rotate it freely. Use the snapping tool to align the staircase perfectly with walls or openings. In the 3D view, you can immediately see the staircase in relation to doors, windows, and furniture, ensuring it fits into the space as intended.
What to Watch Out for When Designing a Staircase
A staircase is not just a functional element; it must also meet several safety and design requirements. Here are the key points to keep in mind:
-
Headroom Clearance: Ensure that there is at least 2 meters (78 inches) of vertical space above the staircase to avoid accidents.
-
Angle of Inclination: Ideally, a staircase should have an angle between 30 and 38 degrees for comfortable climbing.
-
Landing Requirements: Staircases that turn (such as L-shaped or U-shaped staircases) must have proper landings. A landing should be at least as wide as the staircase itself.
-
Building Codes: Always verify if your local building regulations require specific dimensions or safety features.
-
Safety Details: Install handrails and ensure steps are clearly visible, especially for staircases in public or heavily used spaces.
Tip:
When designing for children, seniors, or accessibility needs, choose lower risers and deeper treads to make the staircase easier and safer to use.
Special Staircase Tools in Plan7Architect
Plan7Architect offers several powerful tools that make staircase planning efficient and professional:
-
Automatic Step Calculation: Simply enter the total rise, and the program calculates the number of steps and their dimensions.
-
Editable Parameters: You can change any measurement (riser height, tread depth, etc.) at any time, even after placement.
-
Real-Time 3D Preview: Visualize your staircase immediately in a realistic 3D model and make adjustments as needed.
-
Flexible Measurement Units: Switch seamlessly between metric (meters, centimeters) and imperial (feet, inches) units without affecting accuracy.
Thanks to these features, even complex staircase designs can be realized quickly without advanced architectural knowledge.
Practical Tips for Staircase Planning
Successful staircase planning involves more than just technical values. Here are some practical tips based on experience:
-
Prioritize Comfort: A stair with steps that are too steep or too narrow will feel uncomfortable and can become a daily nuisance.
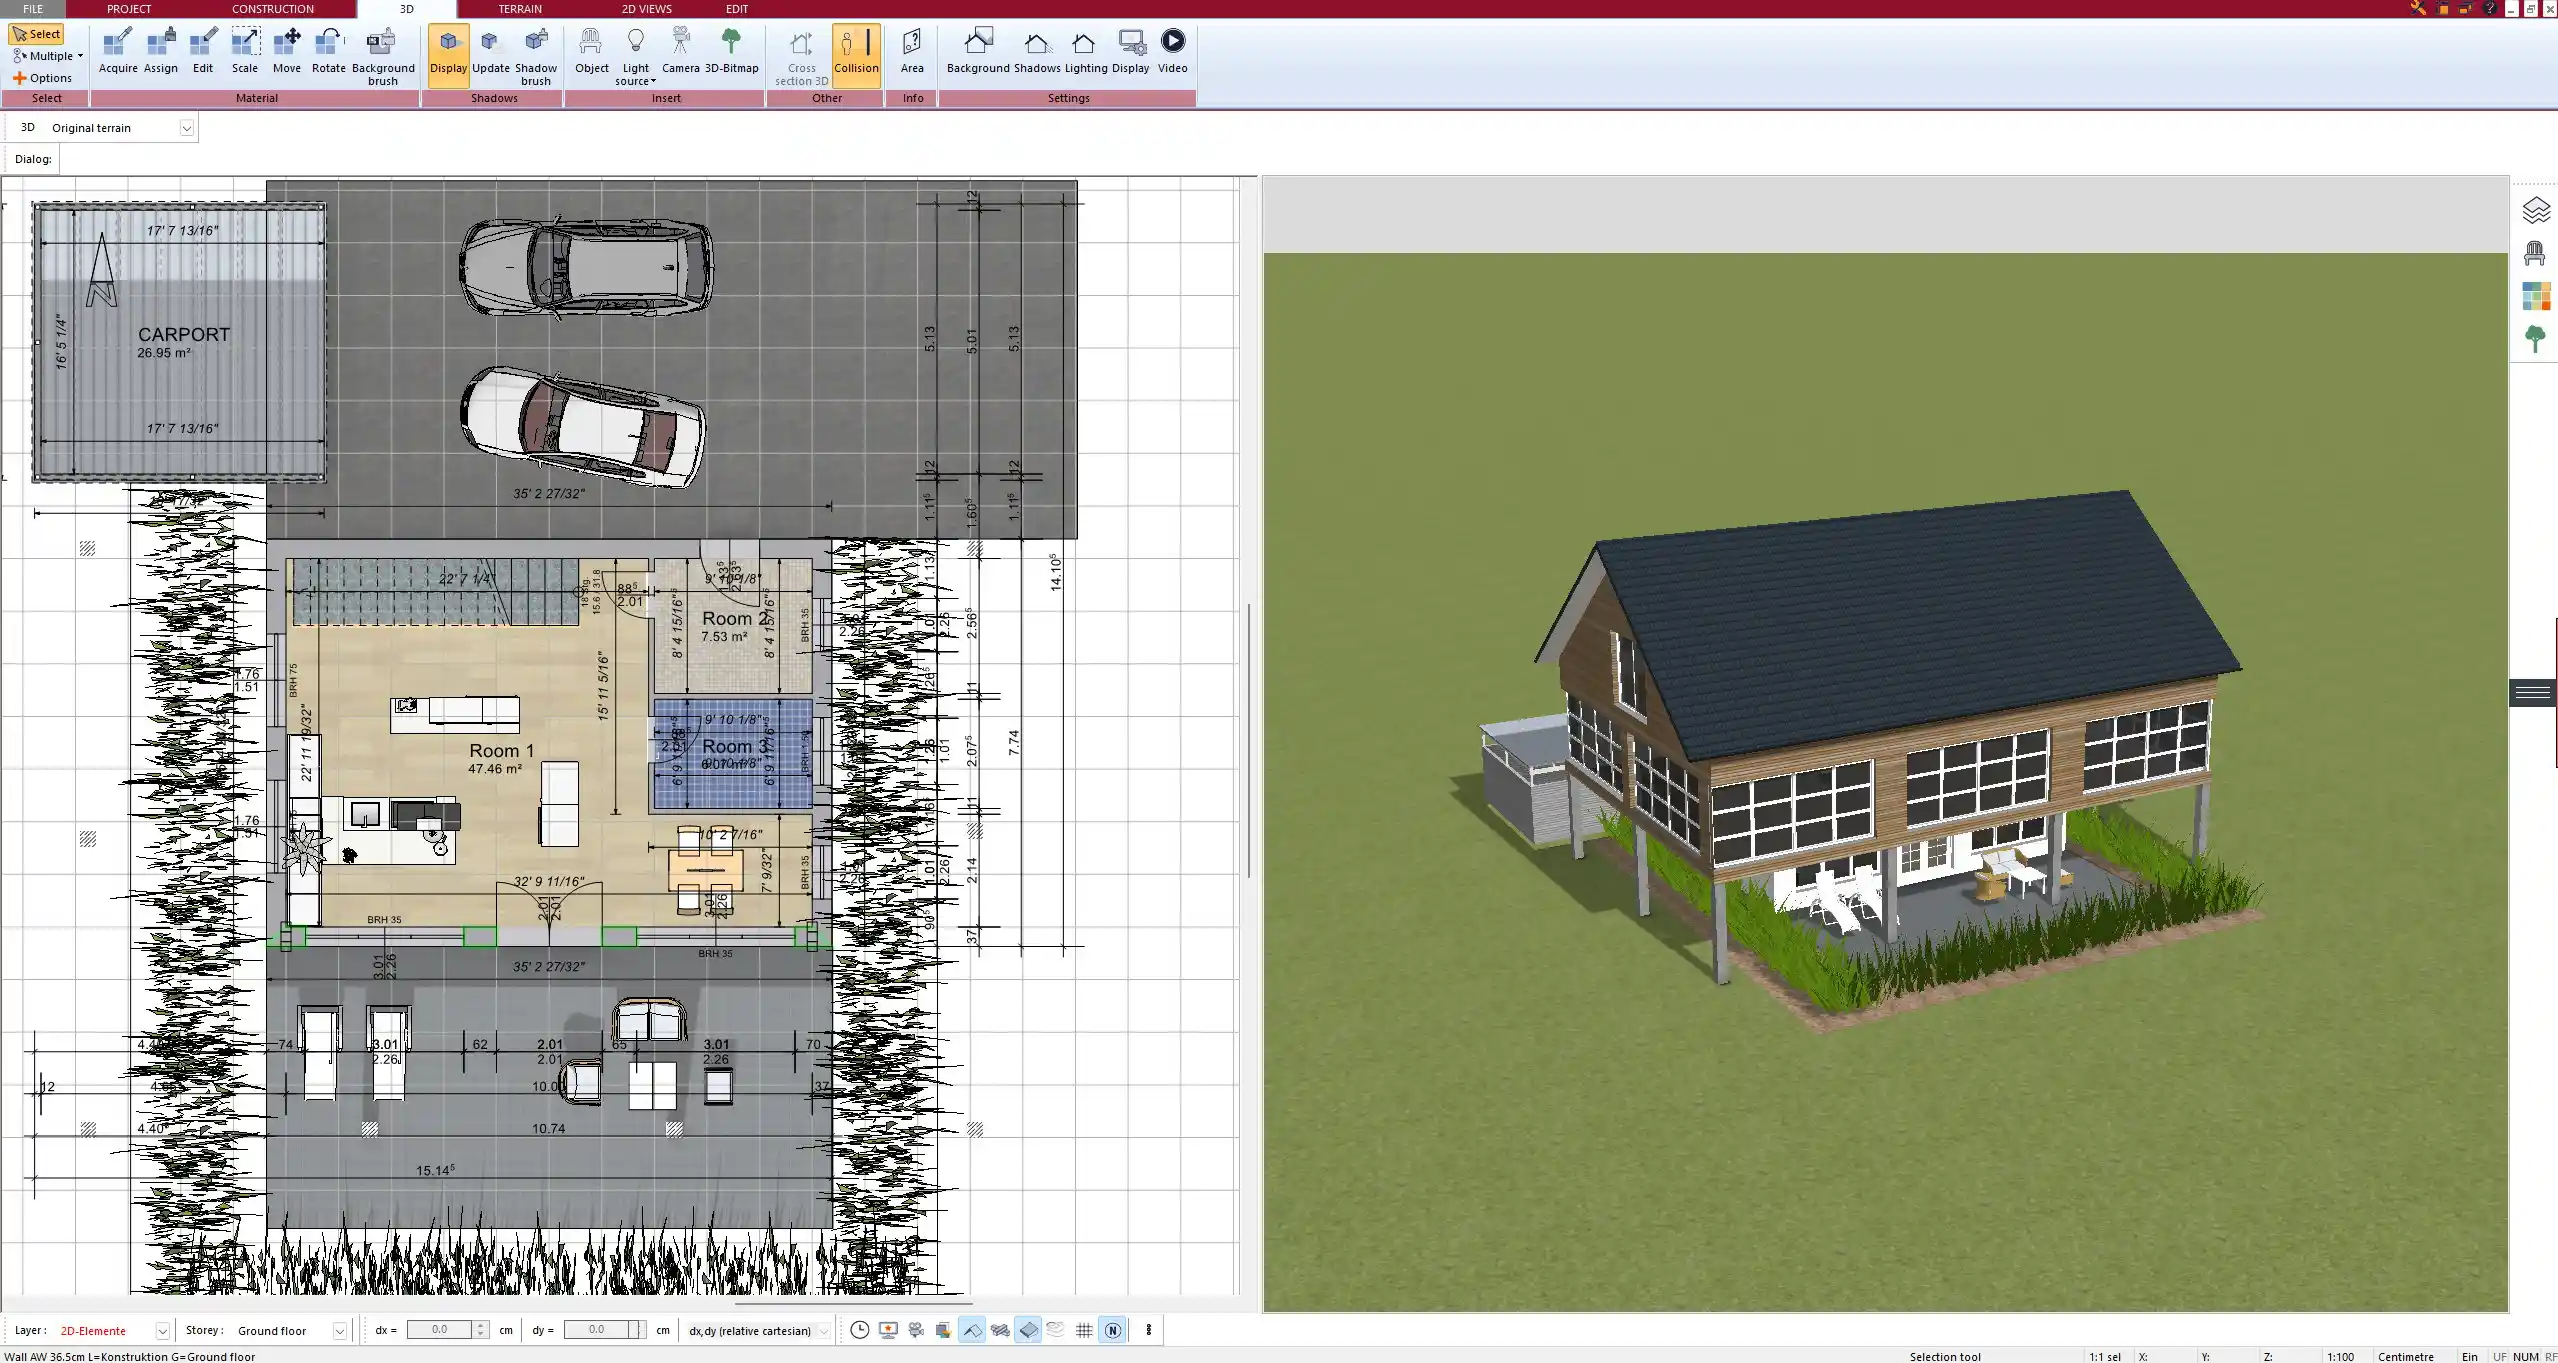
-
Use 3D Simulation: Before finalizing your plan, view the staircase in 3D to catch spatial issues that are hard to see in 2D.
-
Think About Lighting Early: Plan natural or artificial lighting near staircases to increase safety and enhance design appeal.
-
Plan for Barrier-Free Access: Especially in multi-generational homes, consider wider staircases and lower risers to accommodate users of all ages.
Advice:
In Plan7Architect, save different versions of your staircase design during planning. This way, you can easily compare variations and decide later which one fits best.
Design Perfect Staircases with Plan7Architect
With Plan7Architect, designing and calculating staircases becomes an intuitive process. You can quickly adjust dimensions, test different designs in 2D and 3D, and work with either metric or imperial units depending on your project location. Whether you are planning a single staircase or an entire house layout, the professional tools in Plan7Architect ensure your staircases are not only functional but also aesthetically integrated into your project.
Plan your project with Plan7Architect

Plan7Architect Pro 5 for $99.99
You don’t need any prior experience because the software has been specifically designed for beginners. The planning process is carried out in 5 simple steps:
1. Draw Walls

2. Windows & Doors

3. Floors & Roof

4. Textures & 3D Objects

5. Plan for the Building Permit

6. Export the Floor Plan as a 3D Model for Twinmotion

- – Compliant with international construction standards
- – Usable on 3 PCs simultaneously
- – Option for consultation with an architect
- – Comprehensive user manual
- – Regular updates
- – Video tutorials
- – Millions of 3D objects available


