If you’re wondering how large your photography studio should be, here’s the short and practical answer right at the beginning:
-
For headshots or upper-body portraits, you should plan with at least 20 to 25 square meters (215 to 270 square feet).
-
For full-body portraits or small product shoots, aim for around 30 to 50 square meters (320 to 540 square feet).
-
If you’re working commercially, need space for multiple setups, or film video content, then a space between 60 and 100 square meters (645 to 1075 square feet) is often ideal.
-
Your ceiling height should ideally be at least 3 meters (10 feet) to allow flexible lighting setups, especially overhead booms or large softboxes.
-
The room should be open and free of obstructions to give you proper working distance from the backdrop, as well as from the subject to the camera.
Tip: When planning your studio with Plan7Architect, you can use either metric or imperial units—whichever system you’re more comfortable with. The software lets you switch units easily depending on your region.
What Affects the Required Studio Size?
Type of Photography You Do
The space you need depends heavily on your photography style. A studio for simple headshots won’t need as much space as one designed for fashion shoots or video content.
-
Portrait Photography (headshots, upper body): A compact room works well if you only photograph individuals from the waist up.
-
Full-Body Portraits or Fashion Photography: These require more space for the subject to move, for larger backdrops, and to keep proper distance between the camera and the model.
-
Product Photography: Depending on the product size, you’ll need a clean shooting table area, lights from multiple angles, and plenty of space around it.
-
Video or Content Creation: For YouTube or commercial video, space requirements increase quickly—especially if you need separate lighting setups, a sound-optimized area, or multiple angles.
Equipment and Lighting Needs
Once you start adding softboxes, reflectors, tripods, and boom arms, even a spacious room can feel tight. A good studio size must allow for:
-
Large light modifiers (umbrellas, softboxes)
-
Boom arms and top lights requiring ceiling clearance
-
Backdrops and support systems behind the subject
-
Rolling carts or tables for tethering, laptops, or equipment
-
Safe movement paths to avoid cables and stands
Shooting Distance Requirements
The further your camera is from the subject and background, the more flexibility you’ll have in framing and controlling depth of field. Below is a general reference for required space:
| Subject Type | Recommended Camera Distance | Recommended Backdrop Distance |
|---|---|---|
| Head & Shoulders | 1.5 to 2 meters / 5 to 7 ft | 1 meter / 3 ft |
| Full Body | 3 to 5 meters / 10 to 16 ft | 2 to 3 meters / 6 to 10 ft |
| Group / Product Set | 5 to 7 meters / 16 to 23 ft | 2 to 4 meters / 6 to 13 ft |
Keep in mind: these are minimum distances. If you want more flexibility with lens choices and depth control, even more space can be beneficial.
Ceilings, Windows, and Layout Tips
Ceiling height plays a major role in light positioning. A studio with at least 3 meters (10 feet) of height allows you to use boom arms, top-down lighting, or even hang backdrops from above. In lower spaces, you’re forced to keep lighting more horizontal, which can be limiting.
Windows can be a blessing or a challenge. Natural light is beautiful but unpredictable. If you plan to rely on flash or studio lights, it’s often best to block out all natural light for consistent control. You may want to install blackout curtains or roller blinds.
A rectangular room layout is usually more versatile than a square one. Rectangular studios give you more depth options and allow better separation between subject and backdrop. Avoid rooms with permanent obstacles like low beams, columns, or radiators that interrupt your setup.
Planning Extras – Storage, Makeup Area, Client Space
When calculating your studio size, don’t just think about the shooting area. You’ll likely need extra space for other functions.
-
Changing Area or Makeup Station: Allocate 5 to 10 square meters (55 to 110 square feet) for a client to get ready in privacy.
-
Storage Room or Section: Keep lighting equipment, props, and backdrops organized with cabinets or open shelving.
-
Desk or Meeting Area: If you receive clients, a small reception or desk area helps your studio look more professional.
All of these areas contribute to the overall size requirement and should be sketched out in advance to avoid cramped conditions.
Tip: You can simulate different furniture and layout options in Plan7Architect to see how much space you’ll really need—even before moving anything.
Home Studio vs. Professional Studio – What’s Realistic?
Not every photographer needs a massive commercial space. Here’s how different scenarios translate into actual space requirements:
| Studio Type | Recommended Size | Typical Use Case |
|---|---|---|
| Small Home Studio | 12 to 20 m² / 130 to 215 ft² | Headshots, small products, hobby use |
| Semi-Professional | 30 to 50 m² / 320 to 540 ft² | Portraits, branding, ecommerce work |
| Full Commercial | 60 to 100+ m² / 645 to 1075+ ft² | Fashion, video, teams, multiple sets |
If you’re planning to grow your business, it’s better to aim a bit larger from the start if your budget allows. However, a well-planned 20 m² studio can deliver excellent results when used creatively.
Hint: Even in small spaces, strategic planning of light stands, collapsible backdrops, and clever storage can make the space feel much bigger.
Do You Need a Dedicated Studio Space?
A permanent studio is not always necessary, especially for beginners or traveling professionals.
-
You can rent local studios by the hour in many cities—perfect for occasional sessions without overhead costs.
-
Mobile setups work well if you shoot on location: folding backdrops, battery-powered lights, and collapsible modifiers make it portable.
-
In small apartments, you can convert part of a room into a functional studio using curtains and compact gear, then pack it away after each session.
You should consider your shooting frequency, budget, and business goals before deciding whether to rent, buy, or build a dedicated space.
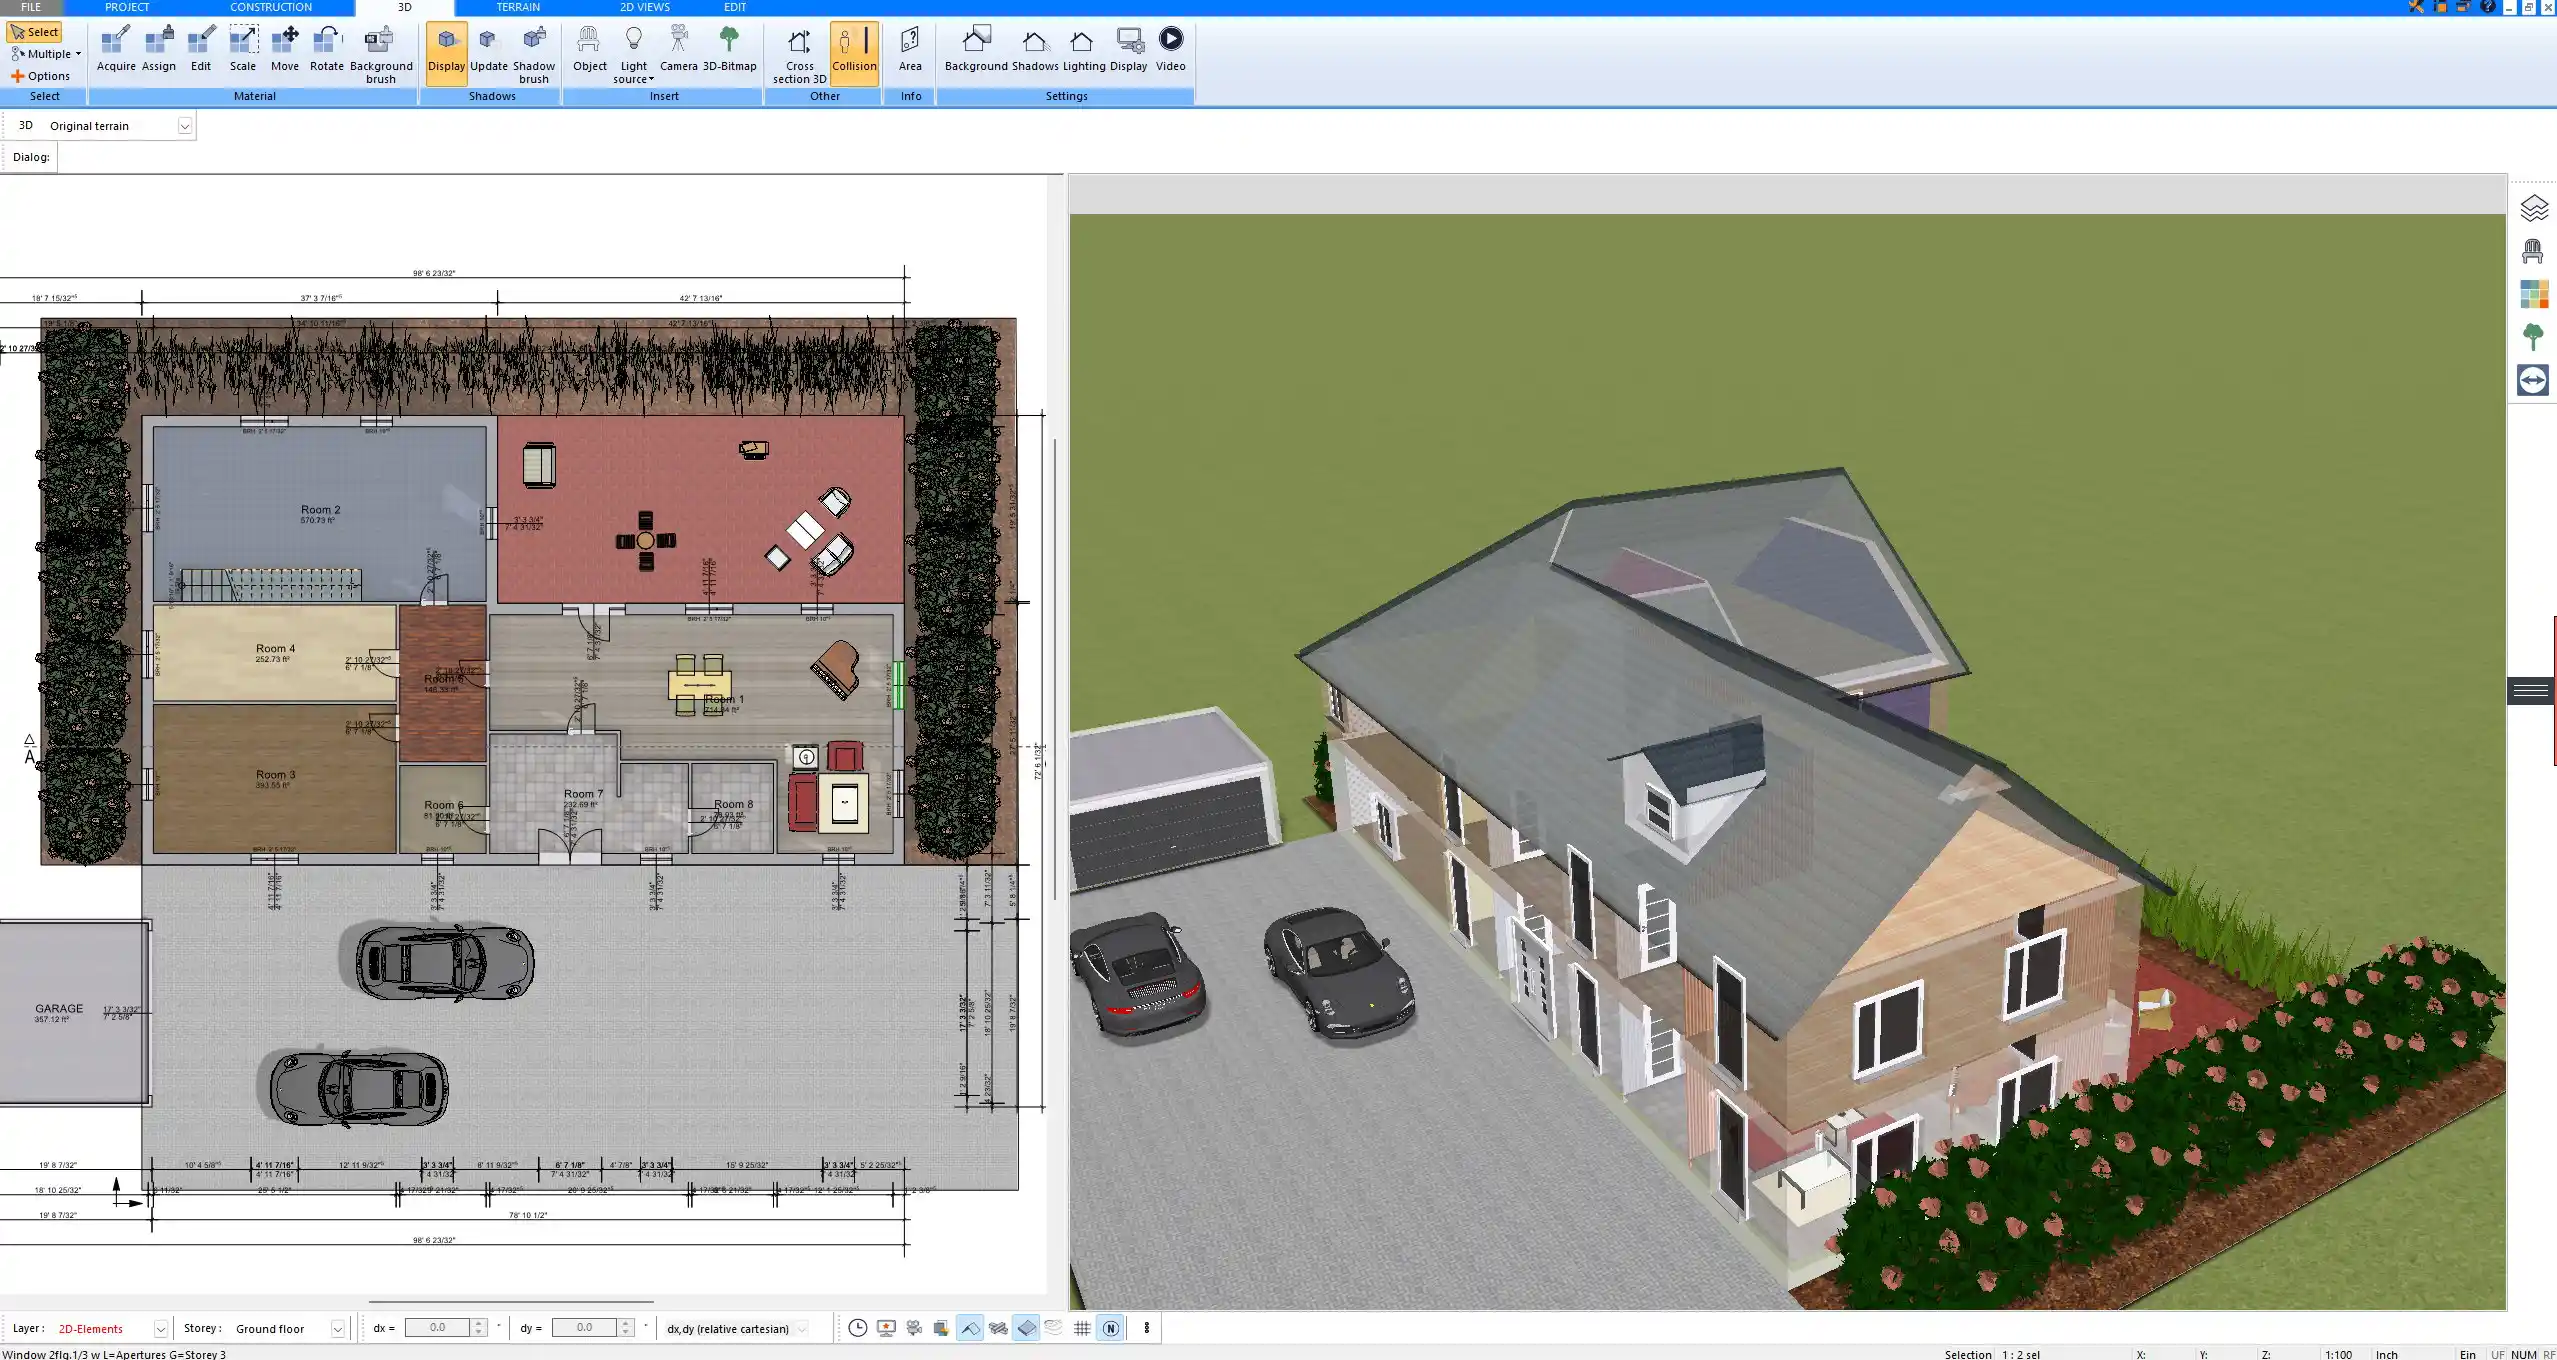
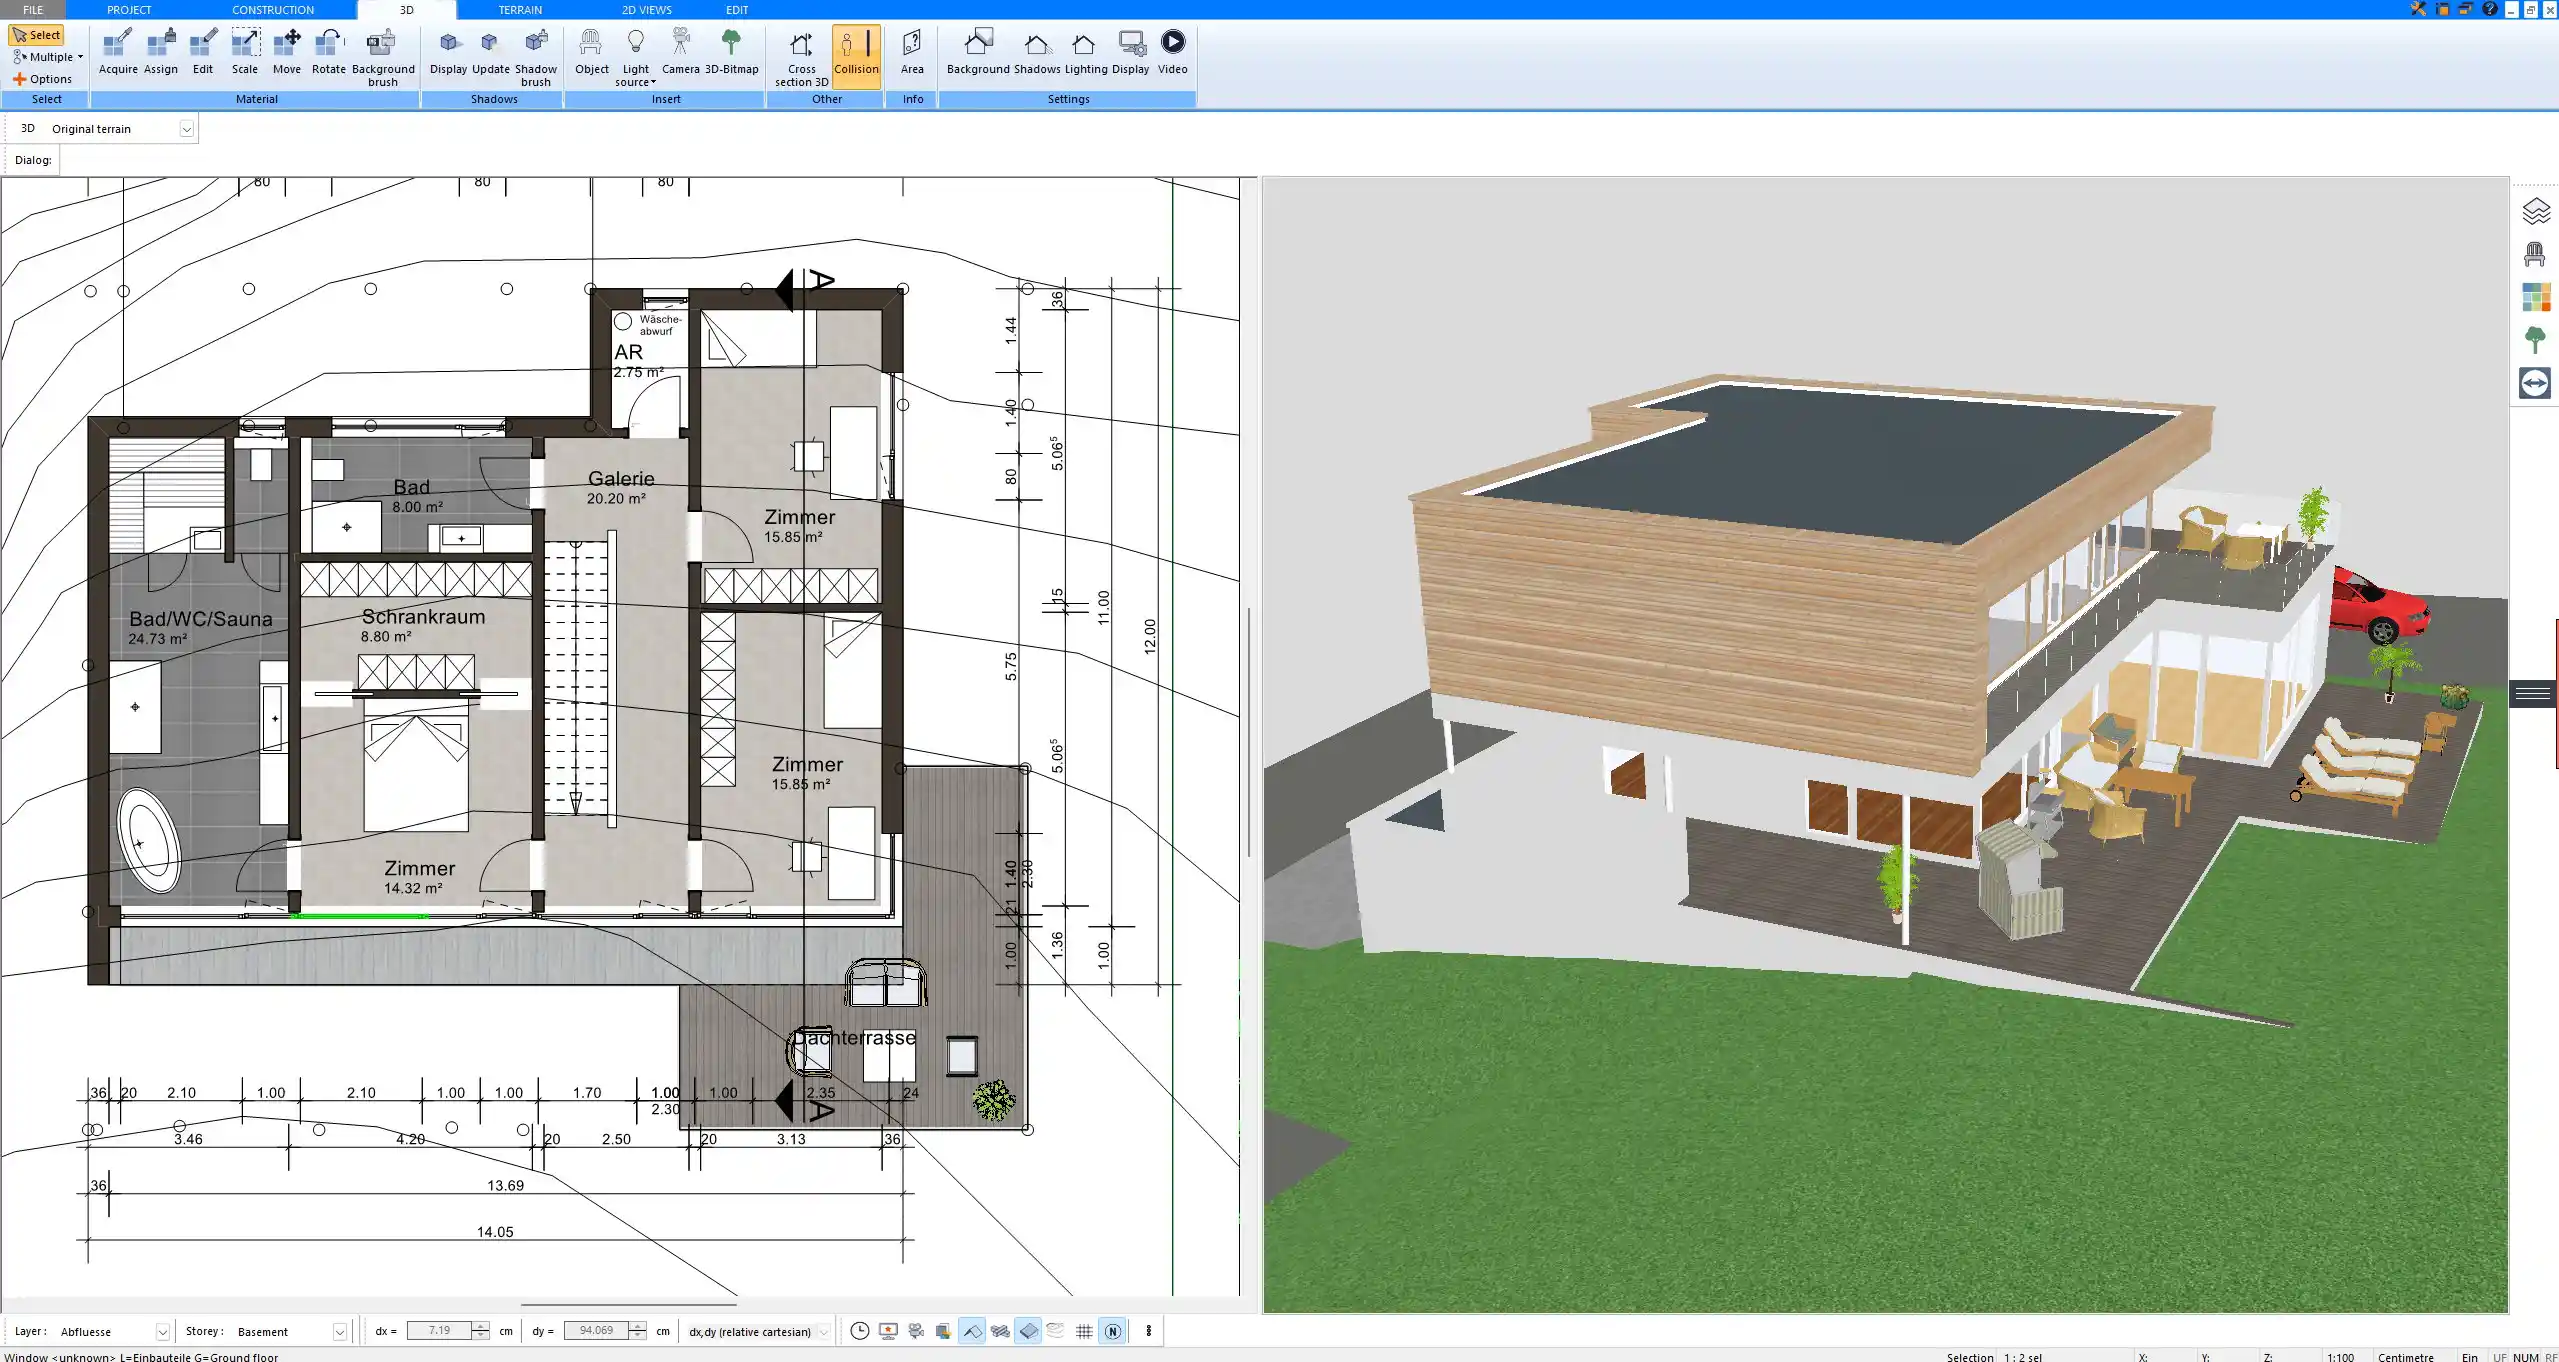
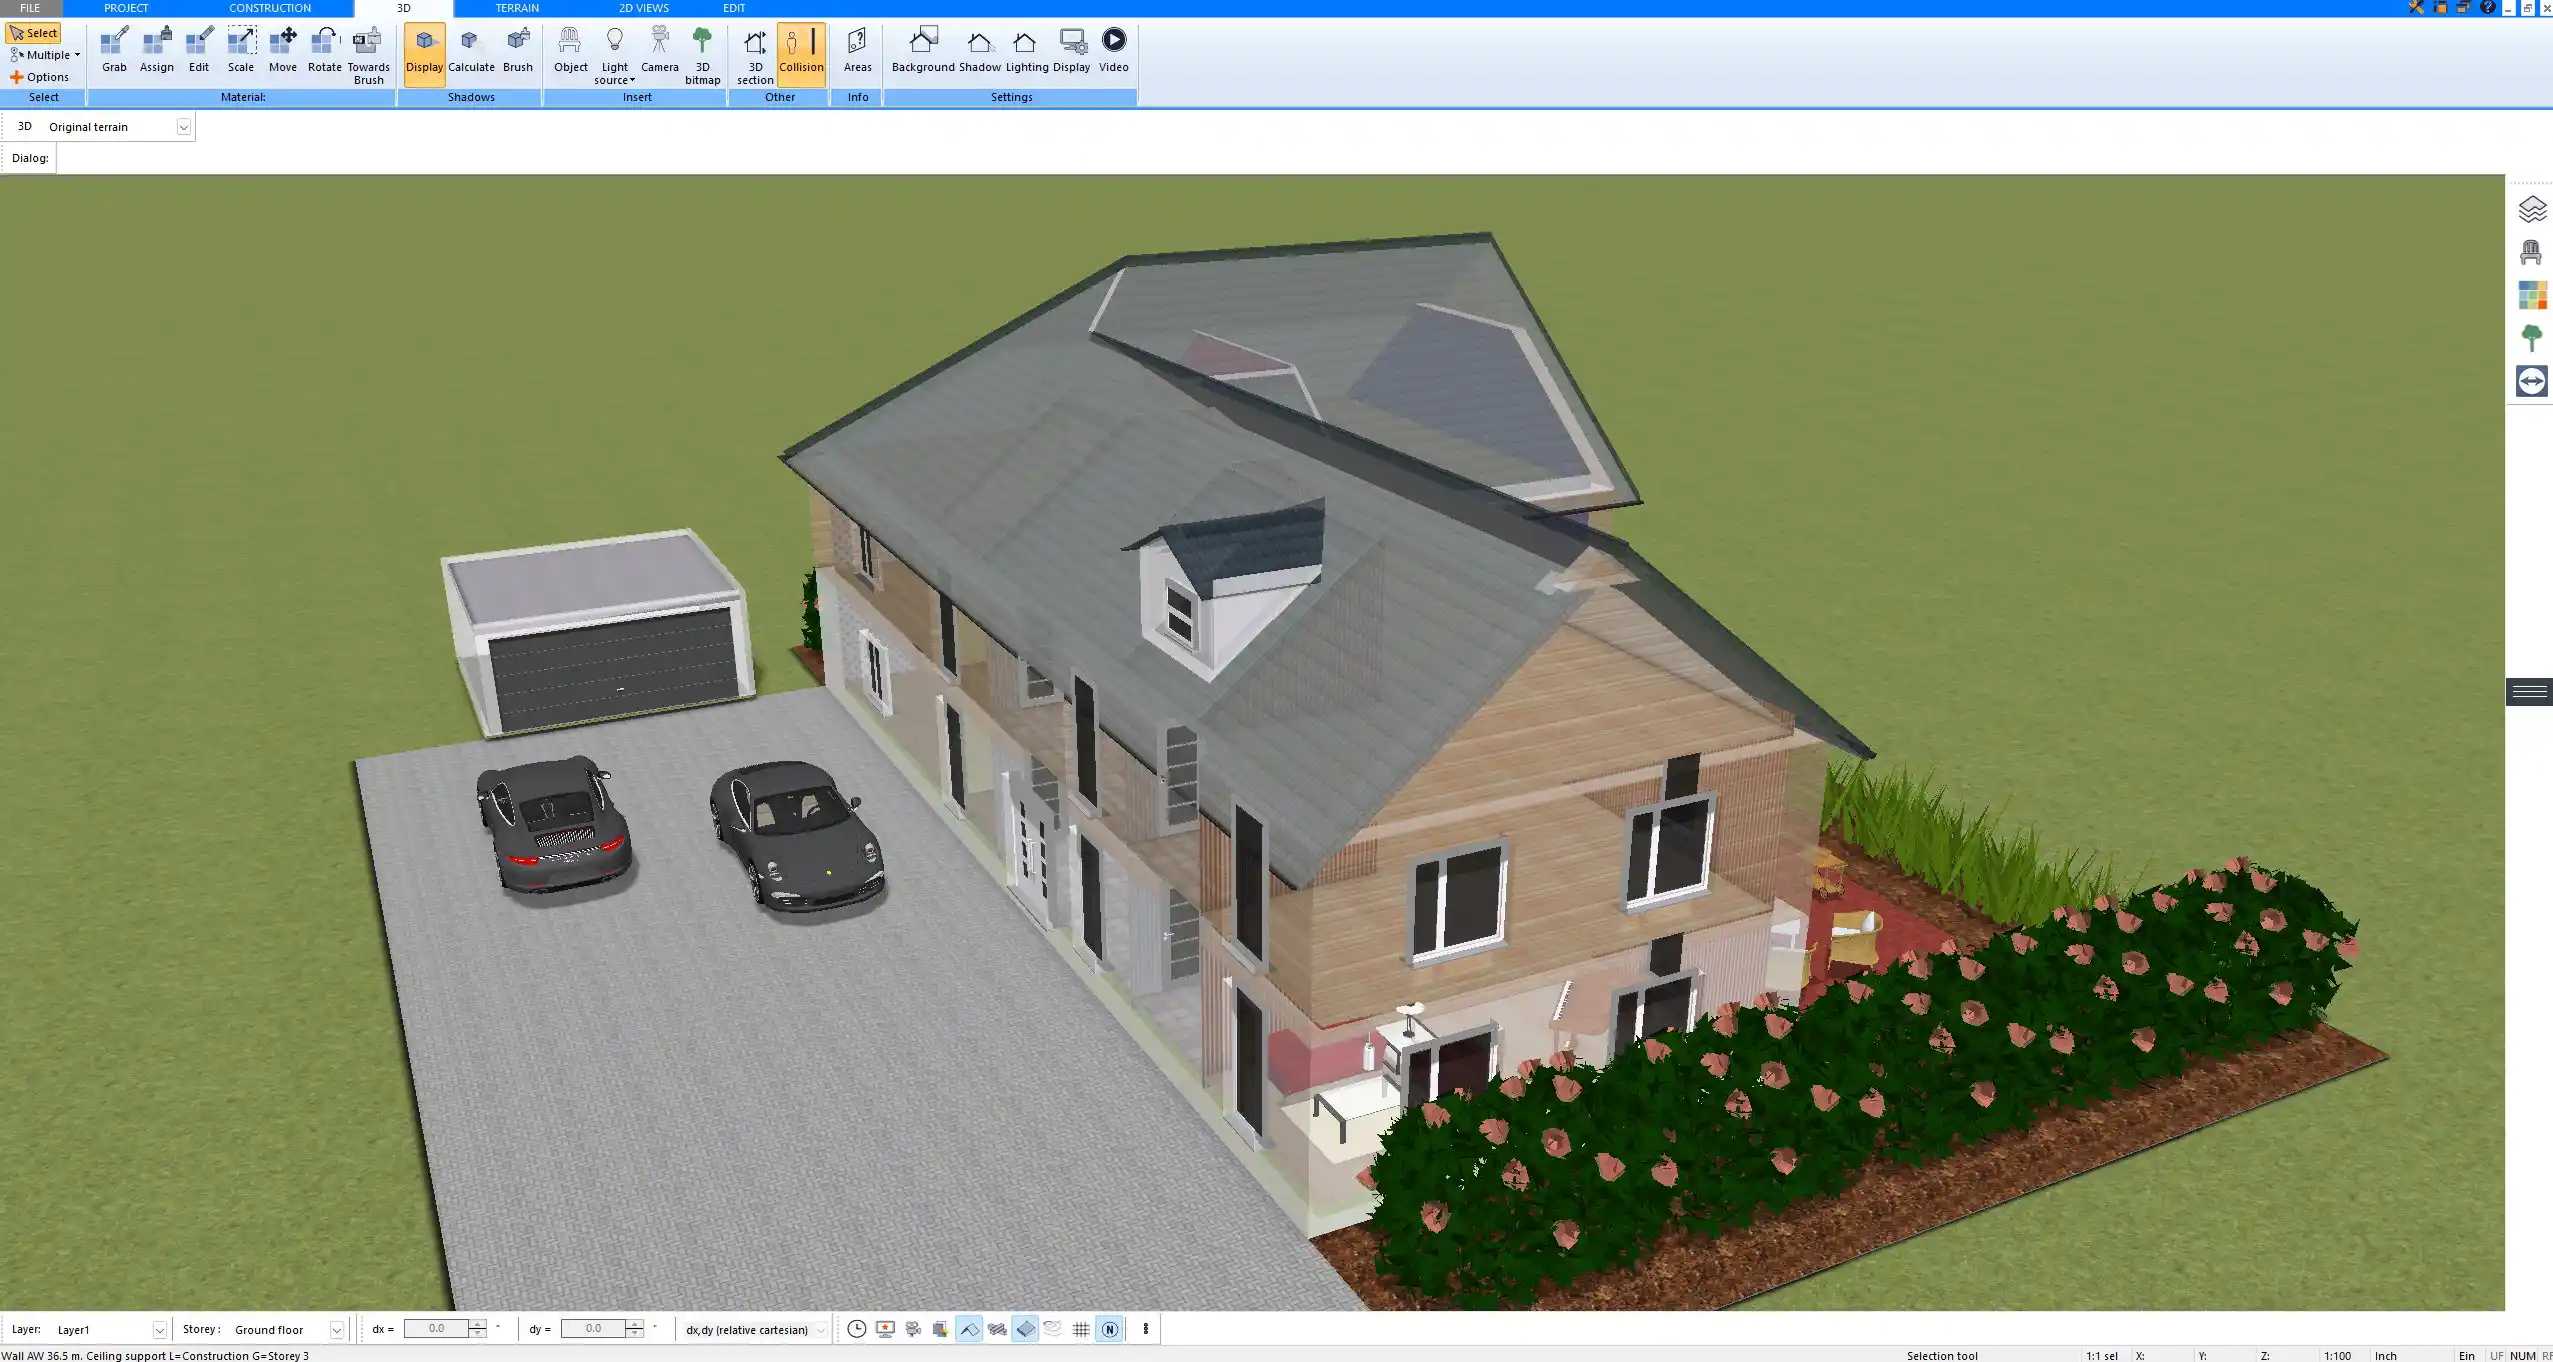
Plan Your Ideal Studio with Software
When planning your studio space—whether it’s a home setup or a commercial space—it’s a huge advantage to design it virtually first. With software like Plan7Architect, you can draw out your floor plan in 2D and visualize it in 3D.
You can:
-
Arrange your equipment and furniture virtually before moving anything
-
Check camera-to-subject distances
-
Simulate window light or artificial lighting angles
-
Save multiple layout versions for different shooting scenarios
-
Export clear plans for renovations, construction, or studio rental applications
You can work with both metric and imperial units, which is ideal if you’re in the US, Europe, or elsewhere. Everything is scalable, and the software helps you avoid trial-and-error layouts in real life.
Tip: A virtual floor plan helps avoid costly mistakes, wasted time, or poor lighting angles—and it gives you peace of mind before making physical changes.
Plan your project with Plan7Architect

Plan7Architect Pro 5 for $99.99
You don’t need any prior experience because the software has been specifically designed for beginners. The planning process is carried out in 5 simple steps:
1. Draw Walls

2. Windows & Doors

3. Floors & Roof

4. Textures & 3D Objects

5. Plan for the Building Permit

6. Export the Floor Plan as a 3D Model for Twinmotion

- – Compliant with international construction standards
- – Usable on 3 PCs simultaneously
- – Option for consultation with an architect
- – Comprehensive user manual
- – Regular updates
- – Video tutorials
- – Millions of 3D objects available


