The dining table is the centerpiece of the room, and its dimensions should be chosen based on how many people you want to seat comfortably. In general, each person needs at least 60 centimeters (24 inches) of width at the table. For depth, allow 40 to 60 centimeters (16 to 24 inches) so plates, glasses, and elbows have enough room.
Here are some practical examples from my own planning experience:
-
A round table for 4 should have a diameter of about 120 centimeters (4 feet)
-
A rectangular table for 6 needs around 180 by 90 centimeters (6 by 3 feet)
-
For 8 people, go for roughly 240 by 100 centimeters (8 by 3.3 feet)
These sizes will give each person adequate space to eat, relax, and interact.
Clearance around the table
Beyond the table itself, you need to ensure there’s enough space around it. The ideal clearance from the edge of the table to the nearest wall or furniture is 90 centimeters (3 feet). This allows someone to comfortably walk behind a seated guest or pull out a chair with ease.
The absolute minimum you can get away with is 75 centimeters (30 inches), but only if space is tight and you don’t expect people to pass by during meals.
Dining Room Layout Examples
| Table Type | Recommended Room Size | Seats |
|---|---|---|
| Round Table (4 seats) | 2.7 × 2.7 m / 9 × 9 ft | 4 |
| Rectangular Table (6) | 3.0 × 3.6 m / 10 × 12 ft | 6 |
| Rectangular Table (8) | 3.6 × 4.5 m / 12 × 15 ft | 8 |
| Extendable Table | 4.0 × 5.0 m / 13 × 16.5 ft | 8–10 |
This table should give you a quick idea of what kind of room you need depending on your table shape and number of guests.
Dining Room Types – Which Size Fits Your Needs?
Separate Formal Dining Room
If you’re planning a dedicated dining room, you should aim for a more generous layout. A formal dining room should be at least 3.6 by 4.2 meters (12 by 14 feet). This provides enough space not only for a large table but also for additional furniture like sideboards, buffets, or china cabinets. It also gives you the chance to center a chandelier properly above the table, which improves both lighting and atmosphere.
Open Plan Dining Area
In open-plan homes where the dining area is part of a larger space shared with the kitchen or living room, the dimensions can be more flexible. You still need to provide enough space for the dining setup itself—ideally the same as in a separate room—but you might not need to plan walls or furniture clearance on all four sides.
I’ve often worked with layouts where a 6-person dining table fits comfortably between the kitchen island and the sofa area, as long as the traffic flow is considered.
Eat-in Kitchen or Nook
For smaller homes or apartments, an eat-in kitchen with a breakfast nook is a great alternative. Here, a compact table for 2 to 4 people usually fits in a space of 1.8 by 1.8 meters (6 by 6 feet). A round table often works better in tight corners because it makes movement easier and looks more balanced in smaller rooms.
Tips for Planning the Perfect Dining Room Layout
-
Always measure your furniture before committing to a room layout. Many tables look smaller in a showroom than they actually are.
-
Test traffic flow by imagining how you and your guests would walk around the room—especially if doors or hallways are nearby.
-
Leave space for storage, especially in formal setups. A buffet or cabinet adds both storage and visual balance.
-
Lighting matters. Pendant lights or chandeliers should hang 60 to 80 centimeters (24 to 32 inches) above the table surface. This avoids glare and keeps the room cozy.
-
Choose the right table shape. Round tables are better for square rooms and smaller spaces. Rectangular tables work best in longer or narrow rooms.
Tip: In Plan7Architect, you can test different furniture sizes and placements easily. I always create multiple versions of a layout to compare space usage visually in 3D and 2D.
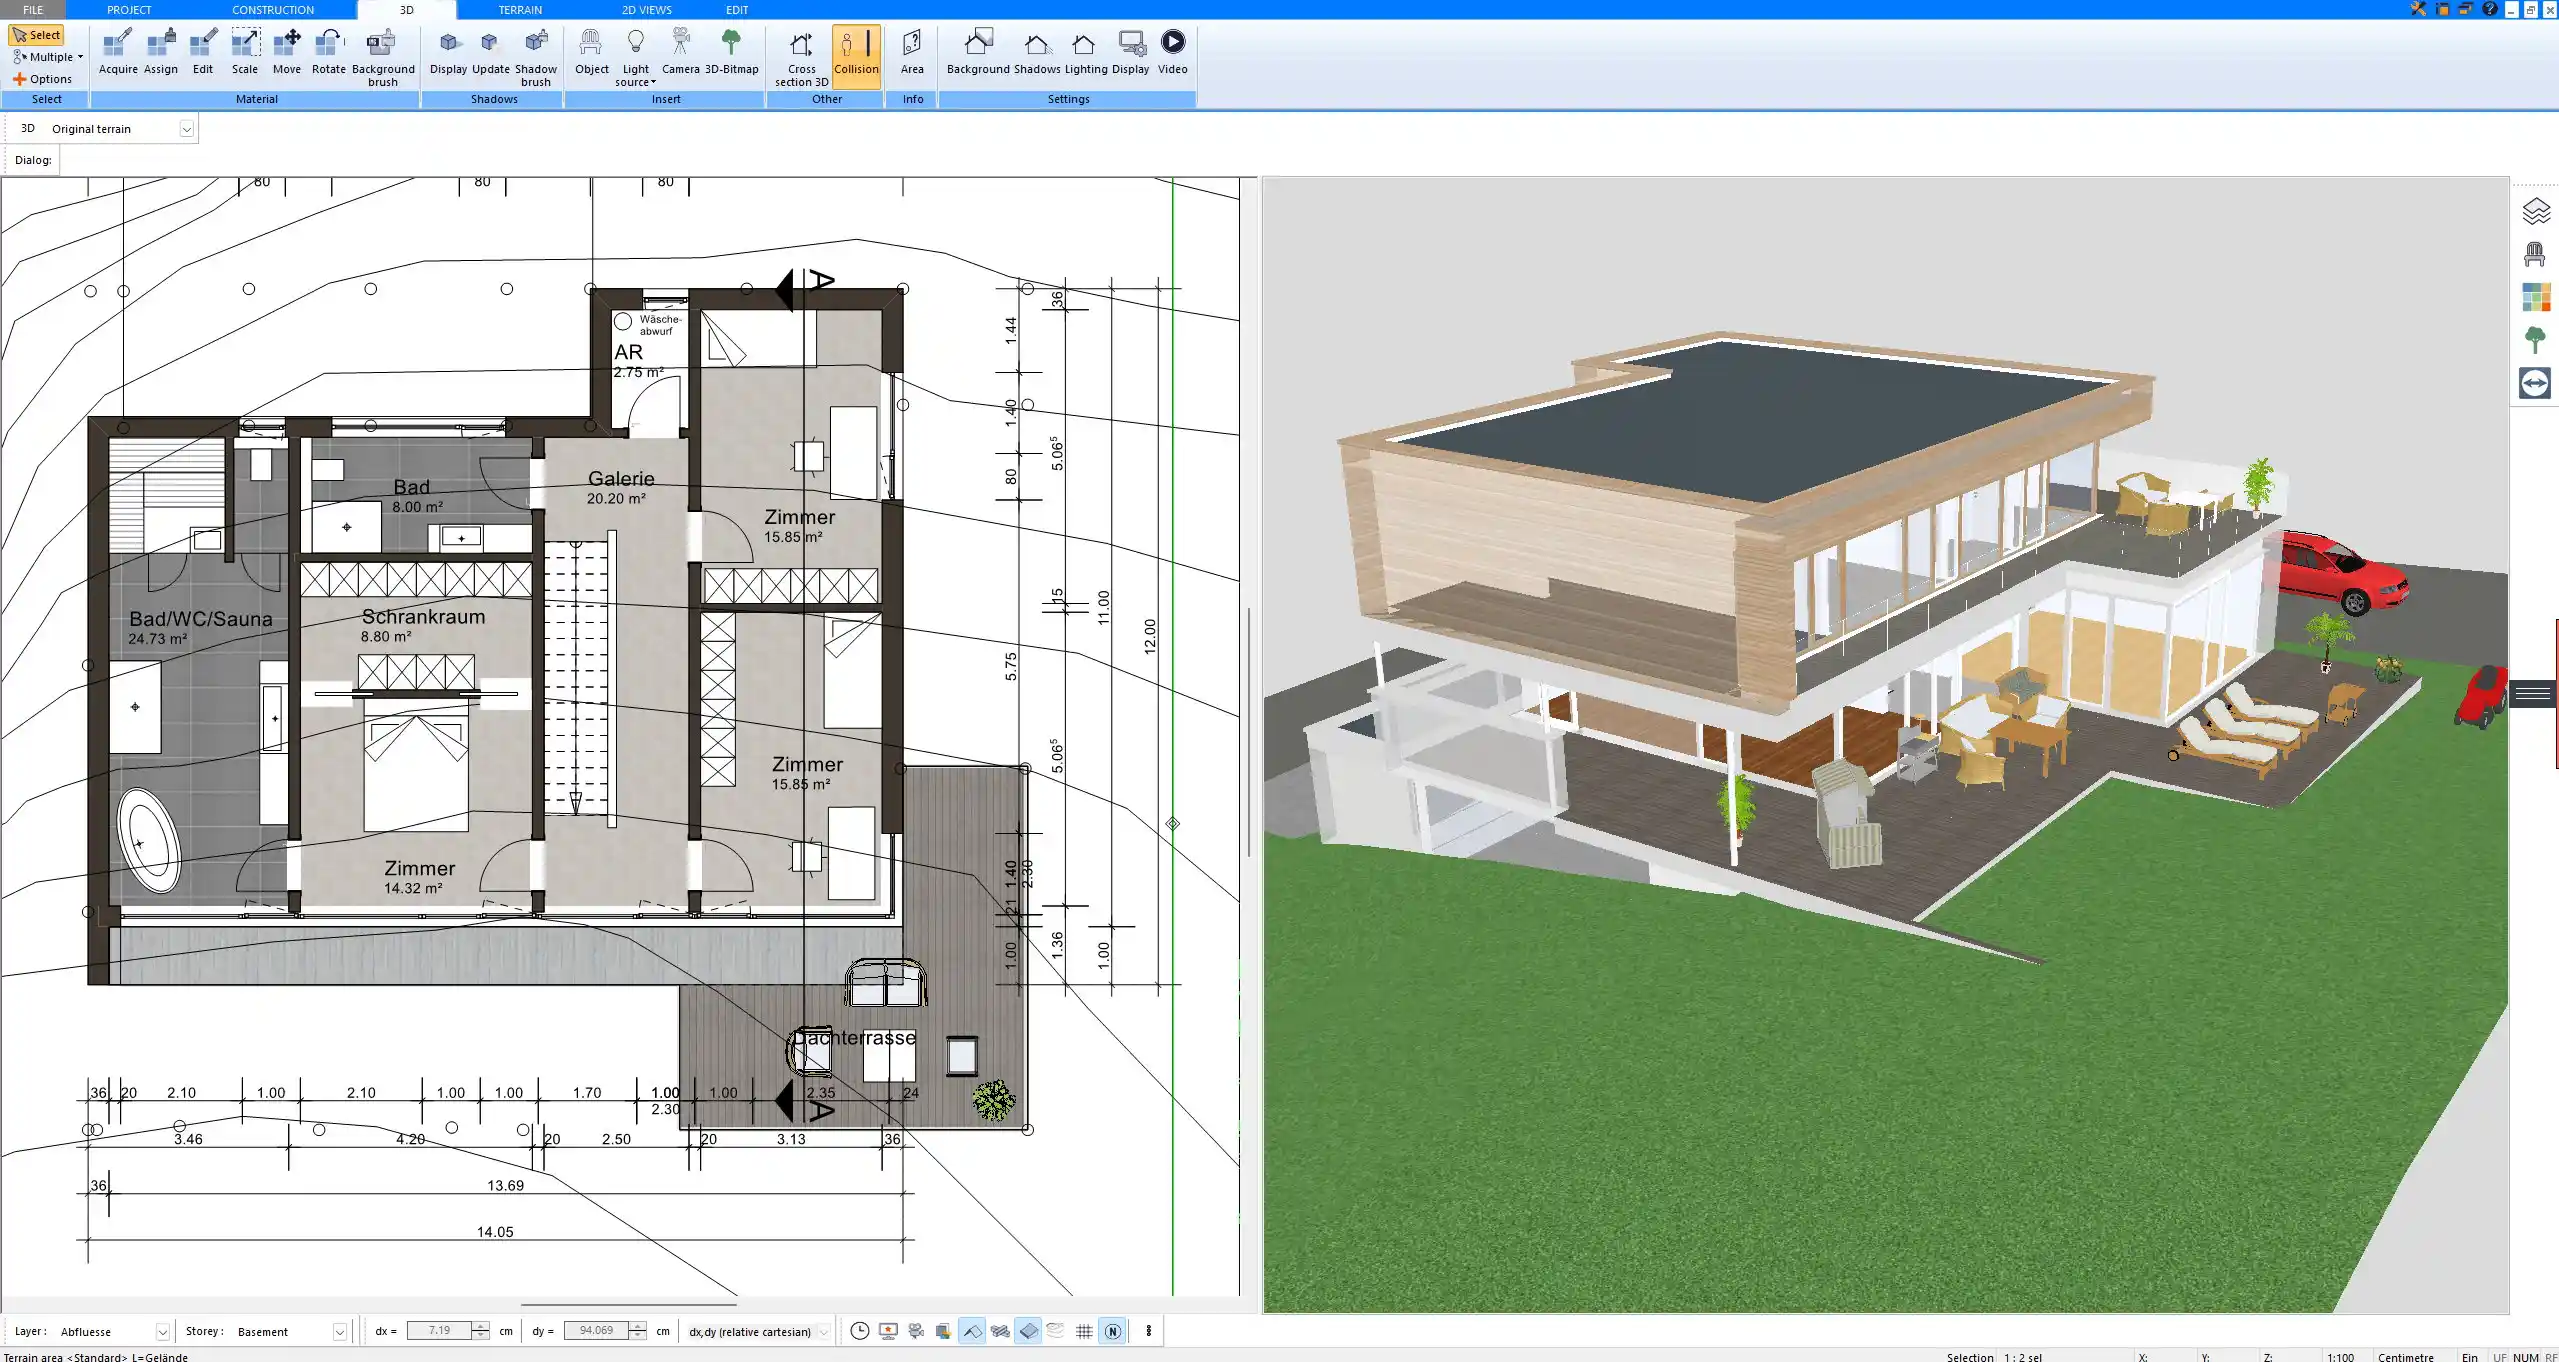
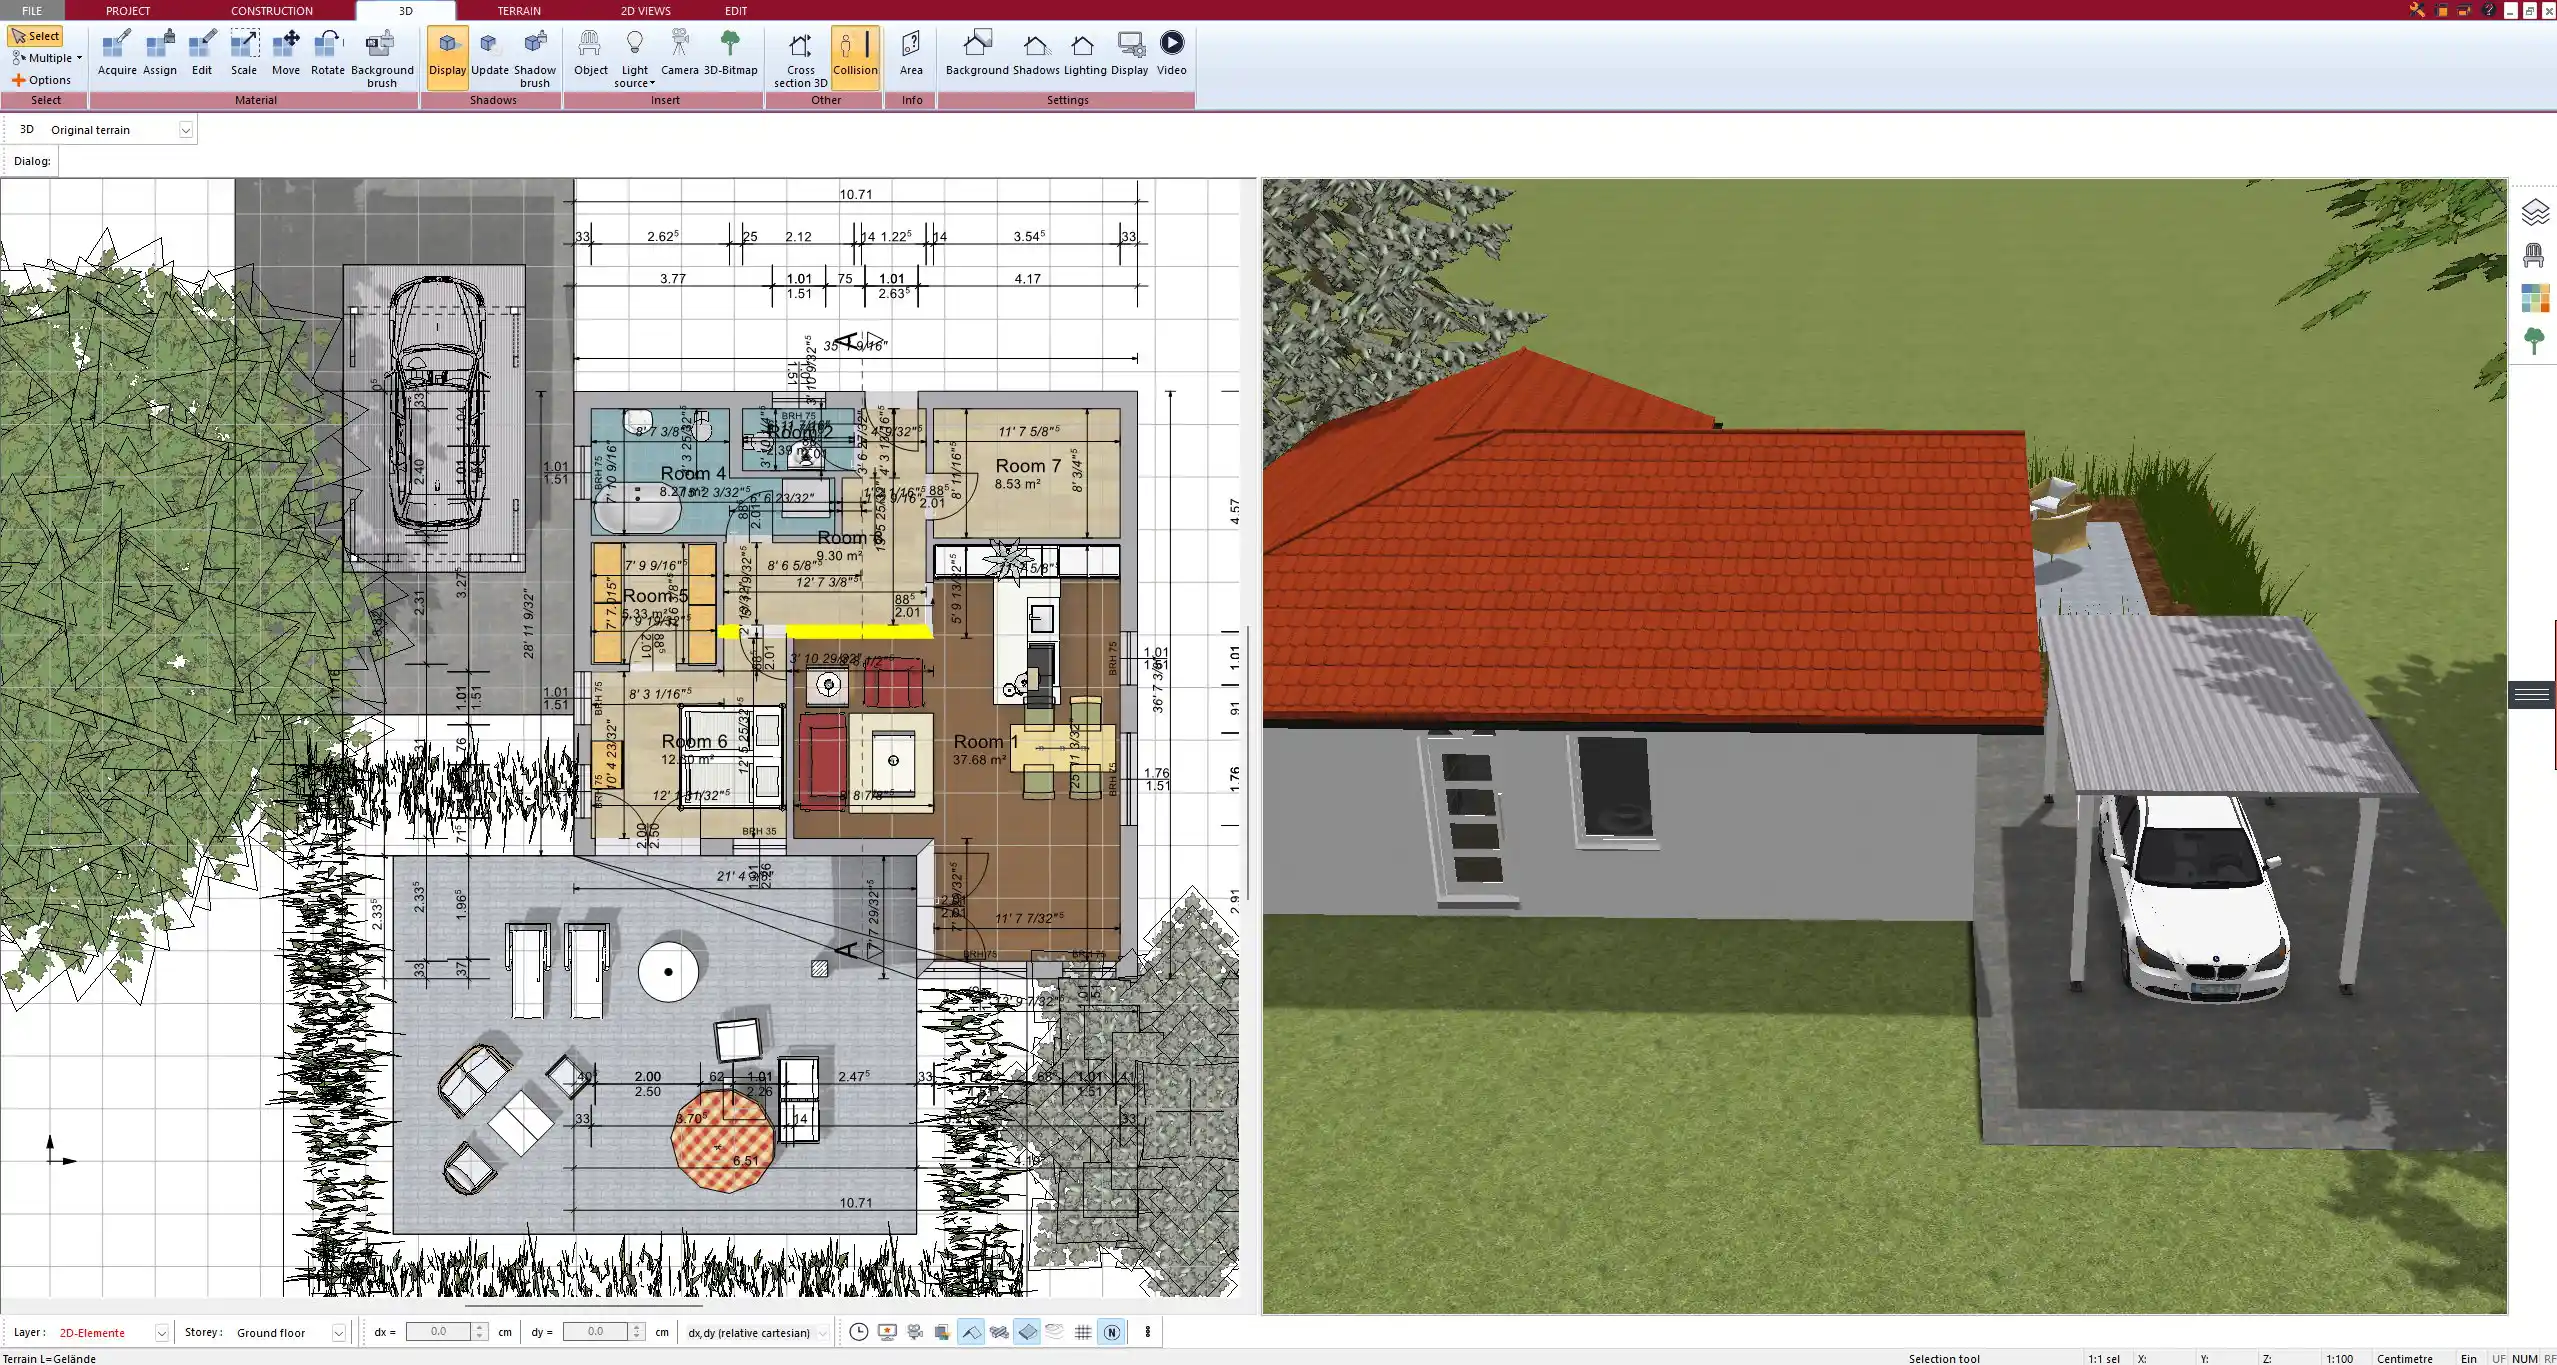
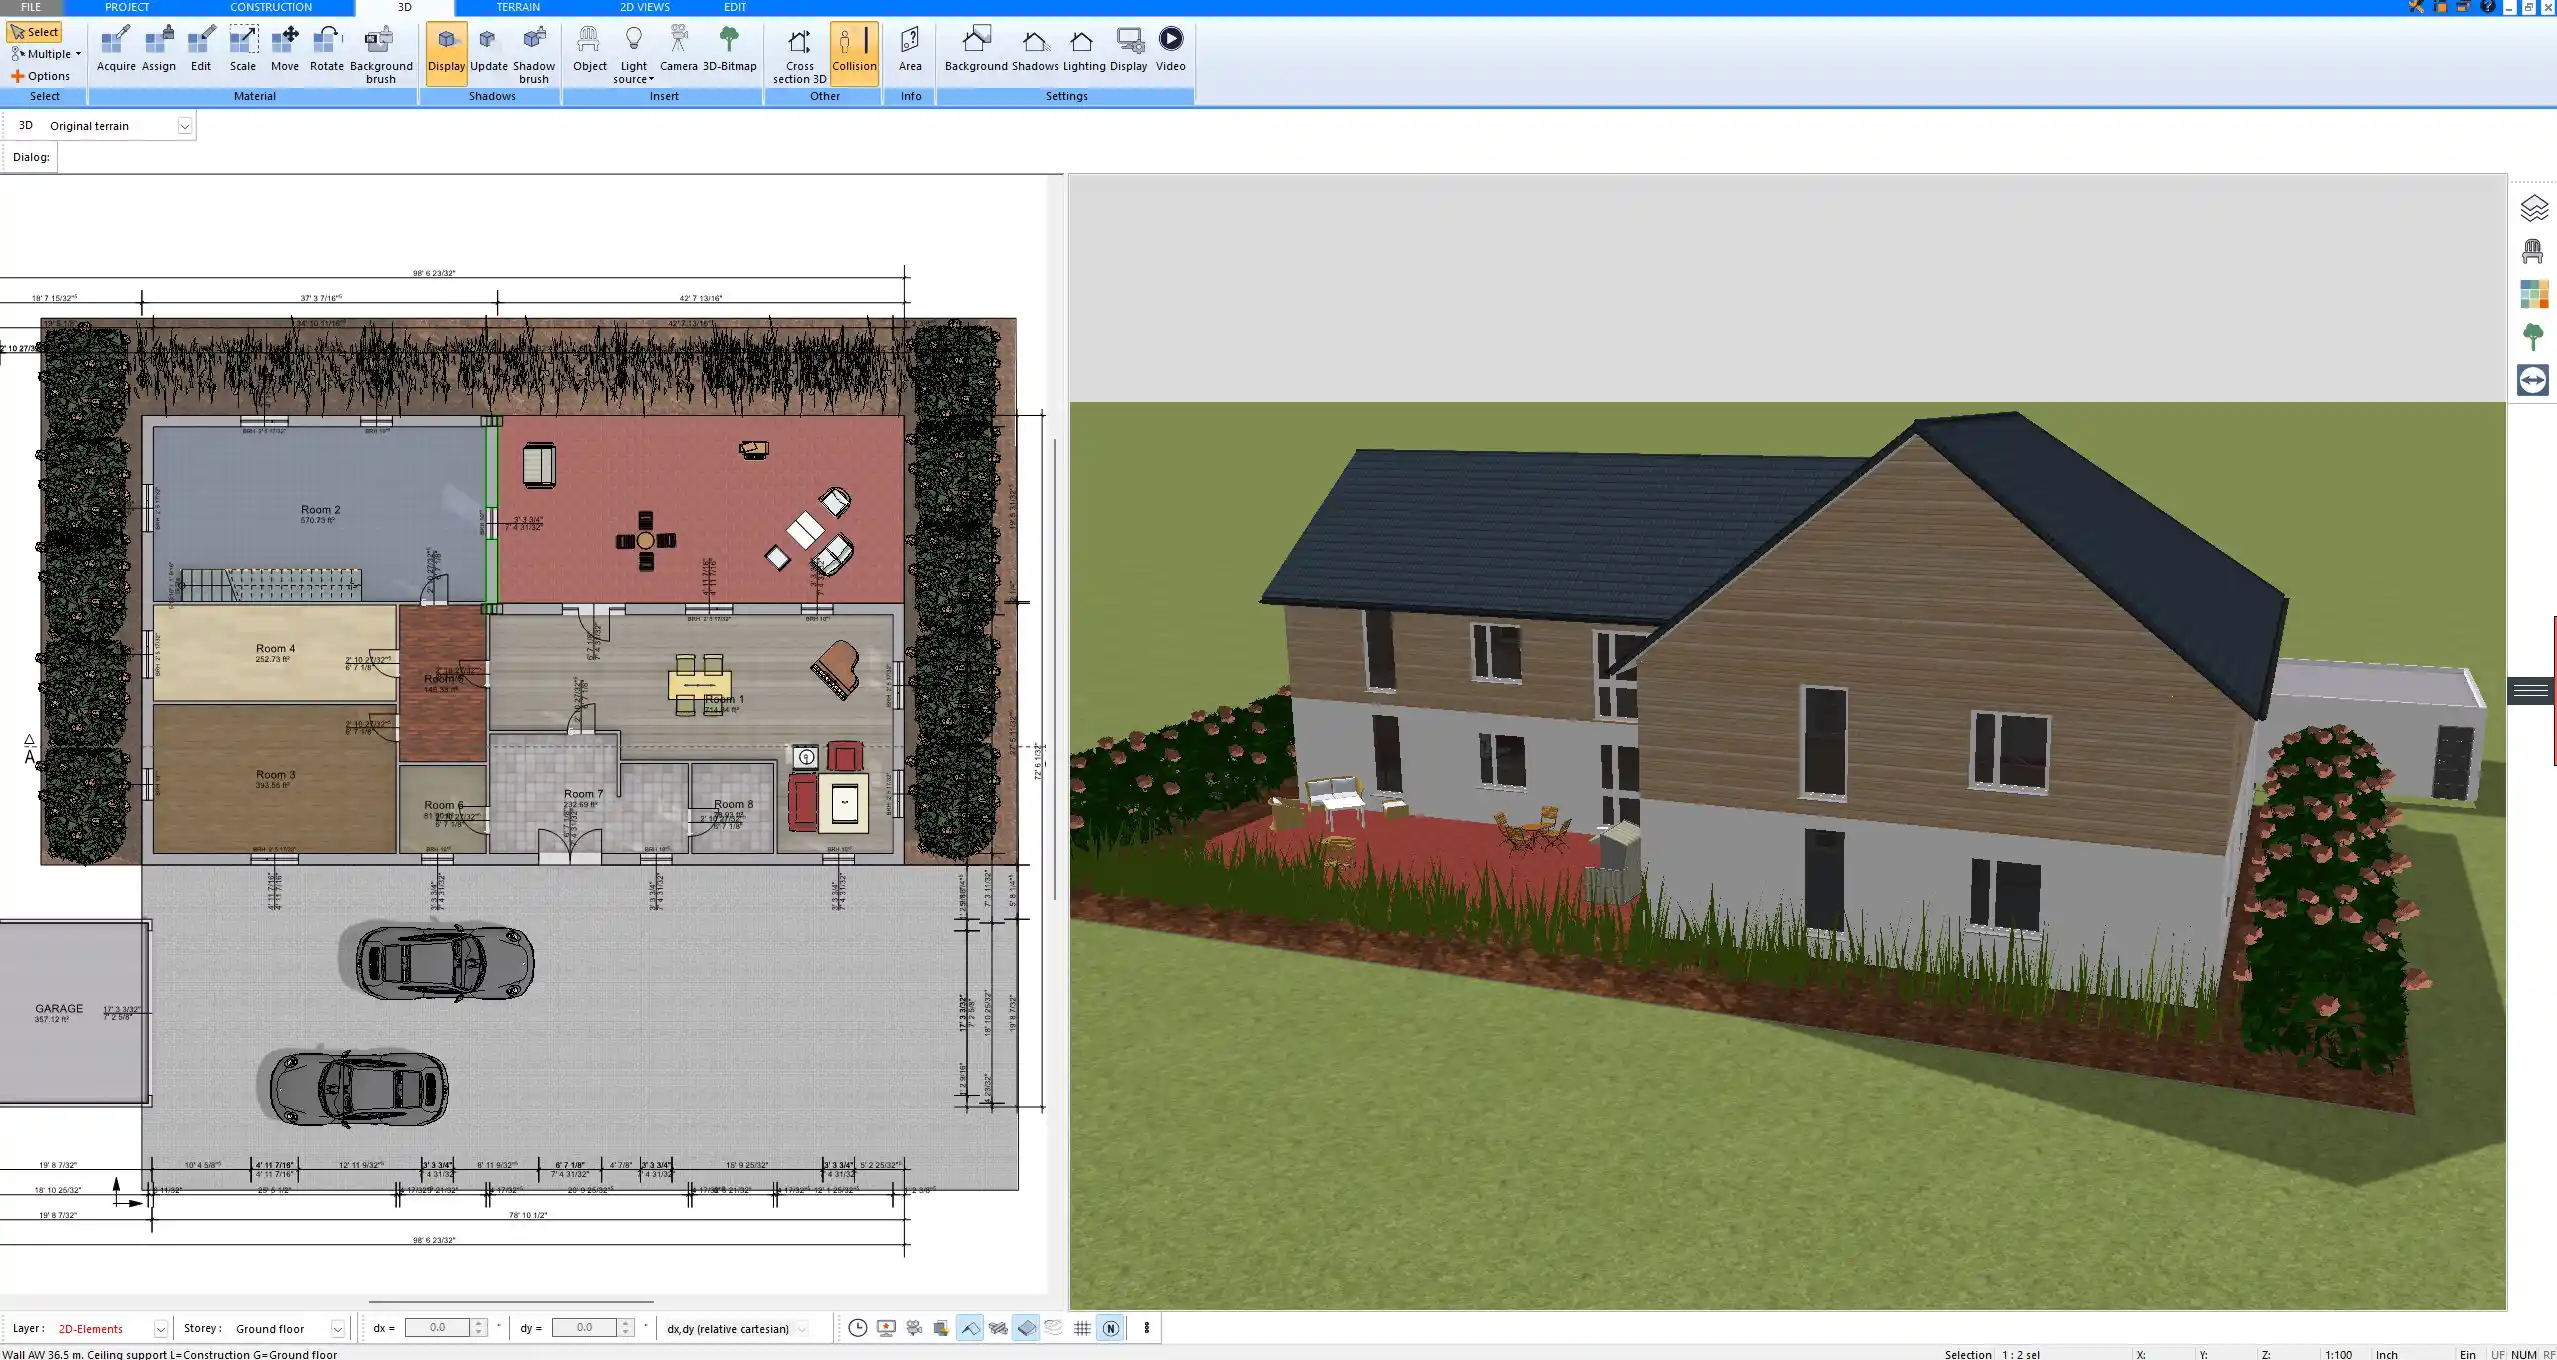
Designing Your Dining Room with Plan7Architect
One of the reasons I use Plan7Architect in every dining room project is the flexibility it offers. You can either start with a pre-set room layout or draw your own dimensions from scratch. You can drag and drop dining tables, chairs, lighting, and even decorative elements into the plan, all in correct scale.
The program allows you to plan in both metric and imperial units, so whether you’re used to working in meters and centimeters or feet and inches, the dimensions remain accurate. You can switch units anytime during the planning process.
Using the 3D view, I like to walk through the space virtually to check that the walkways around the table feel right and nothing is too close to a wall or window. This visual feedback helps avoid costly mistakes.
Another feature I often use is the measurement tool that shows the clearance between furniture automatically. That way, I can fine-tune spacing without guessing.
Common Mistakes to Avoid
-
Choosing a table that’s too large for the space. It might technically fit, but guests won’t be able to move freely.
-
Not leaving enough room to pull out chairs. Even stylish rooms can become frustrating if people are squeezed in.
-
Forgetting other furniture like storage cabinets or display shelves. These also take up floor space and should be included in the layout.
-
Incorrect lighting placement, especially in open plan areas where the dining table might shift from the original intended spot. Make sure the light fixture lines up with where the table will actually stand.
Final Checklist for Dining Room Sizing
-
Have you allowed at least 90 cm / 3 ft clearance around your table?
-
Does the room size match the number of guests you want to accommodate?
-
Is there enough space for additional furniture, if needed?
-
Is the traffic flow around the dining area smooth?
-
Have you chosen the right table shape for your space?
-
Is the lighting planned correctly above the table?
-
Are you using the correct measurement system for your region?
If you check all of these points, your dining room layout is well on its way to being functional, comfortable, and visually pleasing.
Plan your project with Plan7Architect

Plan7Architect Pro 5 for $99.99
You don’t need any prior experience because the software has been specifically designed for beginners. The planning process is carried out in 5 simple steps:
1. Draw Walls

2. Windows & Doors

3. Floors & Roof

4. Textures & 3D Objects

5. Plan for the Building Permit

6. Export the Floor Plan as a 3D Model for Twinmotion

- – Compliant with international construction standards
- – Usable on 3 PCs simultaneously
- – Option for consultation with an architect
- – Comprehensive user manual
- – Regular updates
- – Video tutorials
- – Millions of 3D objects available


