Designing a straw bale house may sound like something for experts in sustainable architecture, but with the right software, even non-professionals can plan a detailed and accurate floor plan themselves. Plan7Architect is ideal for creating floor plans for natural buildings, including straw bale houses. You can start immediately by launching the software, choosing between metric or imperial units depending on your preference or region, and creating a new floor plan.
With just a few clicks, you define walls, insert windows and doors, and visualize the building in both 2D and 3D. For a straw bale house, it’s particularly important to accurately depict the thickness of the exterior walls and other specific construction elements. The software allows full customization, so you can reflect the special structure of a straw house from the beginning.
Why Straw Houses Need Special Floor Plan Considerations
Thicker Wall Structures
Unlike conventional homes, straw bale houses require much thicker walls. A typical straw bale wall is between 40 and 60 centimeters thick, or roughly 16 to 24 inches. This has a direct impact on the interior layout and usable space. If you underestimate the wall thickness in the floor plan, the actual rooms may turn out much smaller than planned.
In Plan7Architect, you can set custom wall profiles and define the thickness for every wall individually. You can also assign material layers to represent straw, clay, lime plaster, and wood framing. This level of detail makes it possible to create realistic, buildable plans even if you’re still experimenting with the concept.
Load-Bearing or Post-and-Beam?
There are two main construction methods for straw houses: load-bearing straw bale walls, or a post-and-beam structure with straw used for insulation. Each method affects the floor plan differently.
If you go with load-bearing straw bales, your walls must be continuous and clearly support the roof structure. This limits where you can place windows and doors. Plan7Architect allows you to test different layouts and check the integrity of your design visually in 3D.
For a post-and-beam design, you can show timber posts separately from infill materials. The software gives you the flexibility to place beams, columns, and straw wall sections accurately, and to organize them in layers.
Step-by-Step: Creating Your Straw House Floor Plan in Plan7Architect
1. Choose the Right Wall Type
Start by defining your external walls. In the wall settings, you can choose the total thickness, material composition, and visual appearance. A good starting profile might include:
| Layer | Material | Thickness |
|---|---|---|
| Exterior Render | Lime Plaster | 3 cm / 1.2 inches |
| Insulation Core | Straw Bales | 45 cm / 18 inches |
| Interior Render | Clay Plaster | 2 cm / 0.8 inches |
This profile can be saved and reused throughout the project. For interior walls, you may choose thinner wood or clay partitions.
2. Place Windows and Doors Accurately
Straw walls require special framing around openings. In the software, you can insert standard or custom-sized windows and doors, and adjust the sill height, reveal depth, and lintel support.
You can view each window’s placement in both 2D and 3D, ensuring that the structural requirements are respected. This is especially useful if you are working with load-bearing bales.

3. Define the Roof Shape
Straw bale homes are often built with roof shapes that support rain protection and natural ventilation. Gable roofs and green roofs are popular choices.
Plan7Architect lets you define the roof structure in full detail:
-
Set pitch angles, overhangs, and eaves
-
Choose roof construction layers (timber frame, insulation, covering)
-
Add dormers or skylights
-
Visualize from inside and outside in 3D
4. Design Interior Layout
Now you can start planning the inside of your home. Use the room tool to place bedrooms, kitchen, bathroom, and living areas. With the thick outer walls already in place, you’ll see how much usable space remains.
You can add furniture, measure walking distances, and simulate open-plan layouts. Natural builders often opt for flexible, open rooms that allow for efficient heating and light use.
5. Add Eco-Features
With a straw house, sustainability is a top priority. You can incorporate passive solar design by orienting windows to the south, add roof overhangs for summer shading, and plan for cross-ventilation.
You can also simulate the shading impact of nearby trees or buildings in the software and plan rainwater harvesting areas around the house.
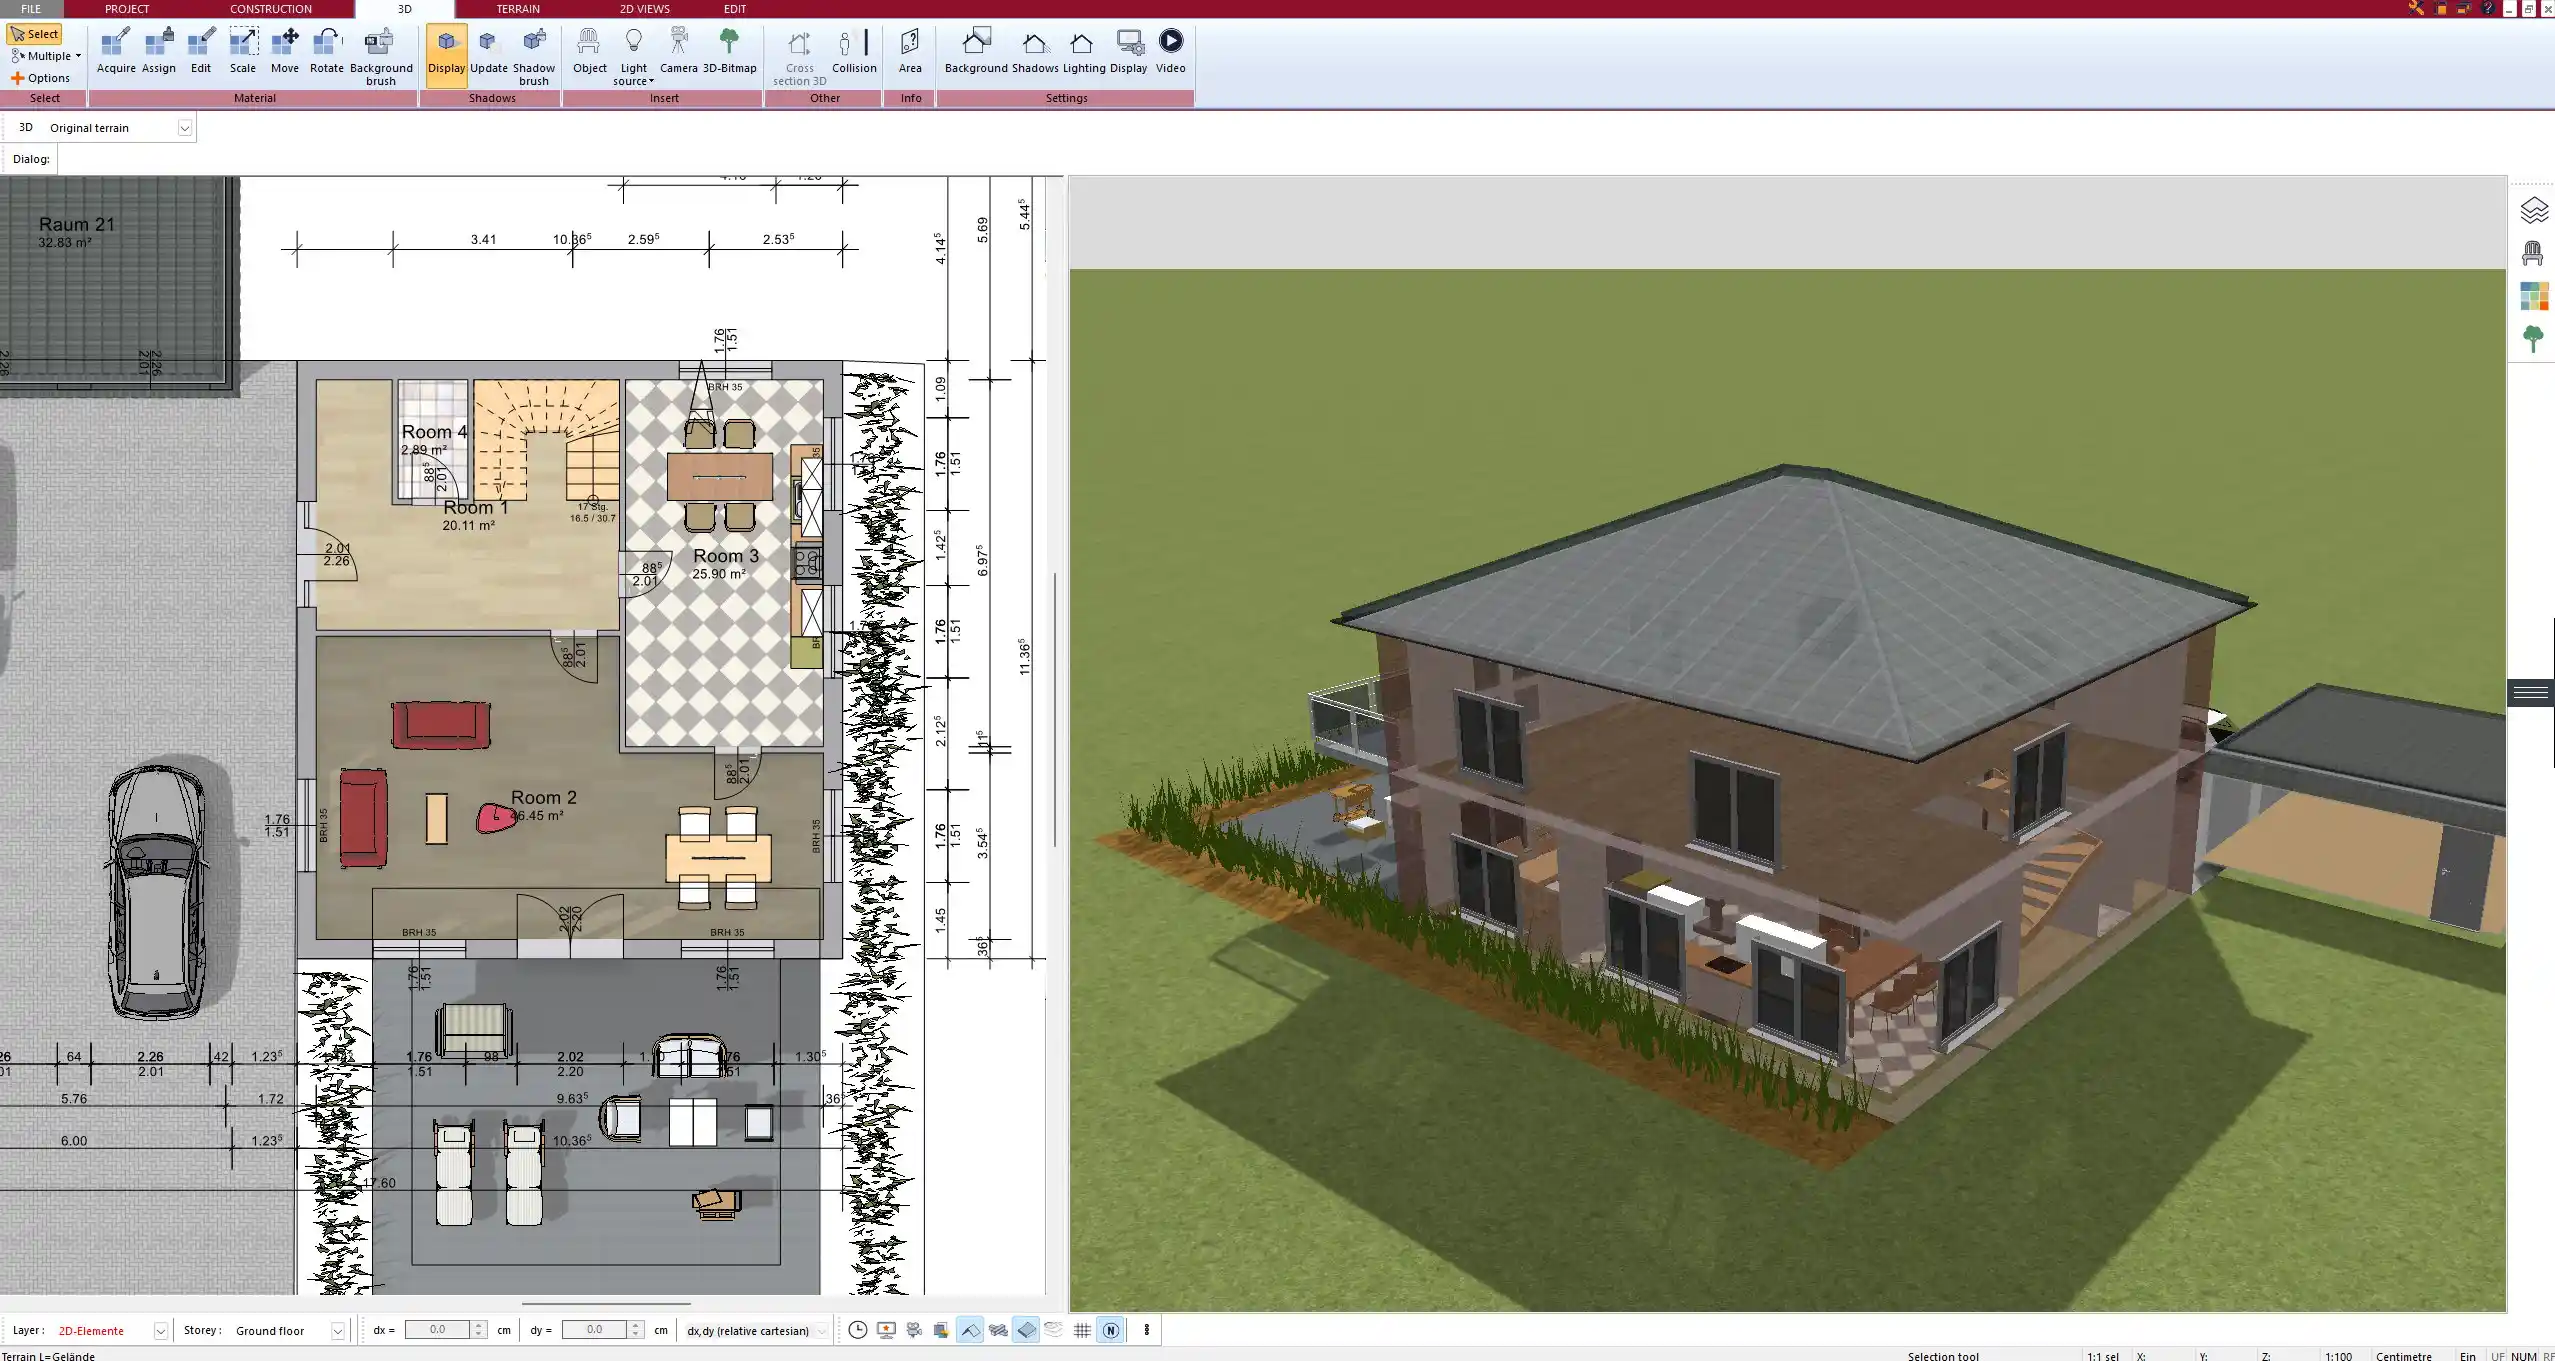
3D Visualization and Presentation Tools
Straw houses are not just practical — they’re beautiful. The software’s 3D view allows you to appreciate the full aesthetics of your design. You can walk through each room, check ceiling heights, and assess the impact of natural light.
You can switch textures and materials to simulate lime, earth, straw, wood, and more. This helps during discussions with your family, planners, or builders.
With photo-realistic rendering, you can generate lifelike images for permits, presentations, or crowdfunding campaigns.
Working with Units: Metric and Imperial
Plan7Architect supports both metric and imperial units. You can plan your straw bale house in meters, centimeters, feet, or inches — depending on what’s standard in your region. The setting can be changed at any time and applies to all dimensions, labels, and outputs.
This makes the software ideal for users in Europe, the US, Canada, the UK, Australia, or any region that uses local unit preferences.
Tip: Use Layers to Organize Natural Building Details
TIP: Create separate layers for structural framing, straw insulation, and interior finishes. You can toggle these on or off while planning and export different sets of drawings for your builder, your structural engineer, and your energy consultant. This makes it easier to coordinate and reduces errors on site.
Export and Share Your Straw House Design
Once your plan is ready, you can export it in multiple formats:
-
PDF for scaled printing
-
DWG or DXF for sharing with architects or permit authorities
-
High-resolution images or videos for presentations
-
3D project files for further processing
You can also create construction documentation with dimensions, material details, and annotations directly from within the software.

Optional: Use Templates or Start from Real Examples
If you don’t want to begin from scratch, you can use a base template and adapt it for straw bale construction. Plan7Architect includes several prebuilt sample houses that you can customize.
You can also import a hand-drawn sketch or a scanned building outline and use it as a background to trace walls and define rooms.
This is especially useful if you’ve already worked with an architect or have found inspiring layouts online.
Conclusion: Plan Naturally and Precisely
Plan7Architect provides everything you need to design a straw bale house from the ground up. Whether you’re planning a compact eco-home, an off-grid retreat, or a spacious natural family house, the software gives you the control and tools to turn your ideas into a professional floor plan — fully visualized in 3D and export-ready.
Plan your project with Plan7Architect

Plan7Architect Pro 5 for $99.99
You don’t need any prior experience because the software has been specifically designed for beginners. The planning process is carried out in 5 simple steps:
1. Draw Walls

2. Windows & Doors

3. Floors & Roof

4. Textures & 3D Objects

5. Plan for the Building Permit

6. Export the Floor Plan as a 3D Model for Twinmotion

- – Compliant with international construction standards
- – Usable on 3 PCs simultaneously
- – Option for consultation with an architect
- – Comprehensive user manual
- – Regular updates
- – Video tutorials
- – Millions of 3D objects available


