If you want to redesign or newly furnish your living room, Plan7Architect gives you all the tools to do it step by step – without needing any prior architectural knowledge. You can easily create or import your living room layout, rearrange furniture, try different materials for floors and walls, and even simulate lighting – all in a virtual environment. The software offers both a 2D floor plan view and a realistic 3D view, making it incredibly easy to visualize your ideas.
You can plan using either metric (meters and centimeters) or imperial (feet and inches) units. This flexibility is perfect whether you live in Europe, the US, or anywhere else. Simply select your preferred system in the settings and begin designing.
What Can You Change or Plan in the Living Room with Plan7Architect?
Layout Adjustments and Furniture Placement
One of the most useful features in Plan7Architect is the ability to modify your living room layout with just a few clicks. You can move or delete existing walls, resize windows and doors, and open up spaces to create a more modern and spacious look. This is particularly helpful if you’re thinking about combining your living room with an open kitchen or dining area.
Once your layout is ready, the fun part begins: furnishing. You can drag and drop furniture from a large, pre-installed object library. It includes:
-
Sofas and sectional couches
-
Coffee tables
-
TV units and bookshelves
-
Sideboards and display cabinets
-
Armchairs, rugs, and more
You can adjust the dimensions, rotation, and color of each item to match your real preferences or test different interior design styles.
Tip:
Always place large furniture items first. Then work around them with smaller accessories to ensure functional flow and a balanced look.
Floor, Wall, and Ceiling Design
Redesigning a living room also includes surface materials and colors. With Plan7Architect, you can:
-
Change the flooring to hardwood, tiles, vinyl, carpet, or concrete
-
Paint or wallpaper the walls using a wide variety of realistic textures
-
Add ceiling designs like wooden beams, spotlights, or recessed lighting
All materials can be tested in the 3D view so you instantly see what works and what doesn’t. You can even apply different styles to different walls – for example, a feature wall behind the sofa.
| Element | Options in Plan7Architect |
|---|---|
| Flooring | Hardwood, tile, carpet, vinyl, laminate |
| Wall coverings | Paint, wallpaper, exposed brick, wood |
| Ceiling finishes | Smooth, beams, panels, integrated lights |
Lighting and Daylight Simulation
Lighting is essential in any living room, and with Plan7Architect you can experiment freely. The software allows you to simulate both natural and artificial lighting.
You can:
-
Place ceiling lights, floor lamps, wall lights, and table lamps
-
Adjust brightness, color temperature, and angle
-
Simulate natural daylight based on window placement and time of day
This makes it easy to plan cozy lighting for evenings or maximize daylight if you want a bright, welcoming space.
Tip:
Use daylight simulation to decide where to place your reading chair or indoor plants. Natural light makes a big difference in these areas.
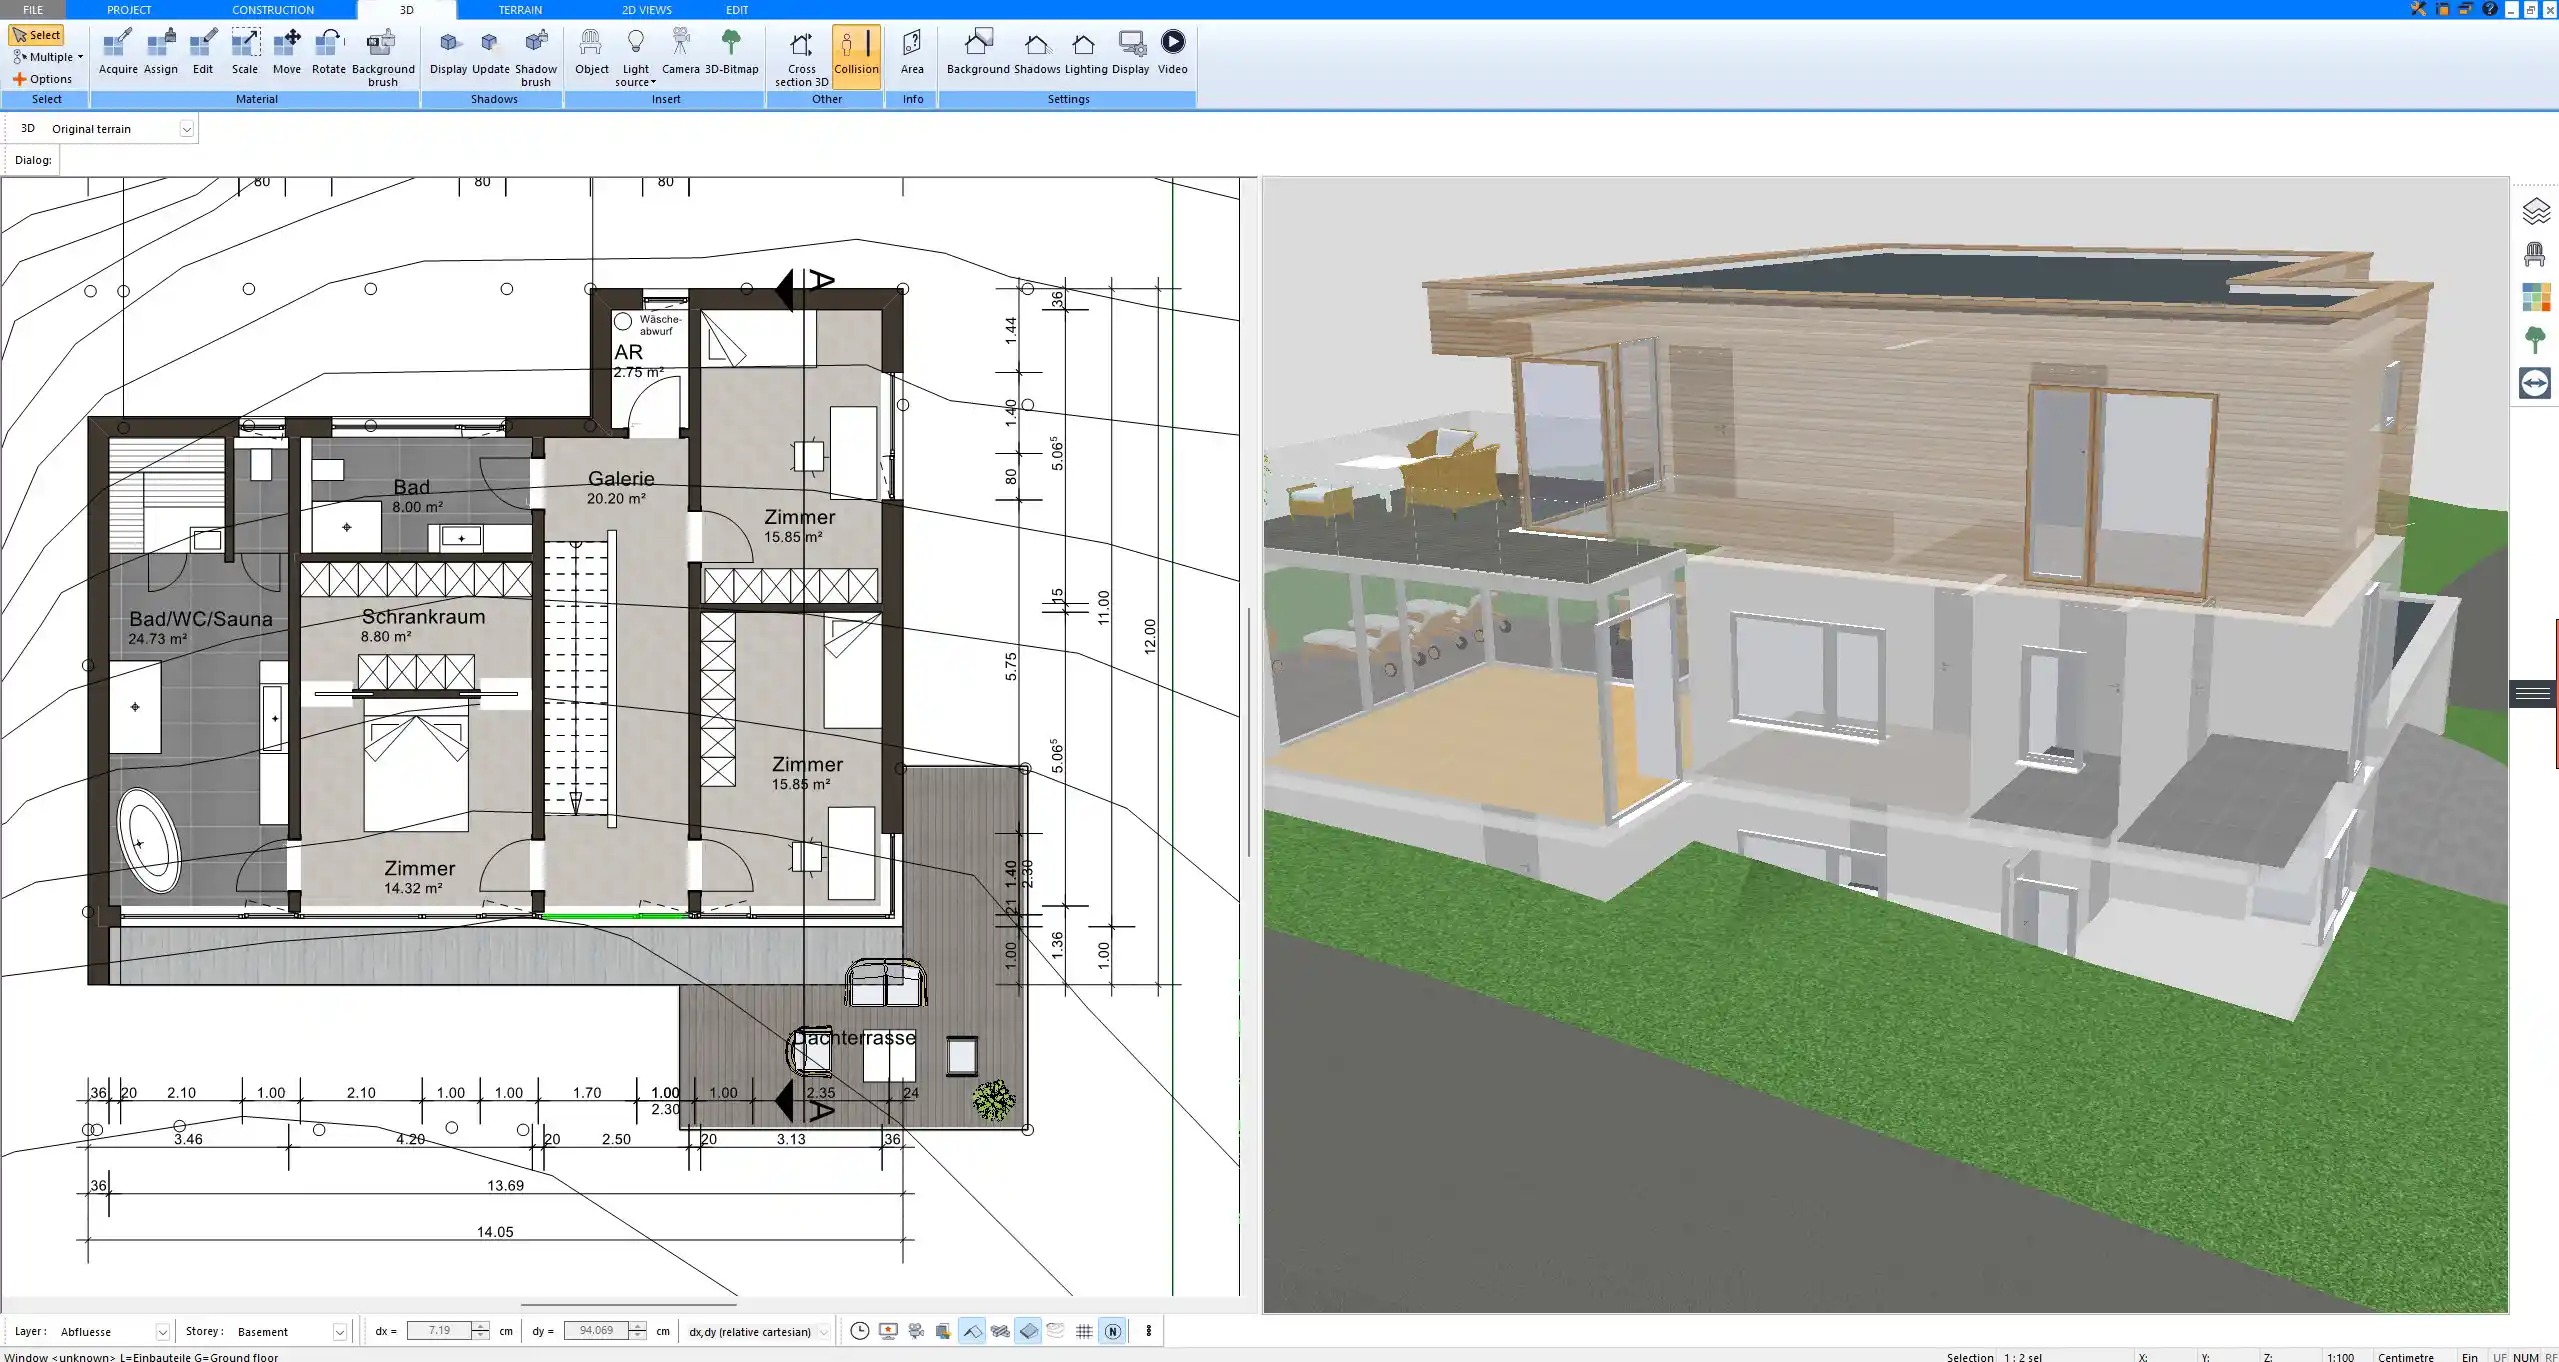
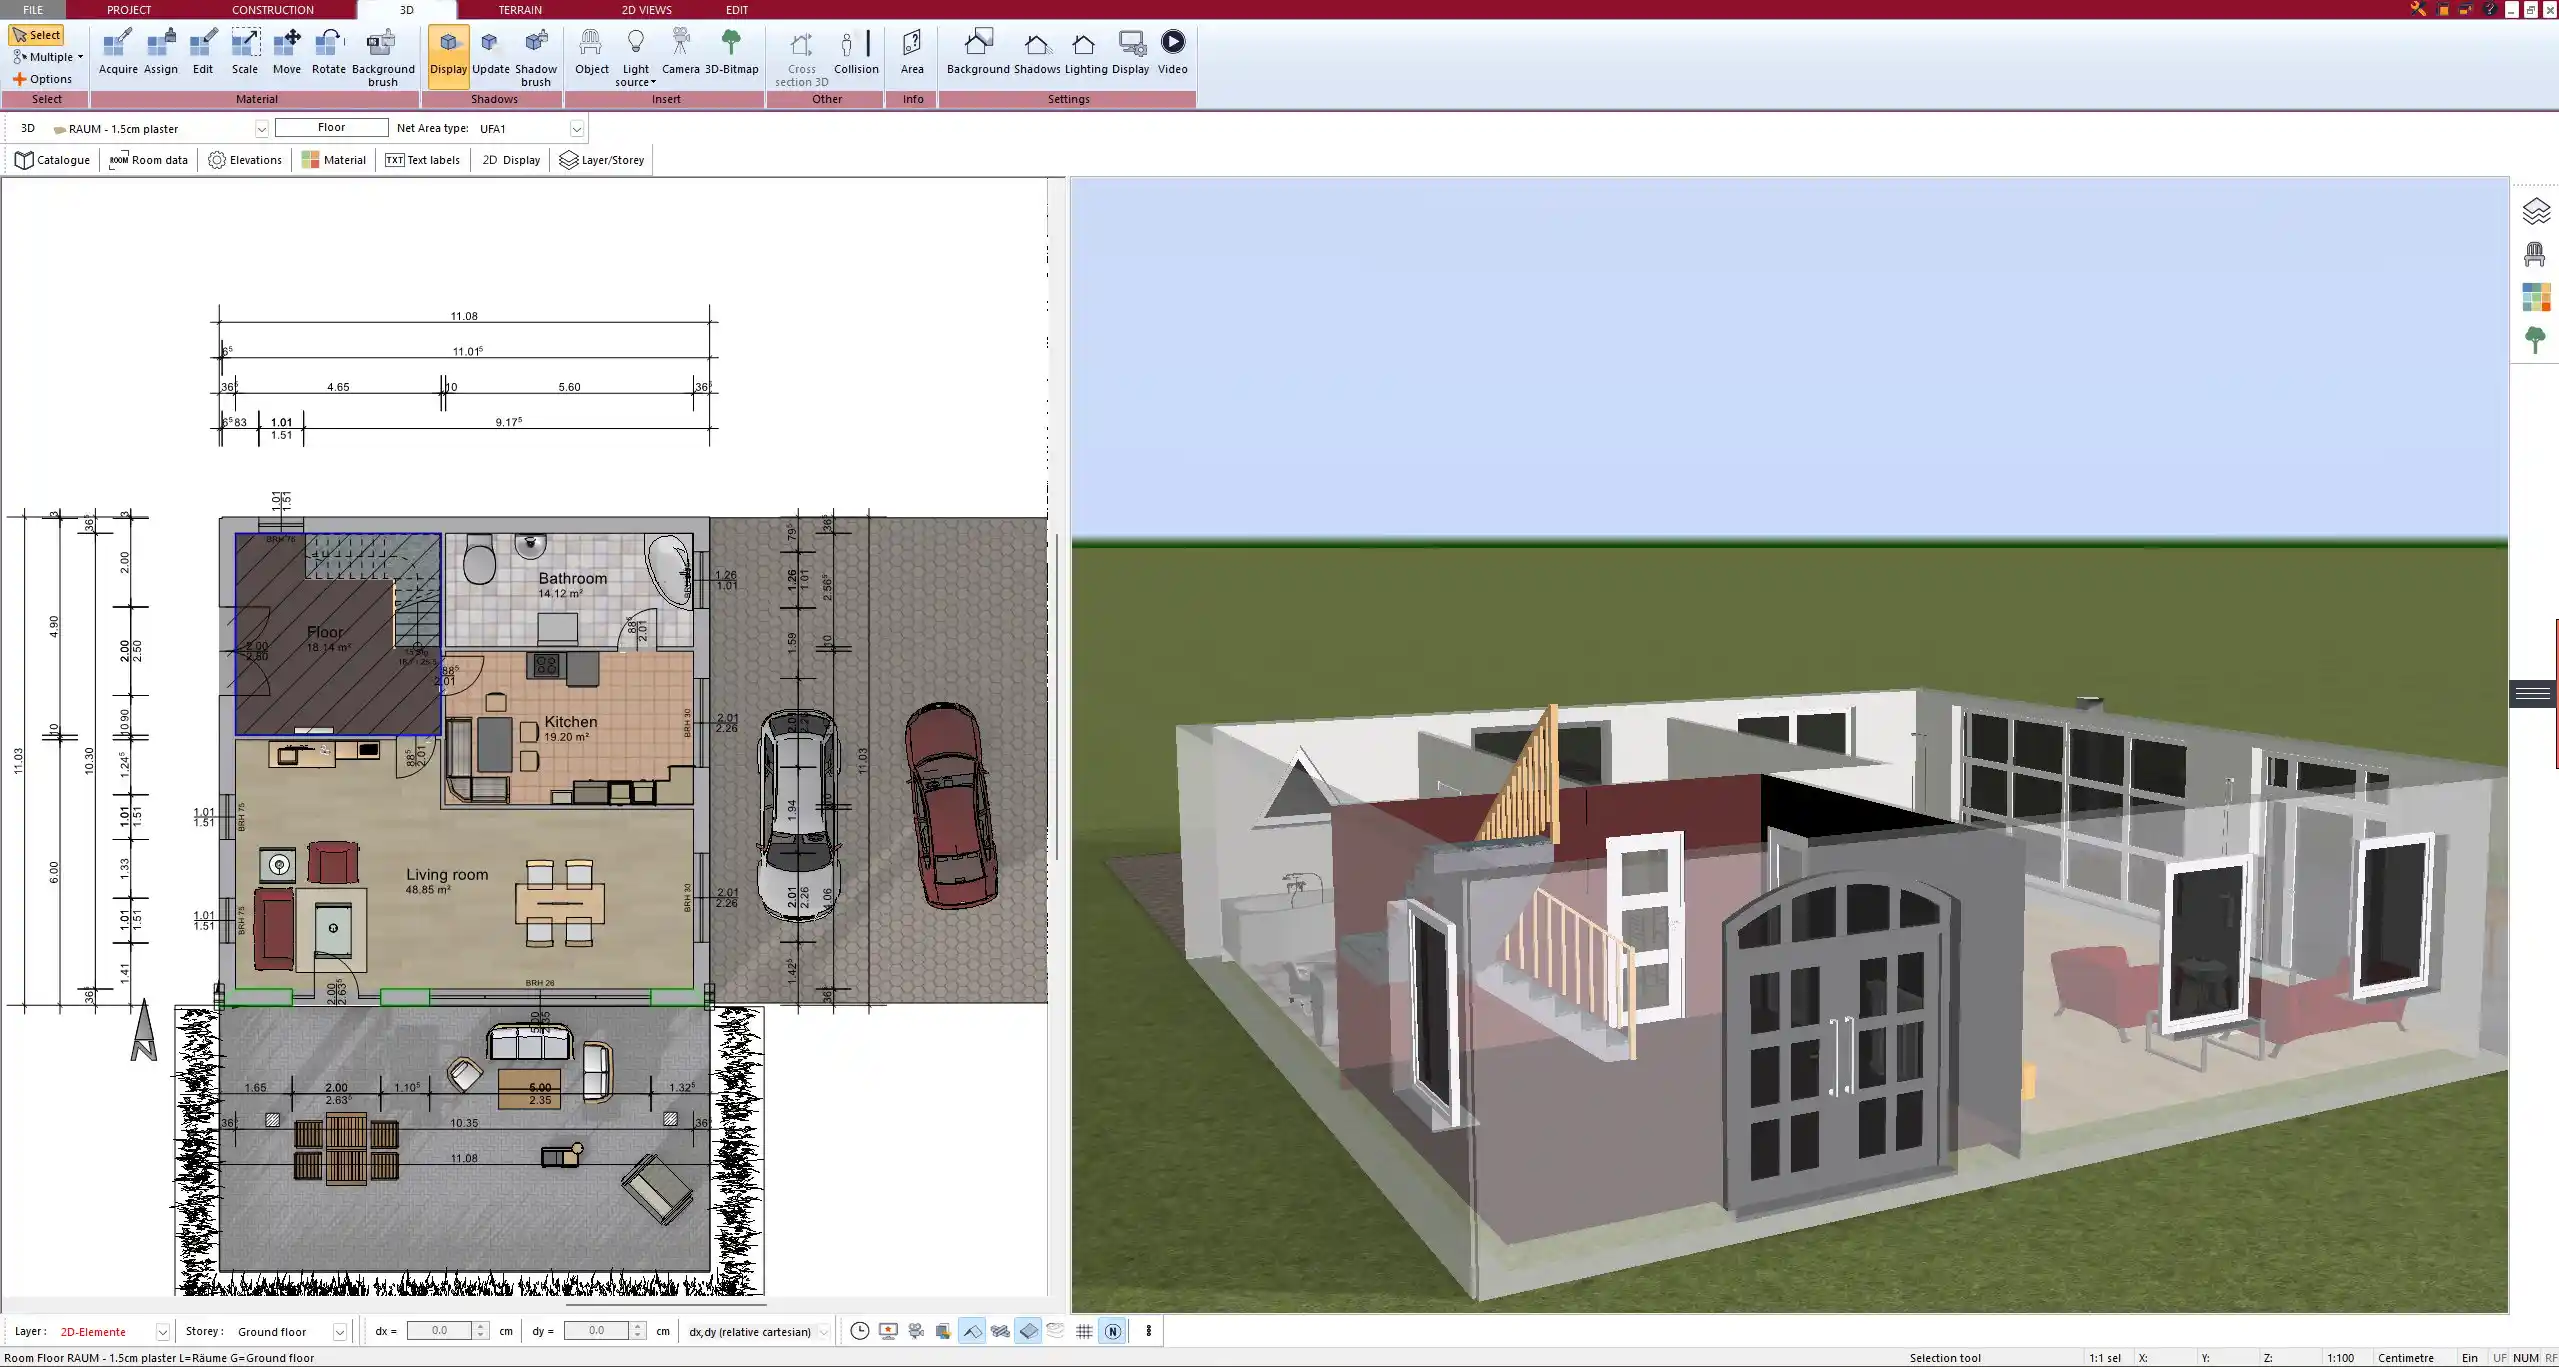
Design in 3D – See Changes Instantly
The 3D view in Plan7Architect allows you to virtually walk through your redesigned living room. You can move around like in a video game and examine every detail from different angles. This is especially helpful when testing furniture arrangements or checking proportions between objects.
Whenever you make changes in 2D, they are immediately visible in 3D. And if you prefer to make edits directly in 3D – like moving a chair or swapping a lamp – that’s possible too. The software updates both views simultaneously.
This real-time feedback reduces the risk of planning errors and helps you design a living room that looks and feels exactly the way you want.
Use Precise Measurements in Your Local Unit System
Whether you are planning in meters or feet, Plan7Architect lets you work in your preferred measurement system. All lengths, furniture sizes, and distances can be set using metric or imperial units, depending on your regional preference.
For example, if you’re in the US and your sofa is 8 feet long, you can enter that directly. If you’re in Europe and your room is 4.5 meters wide, that works just as easily.
You can also switch between unit systems at any time in the project settings.
| Unit System | Examples |
|---|---|
| Metric (EU) | meters (m), centimeters (cm) |
| Imperial (US) | feet (ft), inches (in) |
Additional Features for Living Room Planning
Layer and Floor Management
If your living room includes more than one level – for example, a step-down area or a gallery – you can manage multiple layers in your design. This is useful for split-level homes or loft-style interiors where different ceiling heights and stair access need to be considered.
Each layer can be individually planned, measured, and furnished.
Import Existing Plans
If you already have a floor plan of your living room, you don’t need to start from scratch. You can import:
-
PDF plans
-
Scanned drawings as images (JPEG, PNG)
-
DWG or DXF files from architects
Once imported, simply trace over the layout, and all elements become editable within Plan7Architect.
This is also ideal if you’re renovating a room in an existing home.
Render or Export Your Design
Once you’re happy with your plan, you can export it in various formats for communication or presentation. Rendered images are especially helpful when sharing your idea with family, friends, or professionals.
You can export:
-
3D images from any angle
-
3D videos (walkthroughs)
-
Project files for future editing
All exports can include both the visual layout and technical measurements.
Tips for Living Room Planning with Plan7Architect
-
Start by entering the exact room dimensions – measure wall to wall including windows and doors.
-
Use the included templates as a starting point if you’re unsure how to begin.
-
Don’t overfill the room. Use the 3D view to make sure furniture placement feels spacious.
-
Save different versions of your plan so you can compare ideas.
-
Use tags and layers to keep your project organized, especially when testing multiple styles.
Why Plan7Architect Is Ideal for Living Room Projects
In my experience, Plan7Architect strikes the perfect balance between simplicity and power. You don’t need CAD experience to use it. The interface is user-friendly, yet the features are detailed enough for demanding projects. It’s a great tool whether you’re redesigning your own living room or helping someone else.
You pay once and get access to all features. There’s no monthly subscription, and you can cancel your purchase within 14 days if it’s not the right fit – a great alternative to time-limited trial versions.
Create Your Living Room Plan Now with Plan7Architect
Plan7Architect lets you redesign your living room just the way you imagine it. Whether you want to move walls, test furniture layouts, experiment with materials, or simulate lighting – everything is possible in a realistic 3D environment. The software supports both metric and imperial measurements and gives you full creative freedom, regardless of where you live.
Try it today and take advantage of the 14-day cancellation policy if you change your mind. You can cancel easily via email – no risk, no pressure.
Plan your project with Plan7Architect

Plan7Architect Pro 5 for $99.99
You don’t need any prior experience because the software has been specifically designed for beginners. The planning process is carried out in 5 simple steps:
1. Draw Walls

2. Windows & Doors

3. Floors & Roof

4. Textures & 3D Objects

5. Plan for the Building Permit

6. Export the Floor Plan as a 3D Model for Twinmotion

- – Compliant with international construction standards
- – Usable on 3 PCs simultaneously
- – Option for consultation with an architect
- – Comprehensive user manual
- – Regular updates
- – Video tutorials
- – Millions of 3D objects available


