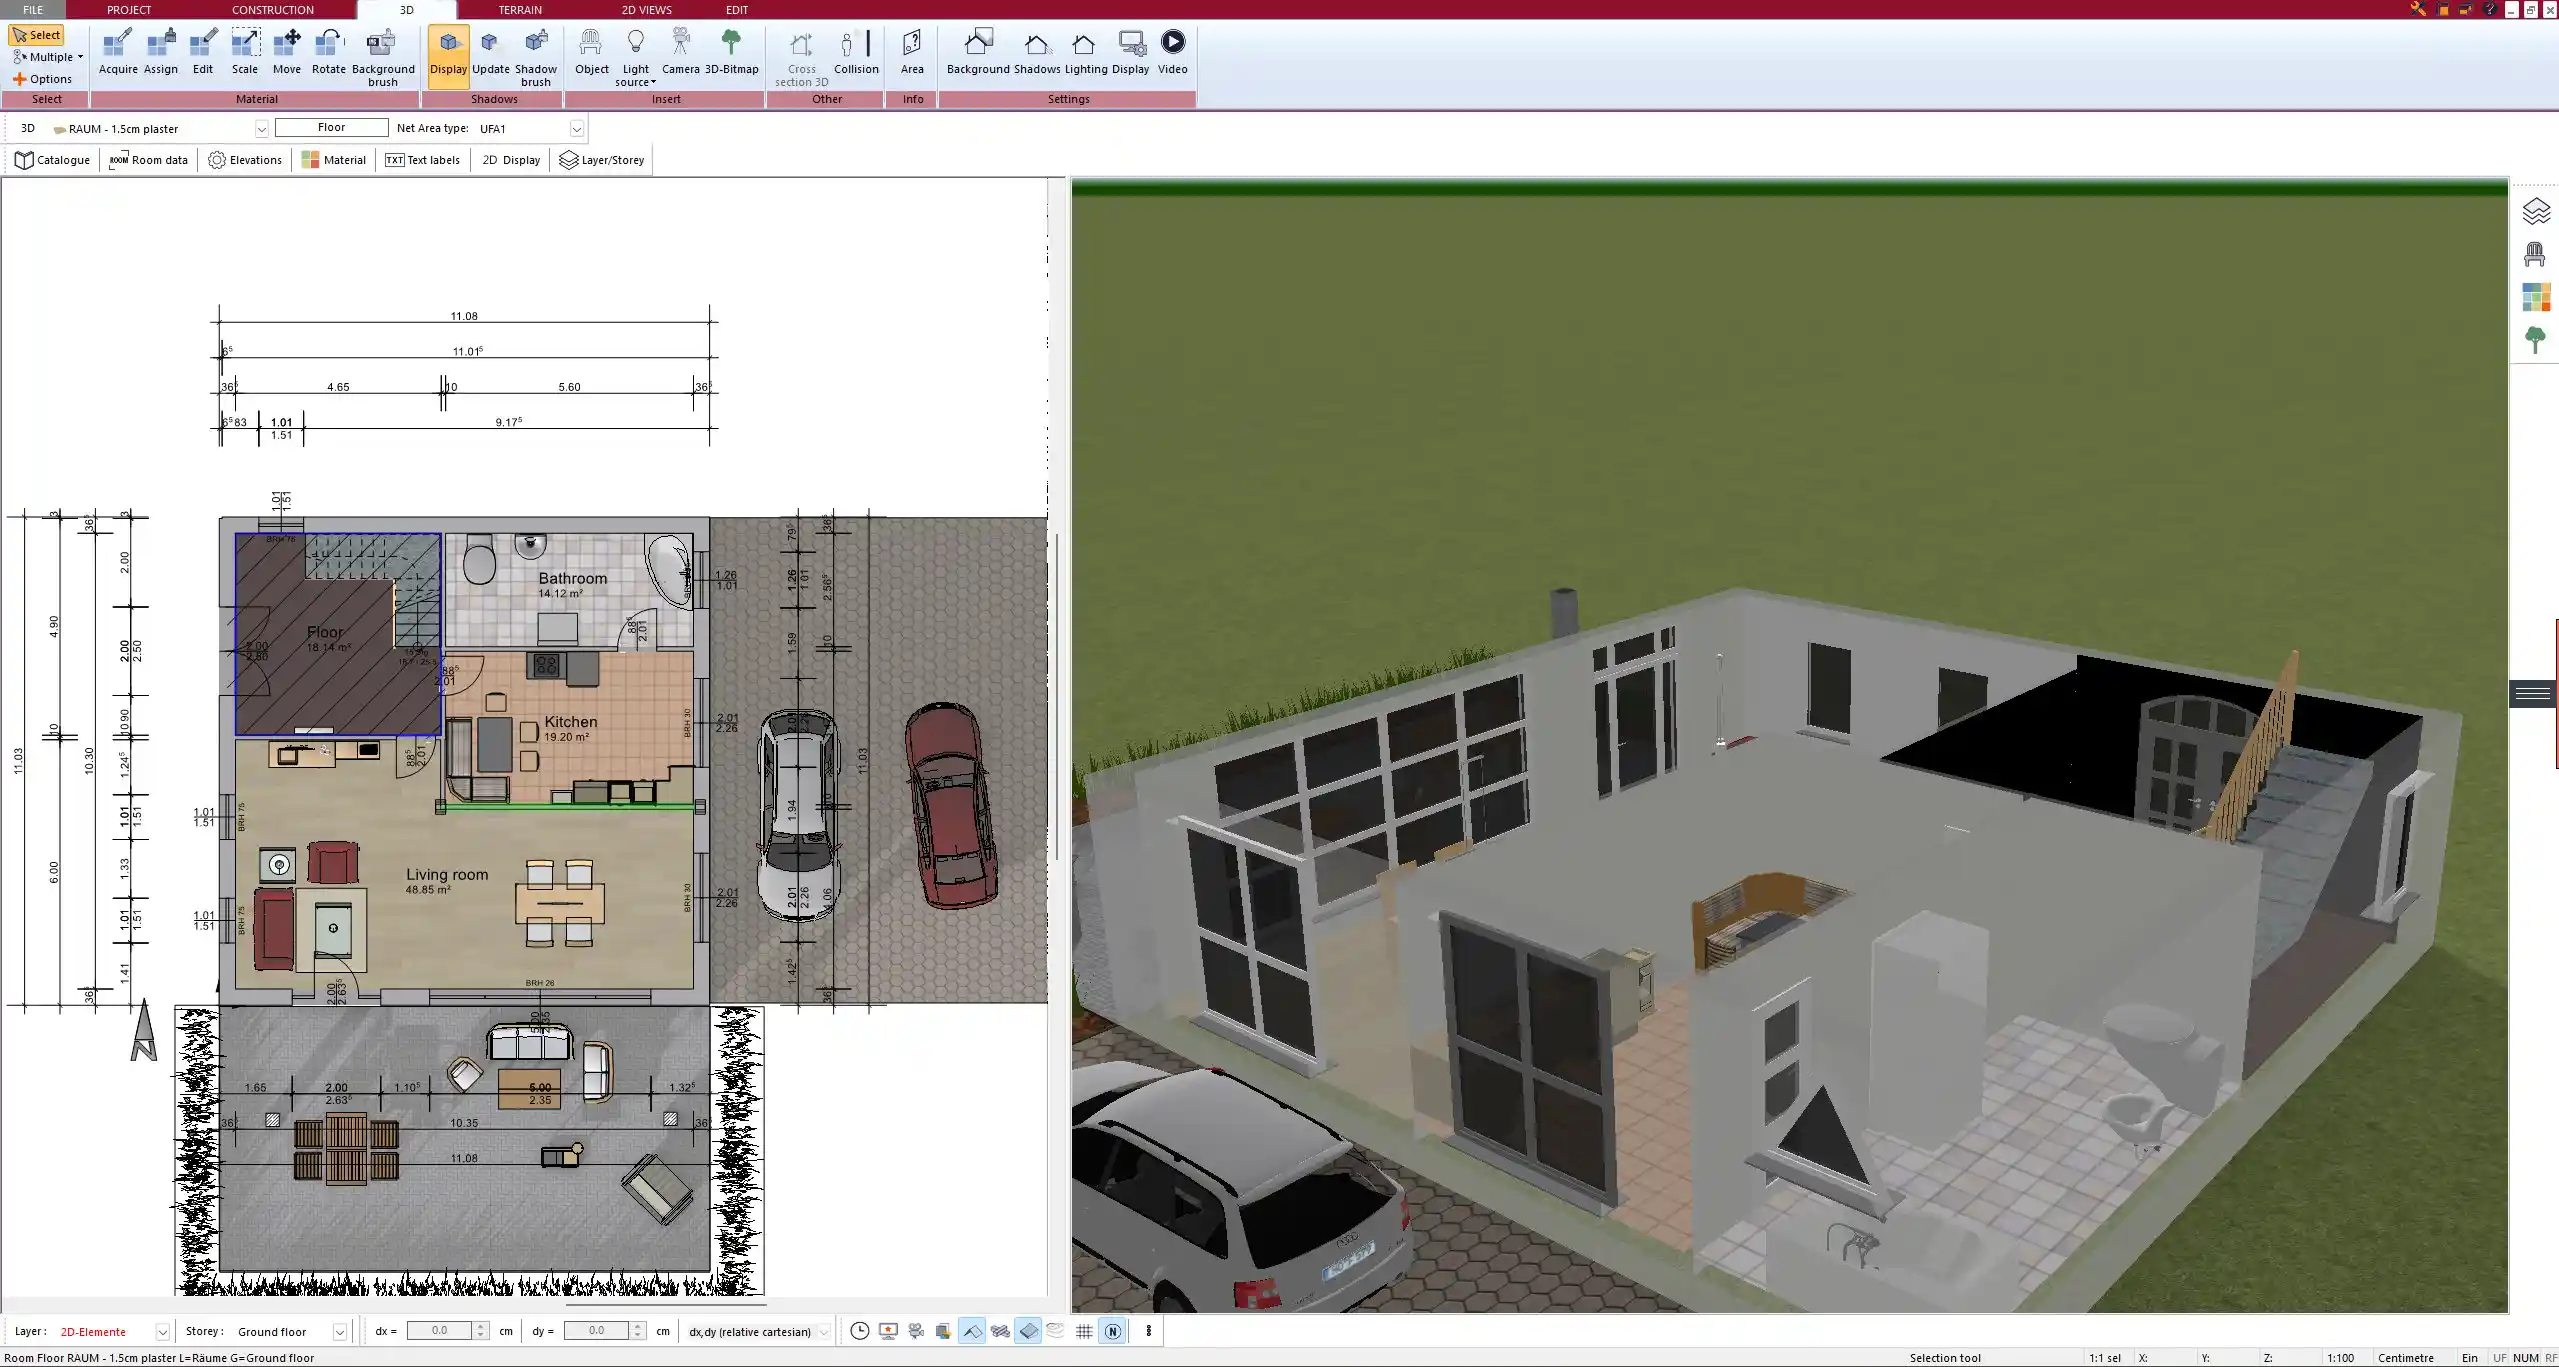
To design a loft floor plan with Plan7Architect, you start by opening the software and selecting a suitable base project or importing an existing template. Then, set up the basic dimensions such as floor height and ceiling slope—especially important in lofts with pitched or open ceilings. The software lets you configure all walls, floors, windows, and support structures using an intuitive drag-and-drop interface.
You can easily divide open spaces into functional zones using lightweight walls, visual dividers, or different flooring textures. Staircases, mezzanine levels, and modern railings can all be added directly from the built-in library. You work in 2D and 3D simultaneously, which means every change is immediately visible in realistic visualization.
Plan7Architect allows you to switch between metric (square meters) and imperial (square feet) units at any time, which is especially useful if you’re working internationally or sharing plans with others abroad. Once you’re done, you can export a detailed construction-ready floor plan or a photorealistic 3D presentation.
Key Features That Make Plan7Architect Ideal for Loft Designs
Flexible Wall and Floor Configurations
One of the main reasons I recommend Plan7Architect for lofts is how easy it is to adapt the space structurally. You can freely adjust:
-
Floor thickness and height
-
Wall thickness and height
-
Wall angles for attic or industrial-style lofts
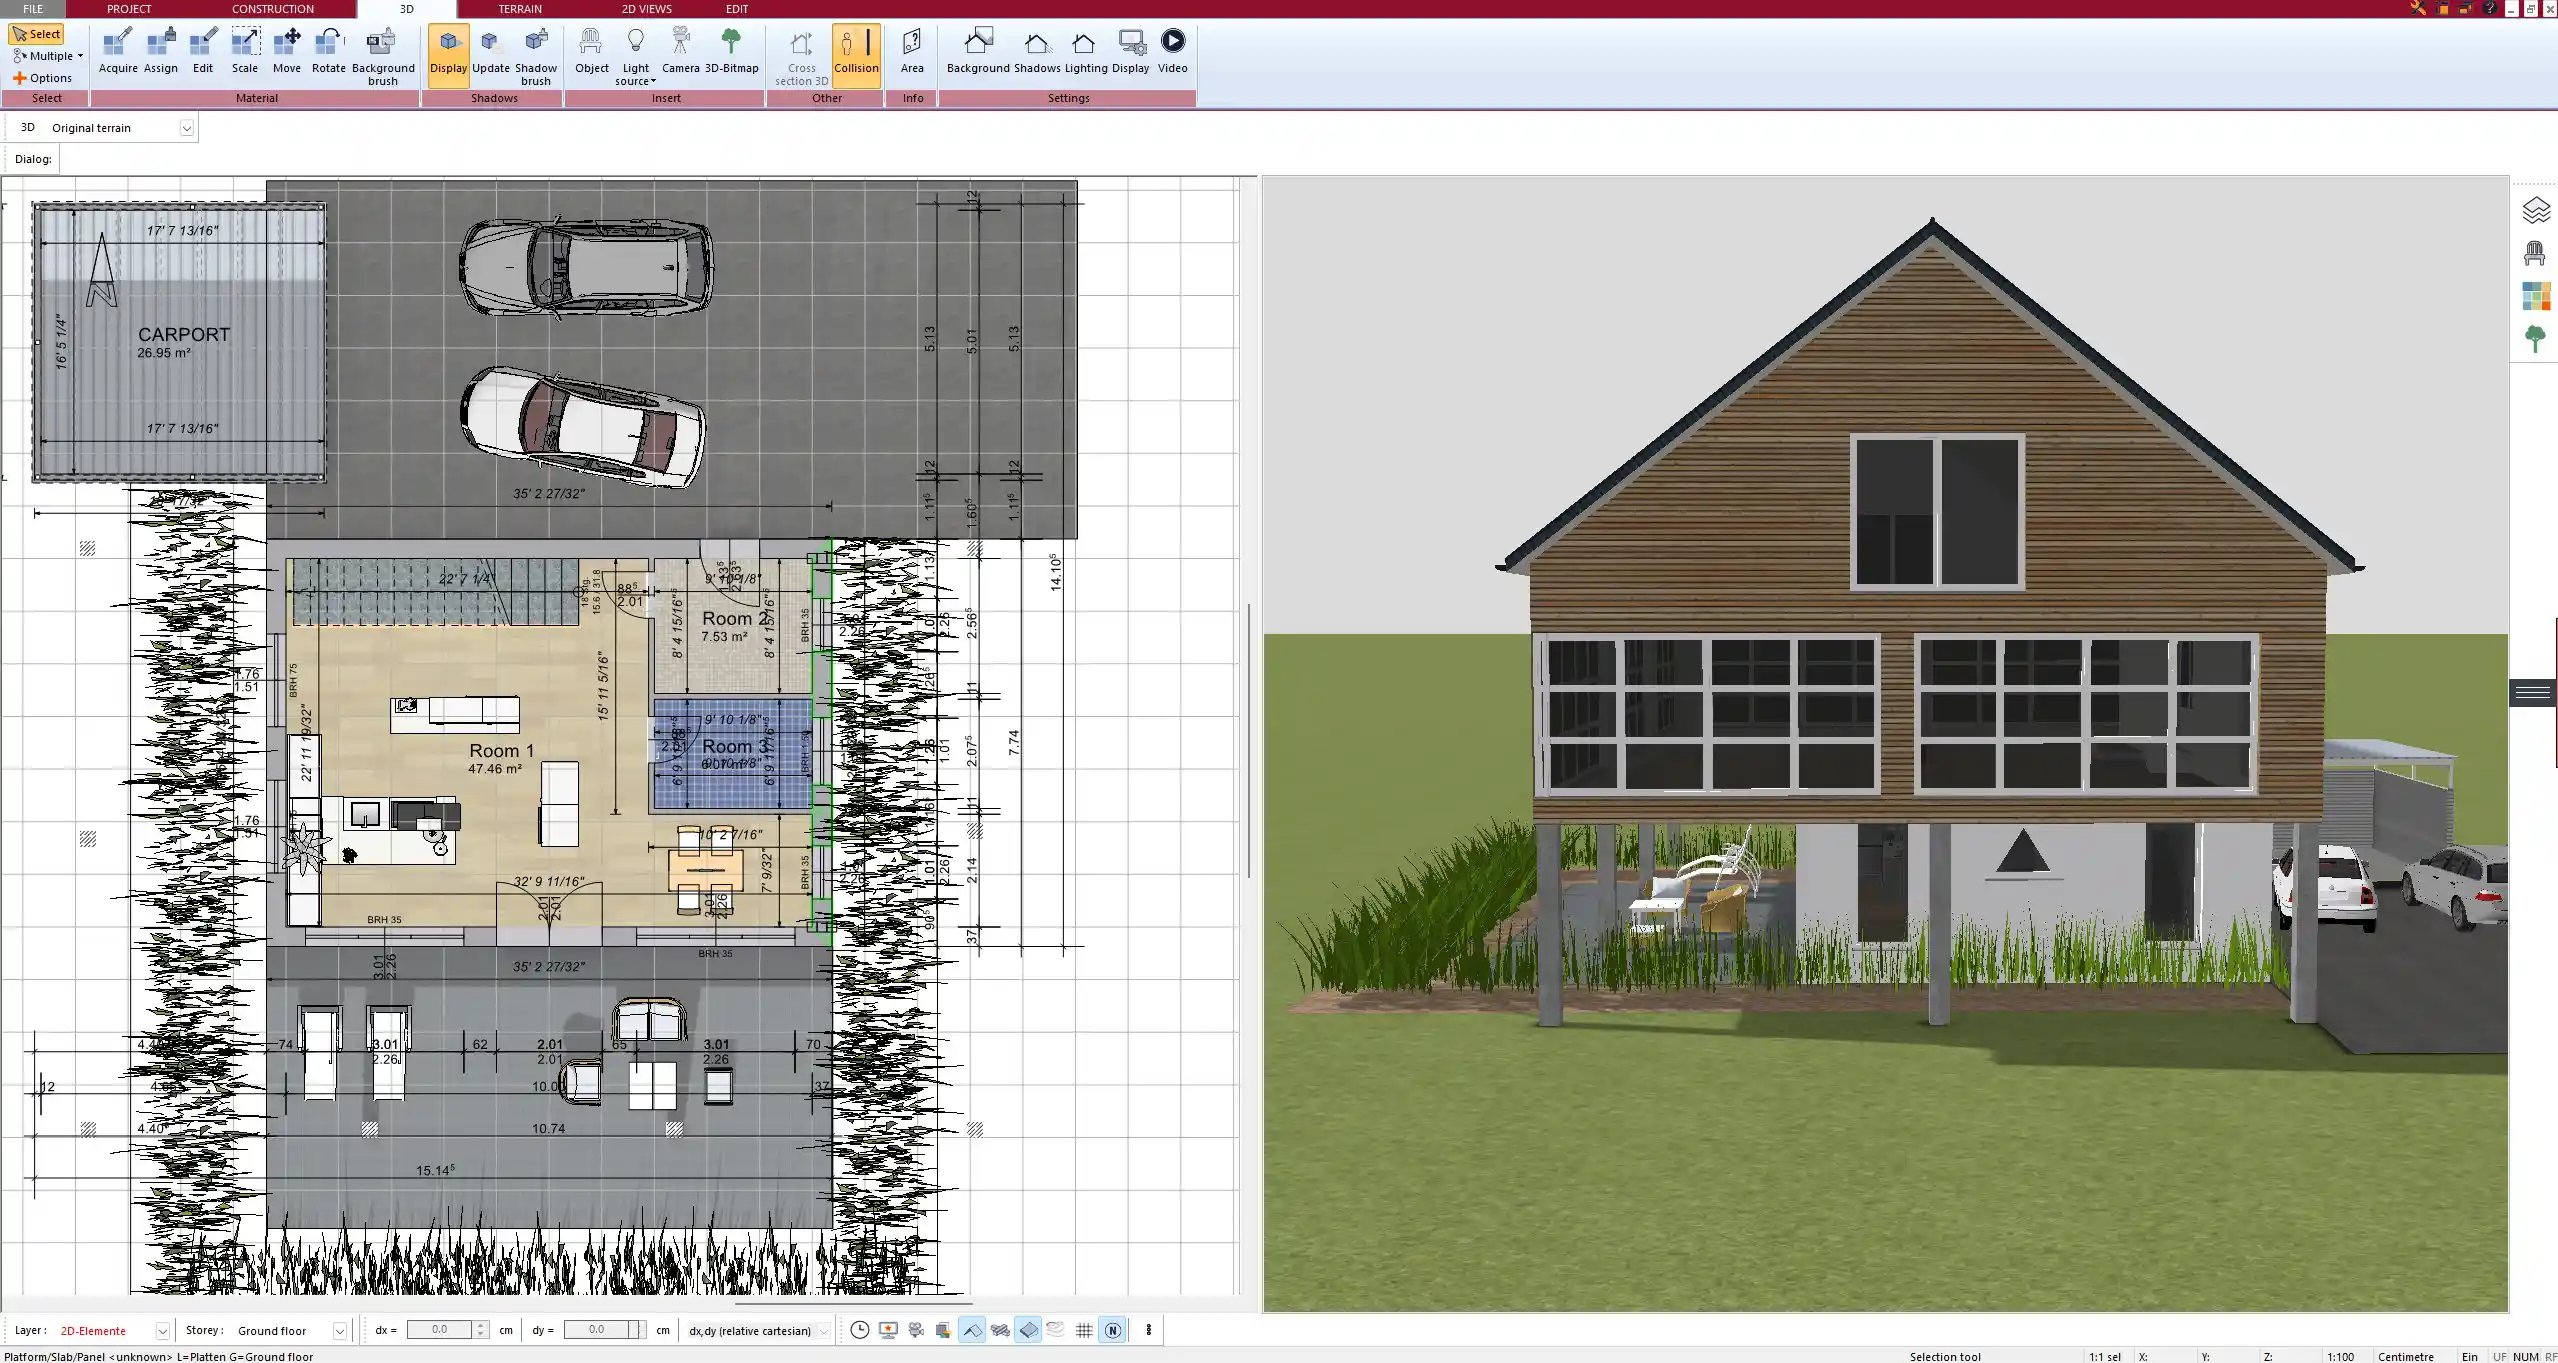
This flexibility is crucial when designing a loft with slanted ceilings or mixed-level flooring. The software also allows for partial height walls—perfect for visual separation without compromising the open feeling typical of loft layouts.
Open Floor Concepts and Split Levels
Lofts are known for their openness, and Plan7Architect helps maintain that feel. You can:
-
Design double-height areas with exposed beams
-
Add mezzanines above kitchen or living zones
-
Integrate floating staircases without full enclosures
The software automatically aligns objects across levels, which is helpful for creating visually clean designs. I’ve used it myself to create a split-level loft that visually separates work and living zones without using full walls.
Accurate Planning with Metric and Imperial Units
Whether you’re designing in square meters or square feet, Plan7Architect lets you choose the unit system that fits your needs. This is useful if you’re working with contractors or designers in different countries. You can switch units any time within the project settings, and all measurements, annotations, and floor area calculations update instantly.
What to Consider When Designing a Loft Floor Plan
Emphasize Openness
When designing a loft, avoid unnecessary interior walls. Open space is key to the loft aesthetic. Instead of dividing the space traditionally, consider:
-
Furniture placement for zoning
-
Different floor materials or colors to define areas
-
Partial height walls or glass partitions
Tip: Use kitchen islands, open shelves, or back-to-back sofas to visually separate areas like kitchen, dining, and living rooms without compromising the open feel.
Lighting and Window Placement
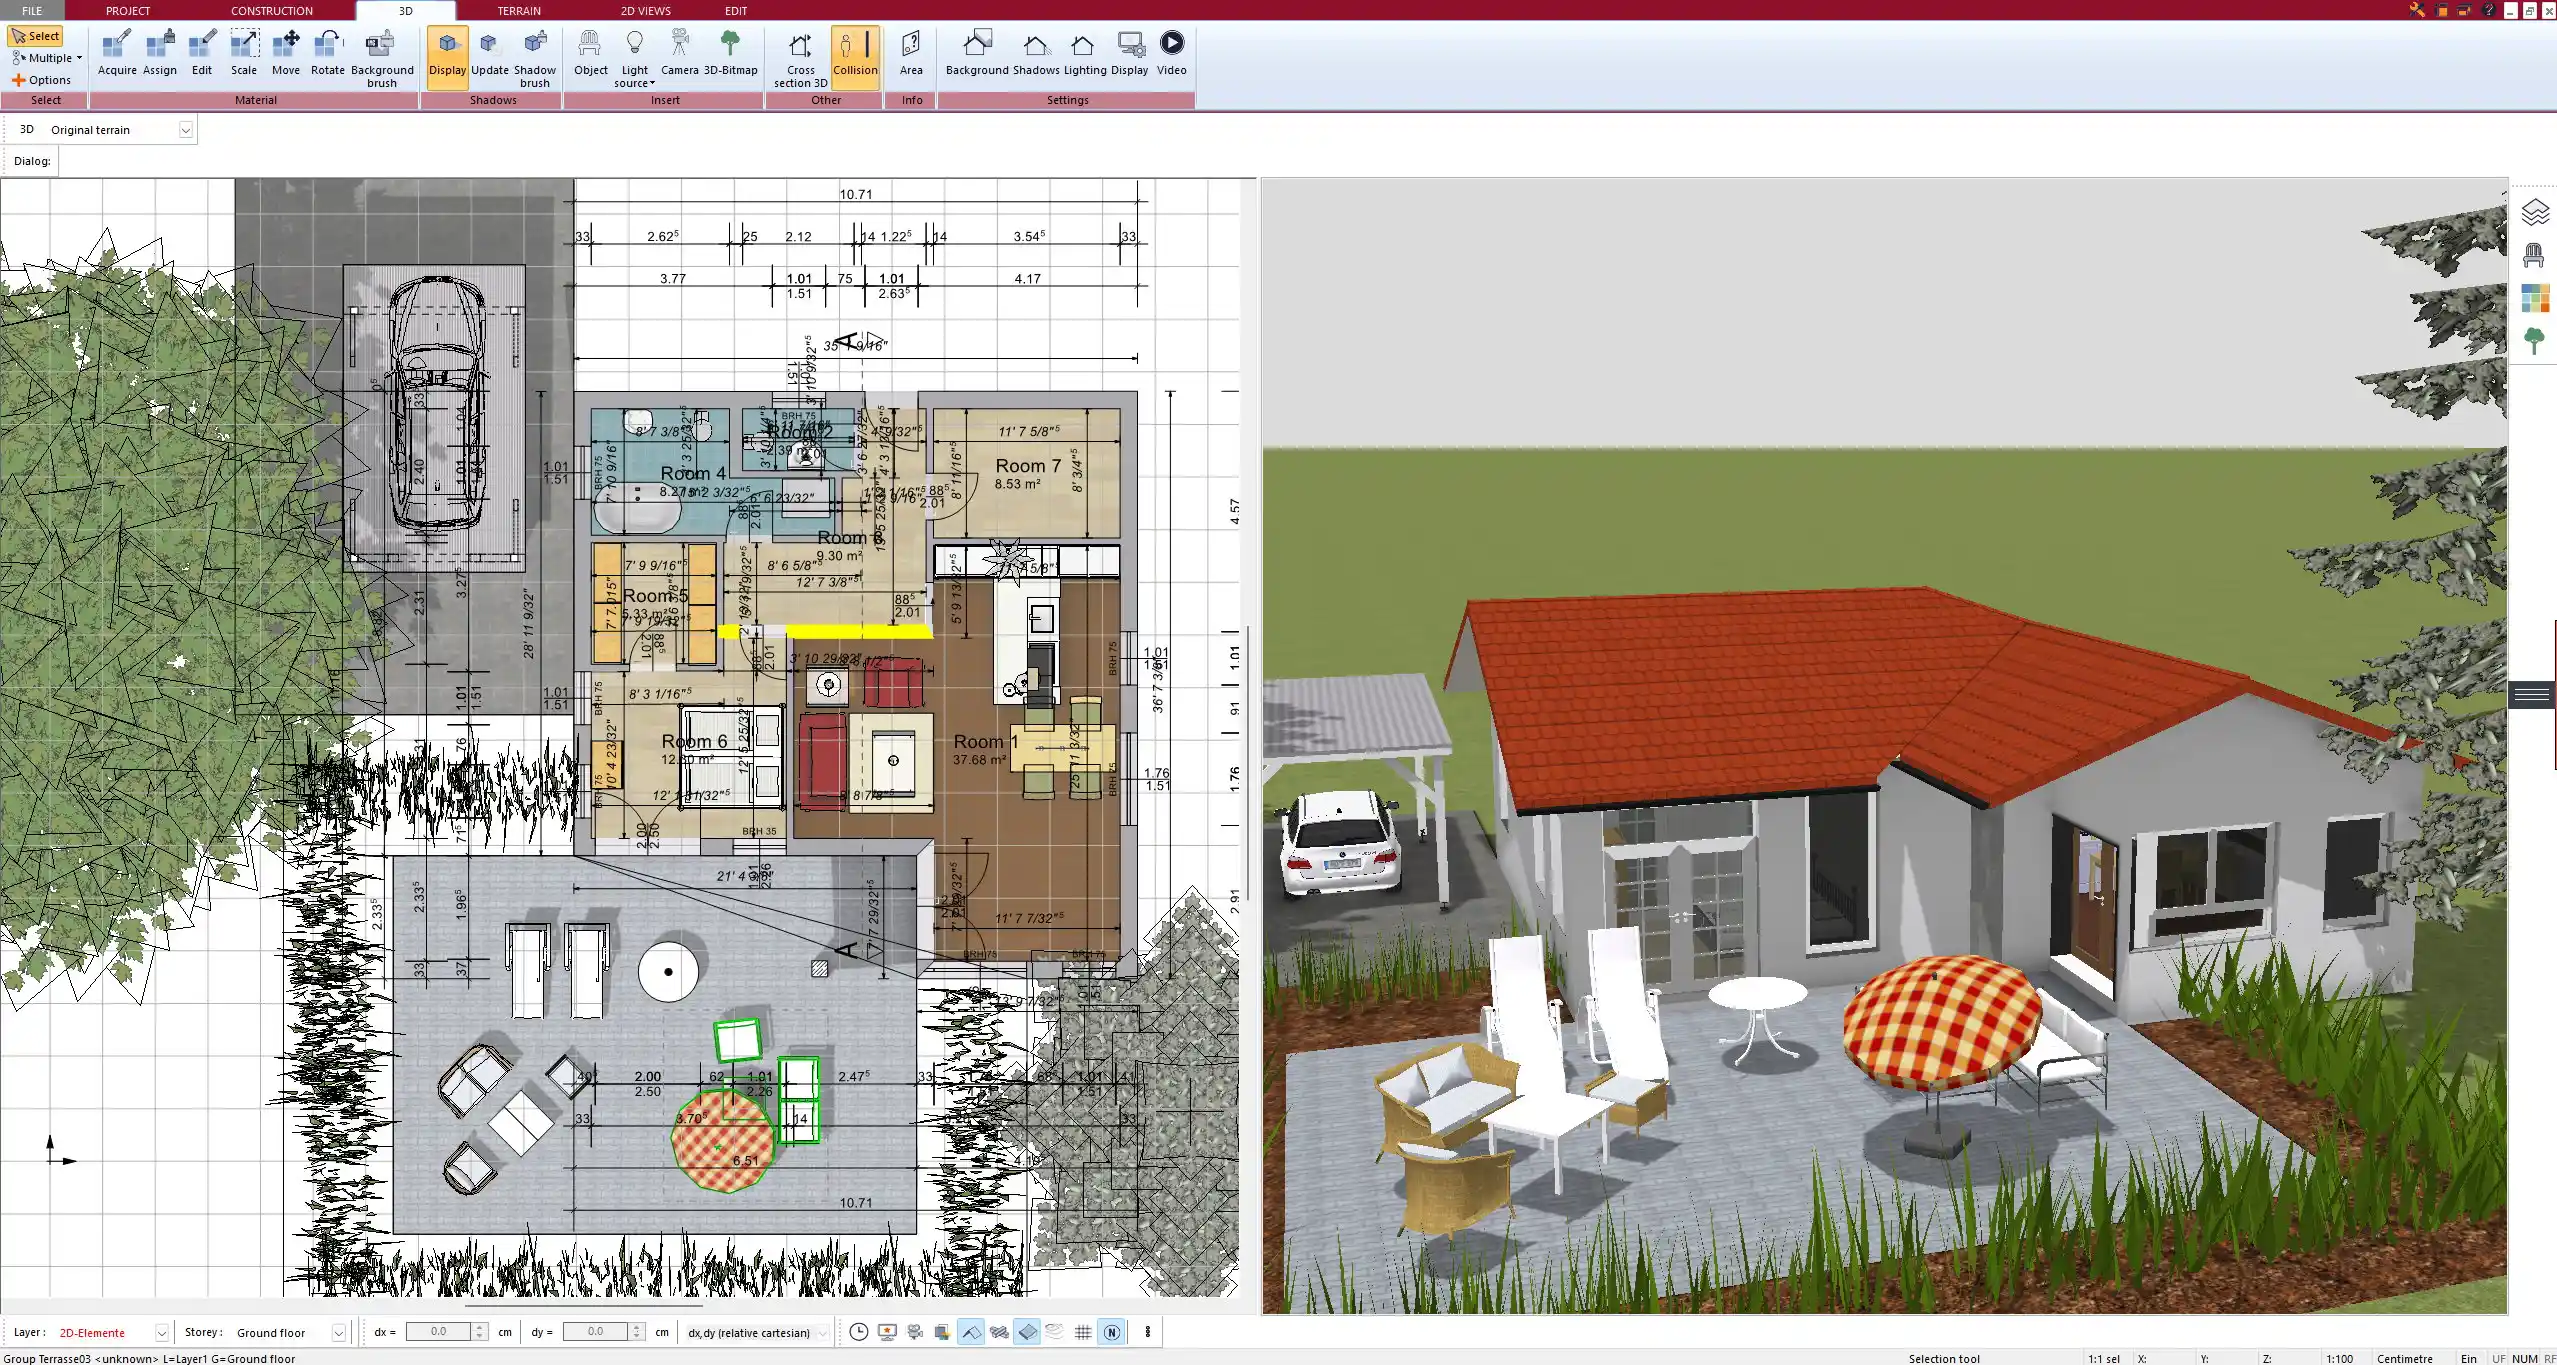
Lofts usually feature large industrial windows or skylights. Plan7Architect allows you to place and resize windows freely—even across multiple walls or up to the ceiling.
You can simulate natural light direction in 3D view to check:
-
How light spreads throughout the space
-
Where shadows fall
-
Whether interior areas remain too dark
This is especially helpful when deciding where to place your kitchen or work zone.
Storage and Utilities
Lofts often lack built-in storage, so you need to plan smart. Use built-in cabinets, under-stair storage, and vertical space efficiently. In Plan7Architect, you can add furniture and cabinets from the library or import custom 3D models.
For bathrooms and kitchens, it’s smart to position them along the same wall or stacked above each other on different floors to simplify plumbing and ventilation planning. The software includes object groups for sanitary and utility installations, which can be positioned and rotated freely.
Structural Elements
In many lofts, structural elements like beams or steel columns are part of the aesthetic. You can:
-
Display or hide load-bearing elements in the 3D view
-
Choose different materials (wood, concrete, steel) for beams and supports
-
Mark columns that must remain untouched during remodeling
This feature helped me design around two central steel posts without sacrificing space or symmetry.
Staircases and Railings
Plan7Architect includes a detailed stair planning tool. You can choose from:
-
Spiral stairs
-
Floating stairs
-
L-shaped or straight stairs
Each can be adapted in width, height, and material. Railings are also available in various styles—glass, metal, wood—so you can match the design style of your loft. Mezzanine platforms and their stairs integrate seamlessly into the 3D model.
Design Styles That Work Well for Lofts
Lofts are flexible by nature and adapt well to various interior styles. Below is a table with the most popular styles and key elements to implement in Plan7Architect:
| Style | Key Elements in Plan7Architect |
|---|---|
| Industrial | Exposed brick walls, steel beams, concrete floors |
| Scandinavian | Light wood flooring, white walls, minimal furniture |
| Urban Modern | Black/white contrast, open kitchen, glass partitions |
| Boho Chic | Mixed textures, plants, rugs, warm lighting |
| Minimalist | Clean lines, hidden storage, monochrome color scheme |
You can mix these styles using the object and texture libraries. For example, apply a concrete texture to the floor, combine it with a white brick wall, and add floating wooden stairs.
Exporting and Presenting Your Loft Plan
Once your plan is ready, you have multiple export options. For technical planning:
-
Export as scaled 2D PDF with all dimensions
-
Include electrical, plumbing, and heating layers
-
Print with custom legends and furniture labels
For client presentations or internal review:
-
Generate photorealistic 3D renders
-
Create walkthroughs or camera animations
-
Export 3D models for external rendering tools
All exports can be adjusted to match the unit system you’re using (m² or sq ft), and labels update automatically. I often send both technical and visual versions of a plan to ensure everyone—from builders to clients—understands the layout.
Tips for Making the Most of Plan7Architect for Lofts
-
Use layers: Keep technical planning, zoning, and furniture on separate layers to stay organized
-
Save views: Store different layout scenarios (e.g., with and without mezzanine) to compare side by side
-
Work with templates: Save your custom loft layout as a template for future use
-
Leverage object filters: Use search and filtering to quickly find loft-appropriate items like open shelves, steel stairs, or double-height curtains
Tip: If you’re unsure how to start, open a pre-made loft template and modify it. This saved me hours when I created my first loft layout.
Final Thoughts – Plan a Loft with Confidence
With Plan7Architect, designing a loft is not only efficient but also enjoyable. The software supports both metric and imperial units, allowing you to plan for any region without limitations. Whether you’re designing a modern industrial loft or a cozy minimalist hideaway, Plan7Architect gives you the tools to visualize, adjust, and finalize your layout—all in one place.
Plan your project with Plan7Architect

Plan7Architect Pro 5 for $119.99
You don’t need any prior experience because the software has been specifically designed for beginners. The planning process is carried out in 5 simple steps:
1. Draw Walls

2. Windows & Doors

3. Floors & Roof

4. Textures & 3D Objects

5. Plan for the Building Permit

6. Export the Floor Plan as a 3D Model for Twinmotion

- – Compliant with international construction standards
- – Usable on 3 PCs simultaneously
- – Option for consultation with an architect
- – Comprehensive user manual
- – Regular updates
- – Video tutorials
- – Millions of 3D objects available


