With Plan7Architect, you can create a precise and professional joinery workshop floor plan in just a few steps. Whether you are designing a new woodworking shop or planning to optimize an existing one, the software offers all the tools needed to customize the layout down to the smallest detail.
You can draw the entire floor plan in 2D and view it instantly in 3D. This allows you to accurately place machines, workbenches, storage systems, and even lighting or ventilation components. You can freely define walls, doors, windows, and room zones, while also checking exact measurements at any time.
Plan7Architect allows you to switch between metric (meters, centimeters) and imperial (feet, inches) units. This makes the software ideal for workshop planning worldwide—regardless of your region or standard system.
Key Workshop Zones to Include in Your Layout
An efficient joinery workshop needs clearly separated functional areas. This ensures smooth workflows and minimizes safety risks.
Main Work Area
This is the core of your workshop. Large woodworking machines such as table saws, planers, and jointers require generous clearance on all sides.
Key considerations for this area:
-
Machines should have at least 90 cm (36 in) clearance around them
-
Work surfaces should be positioned at a comfortable height
-
Floor surfaces should be slip-resistant and easy to clean
Essential machines to plan for:
| Machine Type | Suggested Clearance (Min.) |
|---|---|
| Table saw | 120 cm (48 in) |
| Thickness planer | 100 cm (40 in) |
| Band saw | 90 cm (36 in) |
| Router table | 90 cm (36 in) |
Material Storage
You’ll need a well-organized zone for storing wood panels, boards, and solid wood stock. Vertical storage racks are excellent for saving space and improving accessibility.
Common storage options:
-
Upright lumber racks for long boards
-
Horizontal shelving for sheet goods
-
Rolling carts for project materials
Tip:
Position the material storage close to the main entry or delivery area to avoid carrying heavy wood across the entire workshop.
Tool & Accessory Storage
Efficient tool storage is essential to avoid wasting time. I’ve found that wall-mounted tool boards work best for frequently used hand tools, while cabinets and drawer units help store smaller accessories like bits, clamps, and screws.
Organizational ideas:
-
French cleat walls
-
Mobile drawer units
-
Clear labeling system
-
Shadow boards for tools
Assembly & Finishing Area
A dedicated space for assembling furniture, gluing panels, or applying finishes is indispensable. Ideally, this zone should be separated from the dusty machine area, either by distance or a wall.
Assembly zone features:
-
Large, clean work surface
-
Adjustable clamps or vises
-
Good overhead lighting
-
Minimal dust exposure
Finishing area considerations:
-
Good airflow or exhaust system
-
Safe storage for oils, varnishes, and sprays
-
Temperature control if using paints or finishes
Office/Planning Desk
Even small workshops benefit from a planning corner. In my case, I integrated a compact desk with storage for plans, manuals, and a laptop—directly inside the workshop.
Equipment to include:
-
Desk or workbench
-
Filing cabinet
-
Computer or tablet station
-
Printer (for construction drawings)
Floor Plan Planning Tips Specific to Joinery Workshops
Joinery workshops present specific planning challenges that go beyond simply placing machinery.
Essential layout tips:
-
Always allow at least 90 cm (36 in) walking space around machines
-
Arrange machines in a logical production flow: Material Intake ? Cutting ? Planing ? Assembly ? Finishing
-
Keep power tools near wall outlets or install floor outlets
-
Install a dust collection system with pipes connecting to each major machine
-
Include dedicated spaces for glue-up and drying
-
Maximize natural light near workbenches
Tip:
If your workshop is part of a larger mixed-use building, soundproof walls and ceilings can prevent noise complaints.
Workflow example layout:
| Step | Zone | Equipment Needed |
|---|---|---|
| Material intake | Entry + Storage area | Pallet space, lumber rack |
| Processing | Machine zone | Saw, planer, jointer |
| Assembly | Assembly zone | Worktable, clamps |
| Finishing | Separated clean area | Brushes, sprayers |
| Planning & Admin | Office desk corner | Laptop, files |
Customizing Your Workshop Plan in Plan7Architect
Plan7Architect gives you all the tools to model your joinery workshop just like an architect would. You start by drawing the outer walls or importing a plan (if you already have one). Then, you can place internal walls, define room areas, and insert windows or gates.
Once your shell is ready, begin adding equipment:
-
Drag and drop woodworking machines into place
-
Rotate, scale, and align them precisely
-
Use the measurement tool to define exact distances
-
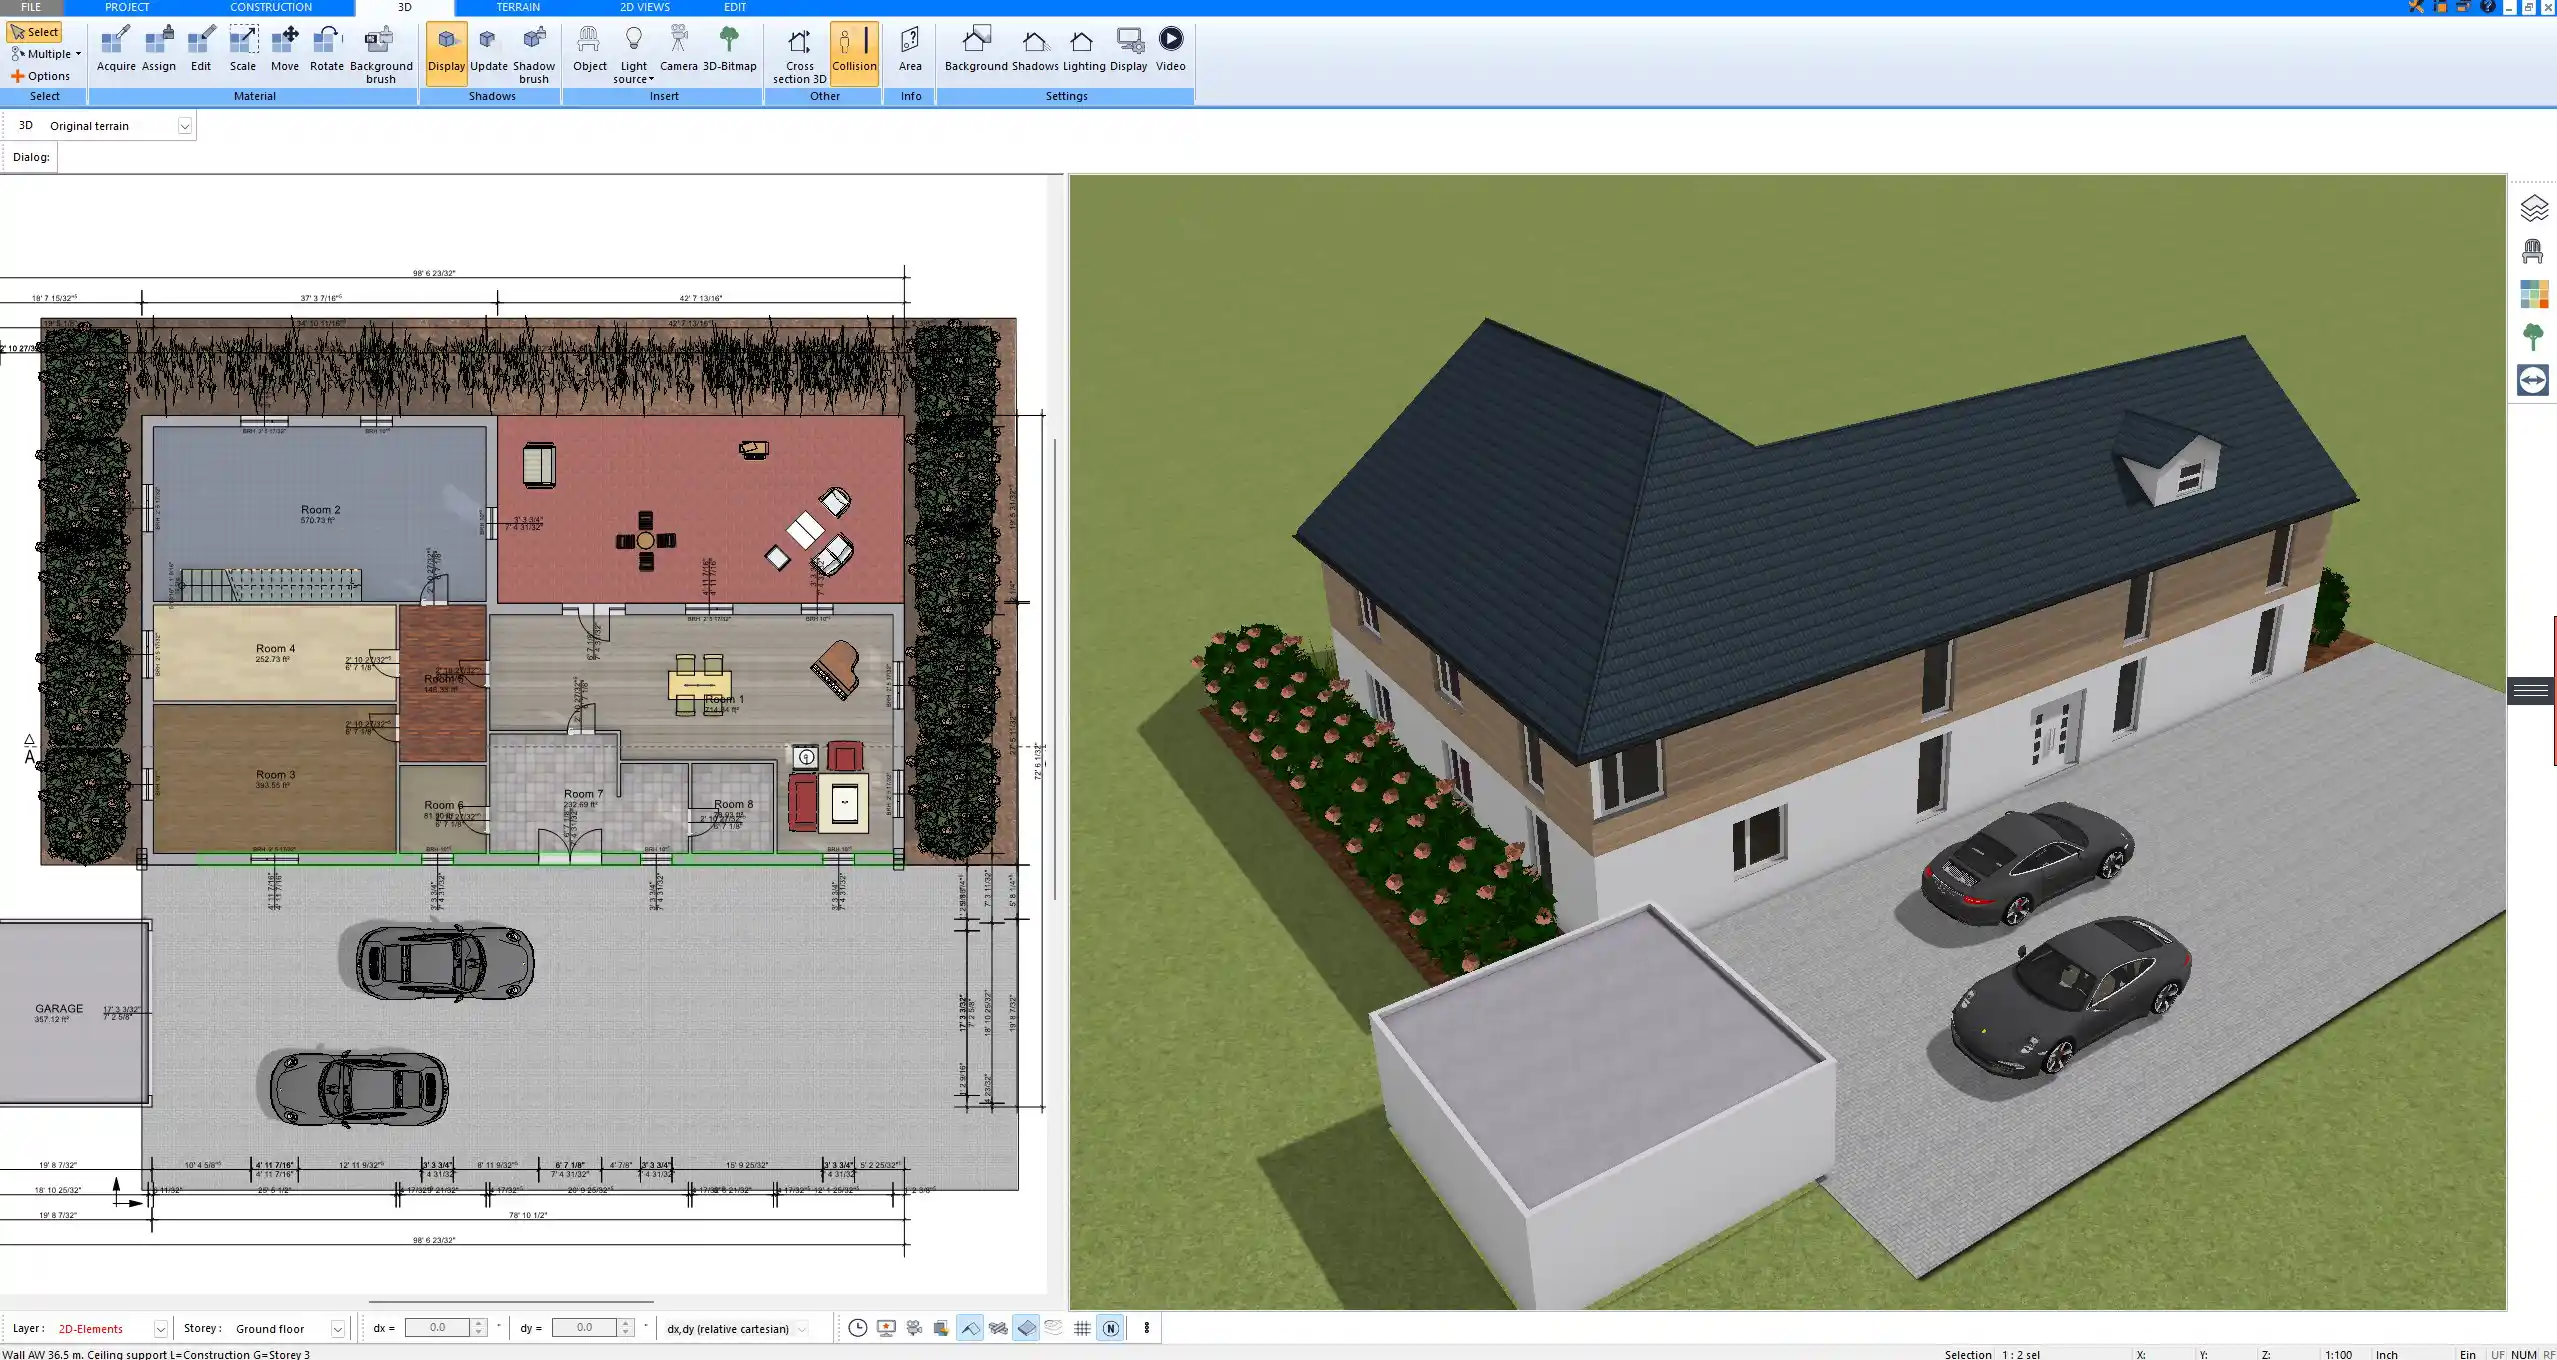
Mark zones with floor textures or color shading (e.g., red for danger zones, green for assembly)
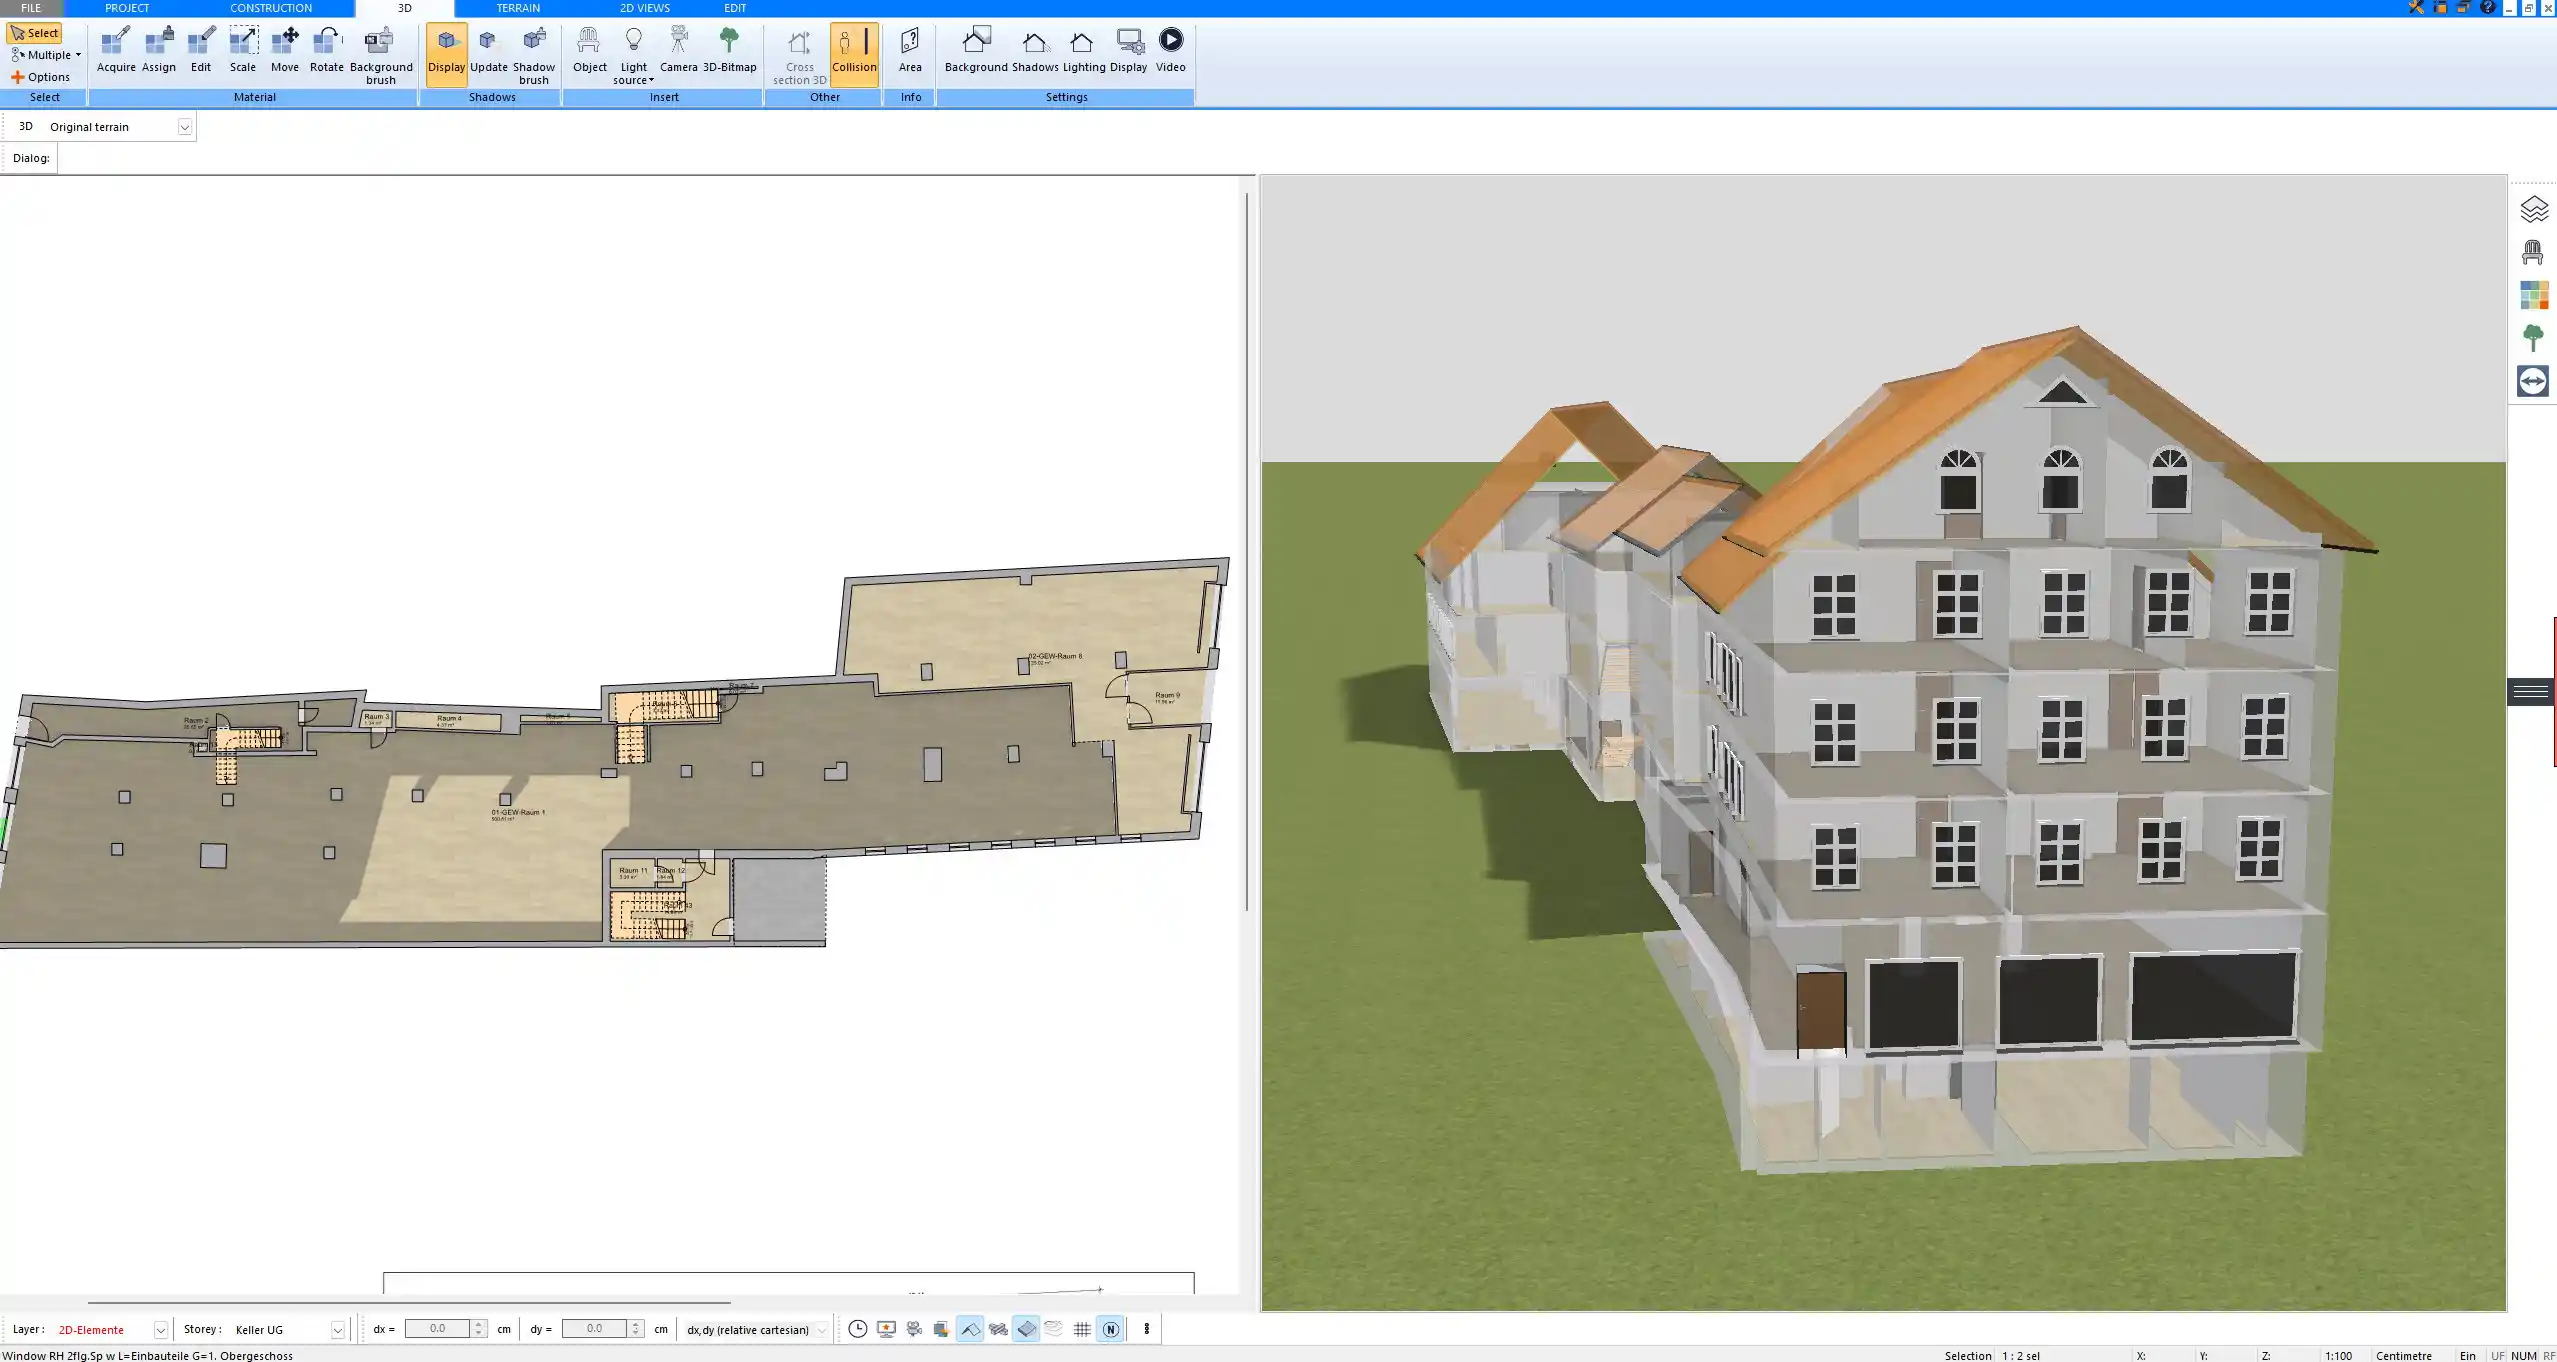
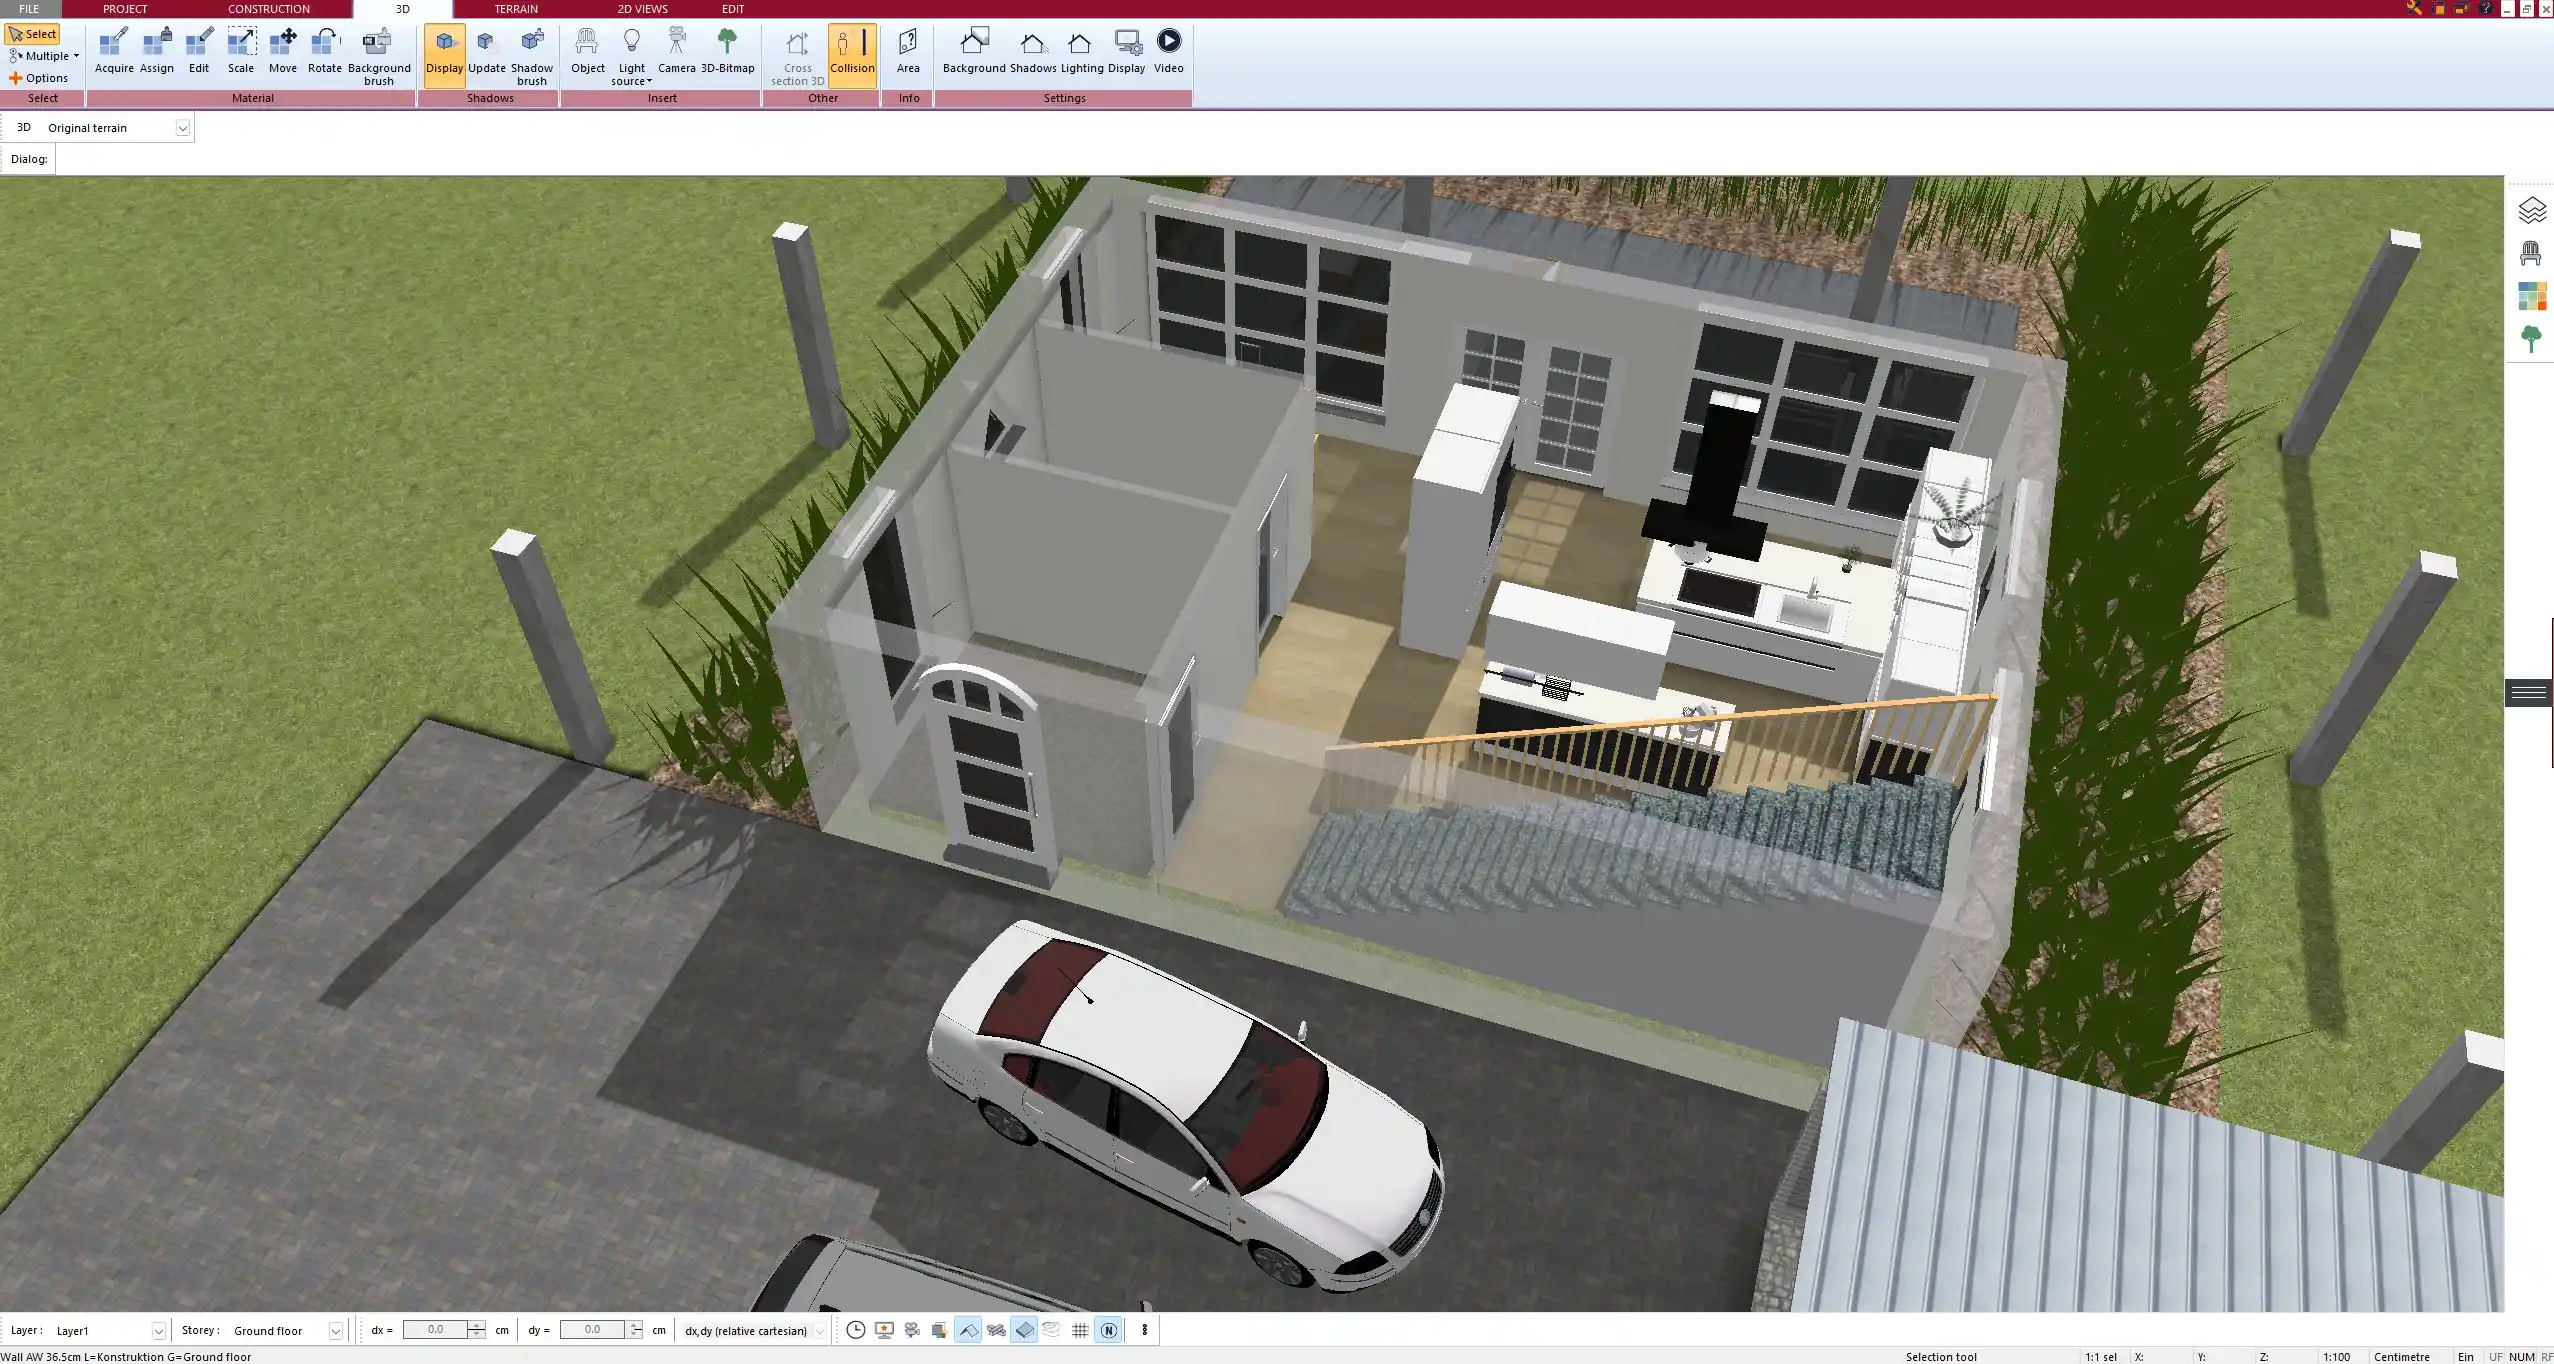
You can work in both 2D and 3D at the same time. I often switch to 3D when checking clearances or verifying object placements visually.
Features I use most:
-
Object catalog for furniture and equipment
-
Custom object import (for specific machines)
-
Snap-to-grid for accurate positioning
-
Free movement of objects without restrictions
Special Features for Woodworking Shops in Plan7Architect
Plan7Architect is not just a generic floor plan tool—it includes powerful functions tailored for workshops.
Useful features:
-
Space calculation: Automatically measures usable floor space, aisle widths, and wall lengths
-
Collision check: Warns you if machines or furniture overlap
-
Safety buffer zones: Define areas where clearance is mandatory
-
Templates: Save your workshop as a template for future projects
-
Unit switch: Choose between metric and imperial systems anytime
Tip:
I always save several layout versions to compare workflows before deciding on the final arrangement.
Exporting and Presenting Your Workshop Design
Once your plan is complete, Plan7Architect lets you export it in various formats:
-
2D technical plan (PDF or print-ready)
-
3D image or walkthrough for presentation
-
DWG/DXF export for professional use or collaboration
-
Virtual tour mode for navigating the workshop
These export options are perfect if you need to show your plan to a partner, investor, landlord, or even a building authority for approval.
Final Tips Before You Start Planning
Before opening the software, I recommend taking the following steps:
Checklist for planning preparation:
-
Measure the actual room dimensions accurately (length, width, height)
-
Make a list of all equipment and furniture you want to include
-
Think about dust collection and ventilation in advance
-
Allow room for future expansion or larger machines
-
Define which zones need power, light, or exhaust
Tip:
Start simple. You can refine the plan step-by-step. With Plan7Architect, every detail can be adjusted later without starting over.
Plan7Architect – Your Tool for Professional Workshop Planning
If you’re looking to plan your own joinery workshop professionally, Plan7Architect offers everything you need. From custom layout creation in 2D and 3D to precise space calculation and real-time visualization, this software is your ideal companion. You can use either metric or imperial units depending on your preference and location, and the tool is designed to support real-world workshops with all necessary equipment and safety considerations. The purchase includes a 14-day cancellation option, giving you complete peace of mind. Download it, start planning, and bring your workshop ideas to life with precision.
Plan your project with Plan7Architect

Plan7Architect Pro 5 for $99.99
You don’t need any prior experience because the software has been specifically designed for beginners. The planning process is carried out in 5 simple steps:
1. Draw Walls

2. Windows & Doors

3. Floors & Roof

4. Textures & 3D Objects

5. Plan for the Building Permit

6. Export the Floor Plan as a 3D Model for Twinmotion

- – Compliant with international construction standards
- – Usable on 3 PCs simultaneously
- – Option for consultation with an architect
- – Comprehensive user manual
- – Regular updates
- – Video tutorials
- – Millions of 3D objects available


