

How to Design a Roof Truss Yourself with Plan7Architect – The Quick Answer
Yes, you can design your own roof truss using Plan7Architect. The software provides all the necessary tools to create a precise and functional roof structure, including automatic calculations, material selection, and real-time 3D visualization.
To get started, follow these steps:
- Select your roof type (gable, hip, flat, mansard, etc.).
- Define the dimensions and consider load-bearing factors such as wind, snow, and materials.
- Use Plan7Architect’s specialized tools to model rafters, beams, and supports.
- Generate detailed blueprints and create a material list from your DXF export with ChatGPT or Claude to ensure accurate construction.
With this approach, you can create a fully functional and structurally sound roof truss without the need for professional assistance.
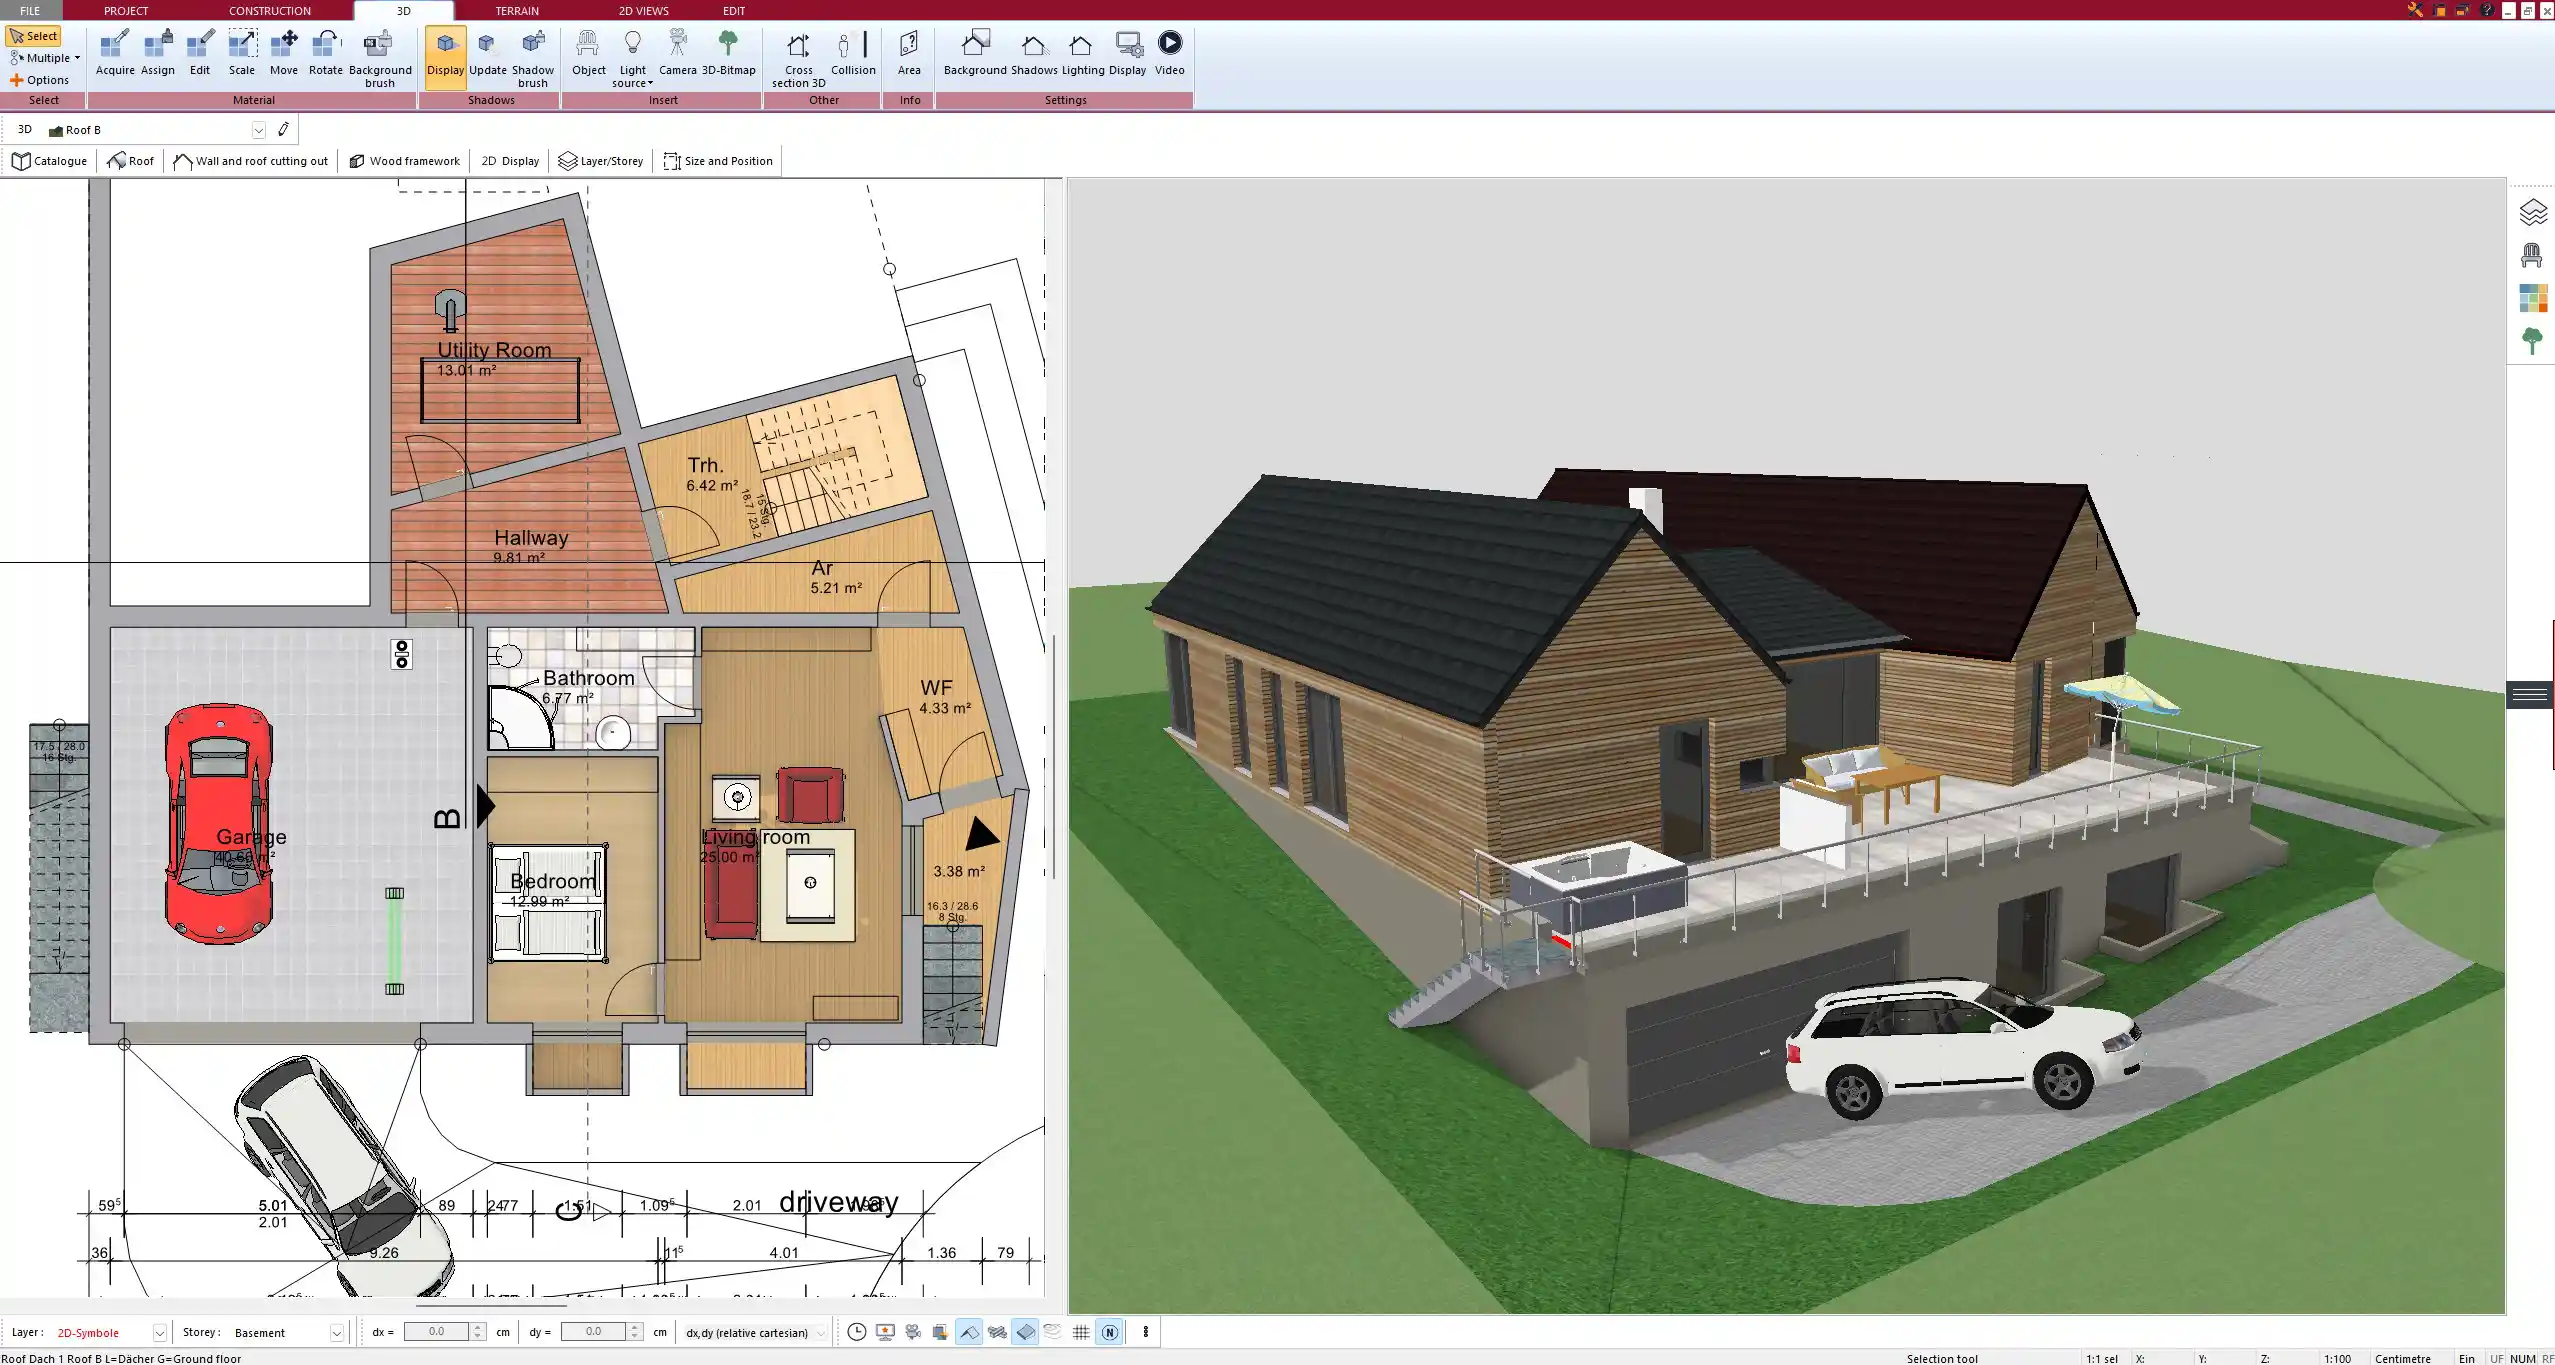
Choosing the Right Roof Type
Common Roof Types
Choosing the right roof type is crucial as it determines the structural stability and aesthetics of your home. Here are the most common types:
| Roof Type | Characteristics | Best For |
|---|---|---|
| Gable Roof | Simple structure, good water drainage, affordable | Most houses, easy DIY projects |
| Hip Roof | Sloped on all sides, wind-resistant, more complex | Wind-prone areas, traditional homes |
| Mansard Roof | Provides additional attic space, steeper slopes | Maximizing upper floors, European-style homes |
| Flat Roof | Modern aesthetic, requires proper drainage | Contemporary homes, solar panel installation |
| Gambrel Roof | Two slopes on each side, offers more attic space | Barns, farmhouses, colonial homes |
Regional Considerations
Depending on your location, different factors must be considered:
- Europe: Snow load is measured in kg/m²; strict building regulations apply.
- United States: Snow load is measured in psf (pounds per square foot); different states have different load-bearing requirements.
- Hurricane/Storm-Prone Areas: Hip roofs are more stable against wind forces.
Tip: Always check local building codes before deciding on your roof type to ensure compliance with safety regulations.
Setting the Correct Dimensions and Load Calculations
Standard Roof Truss Measurements
Different countries use different measurement units for roofs:
- Europe: Dimensions are in meters (e.g., truss spacing of 0.6m), angles in degrees.
- United States: Pitch is expressed as a ratio (e.g., 6:12), dimensions in feet and inches (e.g., 24-inch rafter spacing).
Key Load Considerations
A roof must support multiple types of loads to remain structurally sound:
- Dead Load: The weight of the materials (tiles, insulation, wood, etc.).
- Live Load: Temporary forces such as snow accumulation or maintenance work.
- Wind Load: Determines resistance to storms and high winds (measured differently in Europe vs. the US).
Using Plan7Architect for Roof Truss Design
Step-by-Step Guide
- Define the Roof Shape – Choose from predefined templates or manually input your design.
- Set Pitch and Dimensions – Adjust angles and spans according to building requirements.
- Add Structural Components – Insert rafters, ridge beams, and supporting trusses.
- Apply Material Settings – Choose between wood, steel, or prefabricated trusses.
- Check Stability with Load Analysis – The software calculates structural integrity based on materials and weight distribution.
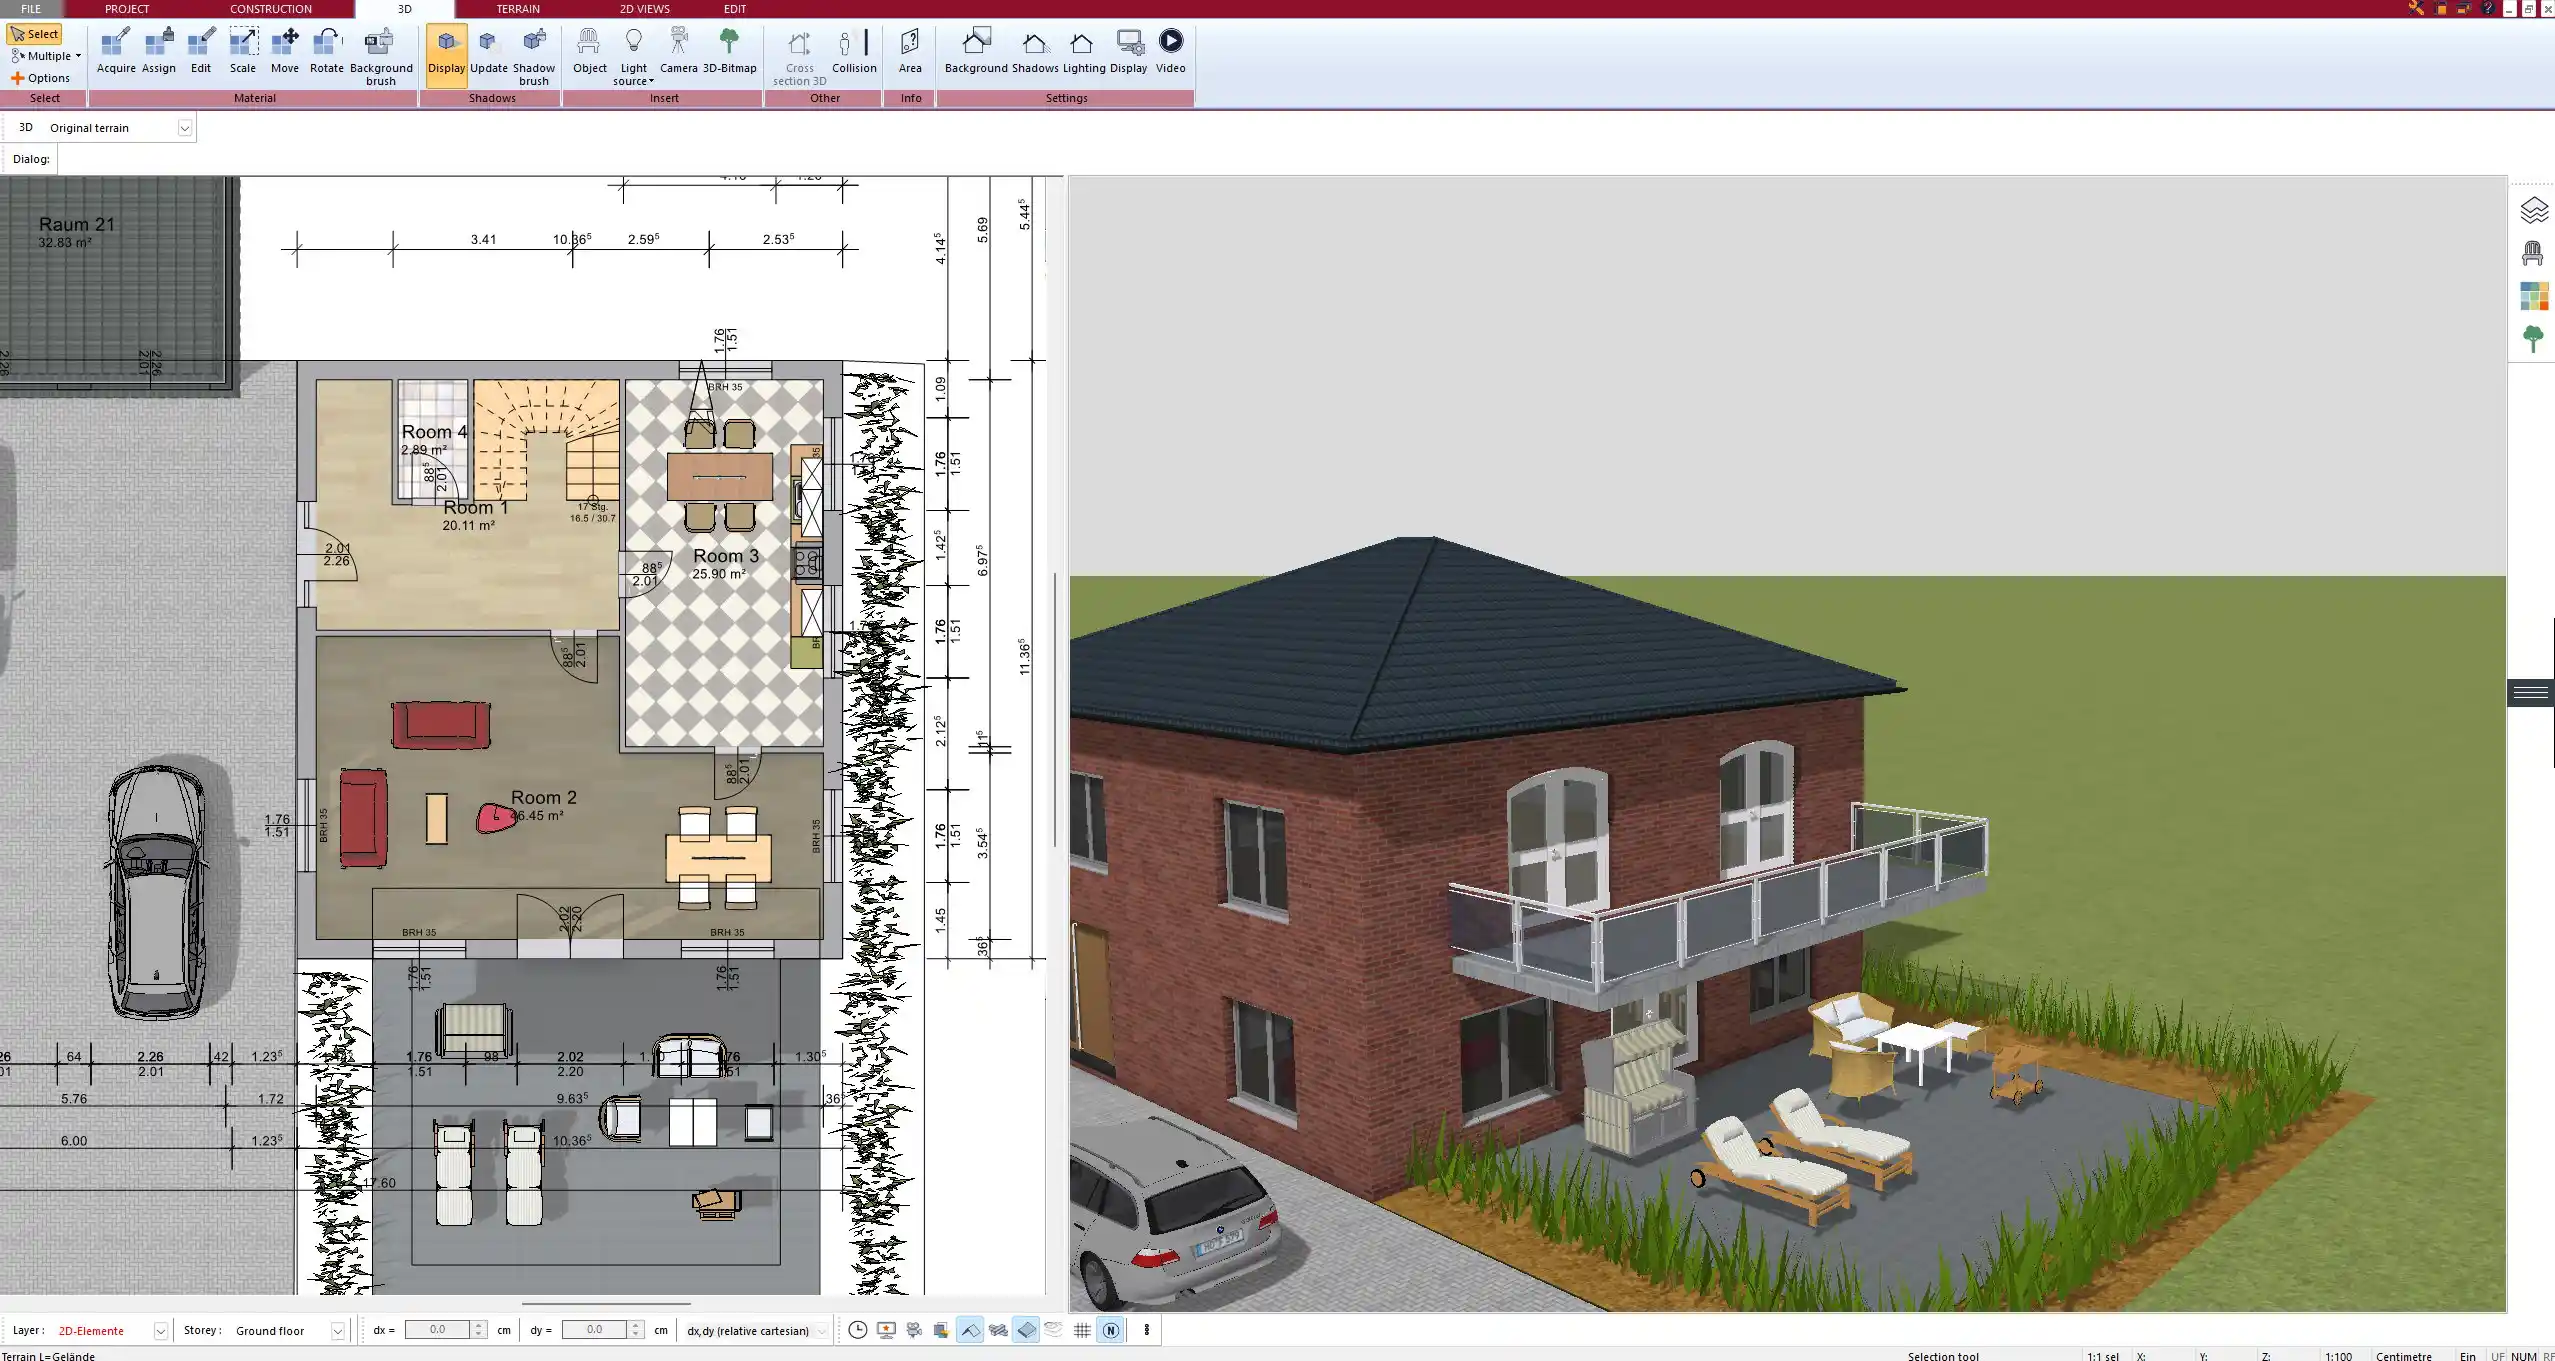
- View in 3D for Accuracy – Rotate and inspect the model from all angles before finalizing.
Tip: Use Plan7Architect’s automatic calculation feature to avoid miscalculations in load-bearing values.
Selecting the Right Materials
Wood Options
- Softwood (Spruce, Pine) – Common for residential roofs, lightweight and easy to work with.
- Hardwood (Oak, Mahogany) – More durable but heavier and more expensive.
Steel Trusses
- Offers higher durability, ideal for commercial and industrial buildings.
- Requires less maintenance, but installation is more complex.
Prefabricated vs. Custom-Built Trusses
| Type | Advantages | Disadvantages |
|---|---|---|
| Prefabricated | Faster installation, lower cost | Limited design flexibility |
| Custom-Built | Allows unique shapes, adaptable to specific loads | Requires precise planning, higher cost |
Tip: If you are designing a complex roof with multiple slopes, custom-built trusses offer better adaptability.
Generating Professional Roof Plans and Material Lists
Creating Technical Drawings
Plan7Architect allows you to:
- Export DWG, DXF, and PDF files for professional use.
- Create a material list for rafters, beams, sheathing and roofing from the DXF export with ChatGPT or Claude.
Cost Estimation
- Upload the DXF export of your plan to ChatGPT or Claude, and the AI calculates the material quantities from your drawing.
- It can look up current prices for your region and turn the list into a cost estimate. Guide: Create a material list and cost estimate with ChatGPT or Claude.
Final Tips for Designing a Roof Truss Yourself
- Always check local building codes before finalizing your design.
- Use reinforcements for spans longer than 6 meters to avoid sagging.
- Consider ventilation and insulation when designing attic spaces.
- Before construction, have your design reviewed by an engineer for safety compliance.
Plan Your Roof Truss Like a Professional with Plan7Architect
With Plan7Architect, you can design your roof truss with precision and efficiency. The software allows you to model and calculate roof types, dimensions, load factors, and material requirements in both European (metric) and American (imperial) units. It provides real-time 3D visualization so you can check every detail before construction begins.
Why choose Plan7Architect?
- Easy-to-use tools for designing roof trusses, rafters, and beams.
- Precise dimensions of the roof structure as a basis for your structural engineer’s load calculations.
- Export detailed plans and create material lists from the DXF export with ChatGPT or Claude for precise execution.
- Flexible measurement units – switch between meters and feet/inches effortlessly.
Risk-free purchase: Customers have a 14-day cancellation policy. If you change your mind, simply cancel via email – no questions asked!

Plan your project with Plan7Architect

Plan7Architect Pro 5 for Original price was: $259.99.$99.99Current price is: $99.99.
You don’t need any prior experience because the software has been specifically designed for beginners. The planning process is carried out in 5 simple steps:
1. Draw Walls

2. Windows & Doors

3. Floors & Roof

4. Textures & 3D Objects

5. Plan for the Building Permit

- – Compliant with international construction standards
- – Usable on 3 PCs simultaneously
- – Option for consultation with an architect
- – Comprehensive user manual
- – Regular updates
- – Video tutorials
- – Millions of 3D objects available
Watch how a complete house is planned from start to finish – in under 25 minutes


The 3 Plan7Architects

Suitable for small hobby projects
No garden planning and only limited floor plan creation with few wall types
★★★★★

For medium-sized projects
Unrestricted floor plan creation & garden planning
No export options for your architect and no plans for building permit applications
★★★★★
For projects of any size
Import & export for working with an architect
Create plans for real building permit applications
Much larger range of features than the other two versions
★★★★★
More on this topic: Floor Plans & House Design Guides – all articles
You might also like: