An RCP, or Reflected Ceiling Plan, is a type of architectural drawing that shows the ceiling layout of a room or building as if it were reflected downward onto the floor plan. Instead of looking up at the ceiling, you view it from above, which makes it easier to understand how lighting, ventilation, sprinklers, and ceiling finishes are organized. In practice, the RCP is one of the most important drawings for coordinating ceilings with electrical, HVAC, and interior design work.
Why RCPs Are Important in Construction
An RCP is critical because it ensures that all ceiling elements are accurately planned and coordinated. Without it, you risk conflicts between lighting, air ducts, and structural components. For construction professionals and homeowners alike, the RCP is a central communication tool that links architects, interior designers, electricians, and HVAC specialists. It helps to avoid costly errors and clarifies where each element should go.
Key purposes of an RCP include:
-
Coordinating lighting with furniture placement and wall positions
-
Positioning HVAC diffusers and vents without clashing with beams
-
Showing the location of sprinklers, smoke detectors, or security devices
-
Clarifying ceiling heights and step levels
-
Ensuring ceiling finishes are correctly installed
Key Elements Typically Shown on an RCP
Ceiling Types and Materials
The drawing identifies what type of ceiling is used in each space. This could be:
-
Gypsum board
-
Acoustic tiles
-
Decorative panels
-
Wooden beams or coffers
Finishes and surface textures are also marked, which makes it clear how each ceiling area should look once built.
Lighting Layout
Lighting design is one of the main focuses of an RCP. Fixtures are carefully marked to show exact locations, spacing, and sometimes switching information. This typically includes:
-
Recessed downlights
-
Pendant lights
-
Track lighting
-
Wall-mounted fixtures reflected in the plan
Mechanical and Safety Elements
An RCP also integrates mechanical and safety details that are installed in the ceiling. These can include:
-
Air diffusers and return vents
-
Smoke detectors
-
Sprinkler heads
-
Security cameras or speakers
Heights and Levels
Ceiling height is one of the most important details on an RCP. If a room has different heights, dropped sections, soffits, or step ceilings, these are shown clearly with notes or dimension lines.
Symbols and Notations Used in RCPs
Reading an RCP requires familiarity with symbols. These are standardized in most architectural practice, but every drawing includes a legend for clarity.
| Symbol | Meaning |
|---|---|
| Circle with “X” | Ceiling light fixture |
| Dashed square | Recessed ceiling panel or soffit |
| Triangle | Air diffuser |
| Circle with dot | Sprinkler head |
| Hexagon | Smoke detector |
Dashed lines are often used to indicate hidden or overhead features, such as soffits or beams above the ceiling plane. Legends should always be consulted to understand the specific notations used by the architect.
RCP vs. Floor Plan – What’s the Difference?
A floor plan shows the layout of walls, doors, windows, and furniture as viewed from above at ground level. It is focused on the horizontal space where people move.
An RCP, in contrast, shows everything that is installed on or suspended from the ceiling. It is viewed as if you placed a mirror on the floor and reflected the ceiling down onto the drawing.
| Drawing Type | Focus | View |
|---|---|---|
| Floor Plan | Walls, doors, furniture, flooring | Horizontal space at ground level |
| Reflected Ceiling Plan (RCP) | Lighting, HVAC, ceiling heights, finishes | Ceiling layout mirrored onto floor |
When and Where RCPs Are Used
RCPs are used in nearly all building types where ceilings include more than a simple flat surface.
-
Residential projects: for recessed lighting, ceiling fans, or decorative ceilings.
-
Commercial spaces: for offices with lighting grids, suspended ceilings, or HVAC layouts.
-
Institutional buildings: such as hospitals or schools where safety devices, mechanical systems, and lighting must be carefully coordinated.
How to Read and Create an RCP with Software
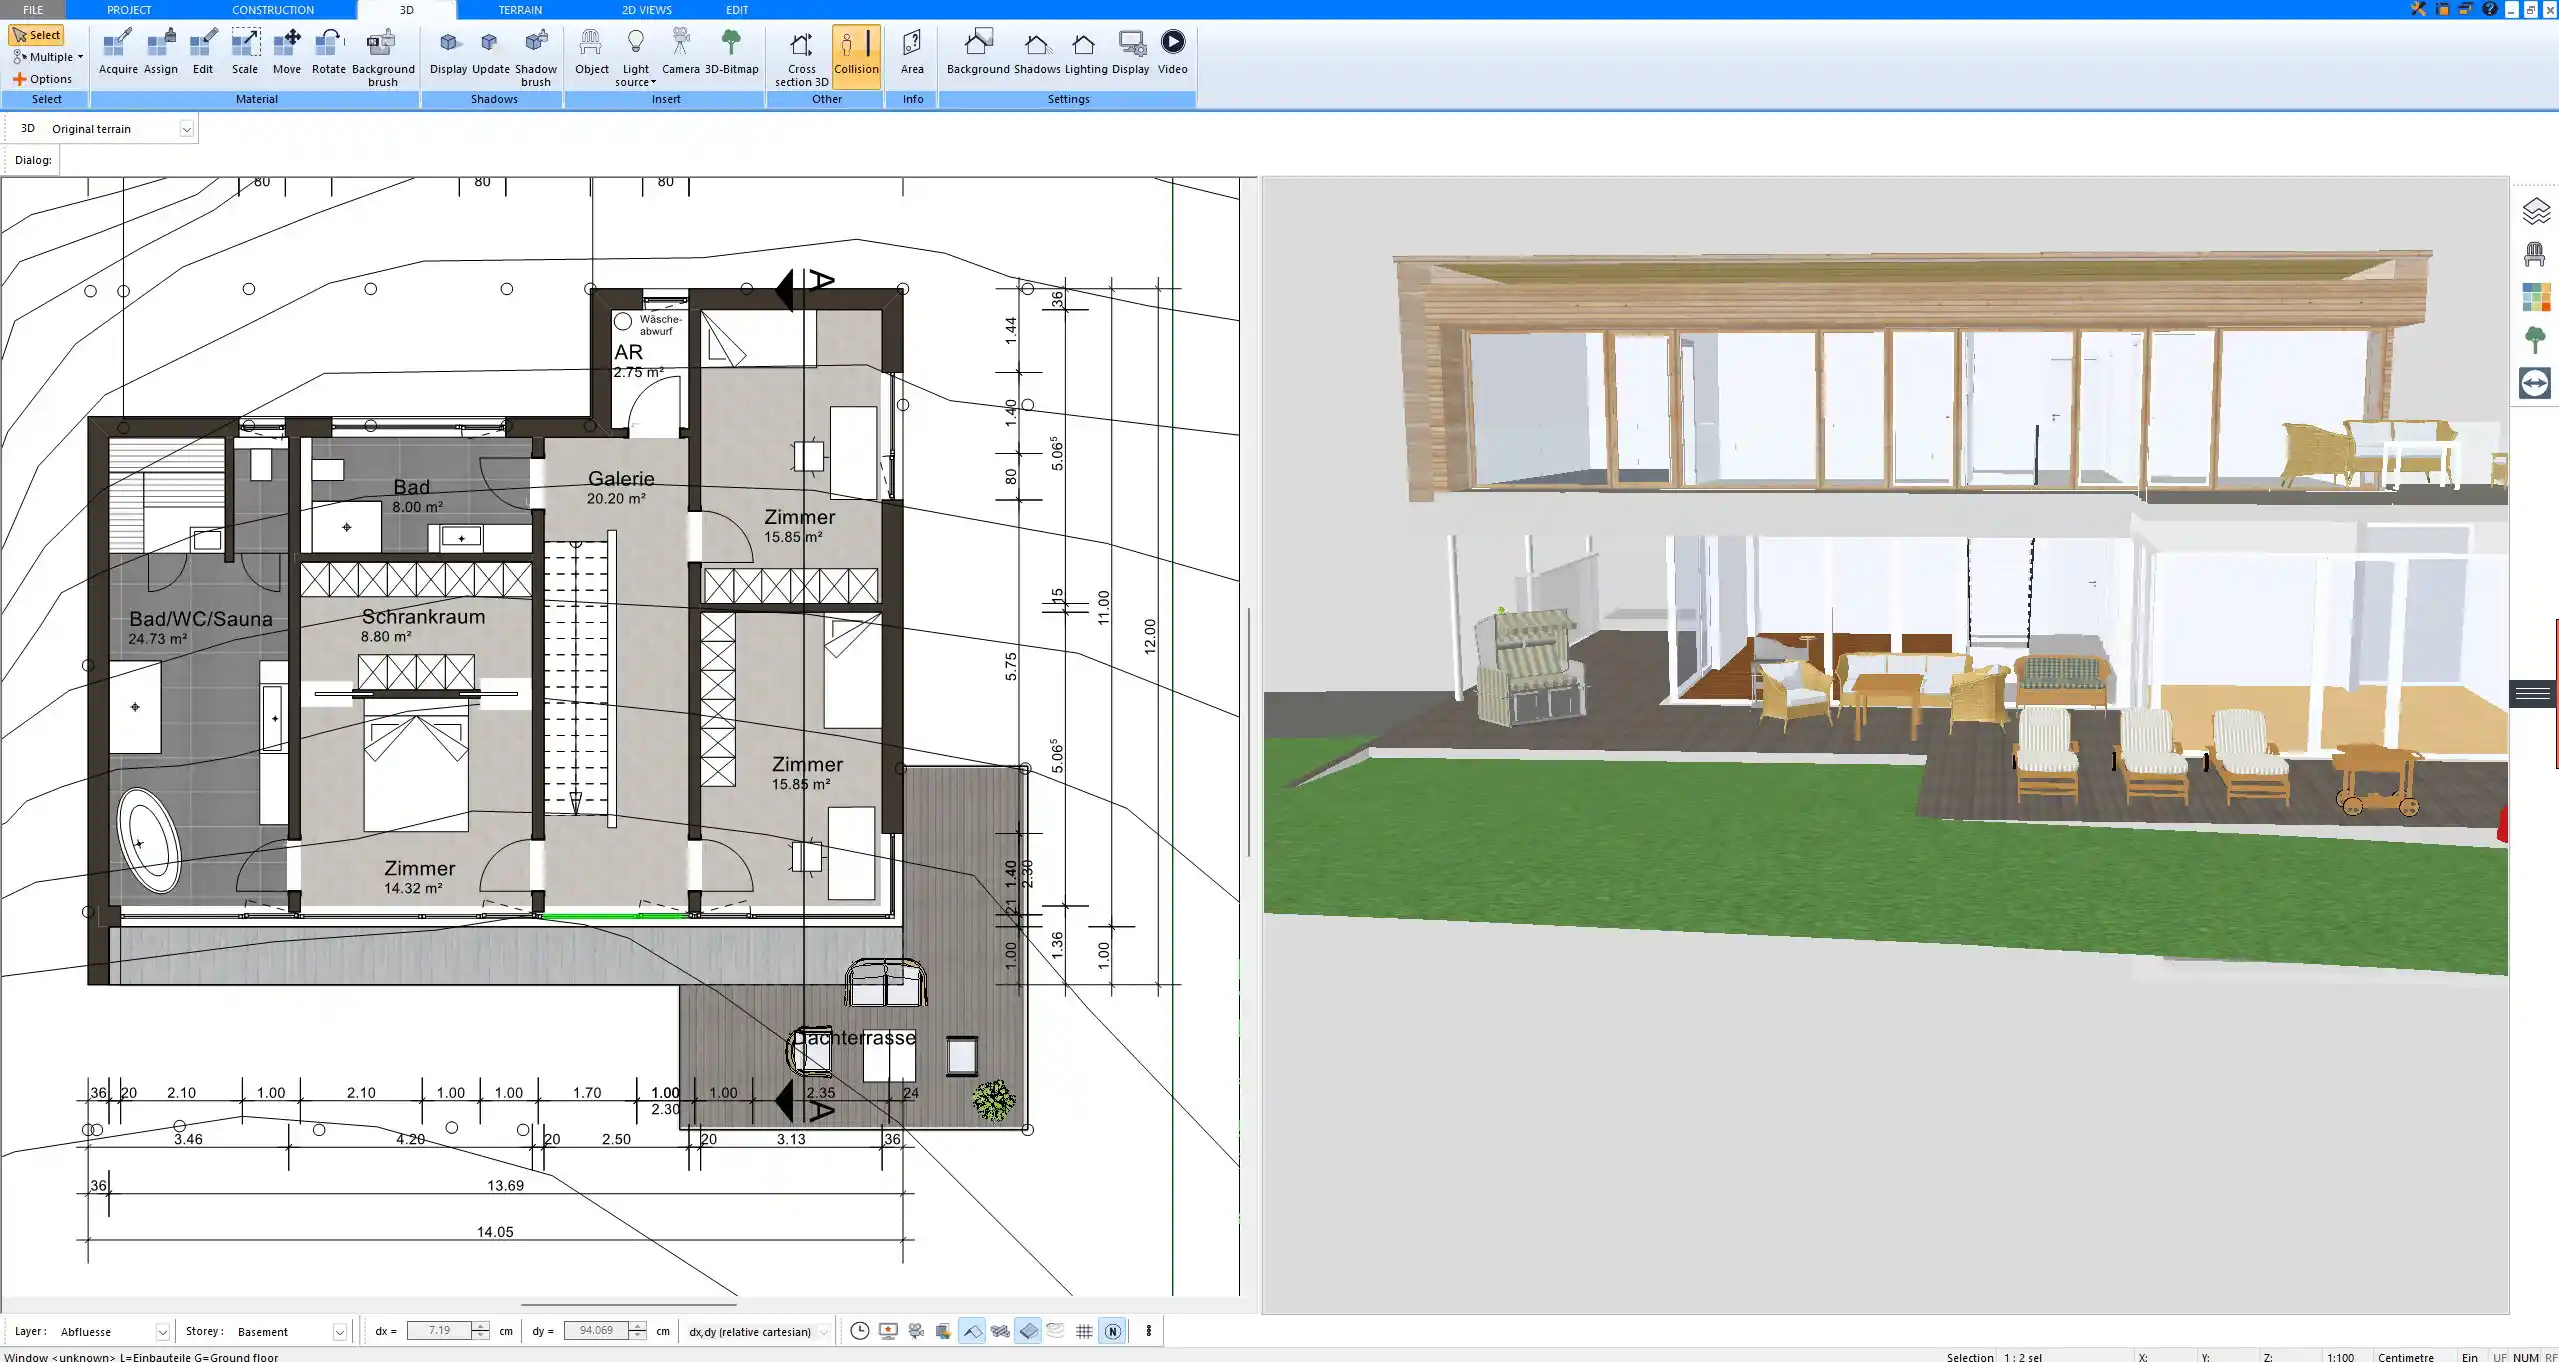
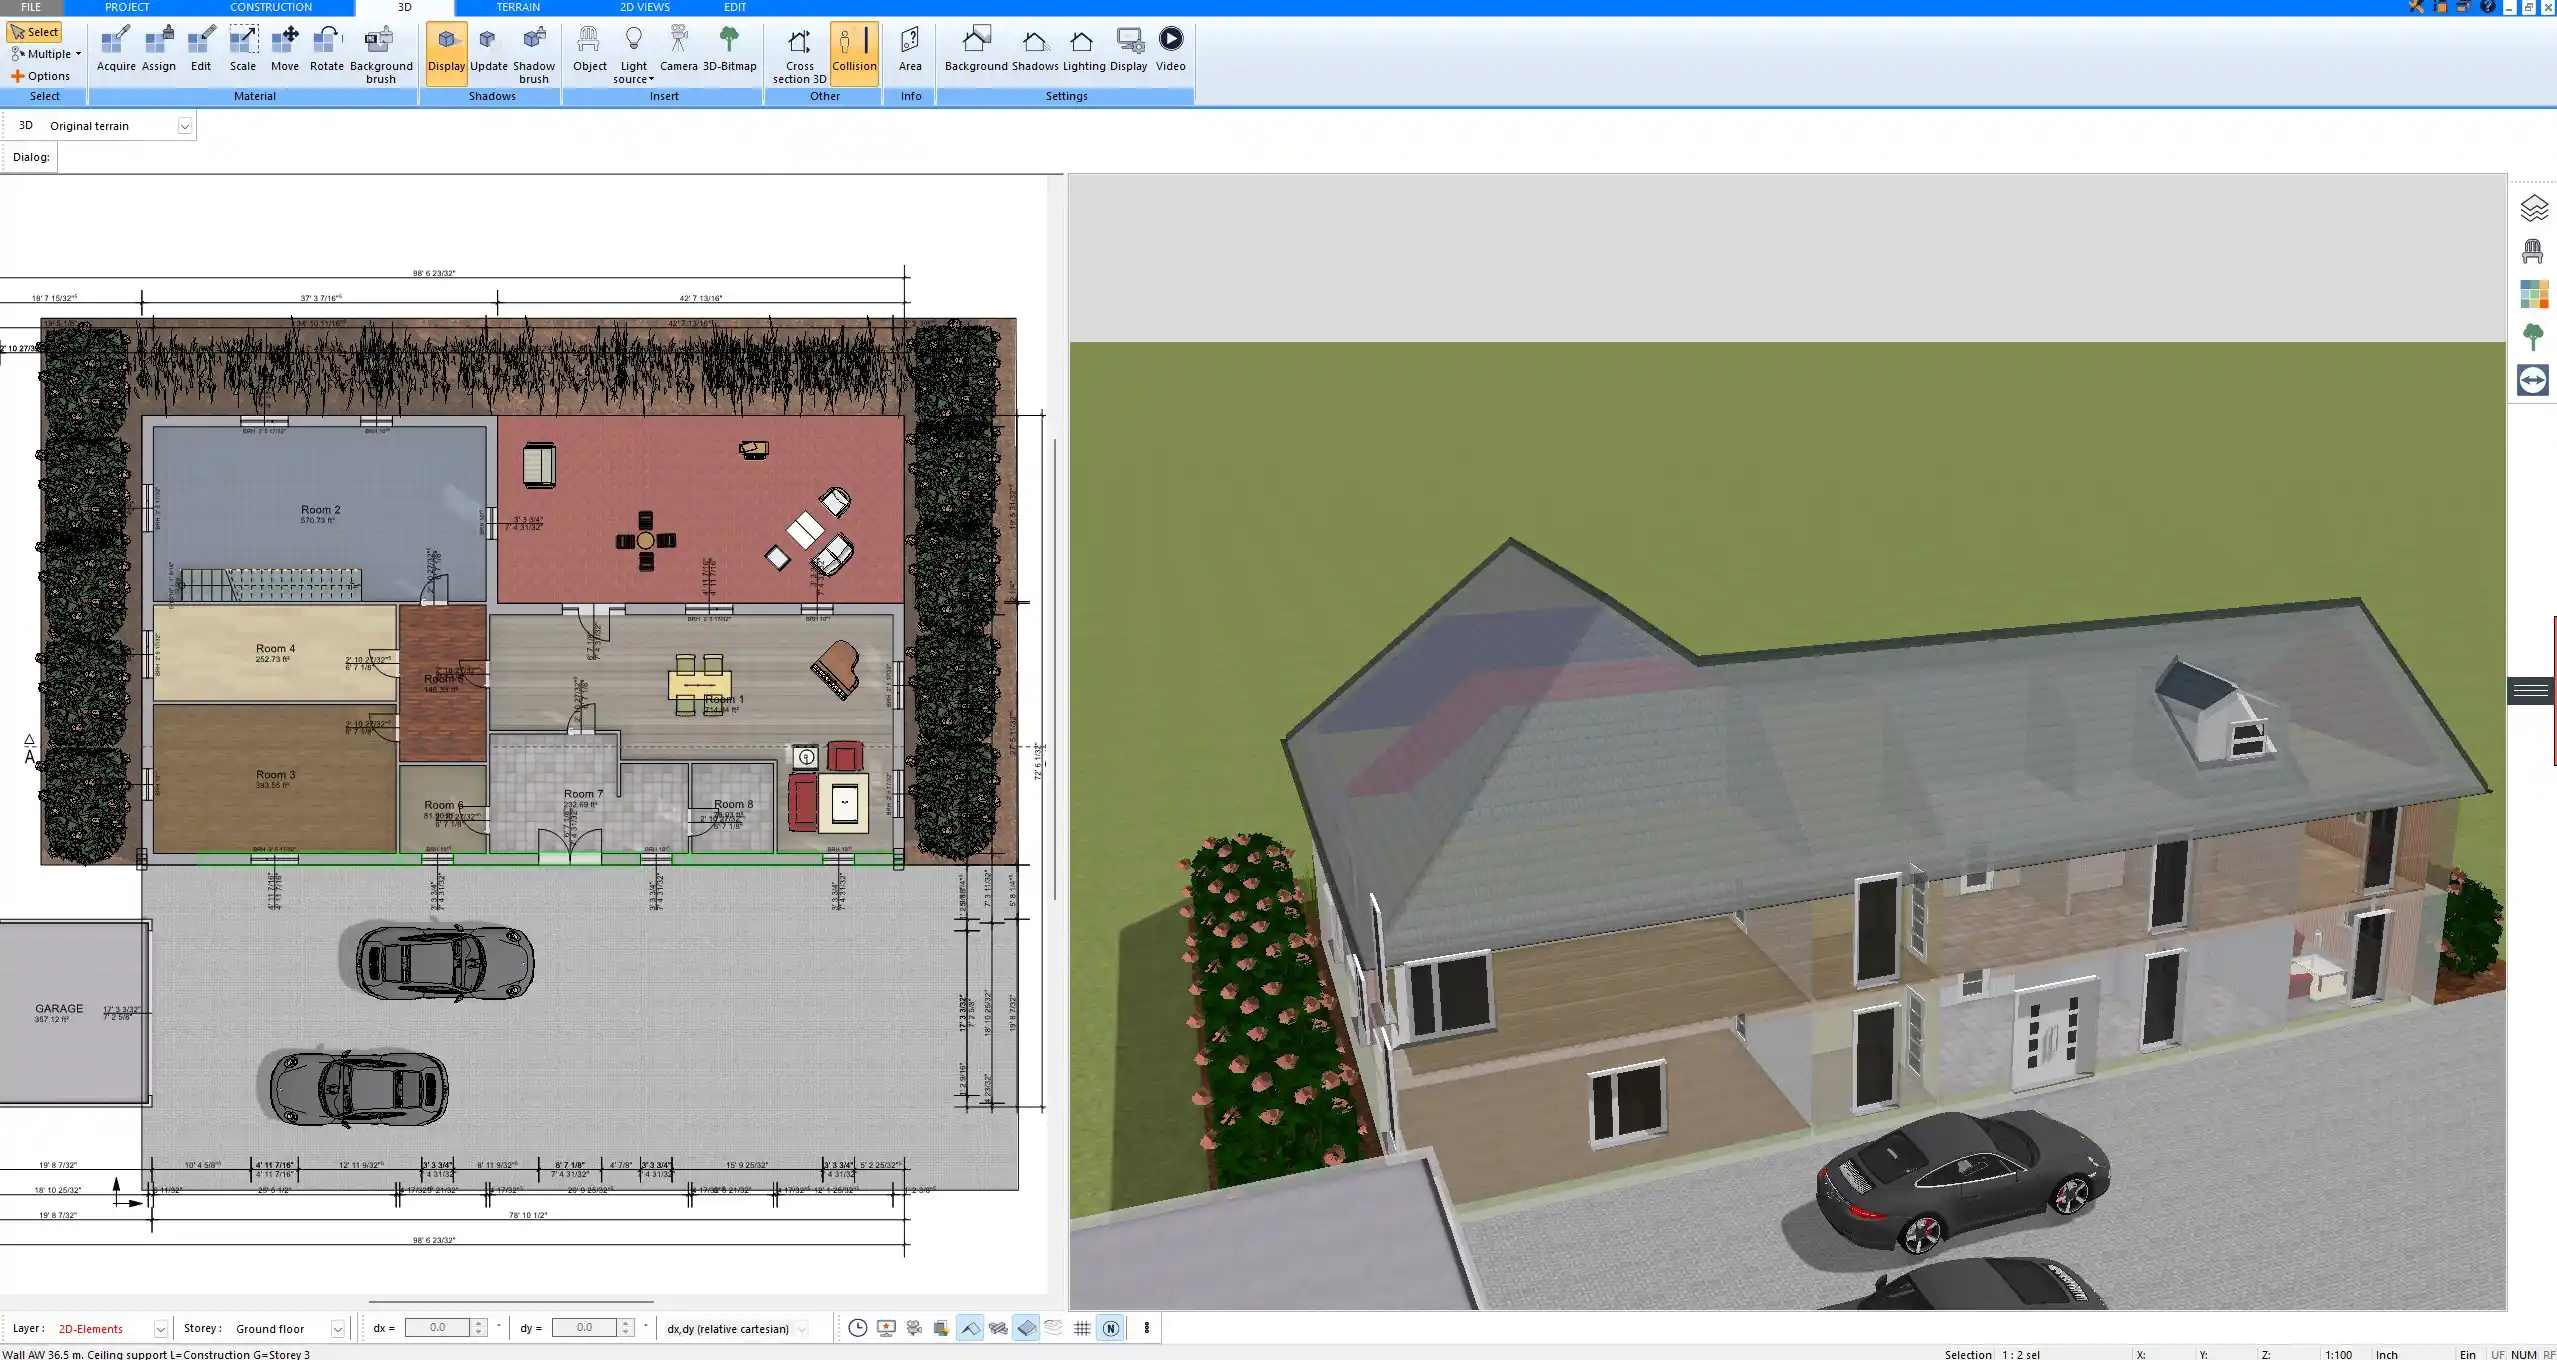
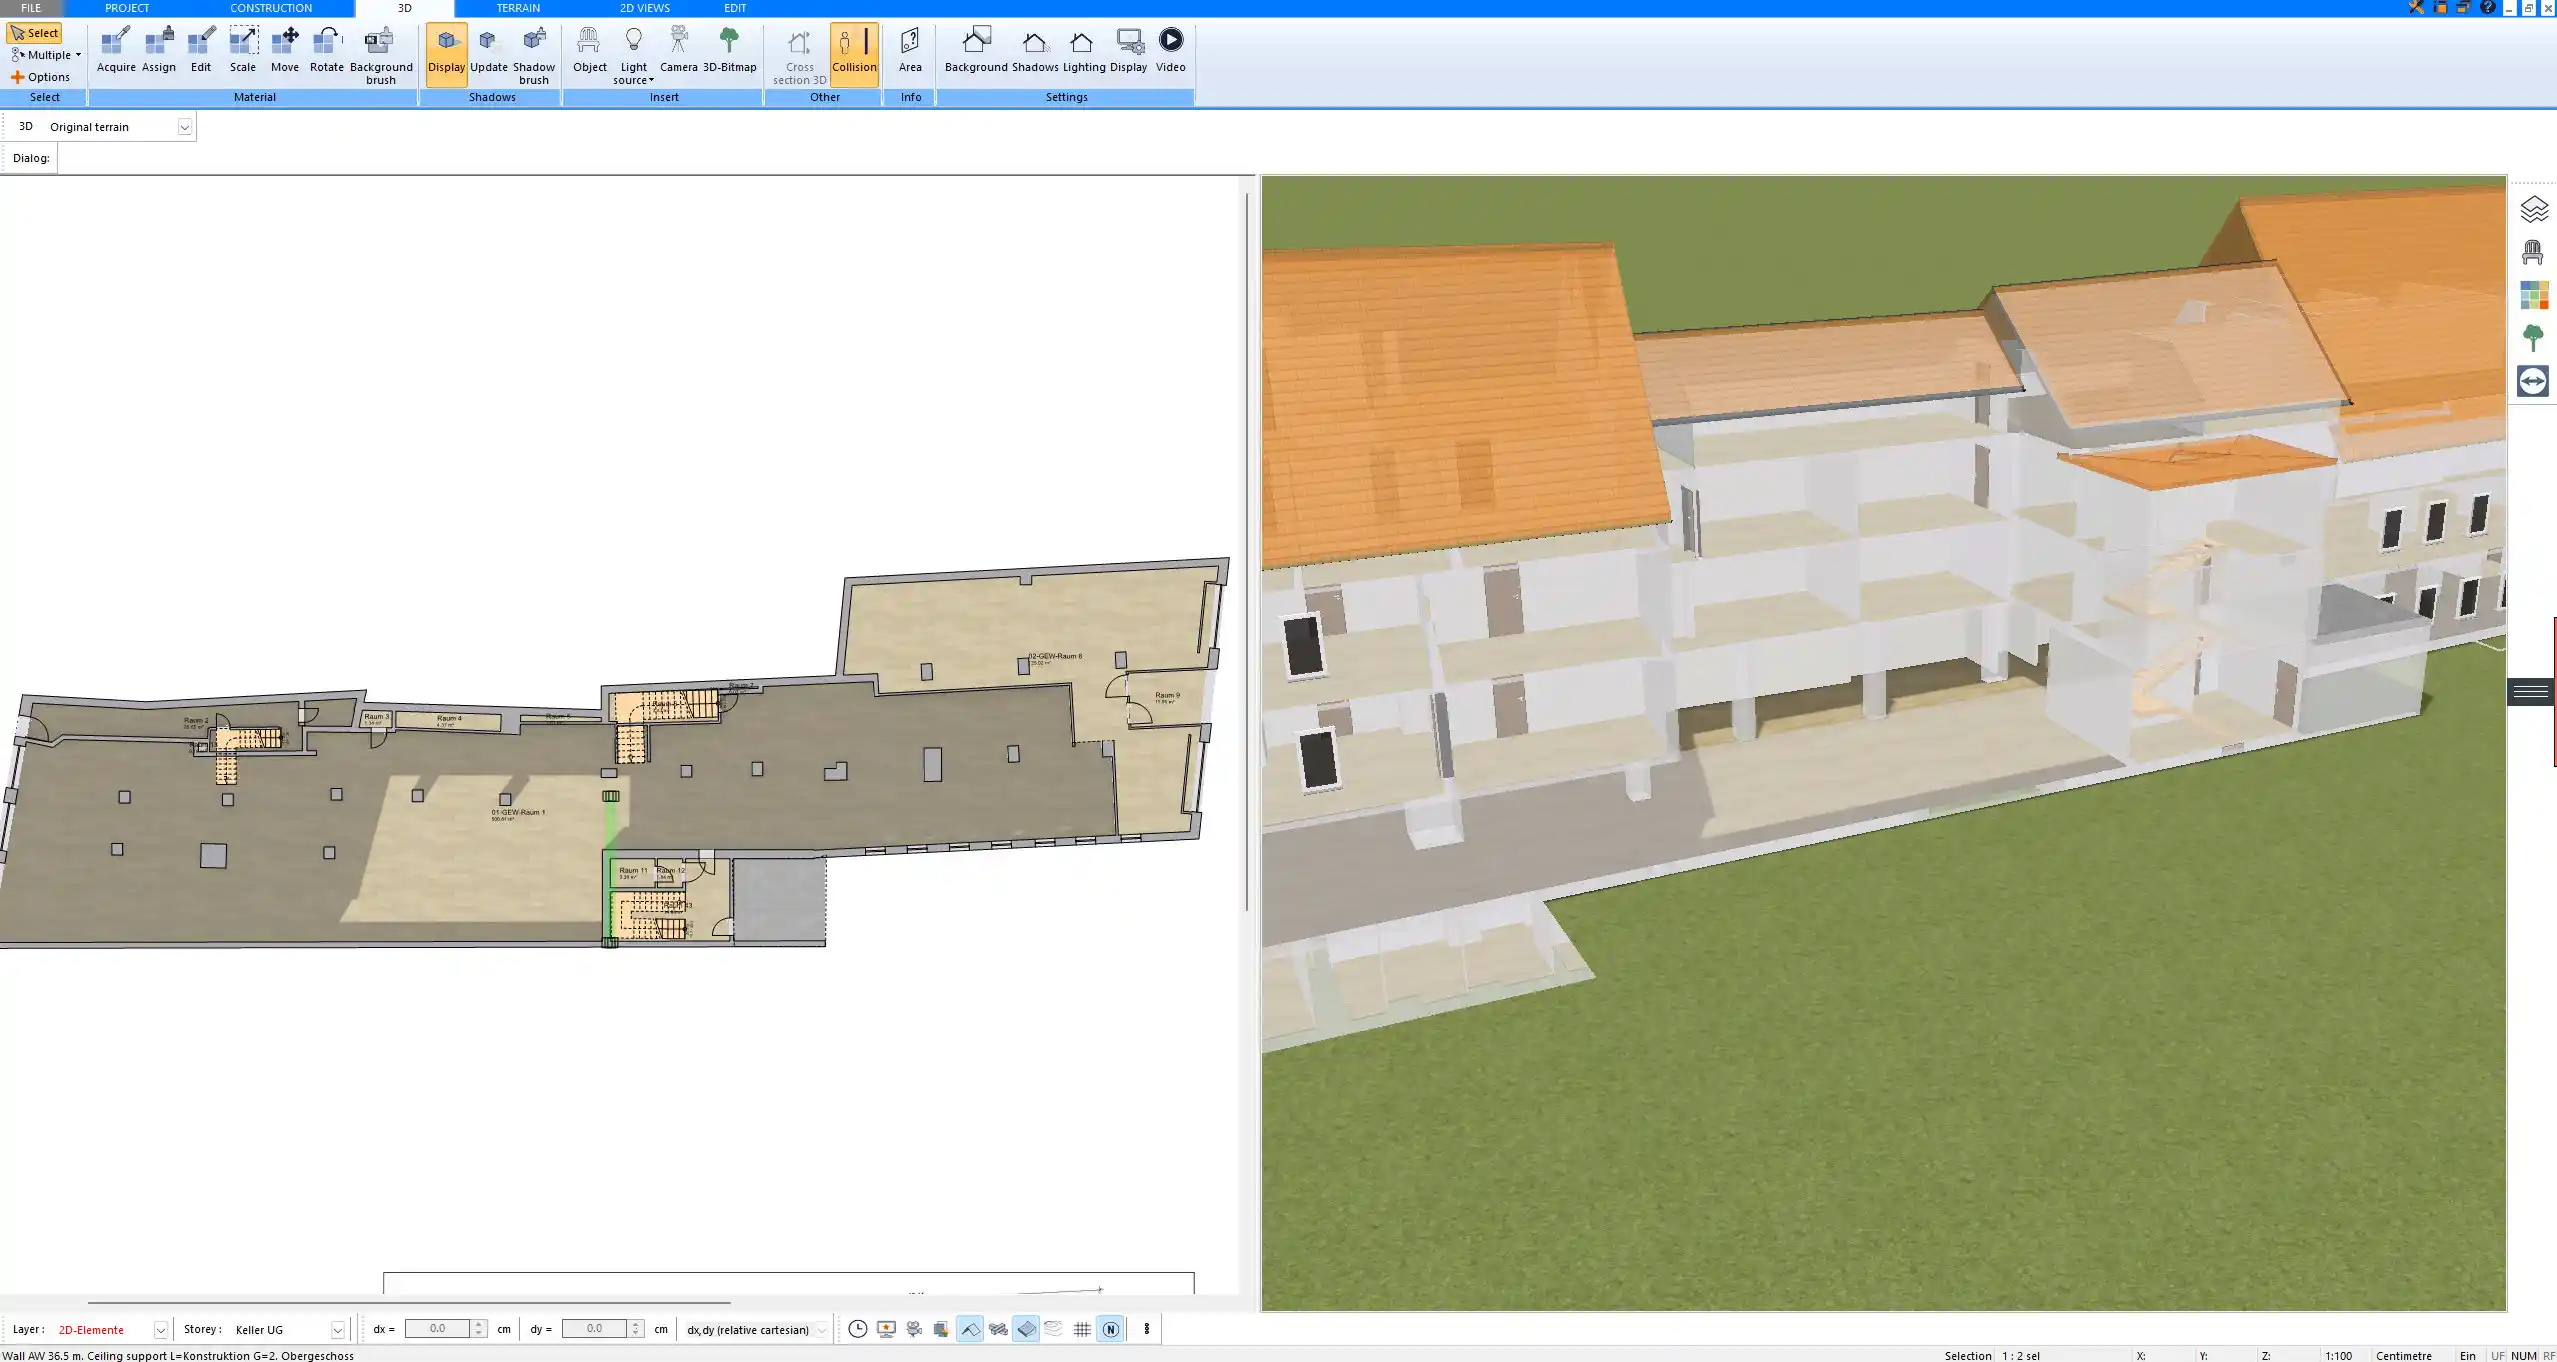
Creating an accurate RCP requires precision and the ability to coordinate different building systems. Today, architectural design software makes this process faster and more reliable. With software such as Plan7Architect, you can design ceilings in 2D while instantly switching to 3D to see how the layout looks in reality.
One practical advantage is that measurements can be switched between European units (meters, centimeters) and American units (feet, inches). This flexibility makes the software usable across regions without the need for manual conversions.
Tips for Working with RCPs
-
Always cross-check the RCP with the floor plan to ensure furniture and lighting align properly.
-
Coordinate ceiling details with mechanical, electrical, and plumbing drawings.
-
Mark ceiling heights early in the process to avoid clashes with beams or ducts.
-
Use clear legends and consistent symbols so contractors can read the plan without confusion.
-
Verify lighting layouts against actual furniture placement to prevent shadows or uneven coverage.
Create Professional Reflected Ceiling Plans with Plan7Architect
With Plan7Architect you can easily design professional reflected ceiling plans alongside your floor plans. The software allows you to plan ceiling heights, lighting layouts, HVAC elements, and finishes in both 2D and 3D. You can work with either European or American units, depending on your project needs. If you are looking for an intuitive yet professional solution for your planning, Plan7Architect gives you full control. Customers also benefit from a 14-day right of withdrawal: you can cancel your purchase simply by email if you change your mind. This flexibility replaces the need for a trial version and gives you complete peace of mind.
Plan your project with Plan7Architect

Plan7Architect Pro 5 for $109.99
You don’t need any prior experience because the software has been specifically designed for beginners. The planning process is carried out in 5 simple steps:
1. Draw Walls

2. Windows & Doors

3. Floors & Roof

4. Textures & 3D Objects

5. Plan for the Building Permit

6. Export the Floor Plan as a 3D Model for Twinmotion

- – Compliant with international construction standards
- – Usable on 3 PCs simultaneously
- – Option for consultation with an architect
- – Comprehensive user manual
- – Regular updates
- – Video tutorials
- – Millions of 3D objects available
Why Thousands of Builders Prefer Plan7Architect
Why choose Plan7Architect over other home design tools?


