Most interior non-load-bearing walls measure about 10–12 cm (4–5 inches). Exterior walls, which need to account for insulation and weatherproofing, commonly reach 20–25 cm (8–10 inches). Load-bearing walls often range from 15–30 cm (6–12 inches) in thickness, depending on the building material and structural demands. These figures can vary based on local building codes, climate considerations, and personal preferences.
Below is a quick reference table:
| Type of Wall | Metric Thickness Range | Imperial Thickness Range |
|---|---|---|
| Interior (Non-Load-Bearing) | 10–12 cm | 4–5 in |
| Exterior (including insulation) | 20–25 cm | 8–10 in |
| Load-Bearing | 15–30 cm (depending on materials) | 6–12 in (depending on materials) |

Understanding Wall Thickness: Key Factors
Purpose of the Wall
In my experience, the primary factor in determining wall thickness is the wall’s function. An interior wall that simply divides rooms usually does not have to support large loads. On the other hand, load-bearing walls must be strong enough to carry the weight of upper floors or a roof. Exterior walls, meanwhile, protect against weather and often also support a portion of the home’s structure.
Materials Used
Materials significantly influence how thick a wall should be. If you use wood framing, the standard sizes (like 2×4 or 2×6 in North America) set a baseline thickness. When building with concrete, masonry blocks, or brick, you might require more substantial walls to meet strength and insulation requirements. A plaster layer or drywall adds to the final thickness, so it is worth keeping those extra centimeters or inches in mind.
Insulation and Energy Efficiency
Exterior walls often incorporate various insulation types to maintain comfortable indoor temperatures. In my projects, I have found that a thicker wall can hold more insulation, improving energy efficiency. If you live in a colder climate, you may wish to invest in thicker insulation layers, and if you are in a warm or humid region, other features like moisture barriers become more important.
Local Building Codes
Local regulations may require a specific minimum wall thickness or certain fire-resistant materials. I always recommend verifying the code requirements in your area. Where I have built, I had to ensure that each wall met local fire safety, insulation, and structural standards, which sometimes demanded thicker walls than I initially anticipated.
Interior Walls (Non-Load-Bearing)
Typical Thickness
A typical interior partition wall in a wood-framed home in the United States uses 2×4 studs (3.5 inches wide). After adding 0.5-inch (about 1.3 cm) drywall on each side, you end up at about 4.5 inches (roughly 11.5 cm) total. In many European settings, interior walls around 10–12 cm are common, particularly when using plasterboard or gypsum board.
Variations
I have noticed that homeowners often opt for upgraded interior walls for soundproofing or additional insulation. Some of my clients prefer using thicker studs or even double framing for extra acoustic separation, which can add a few more centimeters or inches to the final thickness. Older buildings may have lathe-and-plaster walls that differ in thickness from more modern drywall constructions.
When Thicker Walls Are Needed
- Sound Insulation: Music studios, home offices, or any space where noise reduction is critical benefit from thicker, more insulated walls.
- Housing Utilities: If you need to accommodate extra plumbing, larger electrical conduits, or ductwork, thicker interior walls may be necessary.
Exterior Walls
Typical Thickness
In my experience, exterior walls tend to be at least 20–25 cm (8–10 inches) to account for structural frames, insulation, and outer finishes. Wood-framed exterior walls in North America often use 2×6 studs (5.5 inches wide), plus sheathing, insulation, and siding. Brick or masonry constructions are sometimes thicker due to the dimensions of the blocks and the need for additional layers (e.g., air gaps for insulation, waterproofing membranes).
Key Factors
- Insulation Requirements: Thicker walls accommodate thicker or multiple insulation layers.
- Sheathing and Weatherproofing: These layers protect against moisture, wind, and temperature extremes.
- Vapor Barriers: Proper placement helps control condensation in different climates.
Regional Differences
In colder climates, local codes typically demand higher R-values or U-values, which can mean you need more insulation inside the walls. Conversely, in warmer and more humid regions, you might emphasize moisture barriers and ventilation. The key is adjusting the thickness to match both the climate and the code requirements where you plan to build.
TIP: For exceptionally cold regions, consider double-stud exterior walls or continuous exterior insulation. This approach can significantly improve thermal performance and help reduce heating costs.
Load-Bearing Walls
Typical Thickness Ranges
Load-bearing walls must support significant structural loads, so they are often thicker than interior partitions. I have seen wood-framed load-bearing walls with 2×6 studs, leading to a final thickness of around 6–8 inches (15–20 cm). Masonry or concrete load-bearing walls can range anywhere from 15 cm to 30 cm (6 to 12 inches), especially if they include steel reinforcement.
Structural Requirements
When creating load-bearing walls, it is crucial to follow engineering recommendations for the specific materials you use. I have worked on projects where reinforcing bars were mandatory in masonry walls to meet seismic requirements. In other cases, adding additional supports or columns inside the wall helped spread the load safely.
Why Thicker?
A thicker load-bearing wall can handle greater compressive forces from above and resist lateral forces such as wind or minor seismic activity. In my projects, I always account for both vertical and horizontal loads to ensure the final structure is stable for the long term.
Additional Considerations
Acoustic Performance
Walls that are thicker or include special insulation can dramatically cut down on sound transmission. If you want a quiet living environment, you might opt for insulated interior walls or even specialized sound-damping boards.
Thermal Performance
Exterior walls often play the biggest role in maintaining a home’s temperature. Thicker frames, continuous exterior insulation, or double-stud construction can reduce thermal bridging and save on energy costs over time.
Fire Resistance
I have encountered local regulations that require specific drywall types (often labeled as fire-rated) or masonry thickness for fire safety. If you are building a multi-unit structure, these requirements tend to be more stringent, affecting both thickness and materials.
Cost Implications
Thicker walls require more material, which can increase initial construction costs. However, I have found that better insulation, sturdier structures, and long-term energy savings often offset these expenses. If you value efficiency, comfort, and durability, investing in slightly thicker walls can be a wise choice.
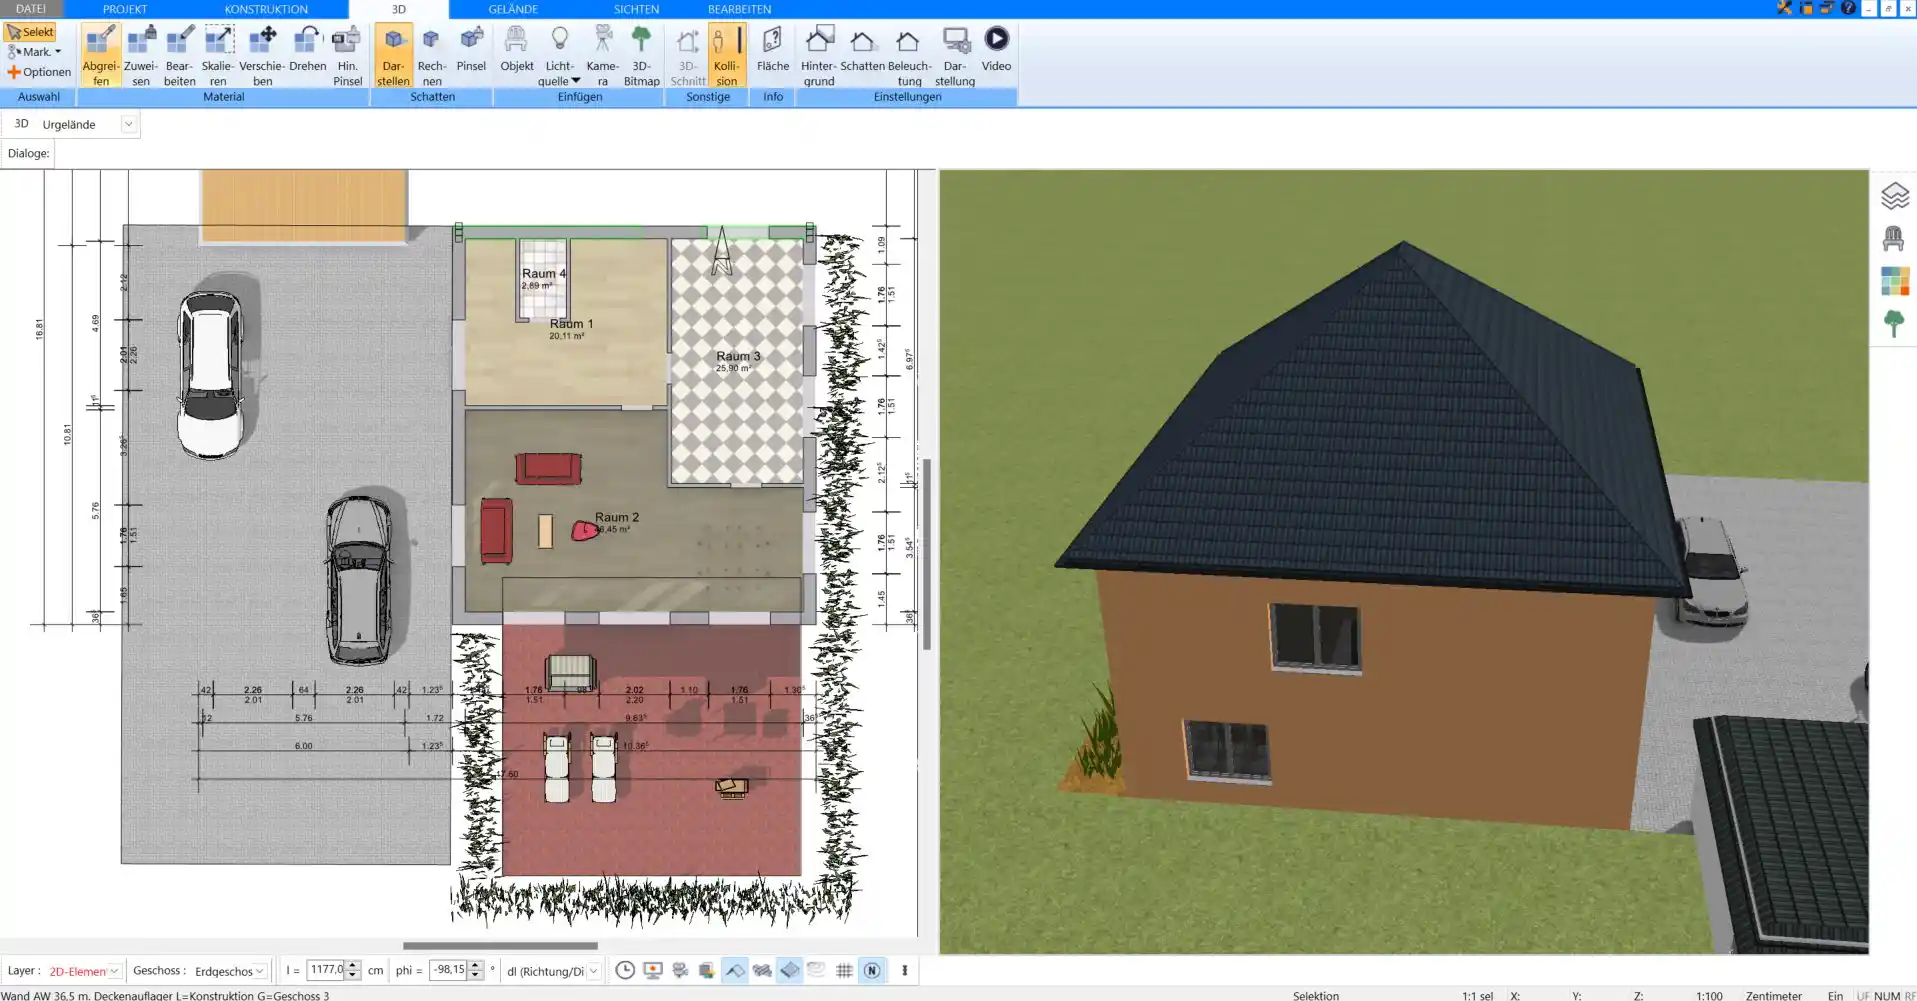
Plan Your Walls with Plan7Architect
With Plan7Architect, you can create professional floor plans that precisely incorporate the wall thickness details for interior walls, exterior walls, and load-bearing walls as discussed in this article. Our user-friendly software empowers you to design accurately and efficiently, ensuring every aspect of your project meets your expectations. Plus, you benefit from a 14-day withdrawal period, allowing you to cancel your purchase easily via email—replacing the need for a trial version. Experience the professional planning advantage with Plan7Architect.
Plan your project with Plan7Architect

Plan7Architect Pro 3 for $169.99
You don’t need any prior experience because the software has been specifically designed for beginners. The planning process is carried out in 5 simple steps:
1. Draw Walls

2. Windows & Doors

3. Floors & Roof

4. Textures & 3D Objects

5. Plan for the Building Permit

- – Compliant with international construction standards
- – Usable on 3 PCs simultaneously
- – Option for consultation with an architect
- – Comprehensive user manual
- – Regular updates
- – Video tutorials
- – Millions of 3D objects available


