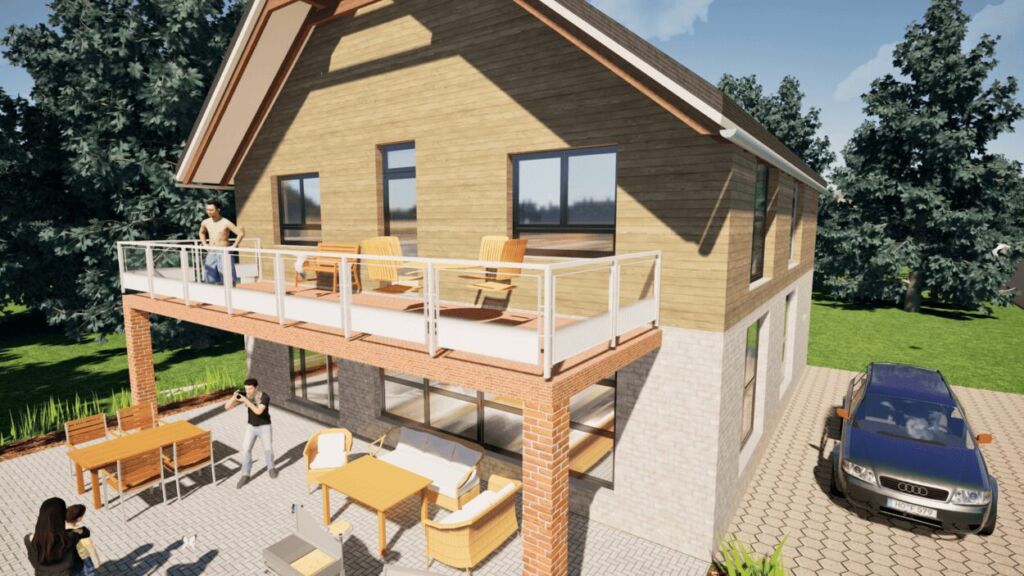
These 5 Floor Plan Mistakes Could Cost You Thousands
Poor floor planning often leads to expensive structural changes, wasted living space, or frustrating communication with architects and contractors. In real-world projects, it becomes clear just how important proper preparation is. Below, I’ve listed the five most common floor plan mistakes — and how you can avoid them with practical tools and strategies.
Mistake 1: Incorrect Room Dimensions – Wasted Living Space
One of the most common mistakes in floor planning is getting the room sizes wrong. What seems logical on paper or screen often turns out to be too cramped or oversized once built. This leads to inefficient use of space — and costly modifications later on.
Typical examples:
-
Entryway is too small for two people to comfortably use the coat rack.
-
The bedroom lacks usable wall space for wardrobes or drawers.
-
The living room is oversized, while the kitchen or bathroom ends up too tight.
How to avoid it:
-
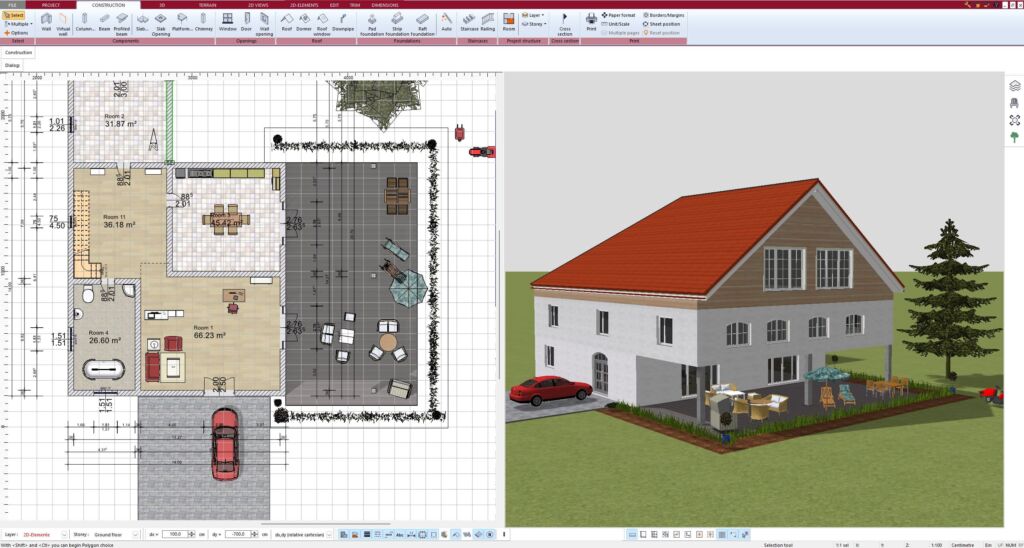
Use a house planning tool like Plan7Architect Pro to insert furniture at true-to-scale sizes.
-
Immediately visualize how much usable space remains after furnishing.
-
Test walkways and spacing in both 2D and 3D.
Tip: Plan7Architect Pro supports both metric (meters) and imperial (feet/inches) units. You can switch between them at any time.
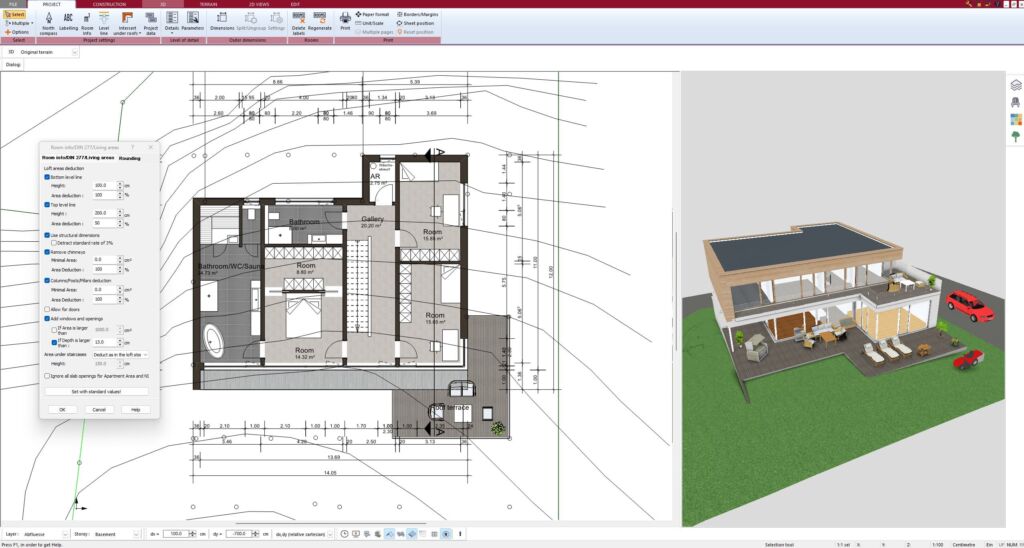
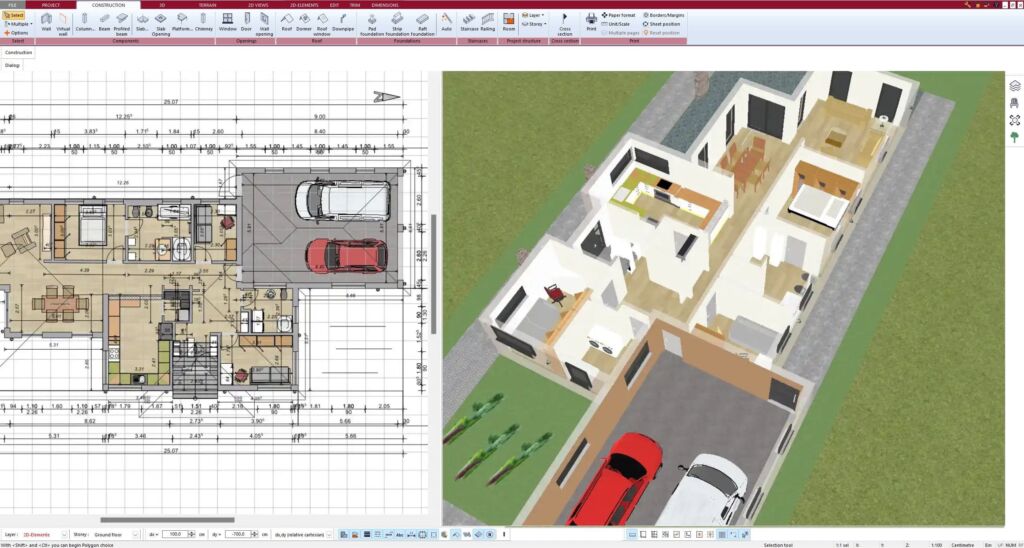
The solution: Plan7Architect
The Plan7Architect is a professional architecture program that enables even amateurs to easily create floor plans that meet international building standards (US, UK, Canada, Australia, New Zealand & all European countries). With this program, you can design floor plans in 2D and 3D simultaneously and then export these plans, send them to your architect, print them, and use them for your building permit application or financing. As a customer, you benefit from a 14-day right of withdrawal, allowing you to cancel your purchase within 14 days without providing any reasons and receive a full refund.
Mistake 2: Poor Window Placement and Natural Light
Natural light is one of the biggest factors affecting comfort, yet it’s often overlooked during the floor planning stage. Inadequate window placement results in dark, uncomfortable rooms and expensive modifications later — such as adding new openings or extra lighting.
Common planning mistakes:
-
Bedrooms facing north with only one small window.
-
Kitchens without direct sunlight.
-
Living rooms facing a neighbor’s wall instead of the garden.
How to get it right:
-
Factor in the orientation of each room and the path of the sun throughout the day.
-
Place windows according to how the room is used — not just for symmetry.
-
Use the 3D view in Plan7Architect Pro to preview light and shadows in the space.
Note: You can fully customize window size, placement, and style. The software includes various types such as full-height windows, roof windows, and more.
Mistake 3: Rigid Layout – Expensive to Modify Later
A rigid, one-size-fits-all layout can cause long-term frustration. Life changes — whether it’s a growing family, a new work-from-home setup, or the need for aging-friendly design. If your plan doesn’t allow for easy changes, it can get expensive.
Typical problems:
-
No option to add a guest room or home office later.
-
No way to connect kitchen and living area.
-
Load-bearing walls positioned in inconvenient places.
How to build flexibility into your plan:
-
Plan7Architect Pro lets you create and save multiple layout variants for each floor.
-
You can move or remove walls with just a few clicks and compare different concepts side by side.
-
This makes it easy to test what works best before committing to a layout.
Example: Comparing layout variants
| Variant | Room Layout | Advantage |
|---|---|---|
| A | Closed-off kitchen | Quiet cooking space |
| B | Open kitchen/living | Spacious shared area |
| C | Extra room added | Flexible use as office or guest room |
Mistake 4: Poor Technical Layout – Plumbing, Kitchen, Electrical
Technical systems like plumbing, electrical wiring, and ventilation can be extremely costly to modify after the fact. Planning errors here don’t just affect the budget — they also impact daily life and usability.
Typical issues:
-
Long distances between kitchen and utility room.
-
Bathrooms placed in poorly ventilated areas.
-
Not enough power outlets or switches in the right spots.
How to plan this properly:
-
Add technical elements to your floor plan from the start using built-in 2D/3D symbols for plumbing, electricity, ventilation, etc.
-
Think about practical workflows, air circulation, and noise.
-
In Plan7Architect Pro, these technical components can be easily placed, moved, and adjusted.
Tip: Use color-coded wall and layer types to keep track of different system installations — plumbing vs. electrical, for example.
Mistake 5: No Visualization – Unexpected Results After Construction
Relying solely on 2D plans often leads to surprises during construction. A room may look fine on a floor plan but feel completely different when built. Proportions, lighting, ceiling height, and traffic flow become much more apparent in 3D.
Typical consequences:
-
Rooms feel too short or oddly shaped.
-
Furniture doesn’t fit the way you imagined.
-
Living comfort is compromised.
How 3D visualization solves this:
-
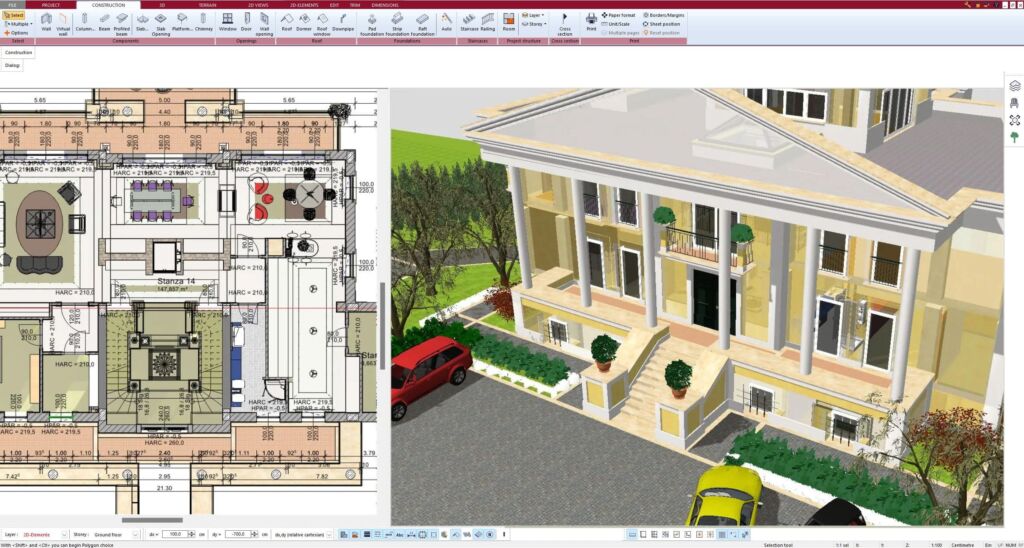
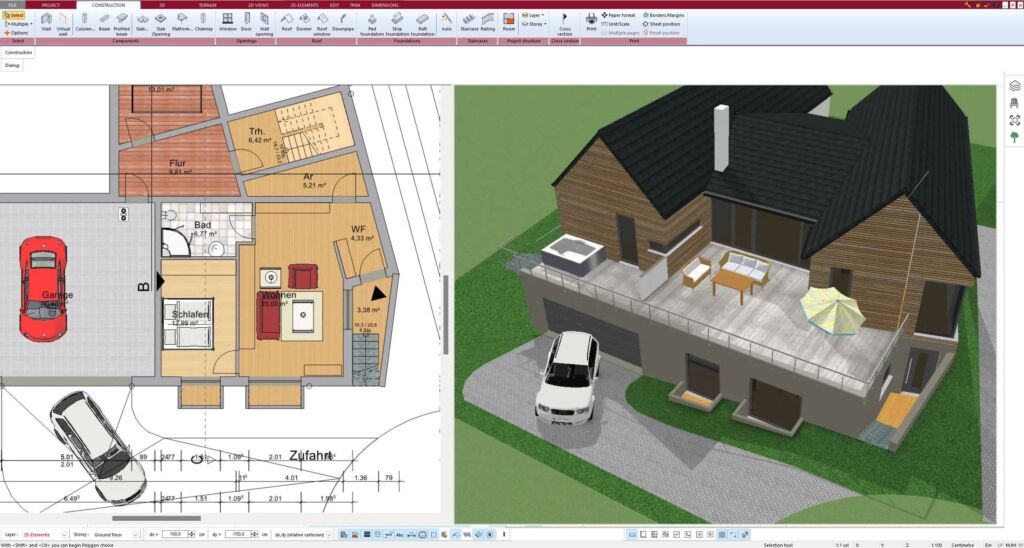
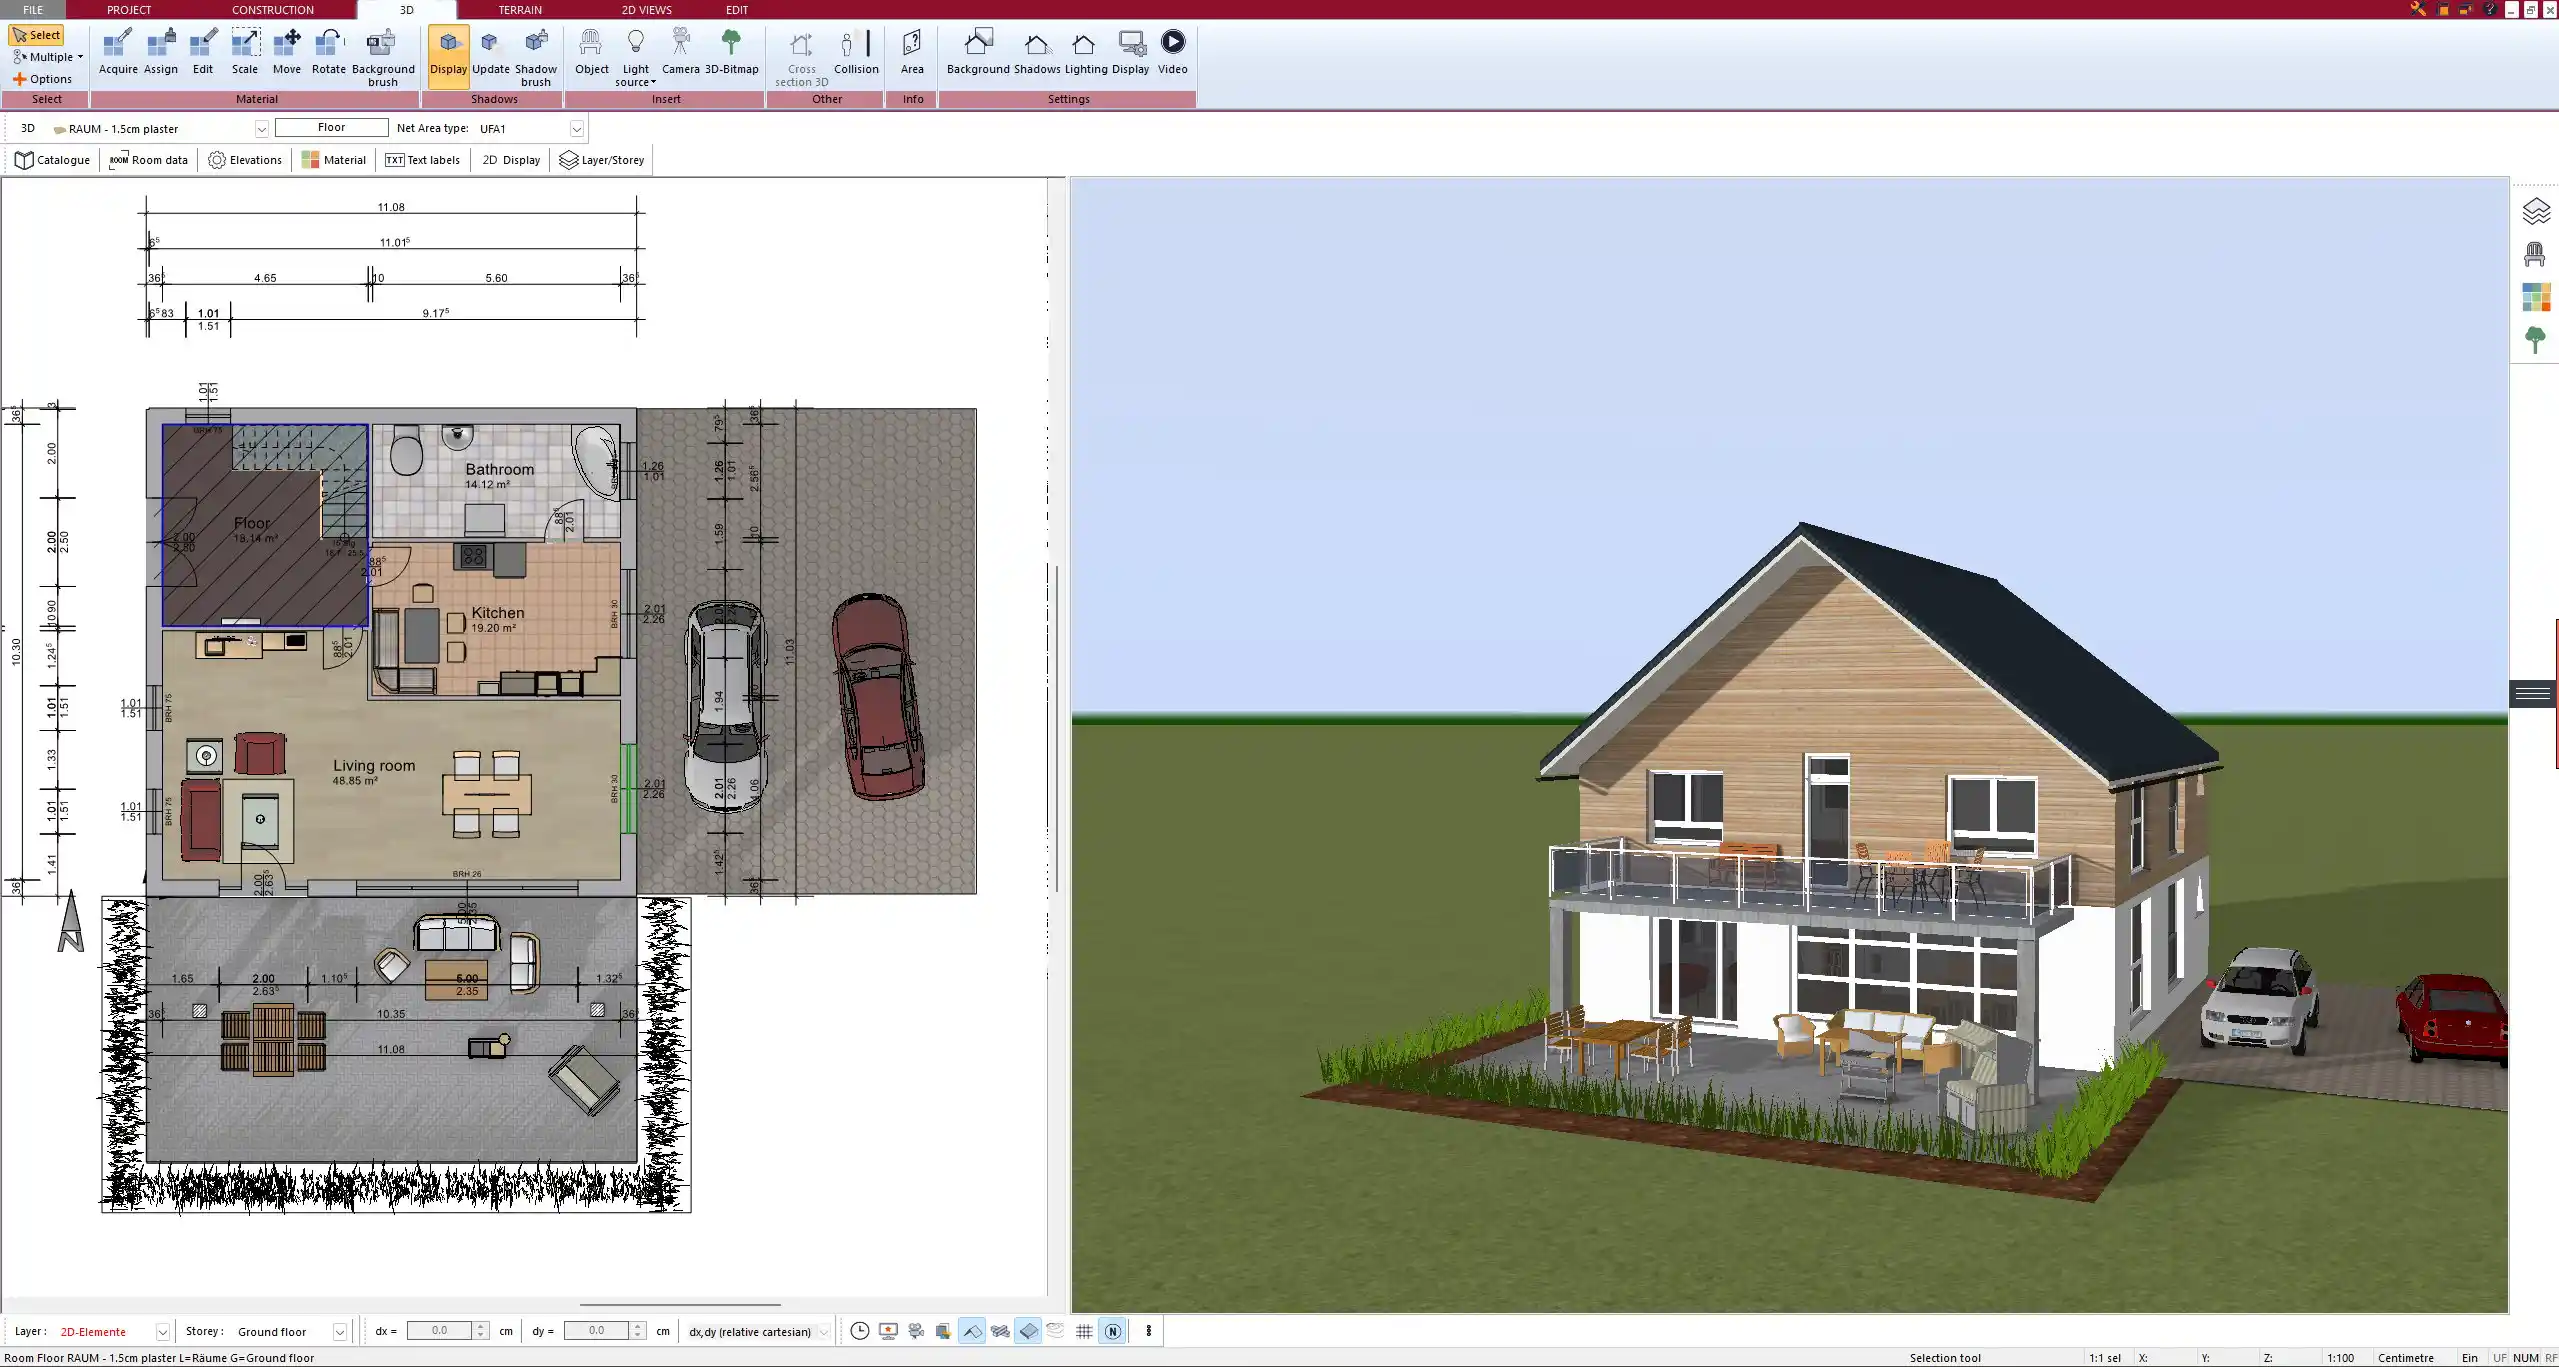
Plan7Architect Pro offers a live 3D preview, letting you walk through your project and view every angle.
-
You can apply real textures, materials, and colors to test different combinations.
-
Finished projects can be exported in 3DS format and visualized further in tools like Twinmotion for photorealistic rendering.
Practical uses:
-
Test room height and ceiling styles.
-
Place furniture virtually and see how much space is left.
-
Compare different flooring or wall colors.
Bonus Tip: Prepare for the Architect or Bank
Many people think that floor plans are something only architects should handle. But the reality is: The more prepared you are, the smoother your collaboration will be. A clean, thought-out digital floor plan helps you communicate clearly — whether it’s with your architect, contractor, or your bank during financing.
How Plan7Architect Pro helps:
-
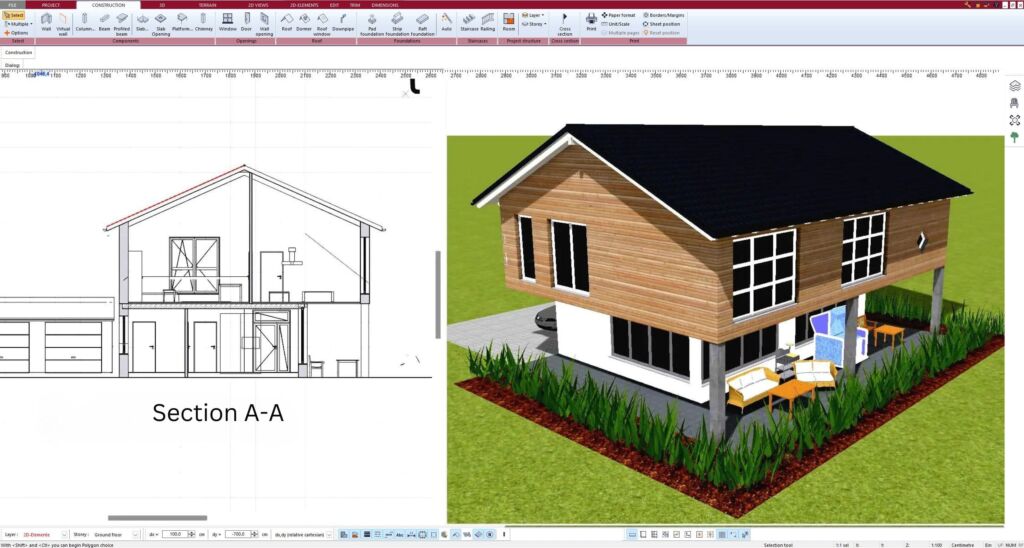
Create floor plans, cross sections, and elevations for each level of the building.
-
Export drawings as PDF, DXF, or DWG for professional use.
-
Add scale-accurate dimensions, measurement lines, symbols, and labels.
-
Switch easily between imperial and metric units, depending on your region or project.
Tip: The ability to store and switch between multiple floor plan versions means you can present several options to your architect or decision-makers — without having to start from scratch each time.
No subscription – lifetime use, includes 1 year of updates
Advantages
- Parallel Working in 2D & 3D
- Customer Exchange Forum
- Millions of 3D Objects
- Direct Communication with Your Architect
- Latest 3D Engine
- Real-Time 3D Visualization
- Comprehensive User Manual
- Sections and Plan Compilation
- 100% Buyer Protection
- International Building Standards
- Regular Updates
- Support Ticket System
Core Functions

Some Highlights of the Software
Frequently Asked Questions
Plan7Architect is ideally suited for private homeowners and property owners who want to build or renovate their house or property and also wish to share their plans with an architect. With the program, you can independently implement all the essential elements required for a building permit application. The interface has been specifically designed for laypersons, so no prior knowledge is necessary.
It is also perfect for planning renovations, extensions, garages, carports, and more.
Just as well, it is ideal for 3D visualization for companies, planning offices, craftsmen, or real estate agents who want to present their properties in a better light.
Additionally, it is naturally suited for hobby architects who want to design their personal dream homes and enjoy spending time on creative projects.
Plan7Architect can be adjusted to comply with the building regulations of any country. It is easily configurable to meet U.S., Canadian, Australian, UK, New Zealand, and European building standards, as well as those of other regions.
The interface of Plan7Architect is built intuitively, and the most important functions are generally just one click away. As a layman, you can familiarize yourself with the software in approximately 1-2 hours and begin planning moderately complex projects.
Furthermore, as an owner of Plan7Architect, you are supported by the following features:
- Help Functions
The program includes several help features designed to simplify your experience:- Manual & Getting Started Guide
- Context-Sensitive Hints & Tips within the program
- Input Assistance & Tips in the toolbar
- Video Tutorials
Our YouTube channel offers numerous video tutorials with step-by-step instructions for our program. New videos are published regularly. - Support Ticket System
You have the option to create a support ticket at any time via our central support ticket system. The access link is provided automatically after you purchase the software. - Customer Forum
In our customer forum, moderators and fellow users have already answered hundreds of questions, providing valuable assistance. As a customer, you gain access to the forum where you can ask questions or share suggestions for software improvements.
System Requirements:
Operating System:
Microsoft® Windows 10® (64-bit) or higher
CPU:
Intel Core i5 or higher, AMD Ryzen 5 or higher
Hard Drive:
10 GB free disk space
RAM:
8 GB RAM or higher
Graphics Card:
- Optimal: Nvidia GTX 1050ti or higher
- For normal operation: All common graphics card models
Monitor & Mouse:
Full HD (e.g., 1920 x 1080 pixels) or 4K, along with a keyboard and a mouse with a scroll wheel.
After completing your order, you will receive a personal download link for the purchased software via email. Additionally, every customer receives an account on our website where your license key and the download link to the latest version of our program are stored. The download link is valid for exactly 1 year from the date of purchase, and you can download the software as often as you like during that period.
The license has no time limitations, so you can use the software indefinitely after purchase. Only the free updates and download access are limited to 1 year, but these can be extended upon request.
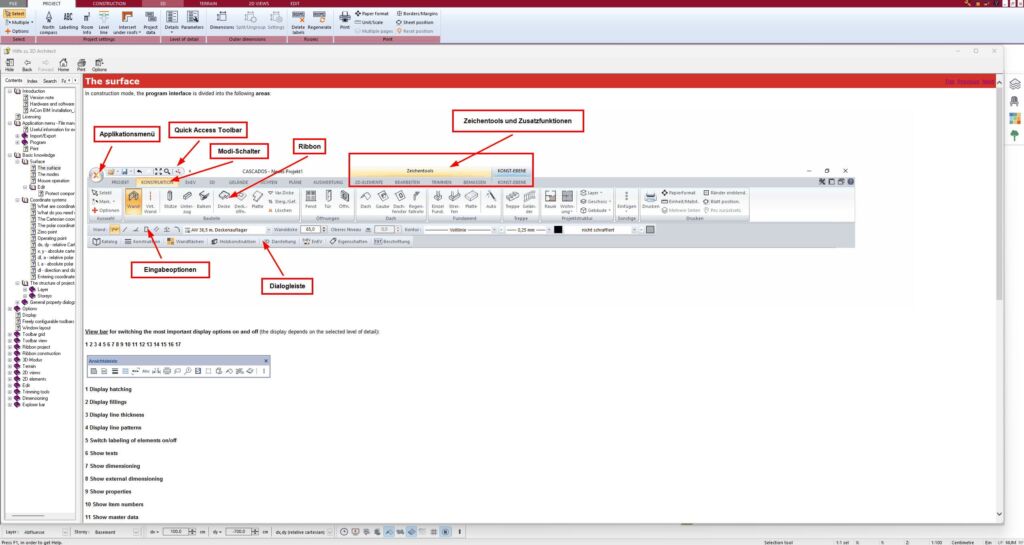
With Plan7Architect, you can easily import existing floor plans and third-party objects. You can even scan hand-drawn floor plans and trace over them.
Of course, completed projects can also be forwarded to architects for further editing. The file formats are compatible with professional architectural software.
Every license you purchase is valid for three devices. This means you can activate it a maximum of three times and work on three computers simultaneously.
As a customer, you receive your own account on our website. In this account, your personal download link to the latest version of our software is available for one year. With every new update, we will inform you via newsletter, so that you can log in to your account and download the newest version free of charge.
With the purchase of a Plan7Architect license, no additional or recurring costs apply. The price is one-time, and the license can be used indefinitely.
Our software can only be installed and used on a Windows operating system. Many of our customers run our software on their macOS through the Parallels App.
Yes, Plan7Architect is fully compatible with Windows 10 and Windows 11.
No, you don’t require a new license. We have step-by-step instructions in our customer area that show you how to deactivate a license on one PC and then reactivate it on a new PC. This way, you can take your software license with you wherever you go.
Since we offer a 14-day right of withdrawal for all our customers, we do not provide a free trial version. You can cancel your software purchase without giving any reasons and receive a full refund. Simply send us a short email to process your cancellation.
Further Questions & Answers
You can find additional questions and answers in our FAQ section.


