If you want to sketch your own house floor plan easily and professionally, Plan7Architect is the right software for the job. With intuitive tools, flexible measurement systems, and both 2D and 3D views, it allows you to create detailed layouts without needing prior architectural knowledge.
You can draw an entire floor plan from scratch, modify an existing design, or trace over a scanned sketch. Plan7Architect supports both metric (meters, centimeters) and imperial (feet, inches) units, so it works no matter where you live or plan to build.
Here’s exactly how you can sketch a floor plan in a few simple steps.
Open a New Project or Use a Template
When you open the software, you can either start with a blank project or select a ready-made template to speed things up. I usually prefer starting from scratch so I have full control over every element.
Available options at project start:
-
Empty project: start drawing from a blank canvas
-
Sample templates: pre-designed floor plans you can adjust
-
Tracing mode: import an image (e.g. old blueprint, hand-drawn sketch)
Measurement system setup:
Before you begin, choose whether you want to work with metric or imperial units. This setting can be changed at any time in the project settings.
TIP
If you’re working on a renovation or want to digitize an existing plan, use the import function to load your image file and sketch over it using the drawing tools. This is much faster than trying to measure everything manually.
Draw Walls and Define Room Shapes
The wall tool is the heart of the sketching process. You can click and drag to draw walls freely, or input exact dimensions for precise room sizes. Walls can be adjusted in length, thickness, and height even after placement.
Common wall adjustments:
| Feature | Customizable |
|---|---|
| Wall thickness | Yes |
| Wall height | Yes |
| Connection angles | Yes |
| Exterior vs. interior walls | Yes |
Once the outer walls are placed, use the same tool to define interior walls and divide the space into rooms. There’s also a “room” function that automatically calculates the room area as you close the walls.
Add Interior Features
Next, add architectural elements such as doors, windows, and stairs. All of these can be found in the Plan7Architect library and are placed using drag-and-drop. You can rotate, resize, and align each item directly in the 2D view.
You can insert:
-
Single and double doors
-
Sliding doors
-
Standard and custom-size windows
-
Spiral or straight staircases
-
Garage doors
The software automatically adapts openings to wall thickness and allows you to define the height and placement from floor level.
TIP
To keep your sketch clean and organized, use different colors or line styles for load-bearing walls vs. partition walls. This makes the plan easier to interpret when you switch to 3D view later.
Adjust Dimensions and Floor Levels
Once your basic sketch is in place, you can fine-tune every dimension. This includes not only wall lengths and room sizes, but also the structural height of floors and ceilings. You can create multiple levels in the same project – from basement to attic.
Adjustable elements:
-
Ceiling height per floor
-
Wall height (individual or global)
-
Floor slab thickness
-
Roof pitch (angle)
These settings are especially helpful if you’re sketching a layout for a sloped roof, a split-level house, or a structure with a raised foundation.
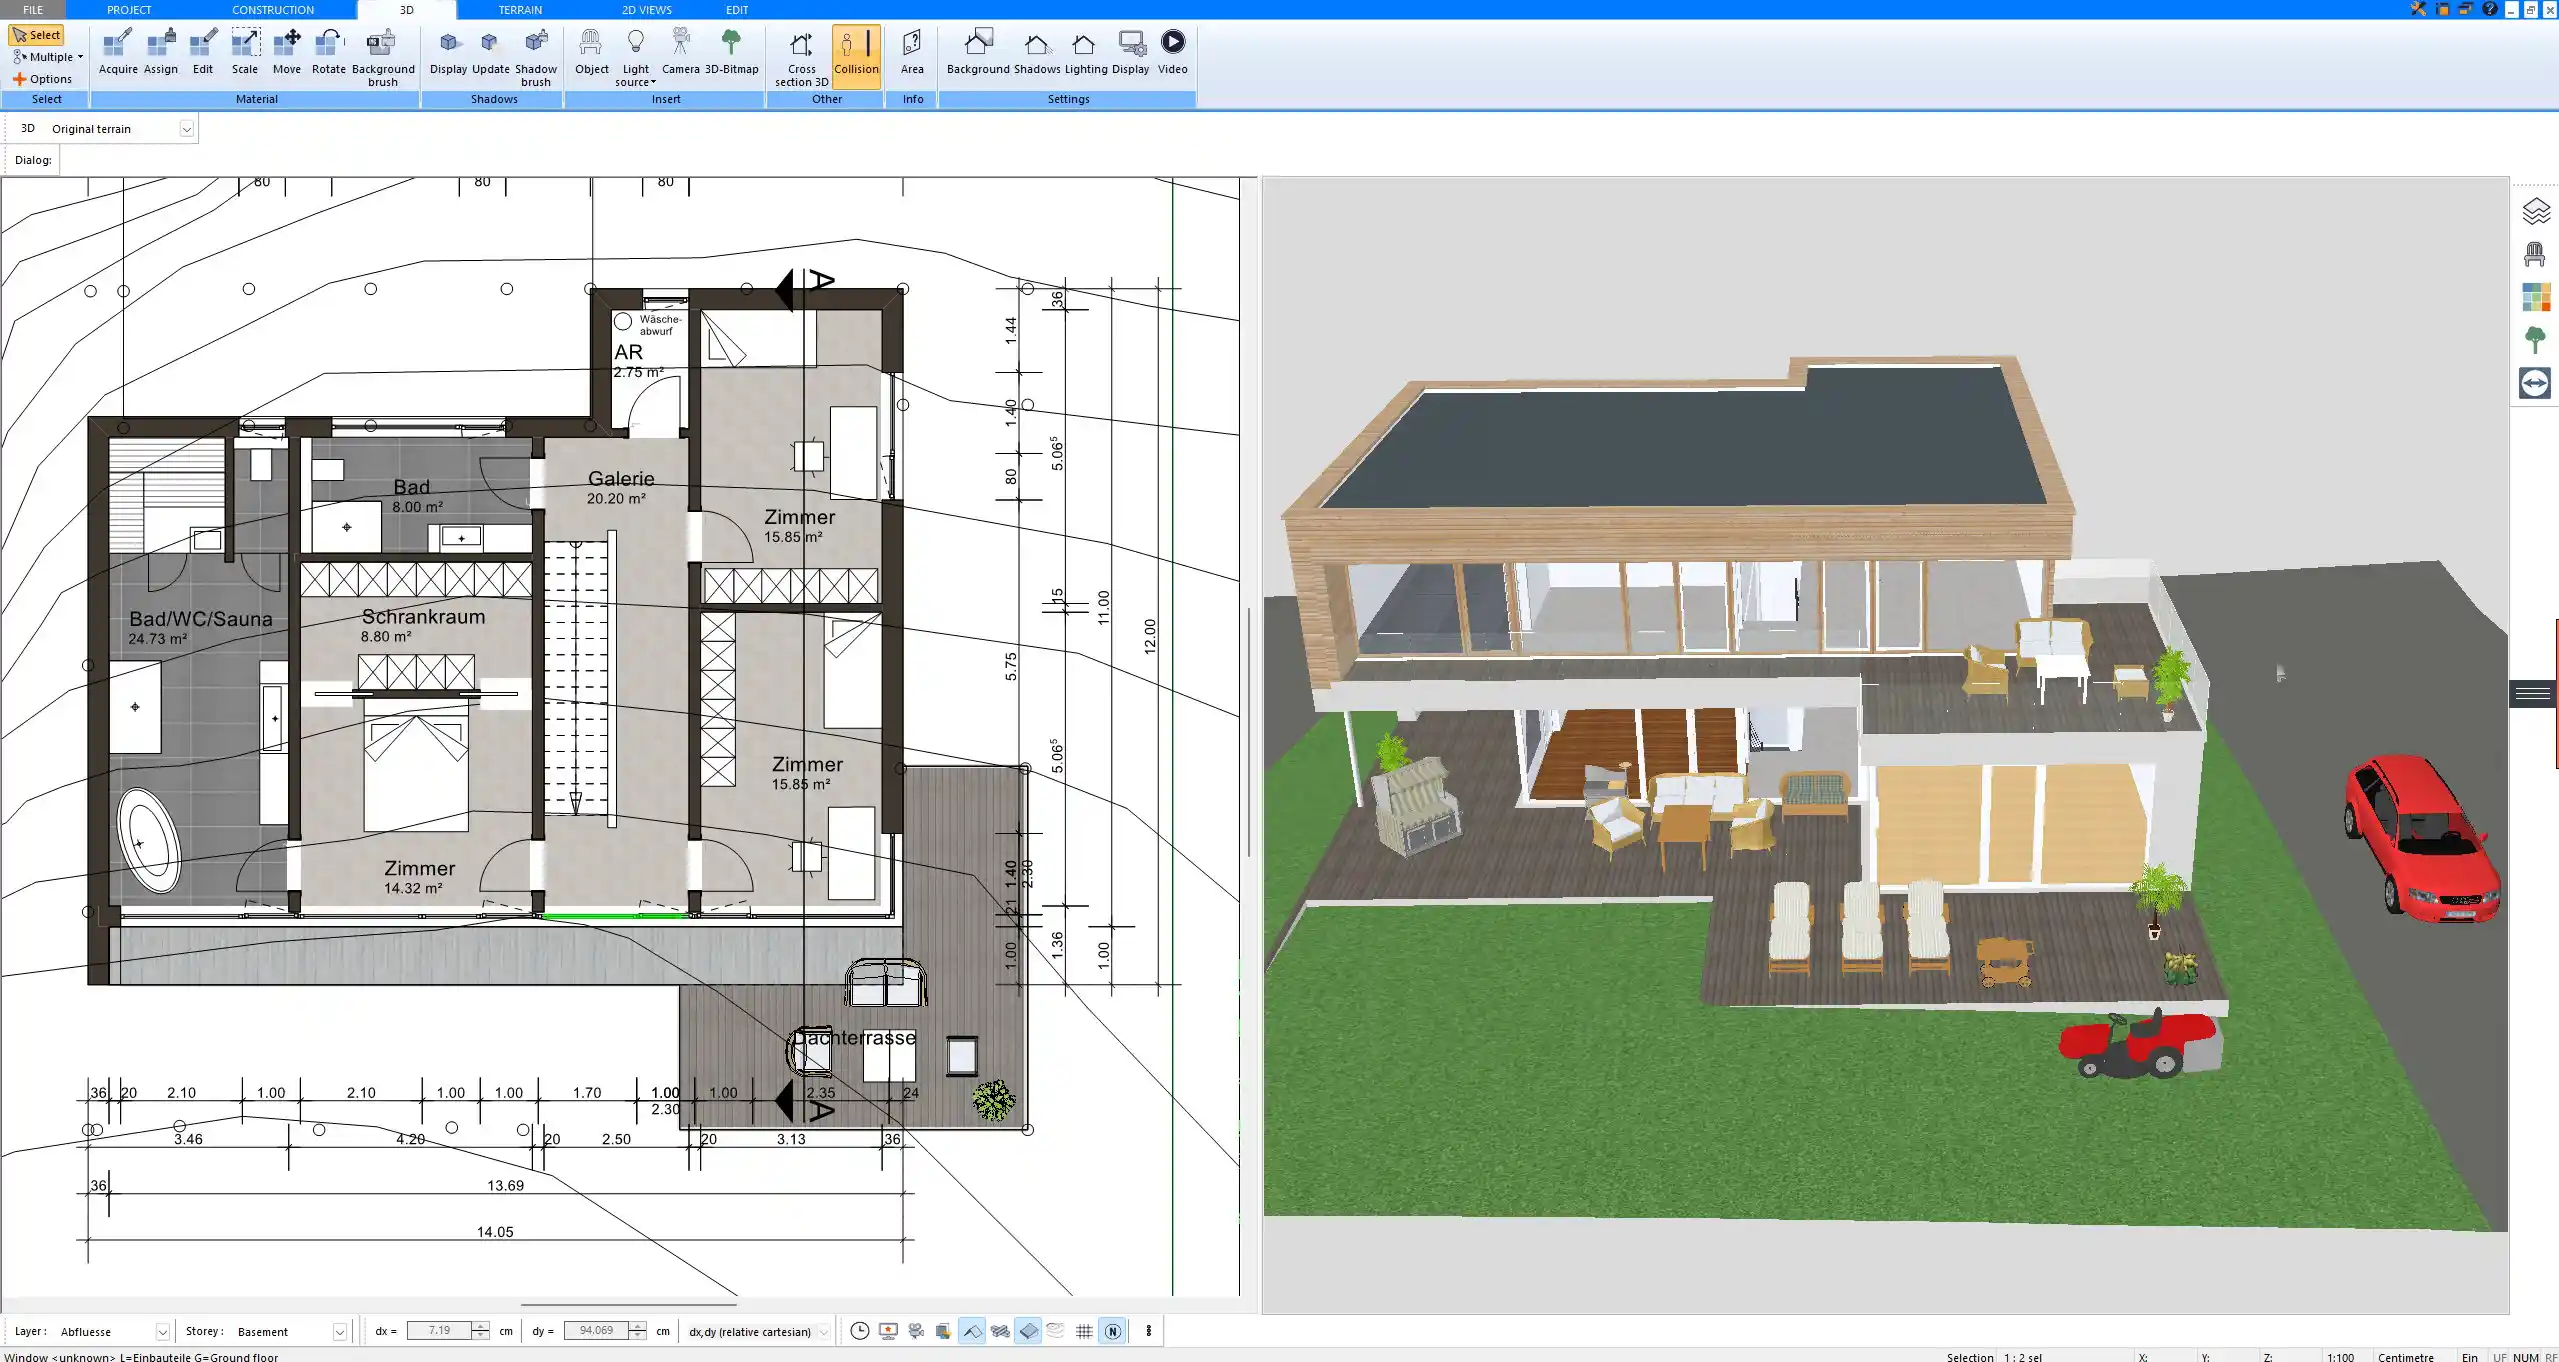
Label Rooms and Add Annotations
Labeling rooms is important if you want your sketch to be understandable to others or use it for planning purposes. Plan7Architect lets you assign room names and automatically displays the area of each room in your chosen unit.
You can add:
-
Room names (e.g. Kitchen, Bedroom 1, Utility Room)
-
Custom text notes
-
Measurement lines and arrows
-
Color fills per room type (optional)
This step is useful for communicating your floor plan to contractors, planners, or building authorities.
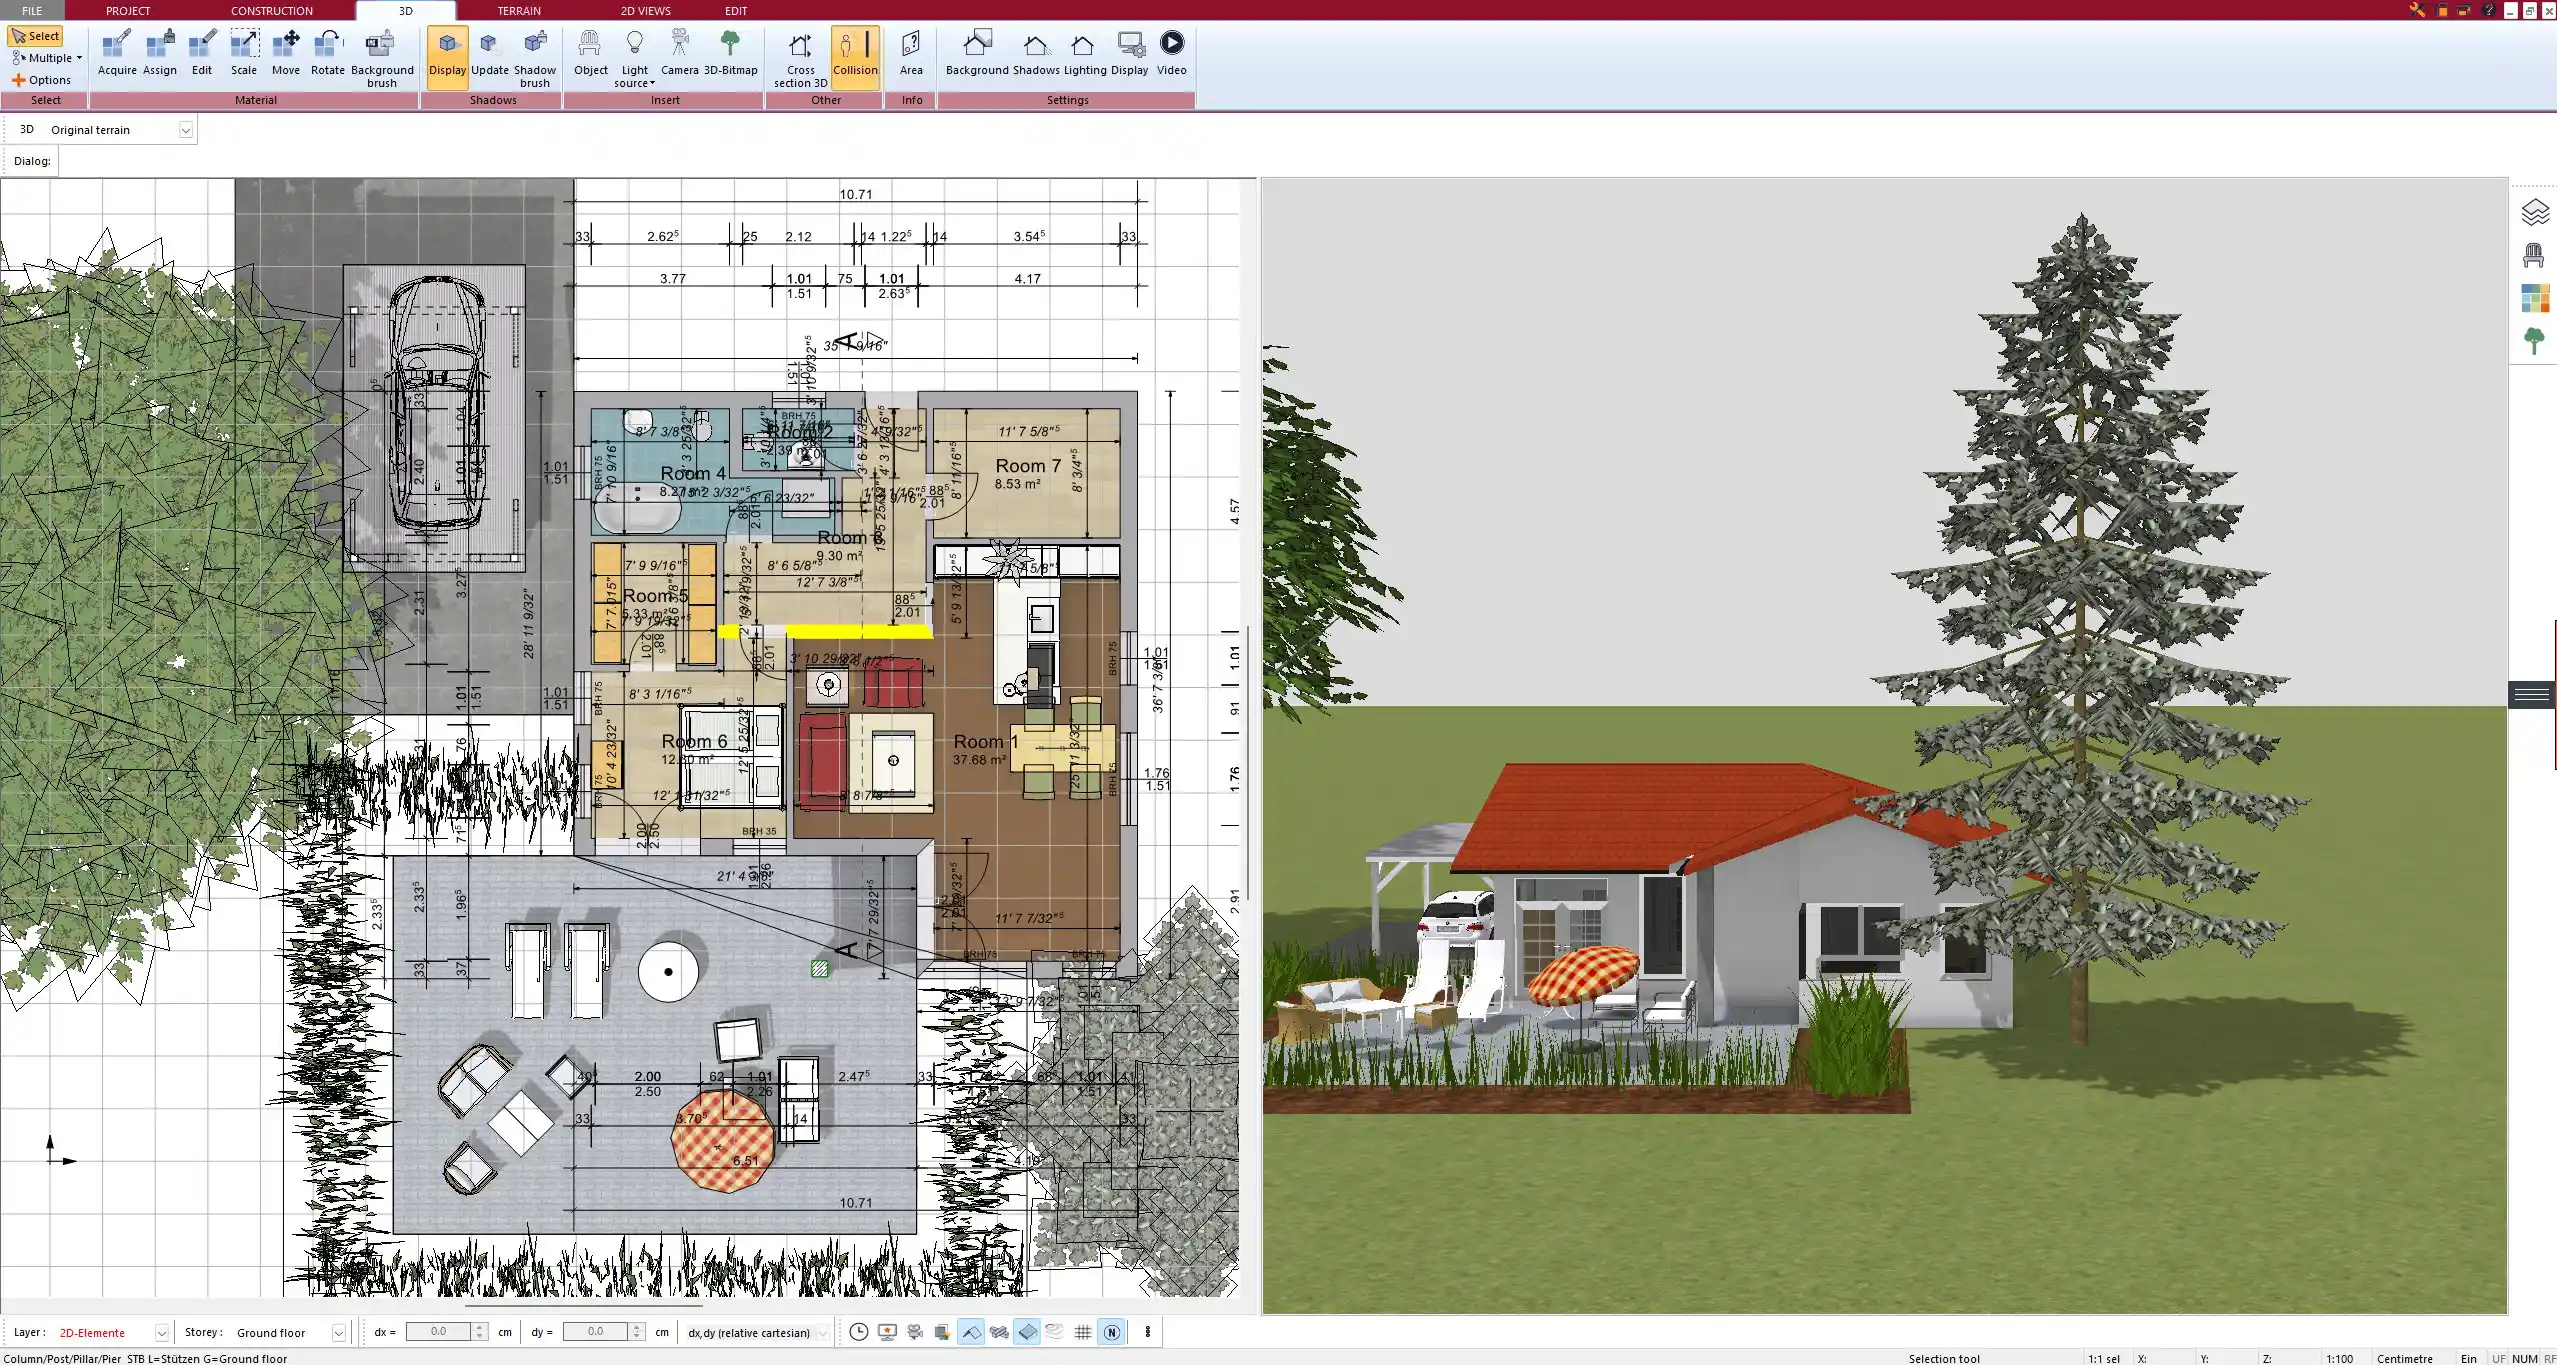
Useful Features While Sketching
Throughout the sketching process, several built-in tools make the work more efficient and precise.
Helpful features include:
-
Grid snapping: aligns elements automatically
-
Angle locking: draw at 45 or 90 degrees easily
-
Undo/Redo history: test out changes freely
-
Zoom & pan: focus on details or view the whole layout
-
Layer system: separate layers for walls, furniture, and electrical plans
You can also lock or hide certain layers to avoid accidentally changing parts of your layout.
Regional Adaptability
Whether you’re planning a home in the US, Europe, Canada, or Australia, Plan7Architect can adapt to your local standards. You can freely switch between metric and imperial units and define region-specific wall types, floor heights, and door/window sizes.
There is no automatic building code validation, but since you have full control over dimensions, you can sketch a plan that meets your local code and then have it reviewed by a licensed professional if needed.
Can You Import Existing Sketches or Blueprints?
Yes. If you have an old floor plan or a scanned sketch, you can import it into Plan7Architect and trace directly over it. This feature is extremely helpful for remodels or converting hand-drawn layouts into digital form.
Supported image formats:
-
JPG
-
PNG
-
BMP
-
GIF
Once imported, you can set the image scale (e.g. 1:100 or 1/4″ = 1′) and draw over the reference using all available drawing tools.
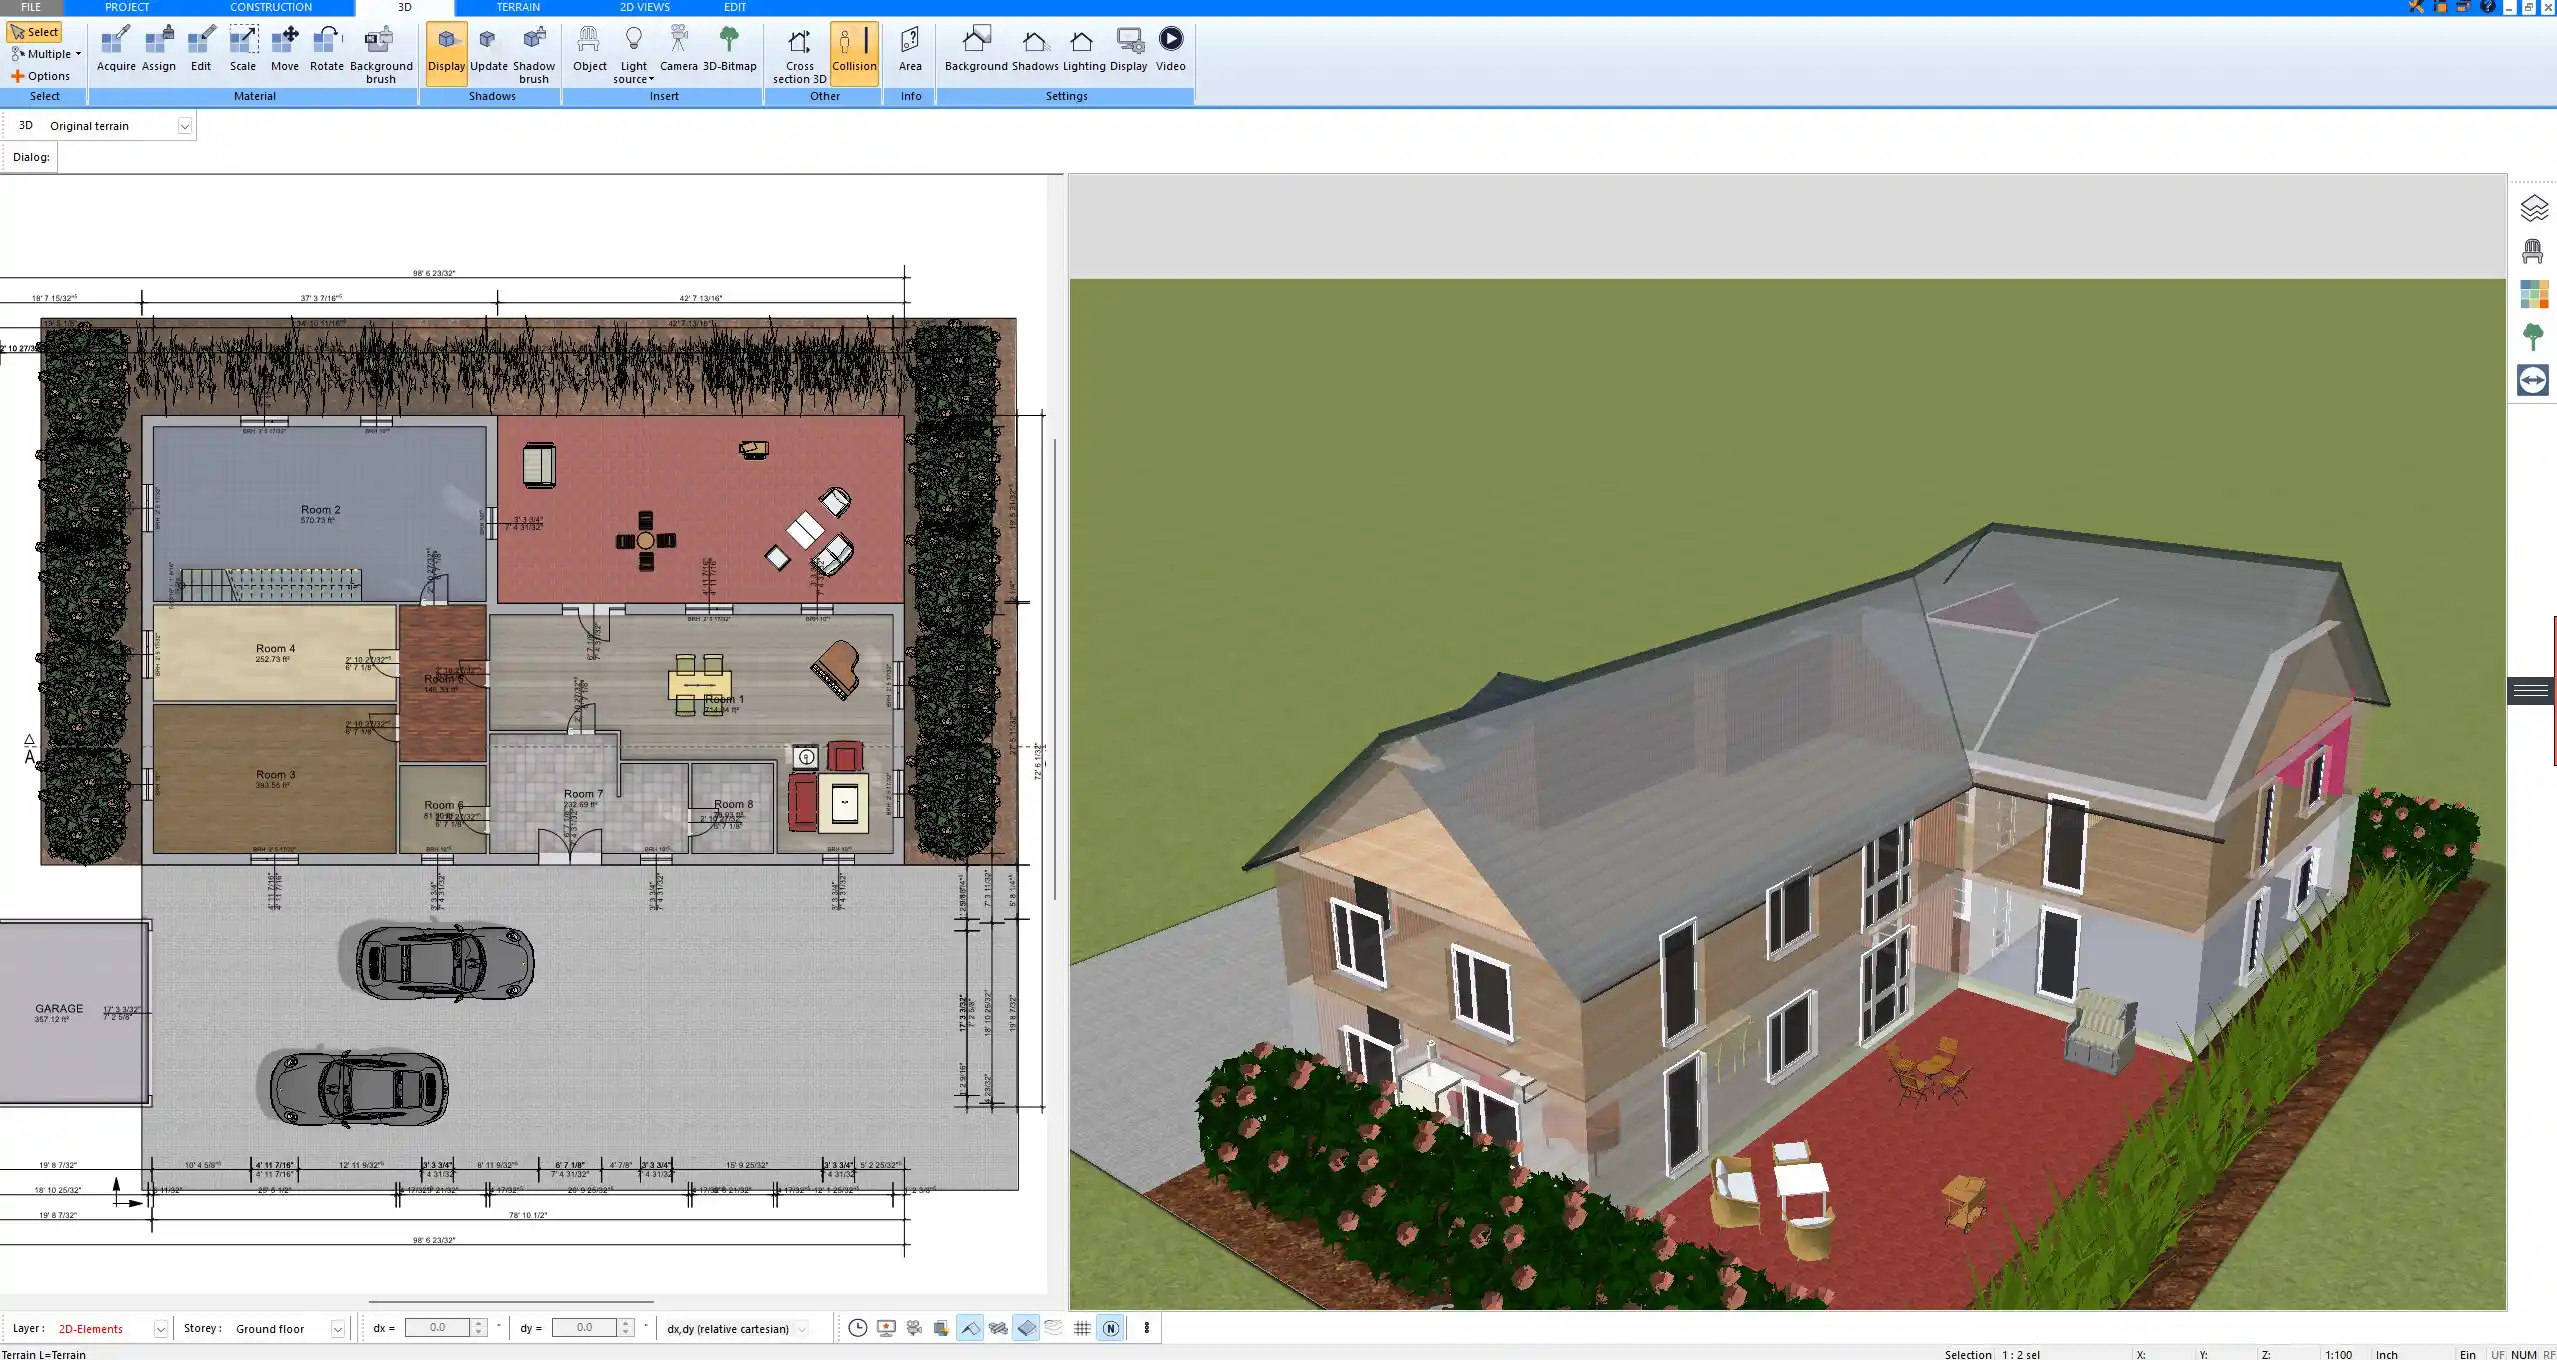
Next Steps After Sketching
Once your floor plan sketch is complete, you can switch to 3D view to visualize the layout, export your plan, or move on to furniture placement and lighting.
Export formats include:
-
PDF for print or submission
-
High-resolution images
-
Plan7Architect project file (for further editing)
-
3D model preview
You can also use the plan to request quotes, plan renovations, or prepare for a permit submission.
Tips for Better Sketches
-
Sketch the outer walls first, then refine inner details
-
Use the measurement tool frequently to double-check dimensions
-
Assign different floor levels early in the process if you’re planning more than one story
-
Lock walls once placed to avoid shifting them accidentally
-
Use naming conventions for rooms to avoid confusion in multi-family layouts
TIP
Save different versions of your sketch as you go. That way, if you test out a change and don’t like it, you can go back without losing your previous work.
Conclusion
With Plan7Architect, sketching a complete house floor plan is simple, fast, and flexible. You don’t need to be an architect — just start with a basic layout and build it out step by step. The software gives you full control over dimensions, features, and layout style, while supporting both metric and imperial measurements.
Whether you’re planning a new build, a remodel, or an extension, this tool helps you take the first step with confidence.
Plan your project with Plan7Architect

Plan7Architect Pro 5 for $99.99
You don’t need any prior experience because the software has been specifically designed for beginners. The planning process is carried out in 5 simple steps:
1. Draw Walls

2. Windows & Doors

3. Floors & Roof

4. Textures & 3D Objects

5. Plan for the Building Permit

6. Export the Floor Plan as a 3D Model for Twinmotion

- – Compliant with international construction standards
- – Usable on 3 PCs simultaneously
- – Option for consultation with an architect
- – Comprehensive user manual
- – Regular updates
- – Video tutorials
- – Millions of 3D objects available


