If you want to redesign your bedroom yourself, Plan7Architect gives you all the tools you need to do it easily and professionally on your computer. You simply open the software, select your existing floor plan or draw a new one, and then get started with placing furniture, choosing colors, and viewing everything live in 3D. Whether you’re updating the layout or starting from scratch, you can directly drag and drop all essential bedroom elements like beds, wardrobes, or lighting fixtures.
You can switch between European and American units inside the software, so whether you plan in meters or feet, everything fits your standards. You instantly see your changes in both 2D and 3D, and don’t need to guess what your room will look like. That’s how you get results that actually work — even before buying or moving furniture.
Step-by-Step Guide to Setting Up Your Bedroom in Plan7Architect
Start with a Room Outline
The first step is to define or load your bedroom space. You can draw it from scratch using the wall tool or import an existing floor plan as an image or DXF file. The software supports flexible input, so you can sketch a completely new room or trace over an architectural drawing.
Once your outline is set, you can define the exact room size. Measurements can be entered in meters or feet, depending on your region and preference. Plan7Architect allows you to switch units at any time in the settings, which is especially helpful if you use inspiration from international sources.
Tip:
Always check that walls are connected cleanly at corners. Misaligned corners may cause issues when placing furniture or exporting 3D views.
Furnish the Space
After creating the room’s structure, you can begin placing furniture. Plan7Architect includes an extensive library of bedroom furniture, including:
-
Beds (single, double, queen, king)
-
Nightstands
-
Wardrobes and closets
-
Dressers and shelves
-
Desks and seating
Just drag and drop elements from the catalog into your plan. You can rotate and scale each item freely, and adjust positioning to fit your personal layout.
Example table: Typical clearances to consider around key furniture
| Furniture | Recommended Clearance |
|---|---|
| Bed sides | At least 60 cm / 2 ft |
| Front of wardrobe | 80 cm / 2.6 ft |
| Between bed and wall | 75 cm / 2.5 ft |
These distances help ensure smooth movement around the room and avoid cramped layouts.
Tip:
Use the “snap to grid” function to align furniture precisely without guessing distances.
Customize Style and Materials
Once your layout is in place, it’s time to add atmosphere. With Plan7Architect, you can change the floor materials, wall colors, and even furniture textures in just a few clicks. You’ll find a wide range of wood floors, tiles, carpets, and wallpapers in the materials library.
You can also assign specific colors to walls and ceilings using the paint tool or predefined palettes. This is especially useful if you want to preview how bold tones or accent walls will look in your real bedroom.
Some of my personal favorite combinations to try in the software:
-
Light oak flooring + soft beige walls for a calm, warm feel
-
Dark wood floors + white walls + black accents for a modern, stylish design
-
Patterned wallpaper behind the headboard for a subtle focal point
Play with Lighting and Ambience
Lighting plays a huge role in bedroom comfort. Plan7Architect allows you to add and test different lighting options like:
-
Ceiling lights
-
Table and floor lamps
-
Indirect LED lighting
-
Window light simulation (natural daylight)
Each light source can be adjusted in strength and temperature. This means you can simulate warm cozy lighting for evenings or bright daylight for mornings. The 3D preview will reflect these lighting effects immediately, so you can check if the atmosphere feels right.
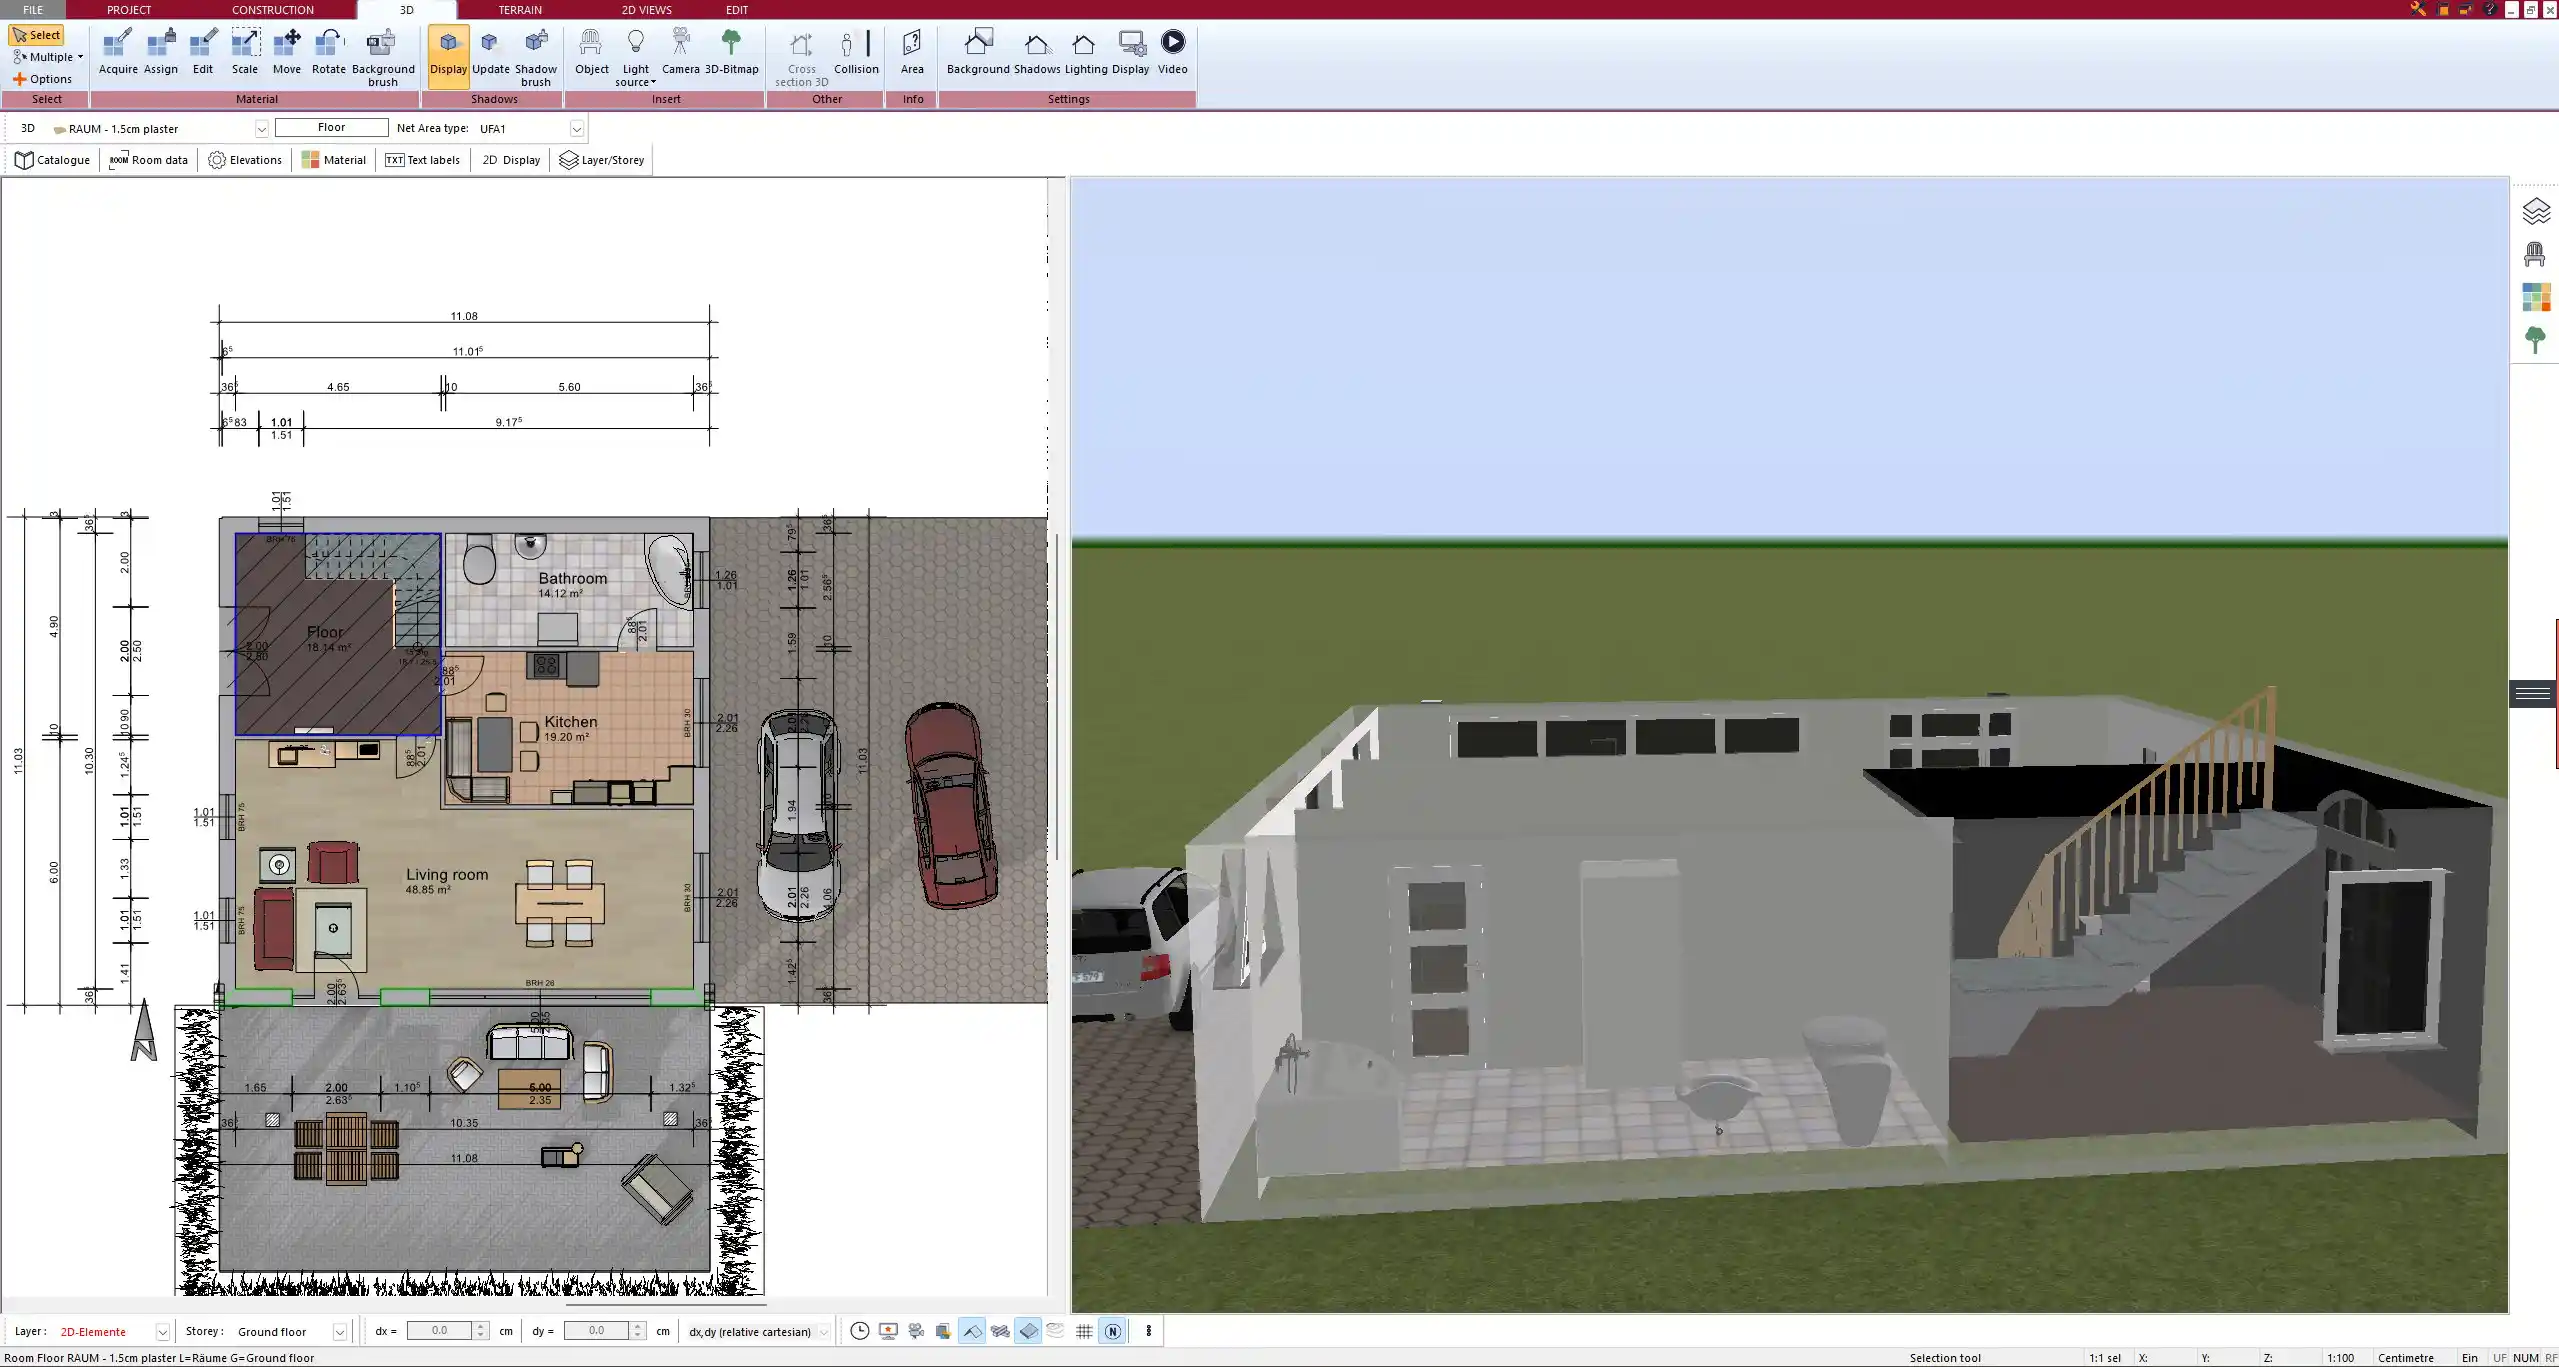
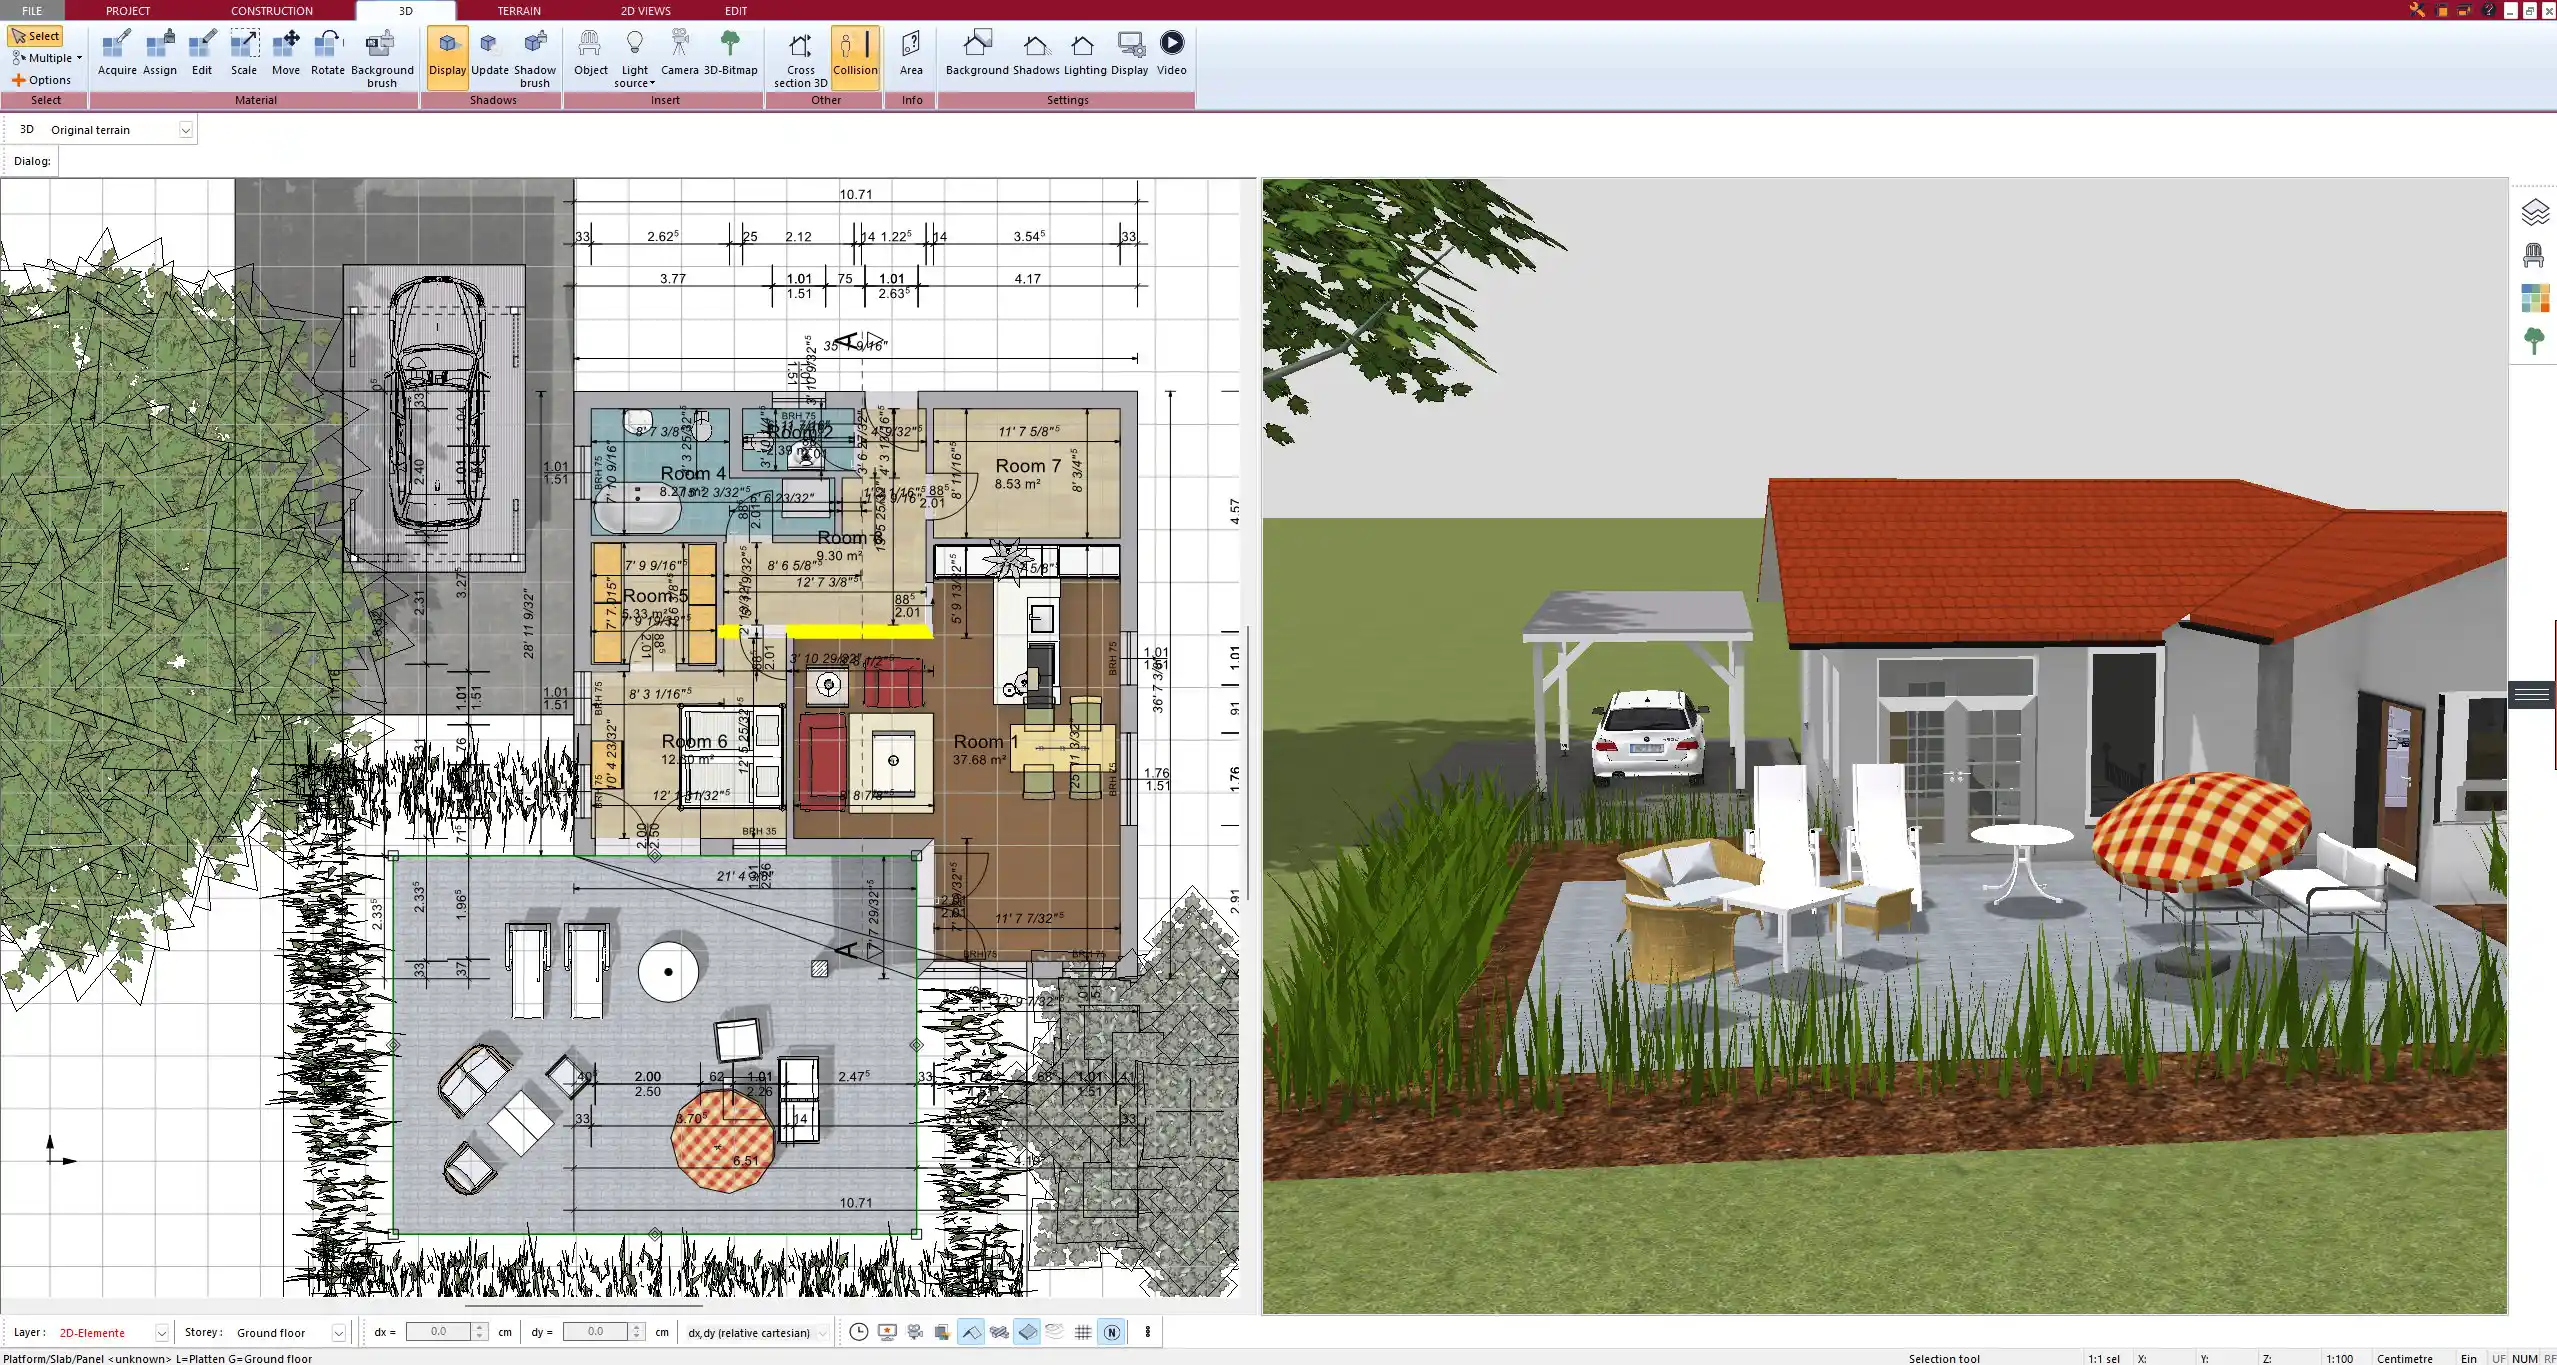
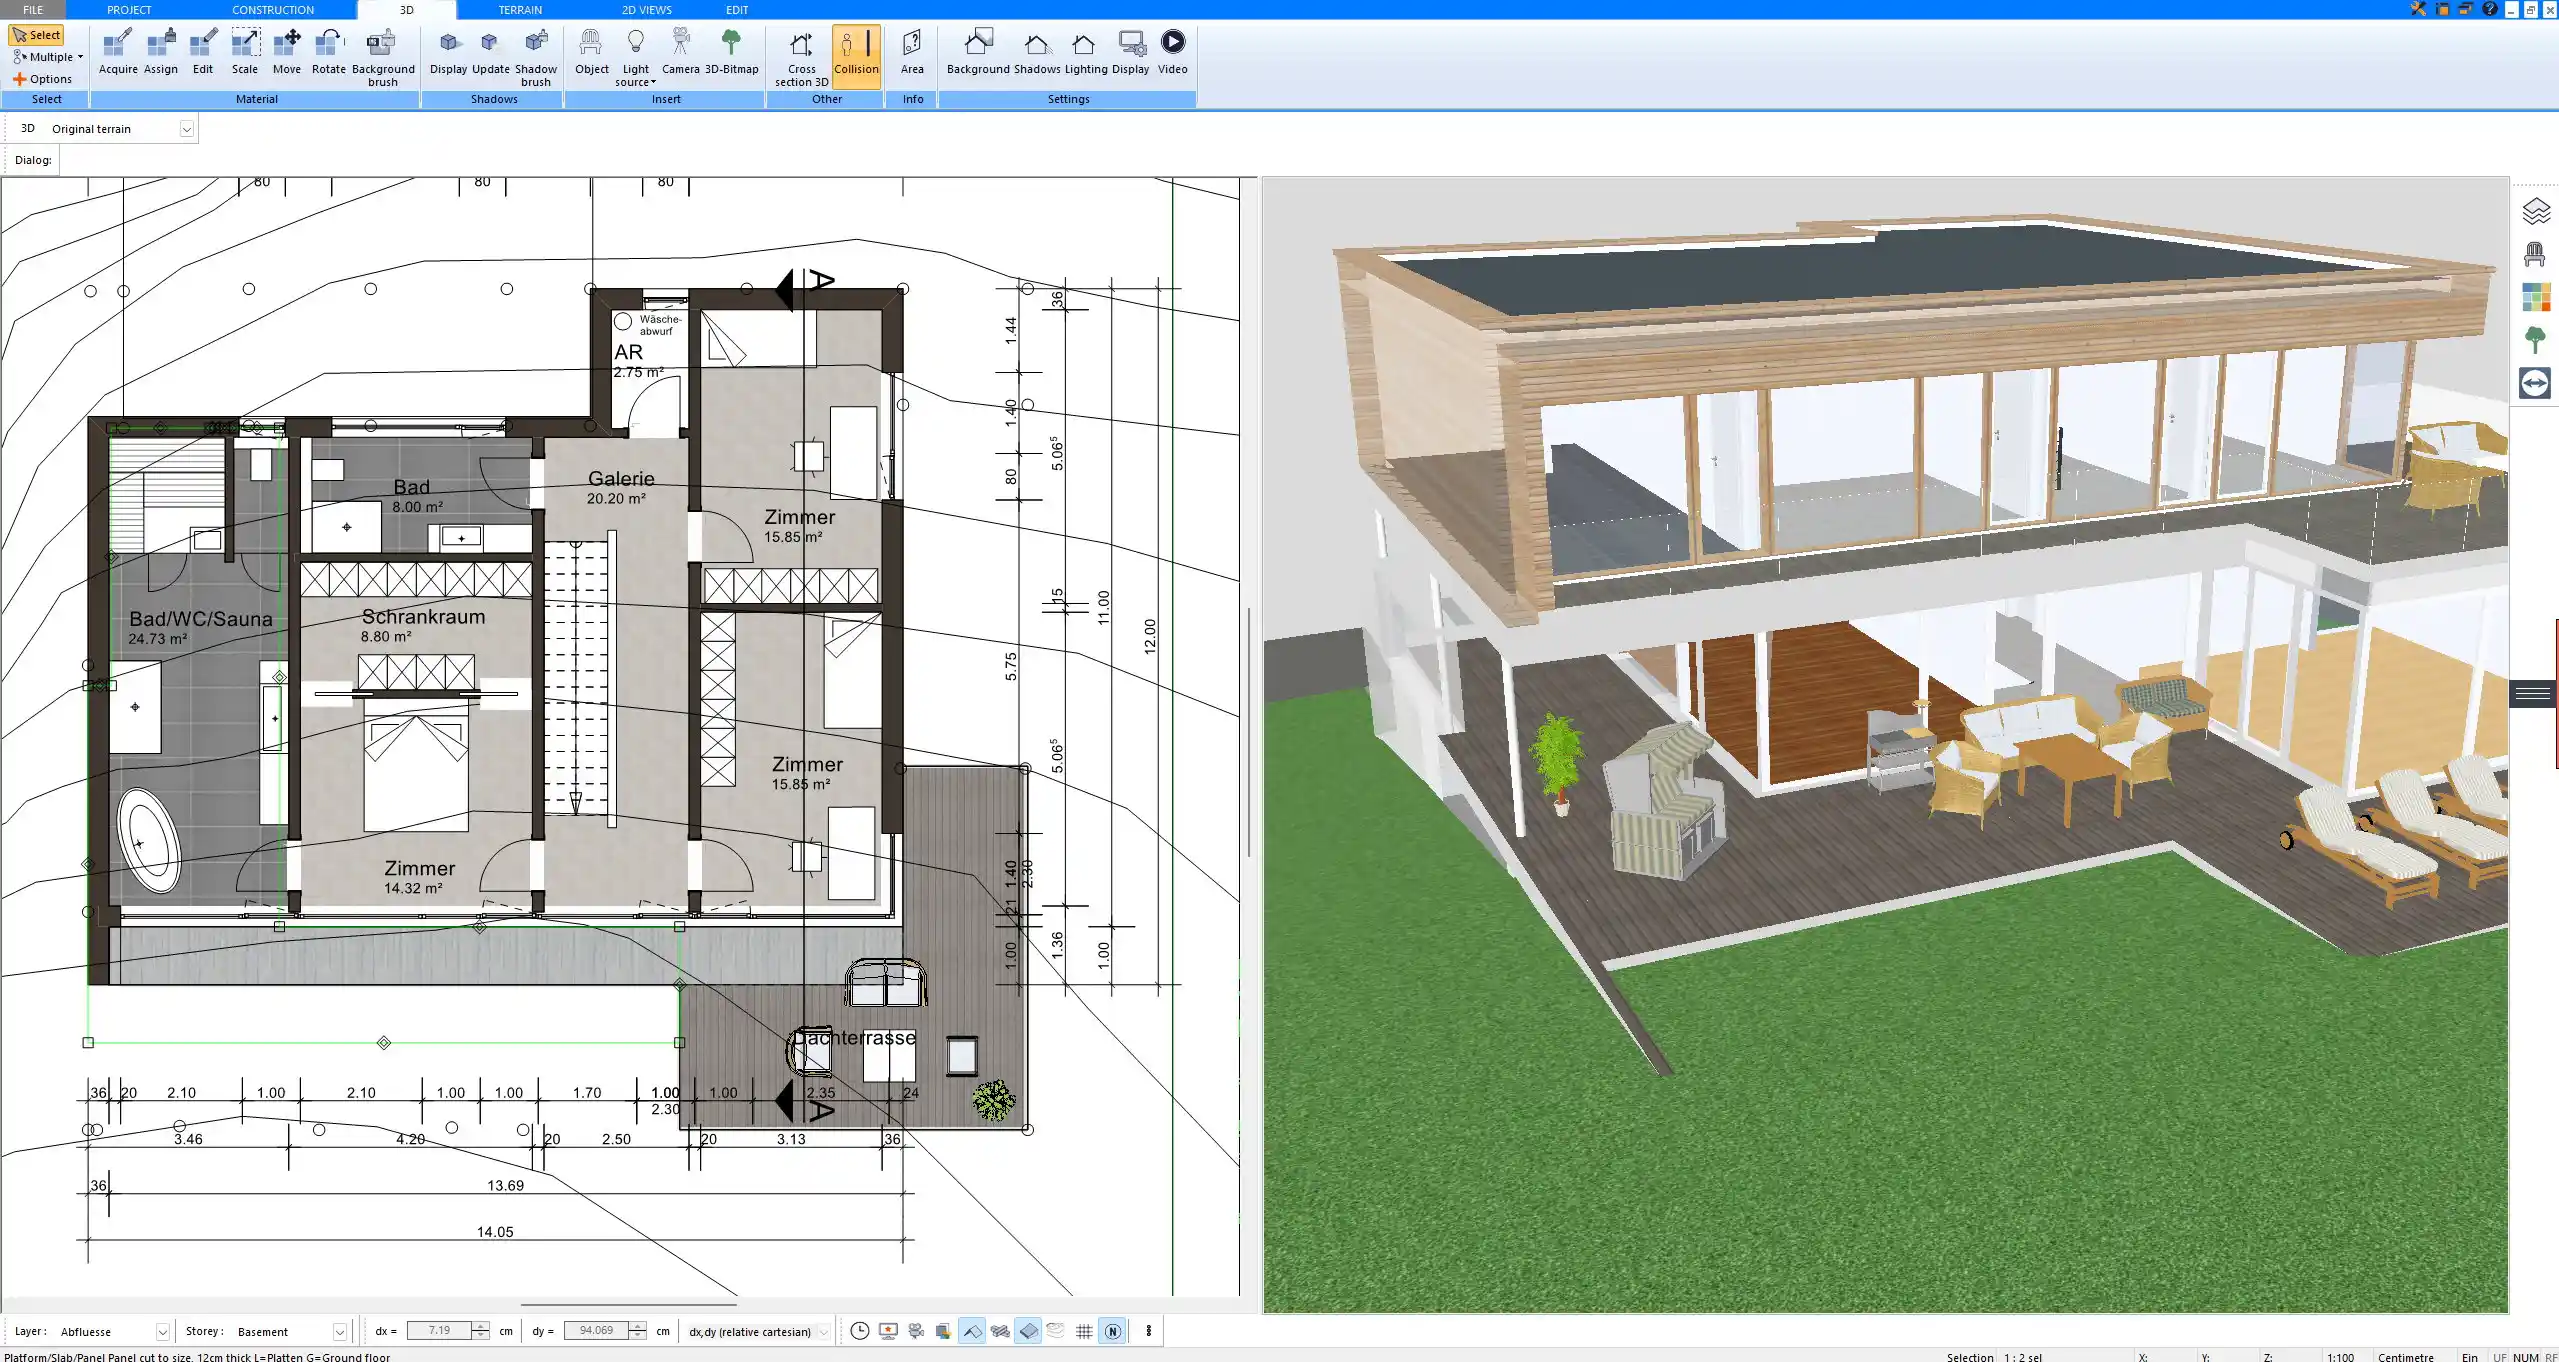
Visualize in 3D & Walkthrough
Once your setup is in place, switch to 3D mode to explore your bedroom in real time. This allows you to walk through the room and view the design from different angles and perspectives. This view is especially helpful for:
-
Checking sightlines from the bed or desk
-
Verifying wall heights and ceiling slopes
-
Seeing how light and shadow fall in the space
You can freely move the camera, zoom, and rotate the model to inspect every detail. This gives you a much better idea of how the room will feel in real life — far more than a flat floor plan ever could.
Useful Tips for Bedroom Layout & Planning
When redesigning a bedroom, there are a few layout principles to follow for both comfort and function. These tips have helped me avoid many costly and annoying mistakes:
-
Leave enough clearance around furniture to move freely
-
Don’t place the bed under windows, as it can cause drafts or too much light
-
Keep closets and drawers accessible without blocking pathways
-
Avoid placing large furniture in front of heaters or air vents
-
Use rugs to define areas, especially in larger bedrooms
Recommended layout variations by bedroom type
| Bedroom Type | Suggested Layout Notes |
|---|---|
| Small Bedroom | Use wall-mounted shelves, sliding doors, narrow beds |
| Master Bedroom | Allow for walking space on all sides of the bed |
| Shared Bedroom | Use bunk beds or divider shelves to save space |
| Guest Room | Minimal layout, but include storage and nightstand |
Tip:
Use the measuring tool inside Plan7Architect to double-check that door swings and drawer openings won’t collide with furniture.
Benefits of Using Plan7Architect for Bedroom Design
Plan7Architect is especially well suited for bedroom redesign because of how intuitive and visual the process is. You don’t need any architectural background — everything is built around drag-and-drop logic and real-time updates.
-
Works with both metric and imperial measurements
-
Includes thousands of furniture and decor items
-
Allows instant switching between 2D and 3D
-
Easy to make changes as you go — nothing is final until you hit save
-
Great for visualizing your ideas before buying anything
You also get access to professional tools like layer control, sectional views, and blueprint exporting — features that most beginners would never expect to find in a DIY-friendly program.
Additional Features You Might Find Useful
If you want to take your planning a step further, Plan7Architect also includes tools that go beyond layout and furniture:
-
Import real brand furniture or enter exact measurements manually
-
Print floor plans or export as PDFs for contractors or furniture stores
-
Add electrical outlets, wall switches, or lighting paths
-
Experiment with floor types and heating systems
-
Apply ceiling designs and crown molding
-
Use custom textures and upload your own materials if needed
The software runs on Windows and does not require internet access once installed. This is convenient if you want to work from home or while traveling.
Final Thought: Easy Bedroom Planning from Anywhere
With Plan7Architect, you don’t have to guess how your bedroom redesign will turn out — you can see it on screen before making a single purchase. Whether you live in the US, Europe, or anywhere else, the software adapts to your local standards and units. From creating your floor plan to testing furniture layouts and lighting, everything is made to support clear, simple, and accurate planning for private users.
You have full control over your ideas and can turn your vision into a visual plan that feels like the real thing — and that’s exactly what makes redesigning with Plan7Architect so practical.
Plan your project with Plan7Architect

Plan7Architect Pro 5 for $109.99
You don’t need any prior experience because the software has been specifically designed for beginners. The planning process is carried out in 5 simple steps:
1. Draw Walls

2. Windows & Doors

3. Floors & Roof

4. Textures & 3D Objects

5. Plan for the Building Permit

6. Export the Floor Plan as a 3D Model for Twinmotion

- – Compliant with international construction standards
- – Usable on 3 PCs simultaneously
- – Option for consultation with an architect
- – Comprehensive user manual
- – Regular updates
- – Video tutorials
- – Millions of 3D objects available


