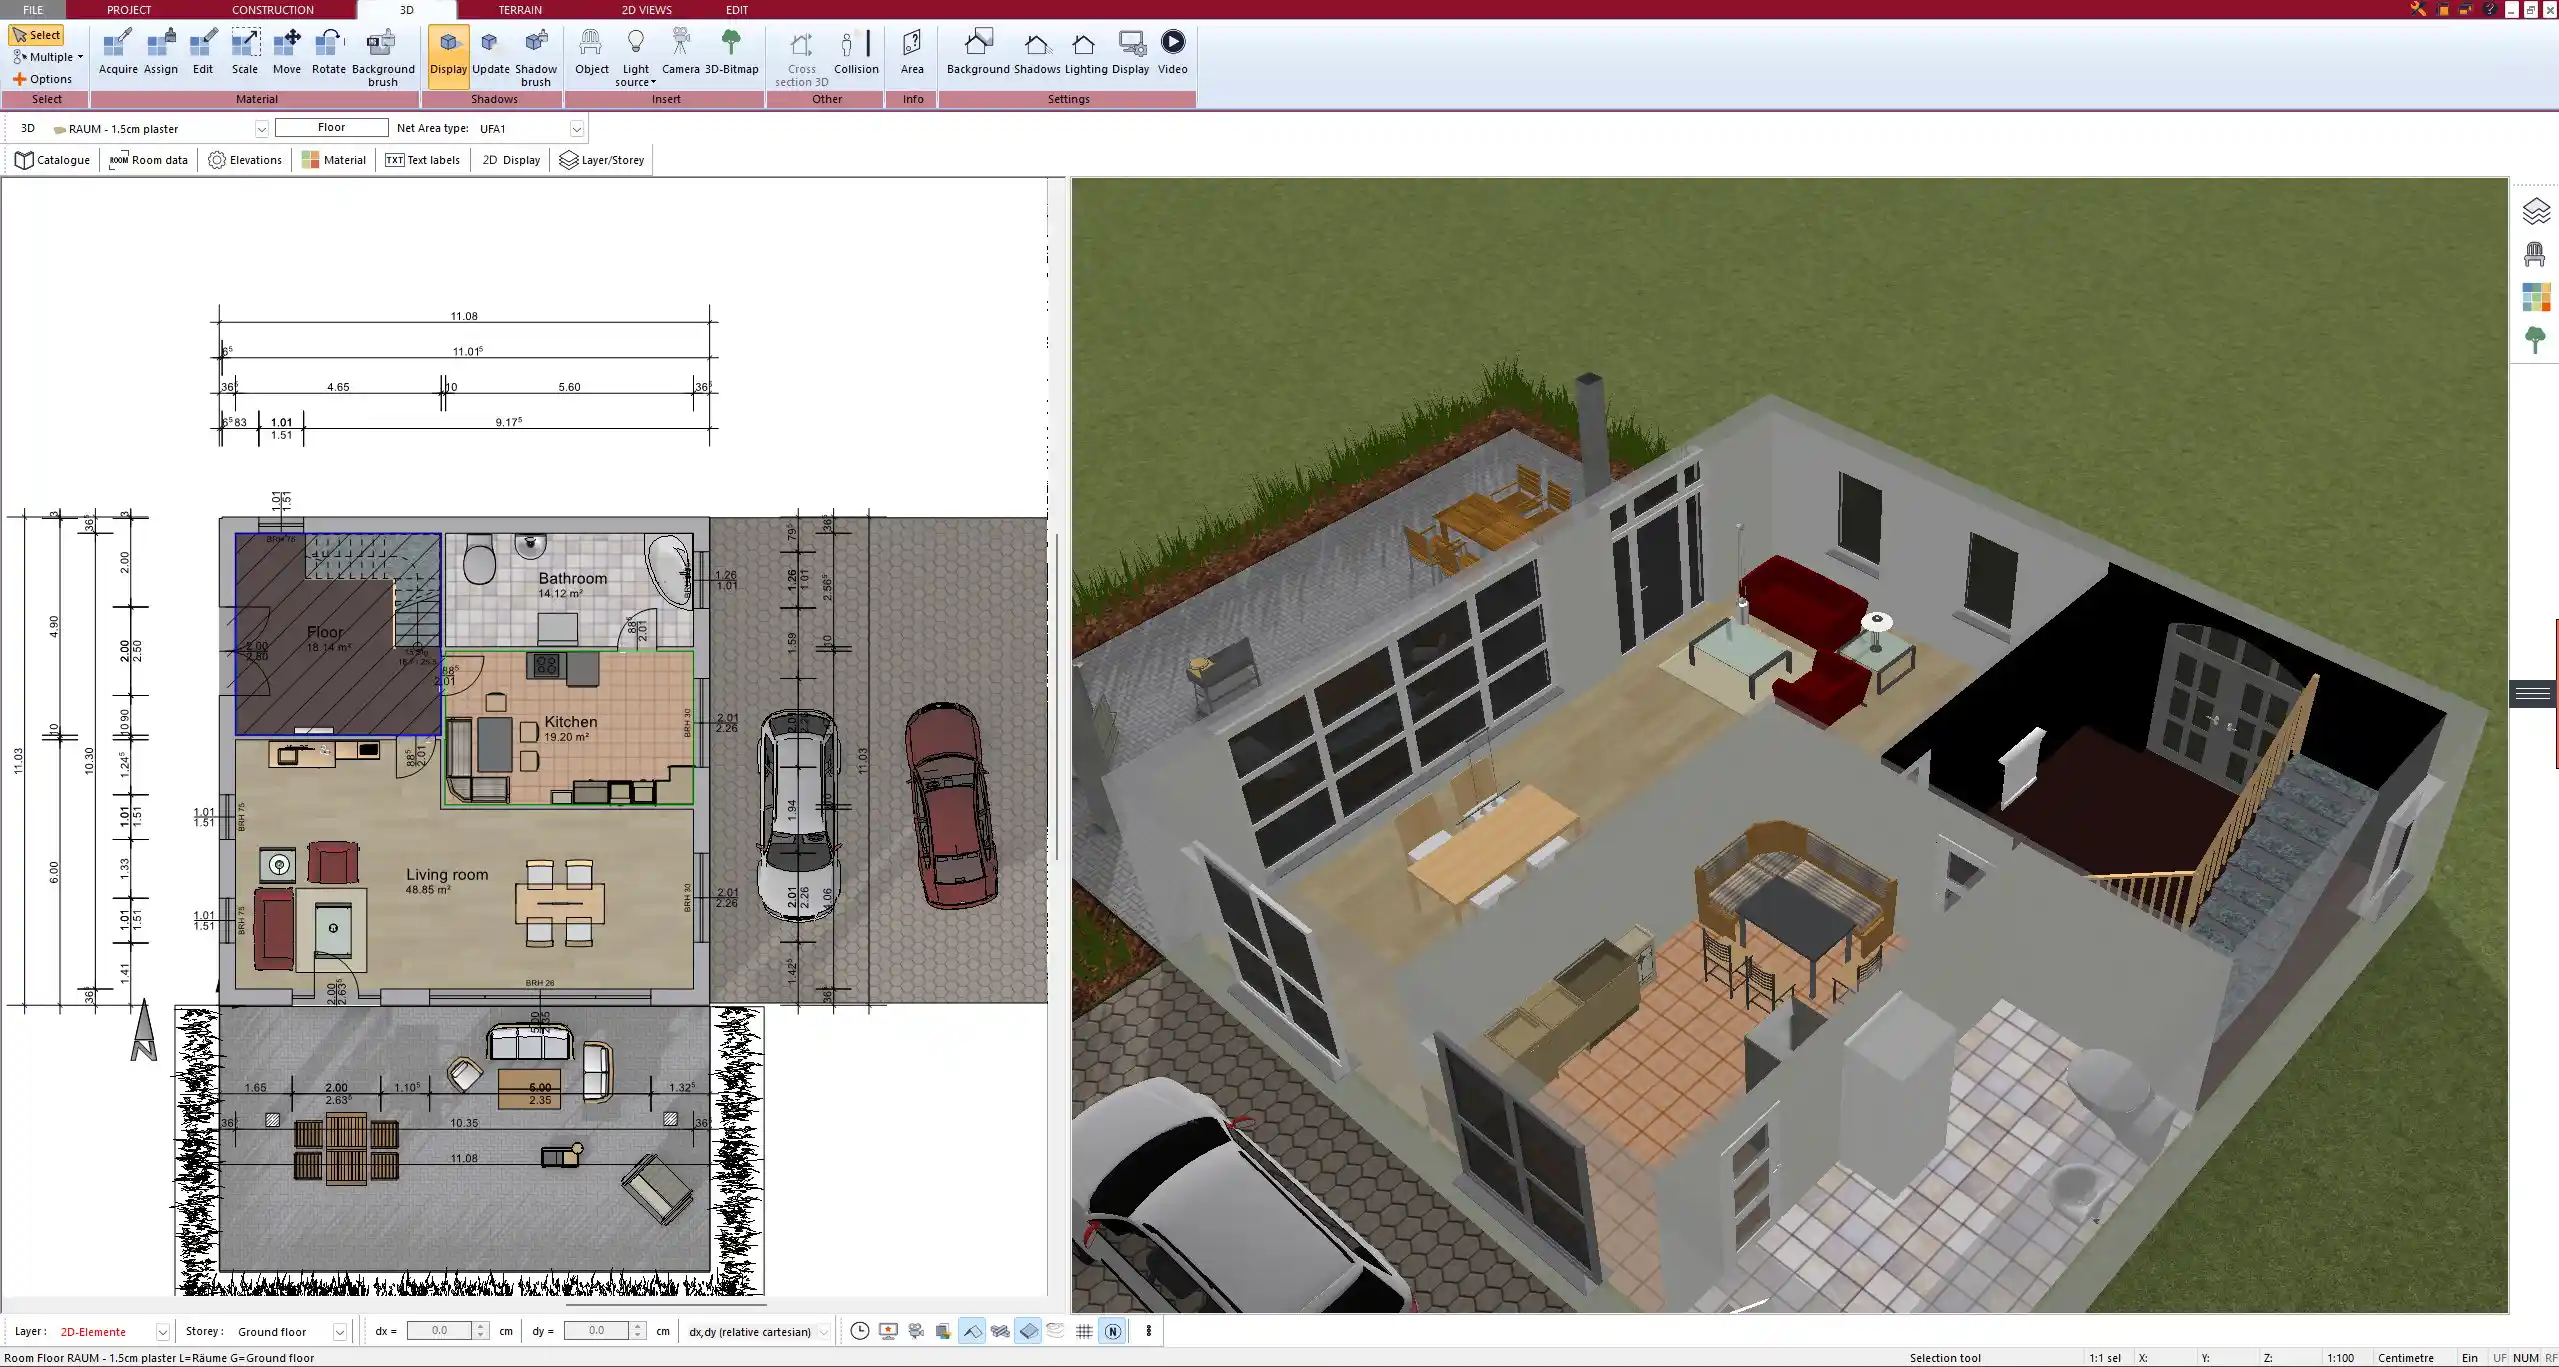
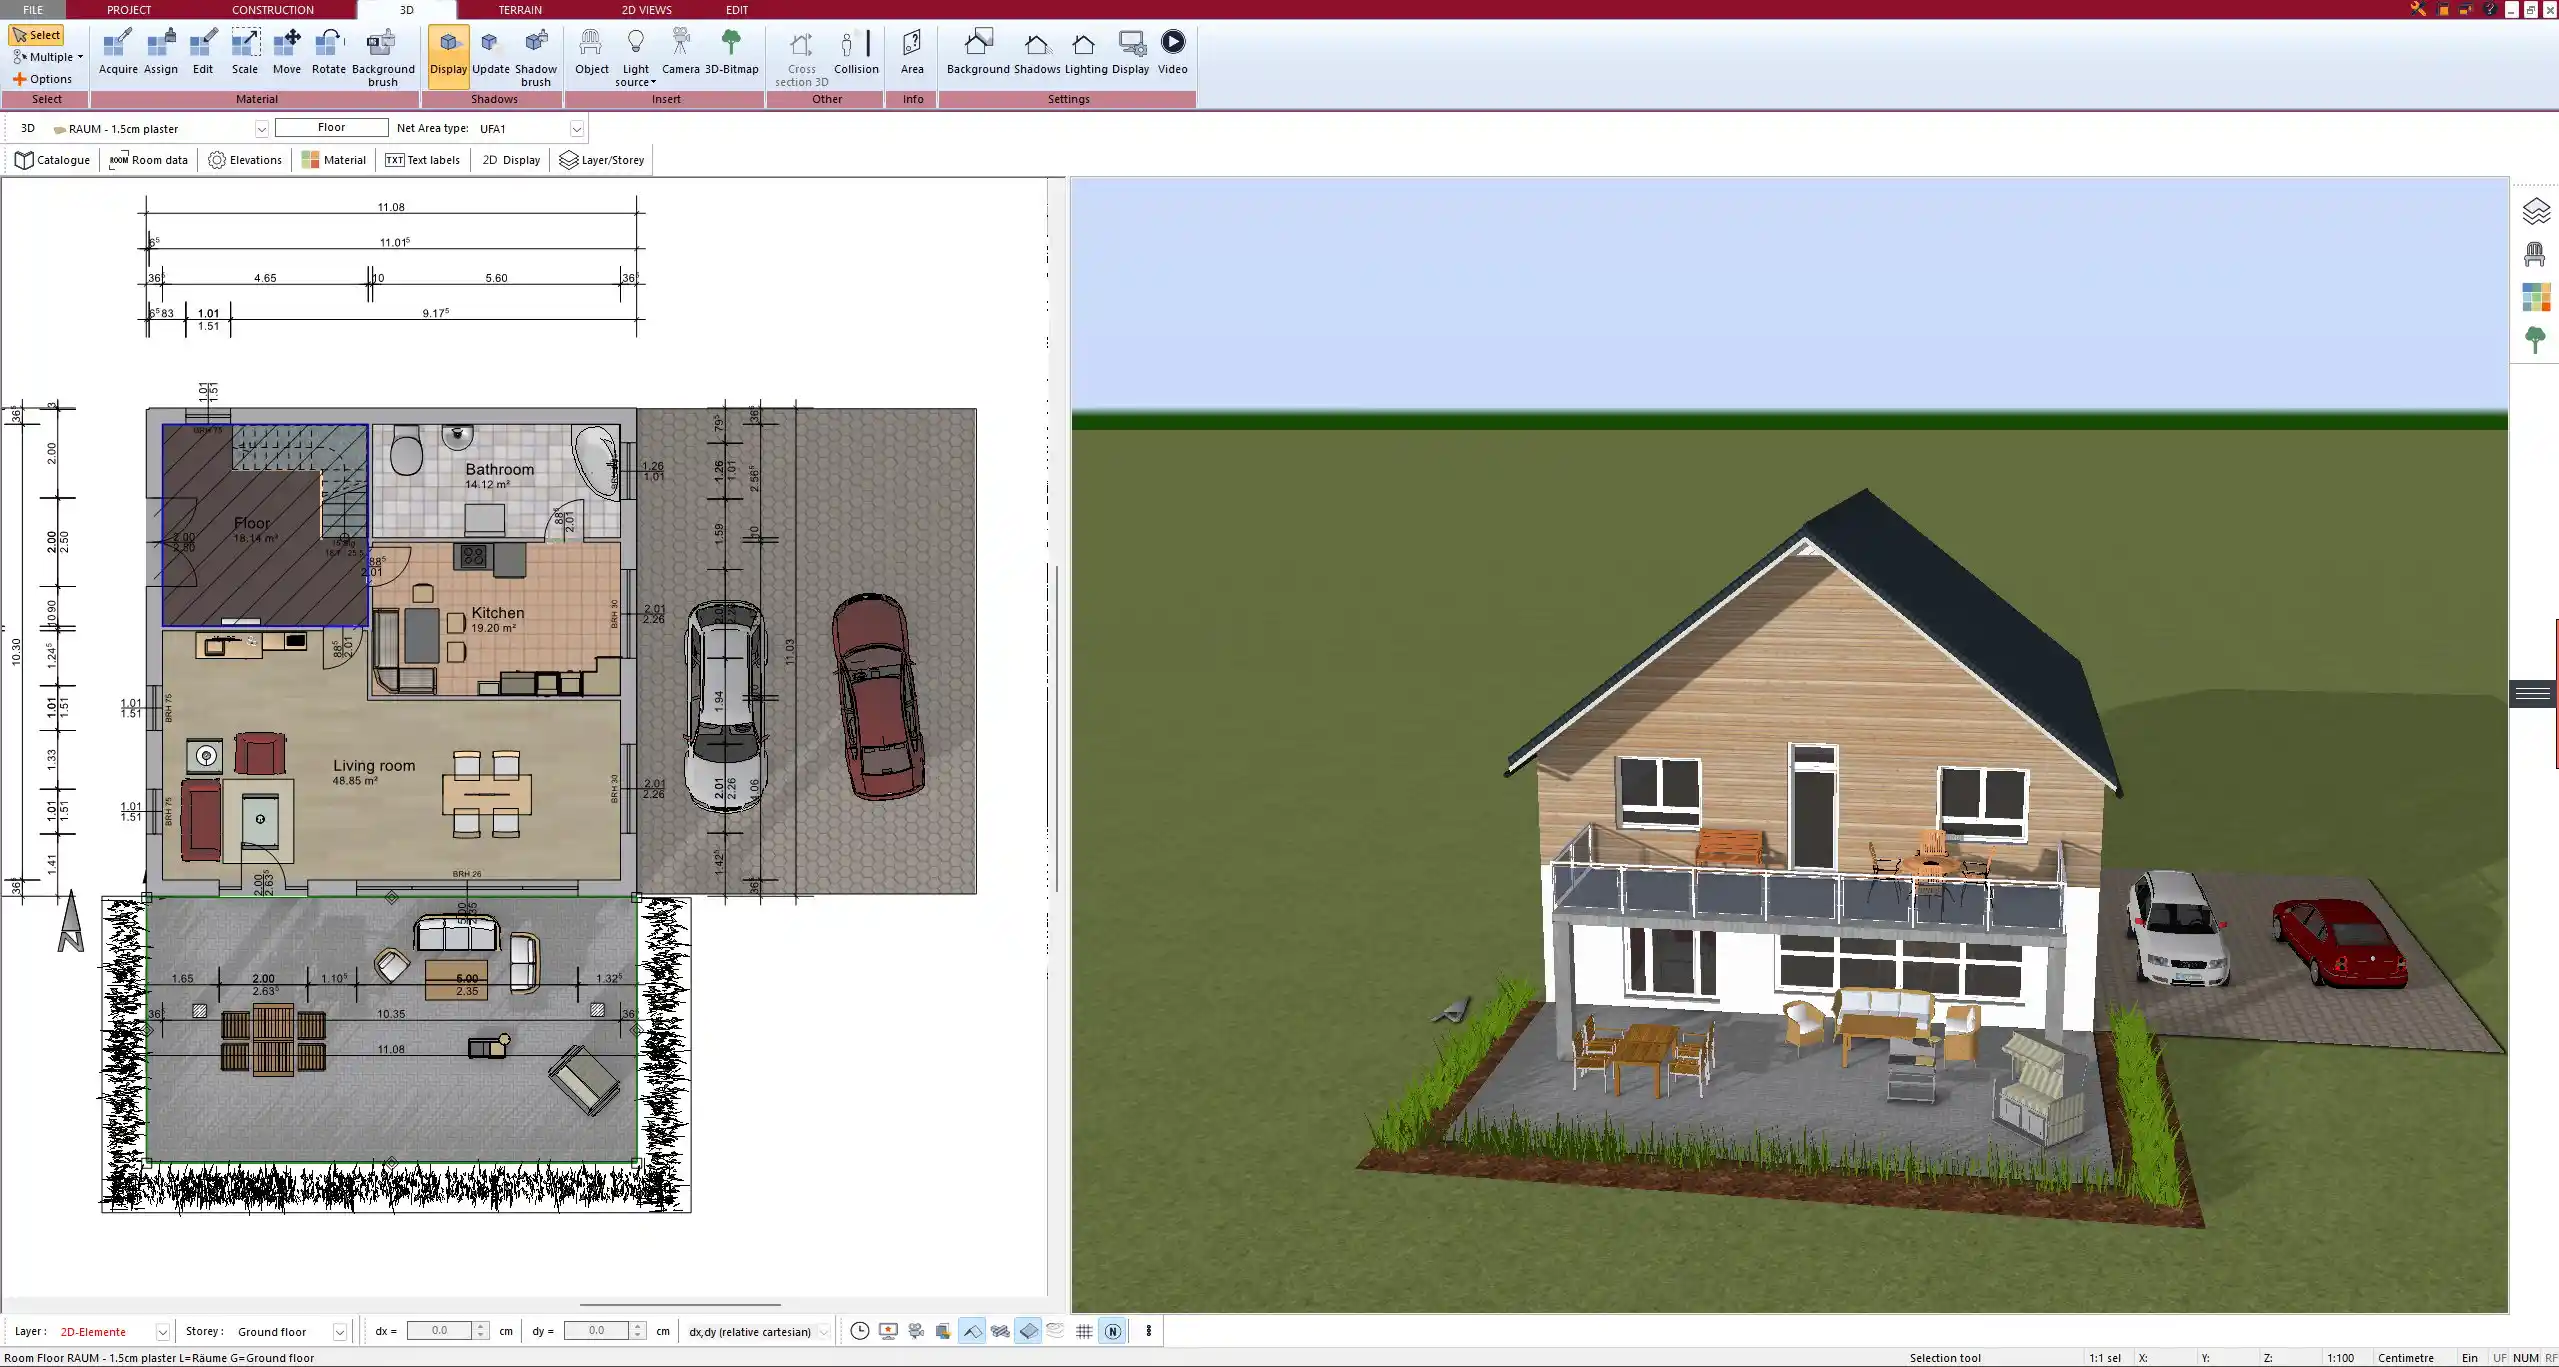
Yes, you can plan a railing yourself using Plan7Architect. The software provides all the necessary tools to design railings in both 2D and 3D, ensuring precise alignment with stairs, balconies, or terraces. You can customize the style, material, and dimensions while ensuring compliance with safety regulations.
With Plan7Architect, you have full control over the height, spacing, and placement of the railing elements. The software supports both European (cm, m) and American (inch, feet) measurement units, making it suitable for users worldwide.
Key Features of Plan7Architect for Railing Design
Easy-to-Use Interface
- Intuitive drag-and-drop functionality for quick placement.
- Simple menu navigation for selecting and modifying elements.
- Real-time updates when adjusting dimensions and materials.
Customizable Materials & Styles
- Wide selection of materials including wood, metal, glass, and mixed designs.
- Predefined railing templates with customizable details.
- Ability to modify textures and colors for a realistic preview.
Measurement Units for Global Use
- Option to switch between metric and imperial systems.
- Accurate scaling for real-world application.
- Adjustable grid settings for precise alignment.
Precise Height & Spacing Control
- Adjustable railing height for different applications.
- Baluster spacing settings to meet safety requirements.
- Option to add horizontal or vertical supports for structural stability.
3D Visualization & Rendering
- Realistic previews before installation.
- Ability to rotate and inspect designs from multiple angles.
- Integration with floor plans and staircases for a cohesive look.
Step-by-Step Guide to Designing a Railing
Step 1: Open the Project and Define Placement
- Choose the area where the railing will be installed (staircase, balcony, terrace, or outdoor deck).
- Set the base level and define connection points to walls or floors.
- Ensure alignment with existing architectural elements.
Step 2: Select a Railing Type
- Choose from predefined railing styles or create a custom design.
- Options include:
- Classic wooden railings
- Modern glass panel railings
- Industrial-style metal railings
- Mixed-material designs
Step 3: Adjust Height, Spacing & Materials
- Standard railing height: 90–110 cm / 36–44 inches, depending on local regulations.
- Adjust baluster spacing to prevent gaps wider than 10–15 cm / 4–6 inches for safety.
- Choose the desired material and apply textures.
- Add handrails or additional support beams if needed.
Step 4: Ensure Compliance with Building Codes
- Verify national and local building code requirements.
- Adjust railing height and spacing according to safety regulations.
- Ensure stability and structural integrity, especially for outdoor installations.
Step 5: Preview & Export
- Switch to 3D mode to review the design.
- Make final adjustments to height, alignment, and materials.
- Export the final design as a blueprint or technical drawing.
Important Considerations for DIY Railing Planning
Structural Support
- Ensure the railing is properly anchored to load-bearing elements.
- Use secure mounting options for different surfaces (wood, concrete, metal).
- Consider adding reinforcement if the railing spans a large area.
Weather Resistance
- For outdoor railings, select weather-resistant materials like stainless steel or treated wood.
- Use protective coatings for wood to prevent decay.
- Choose glass panels with UV protection for durability.
Safety First
- Make sure railings are sturdy enough to withstand force and weight.
- Avoid overly wide gaps between balusters to prevent accidents.
- Ensure handrails have a comfortable grip and are positioned at an ergonomic height.
Finalizing the Design & Implementation
- Save the final design and generate technical drawings.
- Review the plan with a professional if necessary.
- Adjust dimensions or materials before actual installation.
Why Use Plan7Architect for Railing Design?
- Saves time with ready-to-use templates and customization options.
- Provides flexible adjustments for both simple and complex railing designs.
- Ensures accuracy with measurement unit conversion and real-time 3D previews.
- Seamlessly integrates with other architectural elements in a project.
Conclusion: Plan Your Railing Professionally
With Plan7Architect, you can design and plan a railing efficiently, ensuring both safety and aesthetics. Whether you are installing a railing for a staircase, balcony, or terrace, the software provides detailed customization and real-time 3D visualization to avoid planning mistakes.
If you want professional results with an intuitive and flexible tool, Plan7Architect is the ideal choice for your railing project.
Plan your project with Plan7Architect

Plan7Architect Pro 5 for $109.99
You don’t need any prior experience because the software has been specifically designed for beginners. The planning process is carried out in 5 simple steps:
1. Draw Walls

2. Windows & Doors

3. Floors & Roof

4. Textures & 3D Objects

5. Plan for the Building Permit

6. Export the Floor Plan as a 3D Model for Twinmotion

- – Compliant with international construction standards
- – Usable on 3 PCs simultaneously
- – Option for consultation with an architect
- – Comprehensive user manual
- – Regular updates
- – Video tutorials
- – Millions of 3D objects available


