How to plan a foundation with 3D CAD software — quick overview
If you want to plan a foundation using 3D CAD software, the fastest and most effective way is by using a professional tool like Plan7Architect. Here is the step-by-step process I usually follow when designing a foundation digitally:
-
Start a new project in your CAD software.
-
Set your preferred unit system — Plan7Architect lets you choose between metric (meters, centimeters) and imperial (feet, inches).
-
Define the building plot or load an existing site layout.
-
Add the foundation layer by selecting the appropriate foundation type (slab, crawlspace, basement).
-
Enter precise measurements for width, length, depth, and wall thickness.
-
Add reinforcement or insulation if needed.
-
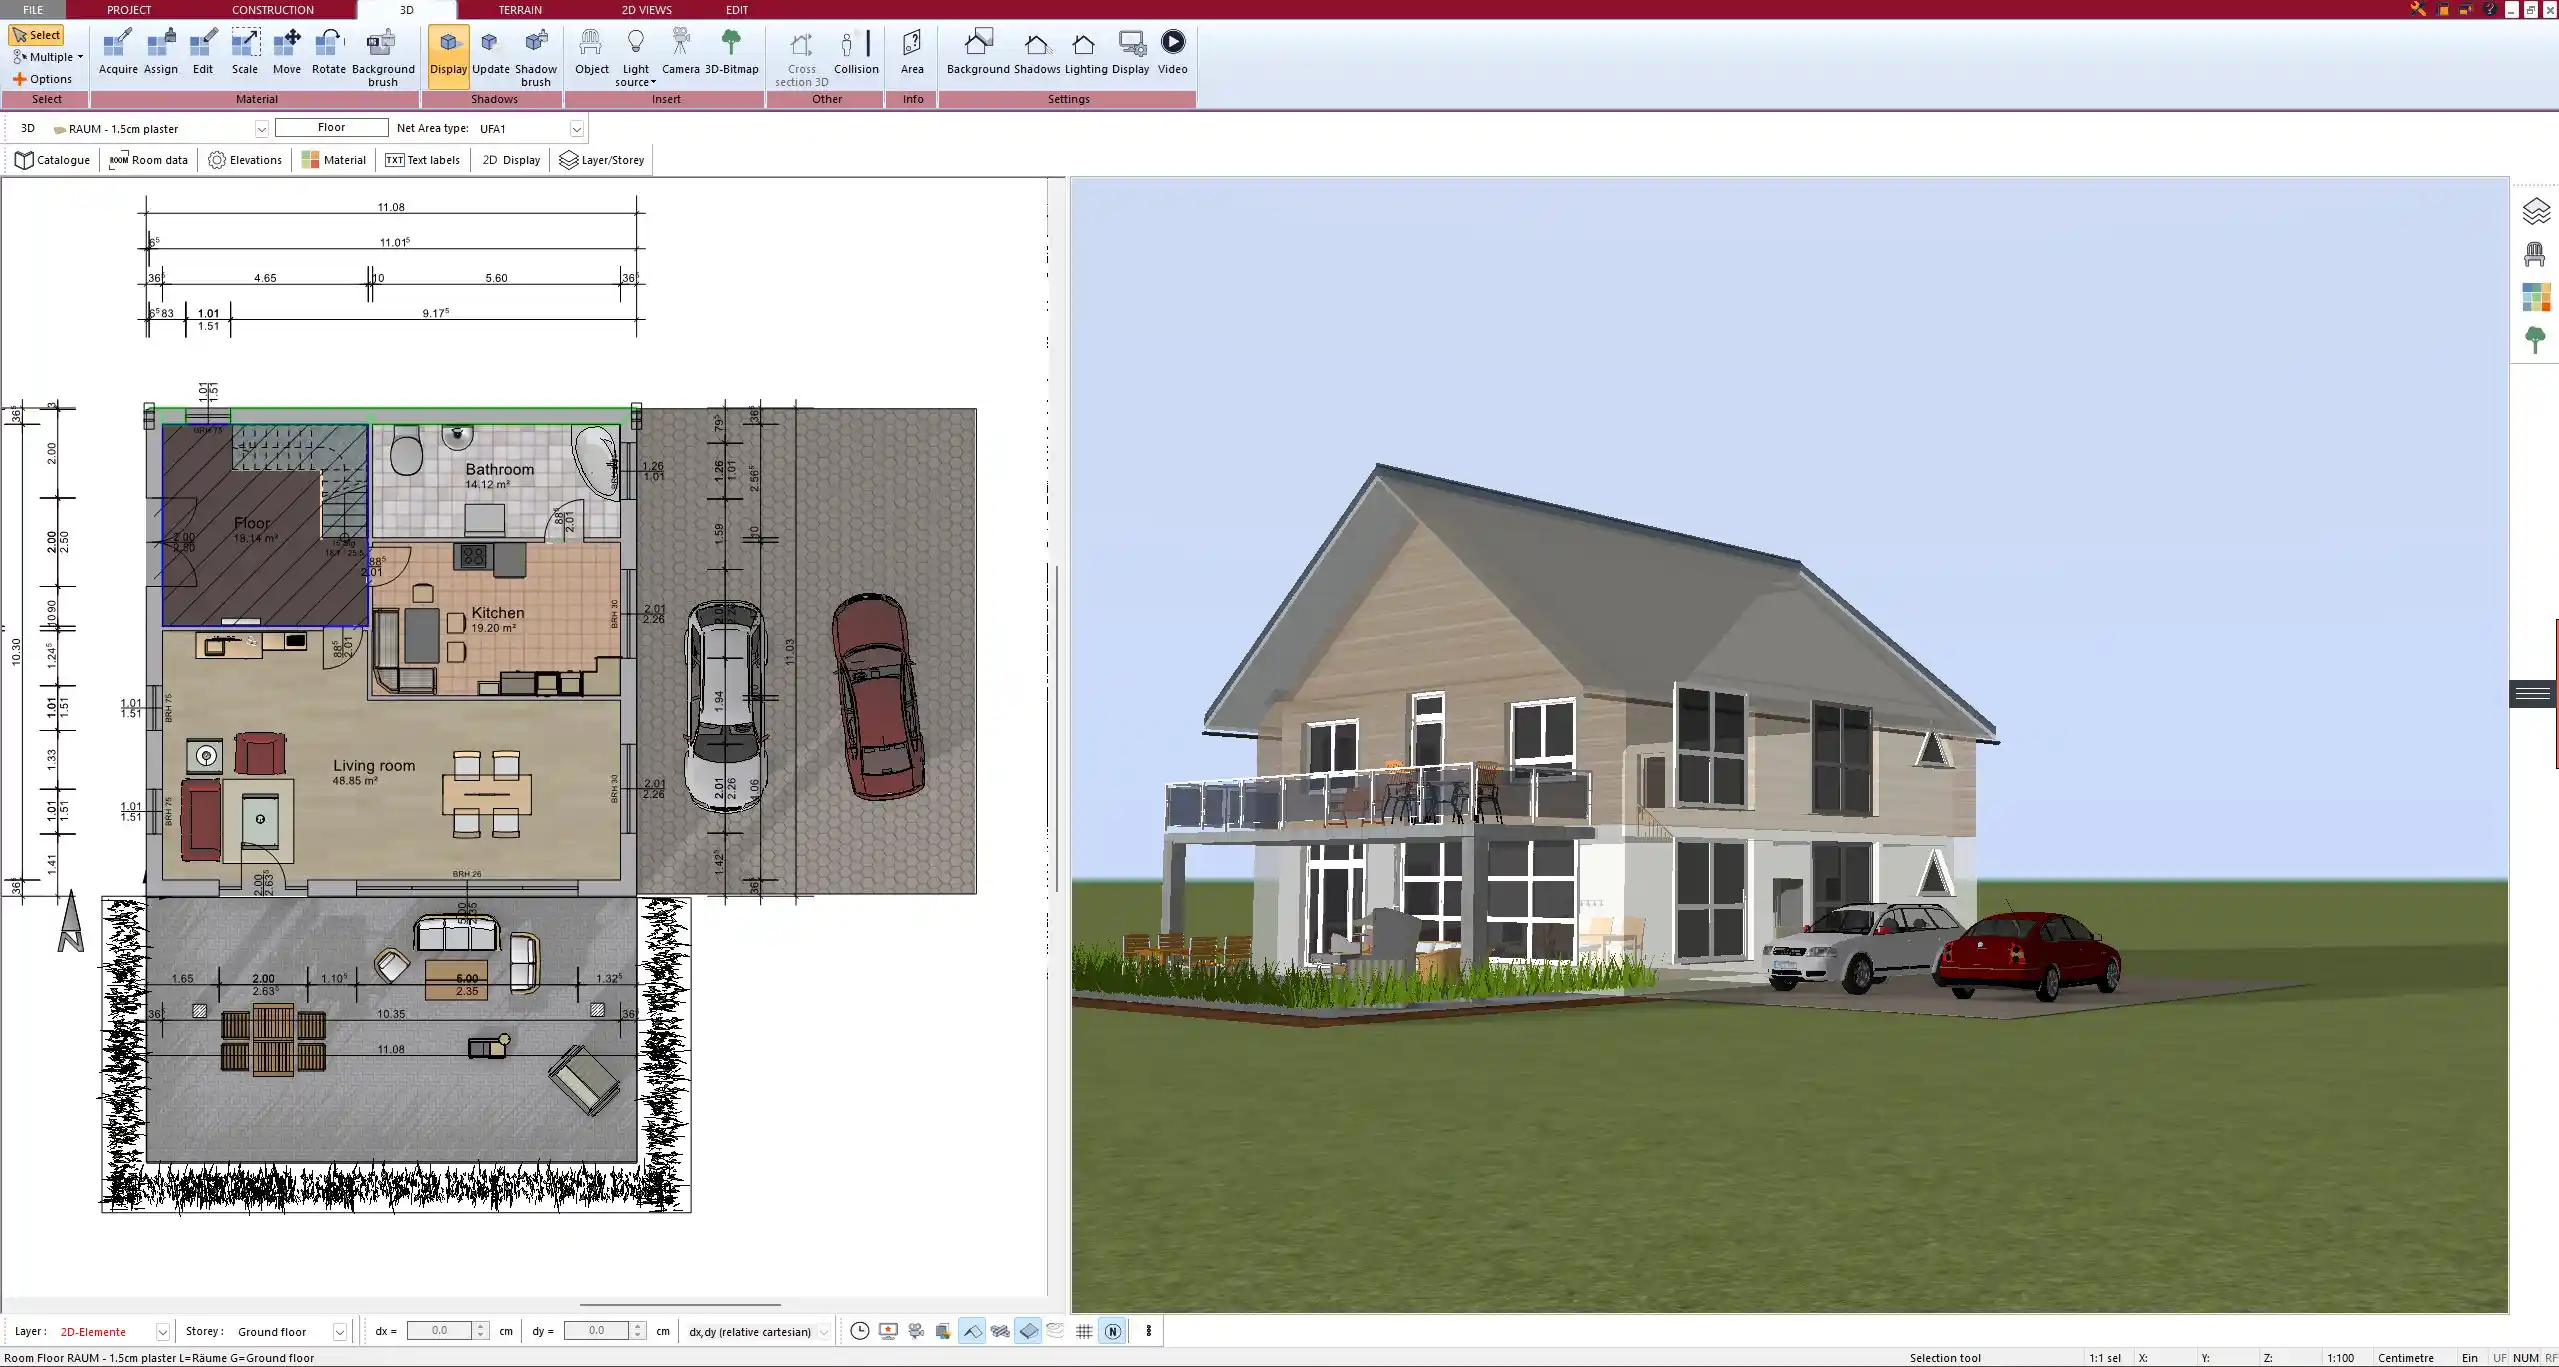
Switch to 3D view to inspect alignment, elevation, and terrain interaction.
-
Export your foundation plan for engineers, local approval, or construction use.
Tip:
Plan7Architect supports both European and American measurement systems, making it suitable for users across the world.
What types of foundations can be planned with 3D CAD software?
The software gives you full control to design various types of foundations, regardless of your construction method or regional requirements. These are the most common foundation types that you can design in detail:
-
Concrete slab foundation – Ideal for level ground and warm climates; quick to build and cost-efficient.
-
Pier foundation – Common for small buildings, cabins, or raised structures; requires fewer materials.
-
Crawlspace foundation – Provides easy access to plumbing and electrical systems.
-
Full basement foundation – Suitable for cold climates and adds livable space.
-
Specialized foundations – For sloped terrains, modular homes, or areas with unstable soil.
Each type can be individually customized in Plan7Architect to fit site-specific factors like slope, frost line, and drainage needs.
Why use 3D CAD software for foundation planning?
Advantages
I’ve found that using a 3D CAD program significantly improves both the accuracy and speed of foundation planning. Some key benefits include:
-
Precision: Every centimeter or inch can be entered manually, down to wall thickness, footing width, and elevation changes.
-
Visual control: The 3D view allows you to inspect your design from all angles and verify its real-world application.
-
Error prevention: Software can alert you to inconsistencies or collisions with other structural elements.
-
Separation of layers: You can organize your project into layers — foundation, walls, plumbing — and edit each one independently.
-
Compatibility: Export your file as PDF, image, or CAD format to share with engineers, builders, or local authorities.
Especially for DIY builders or those planning custom projects, 3D CAD software provides a level of control that’s almost impossible to achieve with hand-drawn plans.
Key planning aspects to consider when designing a foundation
Soil and site conditions
Before drawing the first line of your foundation, assess the conditions of the site. Even the most advanced CAD software cannot replace real soil testing, but it helps you apply the results effectively.
-
Adjust the foundation depth depending on the frost line in your region.
-
Factor in whether the soil is sandy, clay-based, or rocky — this will determine the required load distribution.
-
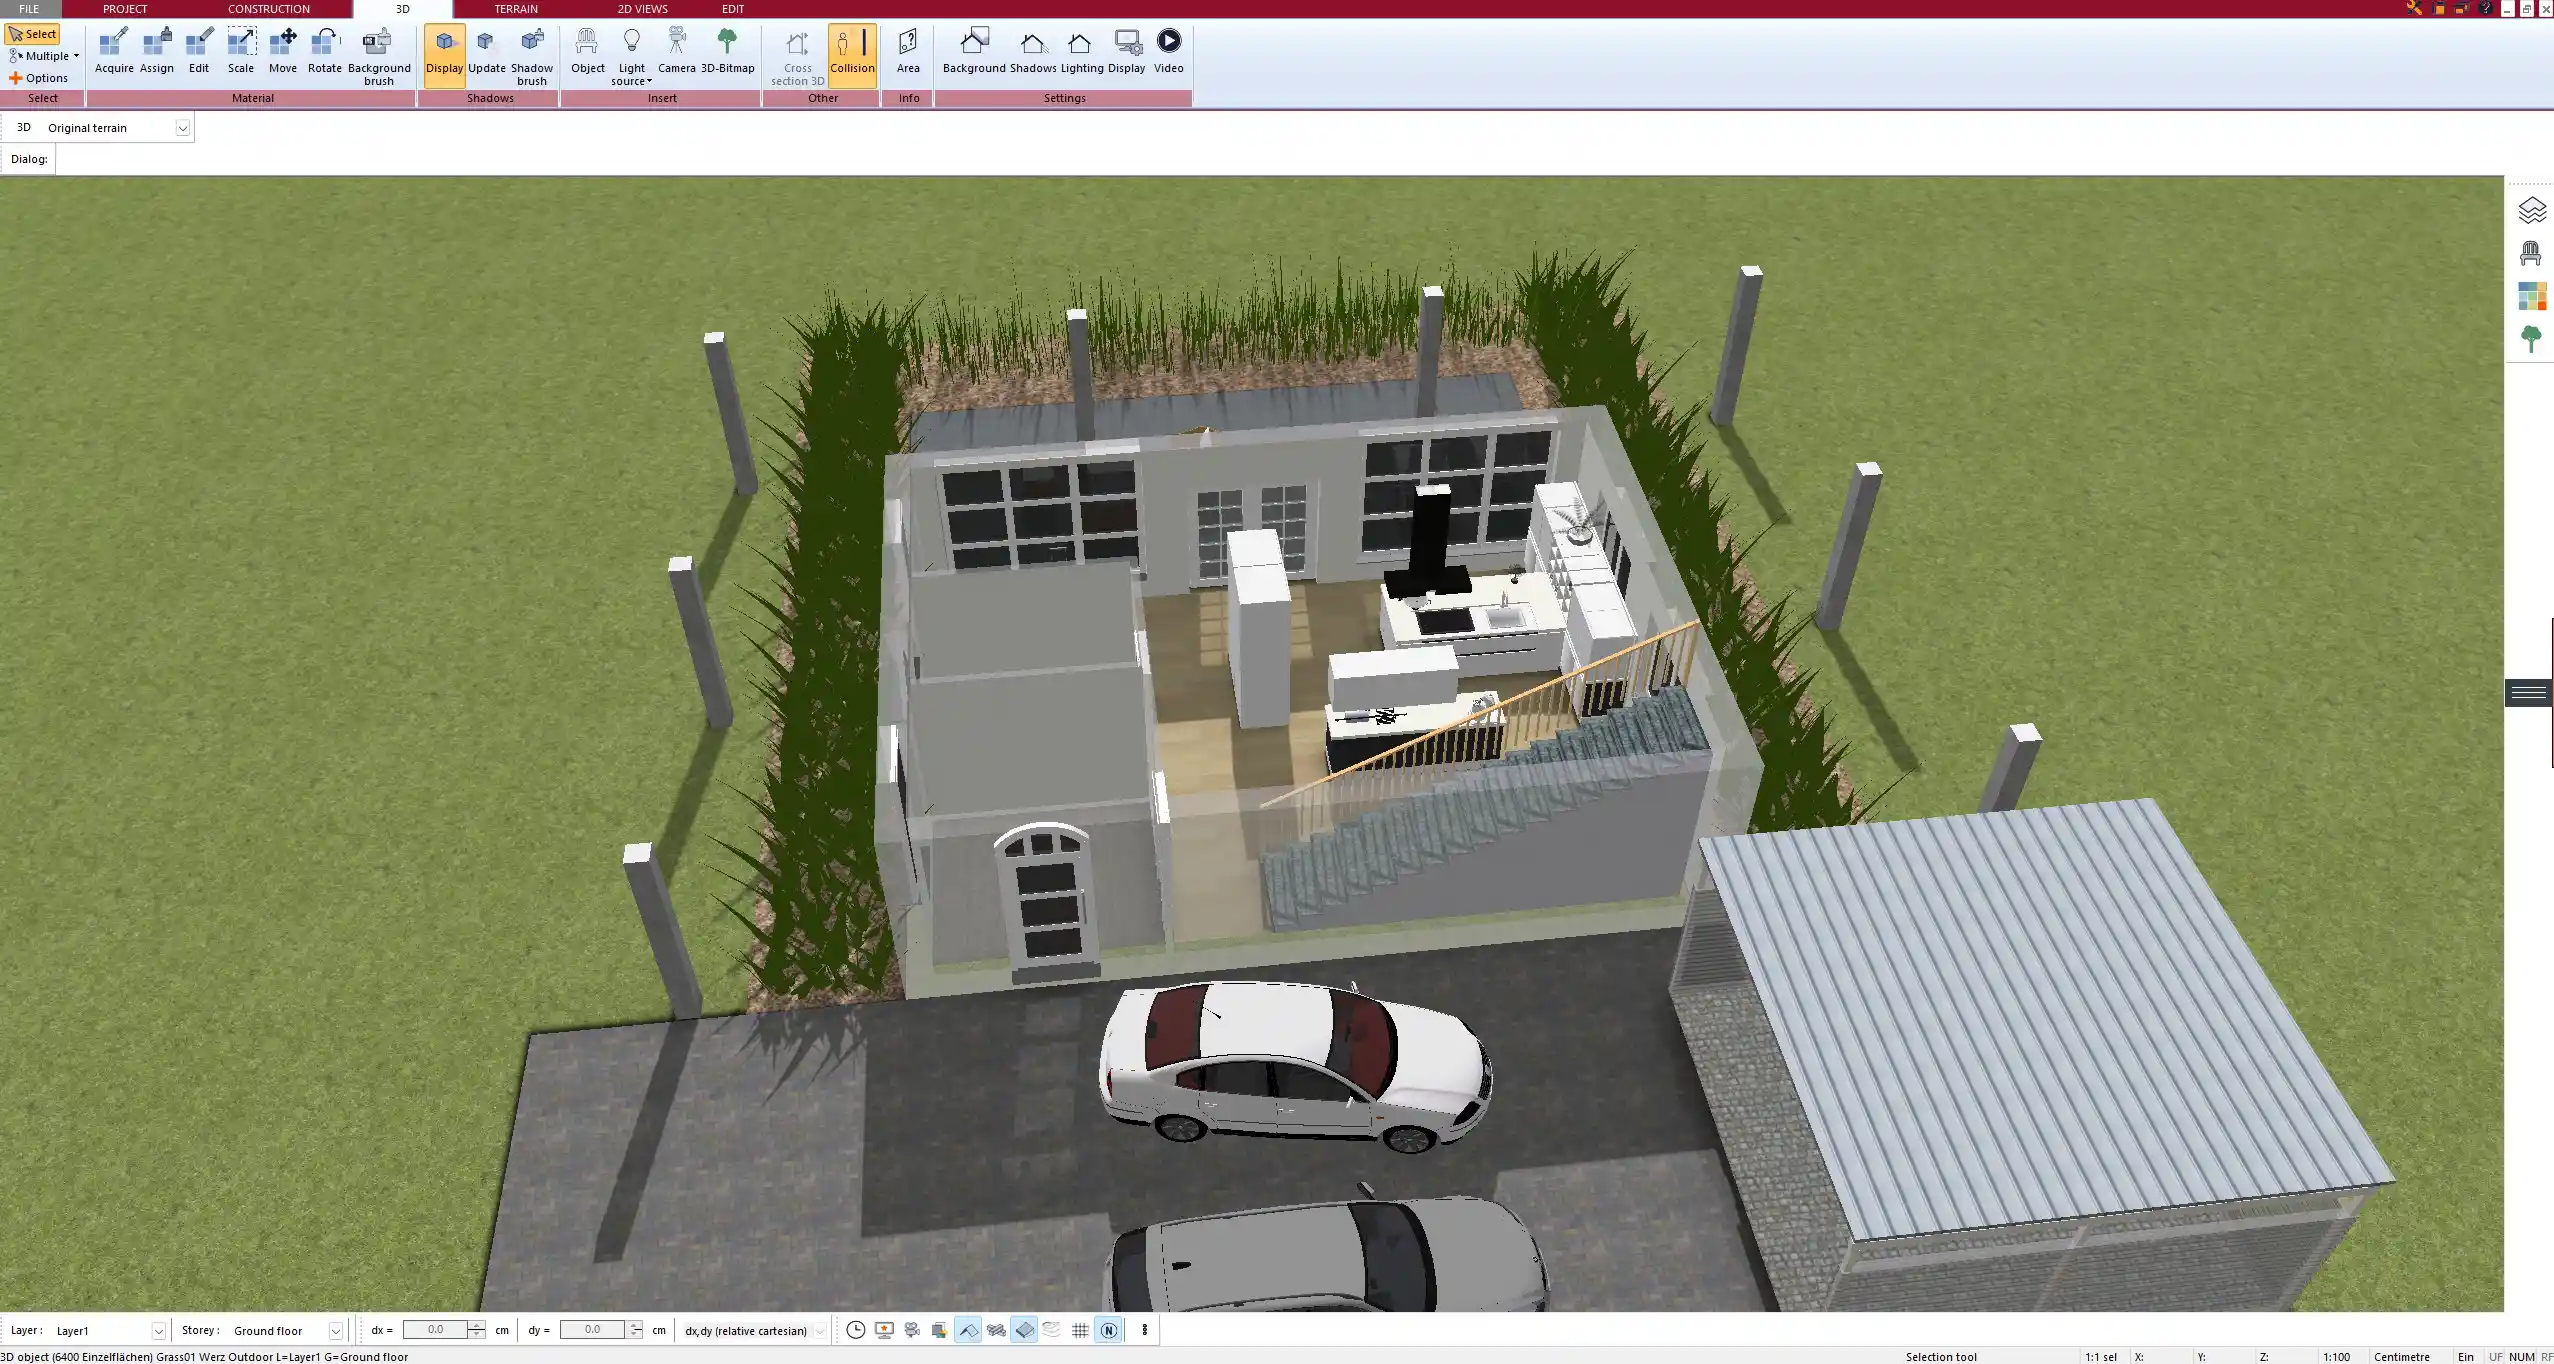
Use the terrain modeling feature to reflect slopes or height differences on your plot.
Load-bearing and structural dimensions
Properly distributing weight is essential. These are the structural elements I always calculate and draw out:
| Element | Typical Value (EU) | Typical Value (US) |
|---|---|---|
| Slab thickness | 15–25 cm | 6–10 in |
| Basement wall width | 30–40 cm | 12–16 in |
| Footing width | 50–80 cm | 20–32 in |
| Reinforcement bars | Ø 8–16 mm | #3 to #5 rebar sizes |
Dimensions vary by location and load, so always check local codes or speak with a structural engineer.
Integration with plumbing and HVAC
Plan ahead for:
-
Drainage slopes
-
Pipe cutouts and entry points
-
Duct channels and vent placements
-
Under-slab insulation or heating systems
Most CAD tools allow you to add plumbing components and define their path through the foundation layer.
Regional differences in foundation planning
Depending on where you live or build, different challenges can affect your design:
-
Cold climates: Require deeper foundations below the frost line, often 80–120 cm (30–48 in).
-
Seismic zones: Need reinforced footings, additional rebar, and shear walls.
-
Tropical areas: Require high resistance to moisture and often elevated foundations for ventilation.
-
Units of measurement: With Plan7Architect, you can switch easily between metric and imperial — no manual conversion needed.
Always check local regulations for minimal depth, material specs, and structural reinforcements.
Step-by-step: How to draw a foundation in Plan7Architect
-
Open the software and create a new project or load an existing one.
-
Set your unit system: metric or imperial.
-
Define the building plot using the terrain tool or imported map.
-
Select “foundation” from the structural menu and choose between slab, crawlspace, or basement.
-
Input dimensions including depth, width, and wall thickness.
-
Place footings and support beams using structural tools.
-
Add reinforcements and cutouts for utilities.
-
Switch to 3D view to visually inspect the result from all angles.
-
Export your plan in 2D or 3D formats for use on the construction site.
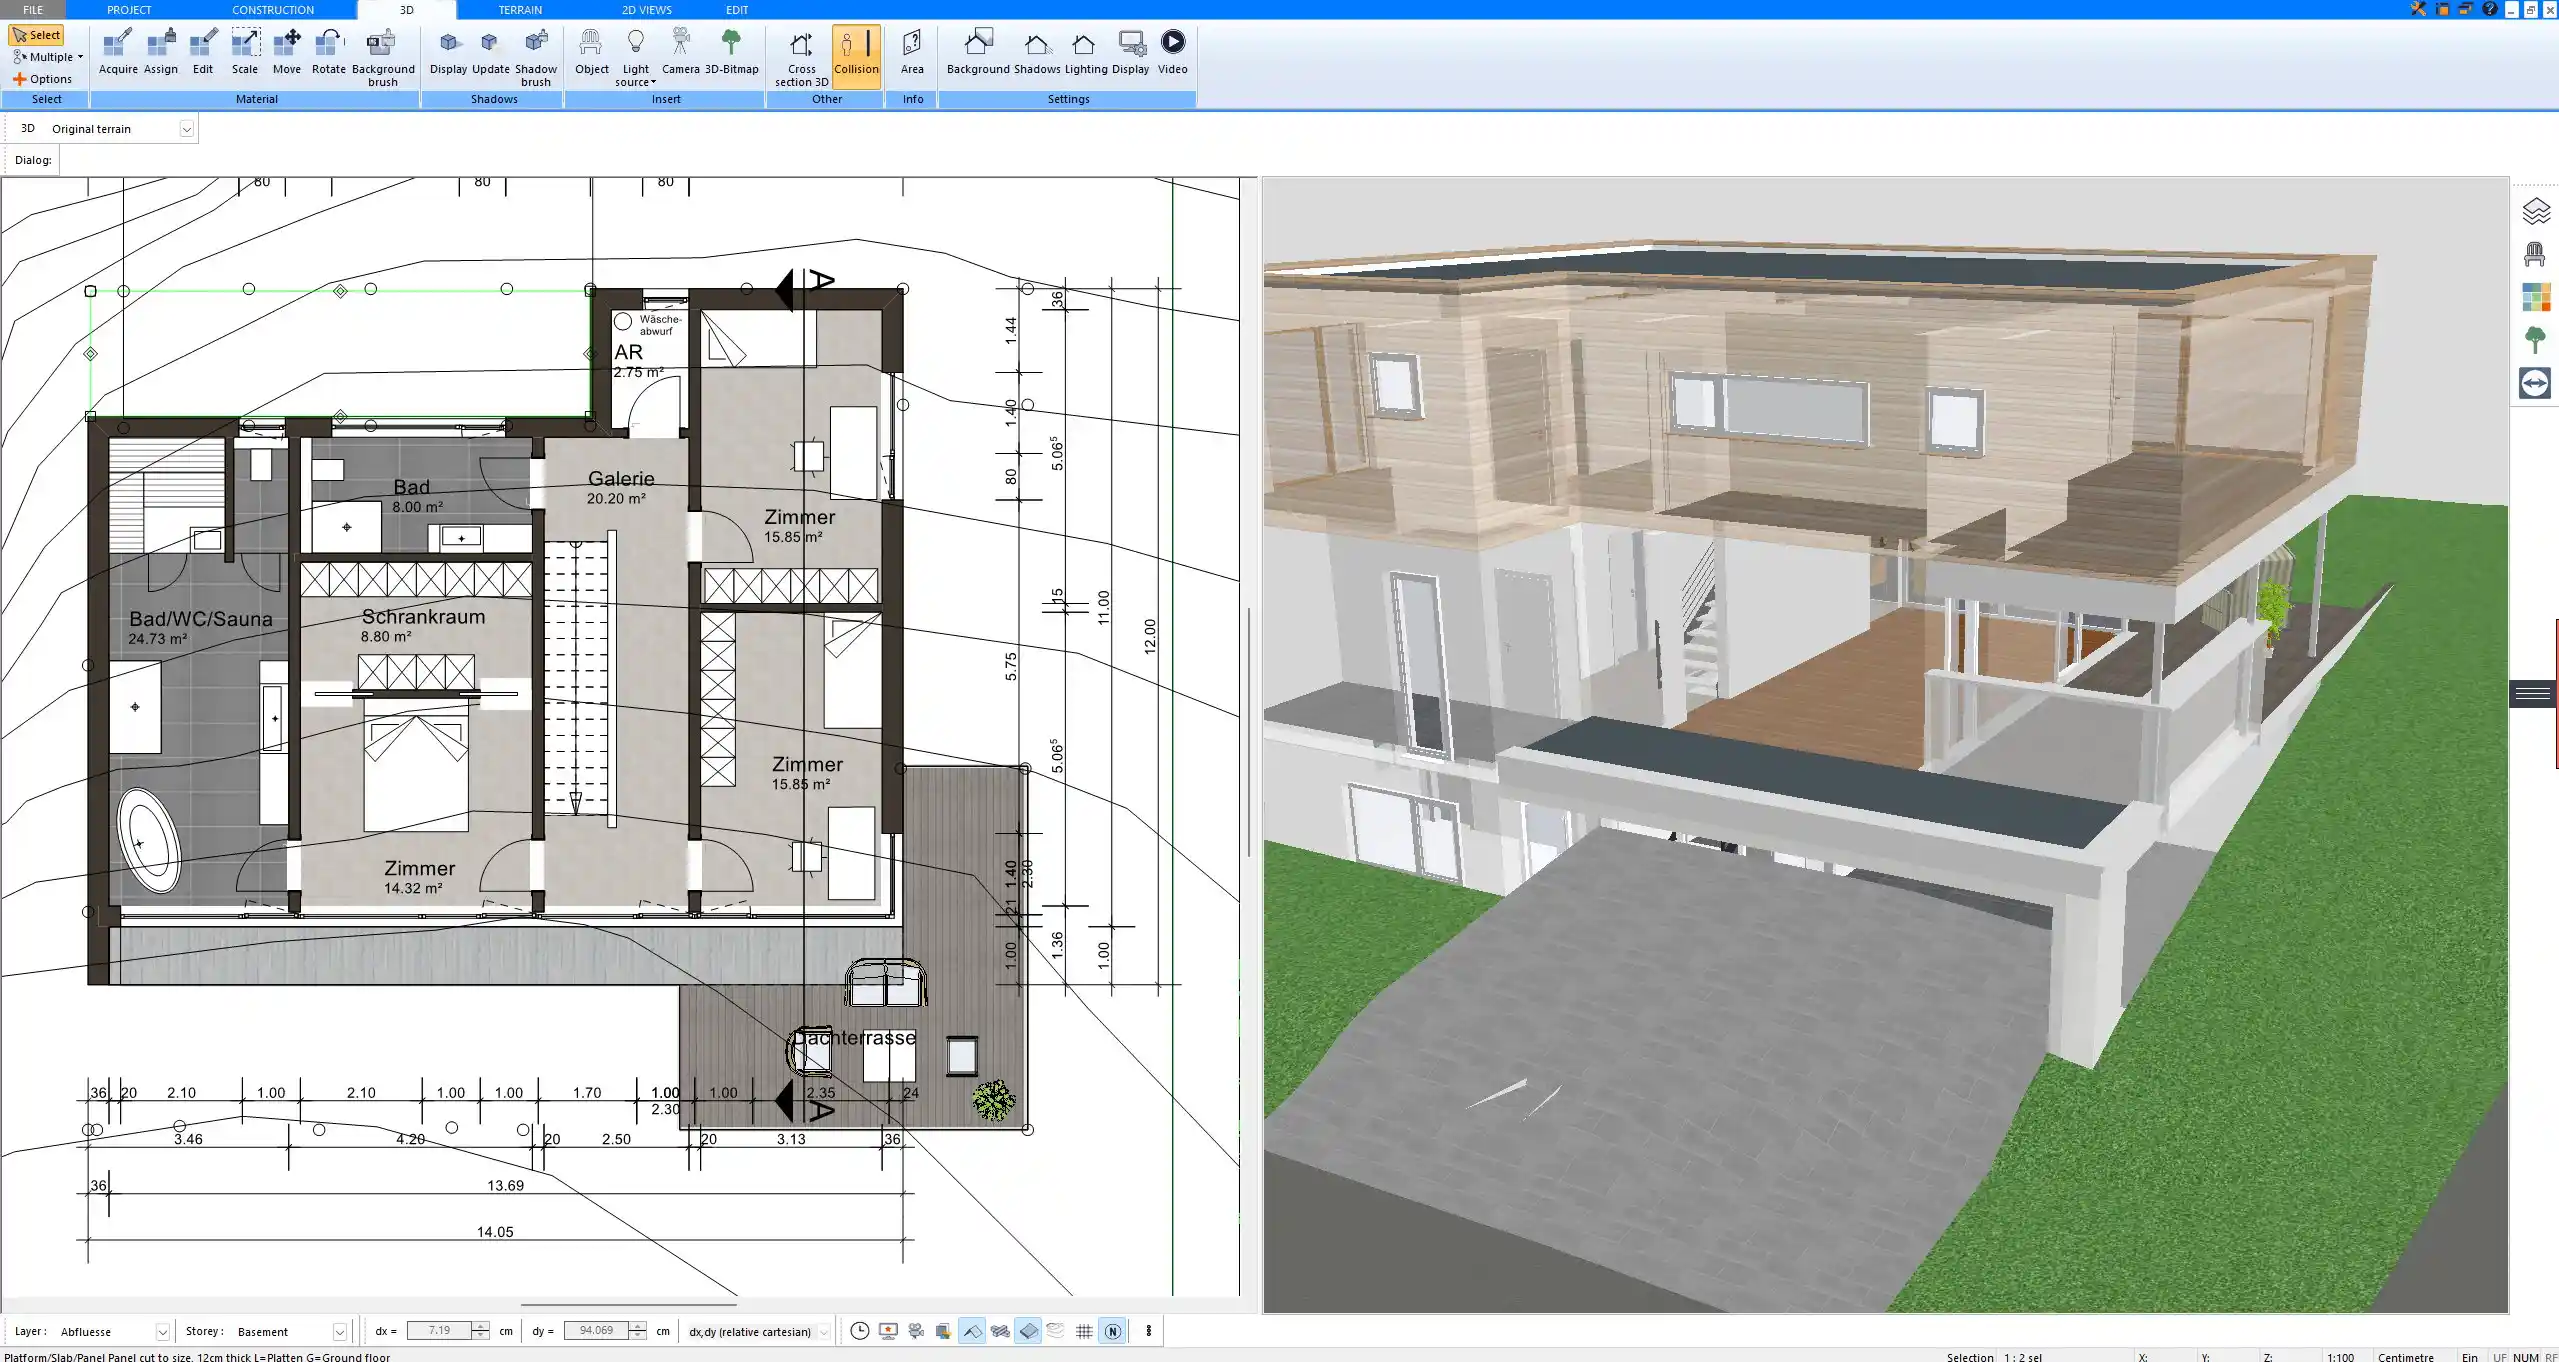
You can also create cross-sections to analyze structural integrity or to prepare documents for approval.
Pro Tip:
Always use the terrain modeling tools first — this gives you a realistic context before placing your foundation. It avoids many common errors later.
Exporting and sharing the foundation plan
Once your foundation layout is complete, you’ll likely need to share it. Most modern software, including Plan7Architect, allows for flexible export and sharing options:
-
Export high-resolution 2D drawings in PDF or PNG
-
Generate 3D renderings with textures and shadows
-
Export in DWG/DXF formats for integration with engineering tools
-
Share directly via email or cloud-based platforms
-
Print construction-ready blueprints for on-site use
This makes it easier to communicate with contractors, inspectors, or collaborators — even if they don’t use the same software.
Common mistakes to avoid
When I first started working with foundation layouts in 3D CAD, I ran into a few problems that are easily avoidable:
-
Not setting the correct unit system at the beginning — this can lead to mismatched dimensions.
-
Ignoring the slope of the site — which leads to unstable or unusable foundations.
-
Forgetting drainage and moisture management — which can cause serious long-term damage.
-
Overlooking HVAC and pipe routes in slab foundations.
-
Using too simple shapes — complex building designs require detailed, customized foundation layouts.
Double-checking every element in 3D view before export saves time, money, and frustration later.
Conclusion: Why 3D CAD simplifies foundation planning
Planning a foundation manually or with basic drawing tools is not only time-consuming but prone to errors. With 3D CAD software, you gain:
-
Complete control over measurements and materials
-
Visual inspection in 2D and 3D
-
Integration with plumbing, terrain, and structural elements
-
Export functions for engineers and local authorities
-
Support for both metric and imperial systems — ideal for international projects
Whether you’re a private self-builder or a professional planner, digital foundation design brings reliability and efficiency to one of the most critical parts of the building process.
Plan your project with Plan7Architect

Plan7Architect Pro 5 for $119.99
You don’t need any prior experience because the software has been specifically designed for beginners. The planning process is carried out in 5 simple steps:
1. Draw Walls

2. Windows & Doors

3. Floors & Roof

4. Textures & 3D Objects

5. Plan for the Building Permit

6. Export the Floor Plan as a 3D Model for Twinmotion

- – Compliant with international construction standards
- – Usable on 3 PCs simultaneously
- – Option for consultation with an architect
- – Comprehensive user manual
- – Regular updates
- – Video tutorials
- – Millions of 3D objects available


