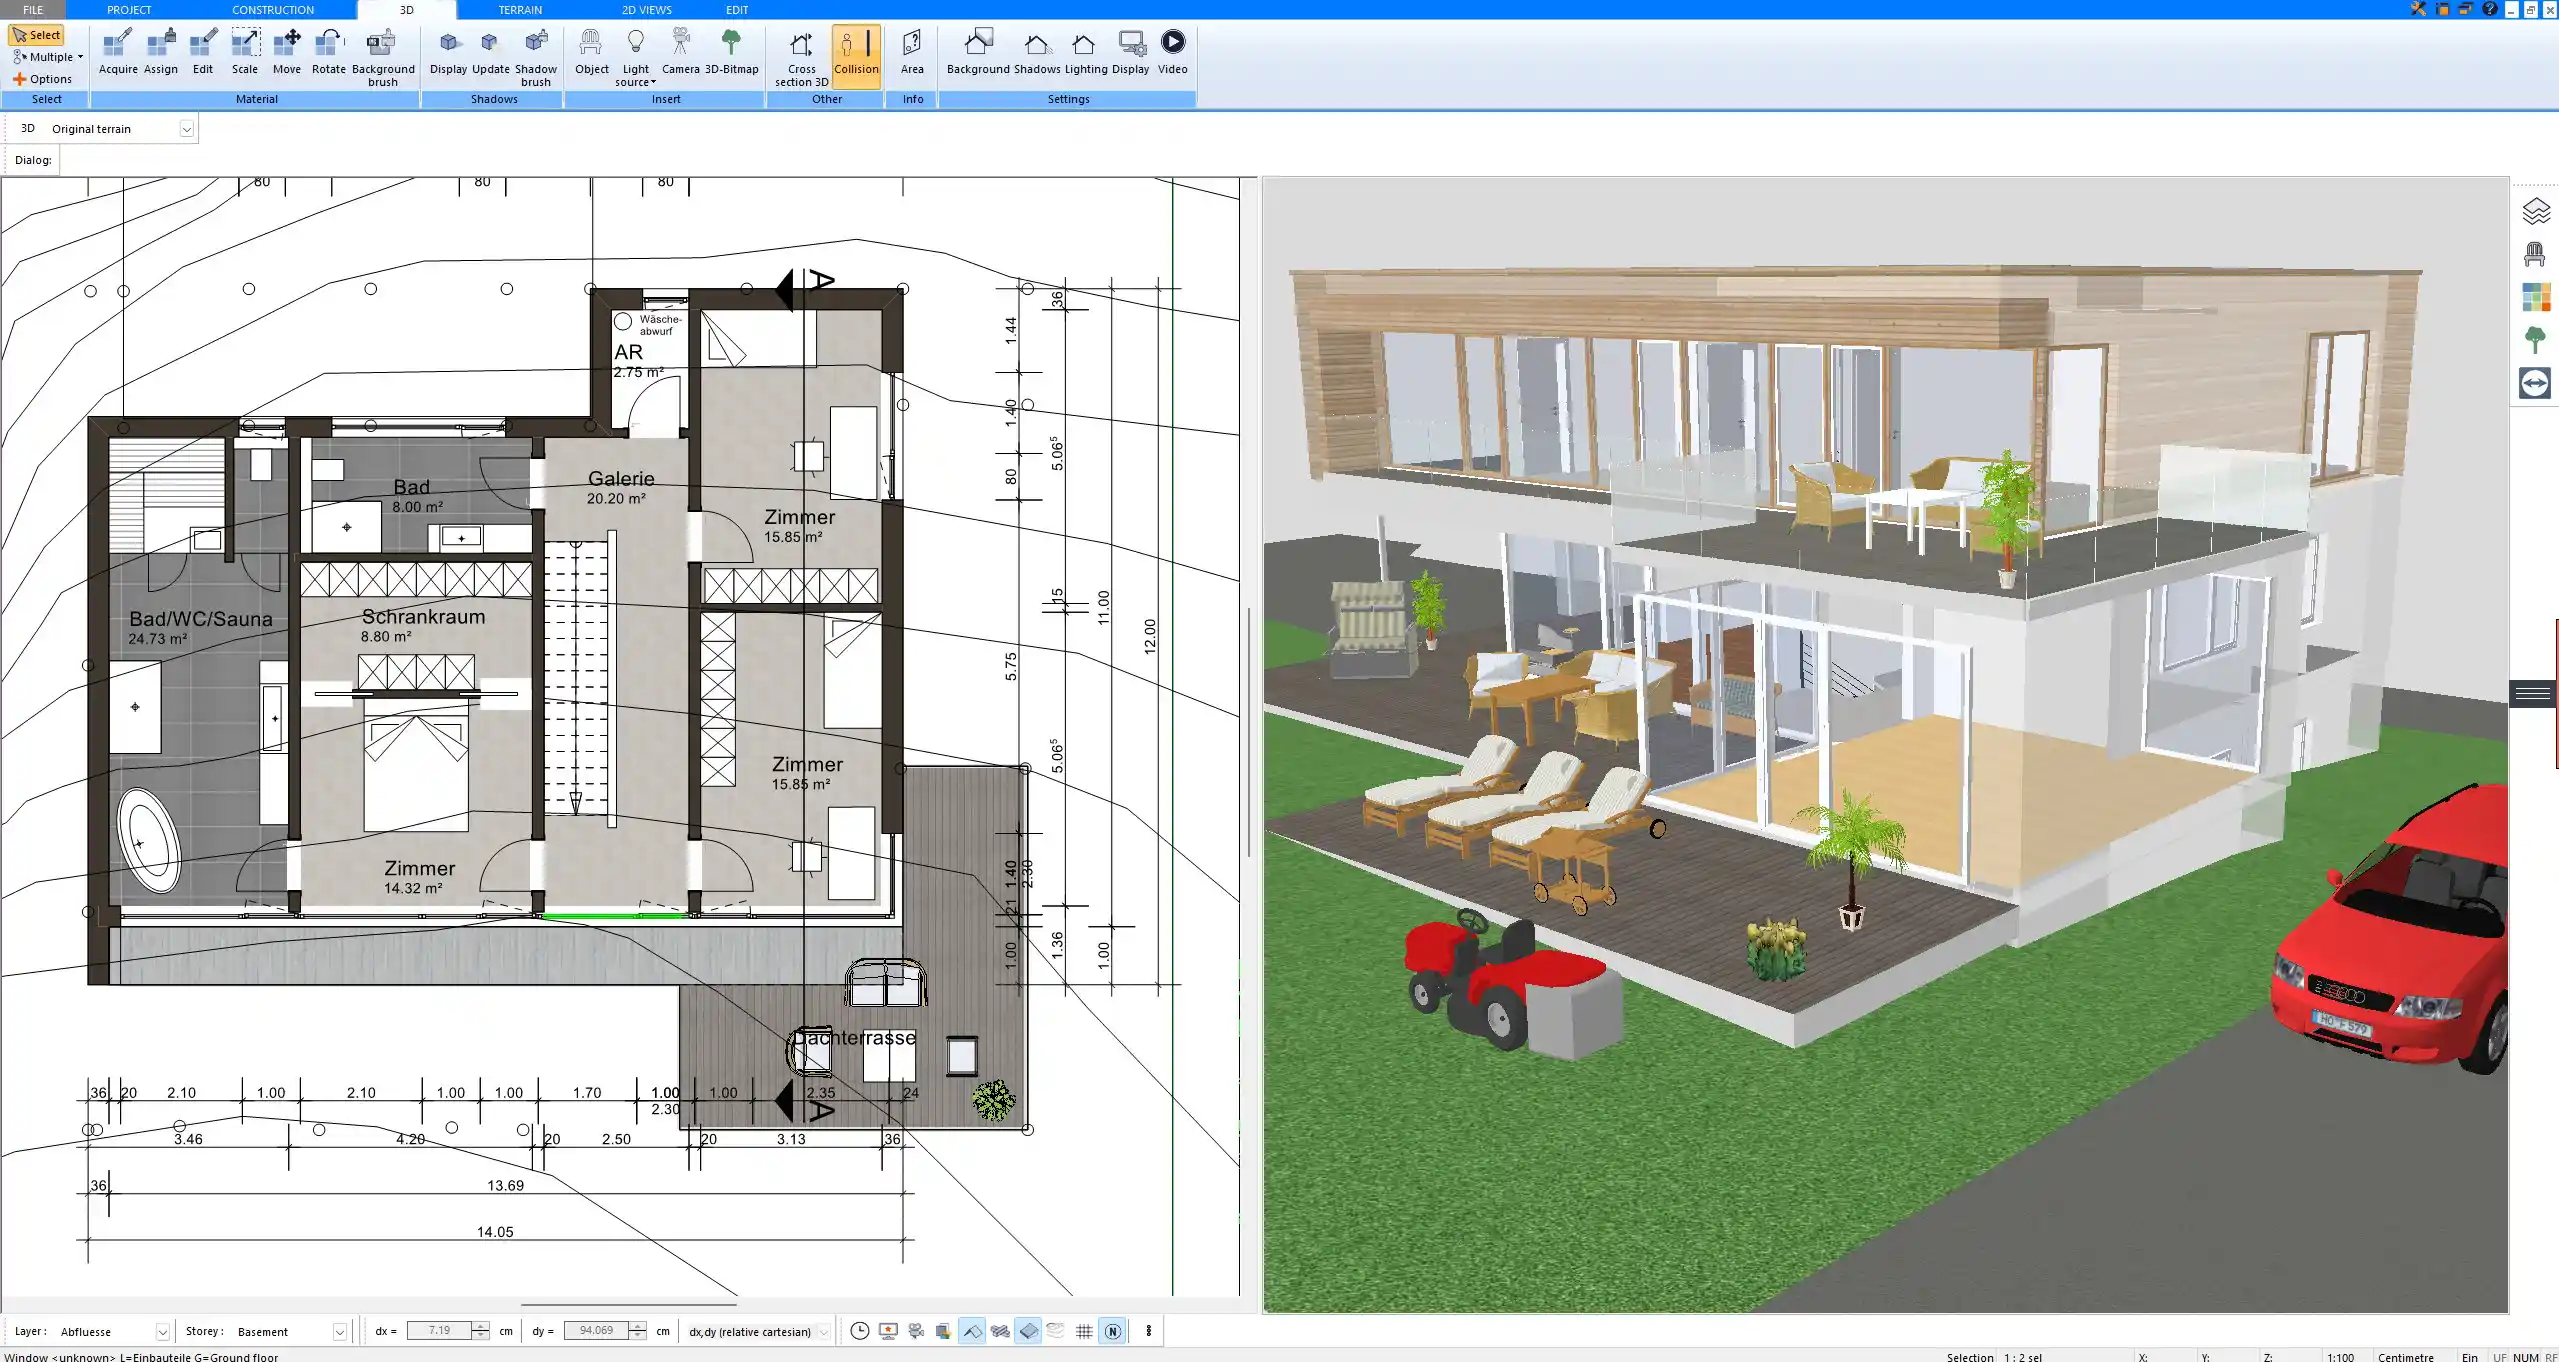
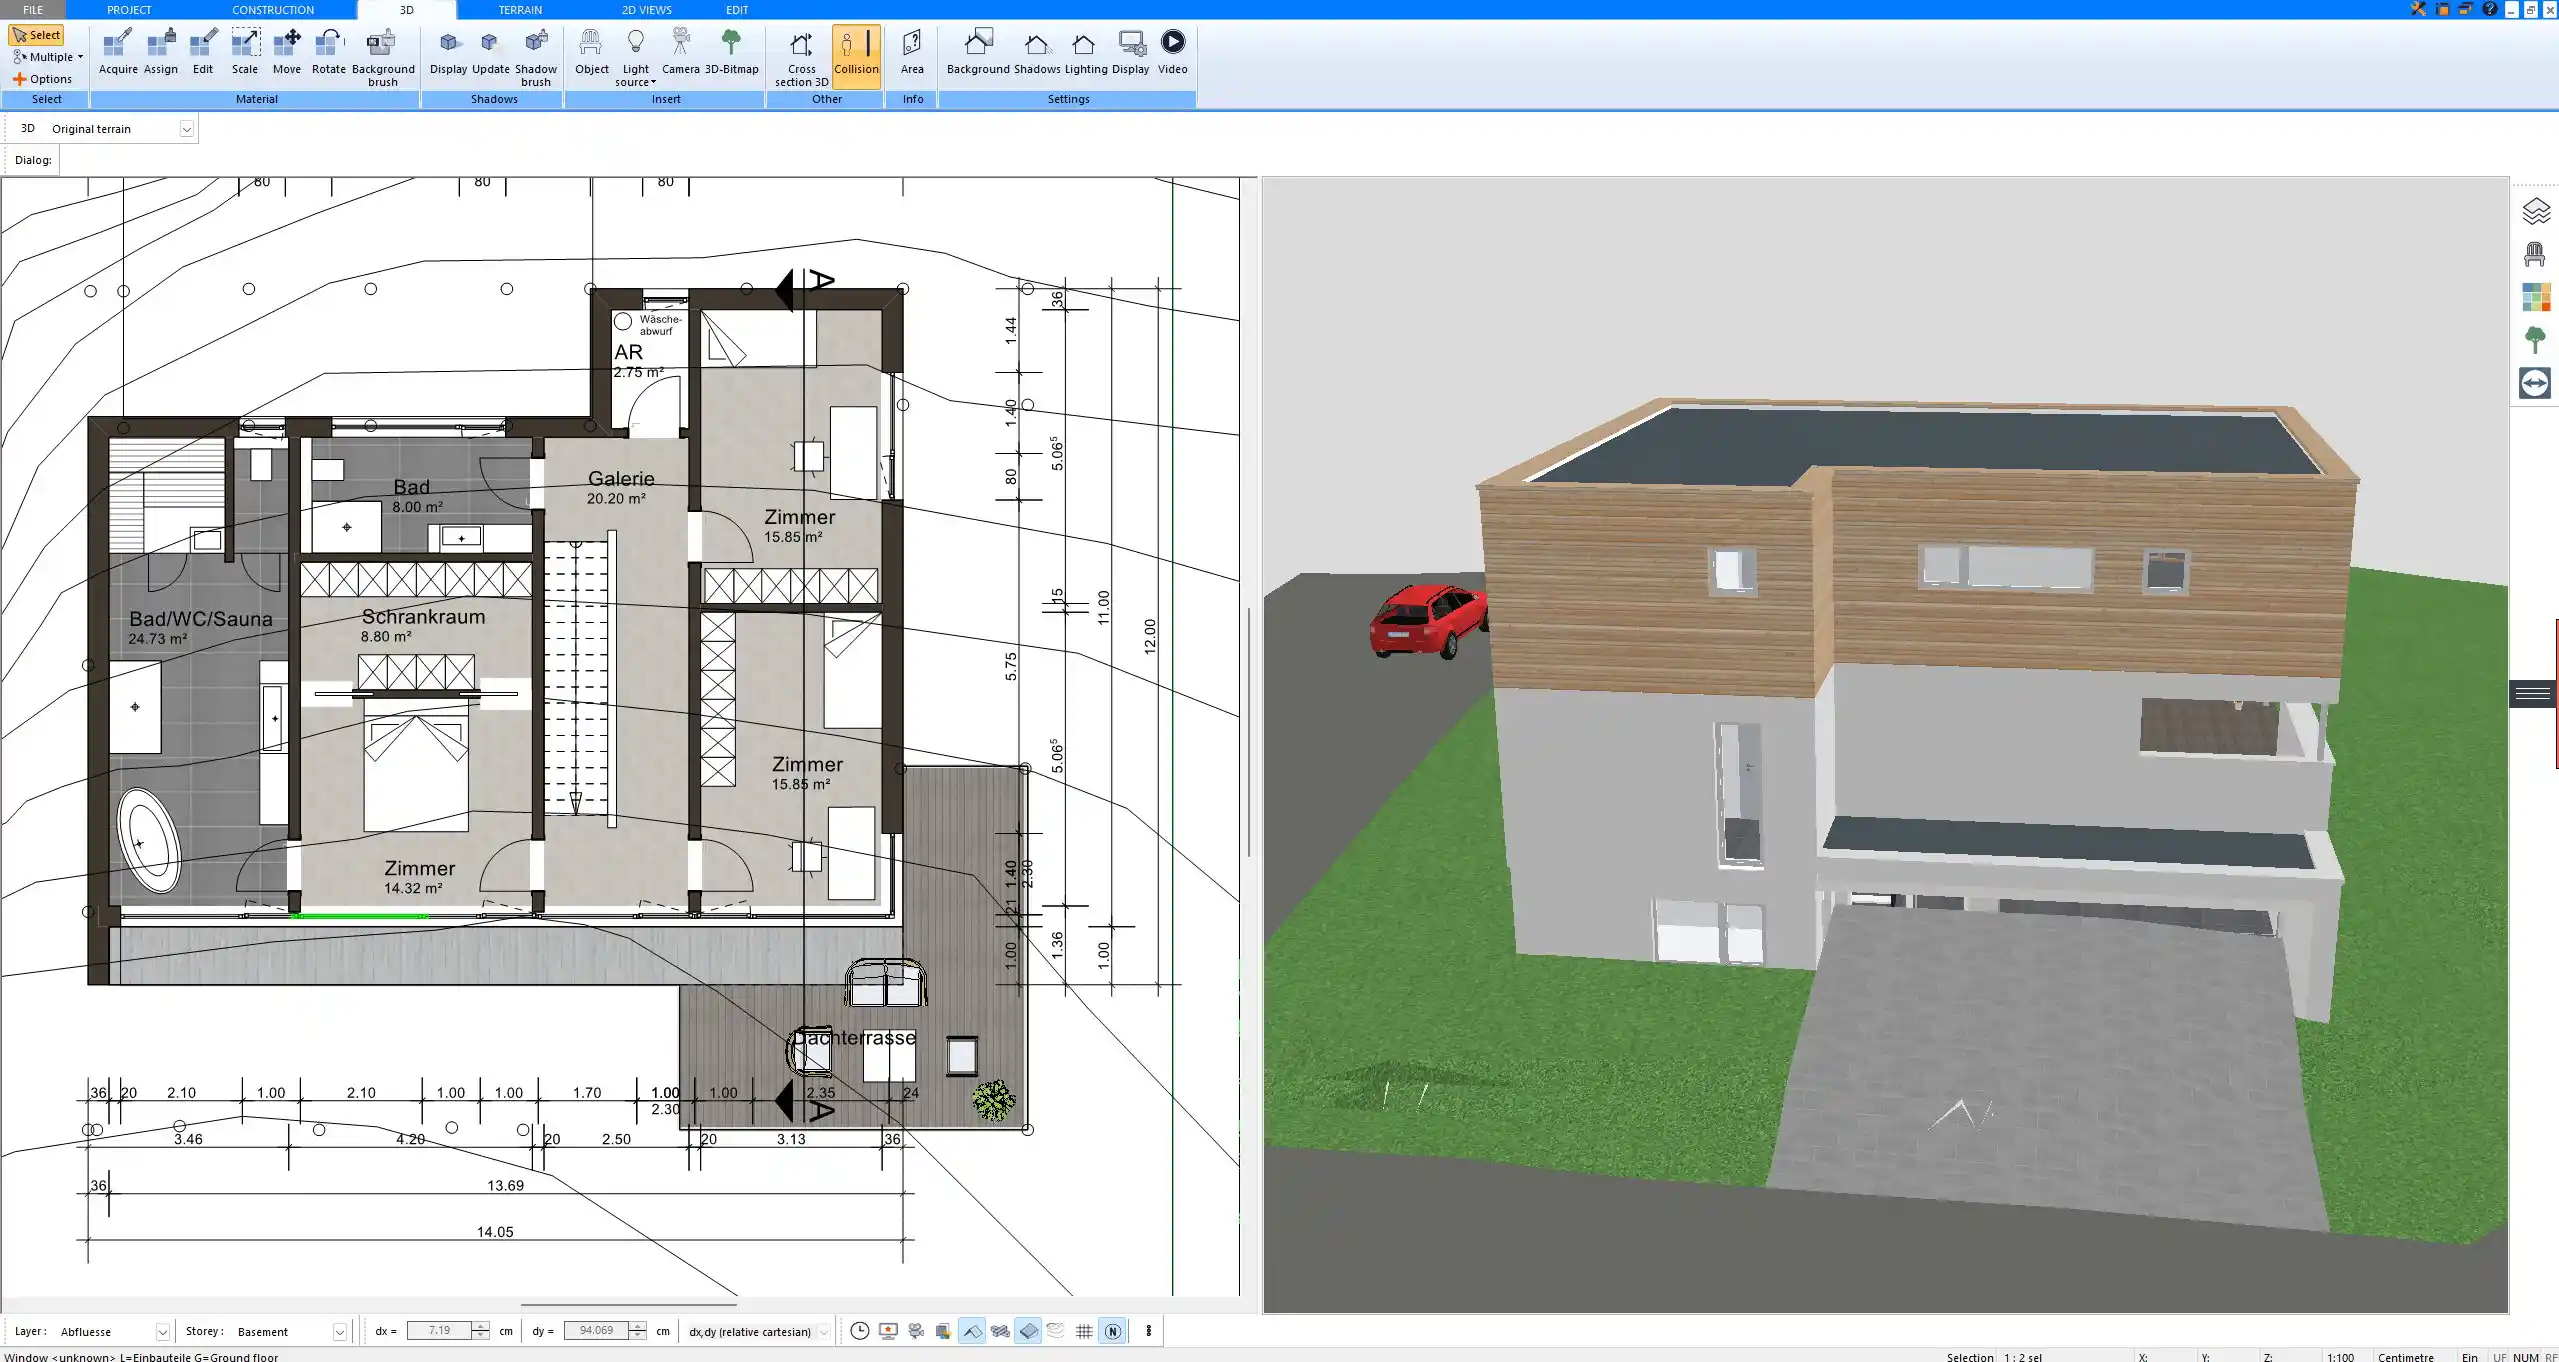
You can create a flat roof design quickly and precisely using the Plan7Architect software. After defining your building structure—walls, floors, and layout—you simply open the roof settings and select “Flat Roof” as the roof type. The software automatically adjusts the roof shape to a horizontal surface without pitch. You can then set your desired roof height, thickness, parapet dimensions, and any drainage slope.
All measurements can be entered in either metric (e.g., meters, centimeters) or imperial (e.g., feet, inches) units. This makes the software equally suitable for users in Europe, North America, and other regions. The unit system can be switched at any time in the settings.
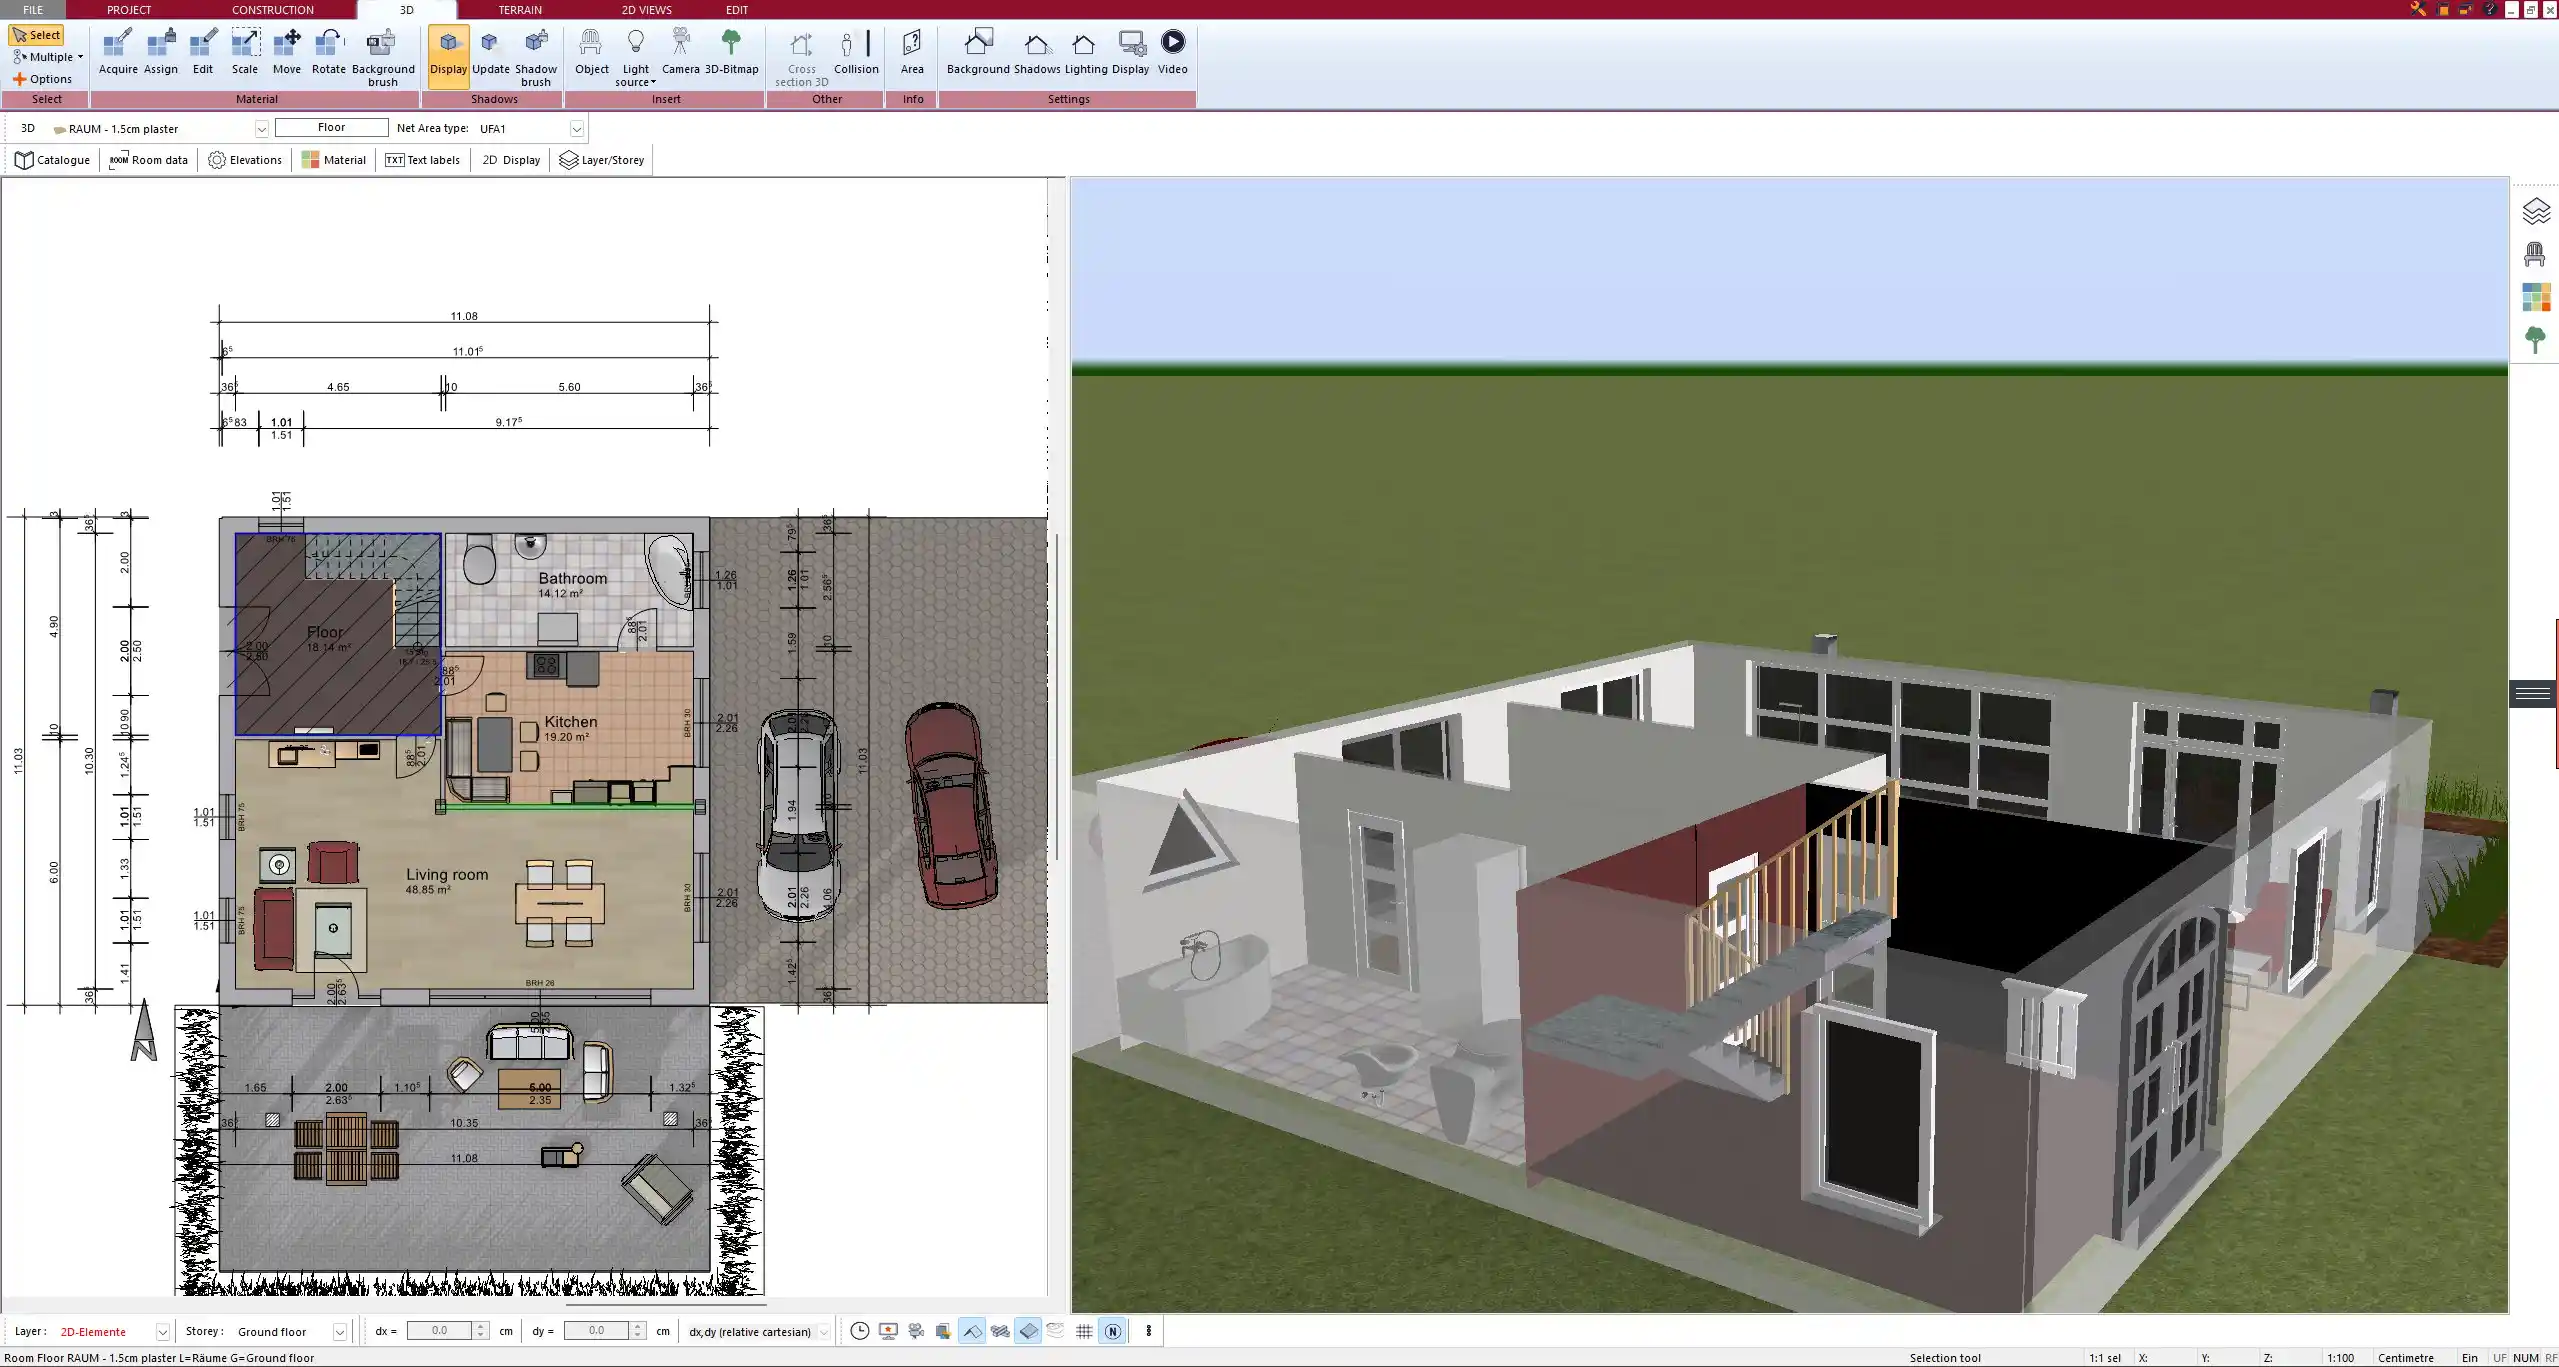
With its real-time 2D and 3D view, Plan7Architect lets you see changes immediately, making it easy to compare roof designs or correct mistakes instantly.
Step-by-Step – How to Create a Flat Roof in Plan7Architect
1. Start with the Floor Plan
The process begins by drawing or importing your floor plan. You can define the outer and inner walls, room layout, and floor levels. If you’re working with an existing building, you can recreate the structure with accurate dimensions using the wall and measurement tools.
Use the layer manager to assign each floor its own planning level—this is especially useful if your flat roof will serve as a terrace or house technical elements like solar panels. The software allows you to stack multiple levels cleanly, ensuring your flat roof fits correctly on top of the structure.
Tip:
If you’re planning a flat roof for a single-story structure like a garage, guest house, or minimalist modern home, it’s usually sufficient to work with just one building level.
2. Select the Roof Type
Once the structure is in place, open the roof configuration menu. From the list of roof types, choose “Flat Roof.” The software will immediately apply a flat surface without any slope or ridge.
There’s no need to manually remove a gabled or pitched roof. Switching between roof styles is fast and reversible, so you can experiment and compare options within the same project file.
3. Adjust Height and Thickness
Now define the exact parameters of the flat roof. You can enter the height (e.g., 25 cm or 10 inches) and thickness of the roof slab depending on your design and structural needs.
If your building has parapet walls (raised borders around the roof), these can be added as wall elements or custom extensions to the outer edge of the roof. You can define their height, thickness, and materials separately.
This is particularly helpful for modern architecture, where parapets are common for design and safety.
Example Settings Table:
| Parameter | Example Value (Metric) | Example Value (Imperial) |
|---|---|---|
| Roof Thickness | 25 cm | 10 in |
| Parapet Height | 50 cm | 20 in |
| Roof Height (Total) | 2.75 m | 9 ft |
4. Plan Drainage and Slope (if needed)
Even flat roofs need drainage. Typically, a minimal slope of 1–2% is applied so that water flows toward internal drains or edge gutters. In Plan7Architect, you can model this slope using either automatic tools or manual elevation inputs.
Use the slope function to assign a direction and angle. The software calculates the new elevations and updates the 3D view accordingly. You can also position roof drains and gutter lines visually on the plan.
Tip:
For green roofs or large terraces, always plan for at least two drainage points to prevent water pooling.
5. Choose Roofing Materials
In the materials section, you can assign specific layers to the roof—waterproof membranes, insulation boards, gravel surfaces, and more. The integrated object catalog includes a wide range of realistic textures and surfaces.
You can apply different materials to the top surface, underside, and parapets. The visual representation is immediately updated in both 2D and 3D views.
This also helps you present your design professionally to clients, partners, or contractors.
Design Features You Can Add to Your Flat Roof
Flat roofs can serve as more than just a covering. With Plan7Architect, you can add various features depending on the building type and usage:
-
Rooftop terrace or green roof area – Place outdoor furniture, planter boxes, or green zones.
-
Skylights and light domes – Add natural light to the rooms below with rectangular, circular, or custom skylights.
-
HVAC units and solar panels – Position technical elements like air conditioners or photovoltaic modules.
-
Border railings or privacy walls – For safety and design, especially on walkable roofs or terraces.
All these objects are drag-and-drop compatible from the built-in library and can be resized or customized easily.
Tip:
Use the shadow simulation feature to test the effect of rooftop structures on interior lighting during different times of day.
Advantages of Planning a Flat Roof with Plan7Architect
| Feature | Benefit |
|---|---|
| Roof type switch in one click | Quickly try out flat vs. pitched options without rebuilding anything |
| True-to-scale 2D and 3D display | See your flat roof exactly as it will be built |
| Full unit flexibility | Plan in meters/centimeters or feet/inches with full control |
| Custom details | Add slope, thickness, parapets, skylights, and materials visually |
| Layer and terrain integration | Fit your flat roof into complex building or site designs |
| Print & export tools | Create high-quality floor plans, sections, and 3D renders |
Common Mistakes to Avoid When Planning a Flat Roof
-
Forgetting to add slope for water drainage
-
Omitting thermal insulation in cold or humid climates
-
Not including access or railings if the roof is walkable
-
Ignoring the load-bearing limits of the roof when placing heavy elements like solar arrays or HVAC units
-
Placing skylights without verifying the structural impact
Flat Roof Planning – Additional Tips
-
Use the layer manager to create multiple flat roof versions and switch between them as needed.
-
Group technical installations like solar and ventilation into one planning layer for easier control.
-
Save frequently used roof styles (e.g., green roof with slope + drainage) as templates for future projects.
-
Use the automatic dimensioning tool to double-check all roof edge and parapet lengths before exporting your final plan.
Tip:
If you plan to export your design for construction documentation, set your roof components to real-world layer names so they match architectural standards.
Plan your project with Plan7Architect

Plan7Architect Pro 5 for $109.99
You don’t need any prior experience because the software has been specifically designed for beginners. The planning process is carried out in 5 simple steps:
1. Draw Walls

2. Windows & Doors

3. Floors & Roof

4. Textures & 3D Objects

5. Plan for the Building Permit

6. Export the Floor Plan as a 3D Model for Twinmotion

- – Compliant with international construction standards
- – Usable on 3 PCs simultaneously
- – Option for consultation with an architect
- – Comprehensive user manual
- – Regular updates
- – Video tutorials
- – Millions of 3D objects available


