Yes, you can plan both a fireplace and a chimney in detail using modern 3D CAD software. With programs like Plan7Architect, it’s easy to place, configure, and visualize both components directly in your digital floor plan. You can work in both 2D and 3D views and switch between European and American measurement units, depending on your location or project requirements. Whether you are planning a wood-burning stove, a gas fireplace, or a traditional chimney stack, the software provides all the necessary tools to ensure that your design is technically accurate and visually realistic.
What You Can Plan with 3D CAD Software
3D CAD tools offer a high degree of flexibility and control. In my experience, they allow you to take every detail into account—whether you’re designing a single-room feature or a full multi-story chimney system.
Here is what you can plan:
-
The type, size, and location of the fireplace
-
Routing and dimensions of the chimney shaft
-
Penetrations through ceilings and roofs
-
Fireproofing and heat clearance zones
-
Exterior design elements like chimney caps or cladding
-
Integration with ventilation or exhaust systems
-
Realistic visualizations of interior and exterior
These features allow you to simulate the actual conditions and test various options before committing to a specific solution.
Step-by-Step: How to Plan a Fireplace & Chimney
Define Fireplace Type
Start by choosing the right fireplace for your needs and design style. The type you select affects the chimney requirements, installation, and safety measures.
Common fireplace types include:
| Type | Fuel Source | Common Use |
|---|---|---|
| Wood-burning | Wood logs | Traditional, high heat output |
| Gas | Natural gas/propane | Clean, low maintenance |
| Electric | Electricity | Decorative, easy to install |
| Ethanol | Liquid ethanol | Ventless, for modern designs |
Each of these types has different structural and ventilation needs. For example, wood-burning fireplaces require a full chimney with flue, while electric versions might only need a wall niche.
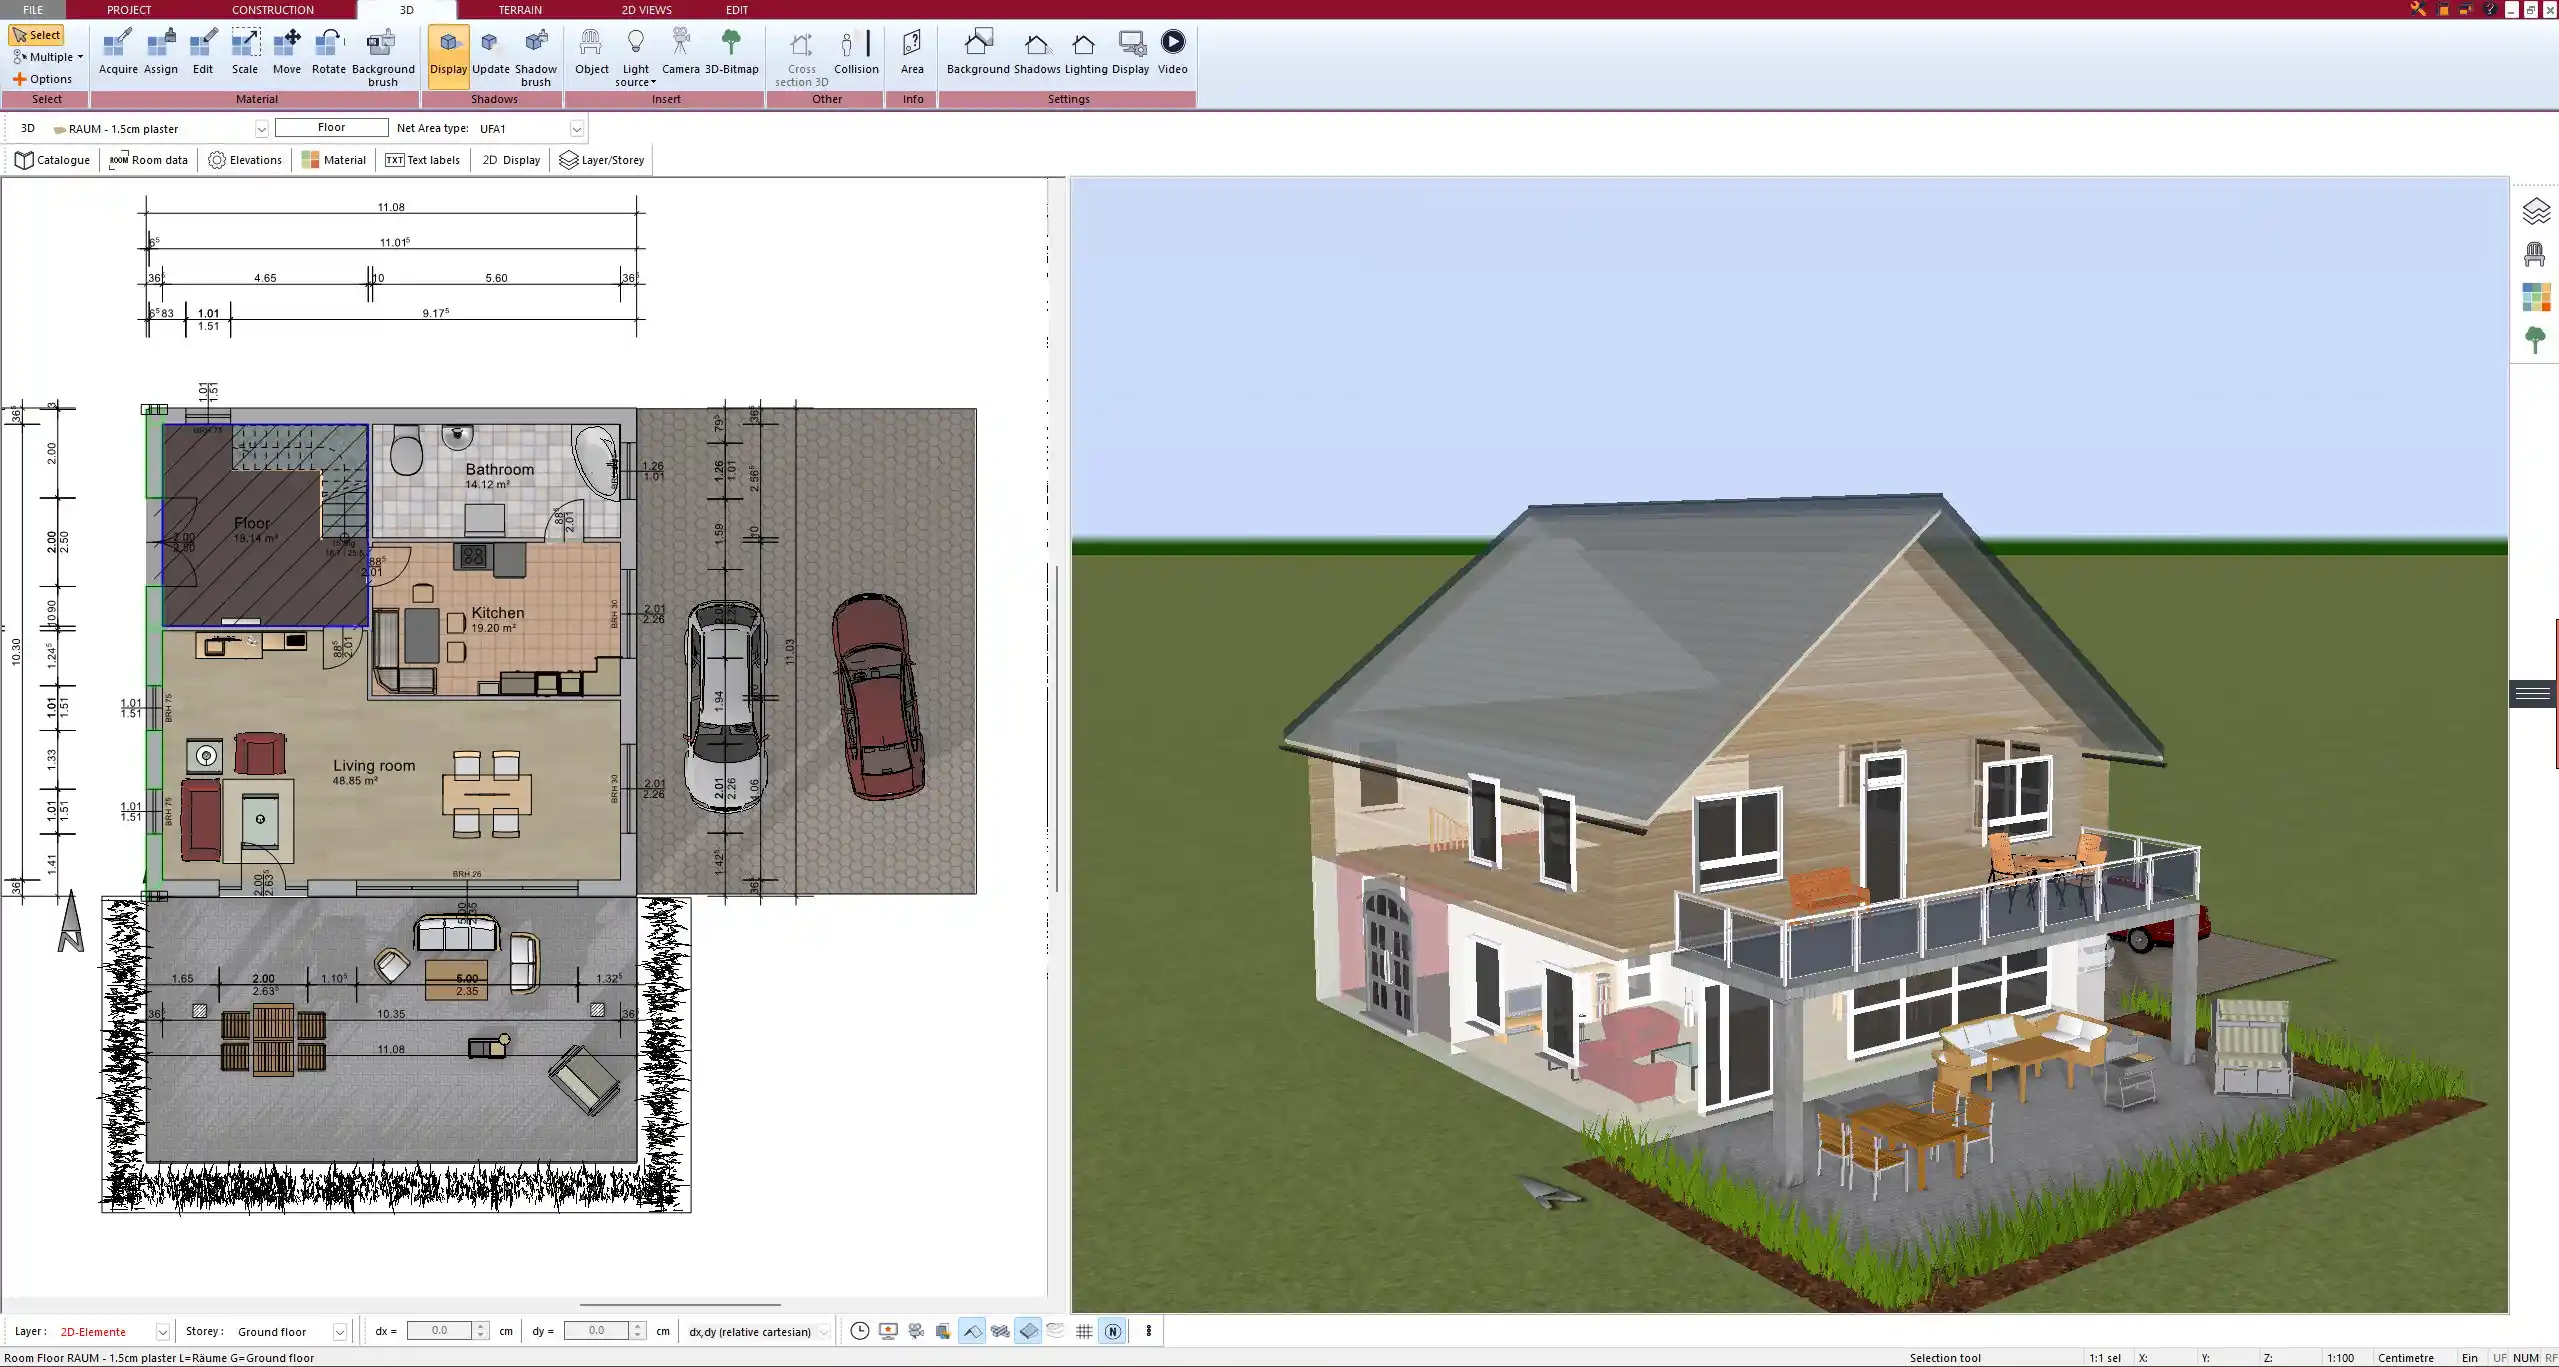
Place Fireplace in Floor Plan
Once the type is defined, place the fireplace in your 2D floor plan. This step is critical for both aesthetic balance and functional performance.
Consider the following when placing your fireplace:
-
Central location for optimal heat distribution
-
Clearance to furniture and combustible materials
-
Visibility and ambiance from seating areas
-
Wall material (reinforced walls may be needed)
-
Proximity to an exterior wall (for easier chimney routing)
In 3D view, you can immediately check proportions and adjust placement if the visual effect isn’t satisfying.

Plan the Chimney Path
The chimney path is essential for ventilation, heat safety, and code compliance. You must decide if the chimney goes straight up through the roof or runs horizontally first (as sometimes required in renovations).
Typical chimney routing includes:
-
Straight vertical shaft through ceilings and roof
-
Lateral connections where needed
-
Fire-stop zones between floors
-
Roof cut-out with proper insulation and flashing
In Plan7Architect, you can easily drag chimney elements into place and align them across different floors. It’s especially helpful when checking if the chimney avoids beams, pipes, or HVAC ducts.
Tip:
Always maintain the required clearance between the flue and any flammable materials. This is typically about 5 cm (2 inches), but may vary by region.
Add Structural Elements
This step adds realism and ensures structural integrity.
Include:
-
Chimney base (brick, concrete, or metal stand)
-
Fireproof floor plate and wall protection
-
Insulated roof cut-outs
-
Chimney caps or spark arrestors
You can apply materials and textures (e.g., red brick, cast iron, polished steel) to get a highly realistic 3D render. These materials can be found in the software’s library and customized by size or color.
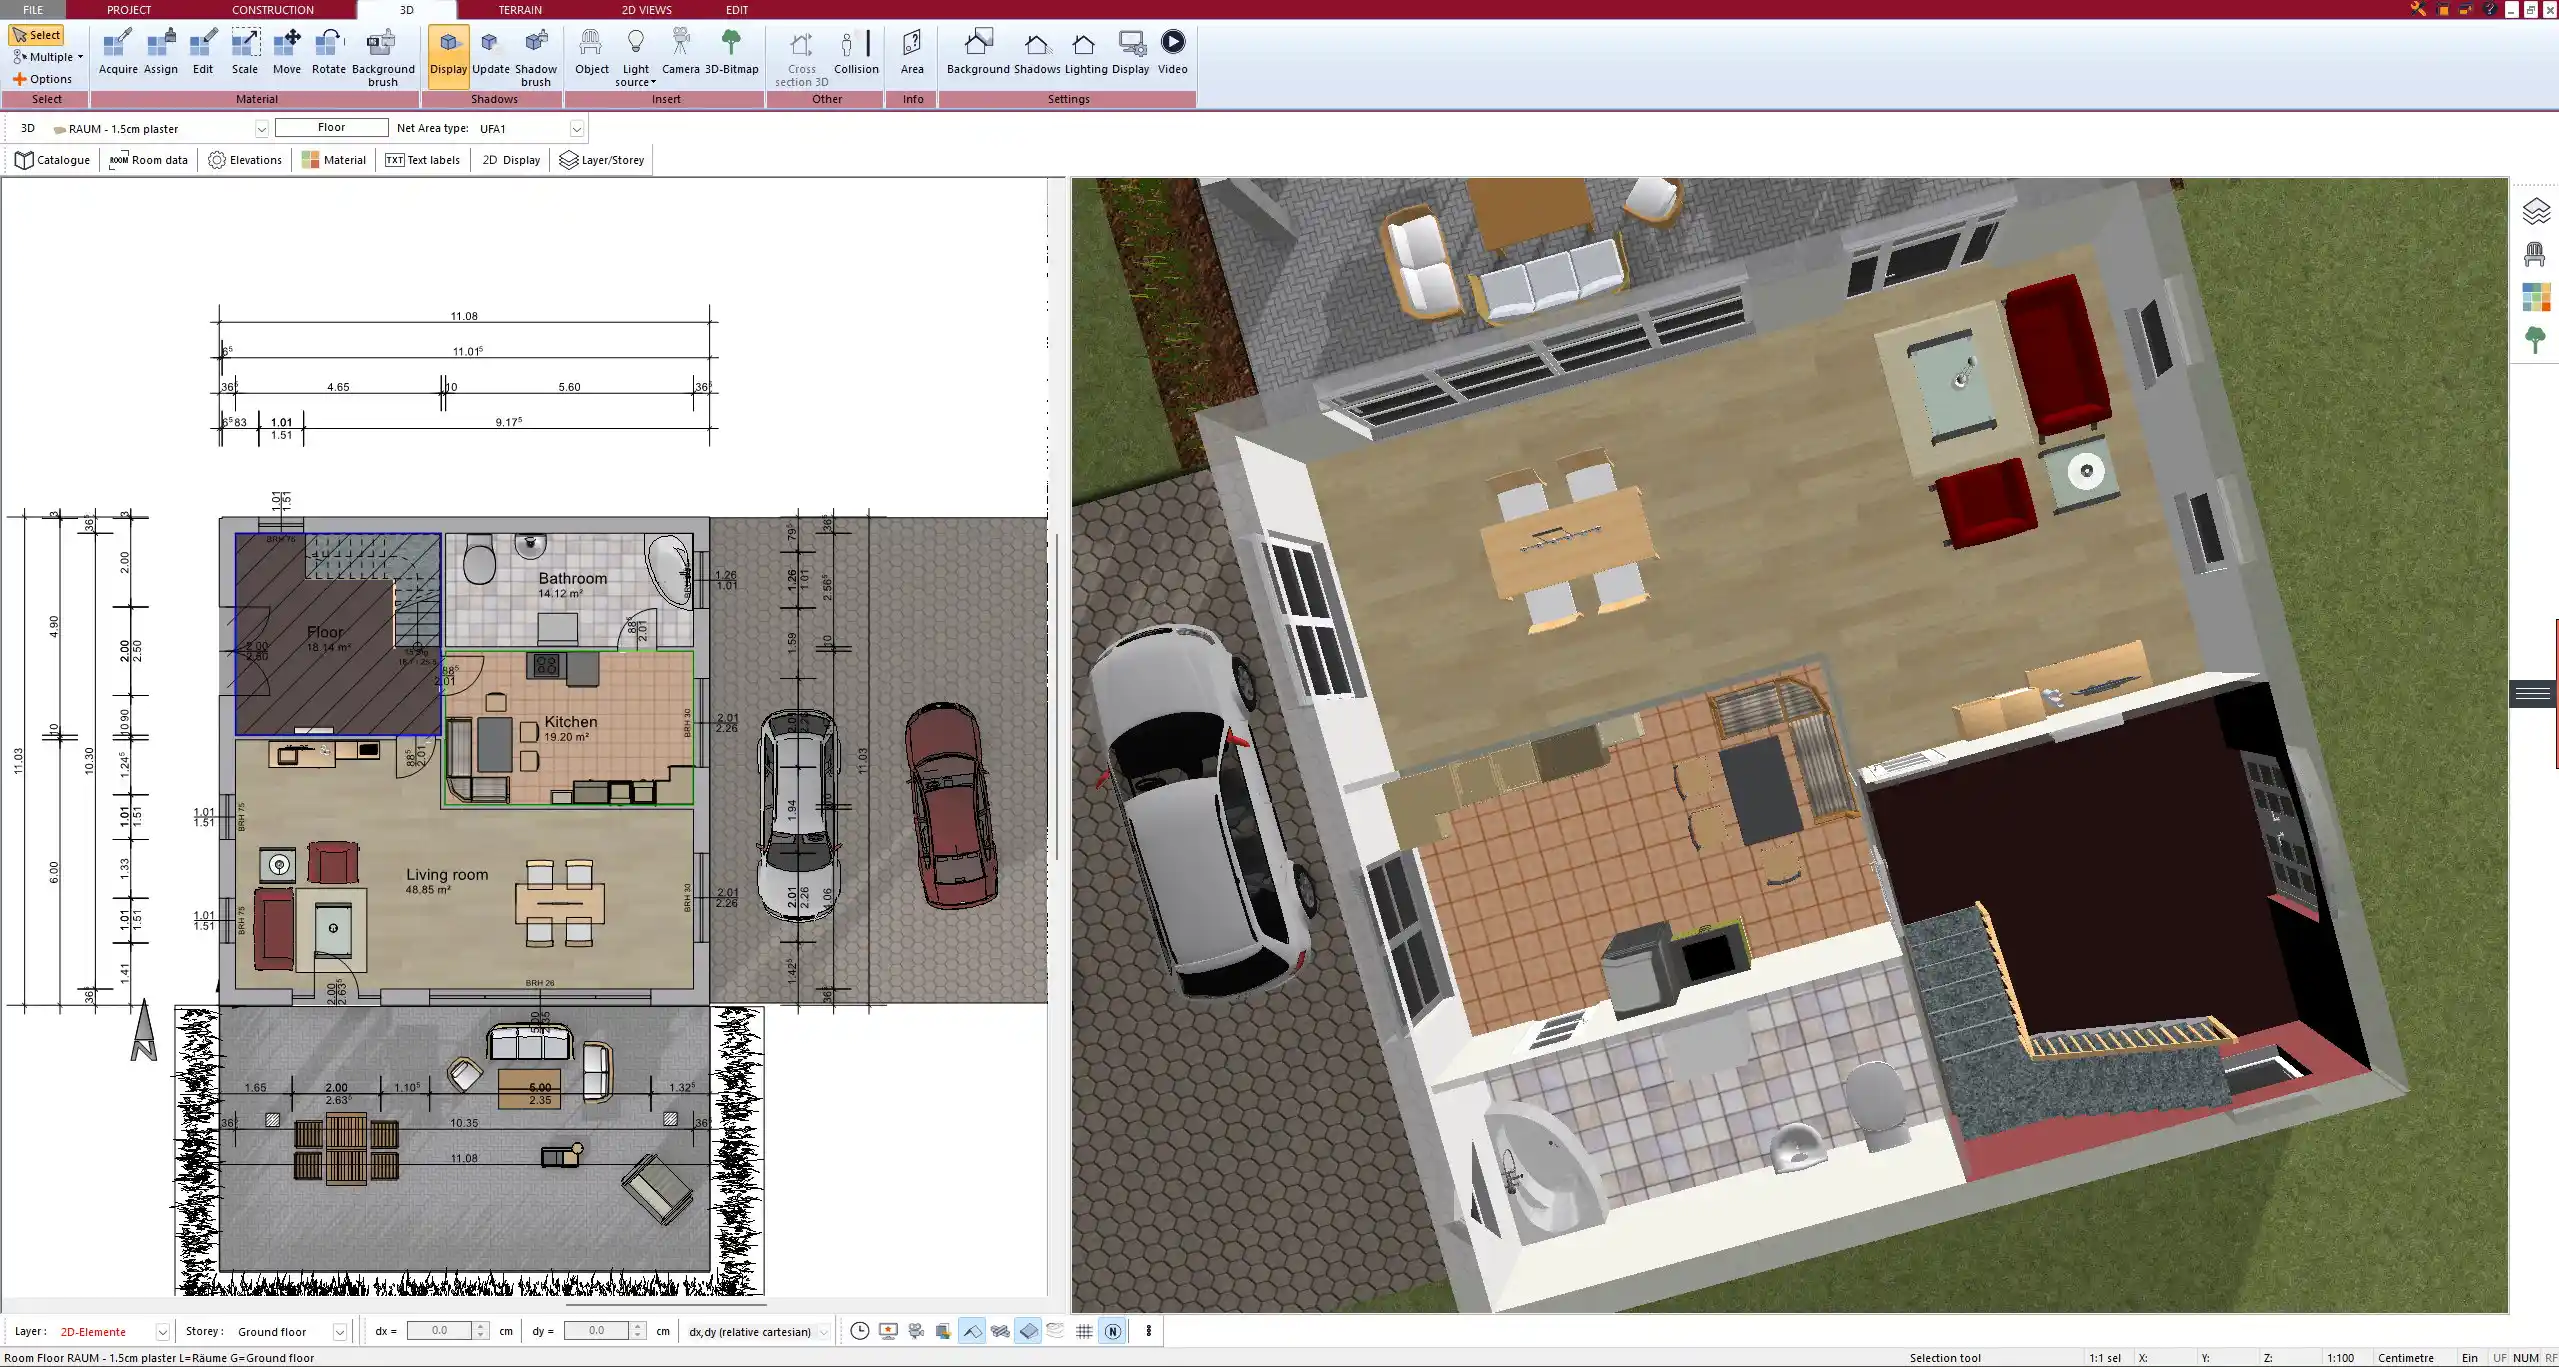
Finalize in 3D
After the technical planning, switch to 3D mode to review the design from every angle.
What to check in 3D:
-
Is the chimney height appropriate? (usually at least 60 cm / 2 ft above the highest roof point nearby)
-
Does the fireplace integrate naturally into the room layout?
-
Do materials and colors fit your overall interior and exterior design?
-
Is the chimney visible from outside as desired?
3D renderings help communicate your design ideas to contractors or other stakeholders. You can even walk through the virtual space for better spatial understanding.
Useful Features in Plan7Architect for Chimney Design
Plan7Architect offers dedicated tools for fireplace and chimney planning that go far beyond basic shape placement.
Most helpful features include:
-
Predefined fireplace and flue components
-
Multi-story flue routing
-
Drag-and-drop installation in walls or corners
-
Automatic roof cut-outs and penetration modeling
-
Customizable materials and textures
-
Dual unit support (imperial and metric systems)
-
Adjustable fire safety spacing built into object properties
Thanks to these functions, even users with no architectural background can develop detailed and professional plans.
Tips for a Safe & Aesthetic Design
Safety and design must go hand in hand. In my experience, many errors happen when people focus only on appearance without thinking of heat zones or airflow.
Here are my key planning tips:
-
Always follow local fire and building codes
-
Use fireproof materials around the fireplace and chimney
-
Keep flammable materials at a safe distance
-
Install carbon monoxide and smoke detectors nearby
-
If using a wood-burning fireplace, plan for ash clean-out access
-
Ensure proper ventilation, especially in airtight homes
Tip:
Layer your design using the CAD software’s group or layer system—this helps you separate the chimney from plumbing or structural elements, making it easier to edit later.
Who This Software Is Ideal For
You don’t have to be an architect to use 3D CAD software effectively. I’ve seen a range of users benefit from tools like Plan7Architect, each with different goals.
Ideal users include:
-
Private homeowners designing their dream home
-
Renovators integrating a fireplace into existing spaces
-
Architects and draftsmen needing client-ready visuals
-
DIY enthusiasts who want full design control
-
Real estate professionals visualizing potential upgrades
The learning curve is relatively mild, especially with the drag-and-drop interface and clear navigation tools. Plus, the ability to switch between unit systems allows for seamless planning across different countries.
Plan your project with Plan7Architect

Plan7Architect Pro 5 for $119.99
You don’t need any prior experience because the software has been specifically designed for beginners. The planning process is carried out in 5 simple steps:
1. Draw Walls

2. Windows & Doors

3. Floors & Roof

4. Textures & 3D Objects

5. Plan for the Building Permit

6. Export the Floor Plan as a 3D Model for Twinmotion

- – Compliant with international construction standards
- – Usable on 3 PCs simultaneously
- – Option for consultation with an architect
- – Comprehensive user manual
- – Regular updates
- – Video tutorials
- – Millions of 3D objects available


