If you want to design and plan your own extension without hiring an architect, Plan7Architekt is an excellent choice. The software allows you to create precise floor plans, visualize them in 3D, and customize every detail before construction begins. It is designed for both beginners and experienced users, providing an intuitive drag-and-drop system for easy layout adjustments.
One of the biggest advantages is that you can use both European (meters, centimeters) and American (feet, inches) measurement units, depending on your preference. This flexibility ensures that your design remains accurate regardless of local standards.
With Plan7Architekt, you can start your extension project from scratch, modify an existing floor plan, and immediately see how your changes impact the overall structure.
Key Features of Plan7Architekt for Extension Planning
- 2D and 3D floor plan creation with an intuitive drag-and-drop interface
- Wall, door, and window placement with precise measurement options
- Support for both metric and imperial units, allowing seamless adjustments
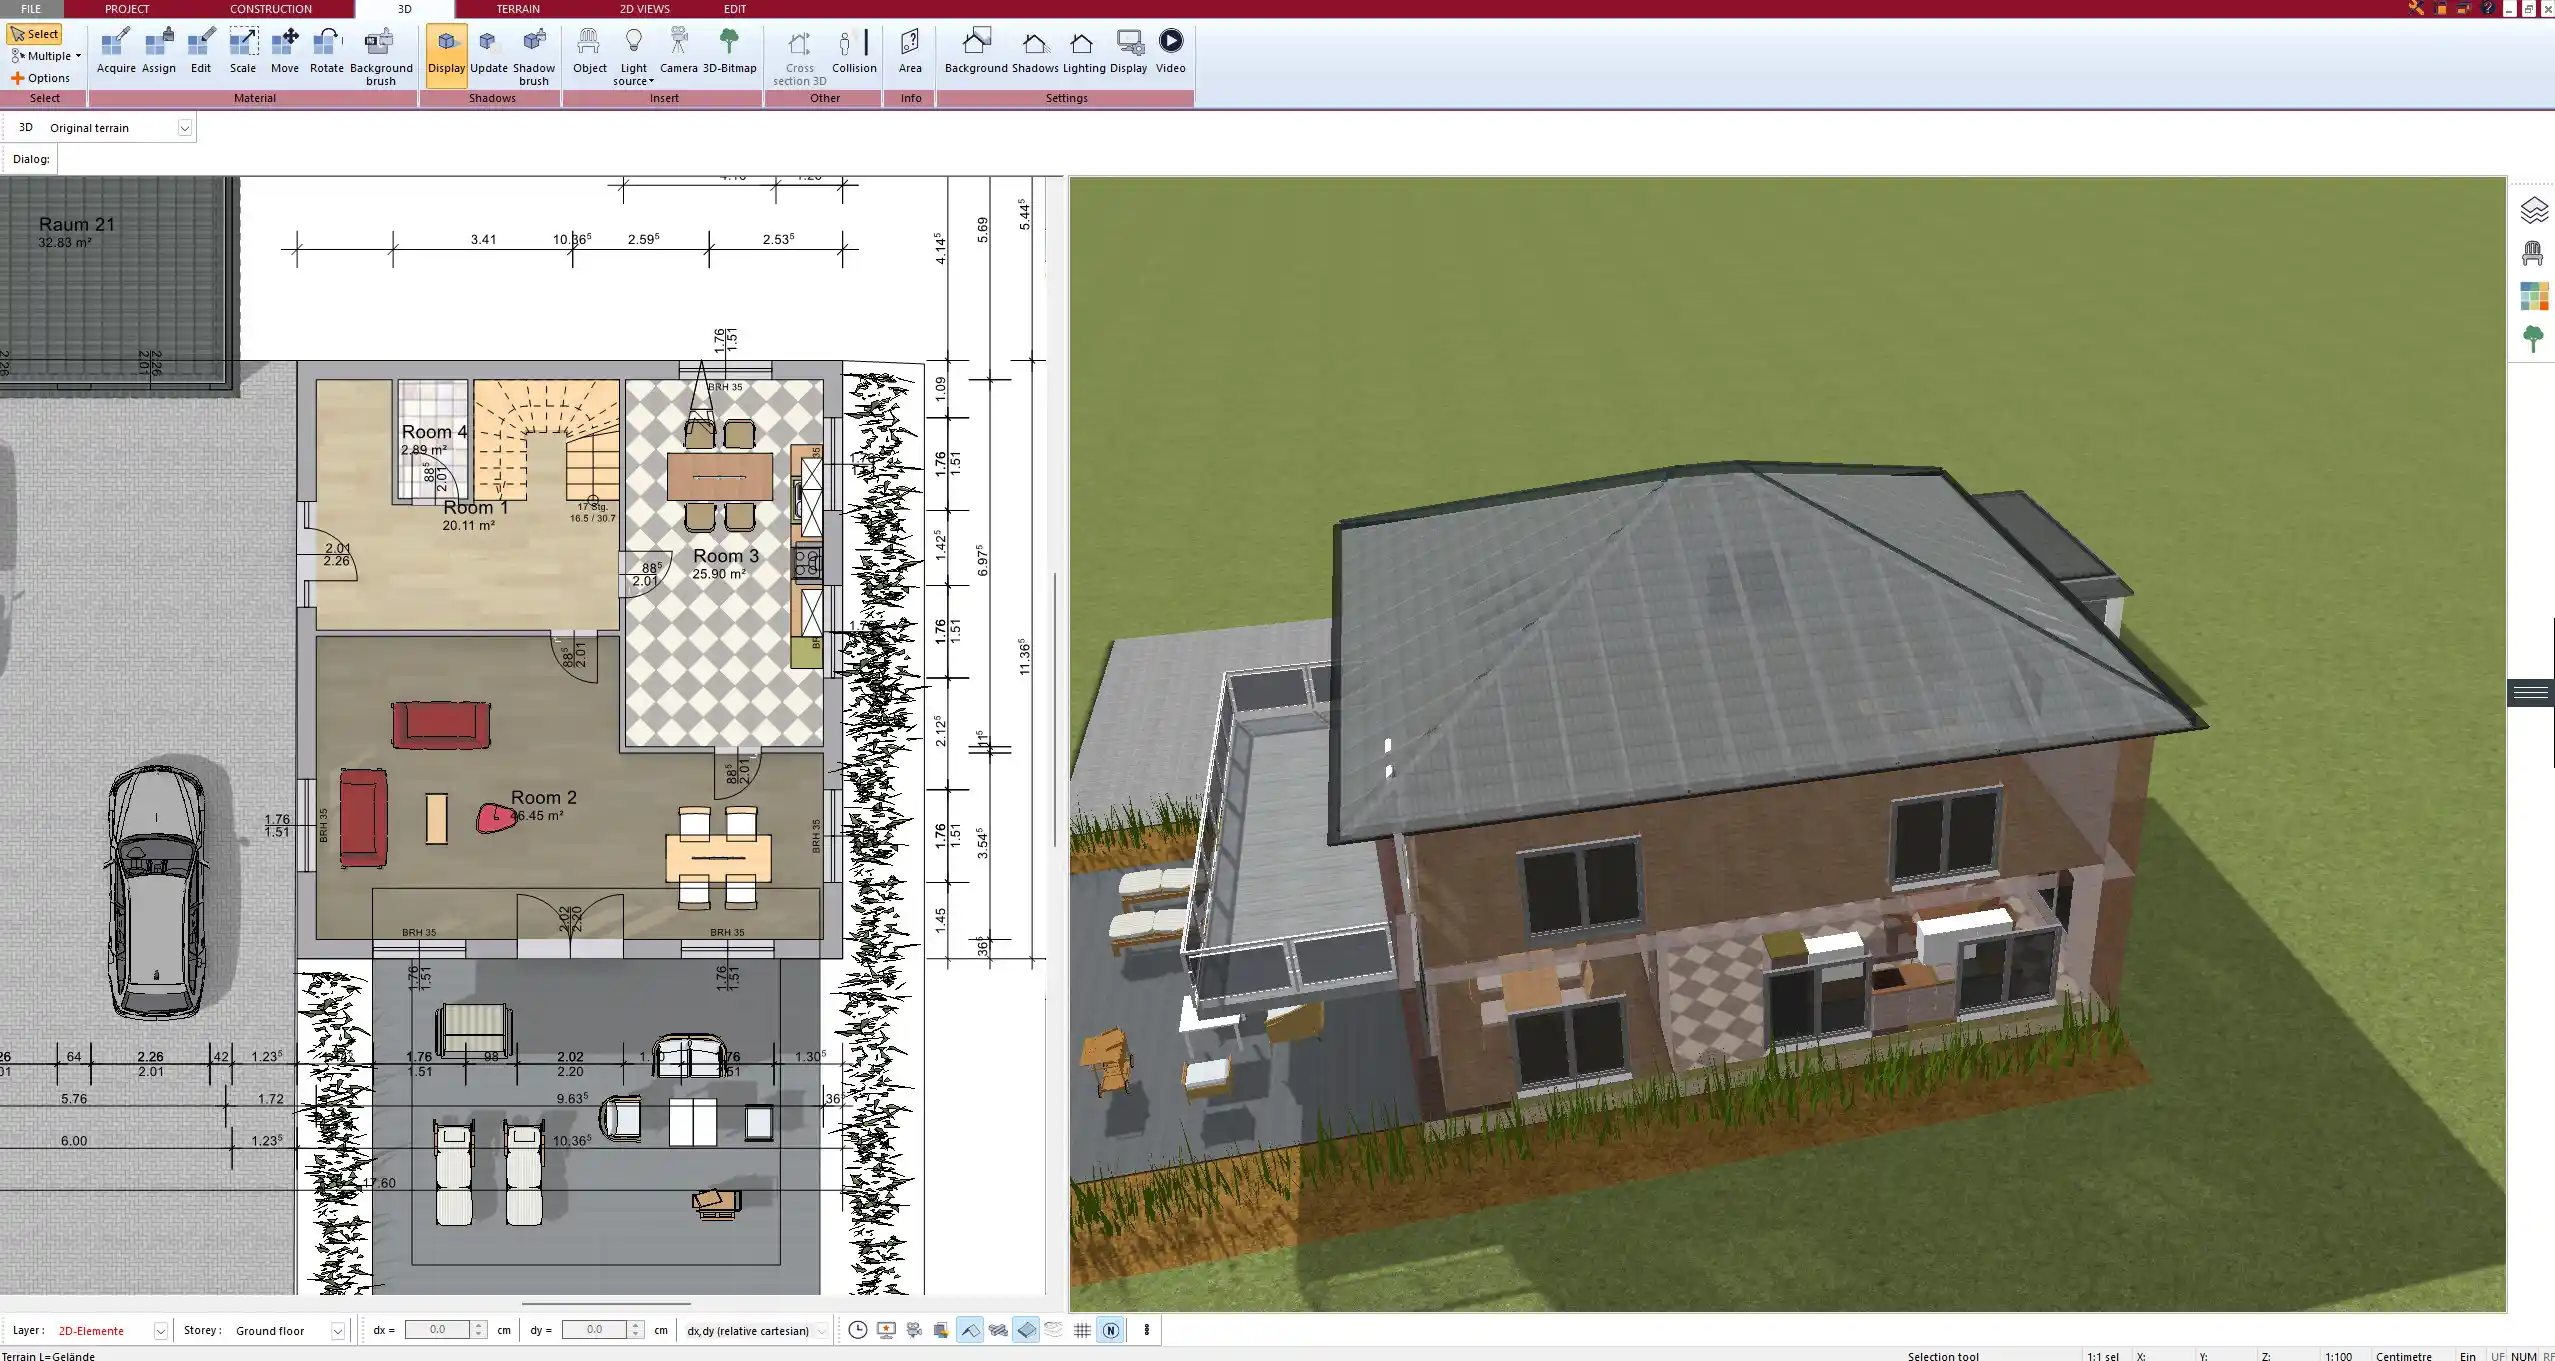
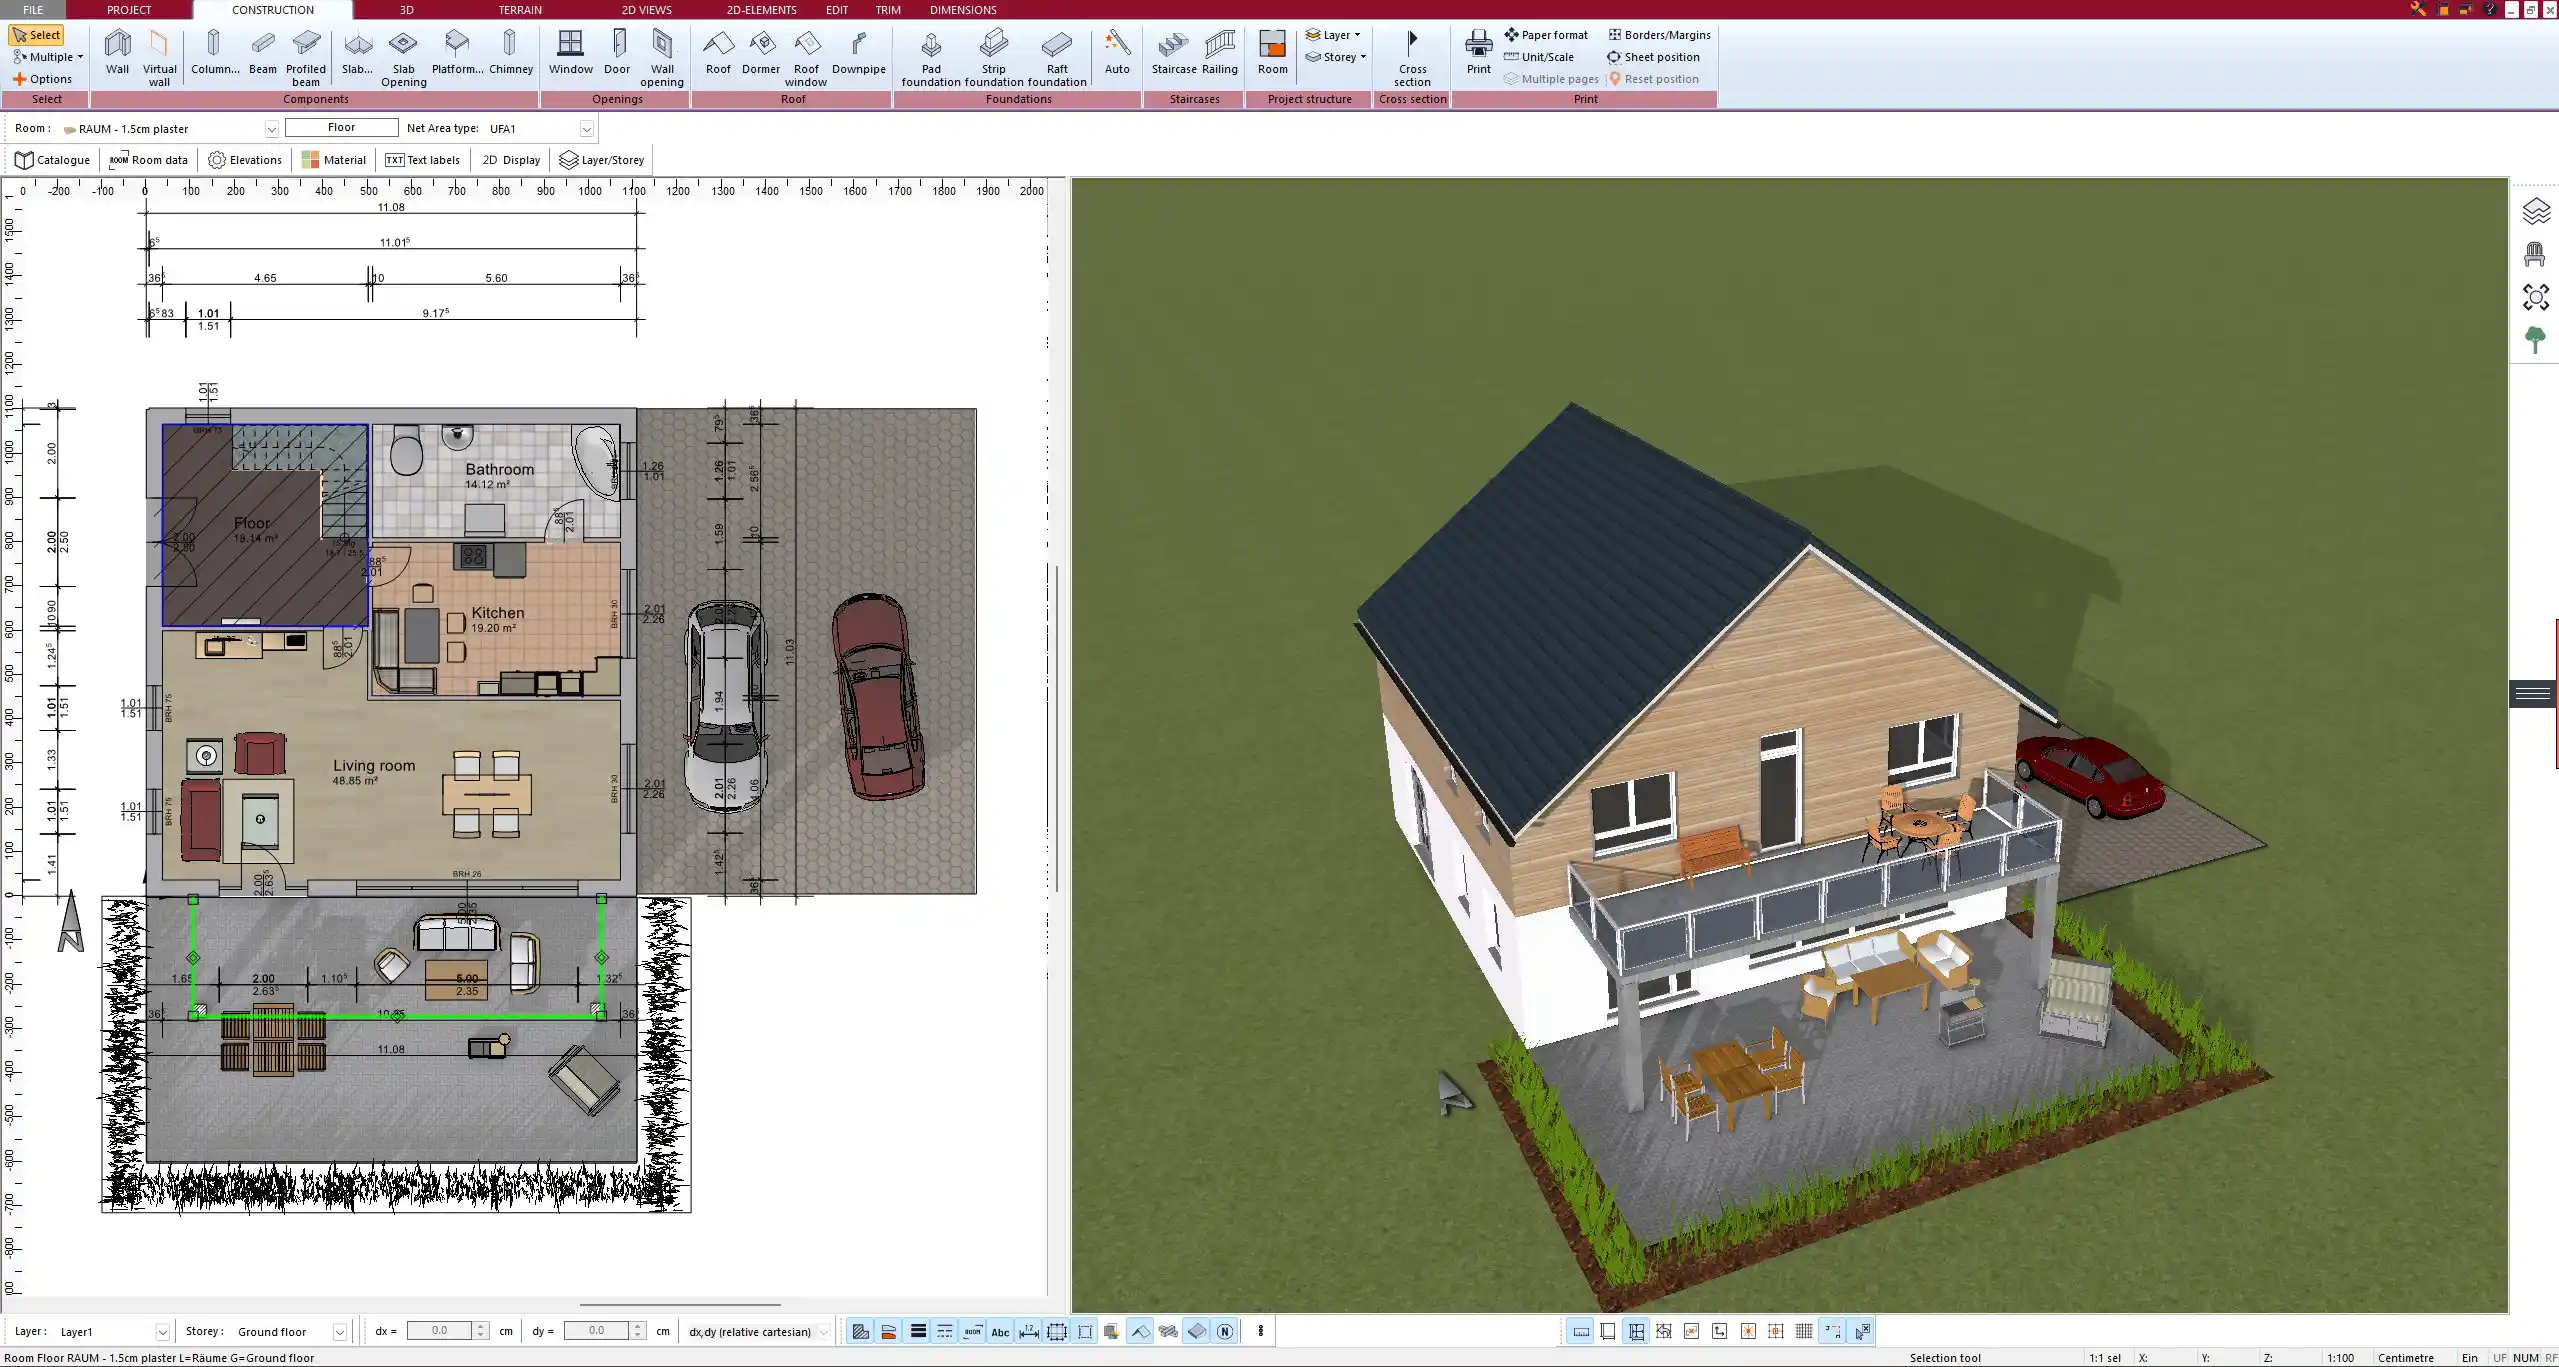
- Real-time 3D visualization to check proportions, lighting, and room flow
- Automatic updates when resizing or modifying layout elements
The ability to instantly switch between 2D and 3D views makes it easy to test different layouts and ensure that everything fits as expected. The software also includes detailed editing options for structural elements like walls and openings, so you can refine your extension down to the smallest detail.
Step-by-Step Guide to Planning an Extension with Plan7Architekt
3.1 Collecting Essential Data
Before starting with the software, take the time to measure your existing structure accurately. This includes walls, windows, doors, and any other architectural features that might influence the extension design.
- Use a reliable measuring tool (digital laser measurer or tape measure).
- Take note of all wall dimensions and check for irregularities.
- Document ceiling heights and any important structural elements.
- Photograph the existing space for reference during the design process.
If your extension needs to comply with specific building regulations, research local zoning laws and permit requirements in advance. This will prevent unnecessary revisions later.
Tip: Always measure twice before inputting dimensions into the software to avoid costly mistakes.
3.2 Creating a Preliminary Layout
Open Plan7Architekt and start a new project. If you have an existing floor plan, you can recreate it in the software to ensure accurate integration with the extension.
- Set the measurement system to either metric or imperial units.
- Draw the outline of your existing house before adding the extension.
- Define the extension’s layout, including room sizes and wall placements.
- Place essential elements such as doors, windows, and staircases.
The software makes it easy to modify walls and room dimensions in real-time. If something does not fit as expected, you can simply drag and adjust the layout without having to start over.
| Essential Elements to Include in the Layout |
|---|
| Exterior and interior walls |
| Door and window placements |
| Room divisions and function assignments |
| Staircases and structural connections |
3.3 Refining and Adjusting the Design
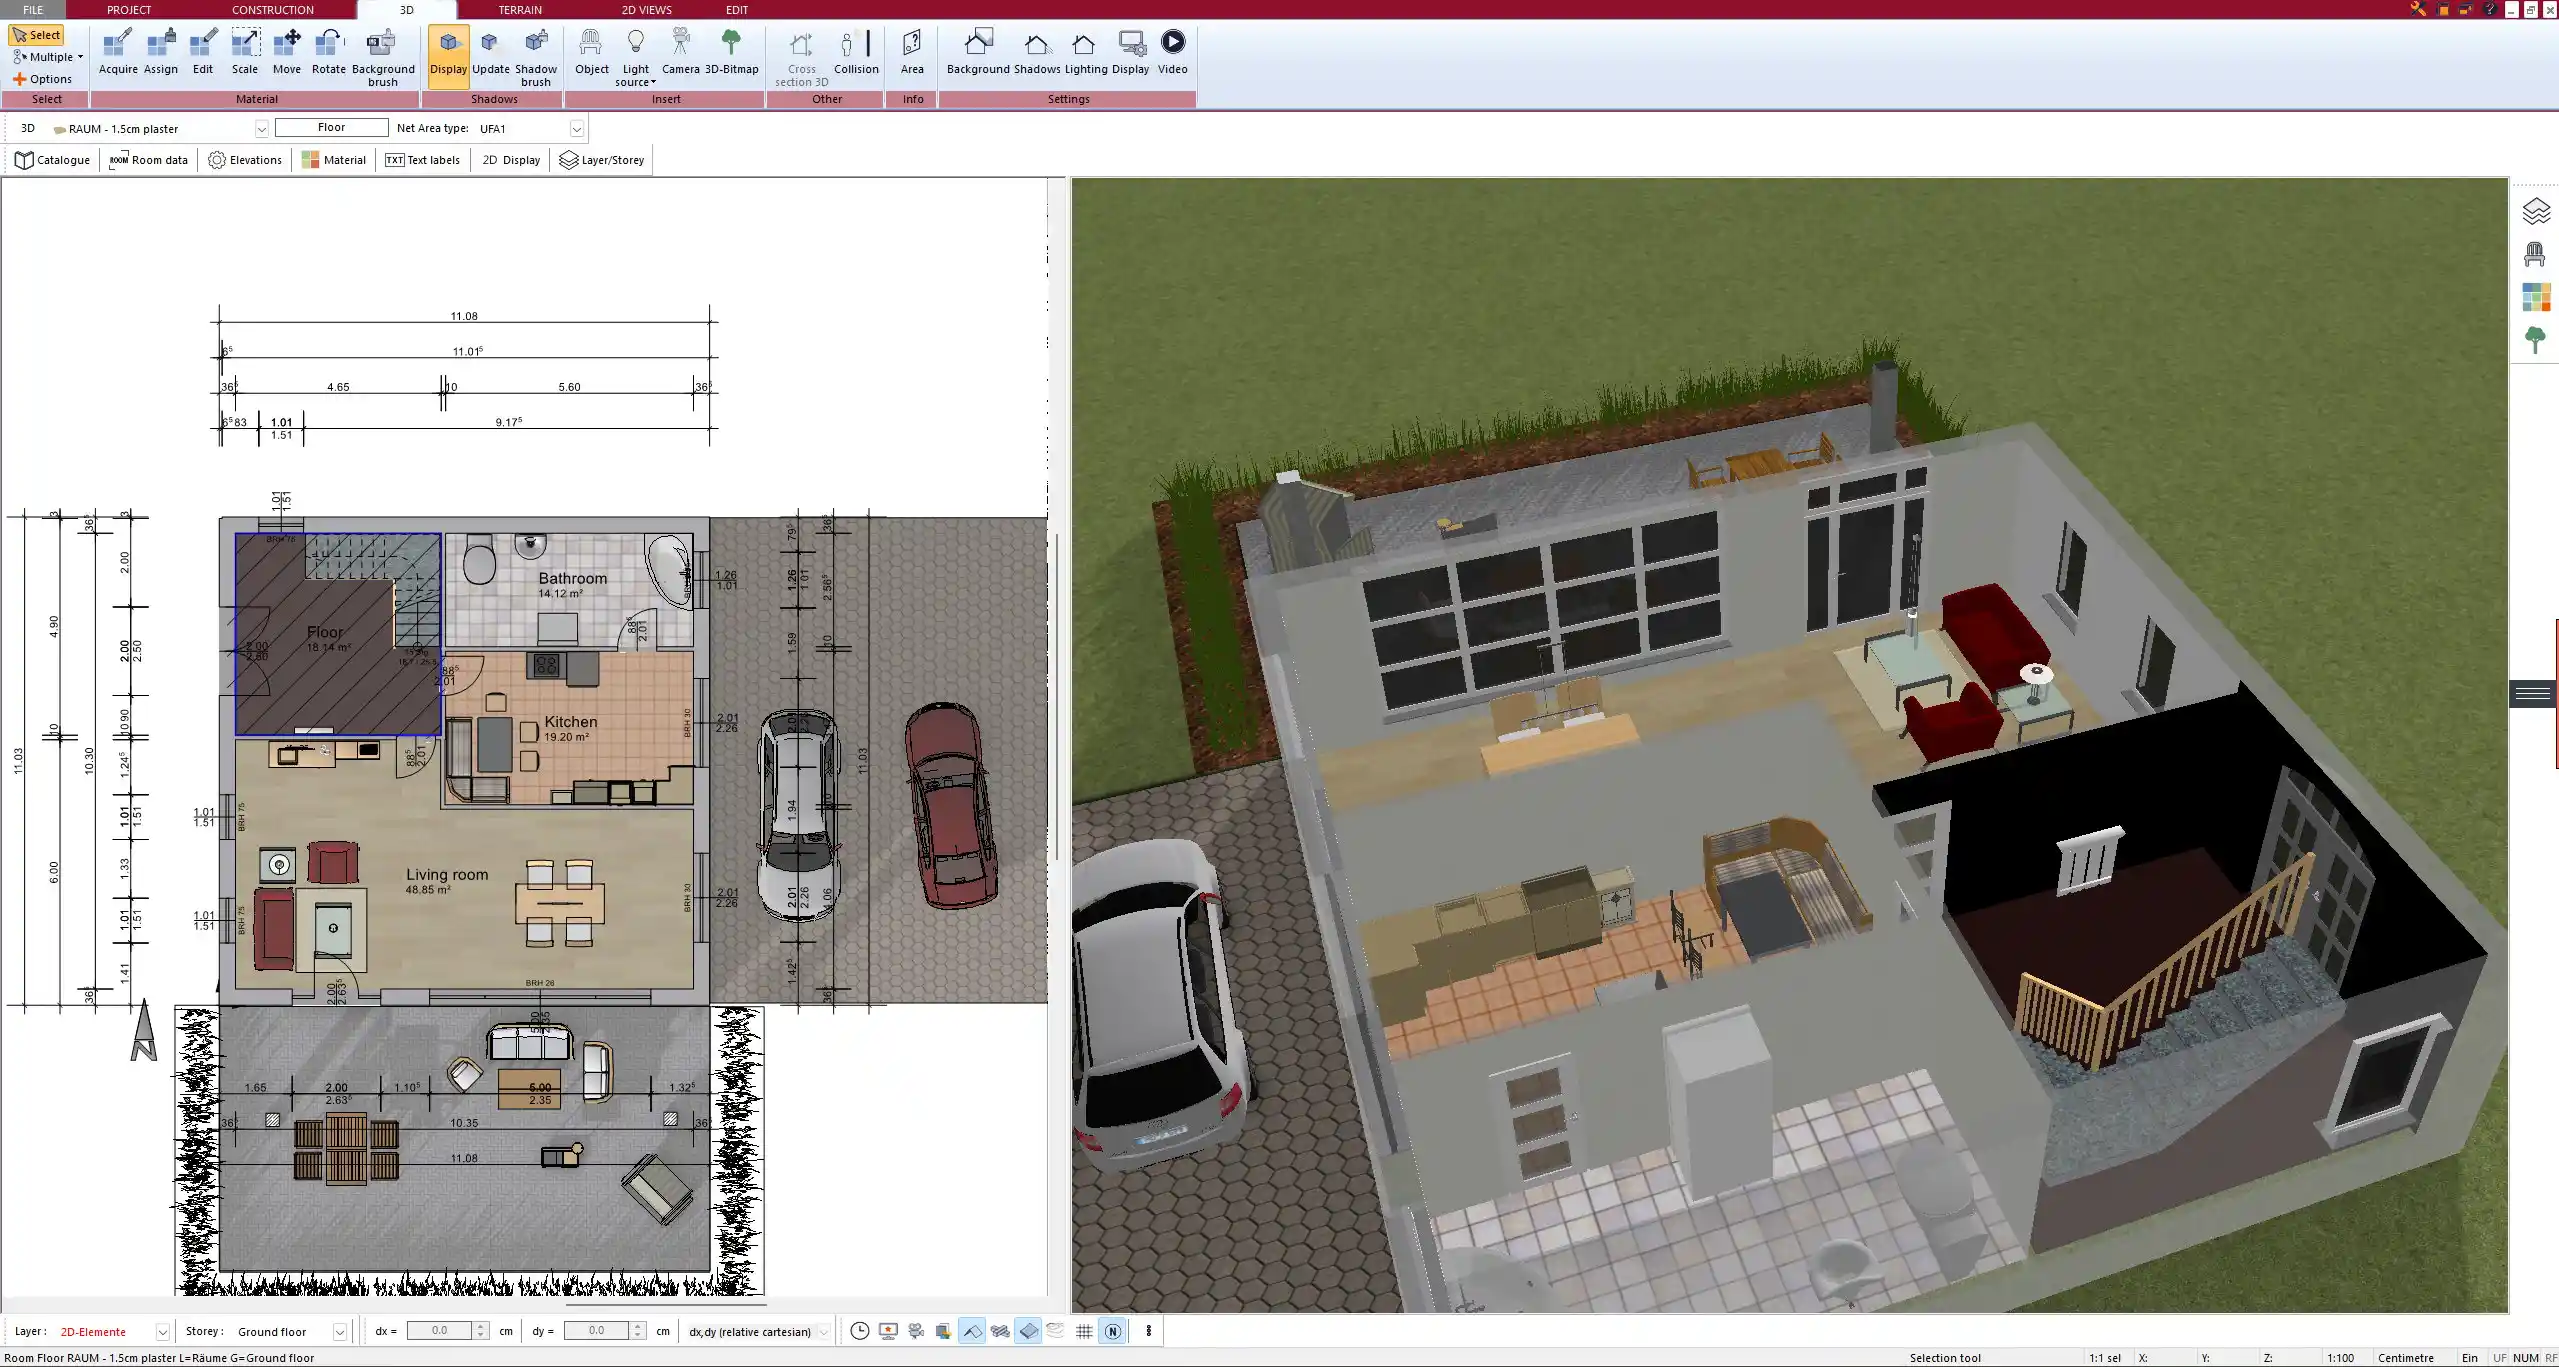
Once the basic layout is complete, refine the design by testing different configurations. Plan7Architekt allows you to switch to 3D mode instantly, so you can walk through the space and see how it looks from different angles.
- Experiment with various layouts to find the best use of space.
- Adjust window placements to maximize natural lighting.
- Check for room flow issues and ensure there is enough walking space.
- Fine-tune ceiling heights and other structural details.
If you plan to connect the extension to your existing house, make sure that the new space aligns properly with doorways and corridors.
Tip: Use the 3D view to check if doors and windows align correctly. This helps prevent positioning errors that may not be obvious in 2D mode.
3.4 Finalizing and Exporting Your Plan
Once the layout is complete, review all details before exporting the plan.
- Verify that all measurements are correct and match real-world conditions.
- Generate 2D and 3D views to share with contractors or family members.
- Ensure compliance with local building regulations before starting construction.
Plan7Architekt allows you to save your design in multiple formats, making it easy to print or share the plans digitally.
Common Mistakes and How to Avoid Them
- Incorrect measurements: Always double-check room dimensions before finalizing the layout.
- Ignoring zoning regulations: Research building codes early to avoid legal issues.
- Not considering structural limitations: If the extension affects load-bearing walls, consult a professional before proceeding.
- Forgetting to test different layouts: Use Plan7Architekt’s 3D mode to explore multiple configurations before making a final decision.
Tip: If you’re unsure about certain design elements, create multiple versions of your floor plan and compare them before making a final choice.
FAQs About Planning an Extension with Plan7Architekt
Do I need prior design experience to use Plan7Architekt?
No, the software is designed for both beginners and professionals. The drag-and-drop interface makes it easy to create accurate plans without prior architectural knowledge.
Can I switch between metric and imperial units while planning?
Yes, you can adjust the measurement system at any time in the software’s settings. This feature is especially useful if you need to share your design with people using different unit systems.
Can I export and print my extension plans?
Yes, Plan7Architekt allows you to save your designs as PDFs or image files, making them easy to print or share digitally.
Plan your project with Plan7Architect

Plan7Architect Pro 3 for $169.99
You don’t need any prior experience because the software has been specifically designed for beginners. The planning process is carried out in 5 simple steps:
1. Draw Walls

2. Windows & Doors

3. Floors & Roof

4. Textures & 3D Objects

5. Plan for the Building Permit

- – Compliant with international construction standards
- – Usable on 3 PCs simultaneously
- – Option for consultation with an architect
- – Comprehensive user manual
- – Regular updates
- – Video tutorials
- – Millions of 3D objects available


