A floor plan is a top-down drawing of a room or building at a specific scale. I remember the first time I analyzed one, I immediately looked for three key things: the scale (to know how measurements on paper relate to real-world sizes), orientation (to identify where the north arrow or main entrance is), and symbols (like doors, windows, and furniture outlines). By quickly focusing on these elements, you can get an accurate overview of how a space is organized.
- Immediate Takeaways:
- Identify the scale, such as 1:50 (metric) or ¼” = 1′ (imperial).
- Find doors, windows, and main structural walls.
- Note any special room labels or legends that clarify important details.
Basic Elements of a Floor Plan
Scale and Measurements
A clear scale helps you translate what you see on paper into actual dimensions. When I worked on my first project, I made sure I understood whether the plan was labeled in meters or feet. Below is a quick reference:
| Scale Type | Common Metric Examples | Common Imperial Examples |
|---|---|---|
| Ratio | 1:50, 1:100 | 1/4″ = 1′, 1/8″ = 1′ |
| Written | 1 cm = 50 cm in reality | 1 inch = 4 feet in reality |
Be sure to confirm the scale is accurate by checking a known feature, such as a standard door that should measure around 0.90 m (approximately 3 ft).
Orientation and Compass Directions
Orientation is essential because it influences where you might get direct sunlight or how you position furniture. Look for a north arrow in the corner of the plan or check the labels on exterior walls. If a room faces west, you know it will get warm afternoon light, which might be ideal for a living room but maybe not for a bedroom.
Symbols, Labels & Legends
Floor plans typically use universal or regionally standard symbols. From my experience, it helps to have a legend on hand:
- Walls: Thicker lines often indicate load-bearing walls, while thinner lines might mark partitions.
- Doors & Windows: Arched lines show door swings. Windows can be drawn as breaks in the wall with a thin line indicating the glass.
- Fixtures & Appliances: Sinks, toilets, and counters are usually drawn to scale and labeled for clarity.
- Legend/Key: This section explains all special markings, such as electrical outlets or piping.
Understanding Dimensions & Room Sizing
Metric vs. Imperial Systems
Rooms might be labeled in meters (m) or feet (ft). I often switch between the two, especially when I collaborate with people in different countries. As a quick reminder:
- 1 meter = 3.28 feet
- 1 m² = 10.76 ft²
Checking Room Dimensions
Room dimensions are usually written along the edges of each room. If you see something like “4.00 x 3.50 m,” it means the room is 4 meters by 3.5 meters. In imperial, you might see “13′ x 11’6″” for a similar space. Always verify if these numbers make sense for your planned furniture.
Ceiling Height Indicators
Most standard floor plans focus on horizontal measurements, but sometimes you will spot notes about ceiling height. This is often crucial if you have tall bookshelves or want to install overhead fixtures. If there is no clear indication, you may need a separate section drawing or additional text notes.
Tip: If you see dashed lines near the center of a room, they might indicate beams or sloped ceilings. Always clarify with the plan’s legend or architectural notes.
Practical Tips for Verifying a Floor Plan
Measuring On-Site
When I first receive a floor plan, I usually take a tape measure or laser distance meter on-site to confirm critical widths like door frames. In both metric and imperial systems, it’s good to measure at least one known feature (such as the width of a closet) to ensure accuracy.
- Suggested Tools:
- Tape measure with both metric and imperial markings
- Laser distance meter for quick, repeated measurements
- Notebook or digital app to record dimensions
Marking Personal Notes
I often print an extra copy of the floor plan and scribble notes where I envision placing a couch or dining table. This helps confirm that doorways won’t be blocked and that circulation is comfortable.
- Helpful Strategies:
- Color-code rooms based on their function
- Sketch potential furniture layouts
- Mark electrical outlets you plan to use for major appliances
Common Pitfalls
Be mindful of overlooked details. I once forgot to consider a door’s swing, which clashed with a large cabinet. Also, walls may be thicker if they house plumbing or HVAC systems. If the plan lacks a scale bar or legend, it’s best to ask the architect or designer for clarification.
Additional Considerations & Special Features
Architectural Styles
Load-bearing walls are typically thicker. If you plan on remodeling, confirm which walls can be removed or altered. Staircases also need careful attention for step depth and head clearance. Always check if stairs are included in the plan or shown in a separate detail.
Technical Notes
Some plans incorporate electrical layouts with symbols for switches, outlets, and lighting fixtures. I personally find it helpful to note where my electronics will go, so I don’t end up with cables running across the floor. HVAC and plumbing layouts can also appear, showing vents, pipes, or boiler units.
Local Building Codes & Regulations
Different regions follow different codes. In some European countries, hallways might require a minimum width of 1 meter. In the United States, door widths are often 32 inches or 36 inches for accessibility. If you see references to local code sections, make sure they align with your project’s location.
Frequently Asked Questions (FAQ)
How do I know if a plan is drawn to scale correctly?
Check the plan’s scale bar. If none is provided, measure a known feature like a standard 3-ft door (about 0.90 m) to confirm the scale.
Why are some walls drawn thicker?
They might be load-bearing or contain important structural or utility elements like insulation or pipes.
Do I need special software to read or create a floor plan?
Many people use professional or DIY-friendly design software to open, edit, or create plans.
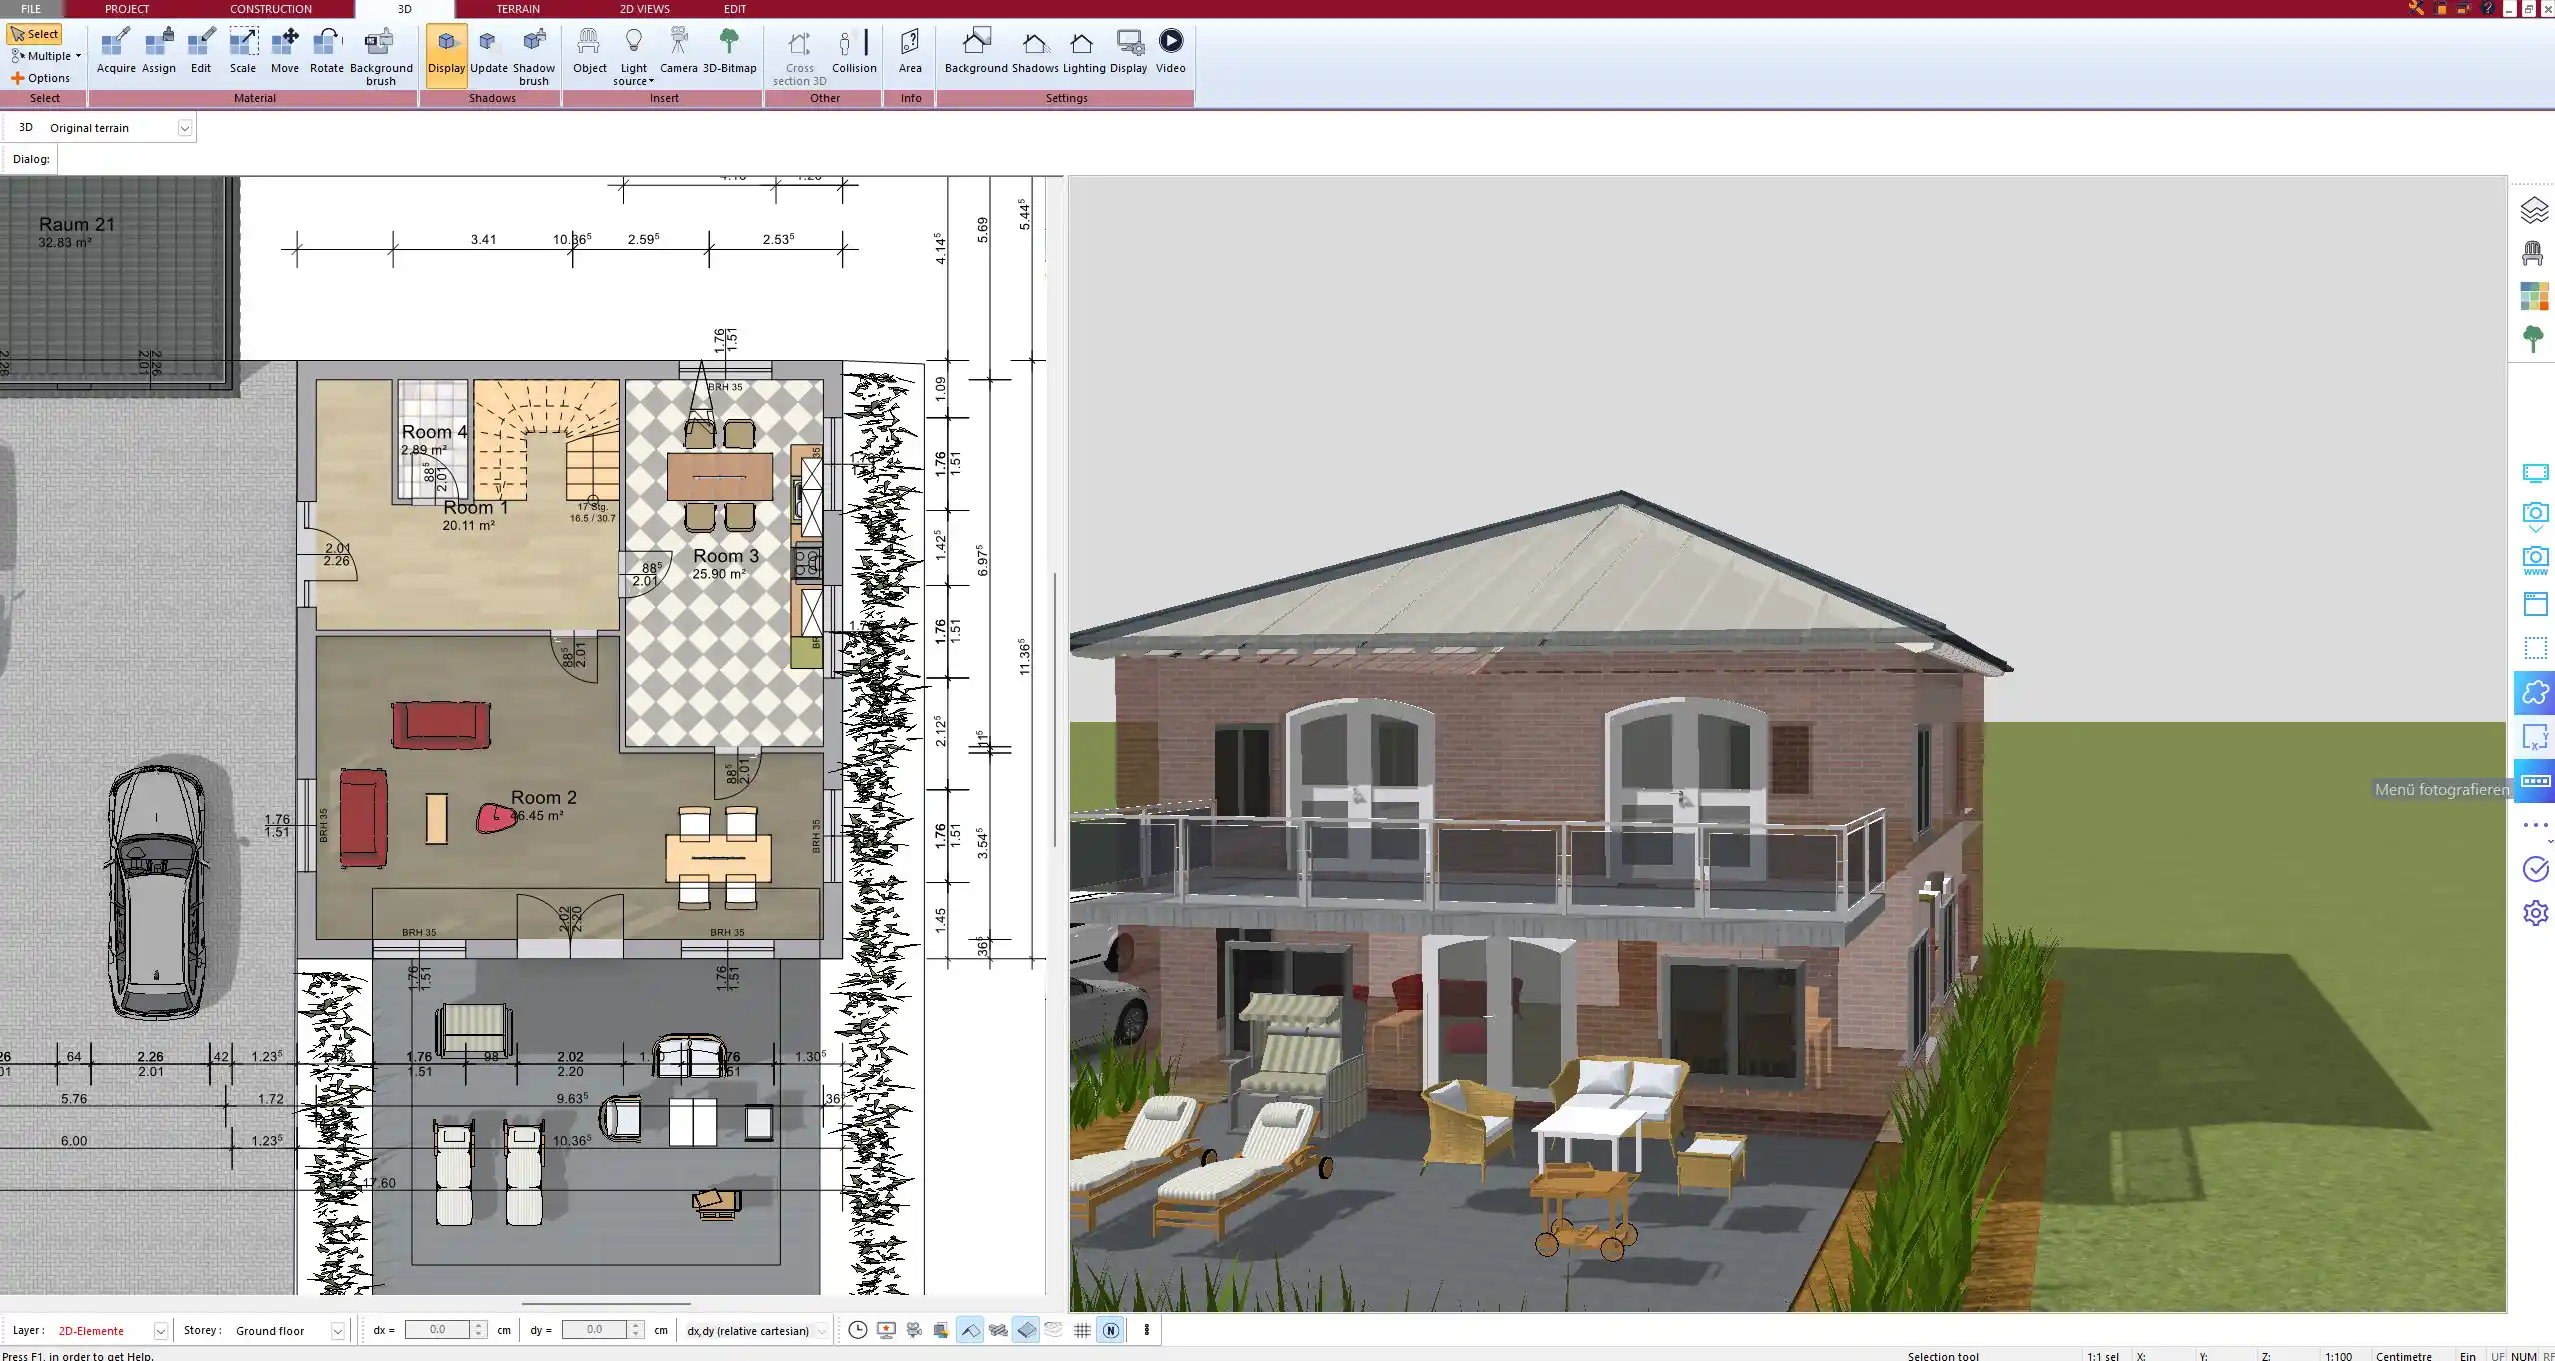
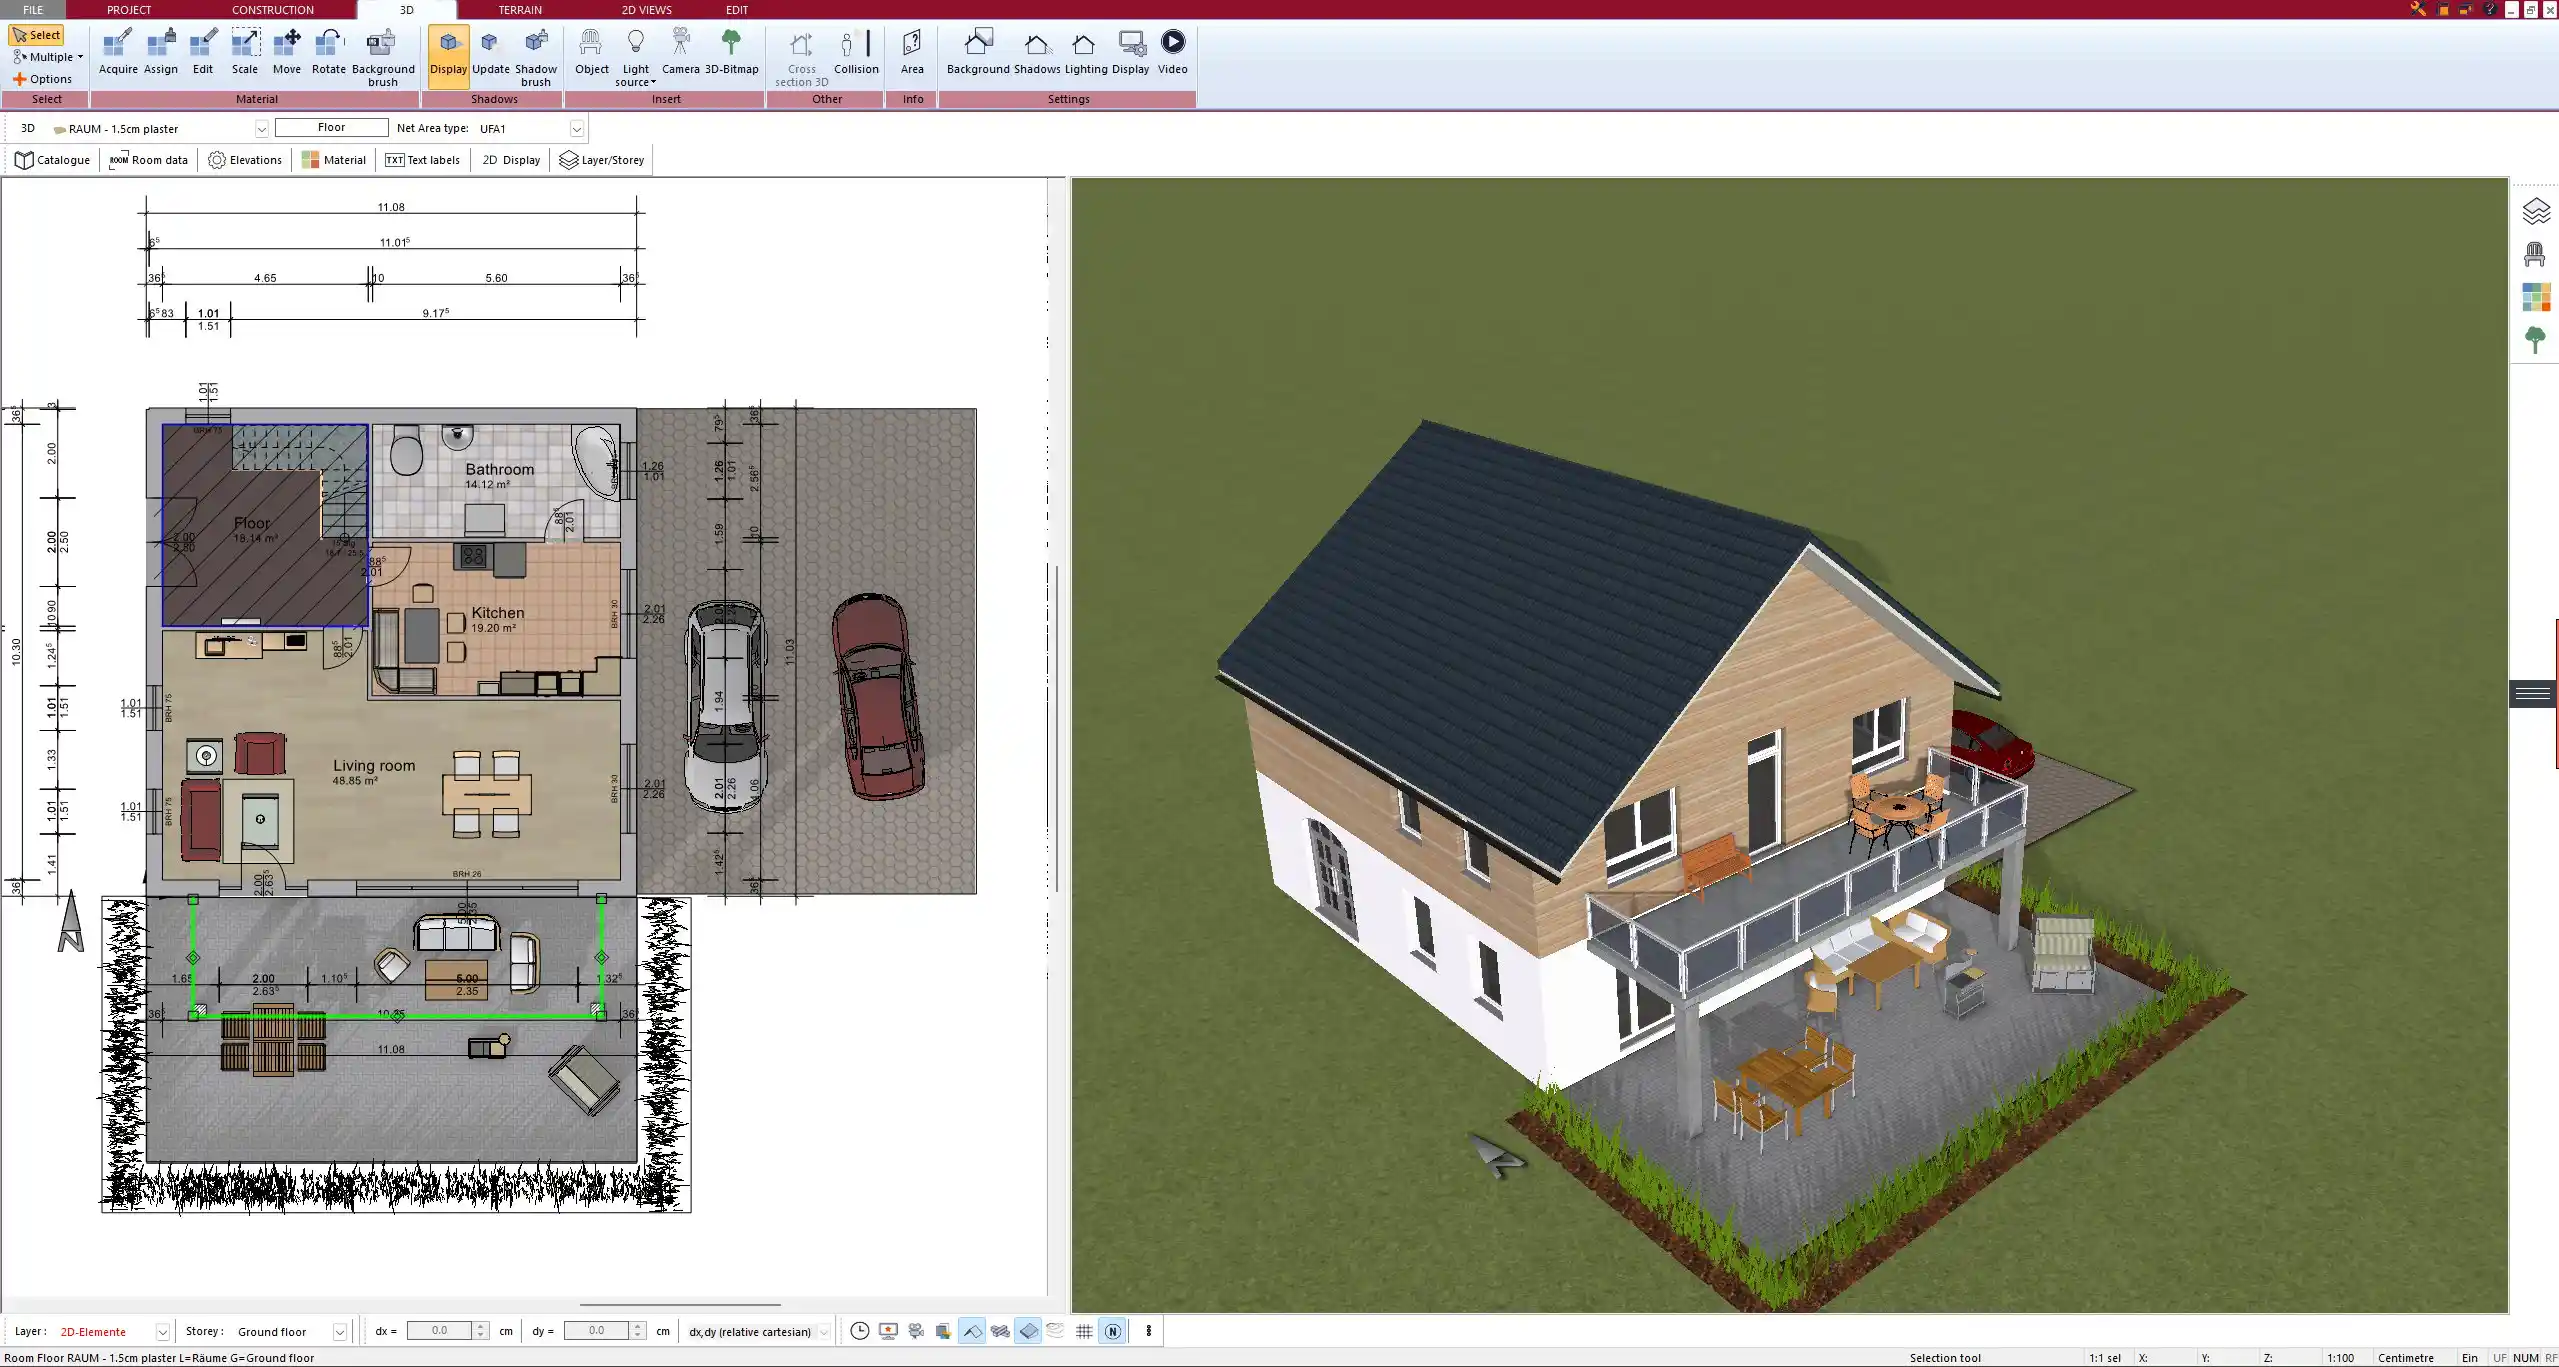
Create Professional Floor Plans with Plan7Architect
Plan7Architect is a versatile software solution that allows you to create detailed, professional floor plans with both European (metric) and American (imperial) measurements. If you want to design or modify the layouts mentioned above, Plan7Architect offers intuitive tools that guide you through placing walls, fixtures, and furniture. You receive a 14-day right of withdrawal, so you can cancel your purchase by email without hassle, which effectively replaces a standard test version. This is designed to give you confidence in your decision and help you get started on your new project right away.
Plan your project with Plan7Architect

Plan7Architect Pro 3 for $169.99
You don’t need any prior experience because the software has been specifically designed for beginners. The planning process is carried out in 5 simple steps:
1. Draw Walls

2. Windows & Doors

3. Floors & Roof

4. Textures & 3D Objects

5. Plan for the Building Permit

- – Compliant with international construction standards
- – Usable on 3 PCs simultaneously
- – Option for consultation with an architect
- – Comprehensive user manual
- – Regular updates
- – Video tutorials
- – Millions of 3D objects available


