With Plan7Architect, you can create a complete attic apartment floor plan in just a few steps. The software is designed to handle sloped ceilings, roof shapes, and height limitations. It supports both European units (meters) and American units (feet and inches), allowing you to switch freely depending on your regional preference.
To begin, you simply select the roof type and slope, draw your walls in 2D, adjust ceiling heights, and view the result instantly in 3D. Even complex ceiling angles are easy to plan thanks to the program’s intuitive editing tools. The software also calculates usable living space under slanted ceilings automatically, which is especially helpful when planning attic layouts.
Step-by-Step – How to Design Your Attic Apartment in the Software
Step 1 – Choose the Roof Type and Shape
Your attic apartment planning starts with the roof, as it defines the overall space and usable height. In Plan7Architect, you can select from preconfigured roof types or create your own. Options include gable roofs, hip roofs, mansard roofs, or completely custom shapes.
You can define the slope (pitch) of the roof by entering the angle or height difference between the ridge and the wall. This will later determine how much of the attic can be considered livable space. I usually recommend adjusting the slope until at least 50 percent of the room has a standing height of 2 meters (about 6.5 feet), which makes furniture placement easier.
The software automatically adjusts the 3D view when you change roof angles, which allows you to assess the interior space in real time.
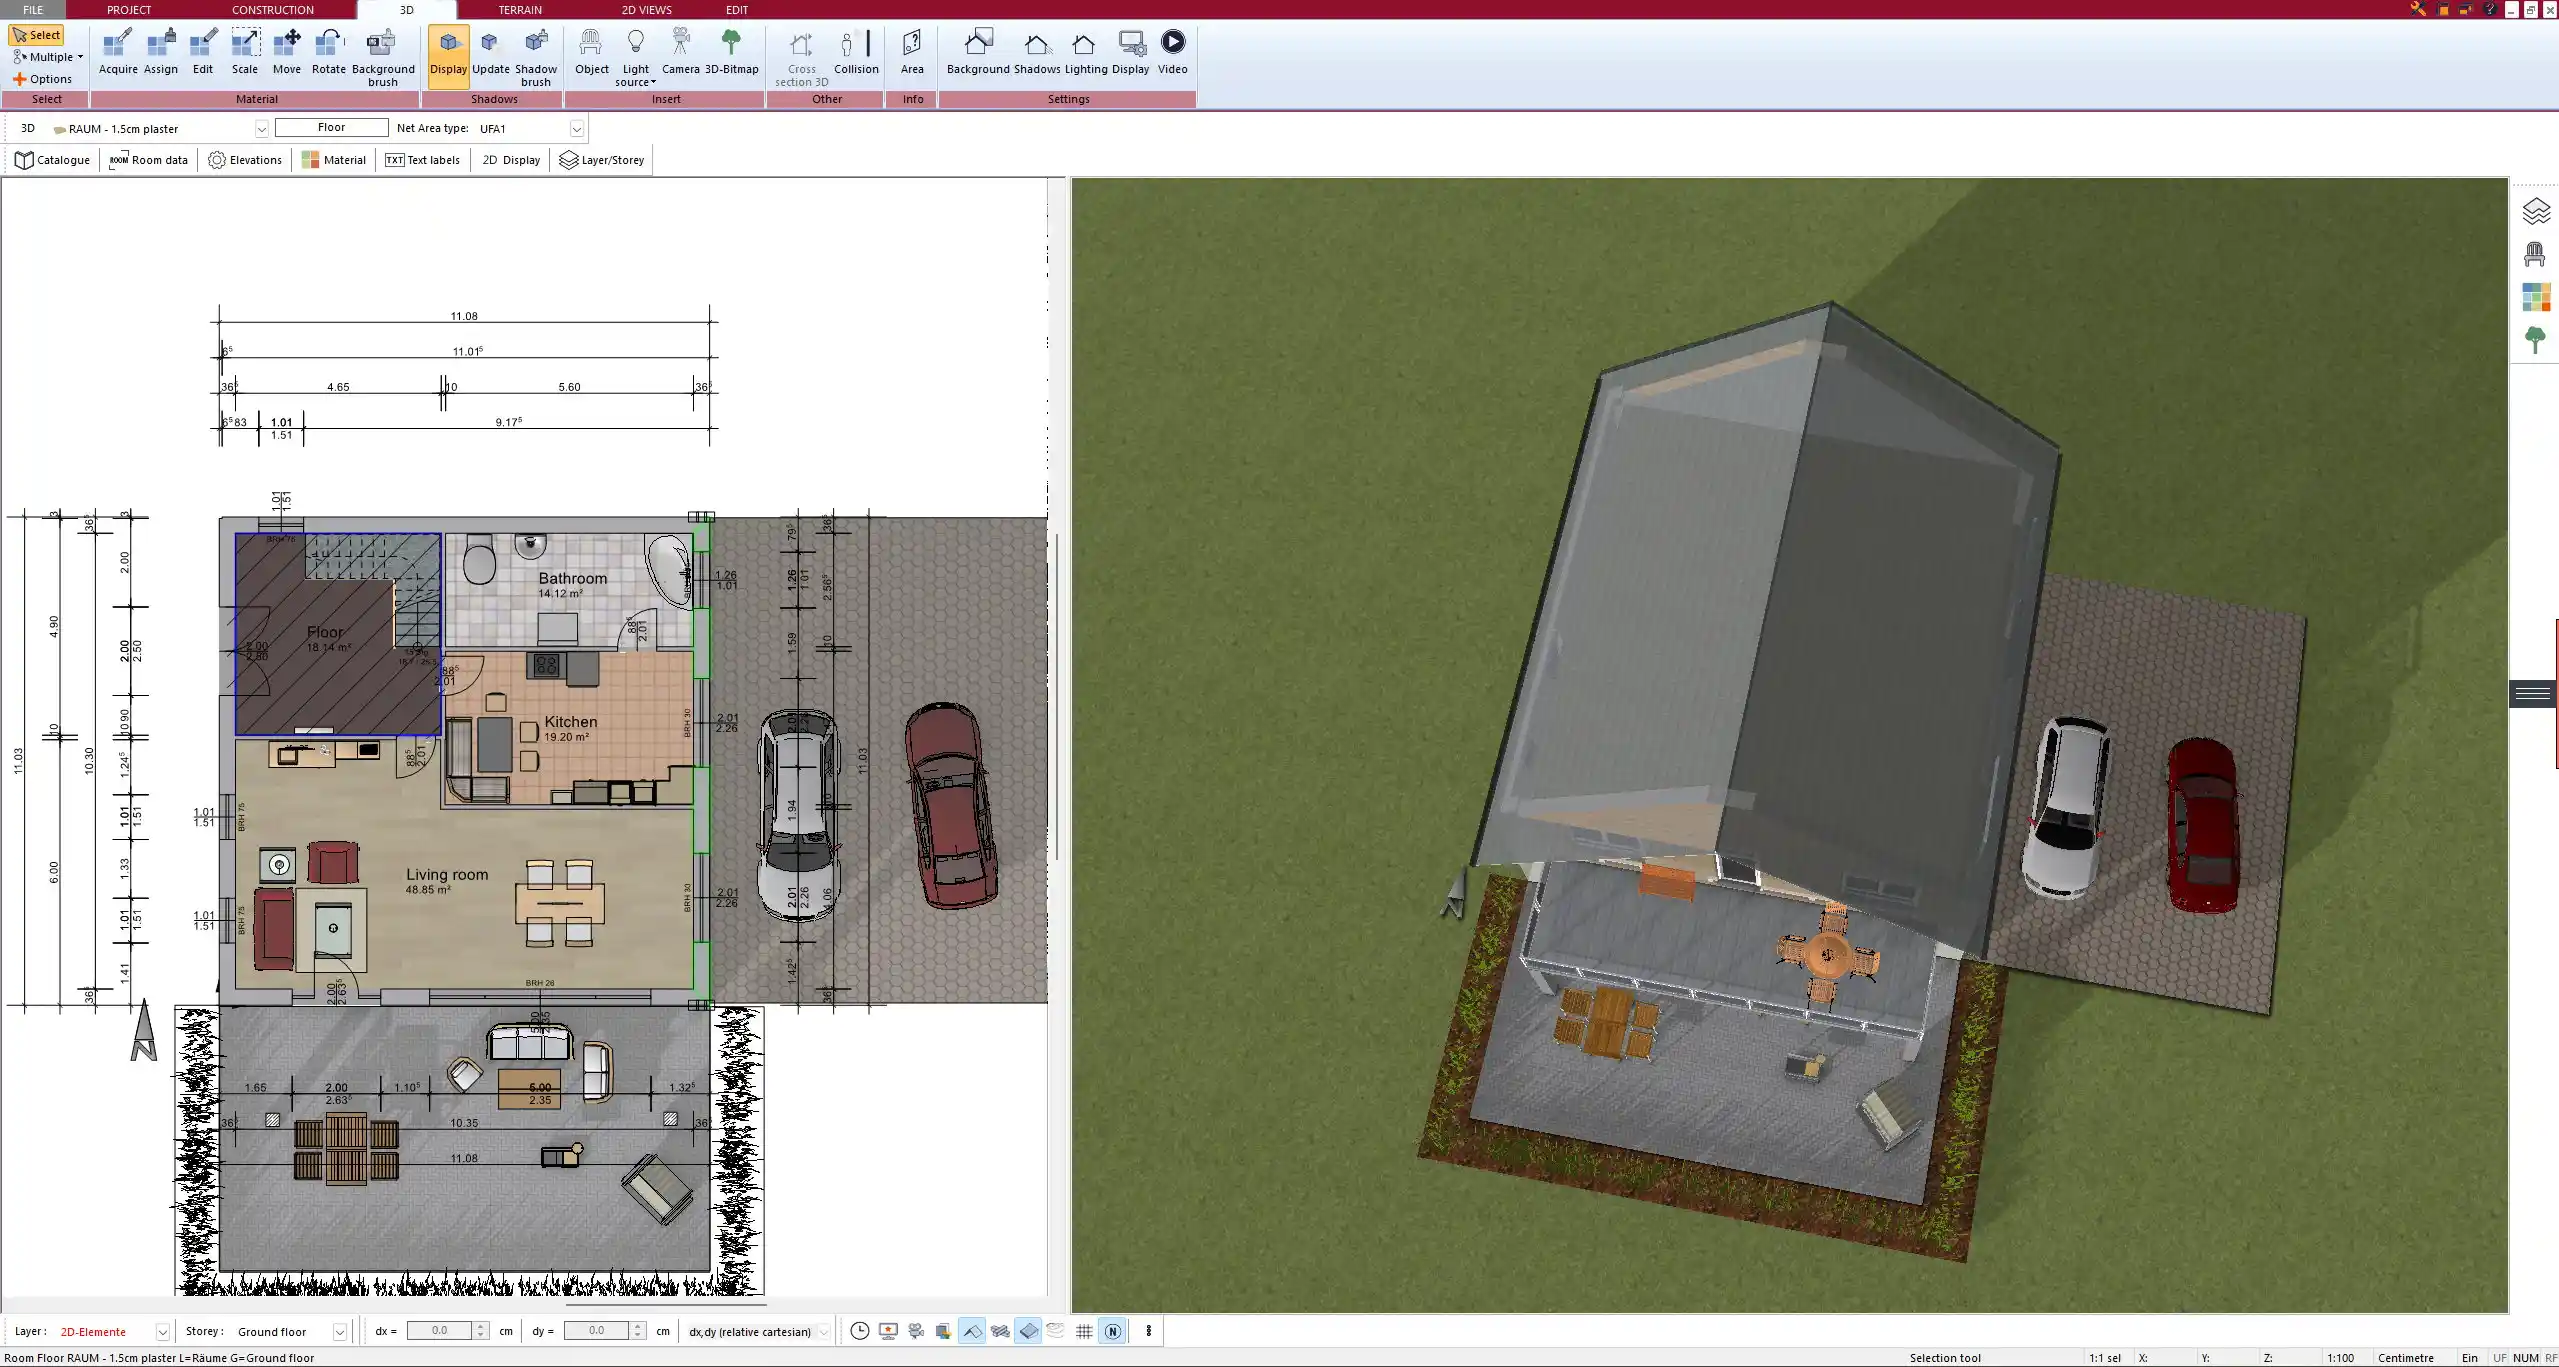
Step 2 – Draw or Import Floor Plan
Once the roof is set, you can start drawing the attic floor plan. Either begin with a blank layout and manually draw walls or import an existing plan, such as a scanned document or PDF file.
Drawing manually includes:
-
Clicking to place exterior and interior walls
-
Using snapping tools for clean right angles
-
Adjusting wall thickness and height individually
You can also assign specific floor levels to the attic area. Plan7Architect recognizes sloped ceiling areas and calculates their geometry based on the roof structure above.
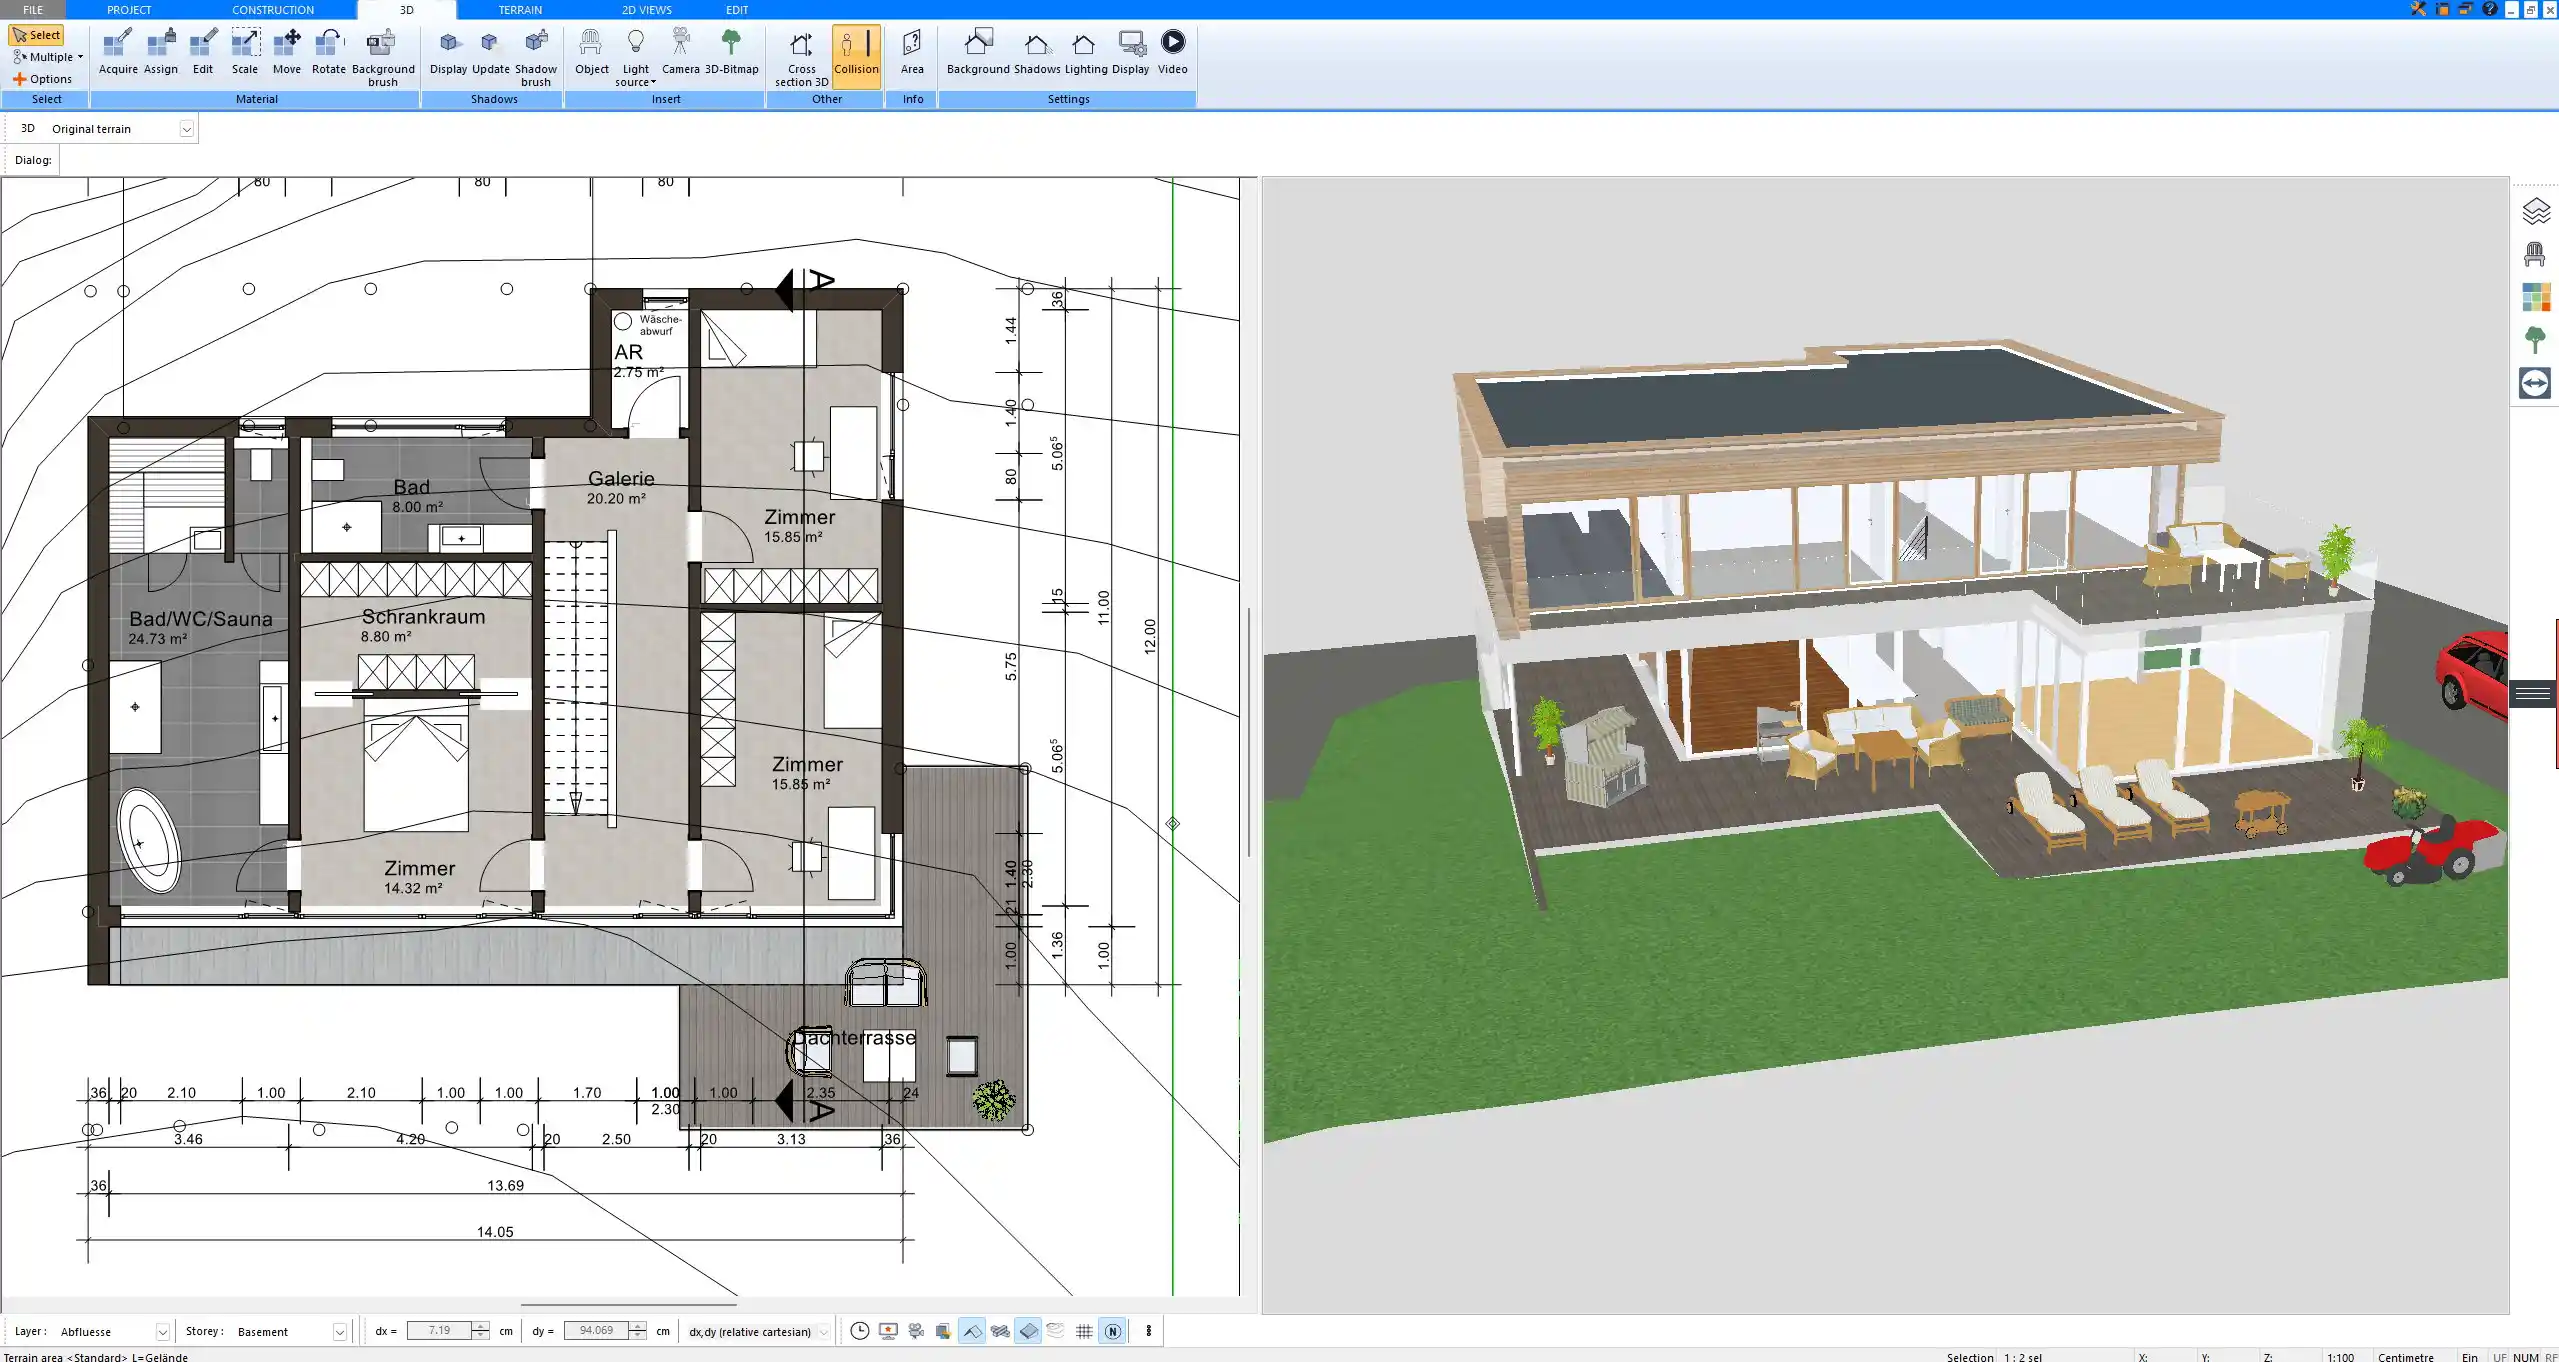
Step 3 – Plan Around Sloped Ceilings
Sloped ceilings are the key challenge when planning an attic apartment. The software allows you to visualize the slants directly in 3D and adjust their height and angle by dragging nodes or entering values.
You can mark threshold heights such as:
-
1 meter / 3.3 feet: minimum usable storage
-
1.5 meters / 5 feet: limited functional area
-
2 meters / 6.5 feet: standard living space
Tip:
In Plan7Architect, you can hide all zones under a certain height in the 2D view, which makes it easier to identify truly usable living areas when drawing your plan.
The ceiling editor lets you create precise cutoffs for furniture placement and storage zones, so you avoid placing wardrobes or standing desks where headroom is limited.
Step 4 – Add Doors, Windows & Skylights
Next, you add building elements. In attic apartments, the focus lies on natural lighting, ventilation, and access.
Elements to consider:
-
Roof windows / skylights: these can be placed directly in sloped roof sections
-
Dormers: allow for upright windows and more standing height
-
Balcony doors or terrace exits: if your attic has outdoor space
-
Interior doors: consider low-clearance door options for sloped walls
All elements automatically snap to correct height positions, taking the sloped roof into account. This means a roof window will be properly aligned even if the roof pitch changes later on.
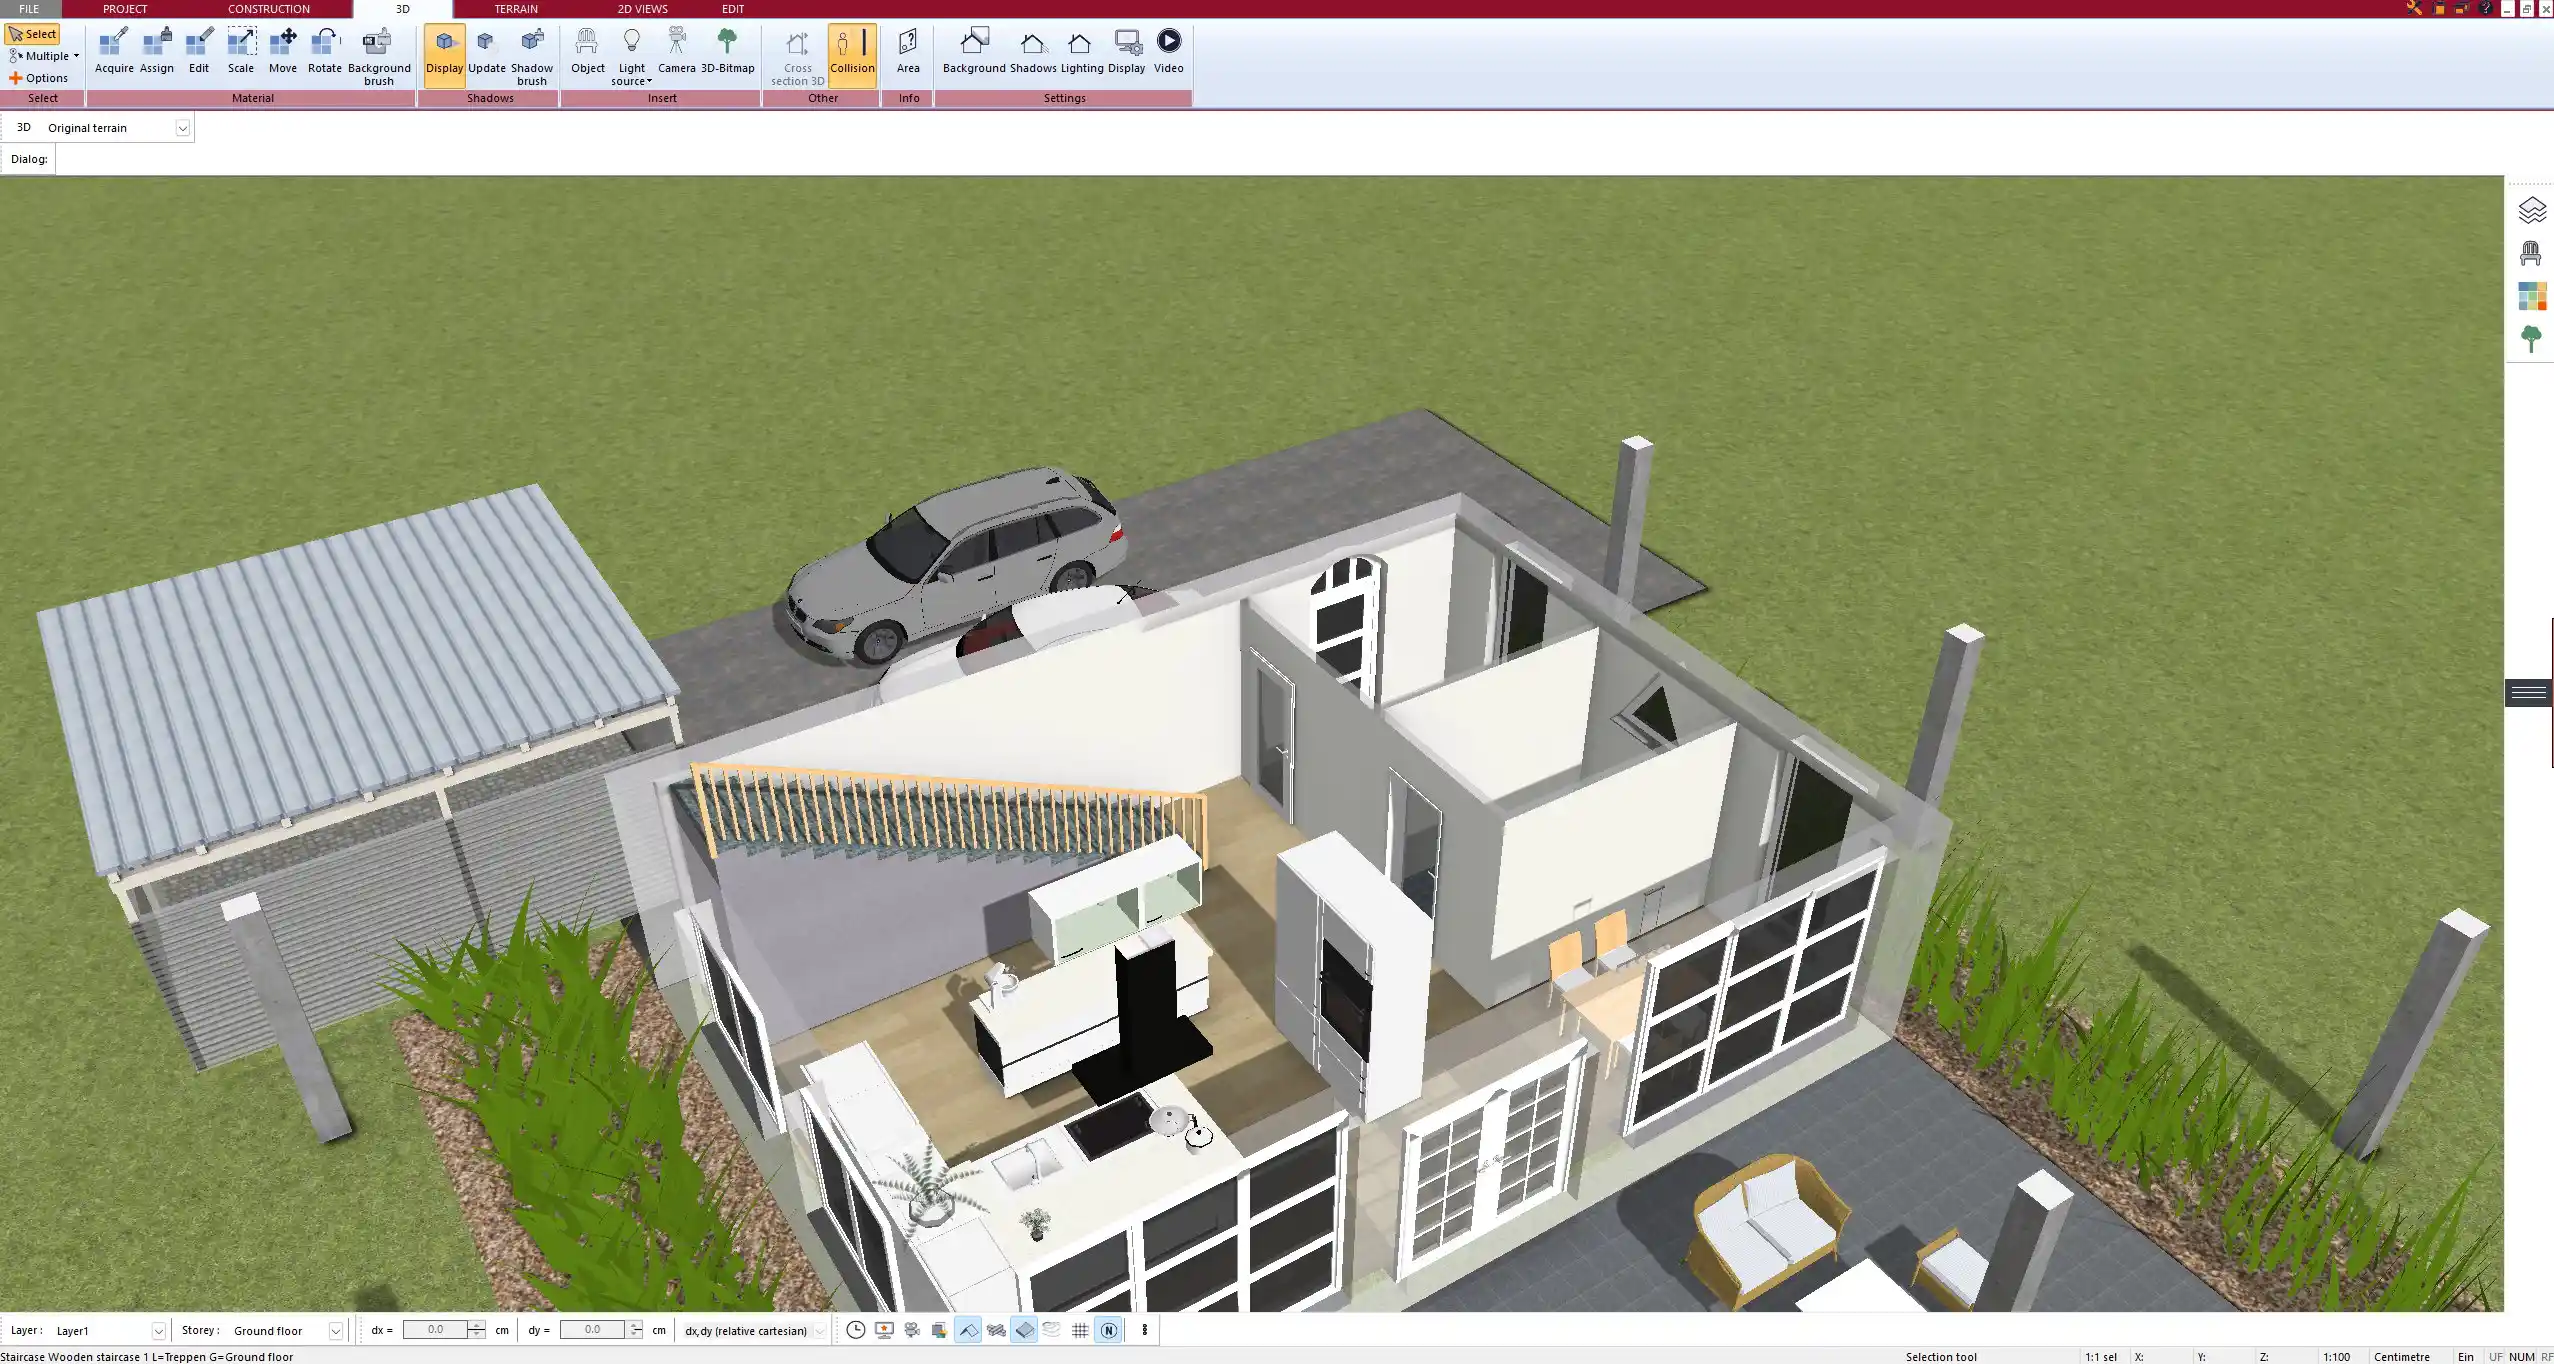
Step 5 – Furnish and Visualize in 3D
Once the structure is ready, you can furnish the attic apartment. Plan7Architect offers a large library of furniture, fittings, and fixtures that can be dragged and dropped into the space.
You can test layouts interactively:
-
Place furniture under slants to check fit
-
Rotate and move elements in real time
-
Use 3D walkthrough to experience the room
Thanks to realistic shadows and daylight simulation, you can preview how much light enters through roof windows at different times of the day.
What Makes Planning an Attic Apartment Unique?
Challenges in Attic Floor Plans
Attic apartments come with several design challenges, especially compared to standard layouts. These include:
| Challenge | Impact on Planning |
|---|---|
| Limited standing height | Reduces usable area |
| Sloped walls and ceilings | Complicates furniture placement |
| Structural roof beams | May obstruct movement or layout |
| Heat insulation | Affects wall and roof design |
| Light access | Skylights and dormers required |
Software Features That Solve These
Plan7Architect helps overcome these issues with features tailored for attic planning:
-
Visual display of ceiling height zones
-
Automatic calculation of usable area
-
Interactive slope editor in 3D
-
Collision detection for furniture and sloped ceilings
-
Adjustable roof window positioning
Tip:
If you want to comply with regulations (e.g., only areas over 2 meters / 6.5 feet count as living space), you can set these thresholds in the software and view the valid living area instantly.
Plan7Architect Supports Both European and American Building Preferences
The software can be set to work with either metric (meters, centimeters) or imperial (feet, inches) units. This is useful whether you’re planning in Europe, the United States, Canada, or elsewhere.
You can switch the unit system at any time and all measurements, wall thicknesses, heights, and room dimensions will automatically adapt. This allows international users to work with regional standards comfortably.
Plan7Architect also supports exporting your plan in common formats such as PDF, DXF, and DWG, which can be shared with professionals across different countries.
Additional Tips for Planning an Attic Apartment
Space-Saving Ideas
Maximizing space is crucial in an attic apartment. I always recommend:
-
Installing built-in wardrobes under sloped areas
-
Using sliding doors or folding doors
-
Placing beds or sofas where ceiling height is lowest
-
Adding open shelves instead of closed cupboards
These adjustments help transform even tight spaces into functional living areas.
Structural Considerations
Before finalizing your plan, consider the structural limits of the attic floor. Depending on the house, reinforcement may be needed to support bathrooms, kitchens, or heavy furniture.
Compare the weight of planned rooms:
-
Living room with light furniture: minimal reinforcement needed
-
Bathroom with bathtub and tiles: usually needs floor strengthening
Dormers should also be discussed with a structural engineer or architect, especially when altering the roof’s load-bearing structure.
Legal Notes
Different regions have regulations for attic apartments. Be aware of:
-
Minimum ceiling heights for living spaces (commonly 2 meters / 6.5 feet)
-
Emergency escape requirements, such as:
-
Roof windows with escape dimensions
-
Staircase width and height
-
Access to a fire-resistant hallway
-
These rules may vary by country or state. Plan7Architect lets you simulate and test these scenarios during planning.
Final Thoughts – Plan Attic Apartments Like a Pro
Plan7Architect is a powerful tool for creating accurate and visually detailed attic apartment floor plans. Whether you’re working with sloped ceilings, skylights, or tight layouts, the software offers all the functions needed to design usable, beautiful spaces.
You can switch freely between unit systems, customize the roof, calculate living areas, and walk through the finished plan in 3D—all without needing advanced CAD knowledge.
Plan your project with Plan7Architect

Plan7Architect Pro 5 for $109.99
You don’t need any prior experience because the software has been specifically designed for beginners. The planning process is carried out in 5 simple steps:
1. Draw Walls

2. Windows & Doors

3. Floors & Roof

4. Textures & 3D Objects

5. Plan for the Building Permit

6. Export the Floor Plan as a 3D Model for Twinmotion

- – Compliant with international construction standards
- – Usable on 3 PCs simultaneously
- – Option for consultation with an architect
- – Comprehensive user manual
- – Regular updates
- – Video tutorials
- – Millions of 3D objects available


