With the Plan7Architect software, designing a mono-pitch roof (commonly called “Pultdach” in German) is straightforward and visual. You simply create or import your floor plan, select the mono-pitch roof type from the roof settings, and customize slope, height, overhang, and orientation directly in 2D. The changes are automatically displayed in 3D, allowing you to inspect the roof from all sides.
The software supports both metric (meters, centimeters) and imperial (feet, inches) units, making it suitable for users worldwide. You can switch between unit systems at any time in the project settings, and all measurements adjust accordingly.
Step-by-Step – Planning a Mono-Pitch Roof with Plan7Architect
Step 1 – Create or Import Your Floor Plan
Begin by opening a new project or importing an existing floor plan. You can either draw the outline of your building manually using the wall tool or load a scanned plan or DXF/DWG file as a tracing reference.
Make sure your outer walls are closed and the building perimeter is properly defined, as this ensures the roof tool can apply the shape correctly.
Tip:
Use the snapping feature while drawing walls to ensure straight, aligned connections between wall elements, which avoids roof placement errors later.
Step 2 – Choose Mono-Pitch Roof from Roof Settings
Once your floor plan is in place, open the roof settings. You’ll find a range of roof styles, including flat, gabled, hipped, and mono-pitch. Select the mono-pitch roof option and apply it to the structure.
You can apply the roof to the whole building or to selected areas only, depending on your architectural layout.
In the settings menu, you’ll be able to select:
-
Roof type: Mono-pitch
-
Application: Whole building or individual segments
-
Orientation: Direction of the slope
Step 3 – Adjust Key Roof Parameters
Now you can fine-tune the properties of the roof. This includes adjusting the slope angle, the height difference between the low and high sides, and any overhangs you want to include.
Common Mono-Pitch Roof Settings:
| Parameter | Example Value (EU) | Example Value (US) |
|---|---|---|
| Roof pitch | 10°–25° | ~2:12 to ~6:12 |
| Overhang (front) | 0.5 m | 20 inches |
| Overhang (rear) | 0.3 m | 12 inches |
| Height difference | 1.5 m | 5 feet |
All adjustments update the 3D view in real time. You can rotate, zoom, and inspect your design from all angles to evaluate the visual result instantly.
Tip:
Use the measurement tool to verify dimensions and roof angle during editing. In Plan7Architect, you can display both metric and imperial units depending on your preference.
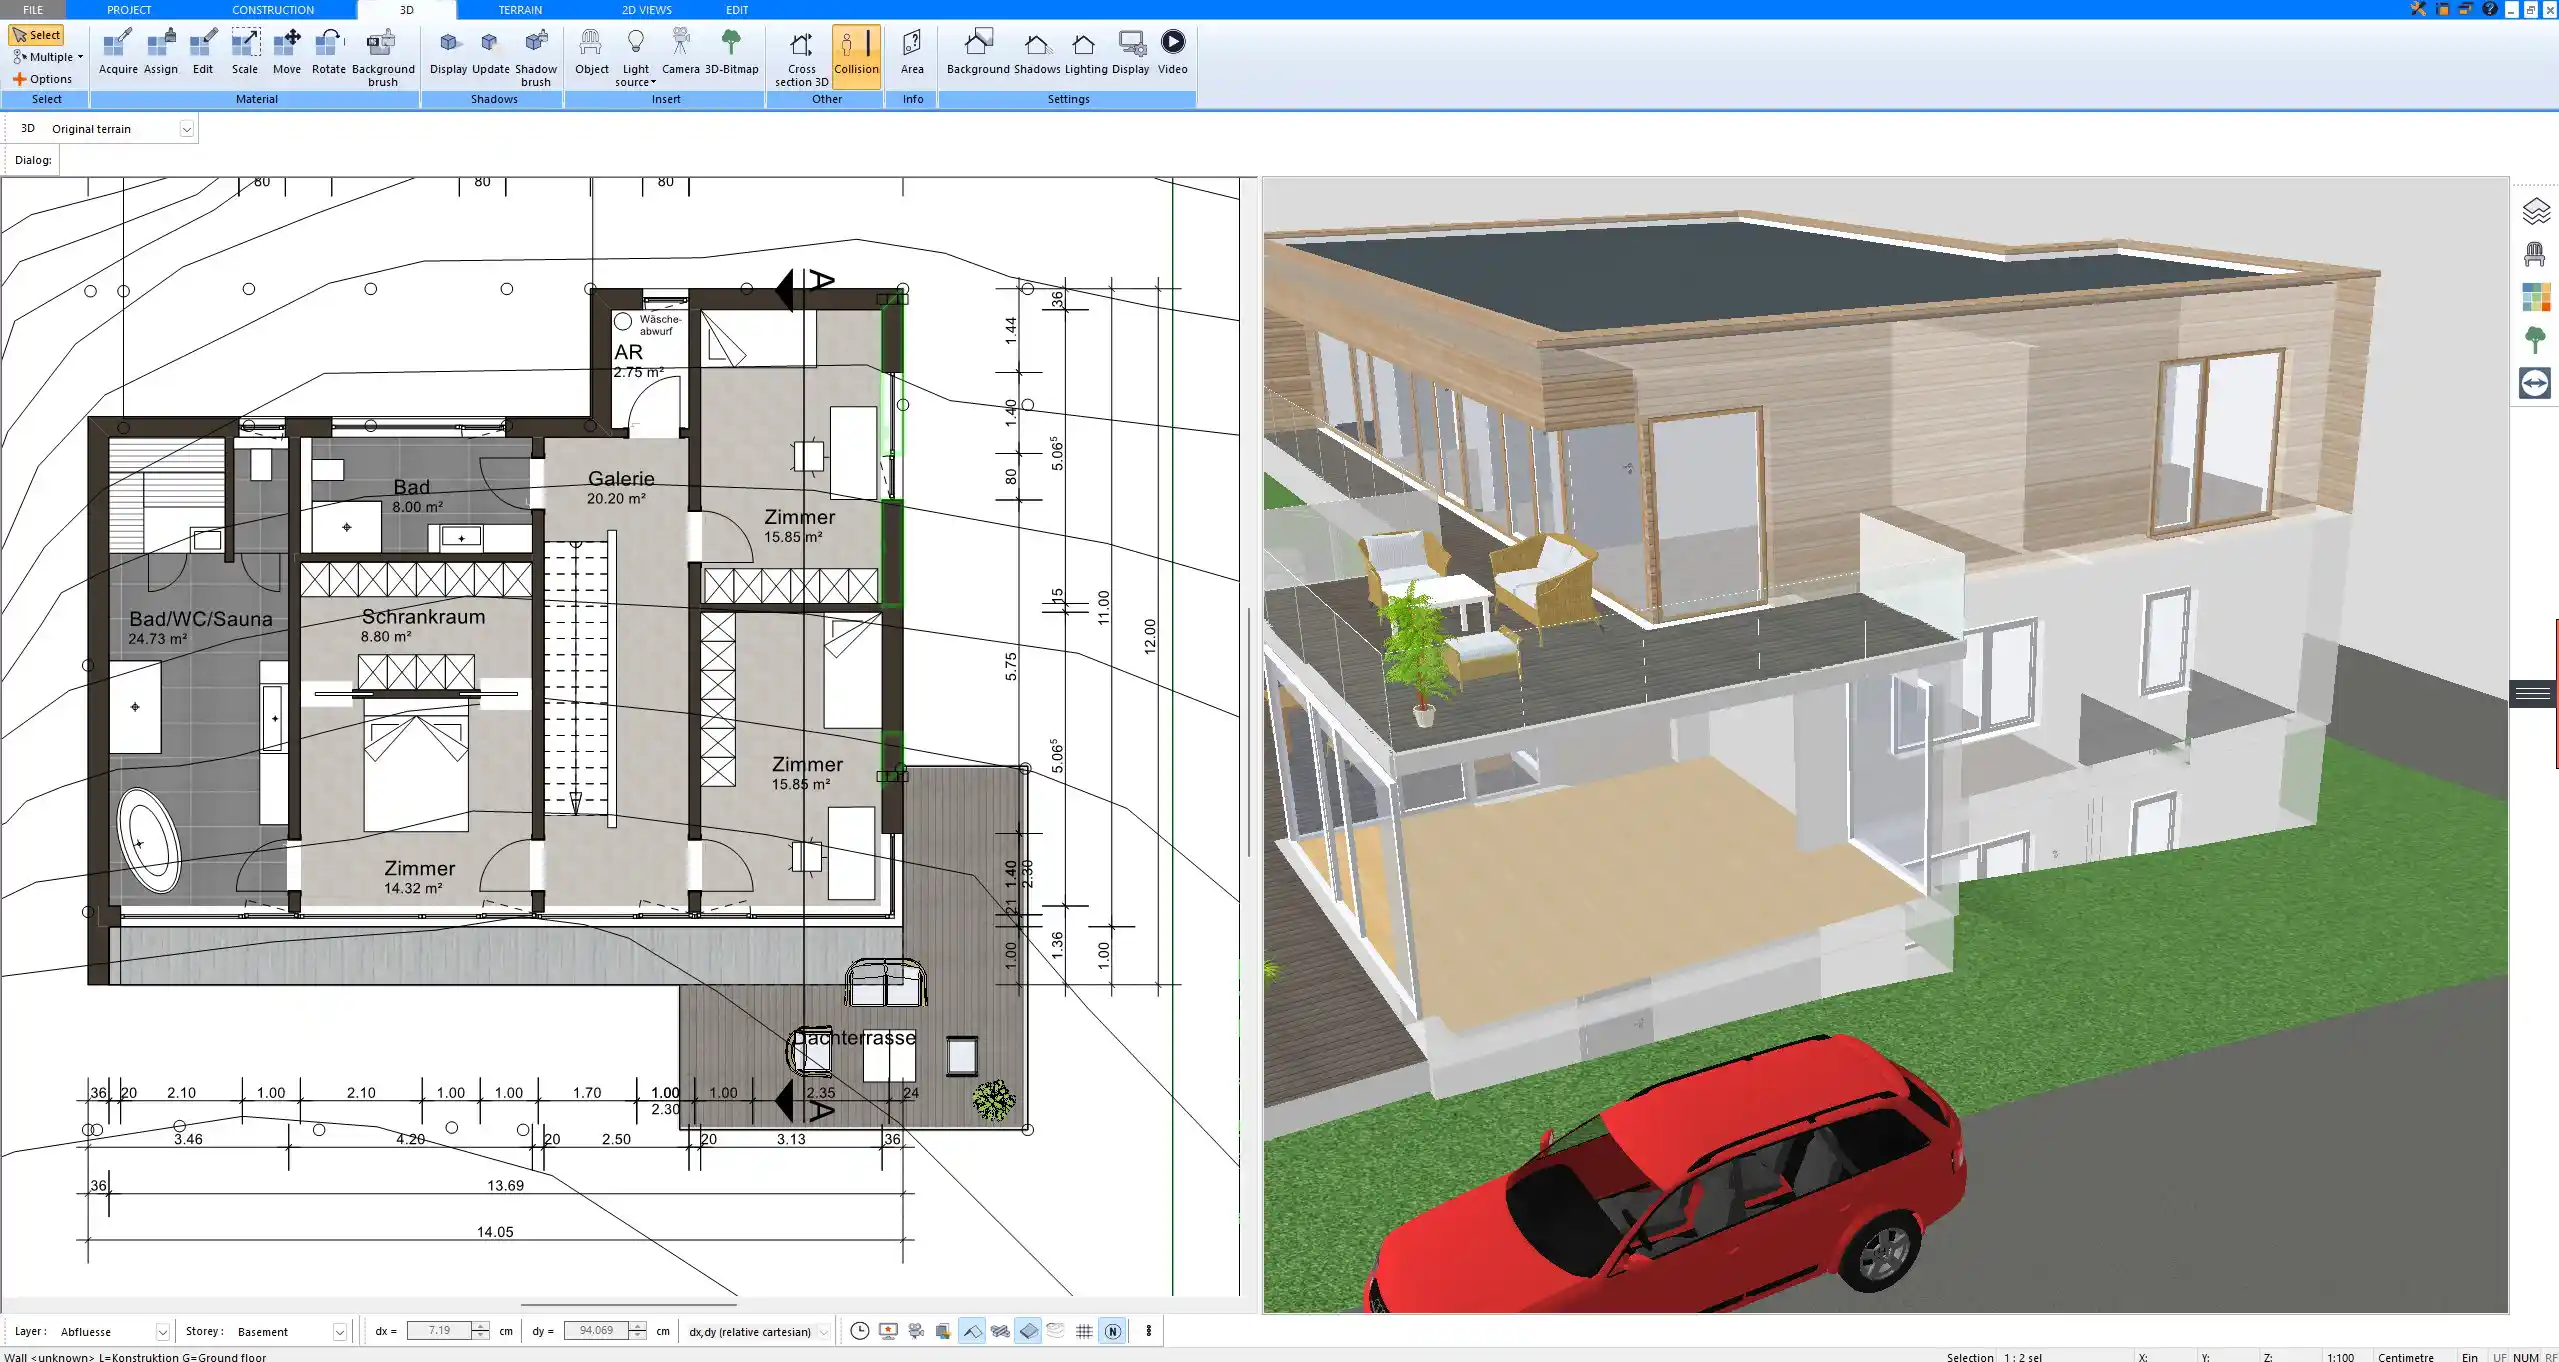
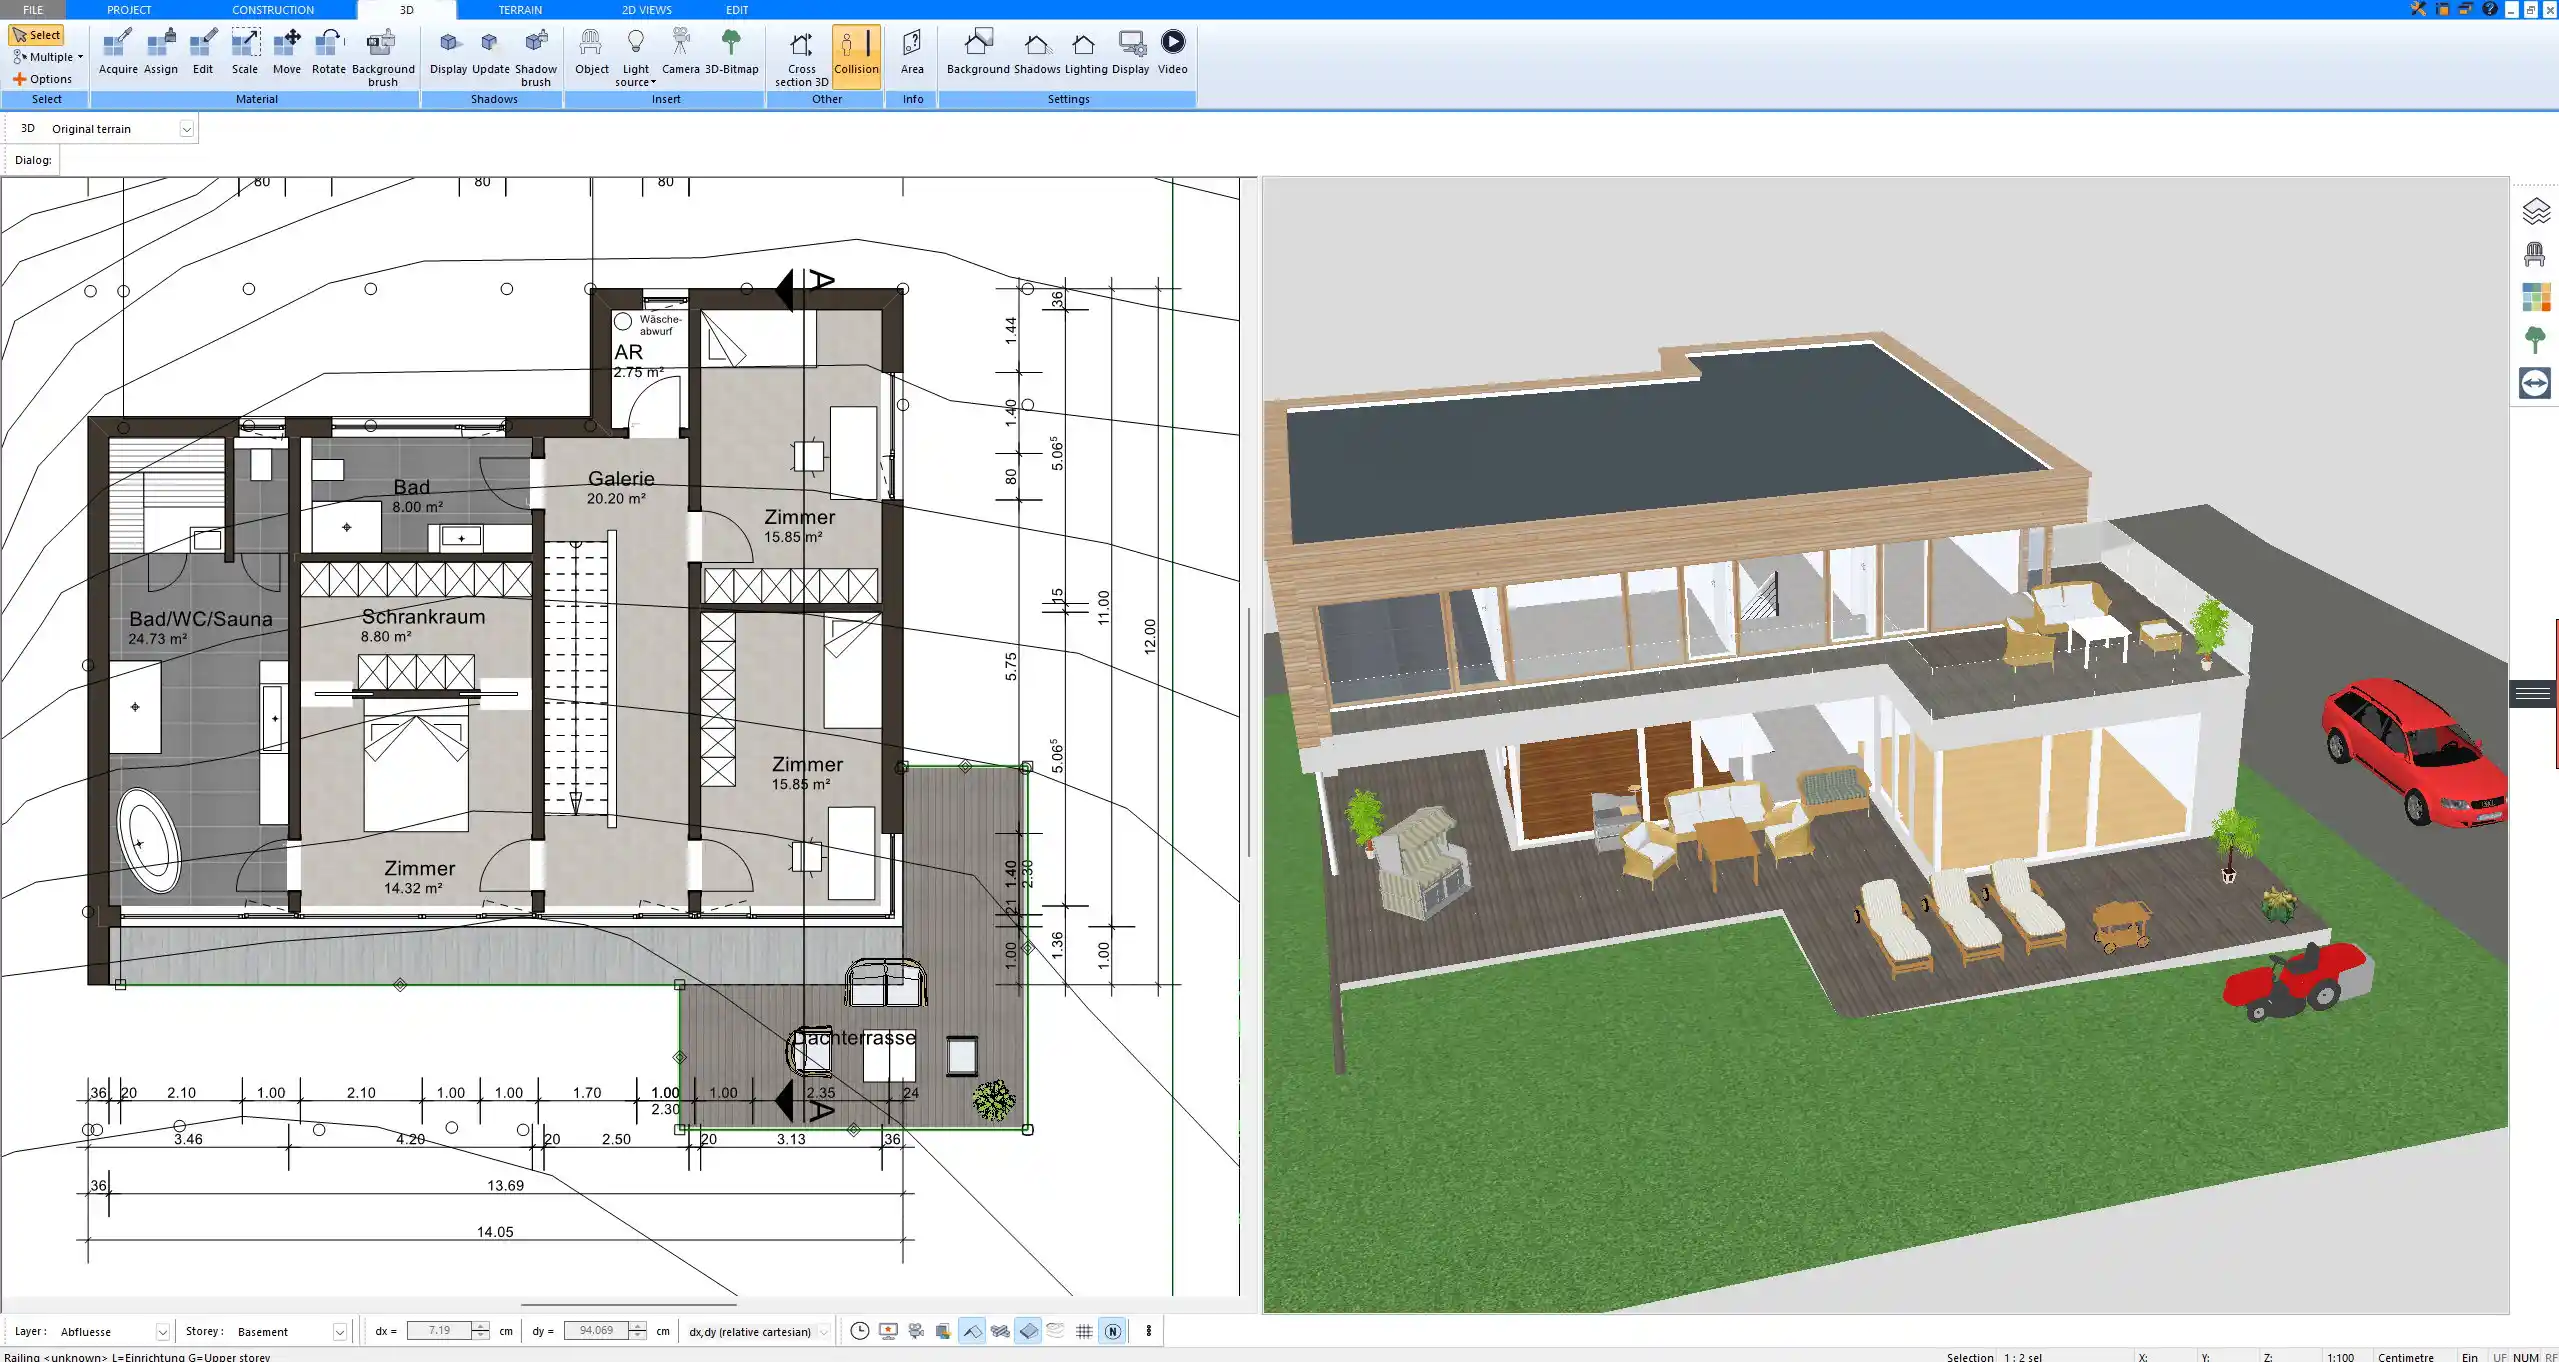
Step 4 – Switch Between 2D and 3D Views
As you configure the roof, seamlessly switch between 2D and 3D views. In 2D, you control the structure with precision. In 3D, you get instant visual feedback, which is especially helpful when adjusting slope direction or inspecting how the mono-pitch roof integrates with windows, doors, or terraces.
You can also take perspective screenshots or walk through the building in real time, which is particularly useful when presenting the plan to clients or contractors.
Step 5 – Add Roof Openings or Details
Plan7Architect allows you to enrich your roof design with openings and details. These can be placed freely and edited at any time.
Common Roof Elements You Can Add:
-
Skylights and roof windows
-
Solar panels
-
Chimneys or flue outlets
-
Drainage and gutter systems
Positioning is assisted by snapping grids and object guides, so elements sit perfectly aligned with your roof surface.
Tips for Designing a Mono-Pitch Roof Effectively
Architectural Considerations
Mono-pitch roofs are often chosen for their clean, modern appearance and efficient construction. They work well with:
-
Modern homes and bungalows
-
Container homes
-
Small commercial buildings
-
Garden studios and side extensions
They are especially useful where building regulations require a low roofline on one side or where you want to visually emphasize directionality.
Functional Aspects
From a functional standpoint, the mono-pitch roof offers several practical benefits:
Advantages:
-
Excellent water runoff due to slope
-
Simplified construction vs. gabled roofs
-
Better use of vertical space on one side
-
Possibility to integrate clerestory windows on the high side
Disadvantages:
-
Uneven ceiling heights inside
-
Wind load may be higher on the tall side
-
Not ideal for heavy snowfall regions unless well-supported
Energy Optimization
The slope angle and orientation of a mono-pitch roof can be leveraged for energy efficiency. For instance:
-
South-facing roofs (in the northern hemisphere) are ideal for solar panels
-
A steeper slope improves winter solar gain
-
The roof overhang can shade windows in summer while allowing sunlight in during winter
Tip:
Before finalizing the slope direction, consider sun path, prevailing winds, and your energy goals. Plan7Architect lets you test different orientations easily in 3D.
Regional Preferences and Unit Settings
Plan7Architect is fully customizable when it comes to regional units and conventions. You can plan in:
-
Meters and centimeters (Europe, most of the world)
-
Feet and inches (USA, Canada, UK)
Switching between unit systems is simple and automatic—all values, dimensions, and templates adjust to your choice. This is especially useful if you’re working on international projects or communicating with contractors who use a different system.
Additionally, roof slopes can be defined in degrees or pitch ratios depending on your preferred way of working.

Exporting, Presenting, and Printing Your Roof Design
Once your mono-pitch roof is finalized, you can export your design in various formats for presentation or documentation.
Export Options Include:
-
2D floor plans and elevations (PDF or image)
-
Scaled printouts for permit submissions
-
3D renders for client presentations
-
Editable project files for collaboration
You can also create high-resolution screenshots of specific views or print the full plan set directly from the software.
Tip:
Use the “Layer View” to isolate the roof structure from the rest of the building when exporting technical drawings or instructional documents.
Why Plan7Architect Is Ideal for Roof Planning
From my own experience using Plan7Architect for small home extensions and energy-efficient projects, it’s one of the most intuitive programs for visual roof planning. Even without prior CAD knowledge, I was able to configure custom roof angles, change orientations, and visualize everything in 3D within minutes.
What sets it apart:
-
Live 3D feedback during every edit
-
Easy-to-use interface with drag-and-drop elements
-
Support for complex shapes, hybrid roofs, and multi-level buildings
-
Compatible with both private builders and professionals
The software also includes a comprehensive library of roof elements, textures, materials, and accessories—making the final design look clean and realistic.
Plan your project with Plan7Architect

Plan7Architect Pro 5 for $109.99
You don’t need any prior experience because the software has been specifically designed for beginners. The planning process is carried out in 5 simple steps:
1. Draw Walls

2. Windows & Doors

3. Floors & Roof

4. Textures & 3D Objects

5. Plan for the Building Permit

6. Export the Floor Plan as a 3D Model for Twinmotion

- – Compliant with international construction standards
- – Usable on 3 PCs simultaneously
- – Option for consultation with an architect
- – Comprehensive user manual
- – Regular updates
- – Video tutorials
- – Millions of 3D objects available


