Drawing a floor plan by hand is a straightforward process that requires precision, patience, and the right tools. Whether you are planning a new home, renovating an existing space, or simply sketching ideas, following a structured approach ensures accurate results.
To create a hand-drawn floor plan, follow these steps:
- Define the purpose – Determine what you are planning (house, apartment, or room layout).
- Gather materials – Use graph paper, pencils, a ruler, and a measuring tape.
- Measure the space – Take accurate room dimensions, including walls, doors, and windows.
- Draw the outline – Scale the dimensions correctly on paper.
- Add key elements – Include furniture, technical installations, and symbols.
- Label everything – Clearly mark dimensions, directions, and important notes.
- Finalize the drawing – Check for accuracy and refine the details.
Materials & Tools Needed
To create a precise and readable floor plan, you need the following tools:
Essential Materials
- Graph paper or blank paper – Graph paper helps with proportional scaling.
- Pencils and erasers – Use soft pencils for easy corrections.
- Ruler and straightedge – Ensure straight and accurate lines.
- Compass or protractor – Useful for curved walls or specific angles.
- Measuring tape or laser distance meter – For precise measurements.
Optional Tools for Better Accuracy
- Fine-tip pens – To outline and finalize drawings.
- Color markers – Helpful for highlighting different areas.
- Stencils – For adding standard furniture symbols.
Tip: If you plan to scale up your drawing later, work on larger sheets of paper to keep details clear.
Step-by-Step Guide to Drawing a Floor Plan
Step 1: Measure and Record Dimensions
Accurate measurements are the foundation of a precise floor plan. Use a measuring tape or laser distance meter to record:
- Room length and width
- Ceiling height
- Doors and windows (including opening directions)
- Wall thickness (especially for load-bearing walls)
If you are measuring multiple rooms, create a rough sketch first and note the dimensions directly on the paper.
Step 2: Choose a Scale
To ensure all elements fit on the page, select an appropriate scale. Common scales include:
- 1:50 (1 cm = 0.5 m) or 1:100 (1 cm = 1 m) for metric users.
- ¼ inch = 1 foot for users working with imperial measurements.
Use a scale that allows you to represent all features without losing detail.
Step 3: Draw the Basic Layout
- Start with the exterior walls and outline the main structure.
- Draw interior walls while maintaining proportional accuracy.
- Use a straightedge to keep lines neat and precise.
Ensure that all corners and angles are correctly measured, especially if dealing with irregularly shaped rooms.
Step 4: Add Openings (Doors & Windows)
Doors and windows are crucial elements in a floor plan. Mark them clearly by:
- Drawing doorways and indicating their swing direction.
- Positioning windows in relation to walls and furniture.
- Ensuring proper clearance for accessibility.
Tip: Leave at least 80 cm (32 inches) of clearance in front of doors to ensure easy movement.
Step 5: Include Important Elements
Adding details ensures the floor plan is practical and functional. Include:
- Electrical outlets and light switches – Mark their locations.
- Plumbing fixtures – Indicate sinks, toilets, and water connections.
- Stairs and elevation changes – Show steps and height differences.
| Element | Standard Placement |
|---|---|
| Light switches | 90 cm (36 inches) from the floor |
| Power outlets | 30 cm (12 inches) from the floor |
| Kitchen counter height | 90 cm (36 inches) |
Step 6: Add Furniture & Fixtures
Furniture placement helps visualize space utilization. Draw:
- Beds, sofas, and tables to check usability.
- Kitchen appliances ensuring practical layouts.
- Storage areas like wardrobes or shelving.
Keep in mind standard clearance distances to avoid cramped spaces.
Step 7: Label & Review
- Clearly mark all dimensions in an easy-to-read format.
- Label important elements like doors, windows, and stairs.
- Double-check measurements for accuracy before finalizing.
Common Mistakes to Avoid
Avoid these common errors when drawing a floor plan:
Skipping measurements ? Leads to incorrect layouts.
Choosing the wrong scale ? Results in unrealistic proportions.
Forgetting to account for wall thickness ? Impacts usable space.
Not planning furniture placement early ? Can lead to inefficiencies.
Failing to label elements properly ? Makes plans harder to read.
Tip: Always cross-check dimensions between rooms to avoid inconsistencies.
Alternative: Using Software for Better Accuracy
While drawing a floor plan by hand is a useful skill, using 3D architecture software can greatly improve accuracy and efficiency.
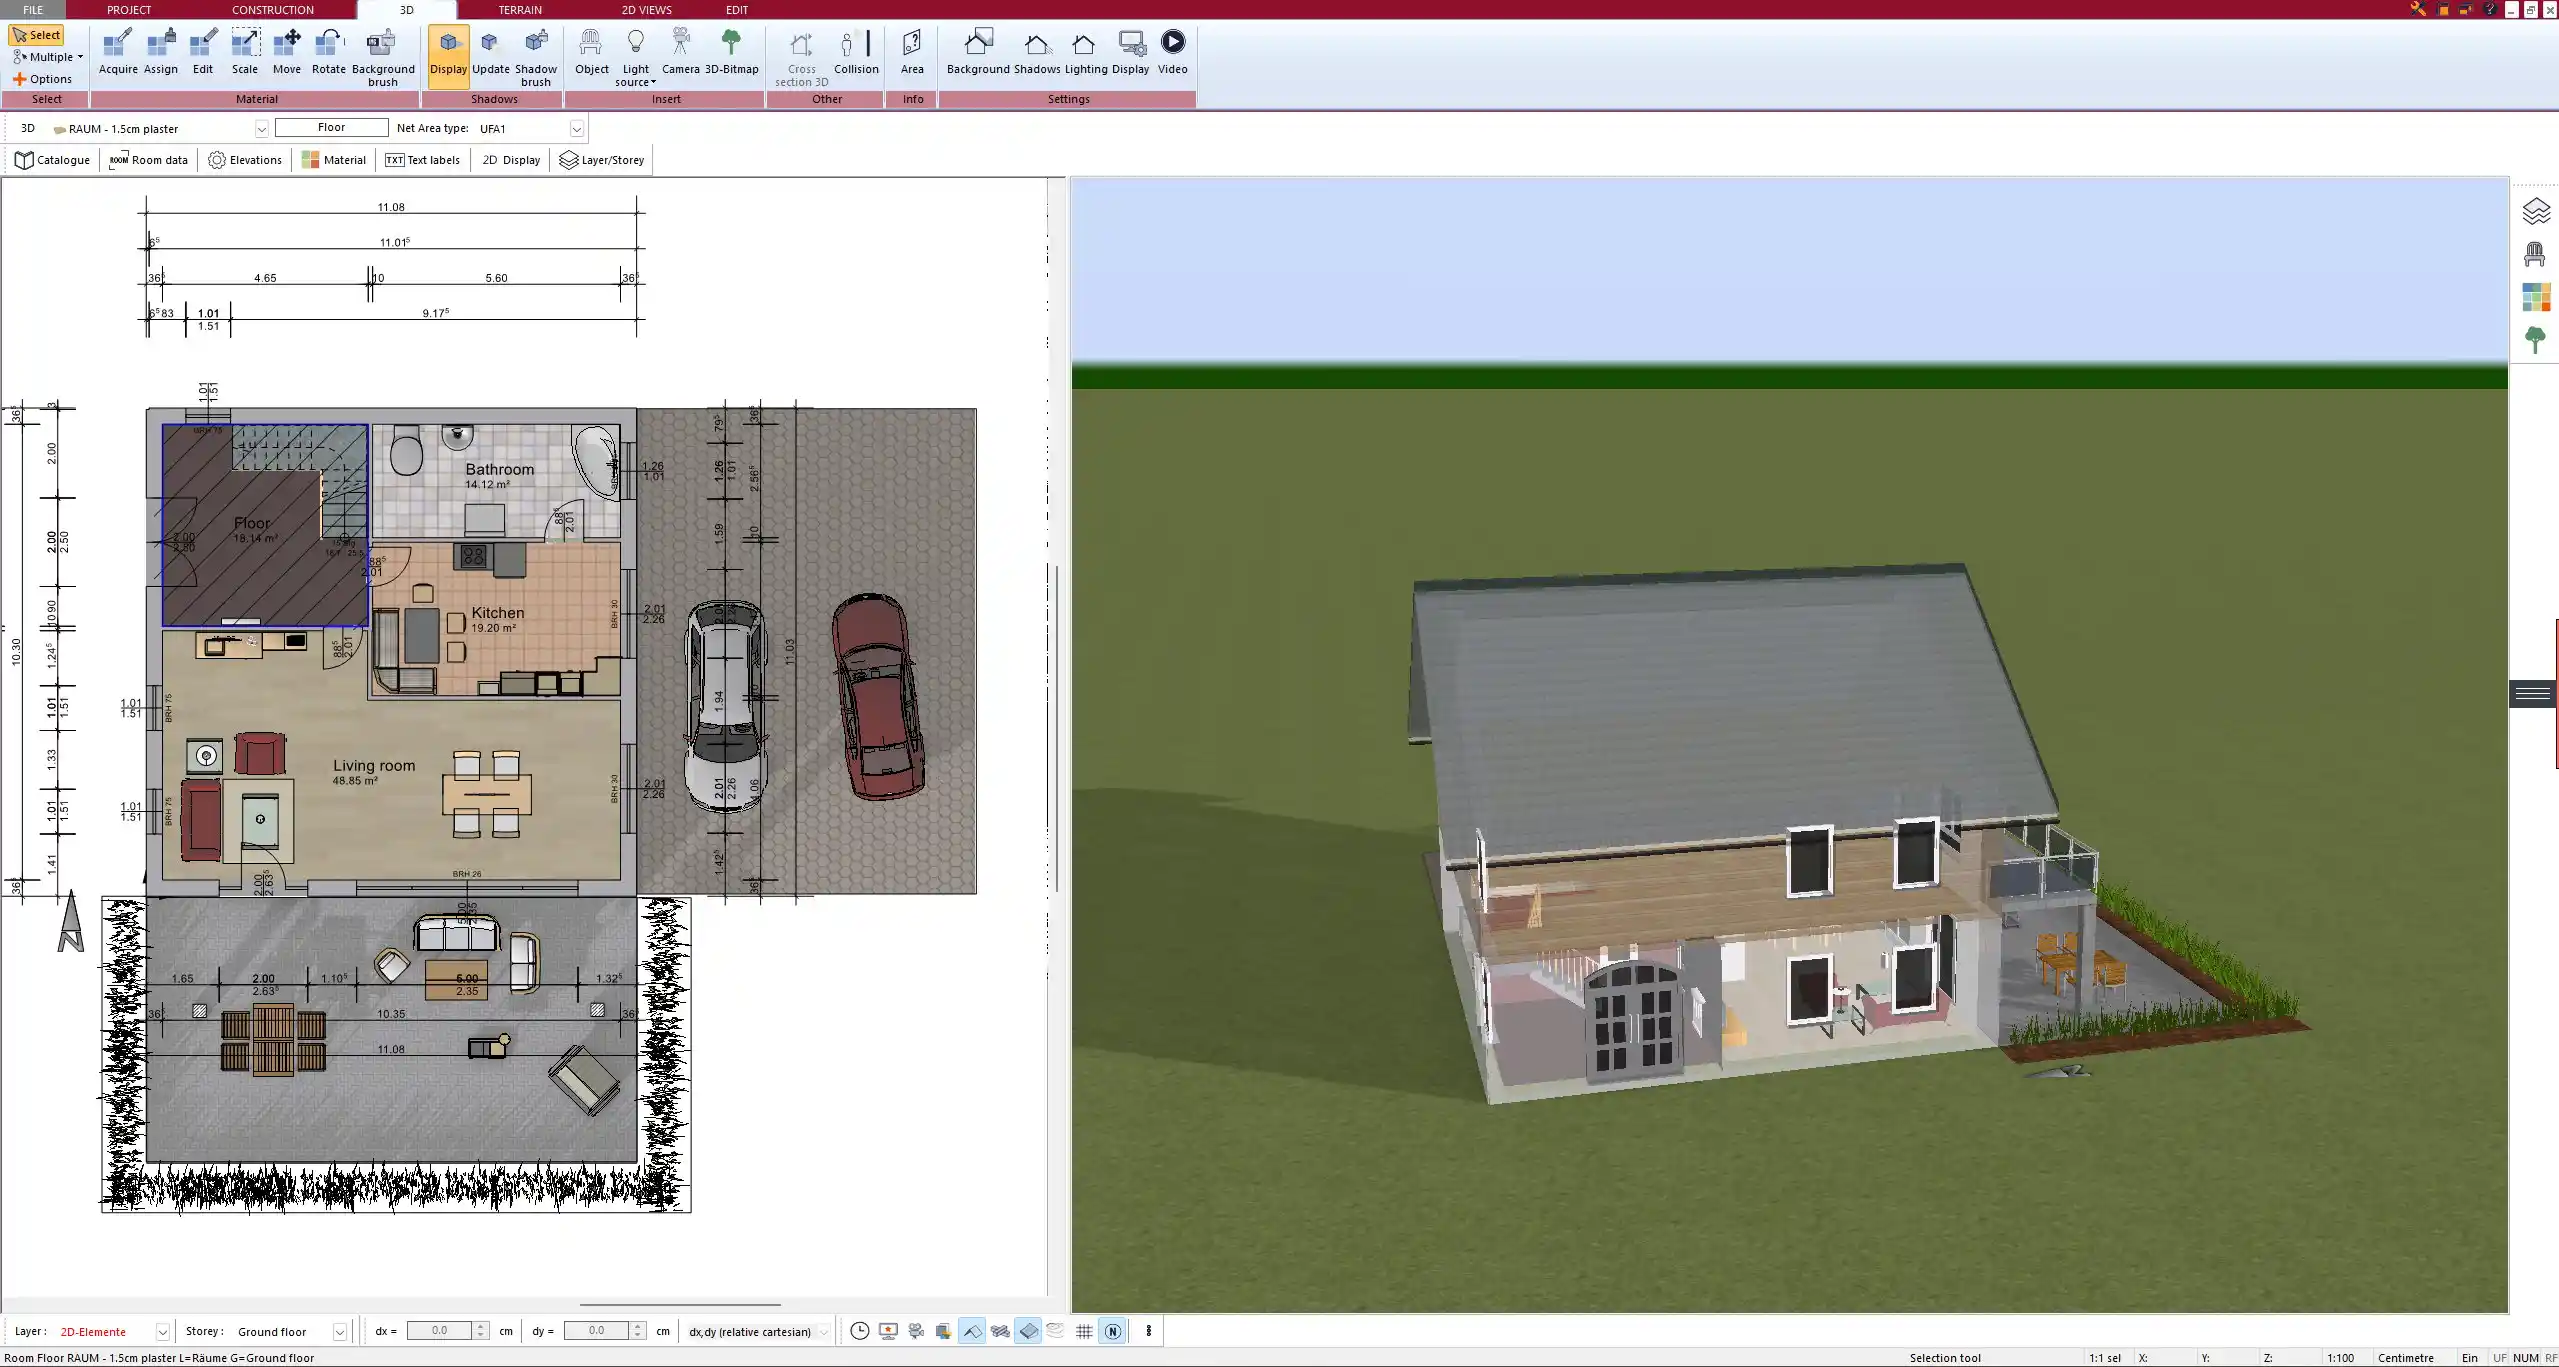
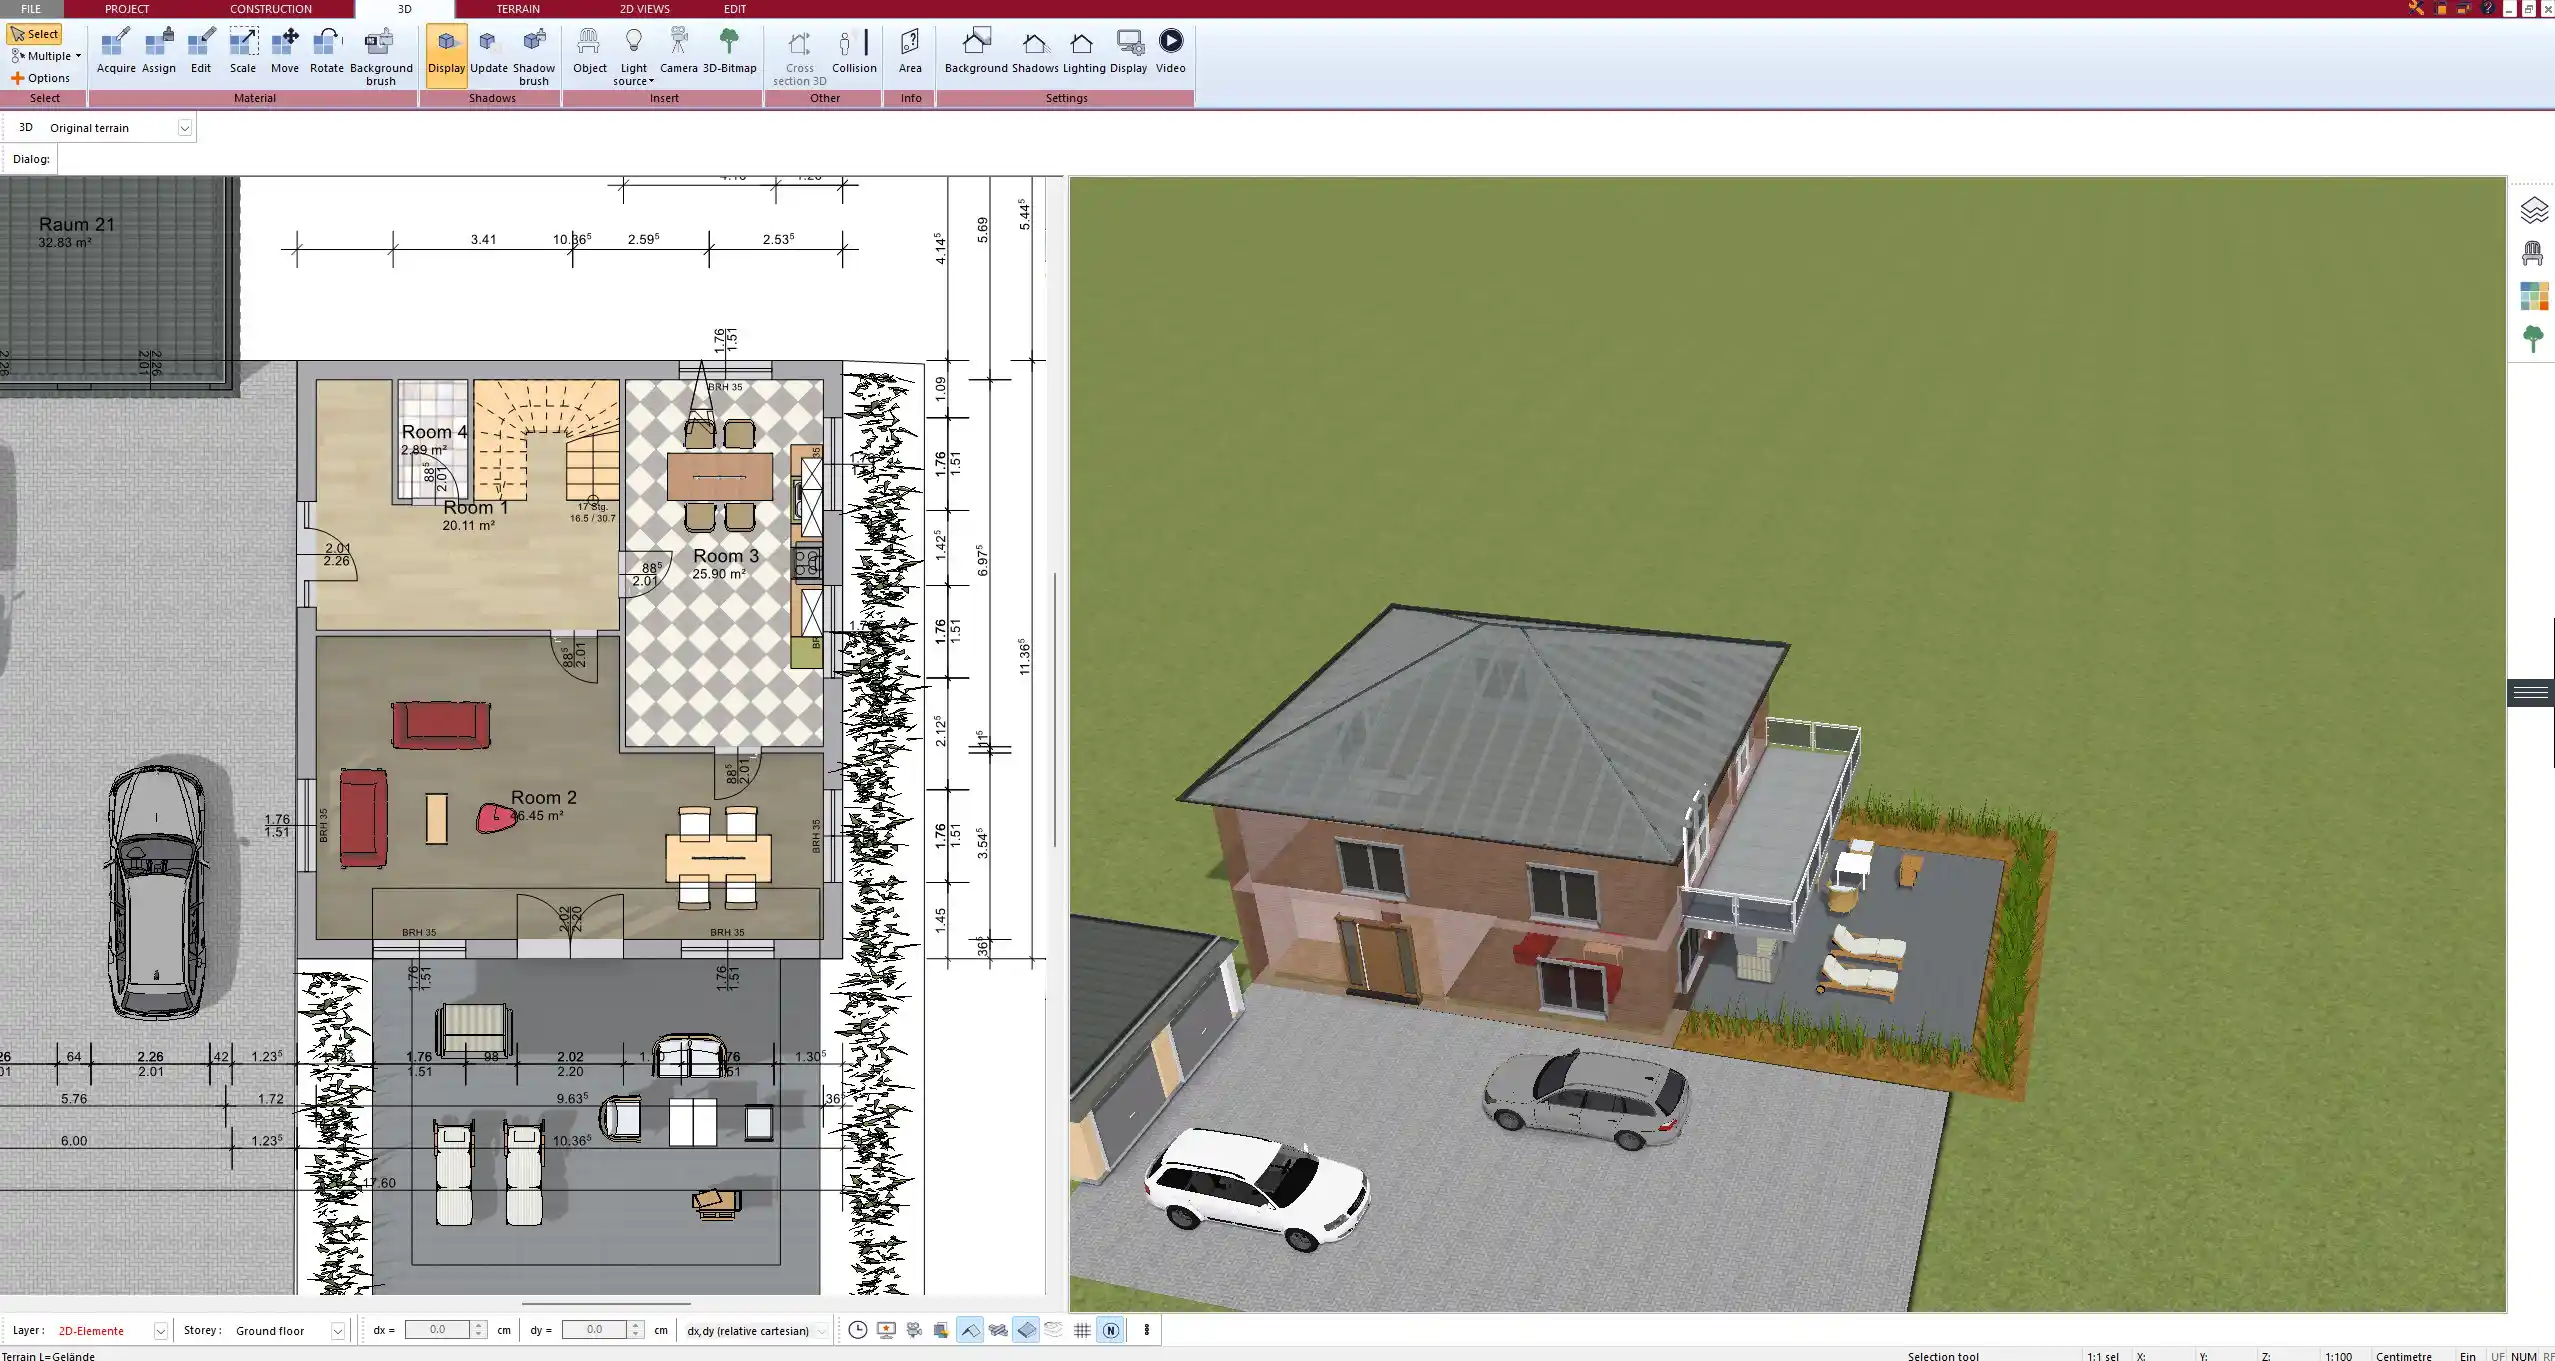
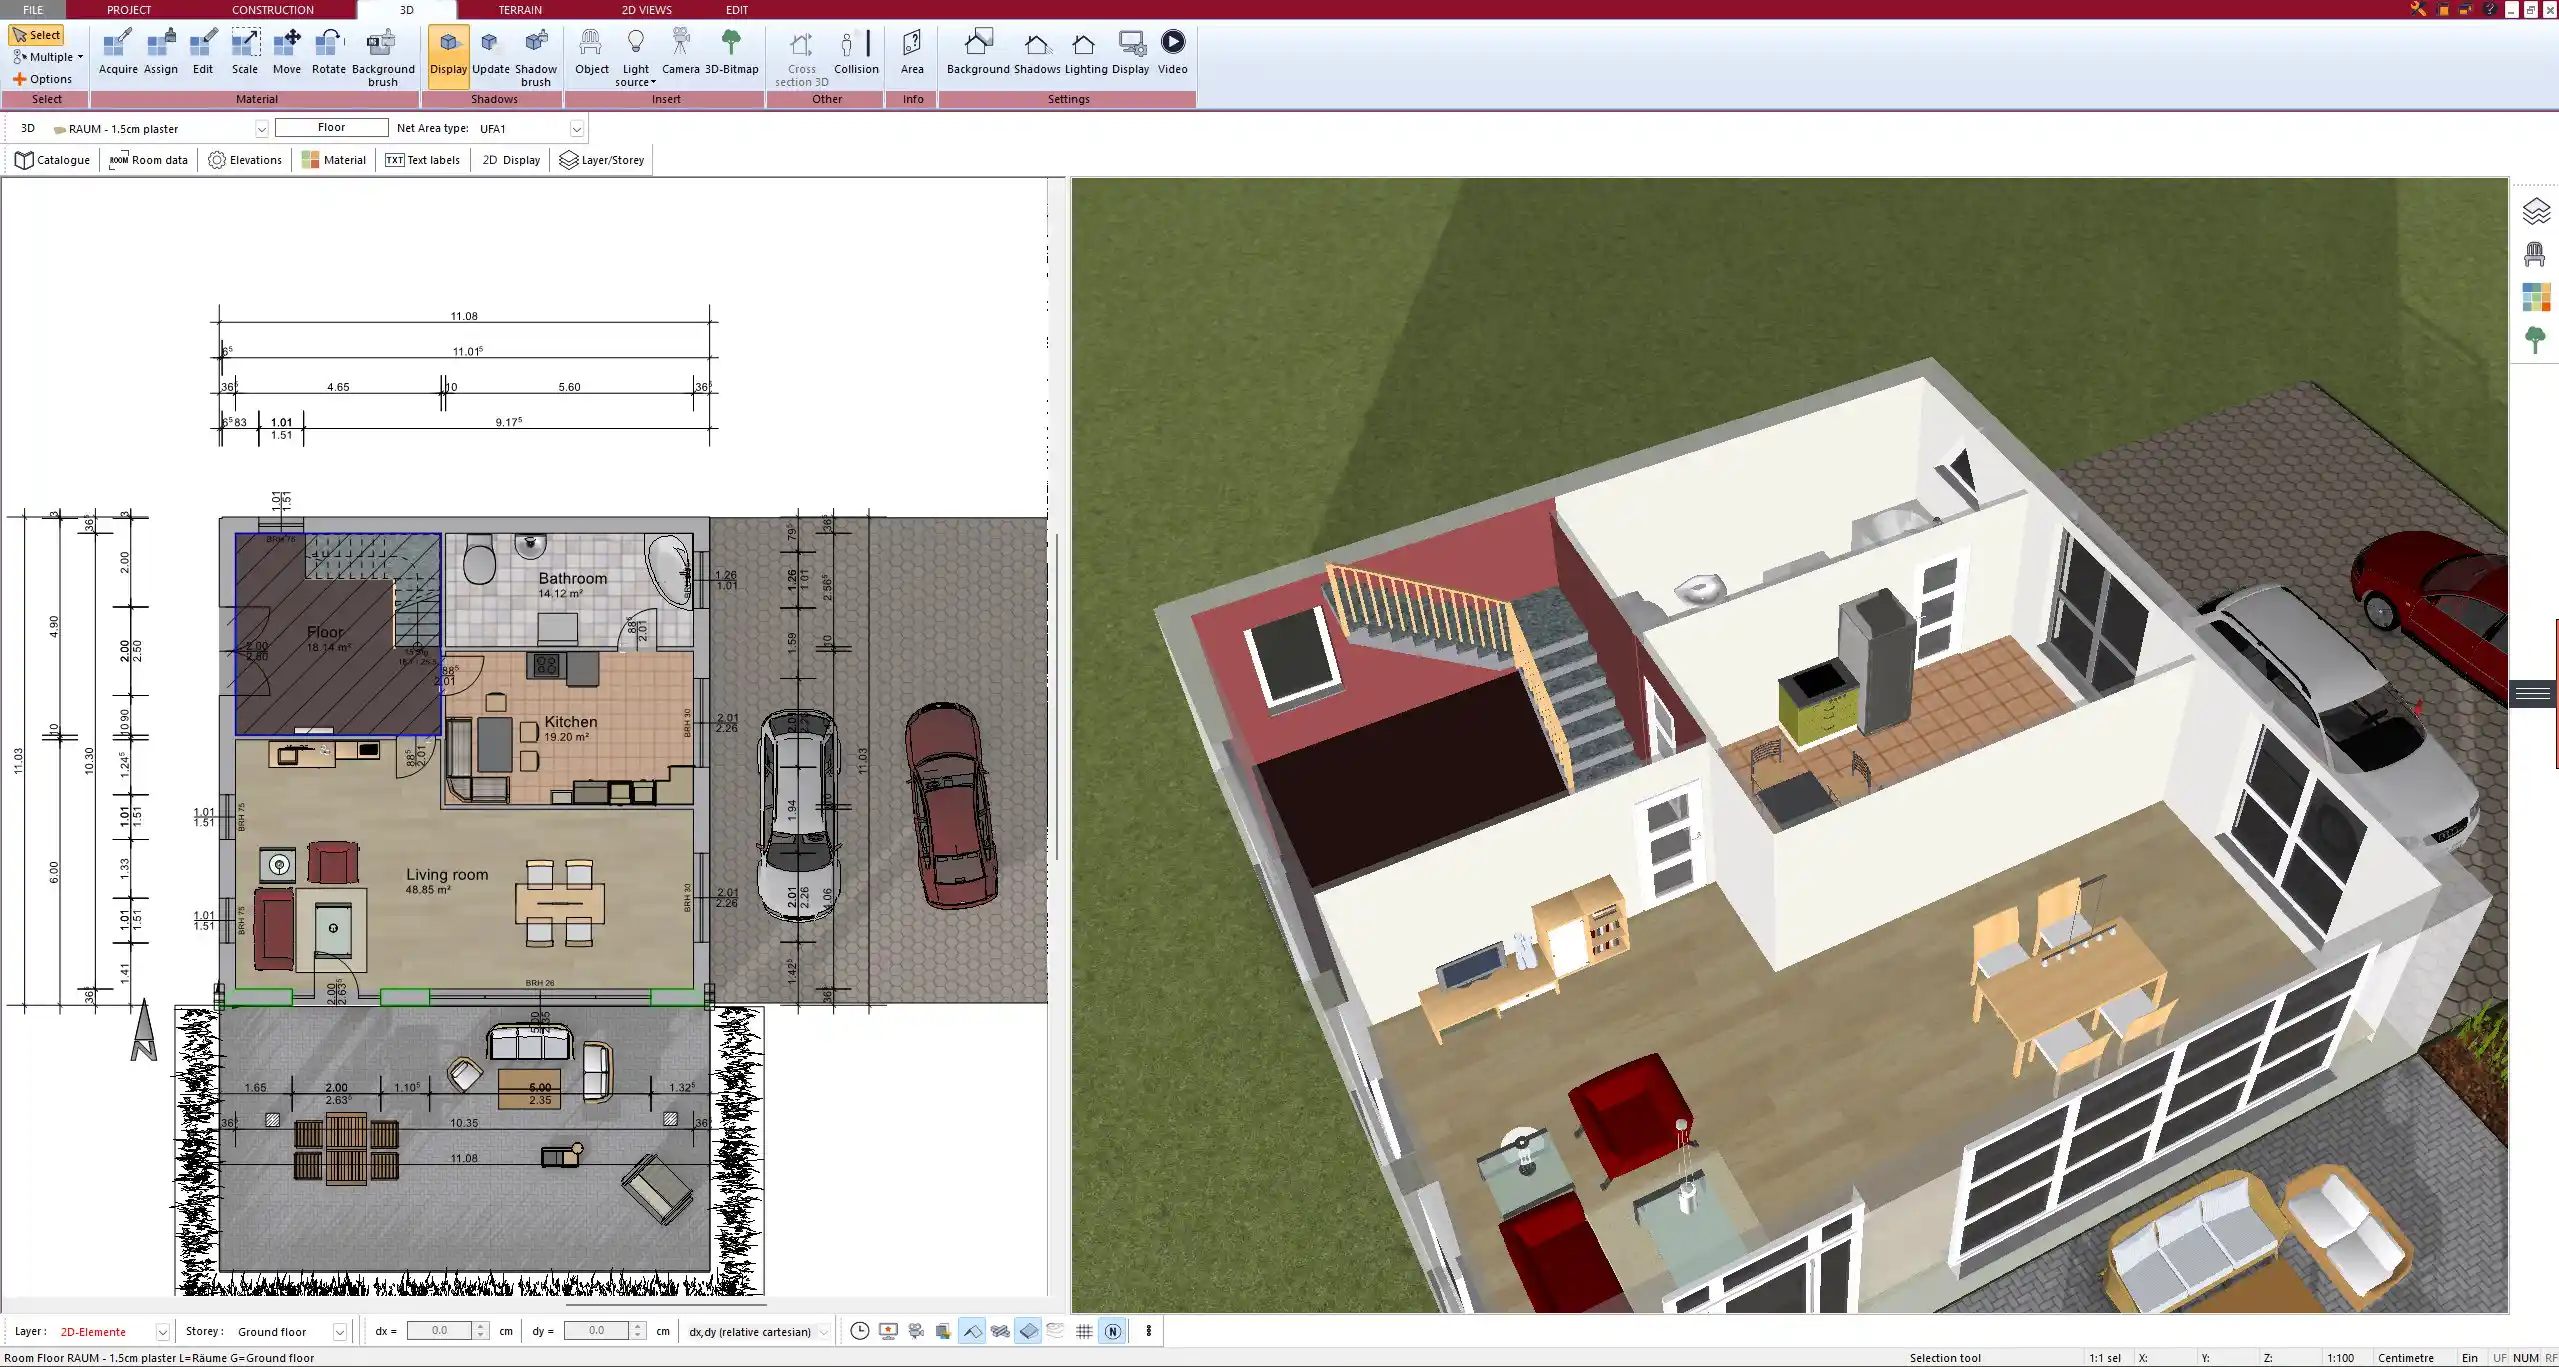
Advantages of software like Plan7Architect:
Supports both metric and imperial units for international flexibility.
Allows easy modifications without redrawing.
Provides 3D visualization to see how spaces interact.
Generates professional output for builders and designers.
Hand-drawn plans are great for brainstorming, but digital tools ensure precision and easy sharing.
Create Professional Floor Plans with Plan7Architect
If you want to take your floor plan to the next level, Plan7Architect allows you to create professional, precise, and scalable layouts effortlessly. Unlike hand-drawn plans, the software offers accurate measurements, adjustable scales, and real-time modifications—all in both metric and imperial units. You can easily design walls, rooms, doors, windows, furniture placements, electrical plans, and even 3D visualizations with just a few clicks.
With Plan7Architect, you get a powerful yet user-friendly tool that makes floor plan creation faster, more efficient, and ready for professional use. Plus, we offer a 14-day money-back guarantee, allowing you to cancel your purchase easily via email if you’re not satisfied—no need for a test version.
Start planning with precision today!
Plan your project with Plan7Architect

Plan7Architect Pro 5 for $99.99
You don’t need any prior experience because the software has been specifically designed for beginners. The planning process is carried out in 5 simple steps:
1. Draw Walls

2. Windows & Doors

3. Floors & Roof

4. Textures & 3D Objects

5. Plan for the Building Permit

6. Export the Floor Plan as a 3D Model for Twinmotion

- – Compliant with international construction standards
- – Usable on 3 PCs simultaneously
- – Option for consultation with an architect
- – Comprehensive user manual
- – Regular updates
- – Video tutorials
- – Millions of 3D objects available


