Designing a house on a slope presents unique challenges, but with Plan7Architect software, this process becomes both manageable and intuitive. The software offers a powerful terrain modeling feature that allows you to simulate sloped plots, adjust ground levels, and place buildings with precision. You can work in both metric (meters) and imperial (feet) units depending on your regional needs, and switch between systems at any time in the settings.
Using Plan7Architect, you can model a realistic landscape, plan split-level houses, add retaining walls, define driveway gradients, and preview the entire concept in 3D – long before the first spade hits the ground. It is perfectly suited for private builders, architects, and developers who want full control over sloped designs without relying on expensive external planners.
Key Challenges When Building on a Slope
Foundation Planning and Structural Stability
A sloped site requires a tailored foundation strategy. Unlike flat lots, you cannot rely on uniform slabs or strip foundations. Instead, you must adapt the structure to the terrain.
Typical foundation types for sloped lots include:
| Foundation Type | Description |
|---|---|
| Stepped Foundation | Uses a series of staggered footings that follow the slope. |
| Pile or Pier System | Elevates the building on vertical supports to reduce site impact. |
| Split-Level Foundation | Creates multiple levels in the house to adapt to varying ground heights. |
Correctly modeling these foundations in the early planning stage is essential. Plan7Architect allows you to define different floor heights, customize foundation types per section, and simulate earth retention systems such as concrete walls or timber reinforcements.
Access and Driveway Planning
A sloped plot can make access to the house more complex. Especially when driveways or garage placements are involved, you’ll need to ensure that gradients remain practical and within legal standards.
Key considerations for access routes:
-
The maximum recommended slope for driveways is 15% (approx. 1:7 incline).
-
Curved driveways can reduce slope severity.
-
Garage entry might require a lower basement level.
With Plan7Architect, you can draw and simulate these access routes in 2D and view them in 3D to evaluate usability. You can also include staircases, ramps, or pedestrian bridges as needed.
Sunlight, Views & Privacy
Sloped sites often offer elevated views, but they also come with increased visibility from neighbors or the street. Proper planning allows you to take advantage of both natural light and scenic views while preserving privacy.
Planning tip: Place main living areas (like the living room or kitchen) on the higher side of the plot to capture panoramic views. Use landscaping or wall elements to screen bathrooms or bedrooms located on lower levels.
Energy Efficiency & Drainage
A slope can offer both passive heating/cooling advantages and drainage challenges.
Energy Planning Ideas:
-
Build into the slope on the uphill side for thermal mass and insulation.
-
Orient large windows toward the sun for solar gain in colder climates.
Drainage must-haves:
-
Channel surface water away from the house with slope-specific grading.
-
Use French drains, rain gardens, or gravel trenches where necessary.
-
Include retaining walls with proper drainage systems behind them.
Plan7Architect lets you plan and visualize all these features in detail, ensuring no element is forgotten.
Planning a Slope House with Plan7Architect – Step-by-Step
1. Model the Terrain
Start your project by adjusting the terrain. In Plan7Architect, you can either:
-
Import contour lines from a surveyor’s plan (e.g., as DXF or DWG)
-
Manually shape the terrain using control points
Each control point can be assigned a custom height, allowing you to sculpt the slope realistically. This is especially helpful for uneven plots or multi-directional inclines.
Tip: When modeling a steep slope, use multiple contour lines to better visualize terrain behavior and cut/fill requirements.
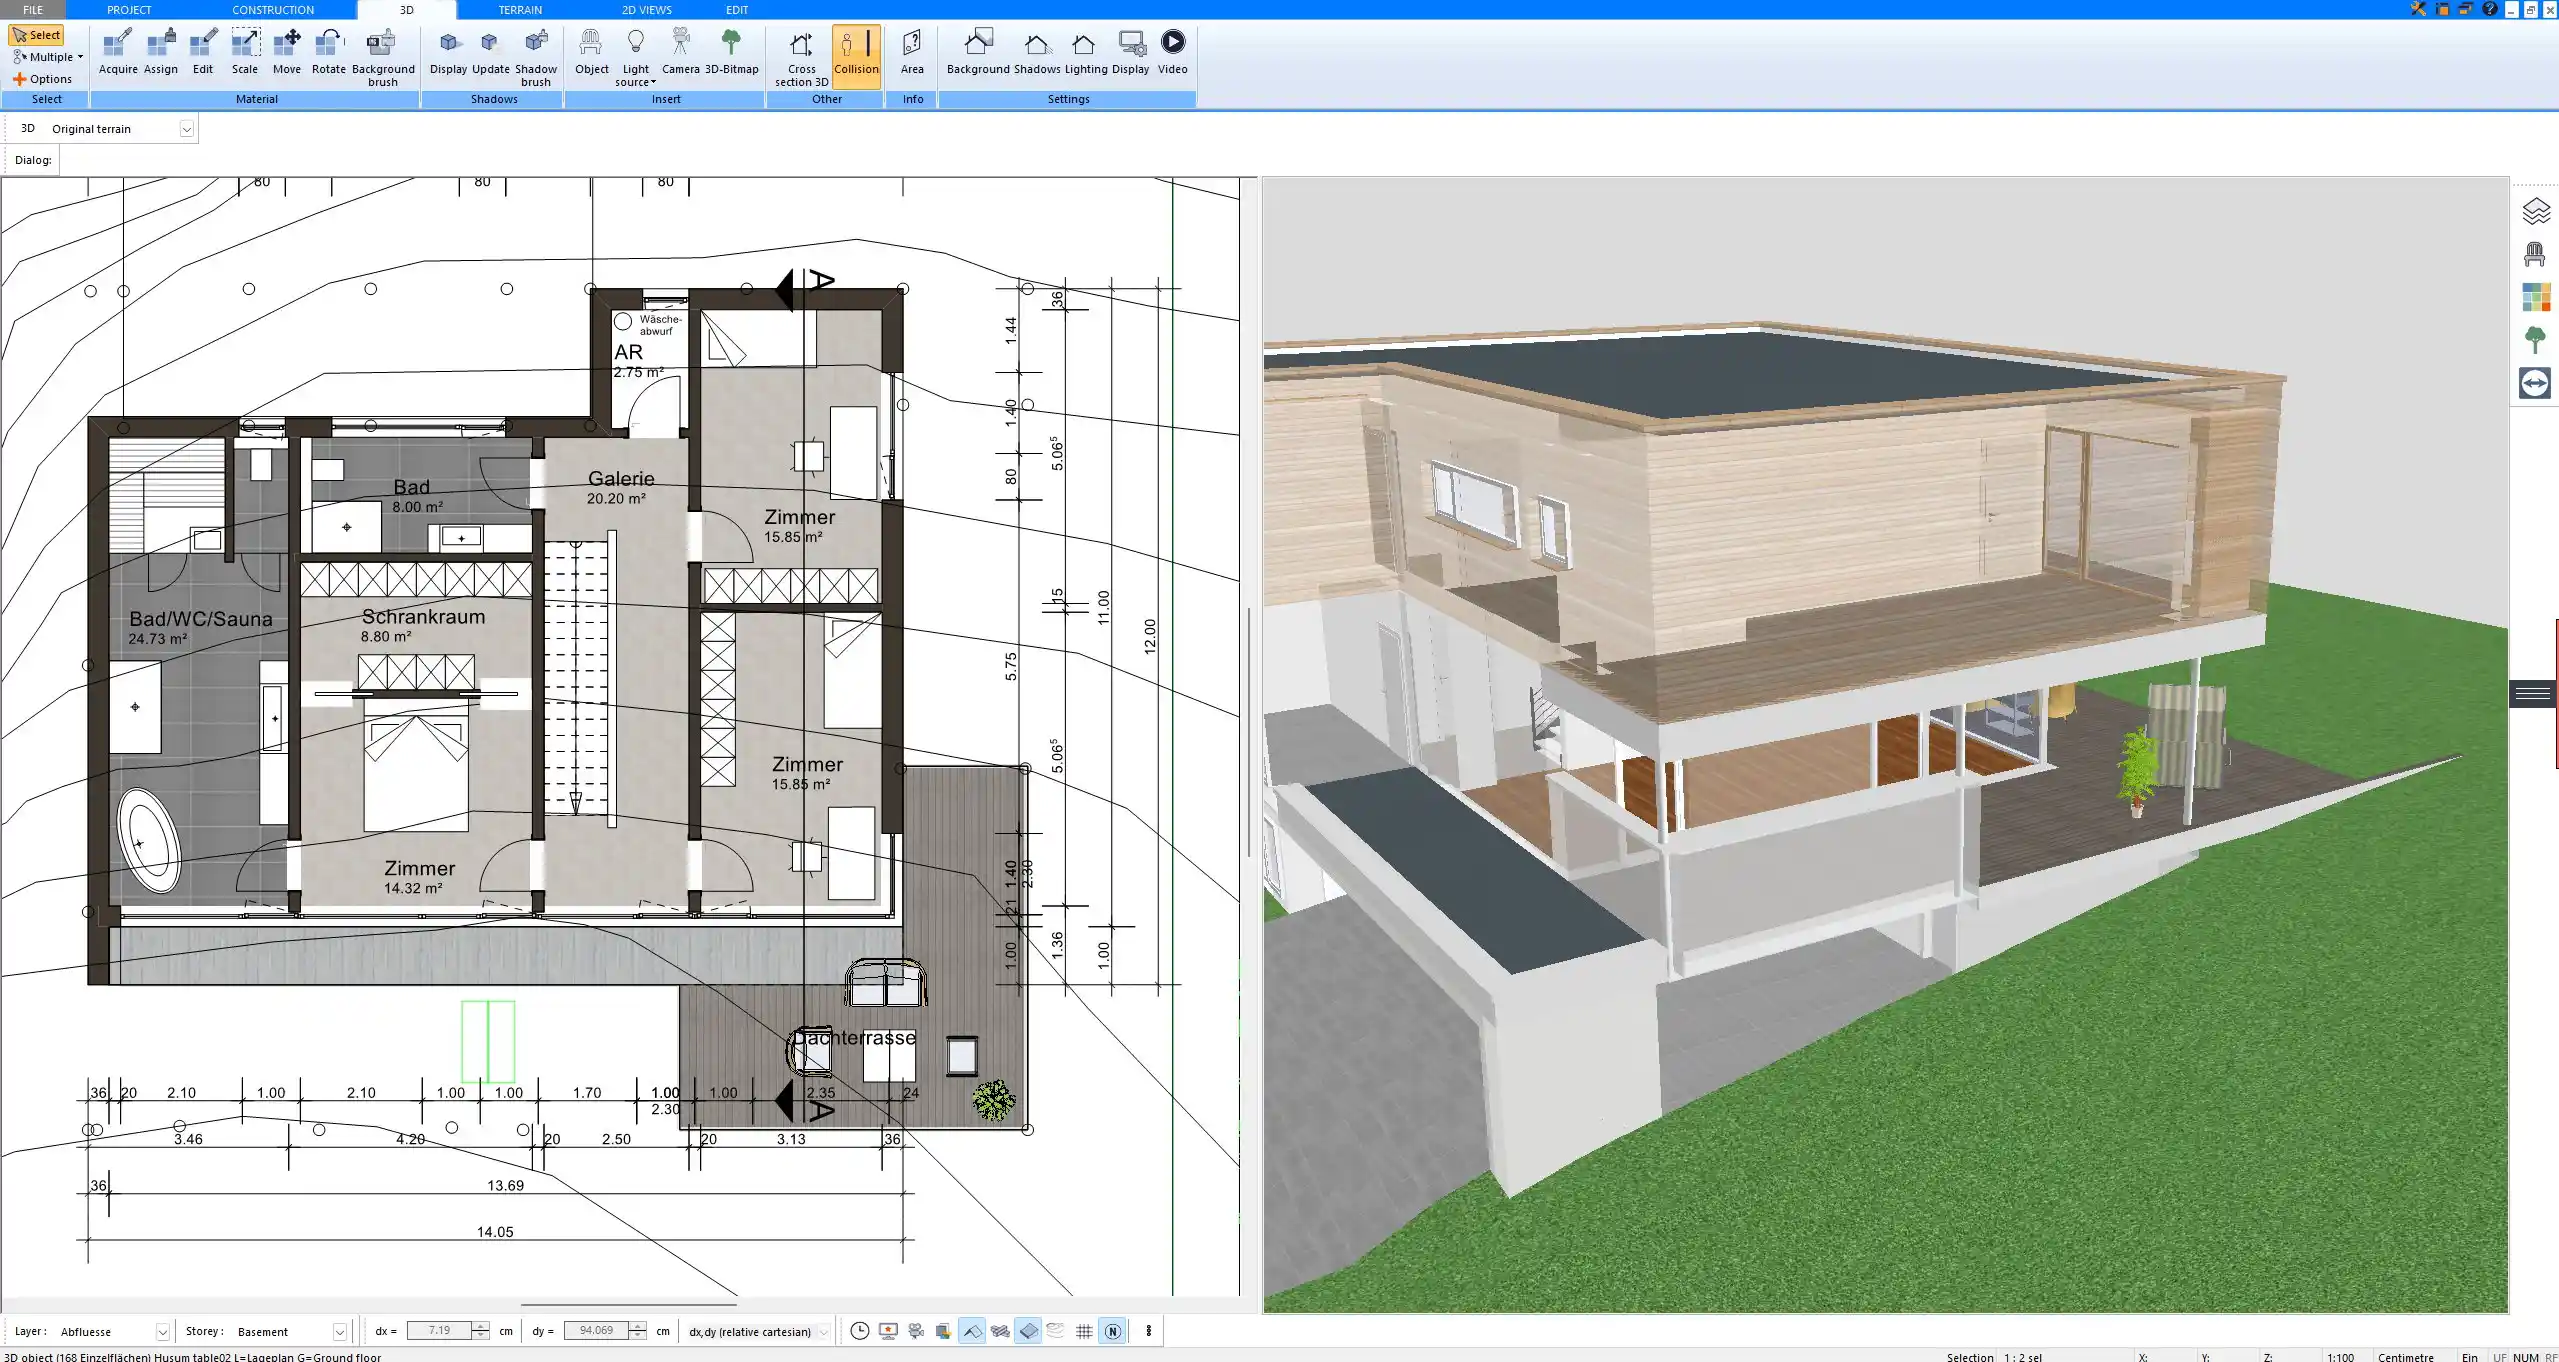
2. Place the Building on the Slope
Once the terrain is modeled, place your building on the site. You can freely adjust the height of the base level and rotate the building to match your desired orientation. If you’re planning a walkout basement or a home on stilts, Plan7Architect allows you to extend structural elements down to the sloped surface.
Multi-level designs can be created by stacking floor levels with varying base heights. The automatic height adjustment tools make it easy to align rooms even across split levels.
3. Adjust Basement, Retaining Walls, and Foundations
On a sloped lot, the basement can often be partially or fully exposed. This opens up possibilities for:
-
Daylight basements with windows and doors
-
Garage spaces under the house
-
Utility rooms with easy exterior access
Plan7Architect lets you define how deep the basement cuts into the slope and how much is exposed. You can also add retaining walls using structural elements and set their thickness, height, and drainage layers.
Foundation design features in Plan7Architect include:
-
Custom footings for each section
-
Step-by-step level transitions
-
Pillar foundations for elevated buildings
4. Design Access Points
Planning access is critical. Whether it’s a road leading up to the entrance or stairs from a parking area, Plan7Architect allows full control over elevation and design.
You can plan:
-
Sloped driveways with accurate angle control
-
Exterior staircases with real step height
-
Entry platforms, ramps, and bridges
Use the 3D view to test whether a car could realistically enter the garage or if steps are evenly spaced for comfort.
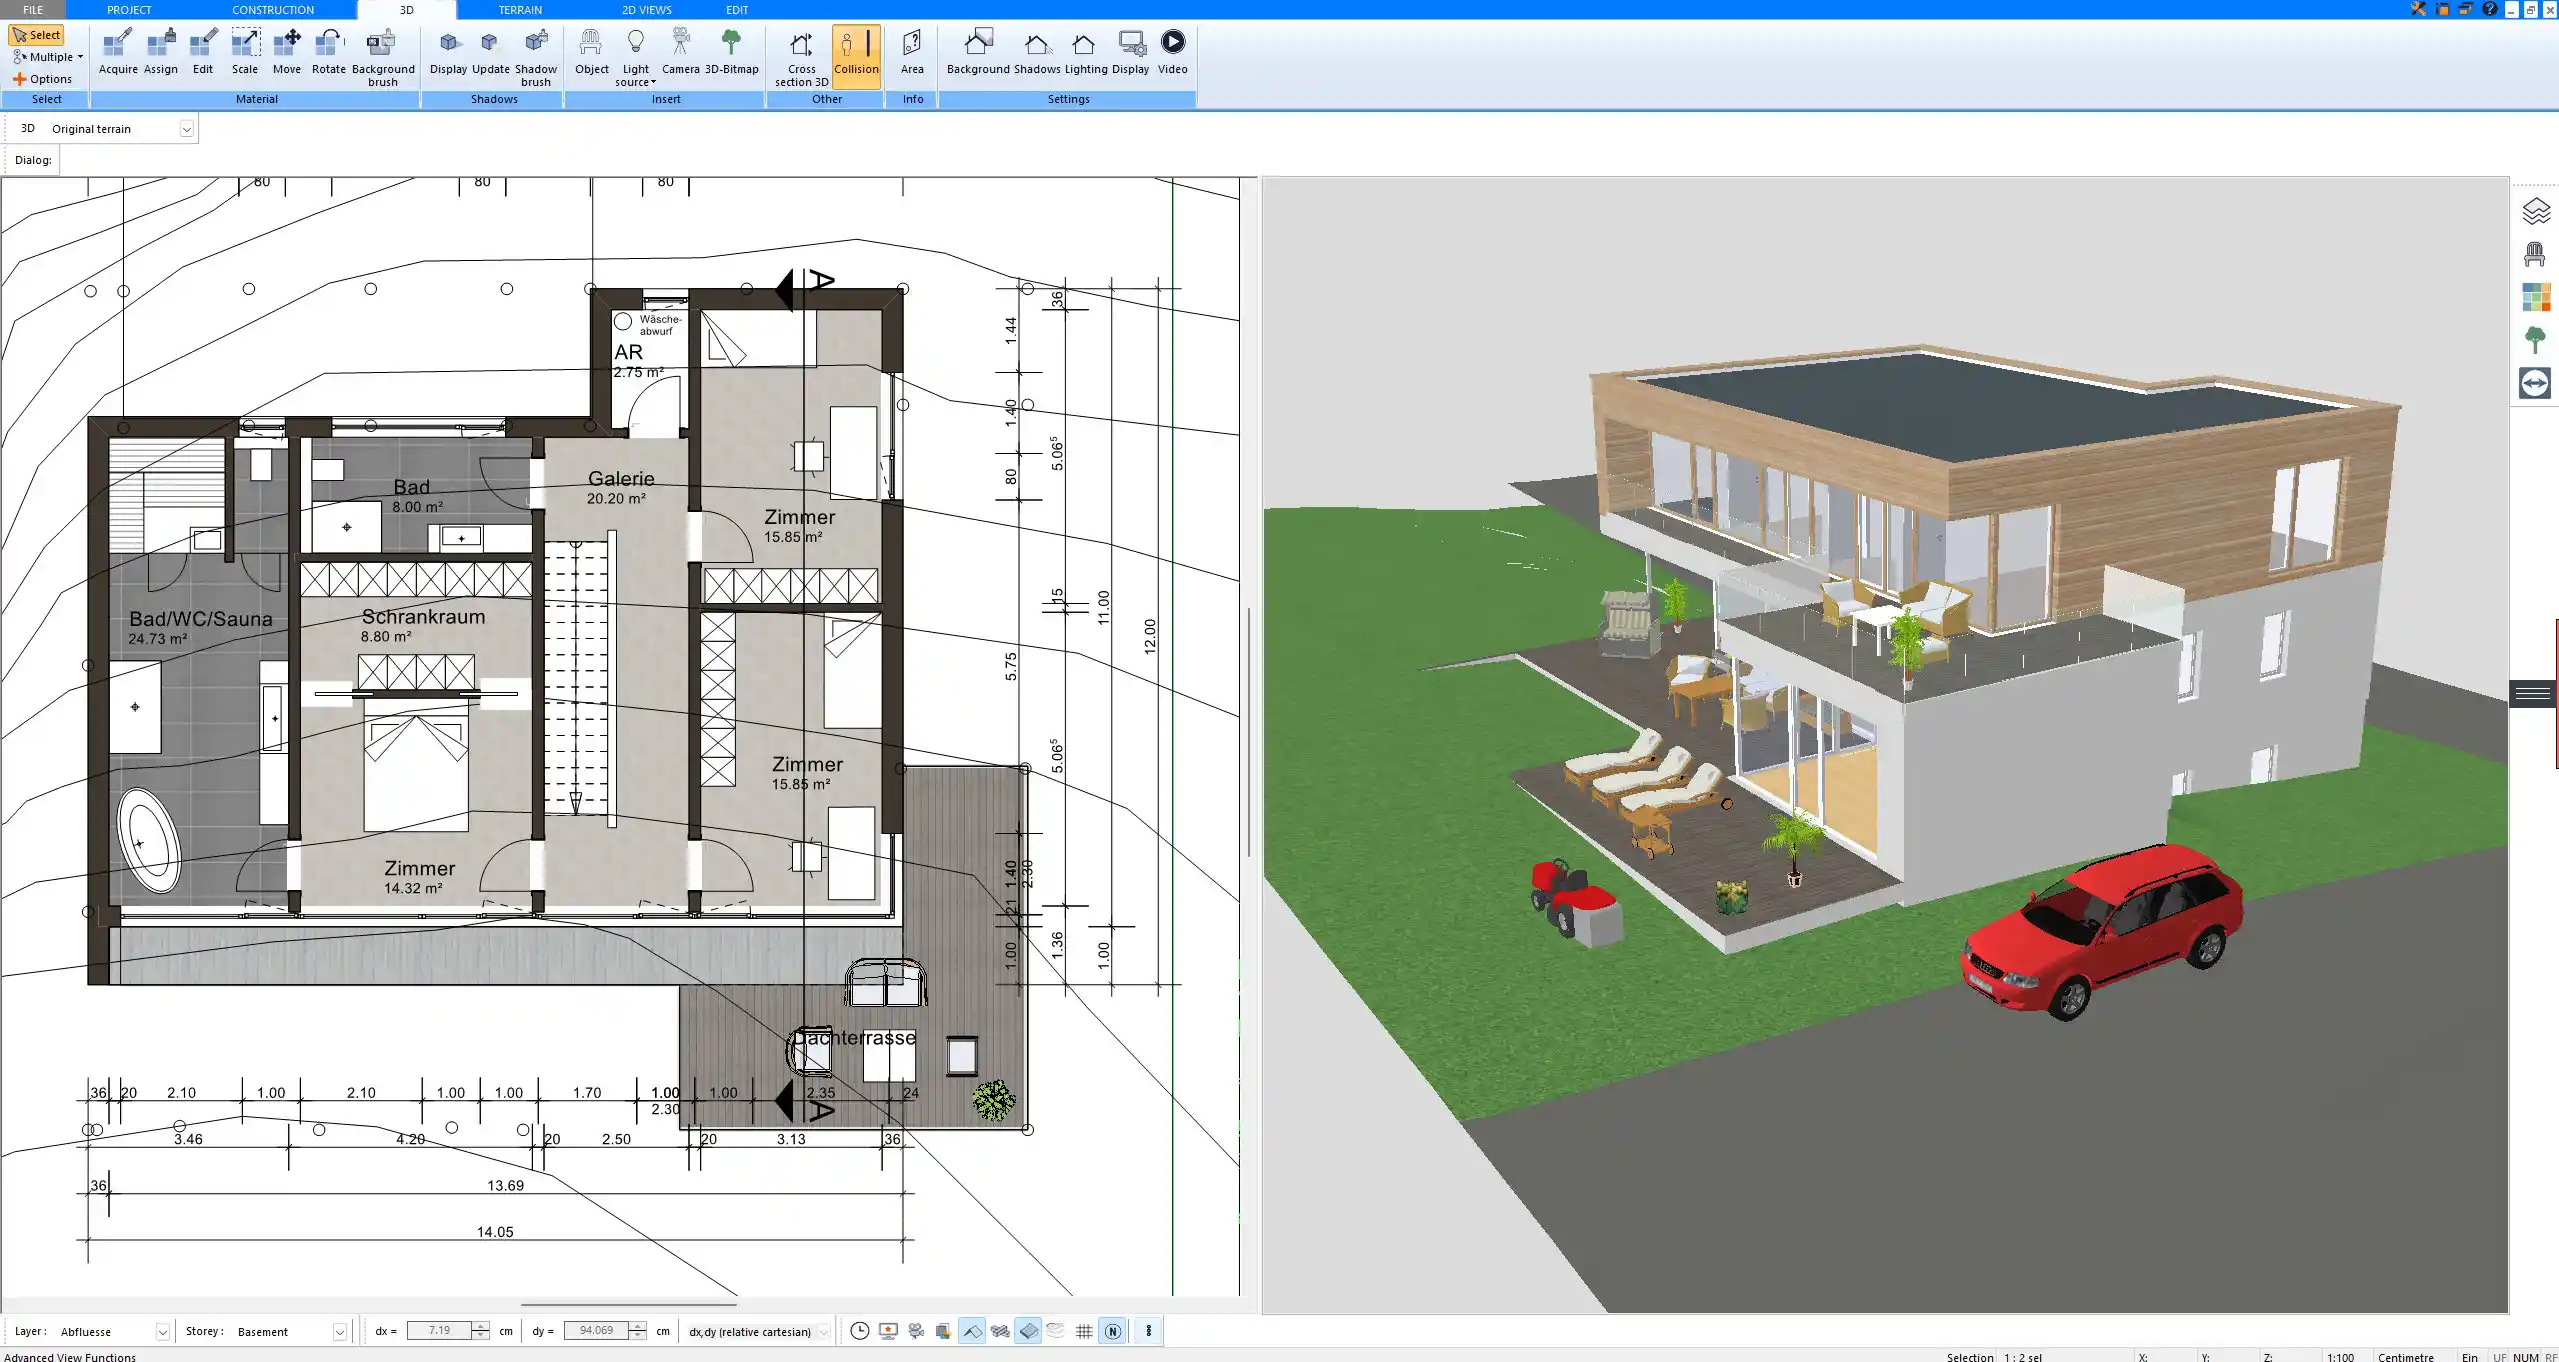
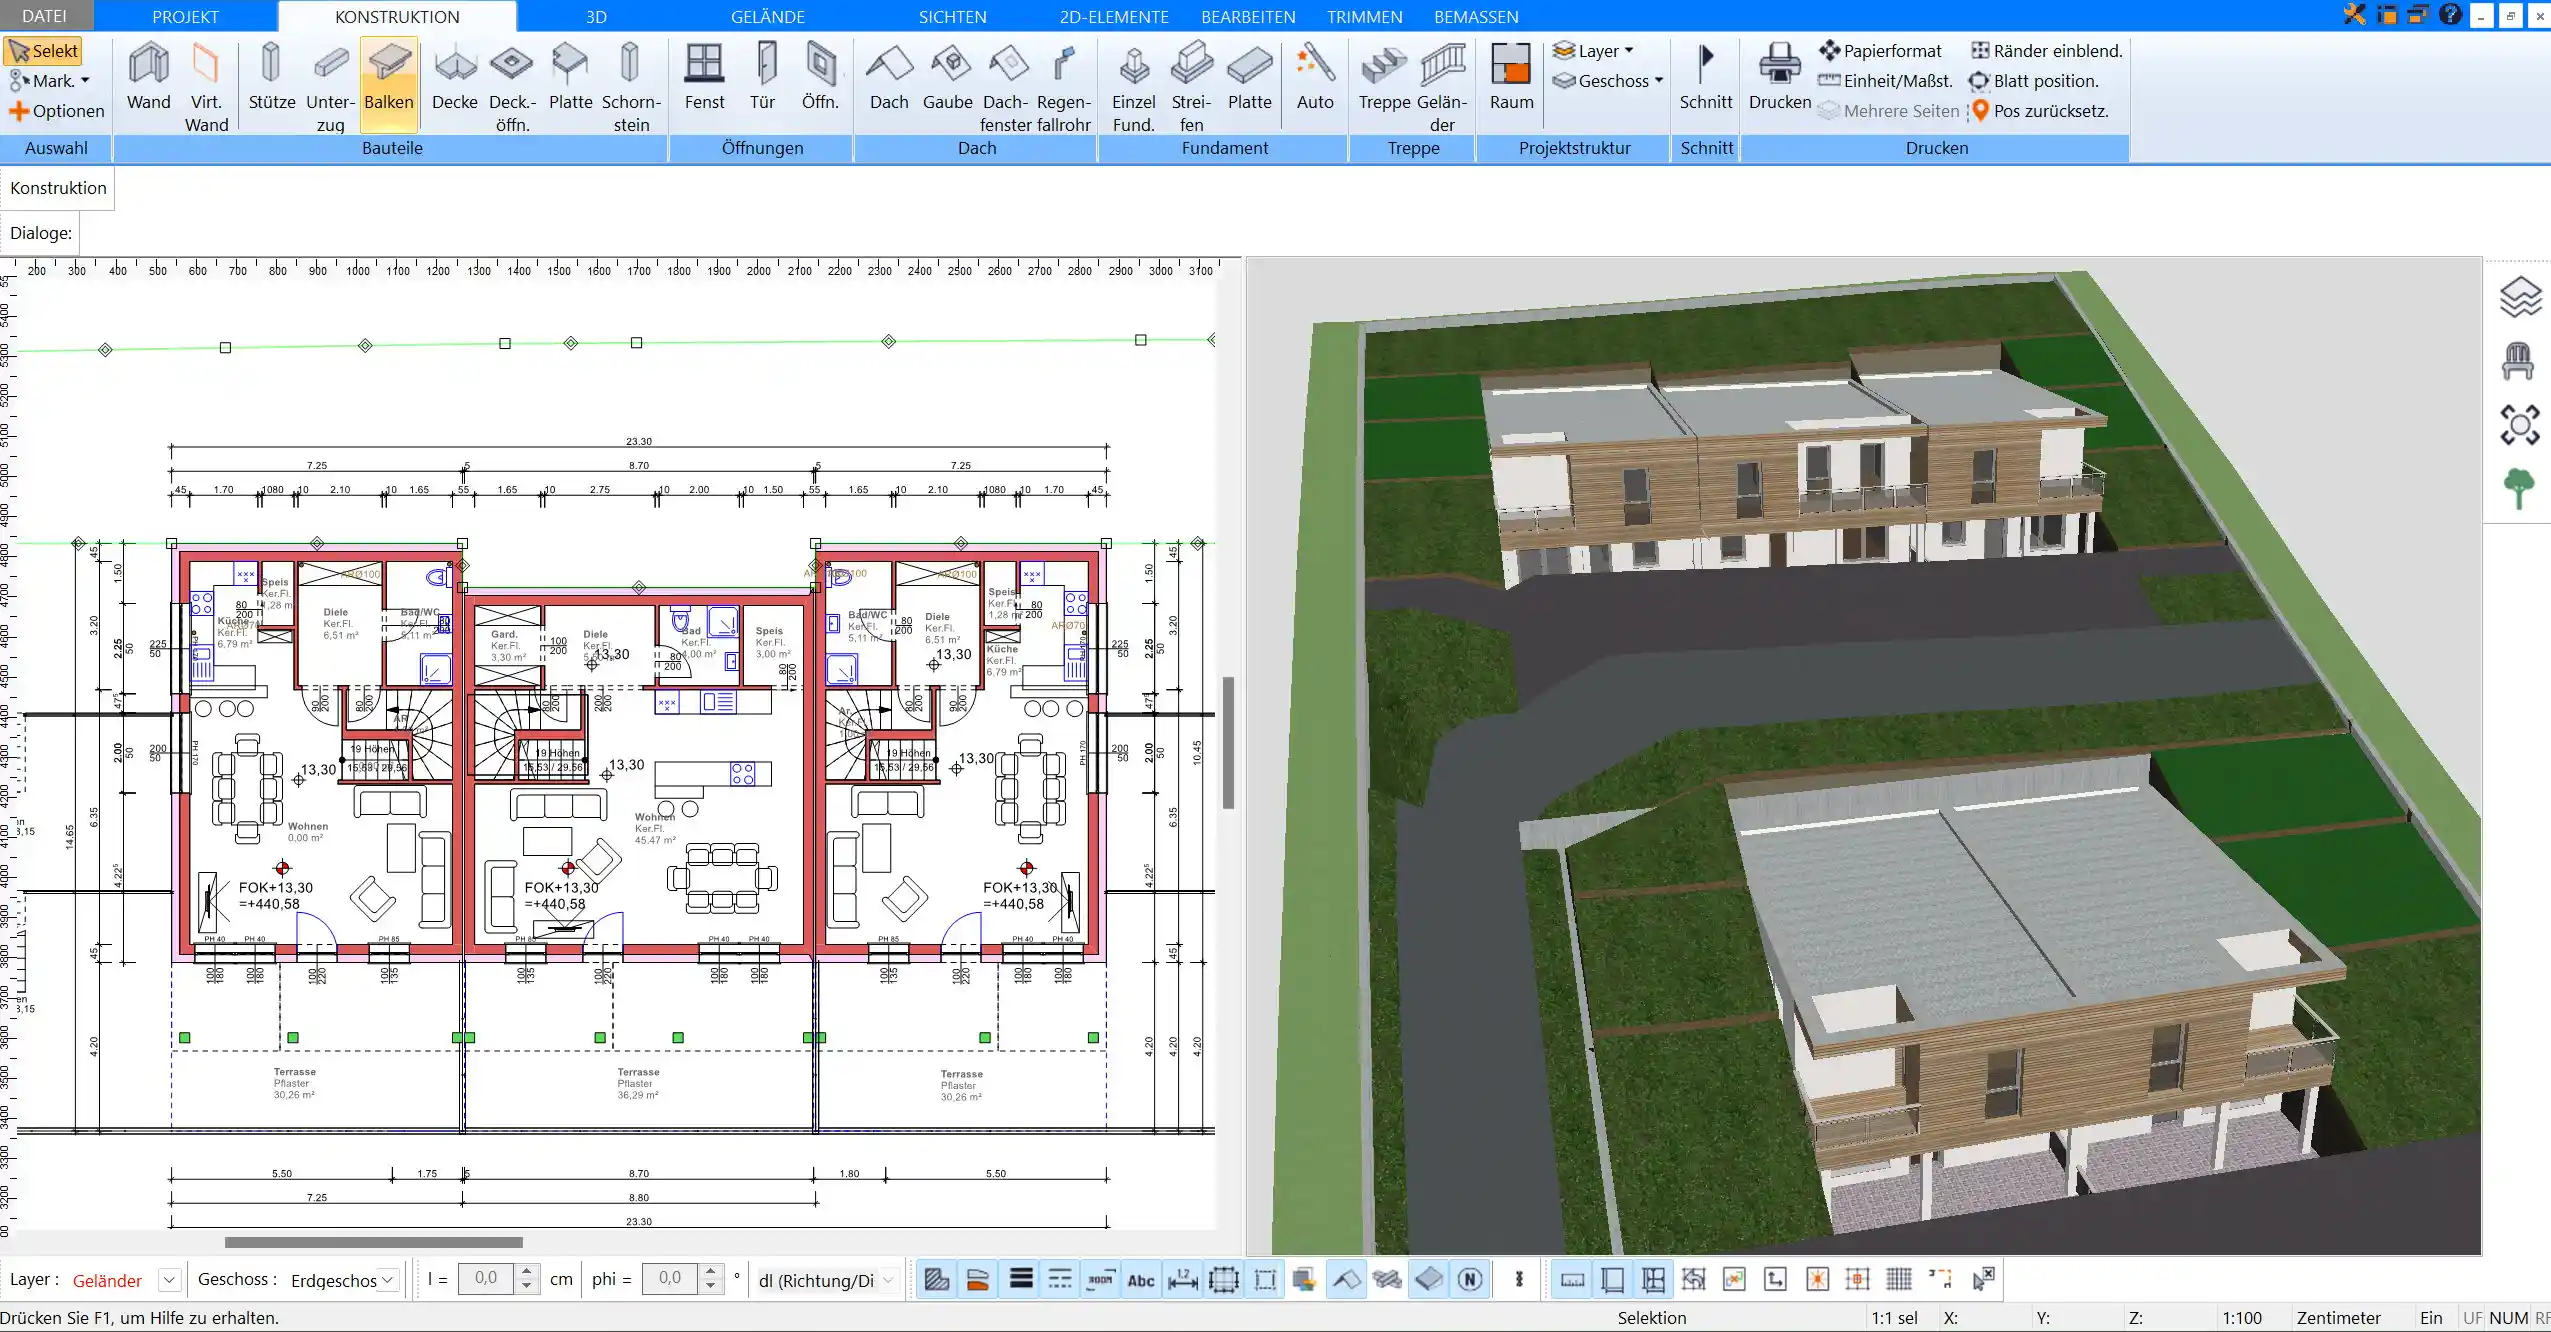
5. View Everything in Realistic 3D
As you make adjustments to terrain, structure, and access points, you can switch to the 3D view to inspect the house from every angle. This view includes:
-
Terrain with realistic elevation
-
Shadows, lighting, and textures
-
Complete walk-throughs and camera paths
You’ll be able to identify flaws or awkward transitions early, without needing physical models or expensive revisions.
Tips for Slope House Design
-
Align the layout with the natural slope instead of fighting it
-
Minimize excavation to save costs and preserve the environment
-
Let each floor have direct outdoor access when possible
-
Use stepped retaining walls instead of a single large one
-
Choose flat or low-pitch roofs for modern stepped looks
Tip: Use trees or natural terrain on the uphill side for shading and privacy. On the downhill side, large windows can maximize daylight without compromising insulation.
Supported Units and International Flexibility
Plan7Architect is fully adaptable to both European and American users. You can plan in metric or imperial units – meters or feet – depending on your project location or preferences. This makes it a suitable solution for international users and professionals working across borders.
All measurements, dimensions, and terrain heights can be displayed and edited in your preferred unit system with a simple setting switch.
Who Should Use Plan7Architect for Slope Houses?
-
Private builders who want to take control of their hillside home project
-
Architects and designers who regularly work with uneven terrain
-
Real estate developers working on mountain plots or cliffside properties
-
Students or DIY enthusiasts learning about topography-based design
Whether you’re designing a small cottage or a luxury home, the software gives you the tools to plan realistically and visually.
System Requirements and Compatibility
Plan7Architect runs on all modern Windows systems. For Mac users, it can be operated using Parallels or Boot Camp. The program is installed locally and doesn’t require an internet connection after activation, making it ideal for on-site planning or work in remote areas.
Minimum requirements:
-
Windows 10 or newer
-
8 GB RAM
-
Dedicated graphics card for smooth 3D rendering
Plan Your Slope House Easily – with Plan7Architect
With Plan7Architect, you can plan your slope house in detail – from terrain shaping and access routes to foundation design and 3D visualization. Whether your plot is gently sloped or steep, the software helps you build a home that fits the land naturally. You can work in either metric or imperial units and switch between them at any time.
Instead of a free trial, Plan7Architect offers a 14-day cancellation window: simply send an email if the software doesn’t meet your expectations. This way, you can explore its full features without risk and start designing your dream hillside home today.
Plan your project with Plan7Architect

Plan7Architect Pro 5 for $109.99
You don’t need any prior experience because the software has been specifically designed for beginners. The planning process is carried out in 5 simple steps:
1. Draw Walls

2. Windows & Doors

3. Floors & Roof

4. Textures & 3D Objects

5. Plan for the Building Permit

6. Export the Floor Plan as a 3D Model for Twinmotion

- – Compliant with international construction standards
- – Usable on 3 PCs simultaneously
- – Option for consultation with an architect
- – Comprehensive user manual
- – Regular updates
- – Video tutorials
- – Millions of 3D objects available


