A solid house (also known as a “Massivhaus”) is a building constructed primarily from heavy, durable materials such as concrete, brick, or stone. These materials form the structural backbone of the house, resulting in long-lasting stability, excellent thermal insulation, and superior sound protection.
To plan such a solid house with Plan7Architect, start by choosing the “solid construction” option when setting up your project. From there, you can define your external and internal walls with the precise thickness required for brick, concrete, or stone. The software allows you to layer materials (e.g., concrete core, insulation, and plaster), adjust foundation dimensions, set accurate ceiling heights, and place structural elements such as load-bearing walls, beams, and pillars.
Plan7Architect offers planning in both metric (m², cm) and imperial (sq ft, inches) units. You can switch between them at any time in the settings, which makes the software suitable for users worldwide.
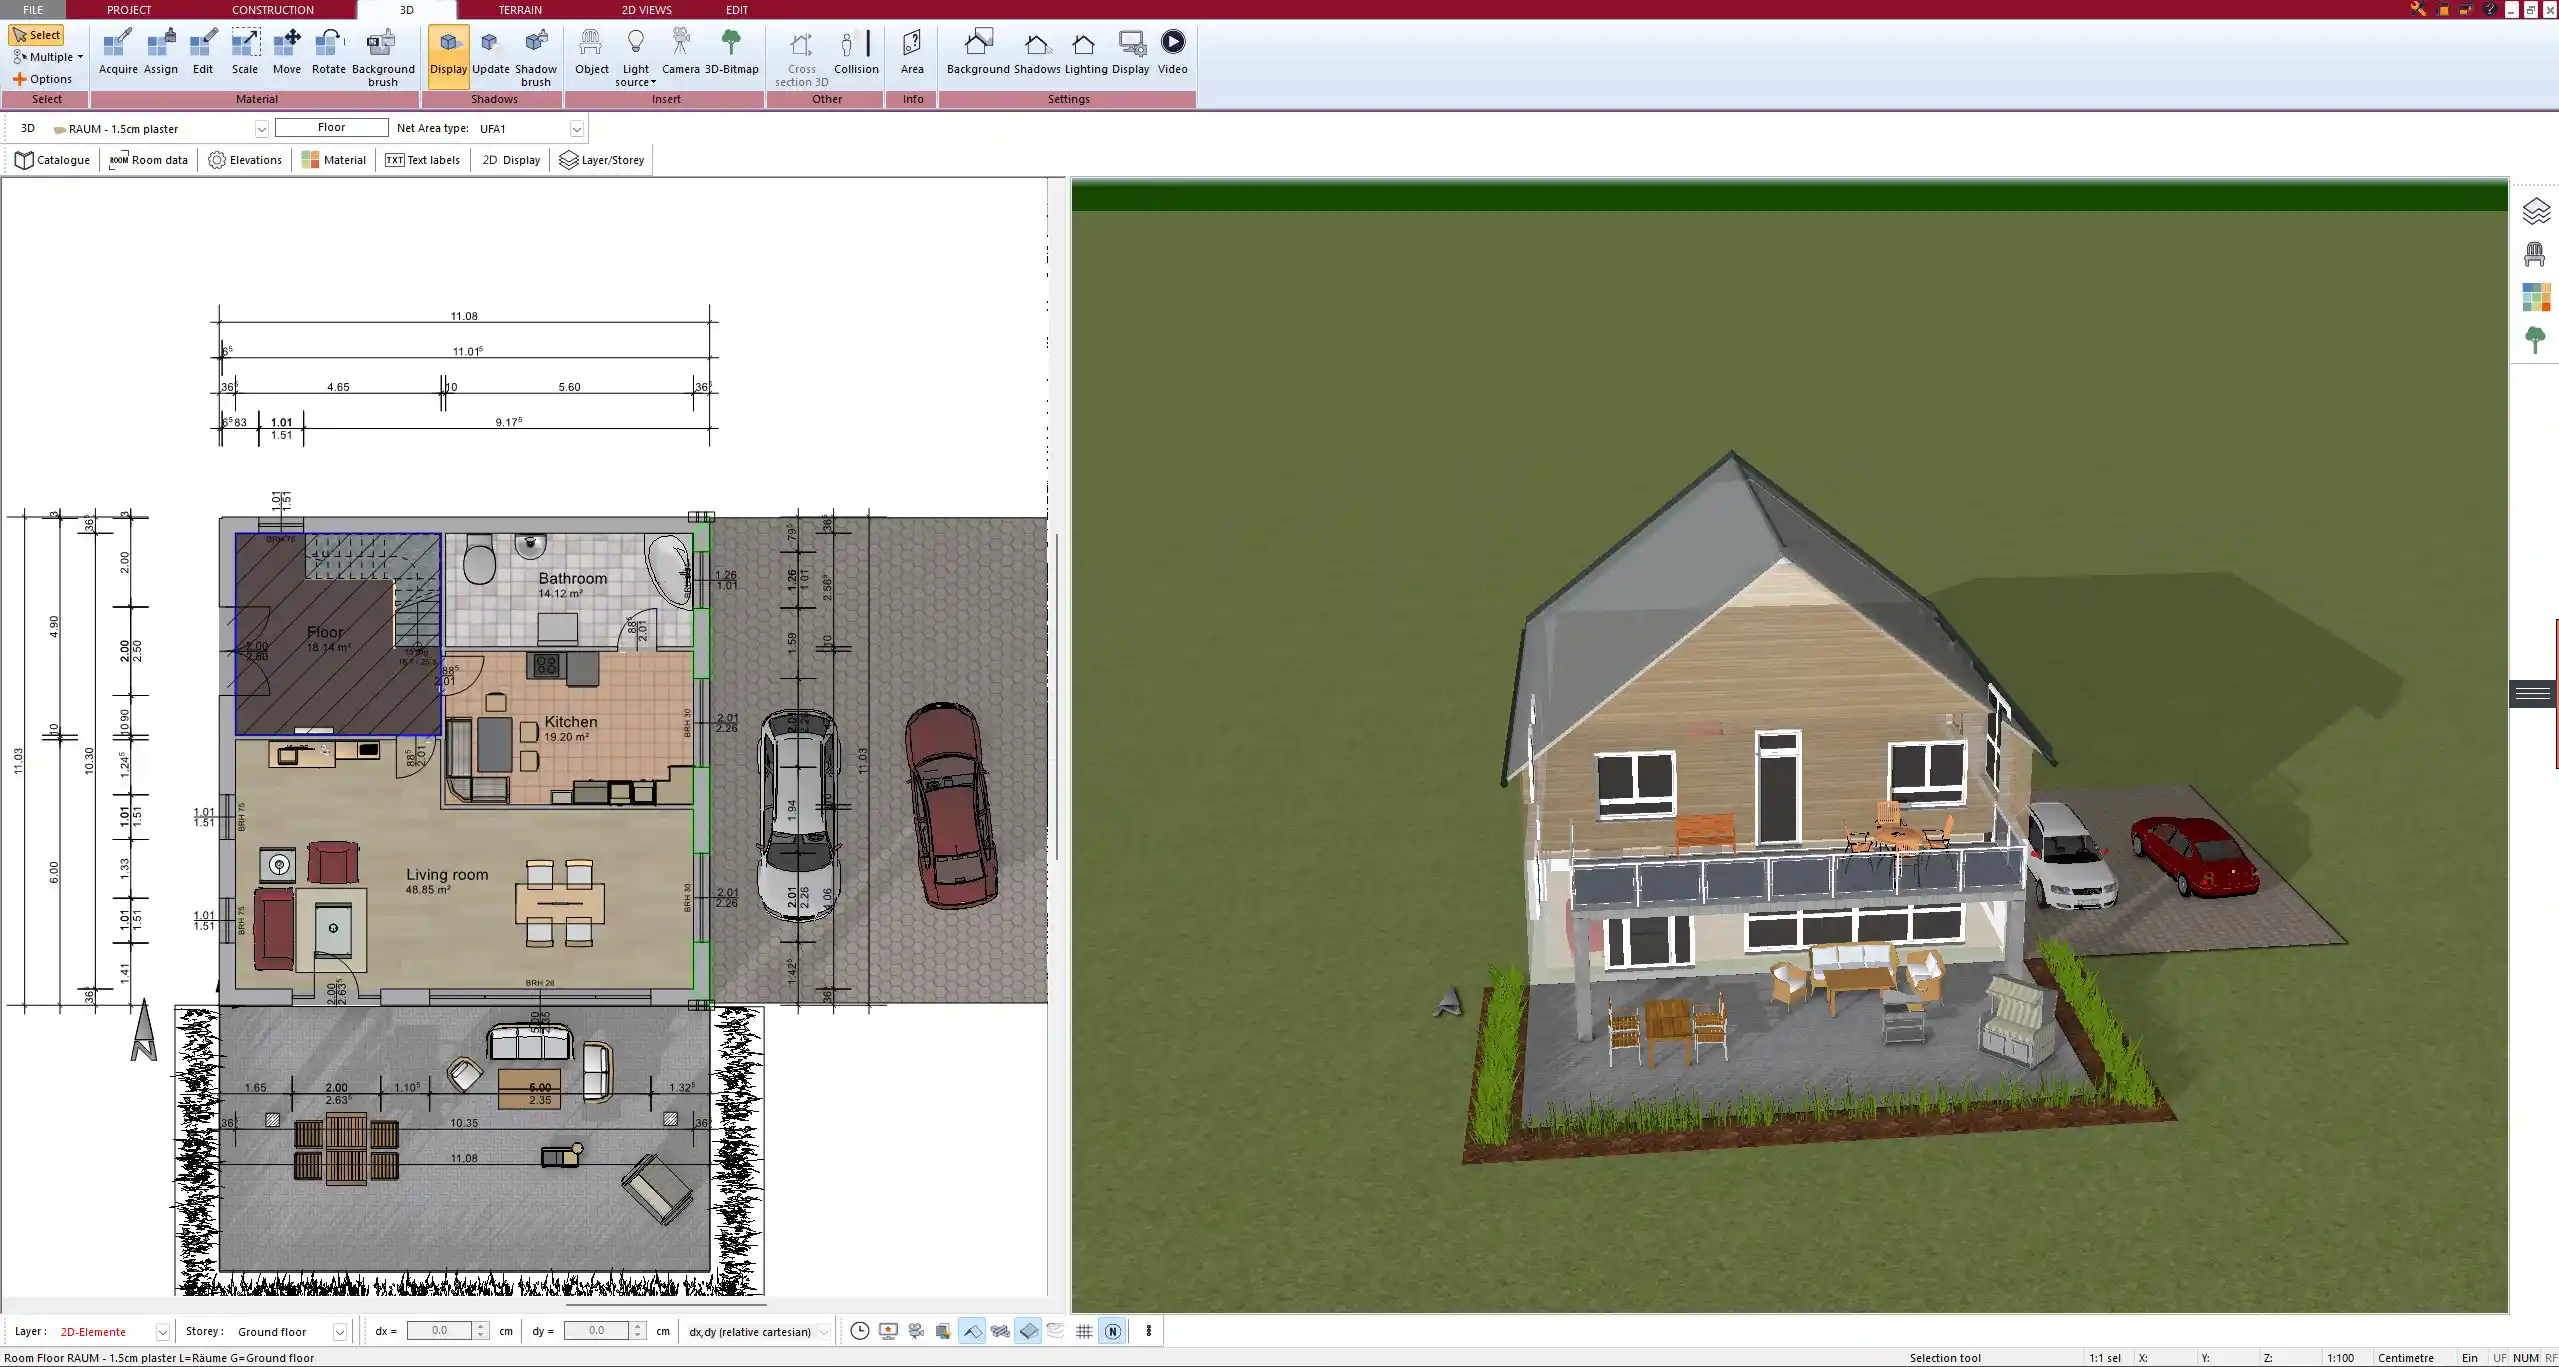
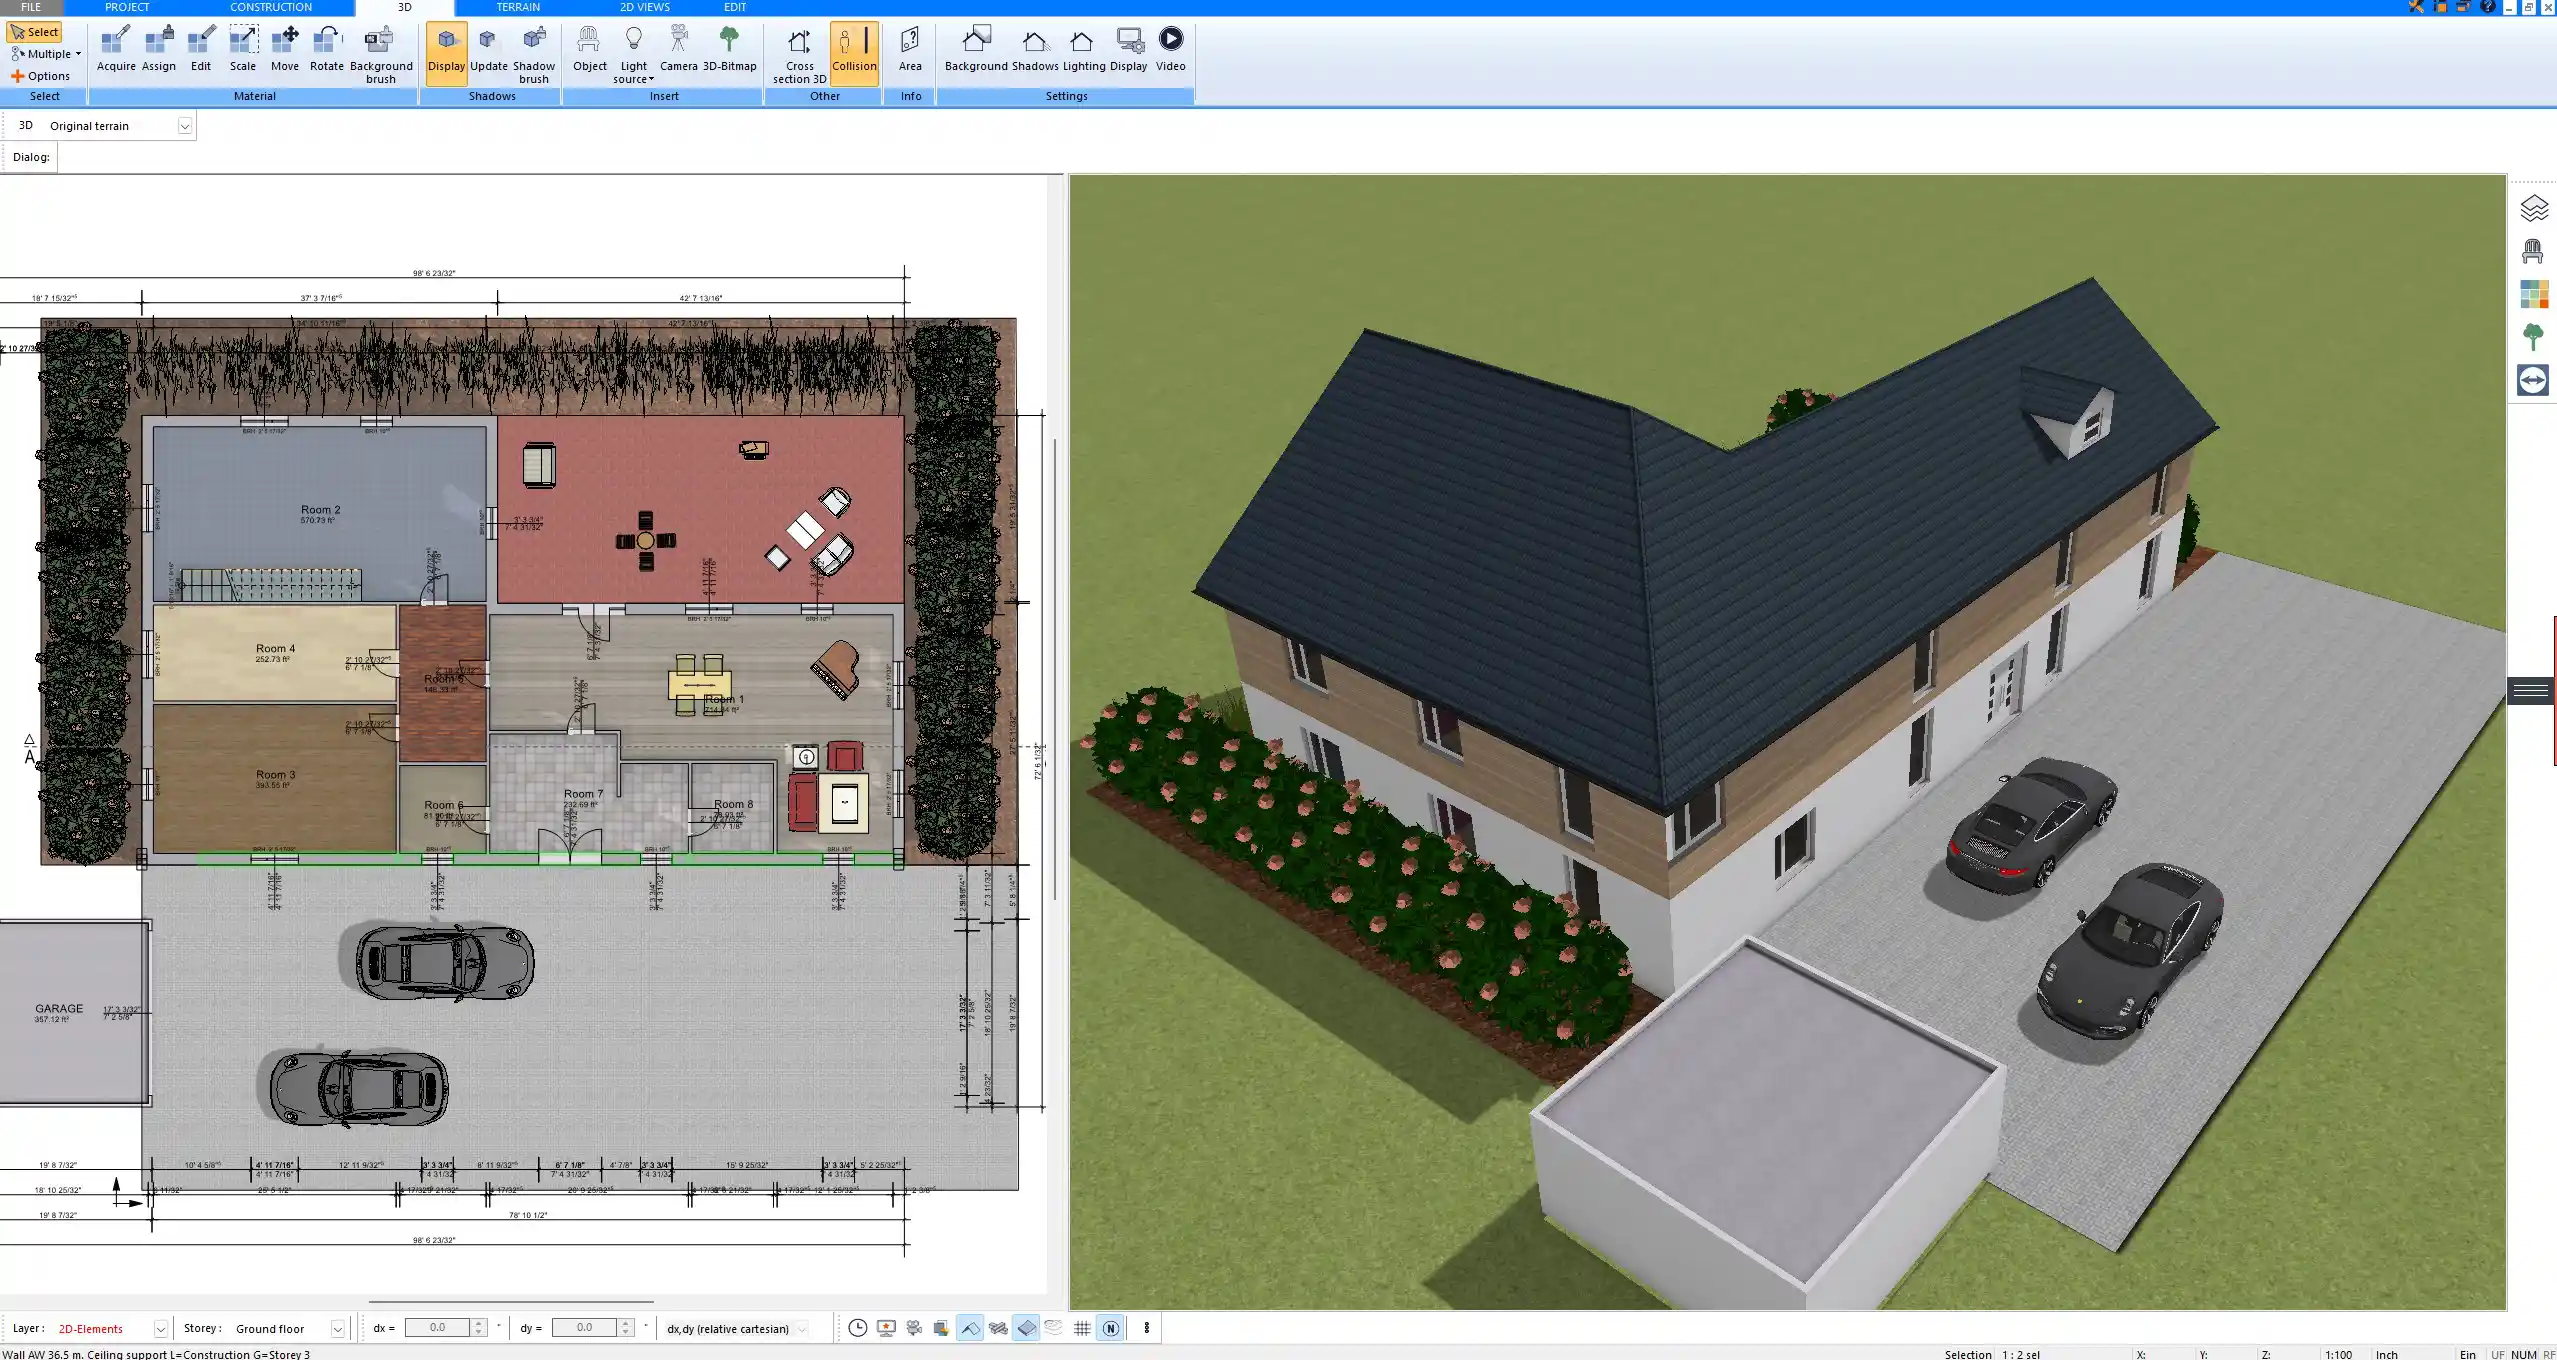
Once your base structure is drawn in 2D, you can switch to the 3D view to verify construction logic and visualize materials in a realistic representation. This gives you full control over both the technical and aesthetic aspects of your solid house design.
Step-by-Step Guide to Planning a Solid House in Plan7Architect
1. Set up project type and units
After launching Plan7Architect, create a new project and define the building type as “solid house.” This setting ensures that the tools and wall configurations are appropriate for traditional masonry or concrete construction.
Then, choose the unit system. You can work in:
-
Metric: centimeters, meters, square meters
-
Imperial: inches, feet, square feet
Both systems are fully supported and interchangeable even after you begin your planning process.
2. Create outer walls and foundation
Start with the external load-bearing walls. Use the wall tool to draw the perimeter of the house. You can define the wall structure in multiple layers:
| Layer | Material Example | Function |
|---|---|---|
| Exterior Finish | Plaster or Stone Veneer | Weather protection & aesthetics |
| Insulation | Mineral wool | Thermal efficiency |
| Core Structure | Concrete or Brick | Load-bearing |
| Interior Finish | Gypsum or plasterboard | Interior surface |
The wall thickness can be freely adjusted to reflect your structural needs. For example, external walls may be 30–45 cm (12–18 in) thick depending on insulation and material, while internal load-bearing walls may range from 17–25 cm (7–10 in).
Also, define your foundation type—whether slab, crawl space, or full basement. The software supports layering for foundation details and lets you set depth, material, and reinforcement details.
3. Add interior walls and room divisions
Once the shell is complete, add internal walls. You can either:
-
Draw walls manually
-
Use pre-configured room templates (living room, kitchen, bedroom, etc.)
Snap-to-grid tools help you align walls with precision. If you are replicating an existing design, you can even import background images or scanned floor plans and trace over them.
4. Insert windows, doors, and load-bearing elements
Place windows and doors from the integrated library. Plan7Architect offers a wide selection, including solid-construction-specific elements like concrete door frames or steel-reinforced window structures.
For each opening, you can define:
-
Width and height
-
Sill height and position
-
Frame and lintel materials
When designing solid houses, it’s important to properly plan load-bearing walls and reinforcements. Use the structural component tool to add:
-
Pillars
-
Beams
-
Lintels over large openings
These components can be placed manually or automatically based on spans and wall type.
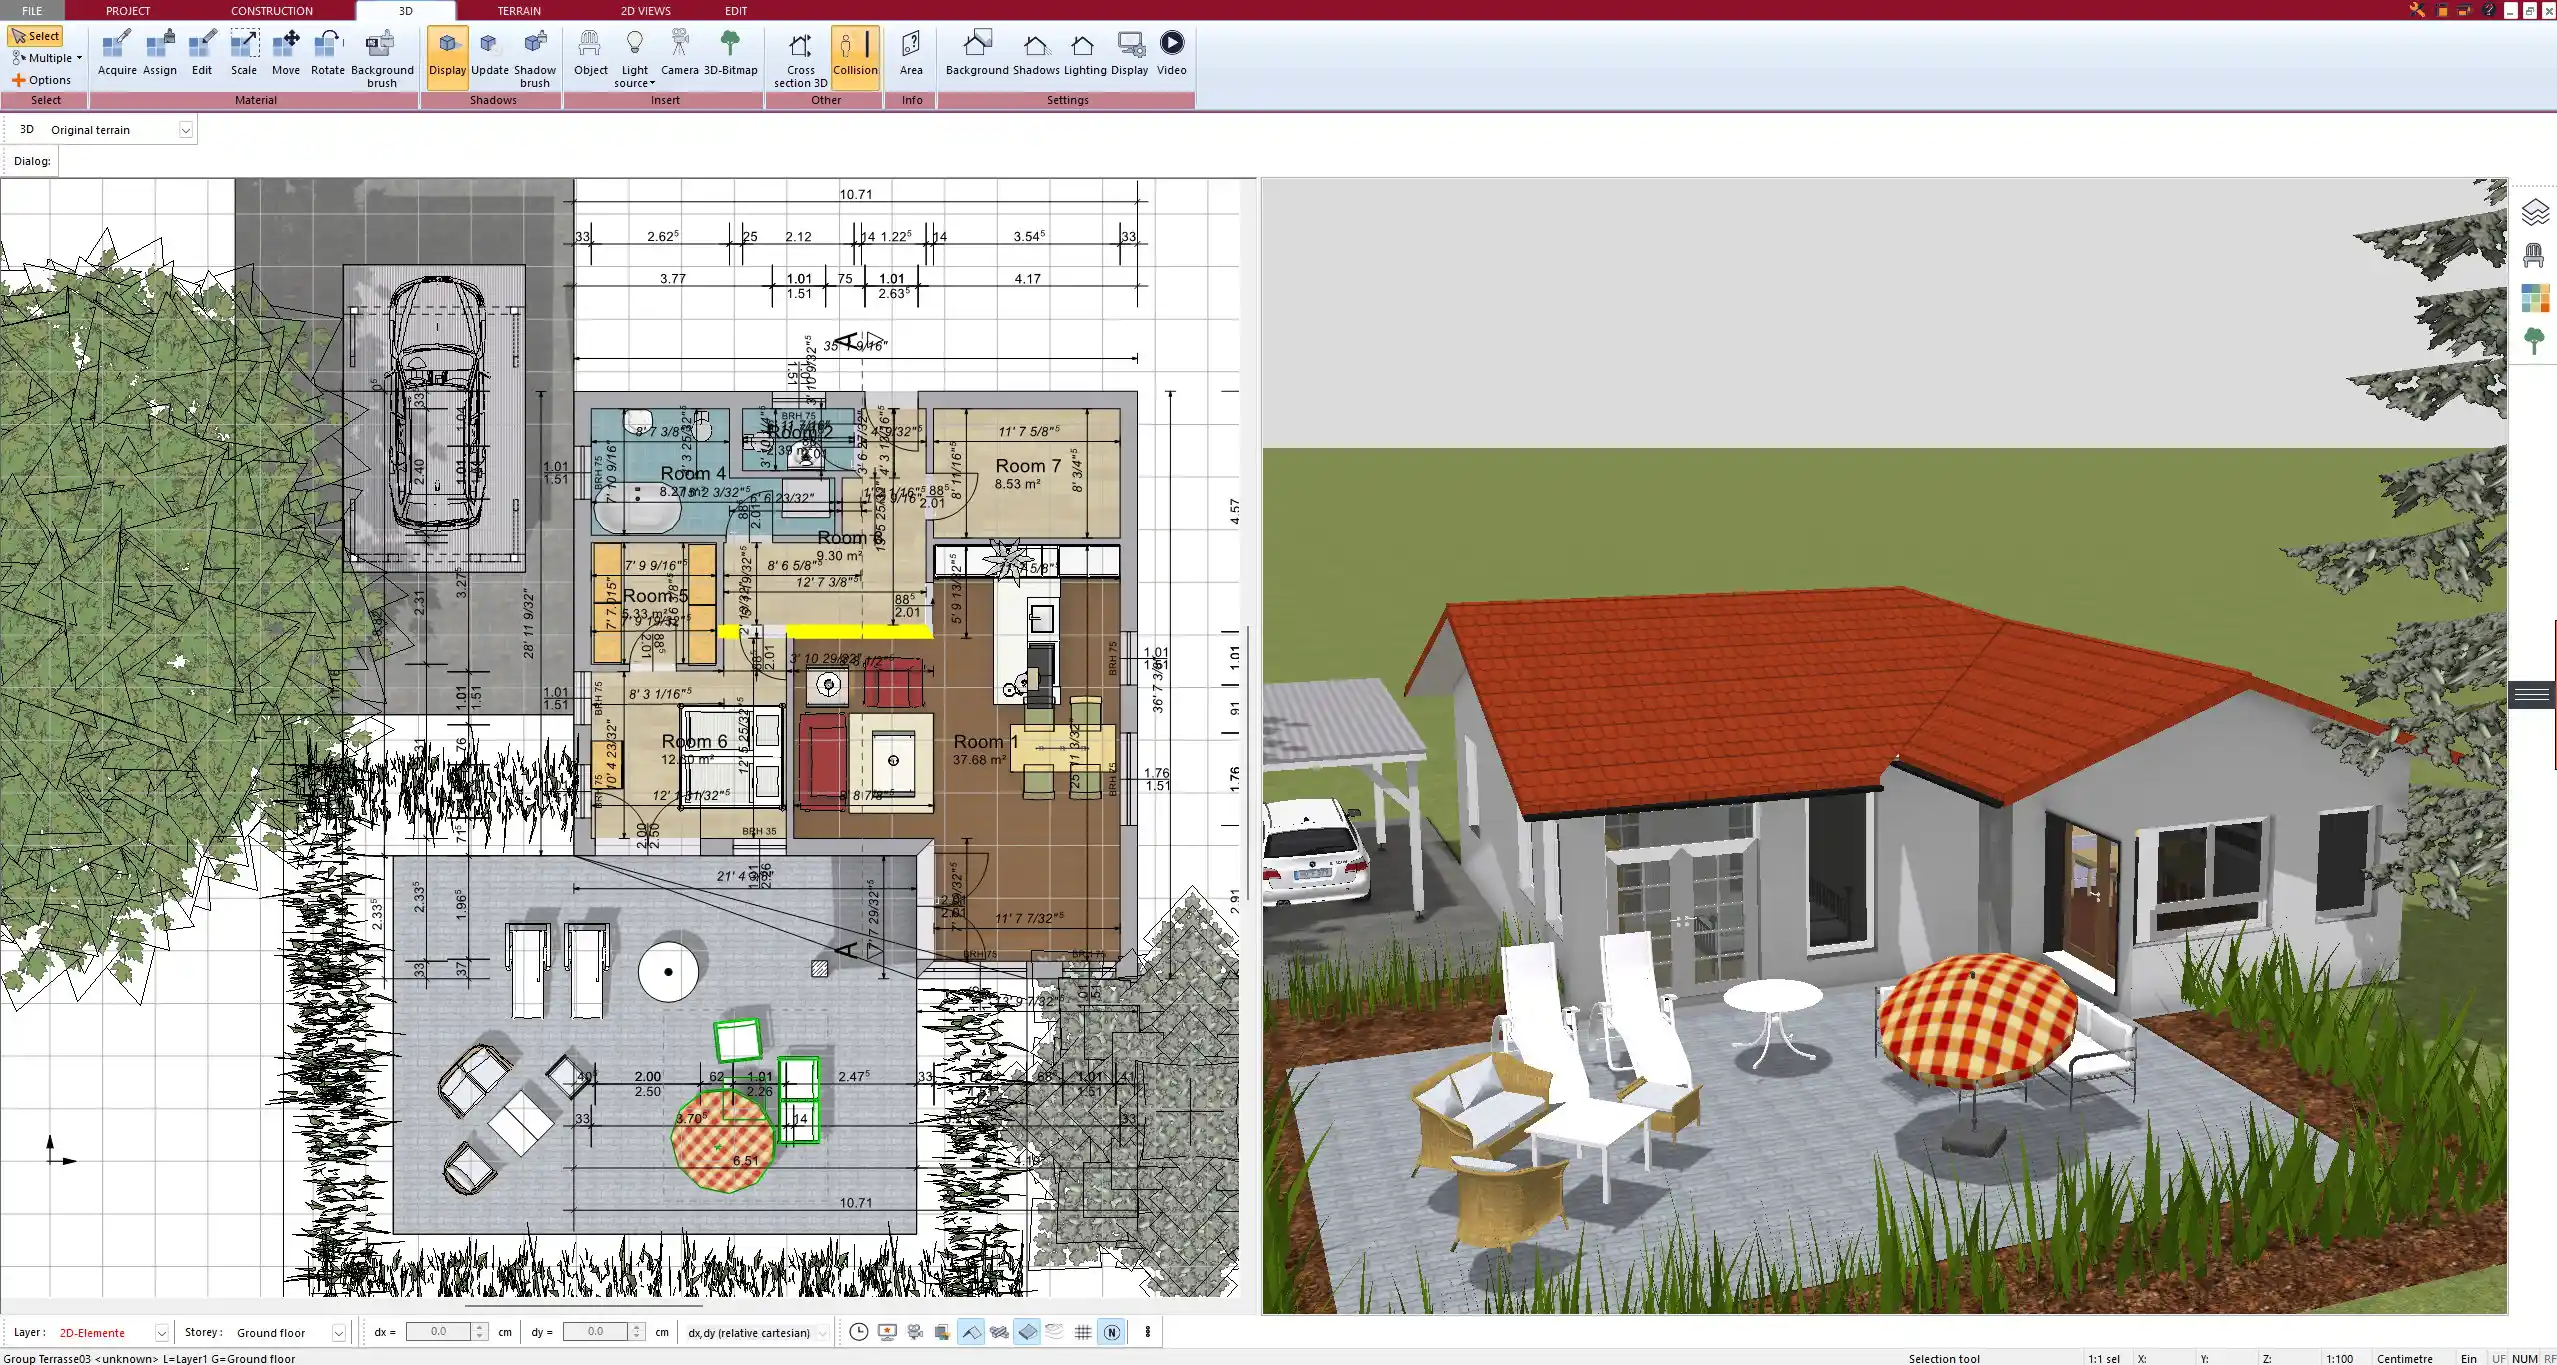
5. Plan multiple floors and ceiling heights
For multi-level homes, use the floor manager to stack floor plans. Each floor can have individual ceiling heights and slab thicknesses. For solid houses, typical ceiling heights range from 2.40 m to 2.80 m (8 ft to 9 ft).
You can copy floor outlines from lower levels or start fresh on each floor. Staircases can be added from the library and customized for width, tread depth, and materials.
Design Features Specifically for Solid Houses
Material Simulation and Realistic Wall Composition
One of the strengths of Plan7Architect is its ability to simulate realistic construction layers. You can create multi-layered wall systems visually, with color-coded sections and texture previews.
This feature allows you to:
-
Compare insulation types visually
-
Test different exterior finishes
-
Check the internal wall structure in 3D cutaway views
Tip:
Use the “Section Cut” tool to create cross-sections through the building and review the entire wall buildup from outside to inside.
Static and weight considerations
Solid construction adds structural mass, which must be accounted for in your floor plan. Plan7Architect enables you to designate walls as load-bearing and simulate how they interact with the rest of the building.
Use the load-bearing mode to:
-
Prevent accidental deletion of key walls
-
Automatically suggest structural reinforcements
-
Warn you about unsupported spans
You can also manually add reinforced concrete beams and columns where needed.
Solid construction roof options
The software offers a range of roof types suitable for heavy construction:
-
Flat roofs with insulation and gravel layers
-
Gabled or hip roofs with rafters and tiles
-
Custom roof pitch and overhang settings
Each layer—support beams, insulation, waterproofing, tiling—can be adjusted. The roof editor works in both 2D and 3D and allows full control over ridge lines, angles, and dormer placement.
Floor Plan Templates and Customization Options
Plan7Architect includes editable templates for common solid house designs, including:
| Template Type | Description |
|---|---|
| Single-family house | Compact or spacious, 1–3 floors |
| Bungalow | One-story with wide floor plan |
| Duplex | Two apartments side by side or stacked |
| Villa | Luxurious layout with large rooms |
Each template can be customized—change room sizes, adjust wall positions, or add extensions. You can also start completely from scratch.
Export Options & Technical Documents
Plan7Architect offers a wide range of export features, essential for documentation and construction coordination.
-
2D Exports: PDF, PNG, DWG (AutoCAD-compatible)
-
3D Models: OBJ and other standard formats
-
Print-ready Plans: Scaled construction drawings with dimensions
The software also generates detailed lists:
-
Wall area (for calculating bricks or plaster)
-
Room area (net and gross)
-
Window and door schedule
All documents support both metric and imperial unit displays, ideal for working with international contractors or suppliers.
Tips for Planning a Solid House Efficiently
Use layers for construction phases
Organize your plan by separating layers for:
-
Foundation
-
Walls
-
Electrical layout
-
Plumbing and HVAC
-
Roof structure
This allows you to turn layers on or off as needed, simplifying the planning process and error checking.
Plan wall breakthroughs early
When planning a solid house, cutting through walls later is expensive and time-consuming. Use placeholder elements early for:
-
Pipe and duct passages
-
Electrical conduits
-
Ventilation ducts
These can be marked in your plan and later refined in the technical drawing phase.
Visualize in 3D throughout the process
Switch regularly between 2D and 3D to avoid mistakes and ensure that the space looks and functions the way you intend. The real-time 3D viewer also helps detect ceiling conflicts, awkward furniture layouts, or unrealistic wall placements.
Conclusion – Plan Your Solid House Professionally
With Plan7Architect, you can design your solid house floor plan from the ground up using real construction methods and accurate material settings. Whether you build in concrete, brick, or stone, this software gives you the control and visual feedback needed for precise planning—without hiring a full architectural team. Since the software supports both metric and imperial measurements, it’s ideal for users across the globe.
Plan your project with Plan7Architect

Plan7Architect Pro 5 for $99.99
You don’t need any prior experience because the software has been specifically designed for beginners. The planning process is carried out in 5 simple steps:
1. Draw Walls

2. Windows & Doors

3. Floors & Roof

4. Textures & 3D Objects

5. Plan for the Building Permit

6. Export the Floor Plan as a 3D Model for Twinmotion

- – Compliant with international construction standards
- – Usable on 3 PCs simultaneously
- – Option for consultation with an architect
- – Comprehensive user manual
- – Regular updates
- – Video tutorials
- – Millions of 3D objects available


