If you’re planning to design the floor plan of a prefabricated house yourself, Plan7Architect gives you all the tools to do it quickly, accurately, and professionally. The software allows you to create detailed 2D layouts and visualize them instantly in 3D, without needing any architectural background. Whether you’re building a modular home, a panelized structure, or a hybrid design, you can draw and adjust your floor plan with just a few clicks.
Plan7Architect works with both metric and imperial units. That means you can create your plan using meters or feet and inches, depending on where you are in the world or which construction standards you’re working with.
Why Plan7Architect Is Ideal for Prefab House Planning
From my experience using Plan7Architect for modular and prefabricated projects, I’ve found it especially well-suited for this type of construction. Prefab homes are built in sections off-site and later assembled on location, so planning accuracy is critical. The software supports this process by offering:
-
Flexible wall and room tools tailored for standard prefab modules
-
Snap-to-grid precision for laying out modular grids and elements
-
2D mode for technical accuracy
-
3D mode for visual realism and checking proportions
-
Real-time switching between 2D and 3D views
-
Extensive libraries of prefab-suitable windows, doors, and furniture
-
Editable wall thickness, room heights, and roof shapes
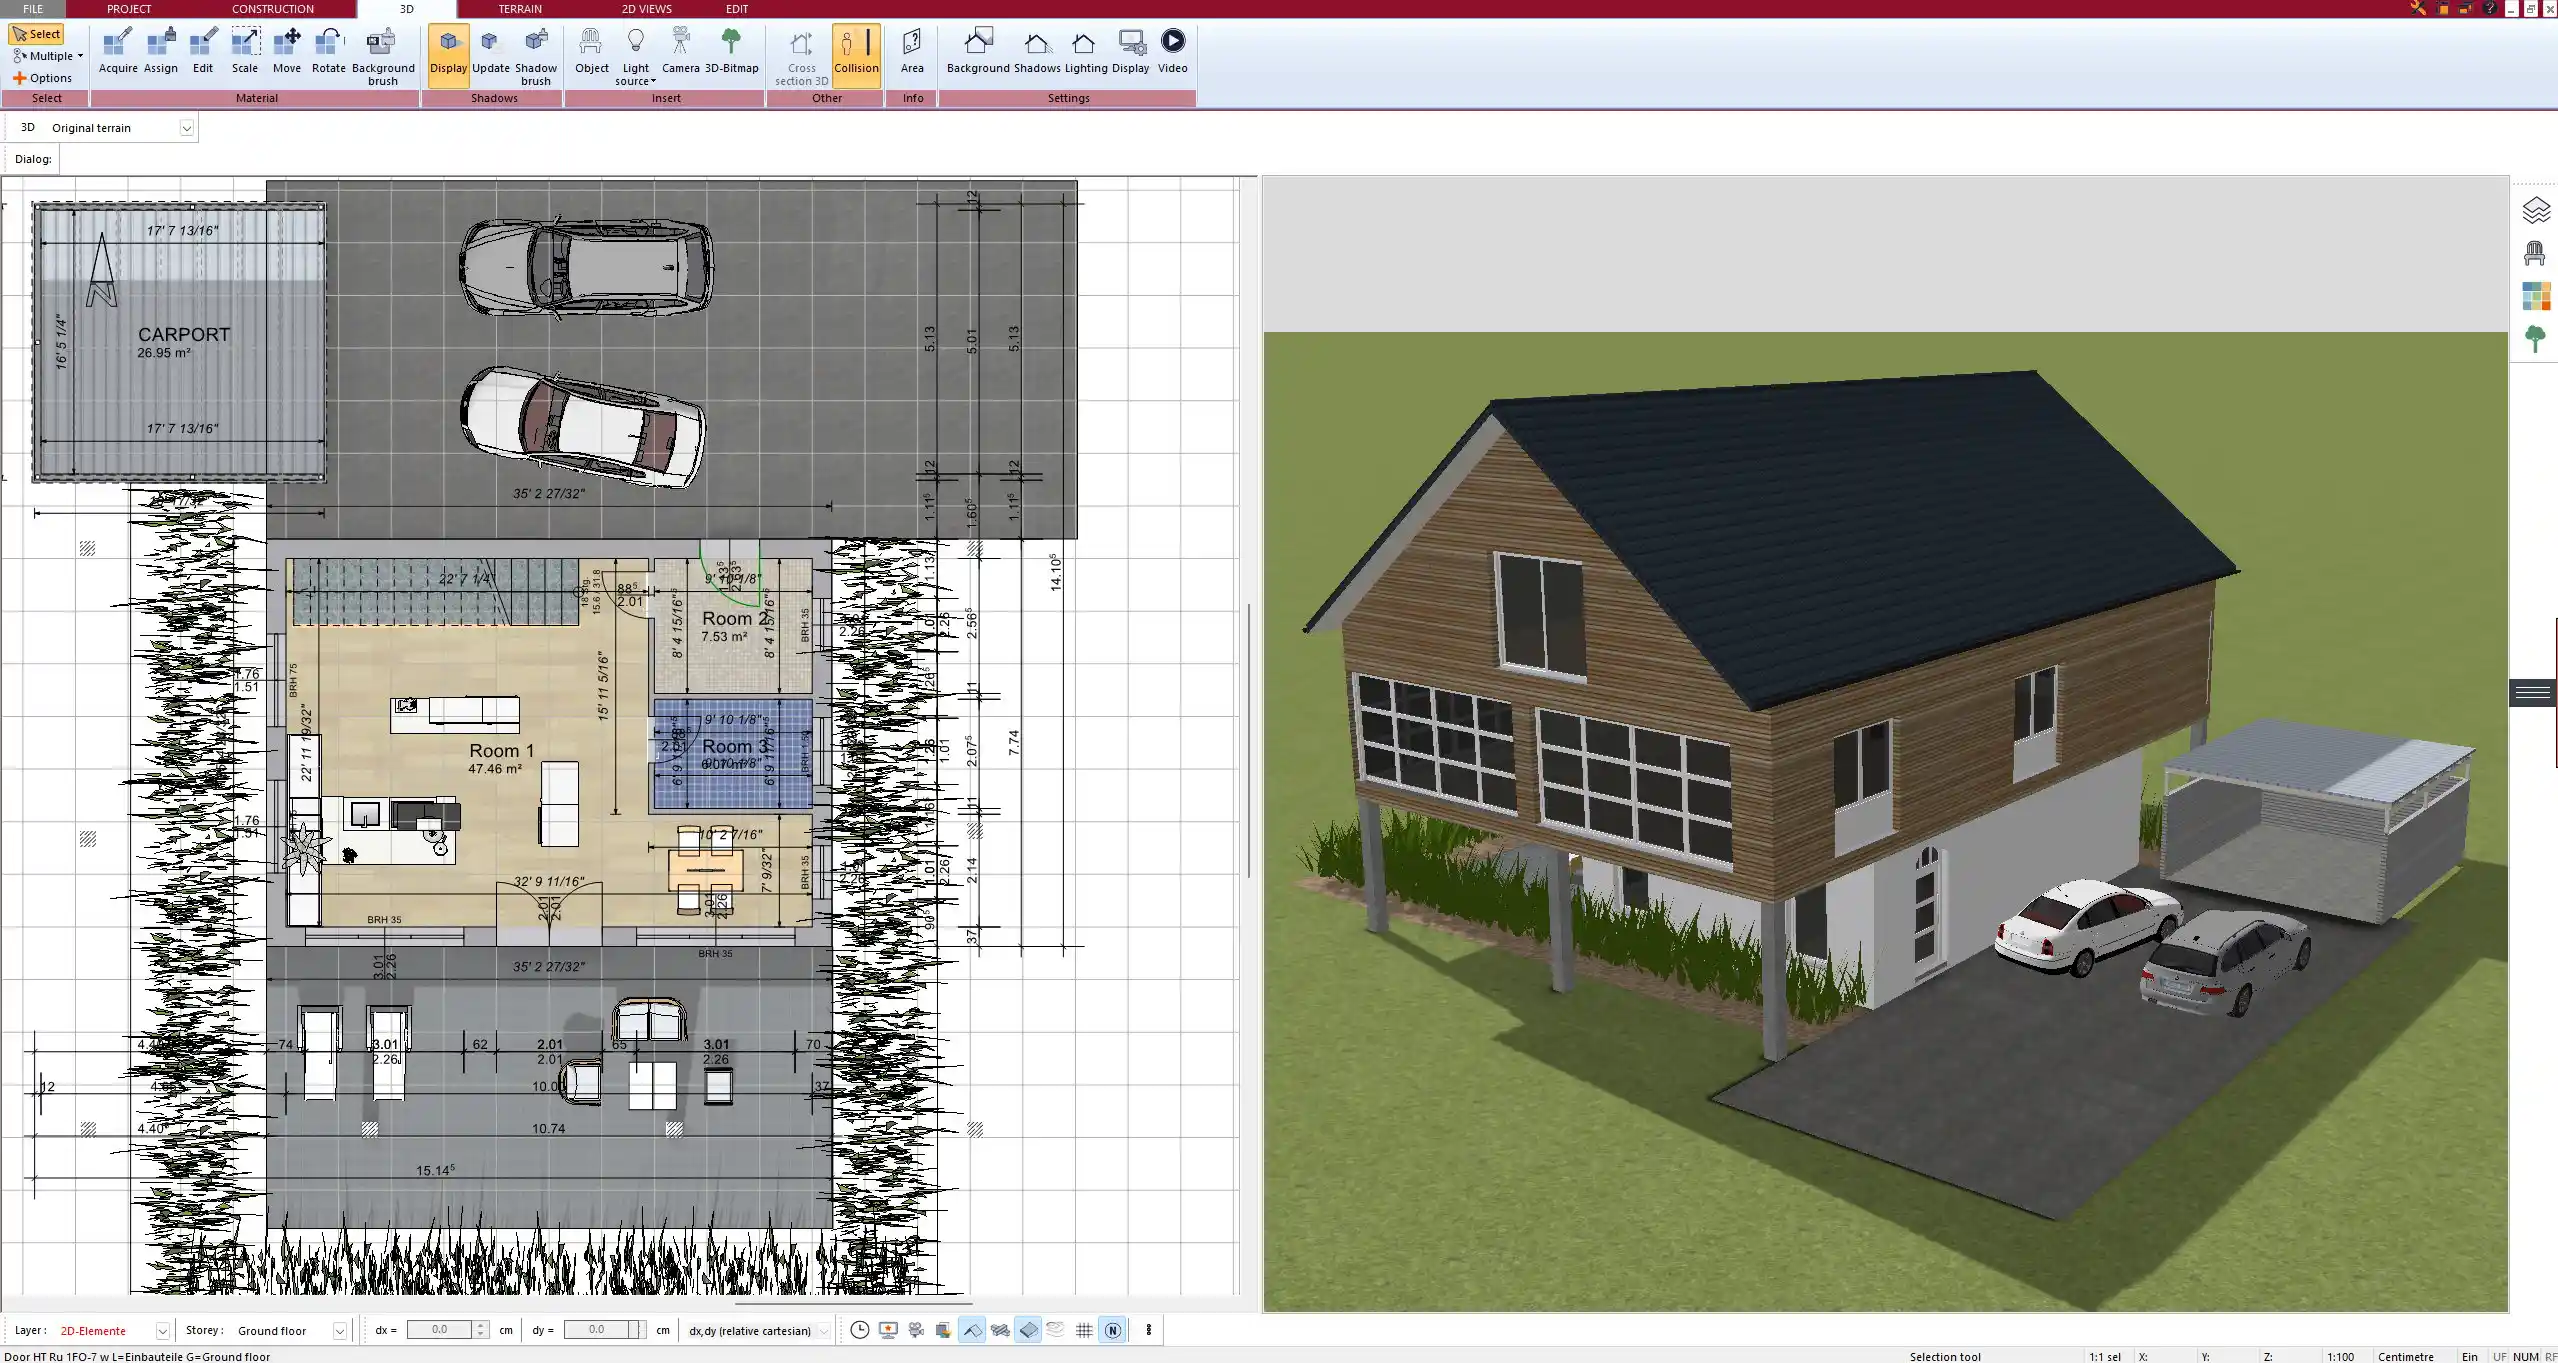
The interface is designed to be intuitive, and most functions work via drag-and-drop. Even if you’ve never worked with CAD software before, you’ll be able to get started within minutes.
Step-by-Step: How to Plan a Prefab House Floor Plan
Step 1 – Define the Exterior Structure
Start by outlining the outer walls of your prefab home. You can either choose from standard templates or draw custom walls with the wall tool. The measurements can be entered manually or by dragging the mouse. For modular systems, it’s helpful to keep to standard segment widths such as 1.20 meters or 4 feet.
Recommended exterior shapes for prefab designs:
-
Rectangular or square
-
L-shaped for more dynamic layouts
-
U-shaped for courtyard-style designs
-
Linear narrow formats for small plots
You can immediately insert exterior doors and define window placements. It’s also easy to add features like balconies, porches, and integrated carports.
Tip:
Keep external wall lengths in modular intervals to reduce custom factory work during prefab production.
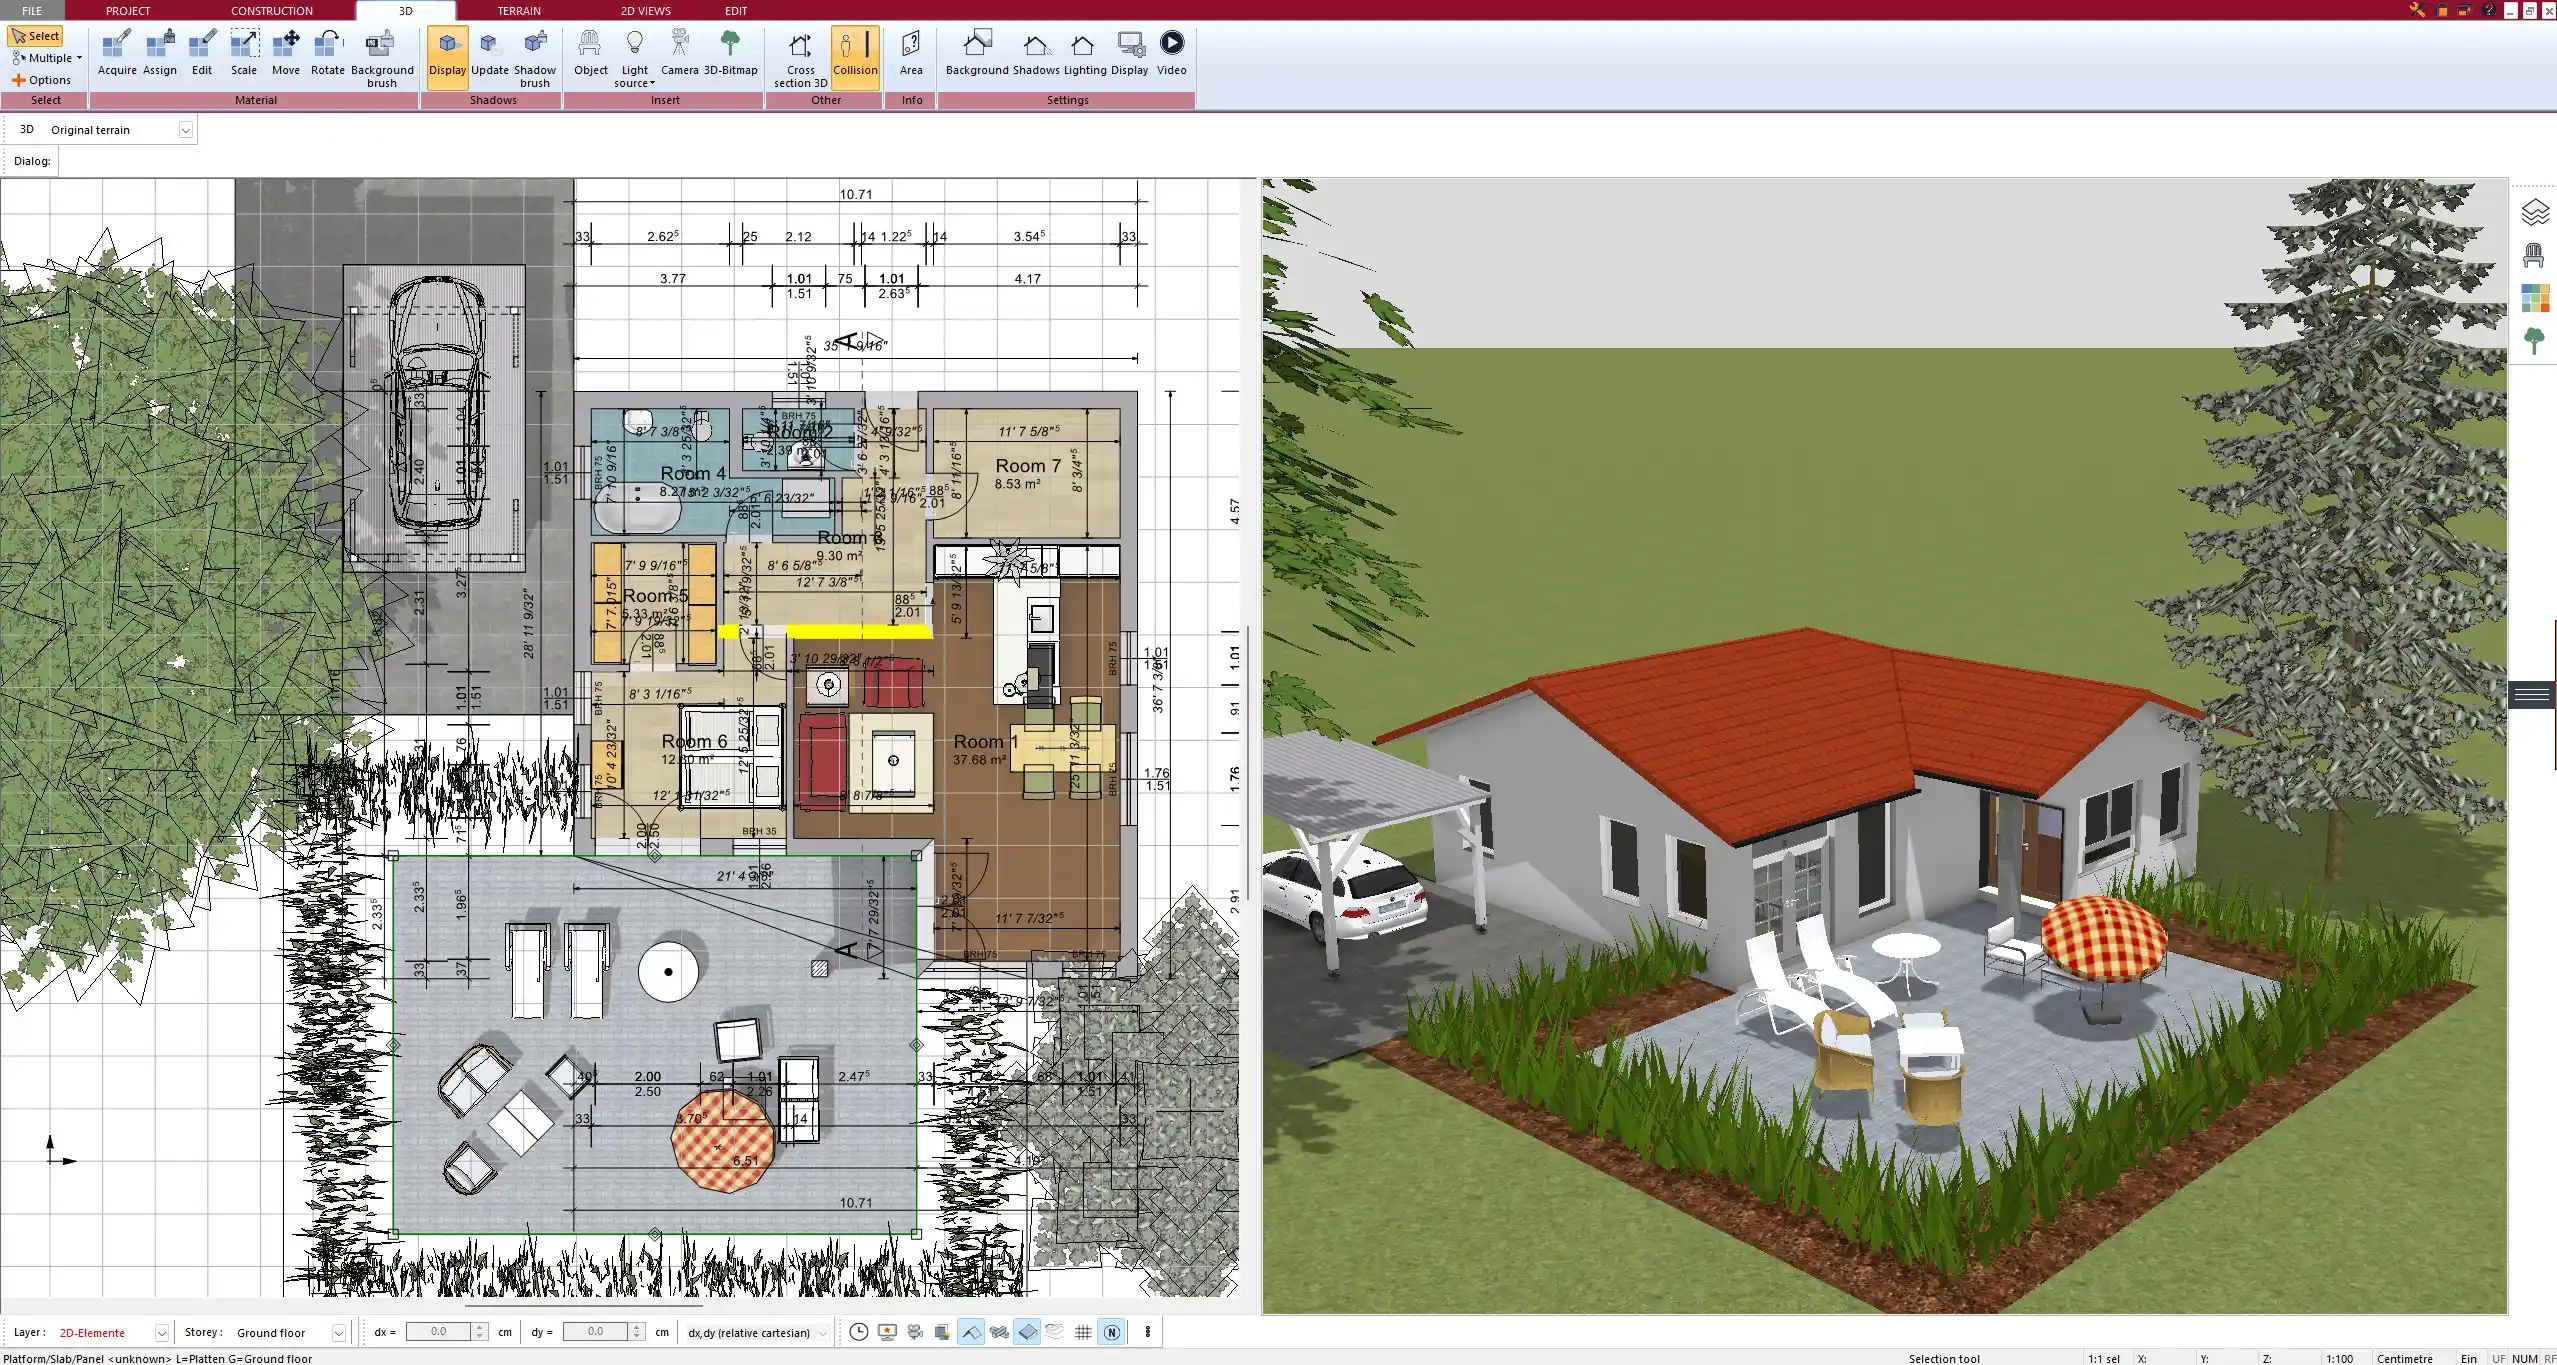
Step 2 – Lay Out Interior Rooms
Once the outer frame is complete, switch to interior planning. You can either insert predefined room templates or use the wall tool to draw freely.
Rooms can be labeled and resized at any time. With the magnetic grid feature, it’s easy to align walls to common prefab spacing. You can also duplicate room units, which is helpful if you’re repeating the same module multiple times.
Examples of room modules often used in prefab homes:
| Room Type | Common Size (Europe) | Common Size (US) |
|---|---|---|
| Living Room | 20–30 m² | 215–325 sq ft |
| Kitchen | 12–15 m² | 130–160 sq ft |
| Bathroom | 5–10 m² | 54–108 sq ft |
| Bedroom | 12–18 m² | 130–195 sq ft |
| Utility Room | 6–10 m² | 65–110 sq ft |
You can create one-story layouts or add multiple floors, all within the same project.
Step 3 – Insert Doors, Windows & Utilities
Inserting elements like doors, windows, electrical outlets, and plumbing connections is easy. You simply drag and drop them from the library. The software includes many prefab-standard models.
All elements are fully resizable and can be positioned freely. You can even save your own custom elements for future use.
Useful Features at This Stage:
-
Rotate and mirror doors/windows
-
Adjust sill height and dimensions
-
Define window types: fixed, sliding, tilt, or double-hung
-
Insert ventilation units or HVAC placeholders
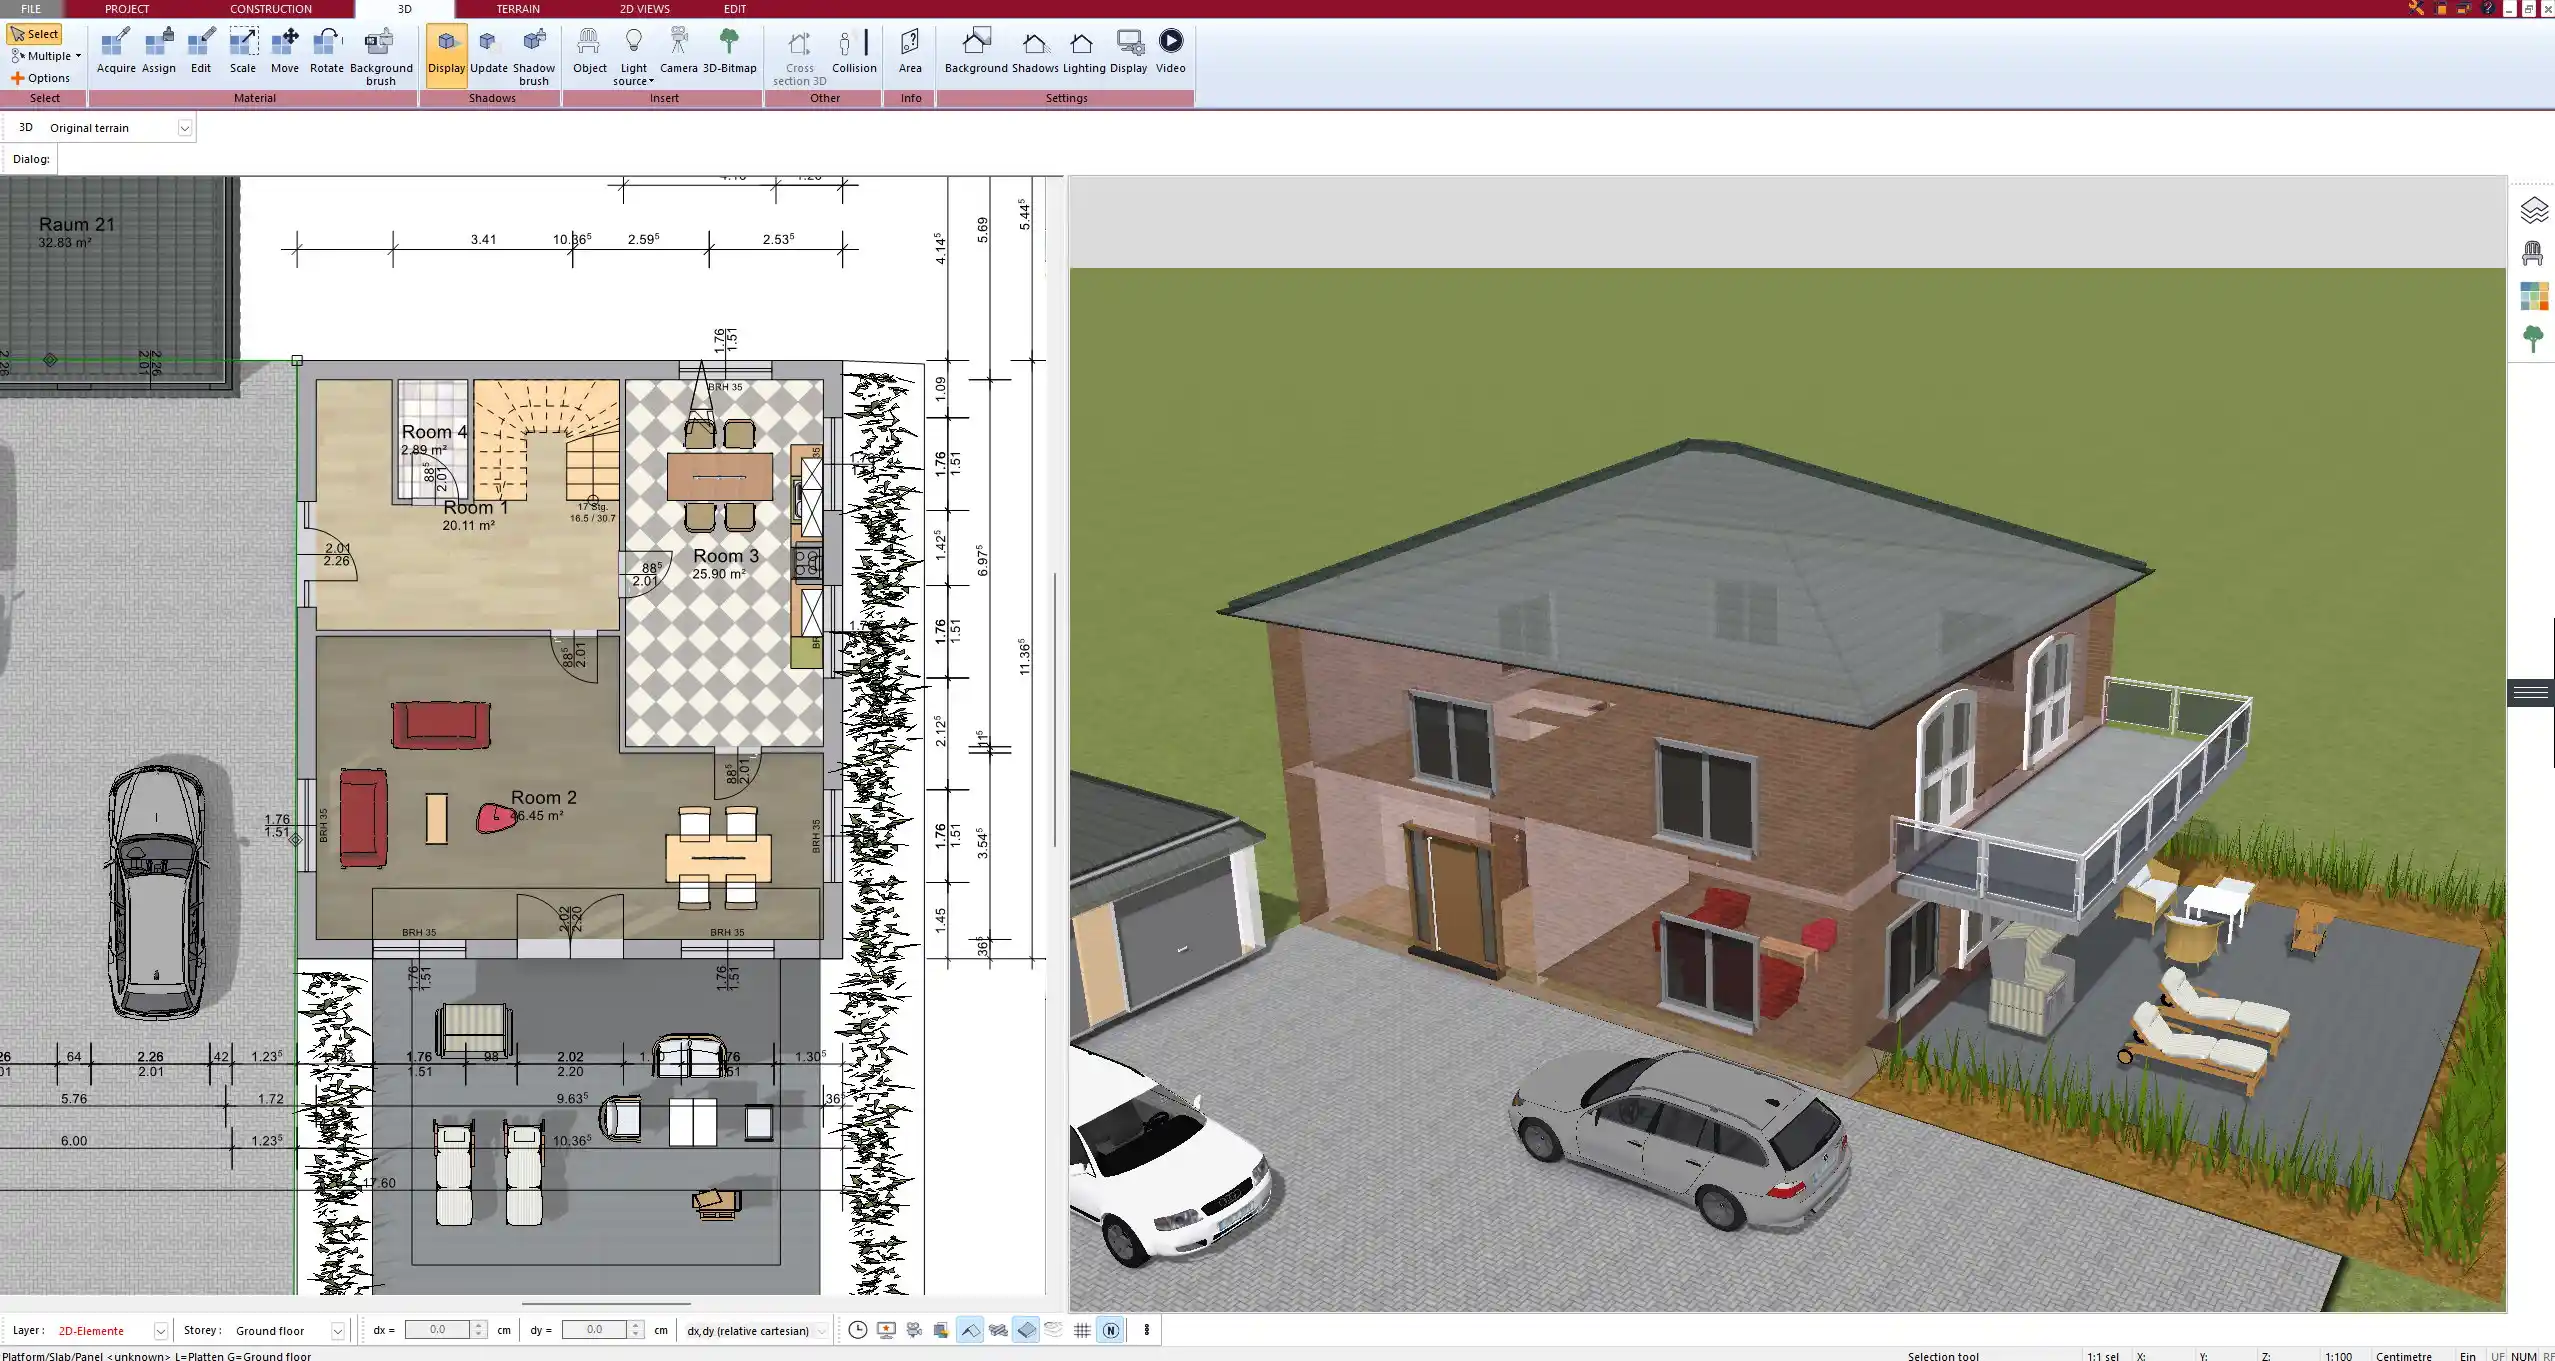
Step 4 – 3D Preview and Adjustments
After laying out all rooms and inserting components, switch to the 3D view to inspect the overall appearance. You can walk through the home virtually, change the viewing angle, and get a better sense of how light and space behave.
Adjust ceiling heights, wall finishes, flooring types, and even furniture layouts in 3D.
Tip:
Use natural daylight simulation to evaluate window placement and light exposure throughout the day.
Tips for Planning Prefabricated Homes More Efficiently
Prefab homes benefit from thoughtful design choices that speed up factory production and on-site assembly. These tips helped me avoid mistakes in past projects:
-
Use dimensions provided by your prefab manufacturer whenever available
-
Stick to standard module widths such as 1.20 m or 4 ft for interior partitions
-
Keep internal walls aligned with structural grids
-
Allow space for joints between prefab elements
-
Avoid custom curves and angles that may require expensive factory work
Quick Planning Checklist:
-
All walls snapped to the grid
-
Room sizes match manufacturer specs
-
Utility connections logically placed
-
Roof type selected and previewed
-
Export format checked (PDF, DWG, 3D file)
Exporting and Using Your Floor Plan
Once the floor plan is complete, you can export it in various formats. I usually export a PDF for printouts, a DWG file for my builder, and a 3D model for clients to view.
Export options in Plan7Architect include:
-
PDF (for sharing and printing)
-
DWG/DXF (for import into professional CAD software)
-
3D model file (for rendering or walkthroughs)
-
Image formats (JPG, PNG) for quick previews
You can also include a dimensioned floor plan with room names, square footage/meterage, and labels.
Can You Plan Complex Prefab Designs Too?
Yes, Plan7Architect handles more than simple box homes. If you’re working on a complex project like a multi-wing home, a split-level design, or a prefab home with extensions, you can easily build each section as part of one master layout.
You can:
-
Combine multiple modules
-
Create annexes or garages
-
Design L-shaped and U-shaped homes
-
Add second floors or rooftop terraces
-
Insert staircases and mezzanines
Even custom foundations and terrain slopes can be simulated with the advanced terrain tool.
Use Cases and Examples
Here are some real-world prefab planning situations I’ve worked on using Plan7Architect:
1. Tiny prefab home on a narrow plot
Perfectly planned within local setback limits using the exact module width from the builder.
2. Modular multi-family house
Two mirrored housing units with shared entrance, each with its own kitchen and bathroom.
3. Vacation cabin
One-bedroom prefab with outdoor terrace, designed completely off-grid with solar placeholders.
4. Prefab garage with living loft
Ground floor as a garage, upper level used as a home office and guest space.
Conclusion: Plan Your Prefab Dream Home with Confidence
With Plan7Architect, you get full control over the floor plan of your prefabricated house. From simple one-bedroom modules to complex multi-section layouts, everything can be drawn, edited, and visualized in detail.
You can choose metric or imperial units depending on your location and construction needs. The result: a fully customized prefab design, ready to be shared with builders or manufacturers.
Plan your project with Plan7Architect

Plan7Architect Pro 5 for $99.99
You don’t need any prior experience because the software has been specifically designed for beginners. The planning process is carried out in 5 simple steps:
1. Draw Walls

2. Windows & Doors

3. Floors & Roof

4. Textures & 3D Objects

5. Plan for the Building Permit

6. Export the Floor Plan as a 3D Model for Twinmotion

- – Compliant with international construction standards
- – Usable on 3 PCs simultaneously
- – Option for consultation with an architect
- – Comprehensive user manual
- – Regular updates
- – Video tutorials
- – Millions of 3D objects available


