How to Plan a Passive House Floor Plan with Plan7Architect – Quick Answer
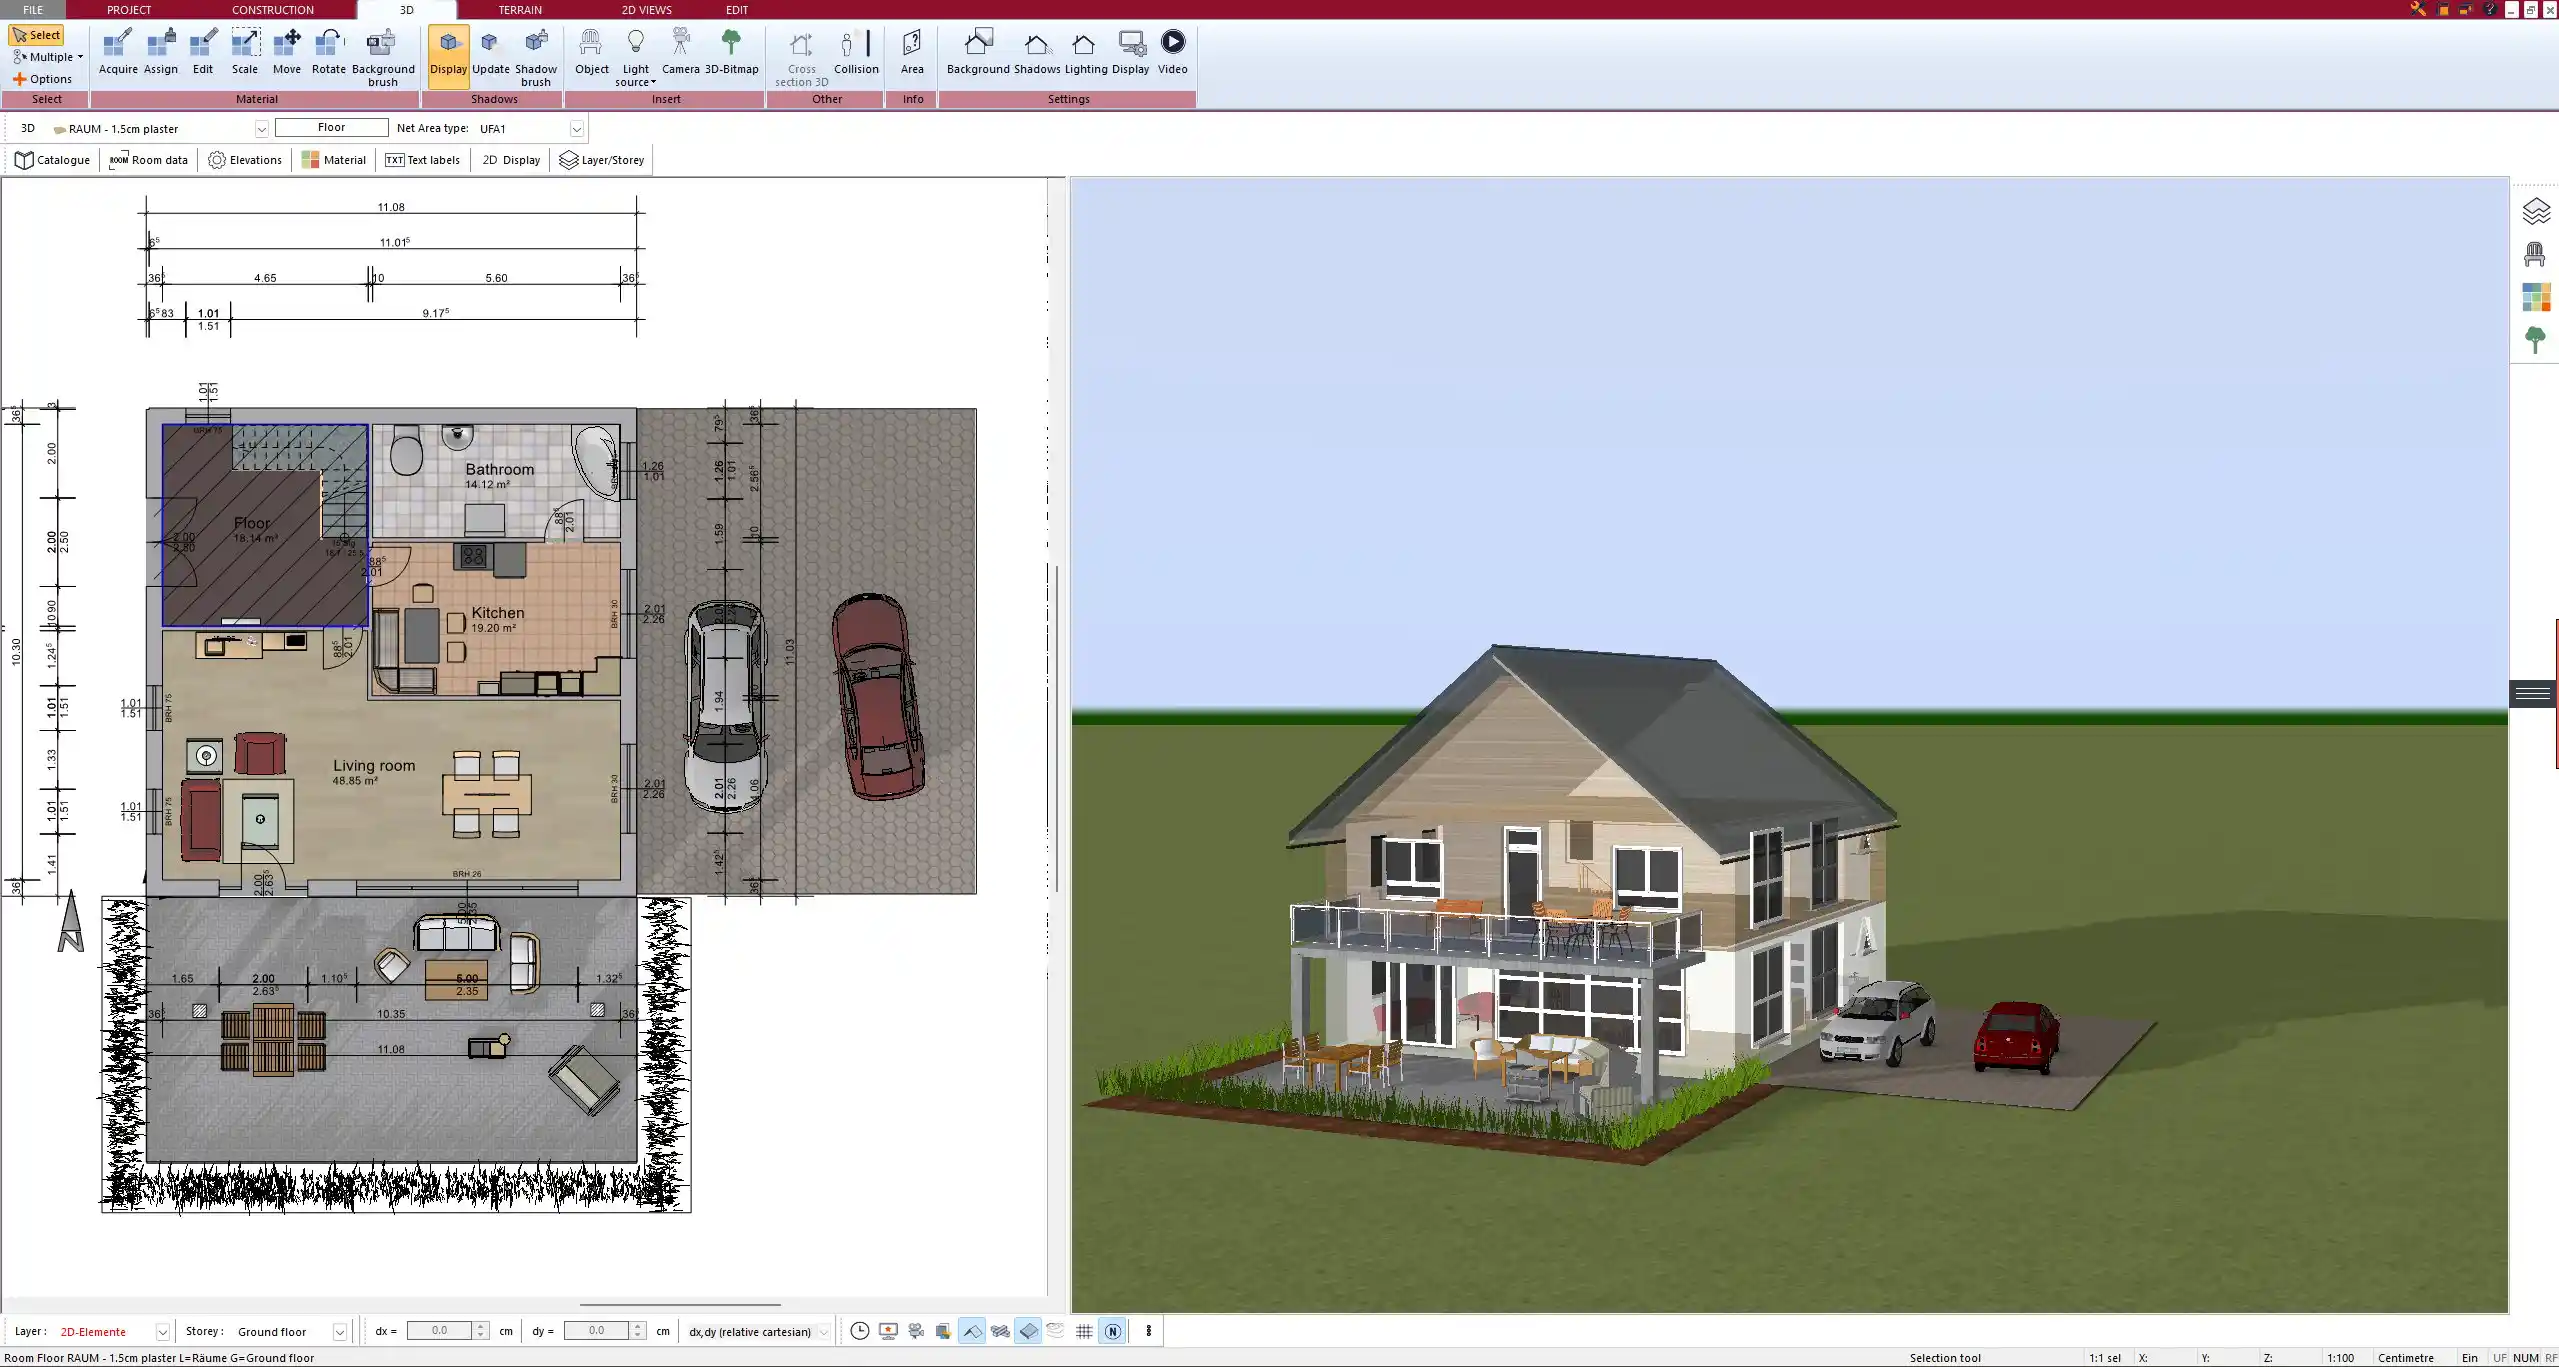
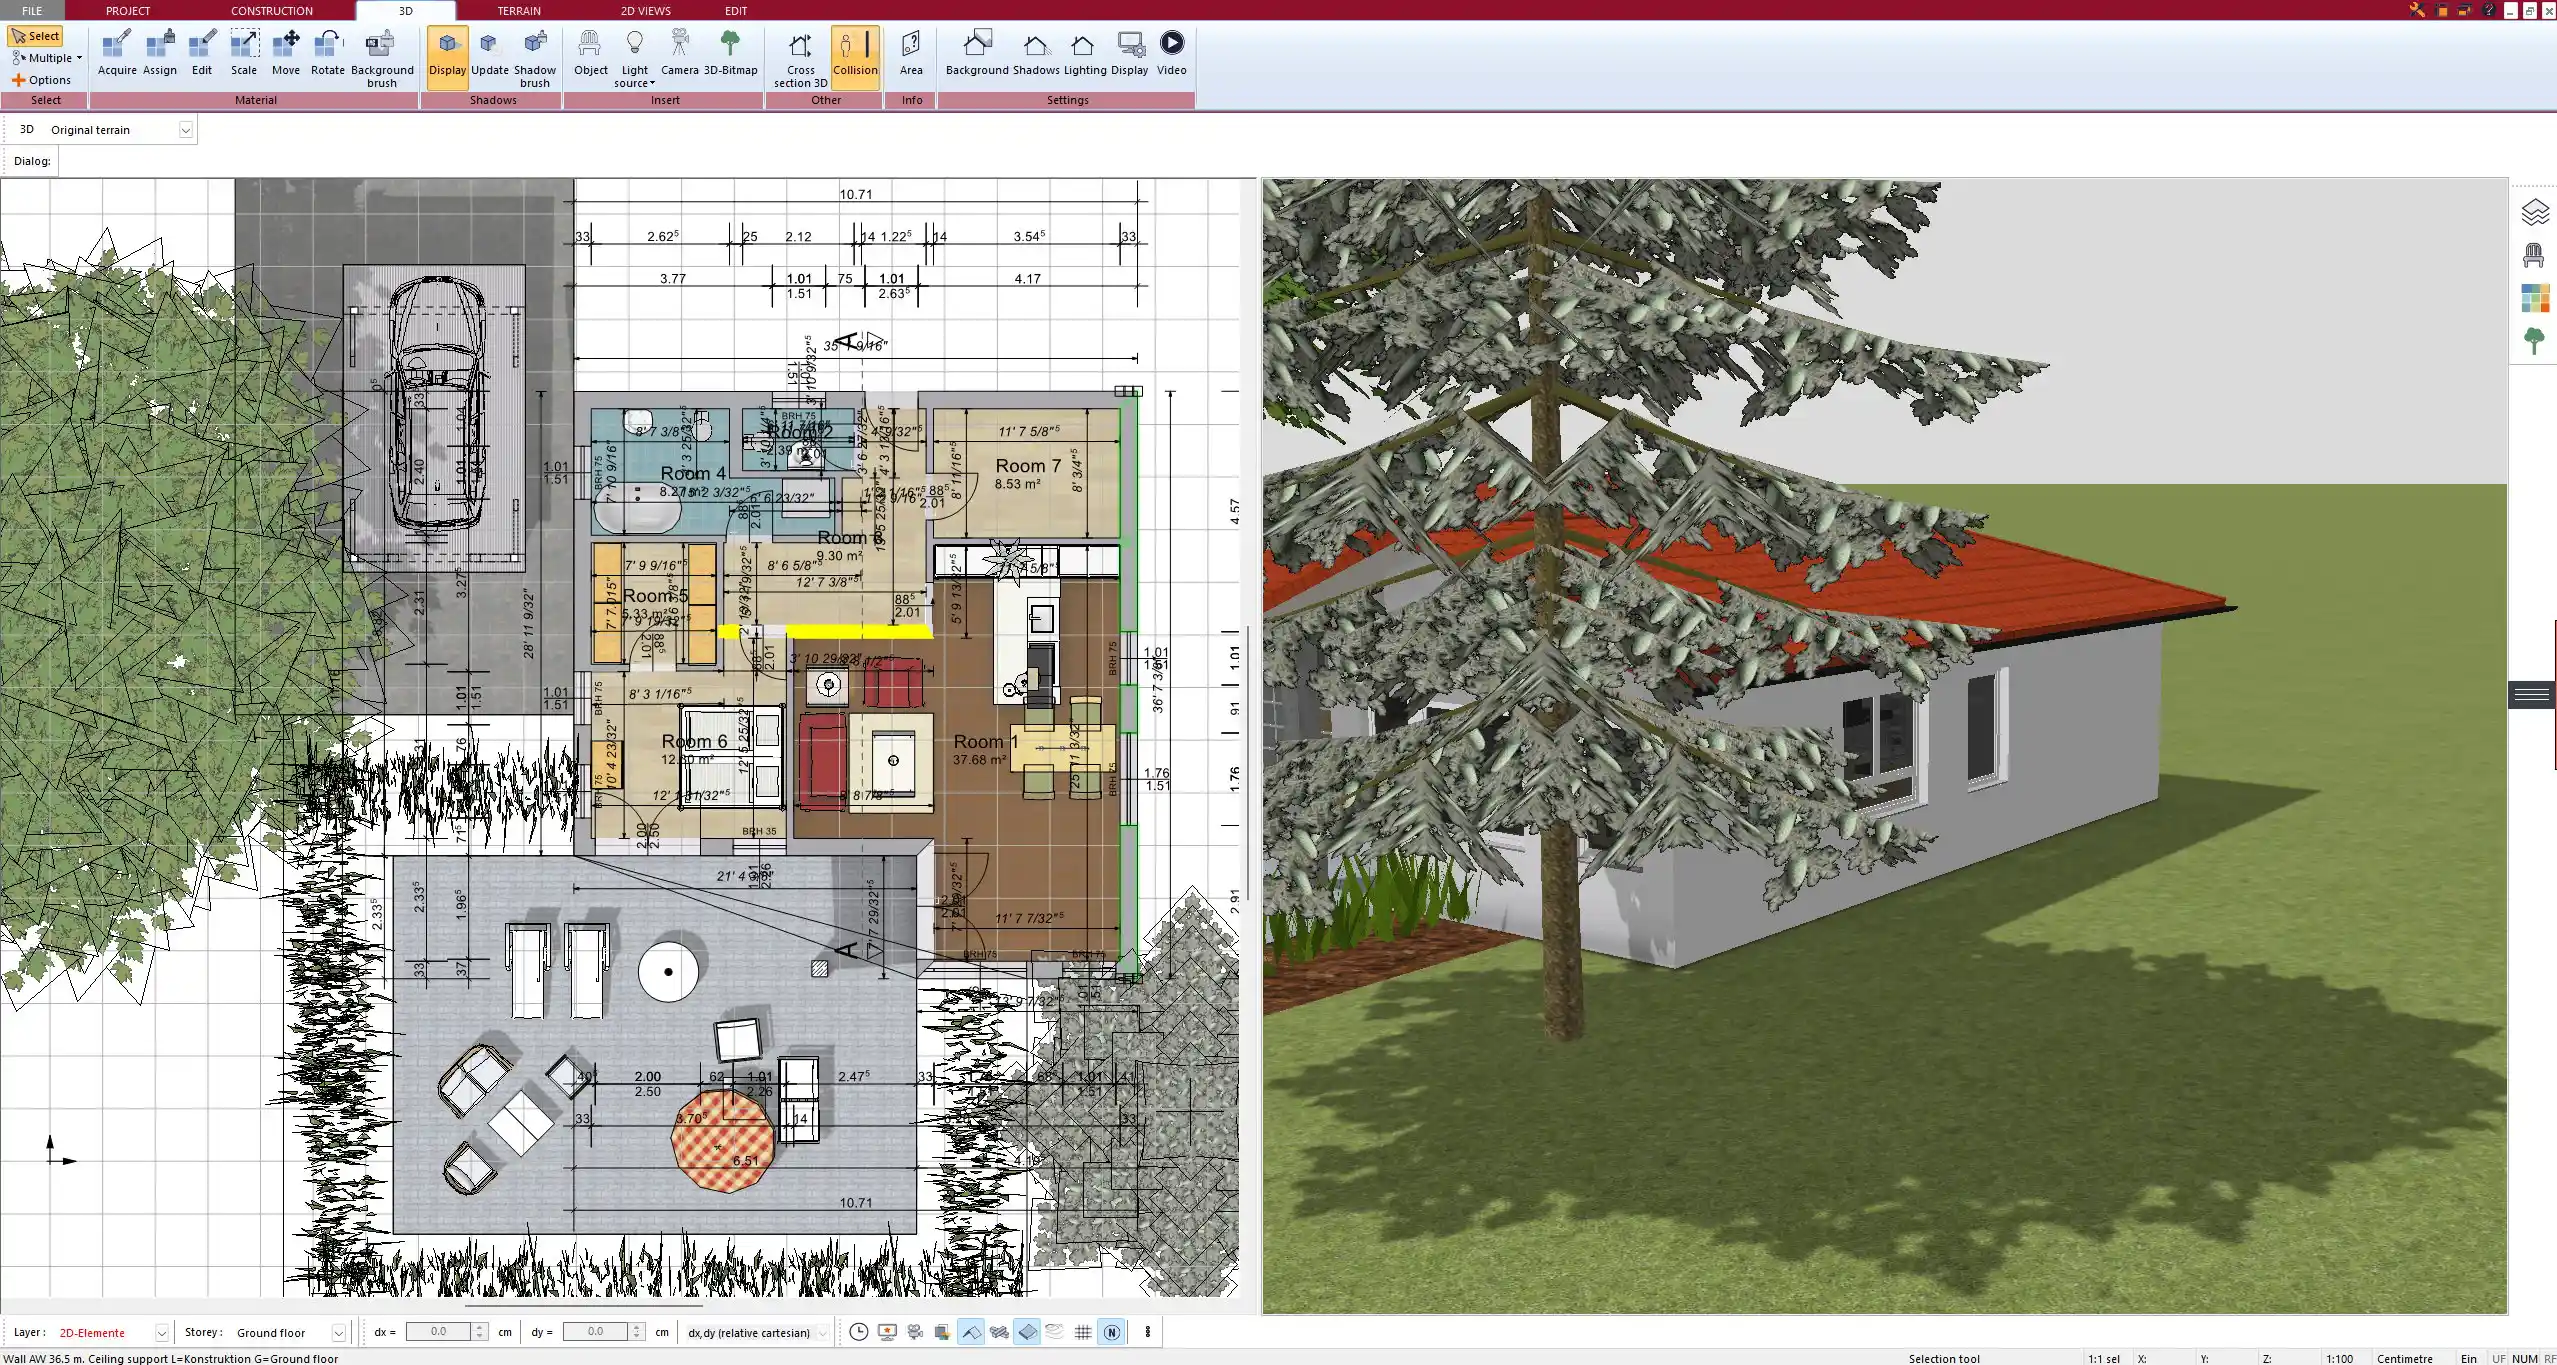
Designing a passive house floor plan is simple and efficient with Plan7Architect. The software provides everything you need to plan a home that meets Passive House standards: airtight design, optimal insulation, energy-efficient window placement, and space planning for ventilation systems. You can work in either metric or imperial units depending on your preference or regional standards, which is especially useful for international or cross-border projects. Templates and predefined structural elements help streamline your work while adhering to Passive House criteria.
What Makes a Floor Plan Passive-House-Compatible?
A passive house is not defined by style but by performance. The floor plan plays a critical role in ensuring the building’s energy efficiency. Based on my experience, the following elements are essential in the planning phase:
-
Orientation and Solar Gain: The building should be positioned to maximize solar input, especially on the south side.
-
Compact Shape: A rectangular or cubic form with a low surface-to-volume ratio reduces heat loss.
-
Super Insulation: Thick, continuous insulation must be planned into the wall and roof structures from the beginning.
-
Airtight Envelope: The floor plan must support construction details that eliminate gaps and thermal bridges.
-
Energy-Efficient Windows: Triple-glazed windows should be placed strategically to harvest solar heat while minimizing losses.
-
Ventilation with Heat Recovery (MVHR): Dedicated space must be included for ductwork and technical units.
Tip:
When drawing the floor plan, avoid complex outlines or unnecessary corners. Every bump increases the external surface area and therefore heat loss.
Key Features in Plan7Architect for Passive House Planning
Custom Wall and Roof Configurations
Plan7Architect allows you to define detailed wall and roof compositions. You can layer materials such as structural elements, vapor barriers, insulation, and plasterboard.
Example configuration for an exterior wall:
| Layer | Material Example | Thickness |
|---|---|---|
| Outer finish | Render or cladding | 2 cm / 0.75 in |
| Insulation | Mineral wool | 30 cm / 12 in |
| Structural frame | Wood or concrete | 20 cm / 8 in |
| Airtight barrier | Foil or OSB | 1.5 cm / 0.6 in |
| Interior finish | Plasterboard | 1.2 cm / 0.5 in |
The software lets you save wall types and apply them quickly, which is very practical when designing multiple zones or levels.
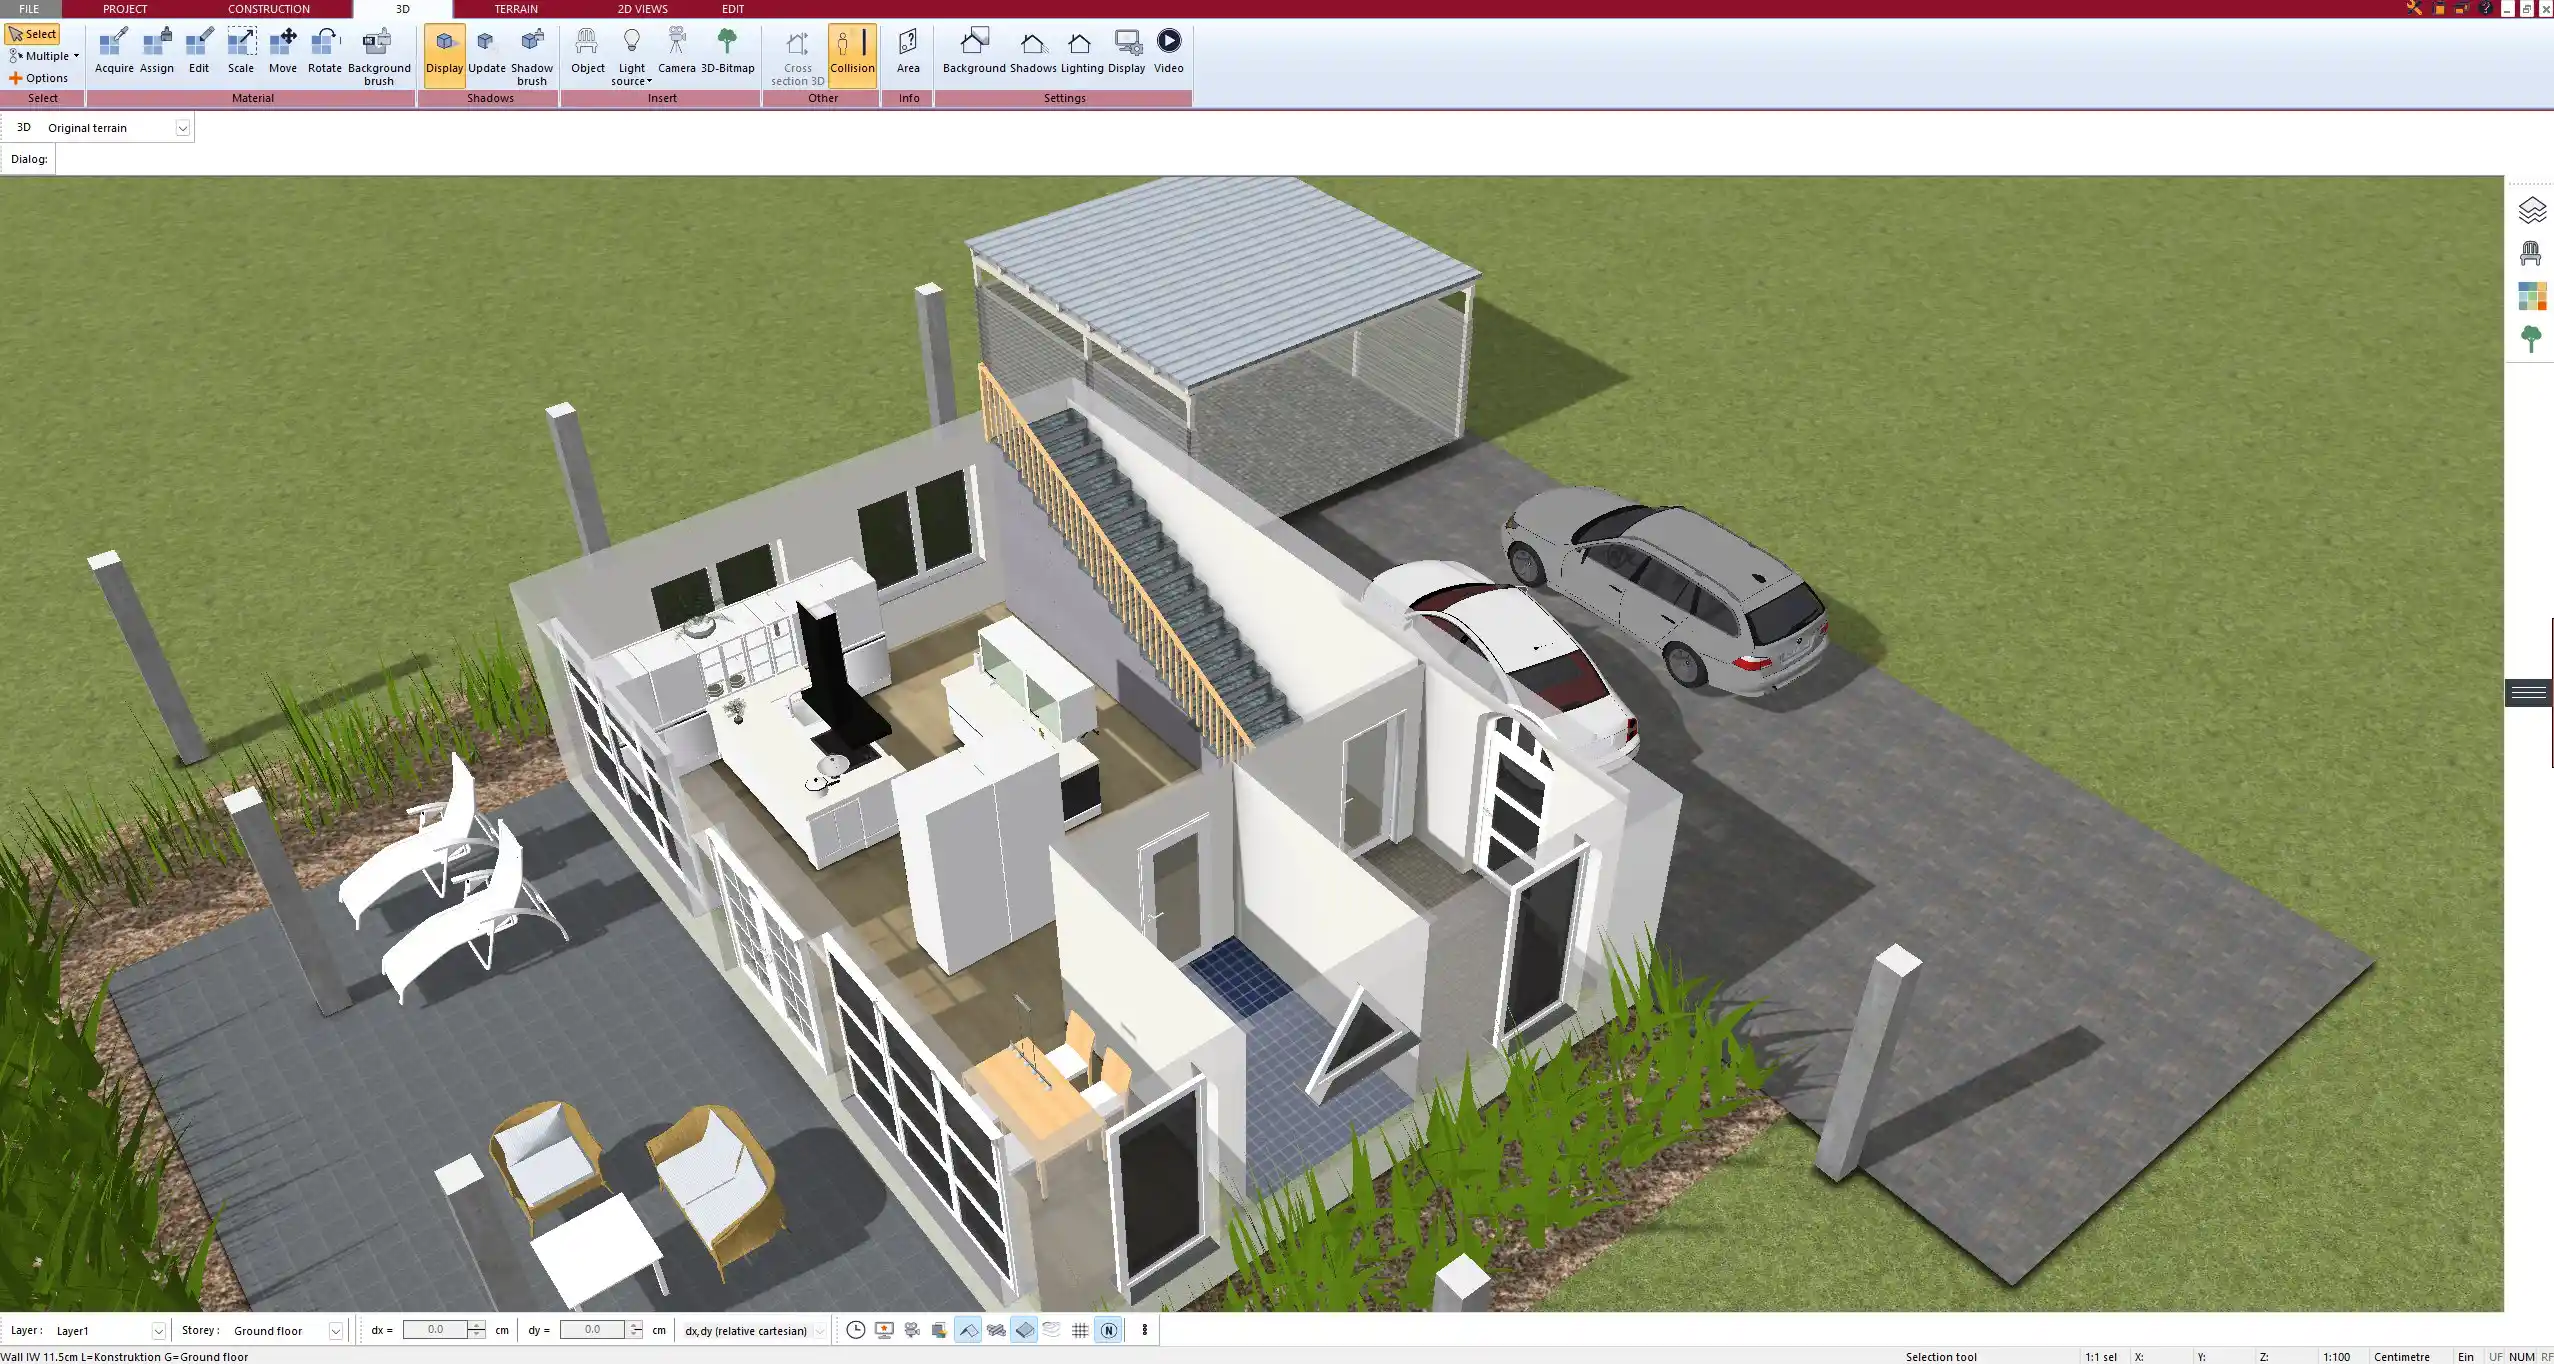
Energy-Efficient Window Placement
You can choose from a wide range of window types including triple-glazed and energy-optimized variants. Placement is done via drag-and-drop in 2D or 3D view. I usually position large windows on the south-facing façade and minimize openings on the north side.
The built-in sunlight simulation helps visualize solar gain during different seasons and at various times of the day.
Tip:
Don’t place large windows in bedrooms facing east unless you want strong morning light year-round. Instead, reserve those views for common areas like kitchens or dining rooms.
Ventilation & HVAC Planning
The mechanical ventilation system with heat recovery (MVHR) is a core component of any passive house. With Plan7Architect, you can define the exact size and location of technical rooms, lay out duct routes in 2D, and even visualize airflow paths in 3D.
Make sure to:
-
Allocate a room for the MVHR unit and possibly a hot water tank
-
Keep duct lengths short to reduce energy loss
-
Avoid routing through uninsulated spaces
Checklist for ventilation layout:
-
Technical room planned on the ground floor or basement
-
Duct routes included in the wall plan
-
Fresh air outlets near bedrooms and living rooms
-
Exhaust points in bathrooms and kitchen
Solar Orientation Tools
In passive house planning, sunlight is free energy. Plan7Architect allows you to position the building on your plot exactly as it will sit in reality. You can simulate:
-
The path of the sun throughout the year
-
Window shading during summer months
-
Overhang effects on passive solar gain
This tool is especially helpful if you want to design custom shading solutions or compare different plot rotations.
Unit Flexibility
In the settings, you can define whether to use metric units (meters, millimeters) or imperial units (feet, inches). This is particularly helpful if you’re collaborating internationally or referencing local building regulations. Switching is seamless and can be done at any point.
Tips for Efficient Passive House Layouts
There are several layout strategies I’ve found useful when designing Passive Houses. Most revolve around thermal efficiency and internal zoning.
-
Keep the shape compact: Avoid sprawling layouts; a cube or rectangle minimizes heat loss.
-
Plan living areas on the south side: These spaces benefit most from solar gain.
-
Put bathrooms, storage, and stairs on the north side: These zones don’t need direct sunlight.
-
Design open interiors: Fewer interior walls improve air circulation and reduce material costs.
-
Group wet rooms together: Shared plumbing walls save energy and simplify construction.
Tip:
Don’t forget the technical room – it needs ventilation, duct access, and enough height for installation and maintenance. I usually allocate at least 5–6 m² (or 55–65 sq ft).
Floor Plan Examples & What to Include
Ground Floor
-
Open-plan living and dining area
-
South-facing windows for passive heating
-
Kitchen close to the dining area
-
Guest toilet or bathroom
-
Storage or pantry near entrance or kitchen
-
Small technical room near external wall
Suggestion: Use sliding doors inside to reduce the space required for swing doors.
Upper Floor / Sleeping Areas
-
Bedrooms on east and west for moderate light exposure
-
Small windows in bedrooms to reduce heat loss
-
Bathroom grouped near technical core
-
Central hallway to reduce circulation heat loss
Utility / Technical Room
Every passive house should have a dedicated room for the following:
-
MVHR unit
-
Heat pump or boiler (if needed)
-
Water tank
-
Electric panel
-
Possibly a solar inverter
Minimum size recommendation:
| Item | Minimum Floor Area |
|---|---|
| MVHR system | 2 m² / 22 sq ft |
| Combined technical room | 5–6 m² / 55–65 sq ft |
| Extra space (batteries, etc.) | +2 m² / +22 sq ft |
The technical room should be centrally located if possible and accessible without walking through living spaces.
Export Options and Further Use
Once the plan is complete, you can export it in several professional formats for construction or collaboration:
-
2D floor plans for submission or contractor communication
-
3D models for visualization or client presentation
-
DXF and DWG formats for engineers or external architects
-
Printable PDFs for permits or internal documentation
I often use the 3D export to show clients the energy concept and daylight simulation. It’s a helpful visual tool for explaining passive strategies without technical jargon.
Conclusion – Plan Your Passive House Floor Plan Professionally
With Plan7Architect, you have everything you need to plan your Passive House floor plan independently and professionally. From layout and insulation to solar orientation and ventilation systems, the software supports every step. Whether you work in meters or feet, the unit system adjusts to your needs, making the tool ideal for projects anywhere in the world.
Plan your project with Plan7Architect

Plan7Architect Pro 5 for $99.99
You don’t need any prior experience because the software has been specifically designed for beginners. The planning process is carried out in 5 simple steps:
1. Draw Walls

2. Windows & Doors

3. Floors & Roof

4. Textures & 3D Objects

5. Plan for the Building Permit

6. Export the Floor Plan as a 3D Model for Twinmotion

- – Compliant with international construction standards
- – Usable on 3 PCs simultaneously
- – Option for consultation with an architect
- – Comprehensive user manual
- – Regular updates
- – Video tutorials
- – Millions of 3D objects available


