To design a floor plan for a clay house, open Plan7Architect and start a new project. Choose whether you want to work with metric units (such as meters and centimeters) or imperial units (such as feet and inches). You can switch between them at any time in the settings.
Begin by outlining the exterior walls, selecting wall types that match clay construction—thicker walls for thermal mass and natural materials. Plan7Architect allows you to set custom wall thicknesses and define specific materials. For example, walls made of clay, straw, or a mixture can be modeled in layered structures. Next, place windows and doors with appropriate proportions. Clay houses often have smaller openings for energy efficiency, but modern styles allow for larger glass elements as well.
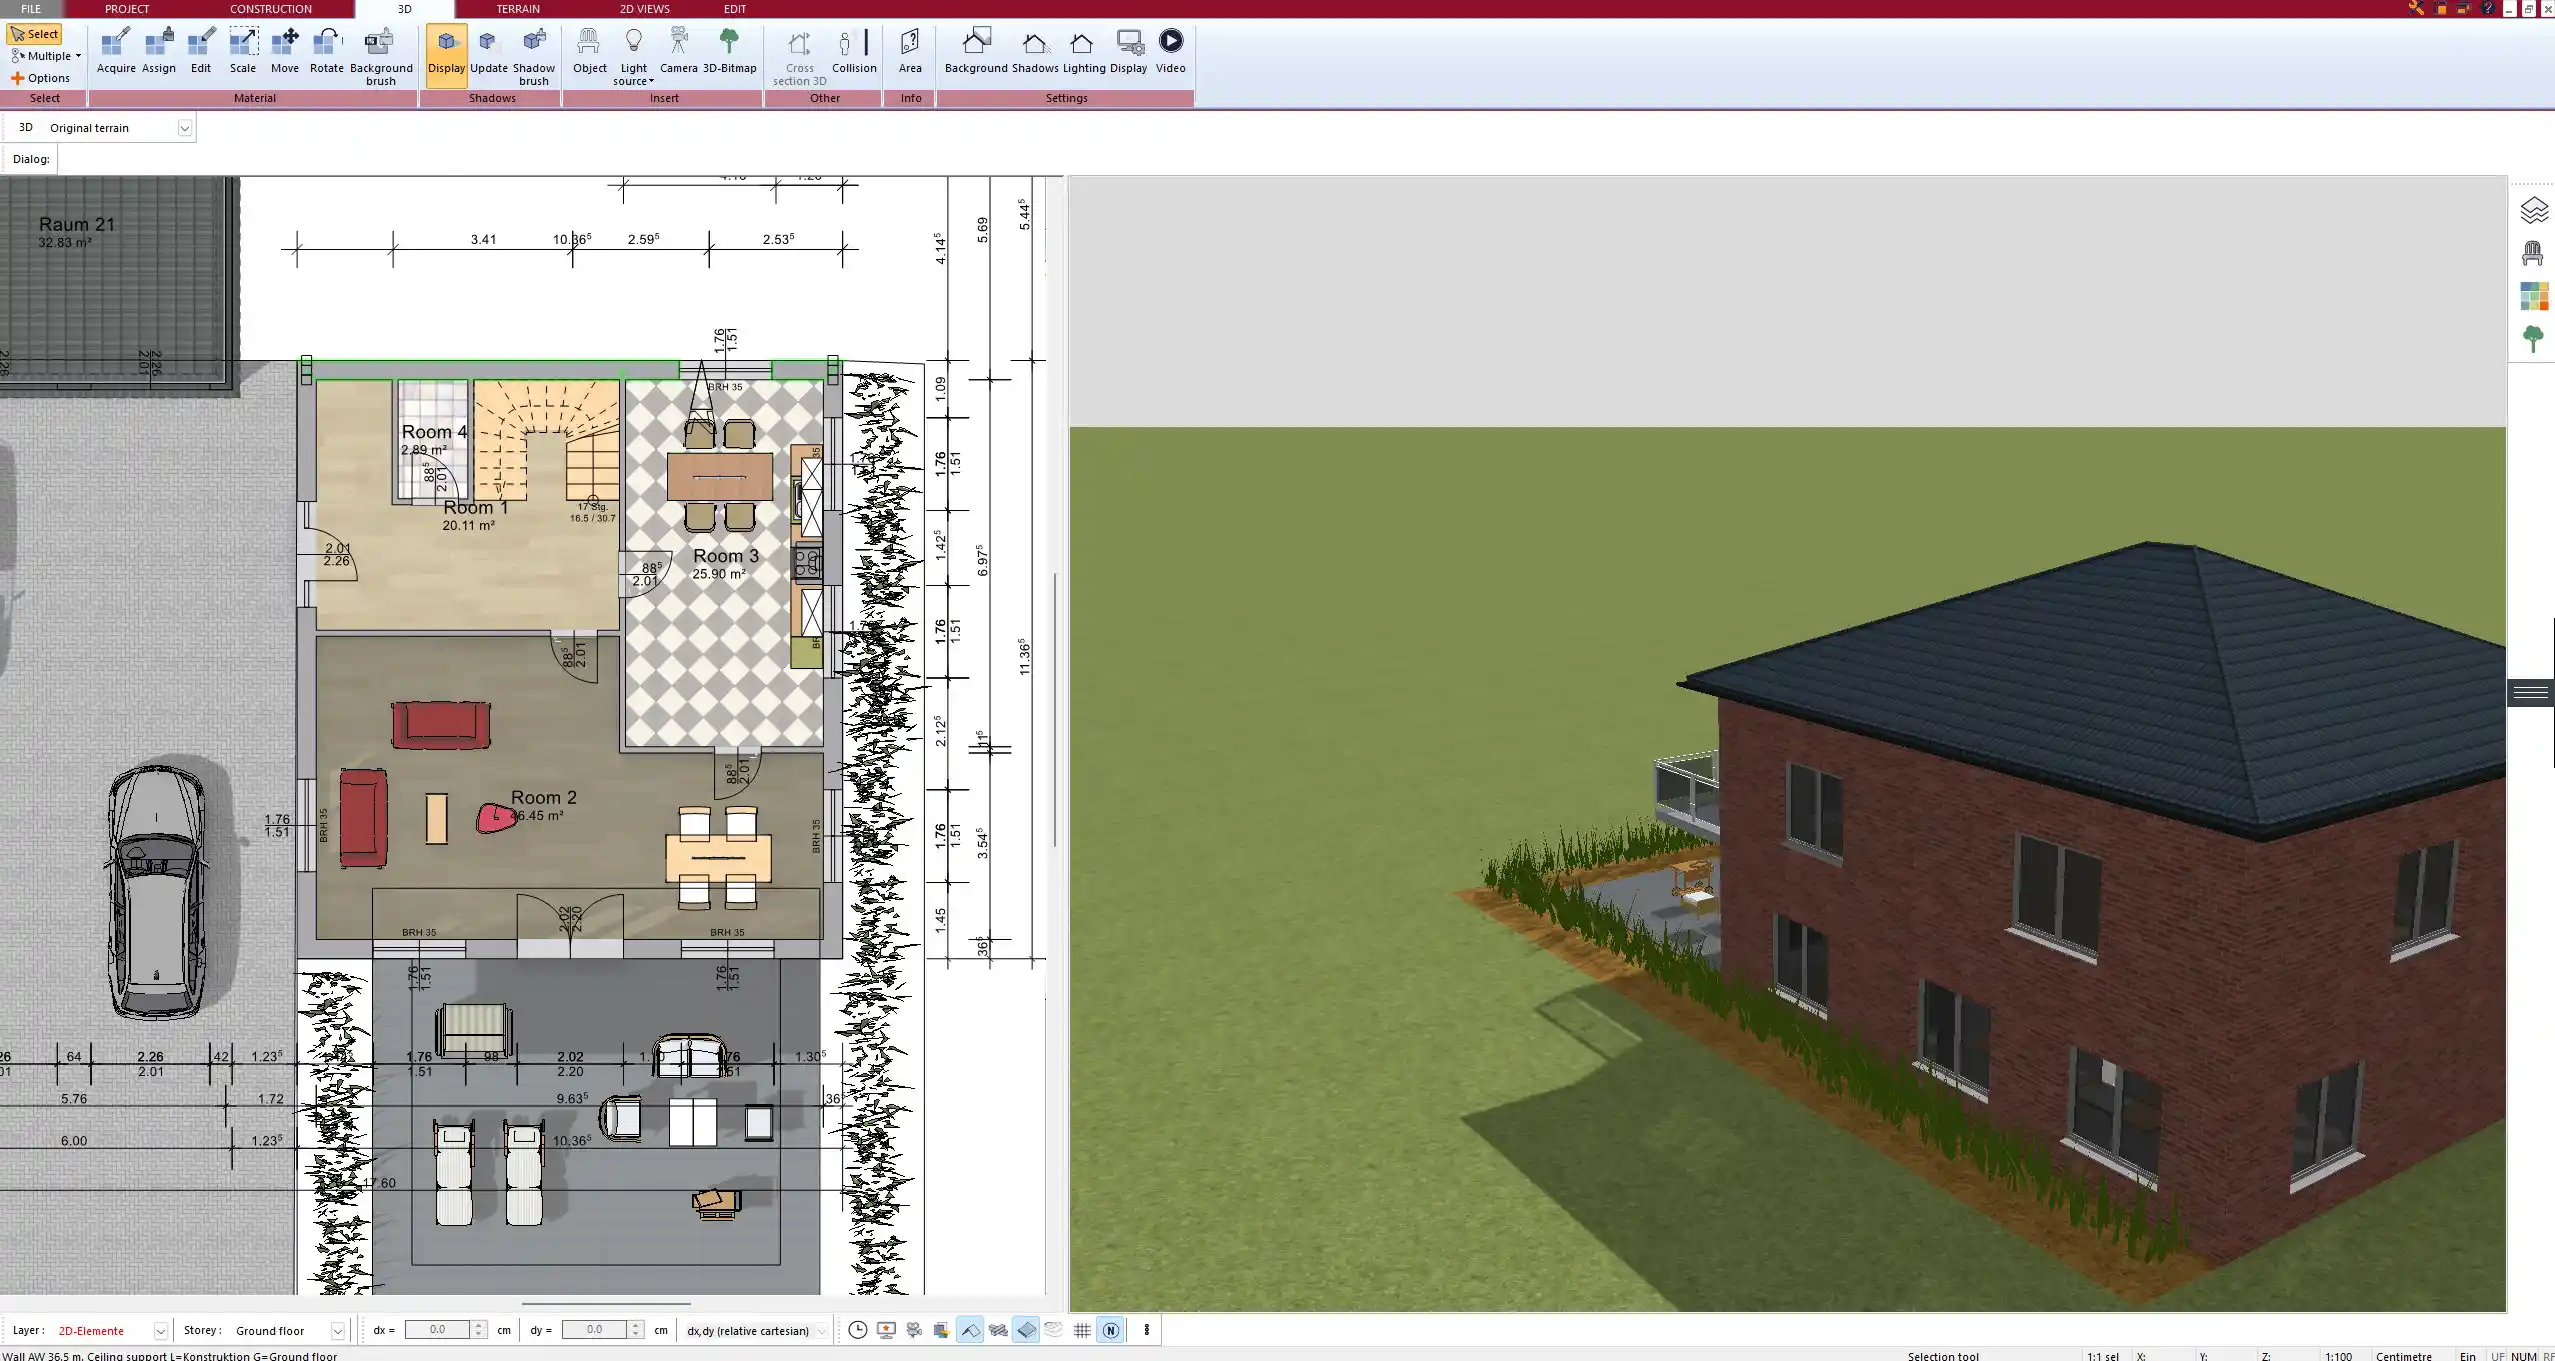
Use the 2D view for precision, and switch to 3D mode to visualize proportions, lighting, and layout. With Plan7Architect, you can simulate how sunlight enters the house during different times of the day and year. Once your floor plan is complete, export it as a PDF or image, or generate full permit-ready construction documents.
Key Features for Clay House Planning in Plan7Architect
Flexible Unit Selection
Plan7Architect lets you switch between metric and imperial measurement units based on your region or preference. This is especially useful for international builders, architects, or homeowners. You can even change the measurement system while working on a project without losing any data or precision. Whether you’re designing in meters or feet, the software adapts accordingly.
Wall Customization for Thick Clay Walls
In traditional clay construction, wall thickness plays a central role in thermal storage and structural strength. With Plan7Architect, you can define individual wall thicknesses. For example, you can set exterior walls to 50 centimeters (approximately 20 inches) or even thicker if desired.
The software also supports the use of multiple layers in a wall. You can build up walls with a clay core, an outer plaster layer, and insulation if needed. Each layer can be assigned specific material properties, giving you full control over heat retention, moisture behavior, and structural logic.
Planning Load-Bearing and Non-Load-Bearing Elements
When planning a clay house, it’s important to distinguish between structural and non-structural elements. In Plan7Architect, you can label which walls are load-bearing, allowing you to visualize and simulate structural behavior in your design.
Interior walls made from lightweight clay or timber can be added without altering the main load path. This gives you the freedom to test open-plan variations while still keeping the core structure realistic.
Natural Lighting and Thermal Efficiency
Clay houses benefit from passive solar design. Plan7Architect offers shadow and sunlight simulation features that help you optimize window placement and roof overhangs. You can view how sunlight enters your rooms throughout the year and adjust the design accordingly.
By positioning windows to the south (in the Northern Hemisphere) and planning roof extensions for summer shading, you can significantly improve your clay house’s energy performance.
Roof Types and Ceiling Heights Typical for Clay Houses
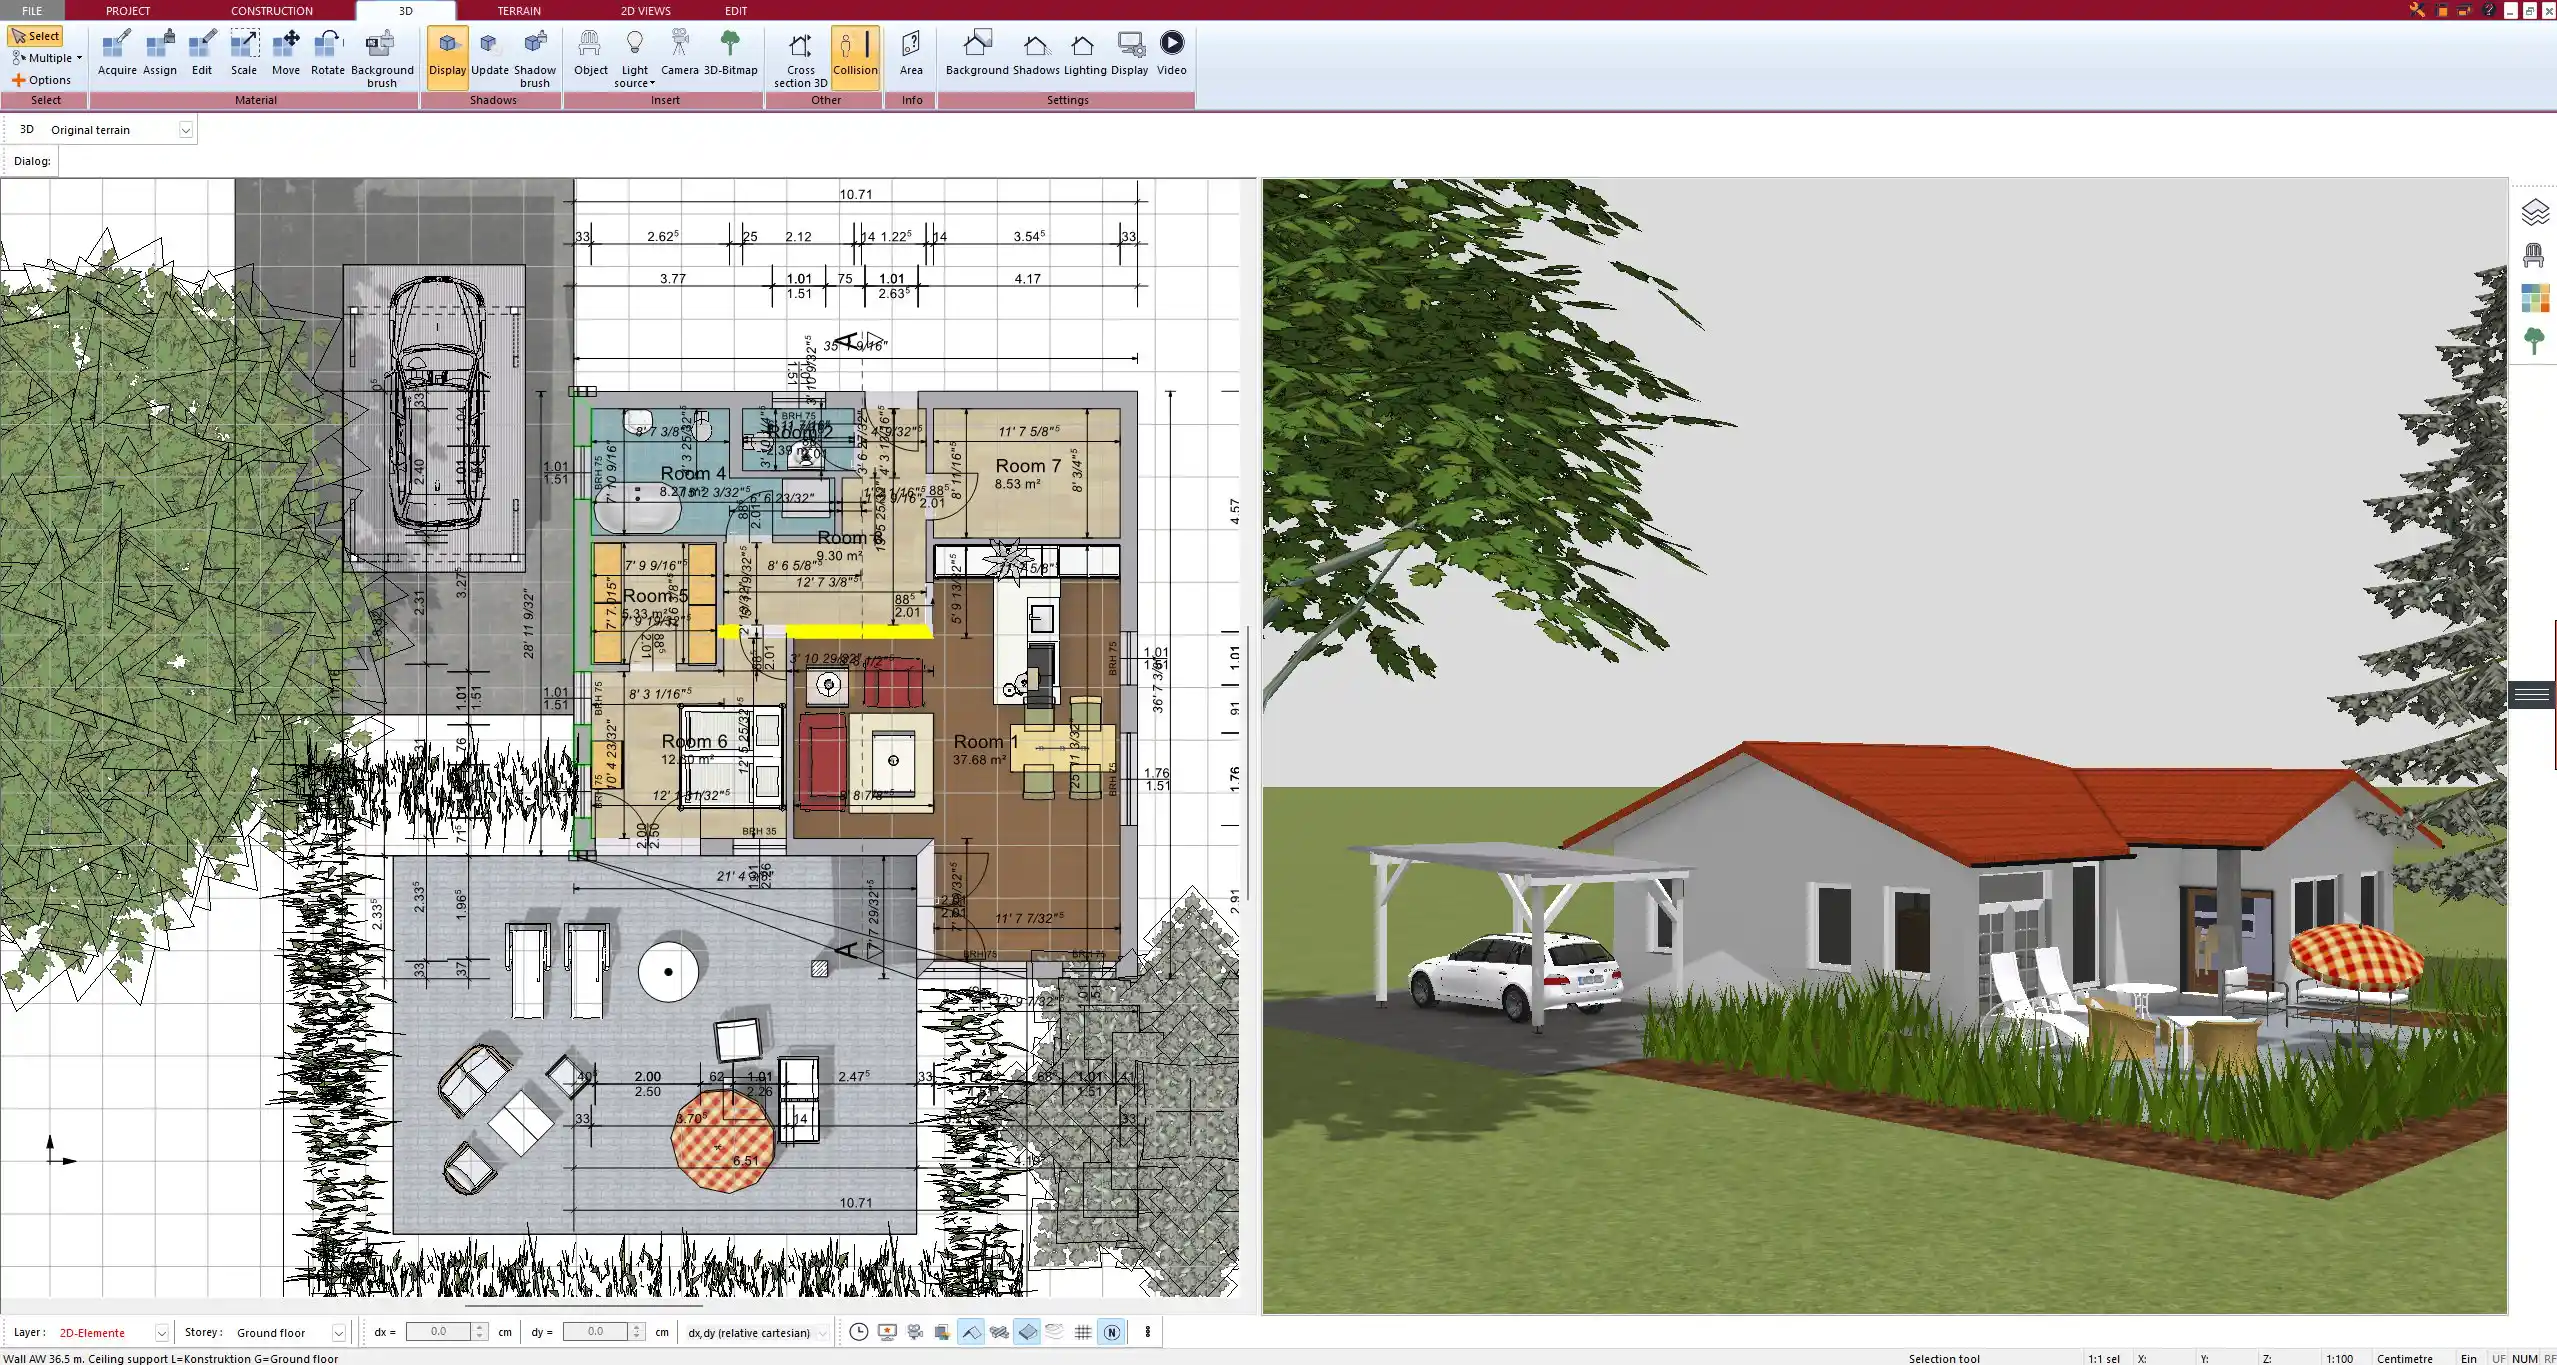
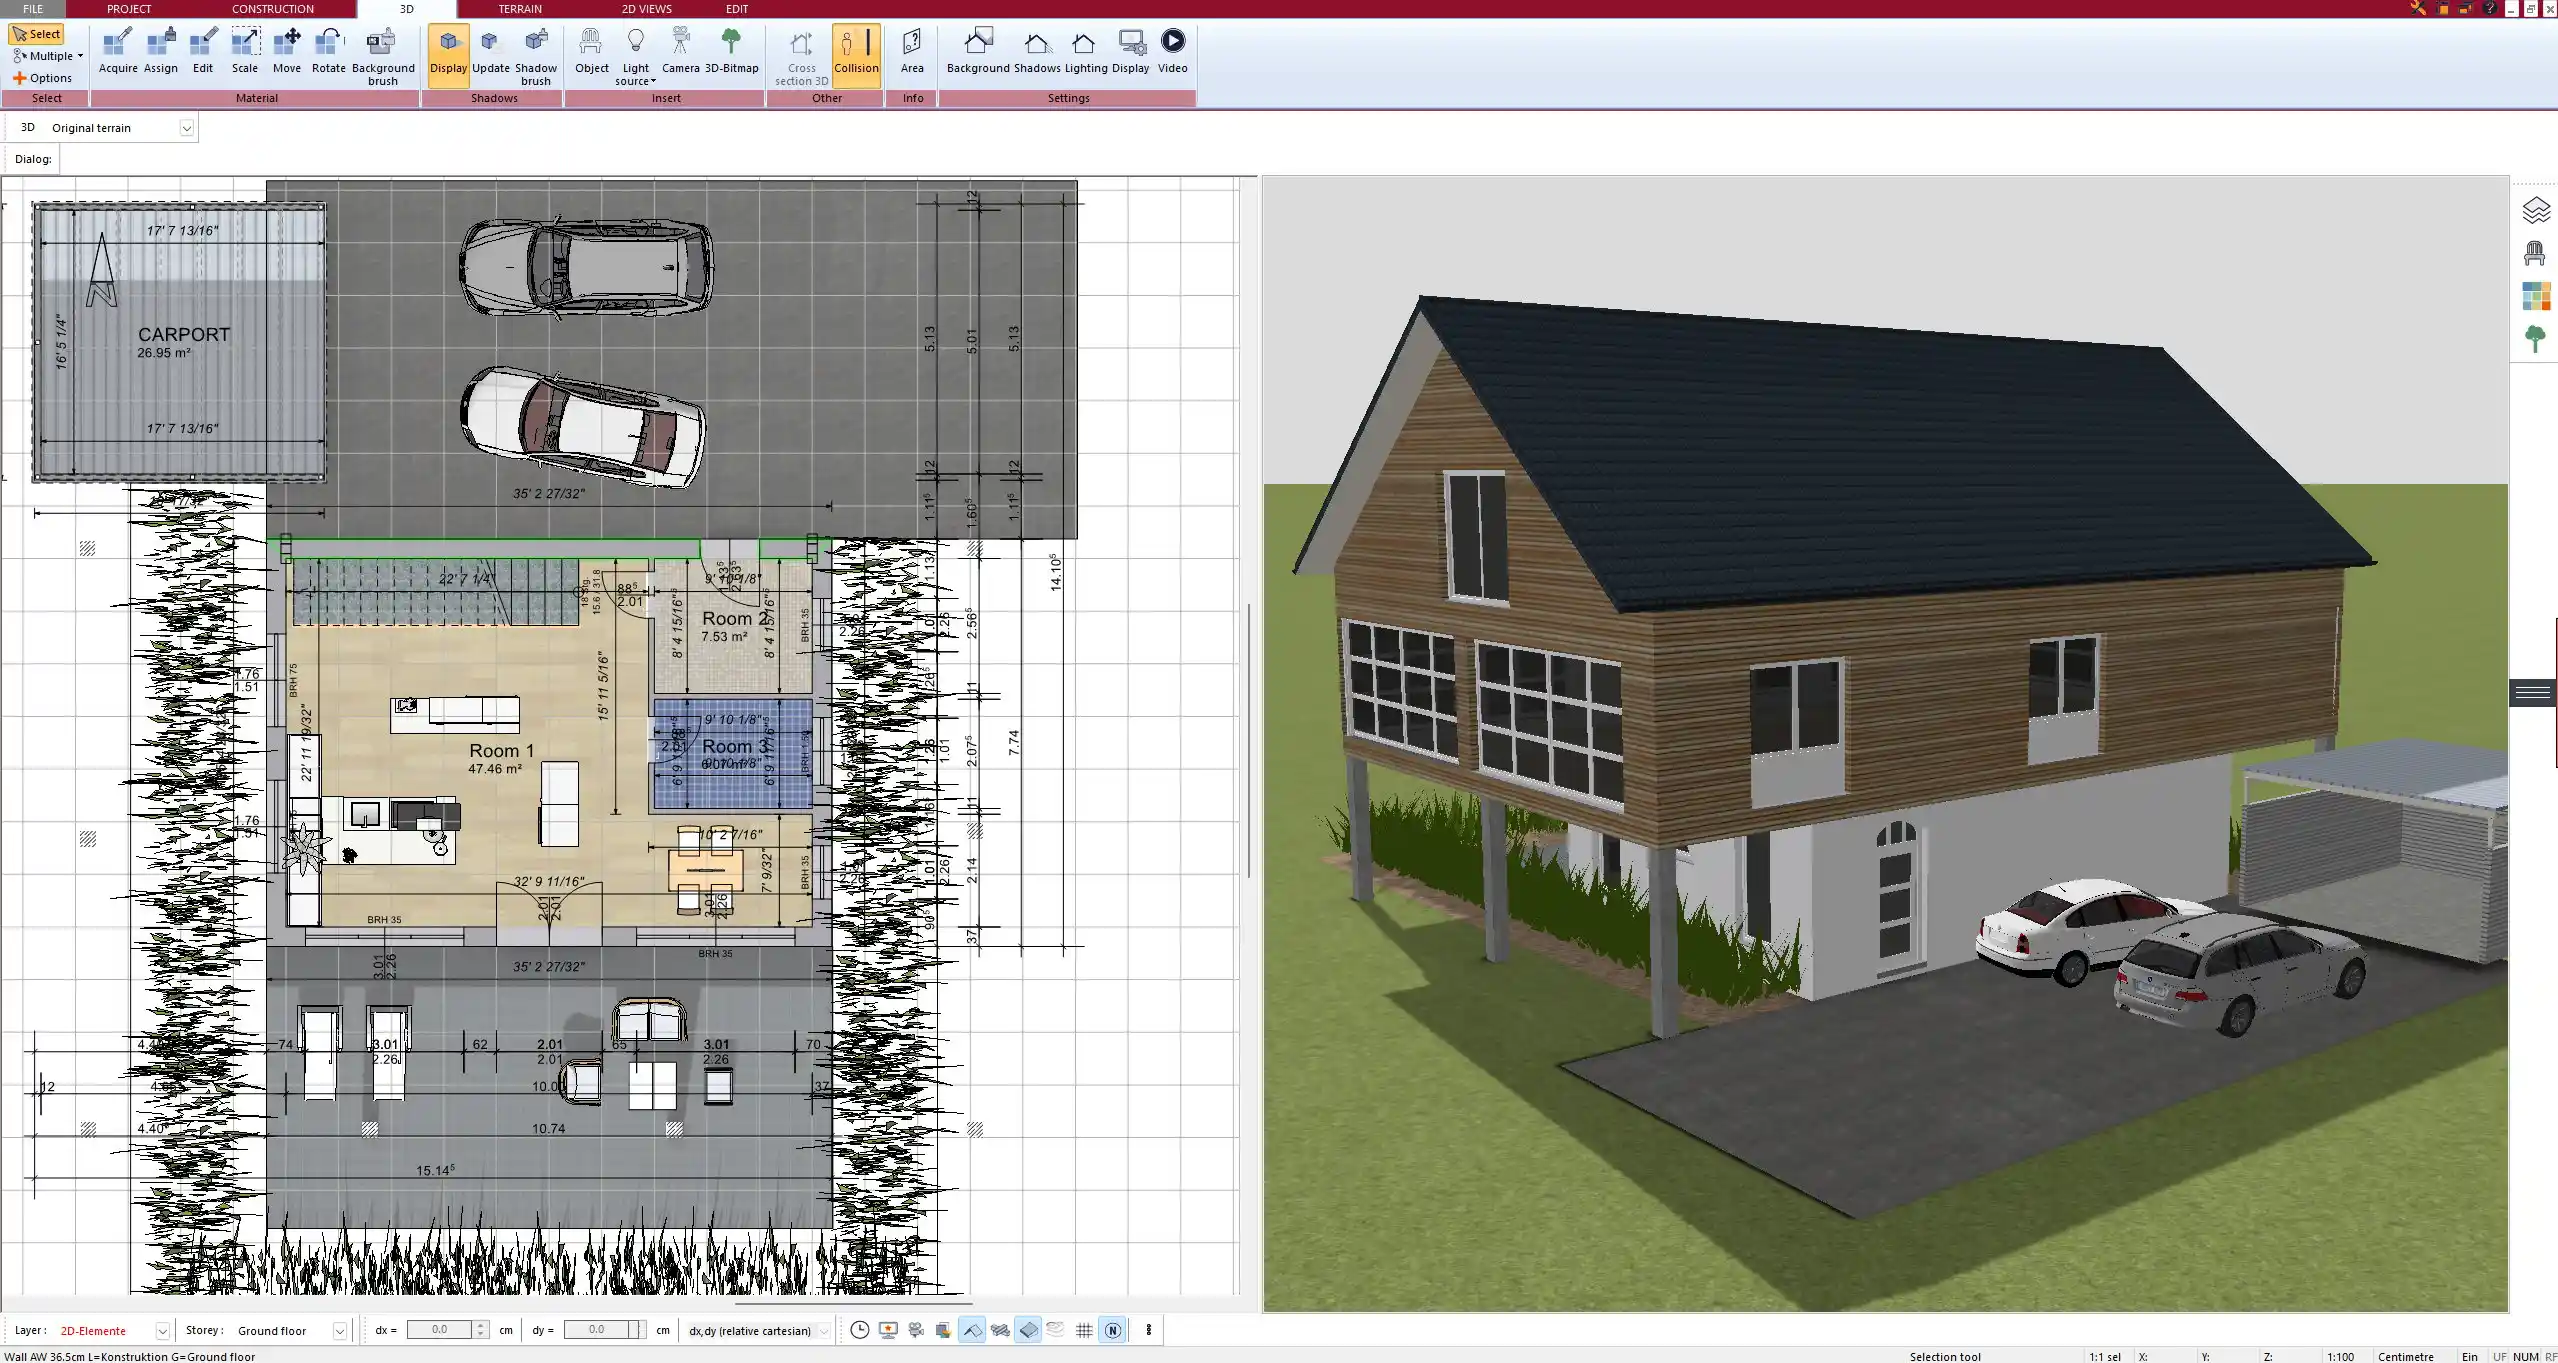
In clay house architecture, gable and hipped roofs are the most common due to their simple construction and effective water drainage. Plan7Architect includes various predefined roof shapes which you can customize to fit your design.
Ceiling heights can be adapted depending on the room function. Living areas may benefit from higher ceilings (e.g., 2.6 meters or about 8.5 feet), especially in warmer regions where natural air movement supports cooling.
Best Practices for a Functional and Aesthetic Floor Plan
Efficient Room Layouts
From experience, I recommend starting with a warm central area. A combined kitchen and living room forms the thermal heart of the home. Bedrooms should be placed on the cooler side of the building—typically north-facing in warm climates or south-facing in colder zones.
Clay houses benefit from symmetry and compactness. Group plumbing areas like bathrooms and kitchens close together to reduce installation costs and heat loss.
Avoiding Modern Pitfalls
Modern standards sometimes conflict with clay house logic. For example, adding too much insulation or synthetic materials can trap moisture and cause damage to natural walls.
Another common mistake is placing basements in areas with poor drainage. Clay walls absorb moisture if not protected properly. If you must plan a basement, use the software to simulate drainage and ventilation, and avoid direct contact between clay walls and soil.
Planning for Ventilation and Indoor Climate
One of the key advantages of clay is its natural regulation of humidity. Still, a well-designed ventilation system is essential. In Plan7Architect, you can plan cross-ventilation routes between opposite windows, add roof windows or skylights, and simulate air flow.
Consider using wide doors and open passages between rooms to improve air circulation. Avoid unnecessary internal barriers, especially in summer zones.
Flooring and Structural Base Considerations
Traditional clay homes often use rammed earth or wooden subfloors. You can model these floor types in Plan7Architect by customizing floor layers. The software lets you build each layer individually, from base fill to surface finish.
If you’re planning underfloor heating, keep in mind that this works best with a well-insulated foundation. Clay floors without insulation are not ideal for this system. You can model and visualize the floor buildup and test alternatives directly in your floor plan.
Tips for Traditional vs. Modern Clay House Styles
| Style | Characteristics | Planning Note |
|---|---|---|
| Traditional Clay | Small window openings, compact layout, thick walls | Keep the floor plan symmetrical and grounded |
| Modern Eco Clay | Open living areas, glass facades, energy simulations | Use 3D sunlight and climate simulations in software |
Plan Export and Presentation Options
With Plan7Architect, you can export your clay house floor plan in multiple formats. Choose from:
-
2D construction plans: Ideal for permit applications or builders
-
3D visualizations: Helpful for presentations or client meetings
-
High-resolution images: Perfect for brochures or marketing
-
Layered PDF exports: Suitable for technical documentation or approvals
You can define exact scale and print layout, including floor plans, sections, and elevation views. This flexibility allows you to meet building code requirements in both Europe and North America.
Helpful Tip
Use Layer Management for Efficient Planning
I always recommend assigning demolished walls, additions, or alternative variants to separate layers. This allows you to toggle visibility and plan complex renovations or different design stages without confusion.
Why Plan7Architect is Ideal for Clay House Projects
Plan7Architect combines the simplicity needed for private builders with powerful tools for professionals. You can easily model thick walls, simulate sun and shadows, and plan with natural materials. Whether you want to build a traditional earth house or a modern eco clay home, this software adapts to your vision.
You can switch between metric and imperial units at any time, making it easy to plan for any international region. The 3D visualization makes it easier to communicate your ideas to builders or family members, and all exports are ready for practical use.
If you’re serious about planning your clay home professionally and independently, Plan7Architect is an excellent choice.
Plan your project with Plan7Architect

Plan7Architect Pro 5 for $99.99
You don’t need any prior experience because the software has been specifically designed for beginners. The planning process is carried out in 5 simple steps:
1. Draw Walls

2. Windows & Doors

3. Floors & Roof

4. Textures & 3D Objects

5. Plan for the Building Permit

6. Export the Floor Plan as a 3D Model for Twinmotion

- – Compliant with international construction standards
- – Usable on 3 PCs simultaneously
- – Option for consultation with an architect
- – Comprehensive user manual
- – Regular updates
- – Video tutorials
- – Millions of 3D objects available


