If you want to design your own chalet floor plan, Plan7Architect gives you all the tools you need. You don’t need any architectural background. The software allows you to start from scratch or use templates. I usually begin with a blank project so I can fully control the shape and layout of the chalet.
Once you open the software, you can choose whether you want to work in metric or imperial units, which is particularly helpful depending on whether you’re used to meters or feet. This can be changed at any time during the planning process.
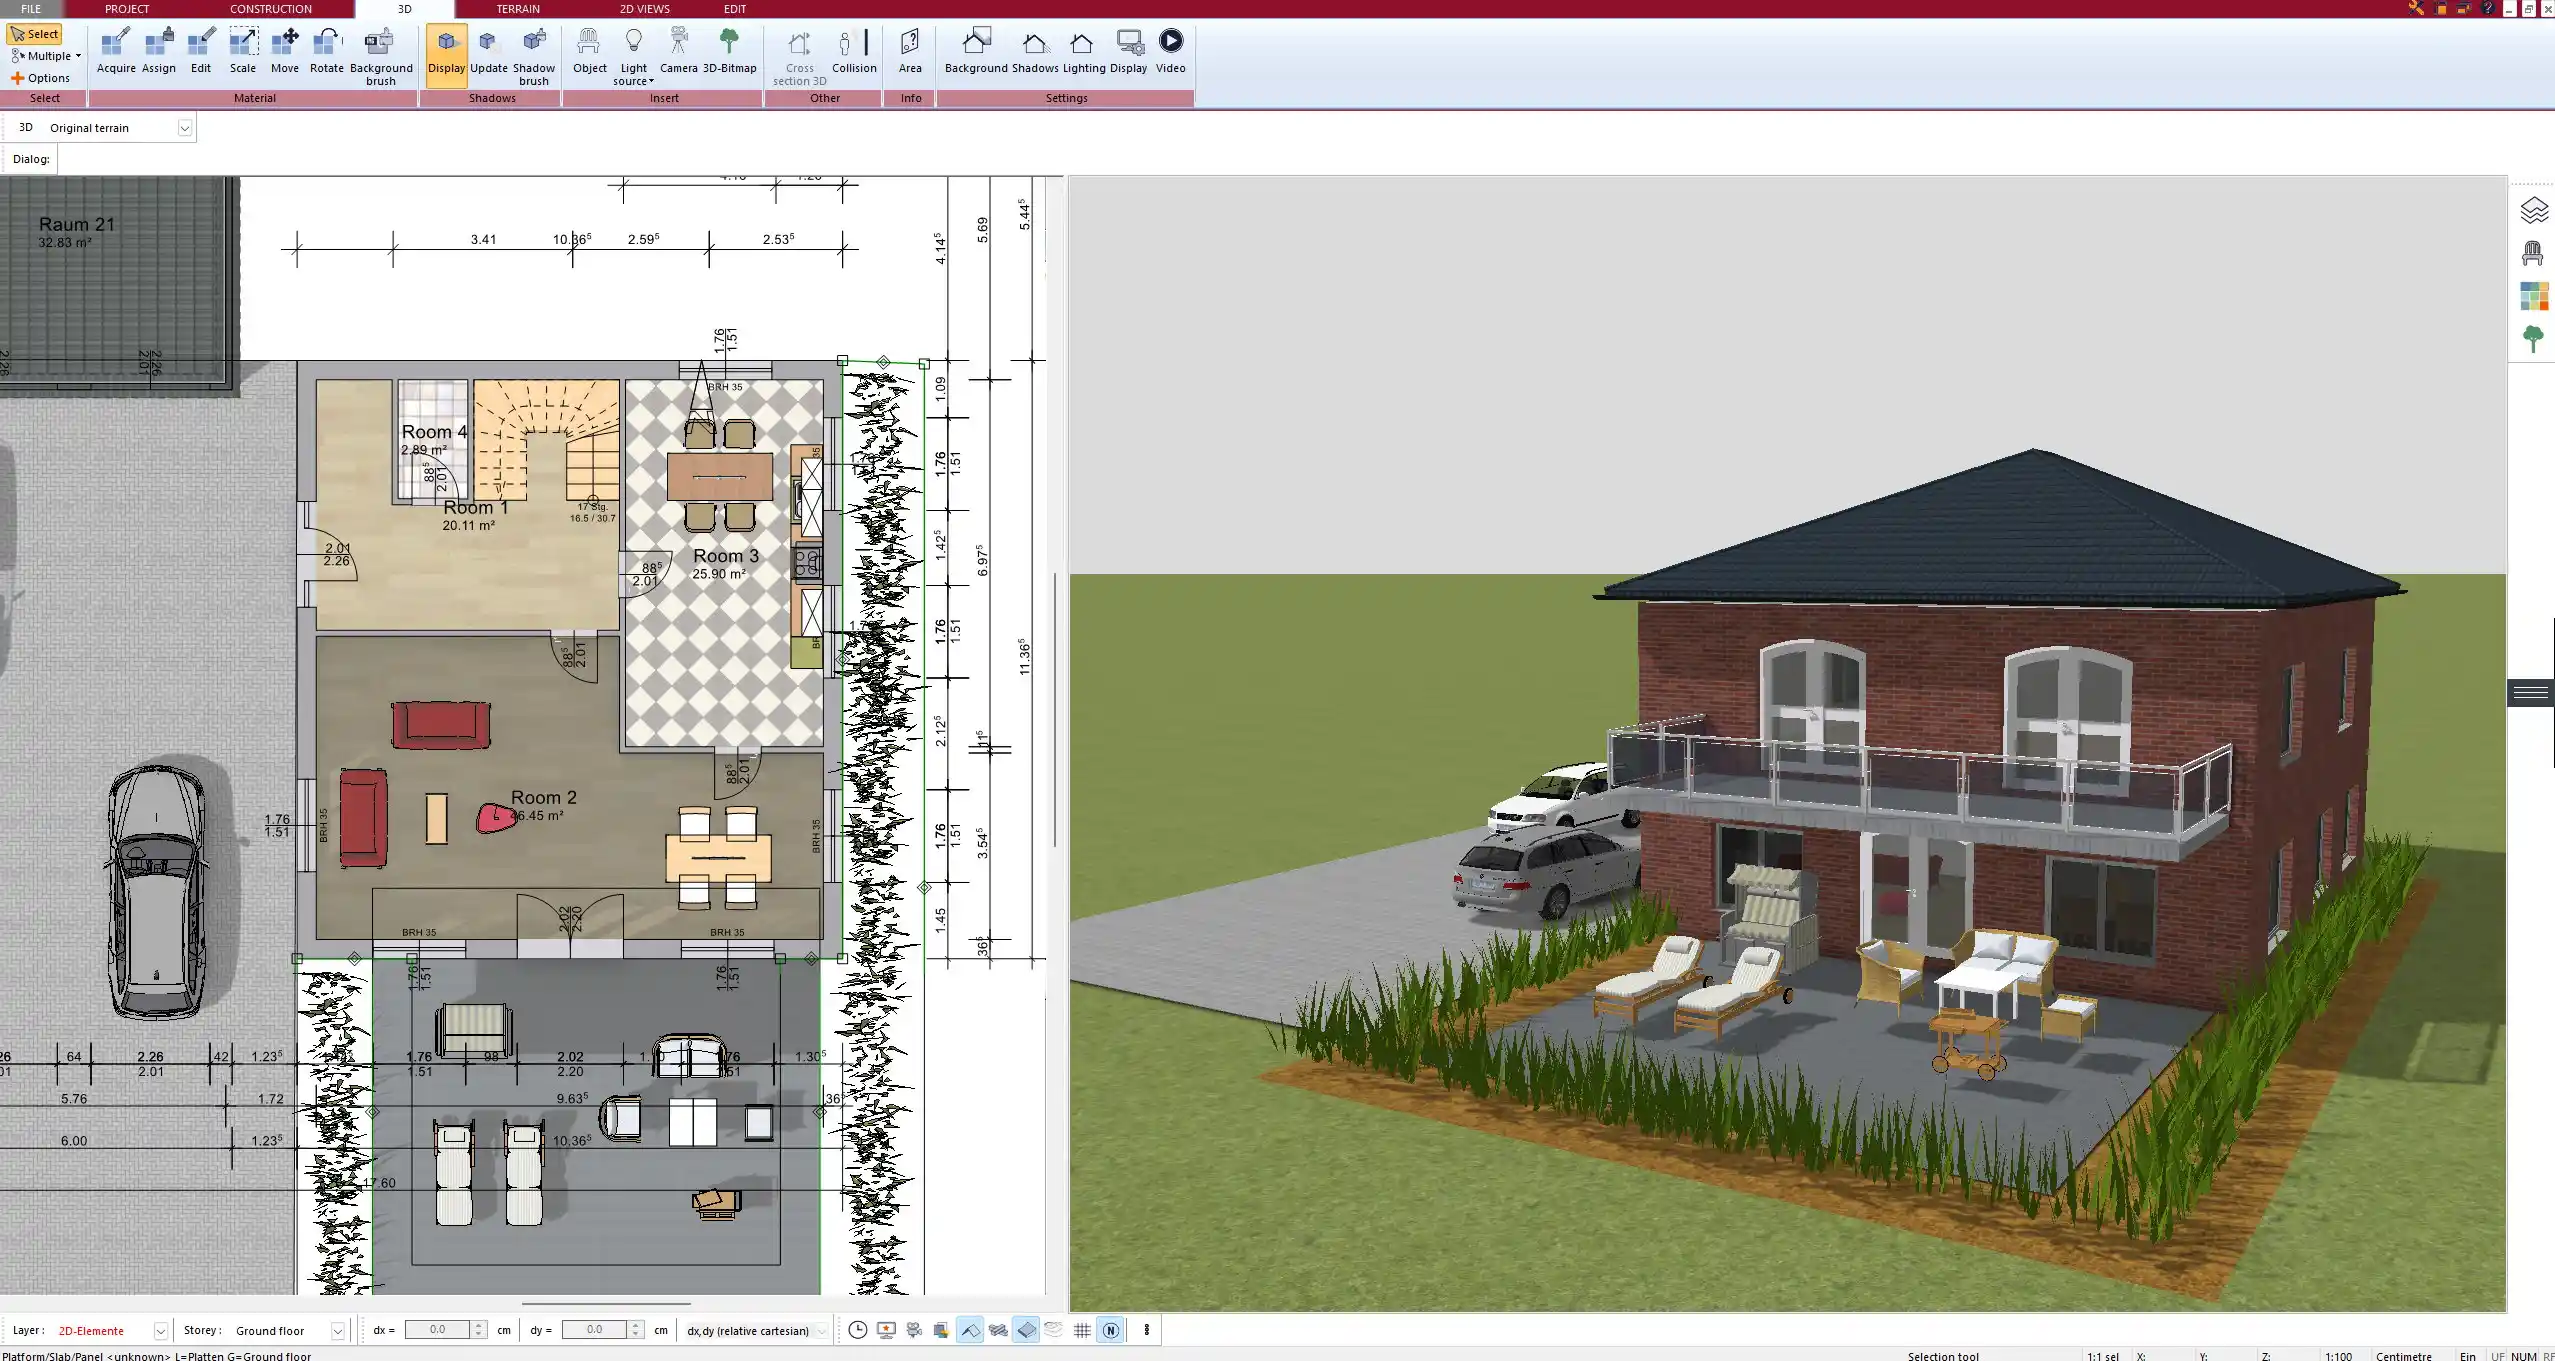
I first draw the outer walls using the wall tool in 2D mode, which allows for precise positioning and easy snapping. You can switch to 3D mode at any point to see the structure come to life. For chalet designs, I typically use sloped roofs and gabled ends, which are easily implemented using the roof editor.
Key features I use when designing chalet floor plans:
-
Adjustable wall thickness and heights
-
Roof editor with multiple slopes and overhang settings
-
Story manager to organize multiple floors and levels
-
Real-time 3D rendering with detailed textures
Typical Layout and Characteristics of a Chalet
Chalets are known for their warm, rustic charm and are often built in mountainous or wooded areas. When planning your floor plan, it’s important to consider the traditional elements that define a chalet.
Most chalets include:
-
A spacious, open-plan living and dining area
-
A centrally placed fireplace or wood-burning stove
-
Large panoramic windows, especially on the south side
-
A wrap-around balcony or terrace on at least one level
-
A steep, sloping roof with wide overhangs
-
Exposed timber beams and wooden wall surfaces
Must-Haves in Chalet Planning
To ensure your chalet is practical and cozy, I always include the following elements in my designs:
-
A mudroom or vestibule at the entrance to keep snow and dirt out of the main living area
-
Practical storage space for skis, boots, or hiking gear
-
Effective insulation zones and floor heating
-
Loft-style sleeping areas in the attic
-
A sauna or wellness room in the basement if possible
Tip:
In Plan7Architect, you can use predefined room templates for bathrooms, kitchens, or living rooms and adapt them with a few clicks. This saves a lot of time and keeps proportions realistic.
Ground Floor Planning
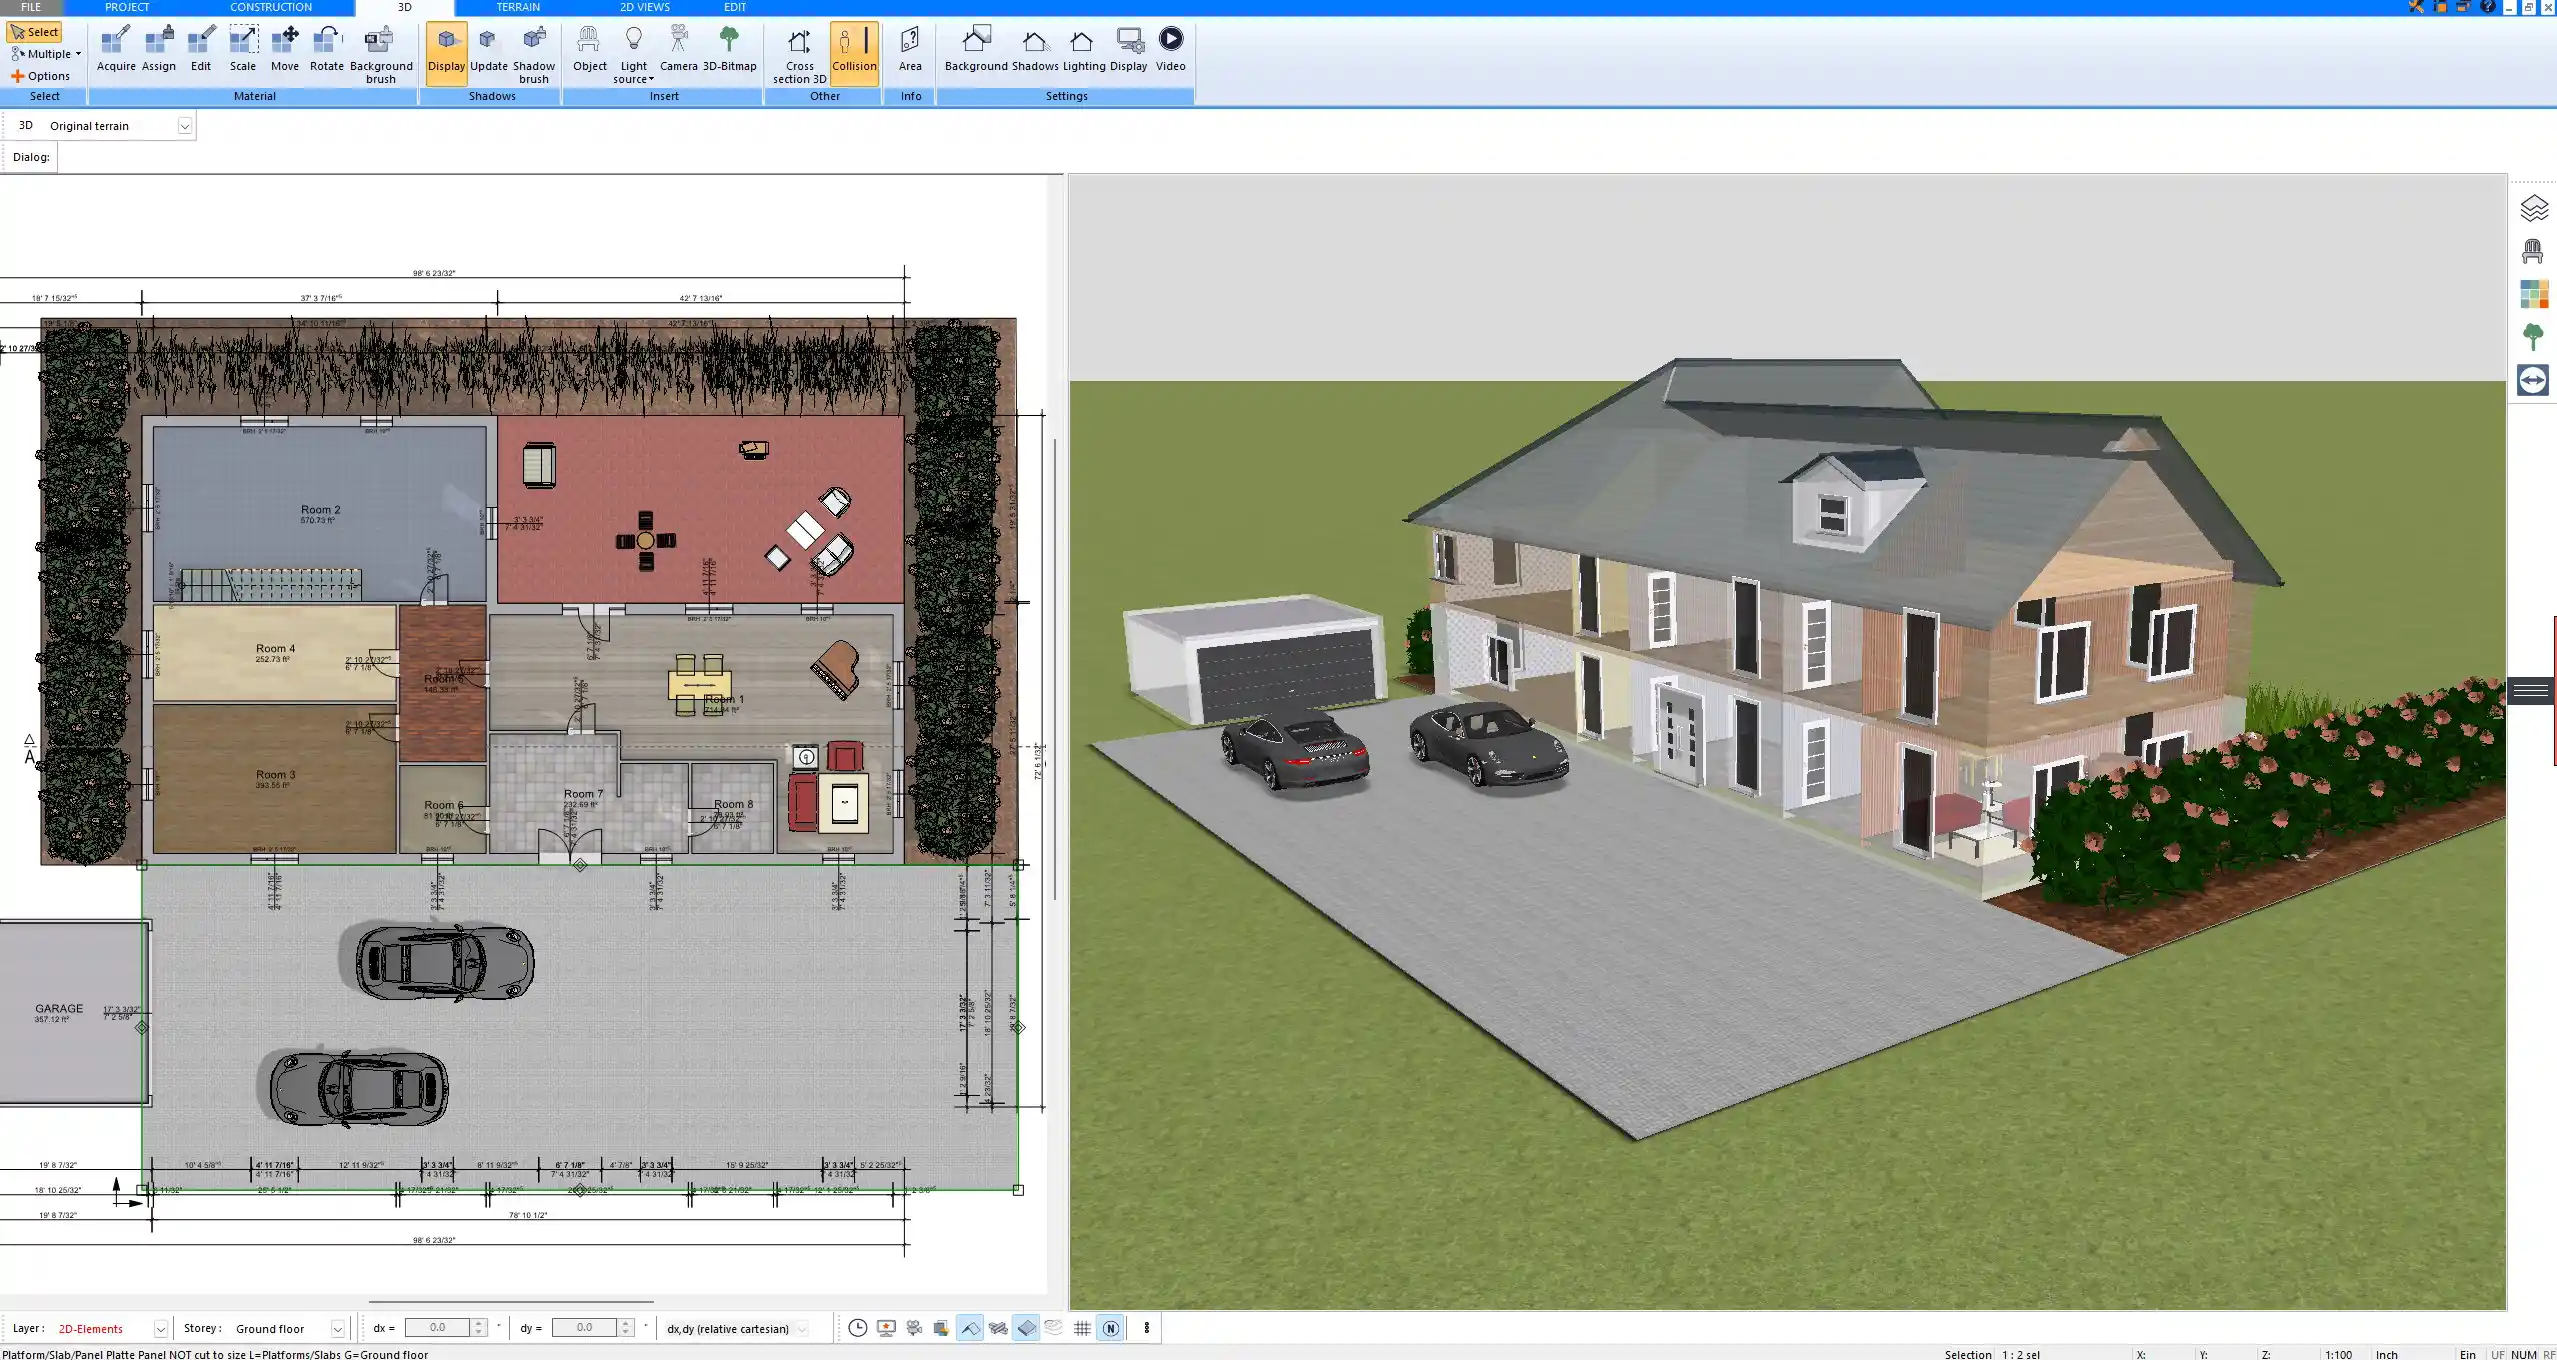
The ground floor is usually where the social spaces are. I always make sure to design an open kitchen, dining, and living area that flows together naturally. Chalet designs benefit from wide glass doors leading to terraces or decks, which you can add easily with the window and door tools in the software.
I also include a guest toilet or full bathroom on this level and, if space allows, a small guest bedroom or office.
Features to add on the ground floor:
-
Open-plan layout
-
Central fireplace
-
Access to balconies or terraces
-
Large windows for natural light
Upper Floor and Loft Planning
For the upper floor, I recommend planning around the roof’s slope. In Plan7Architect, you can edit the roof and adjust the usable height under the eaves, so beds or wardrobes fit even under slanted ceilings. I usually place two or three bedrooms here and at least one full bathroom.
Chalet-style homes often have a gallery or open space above the living area. You can leave a portion of the ceiling open in Plan7Architect using the floor cut-out function.
Useful tools for the upper floor:
-
Cut-out areas for open galleries
-
Precise height adjustments for walls under the roof
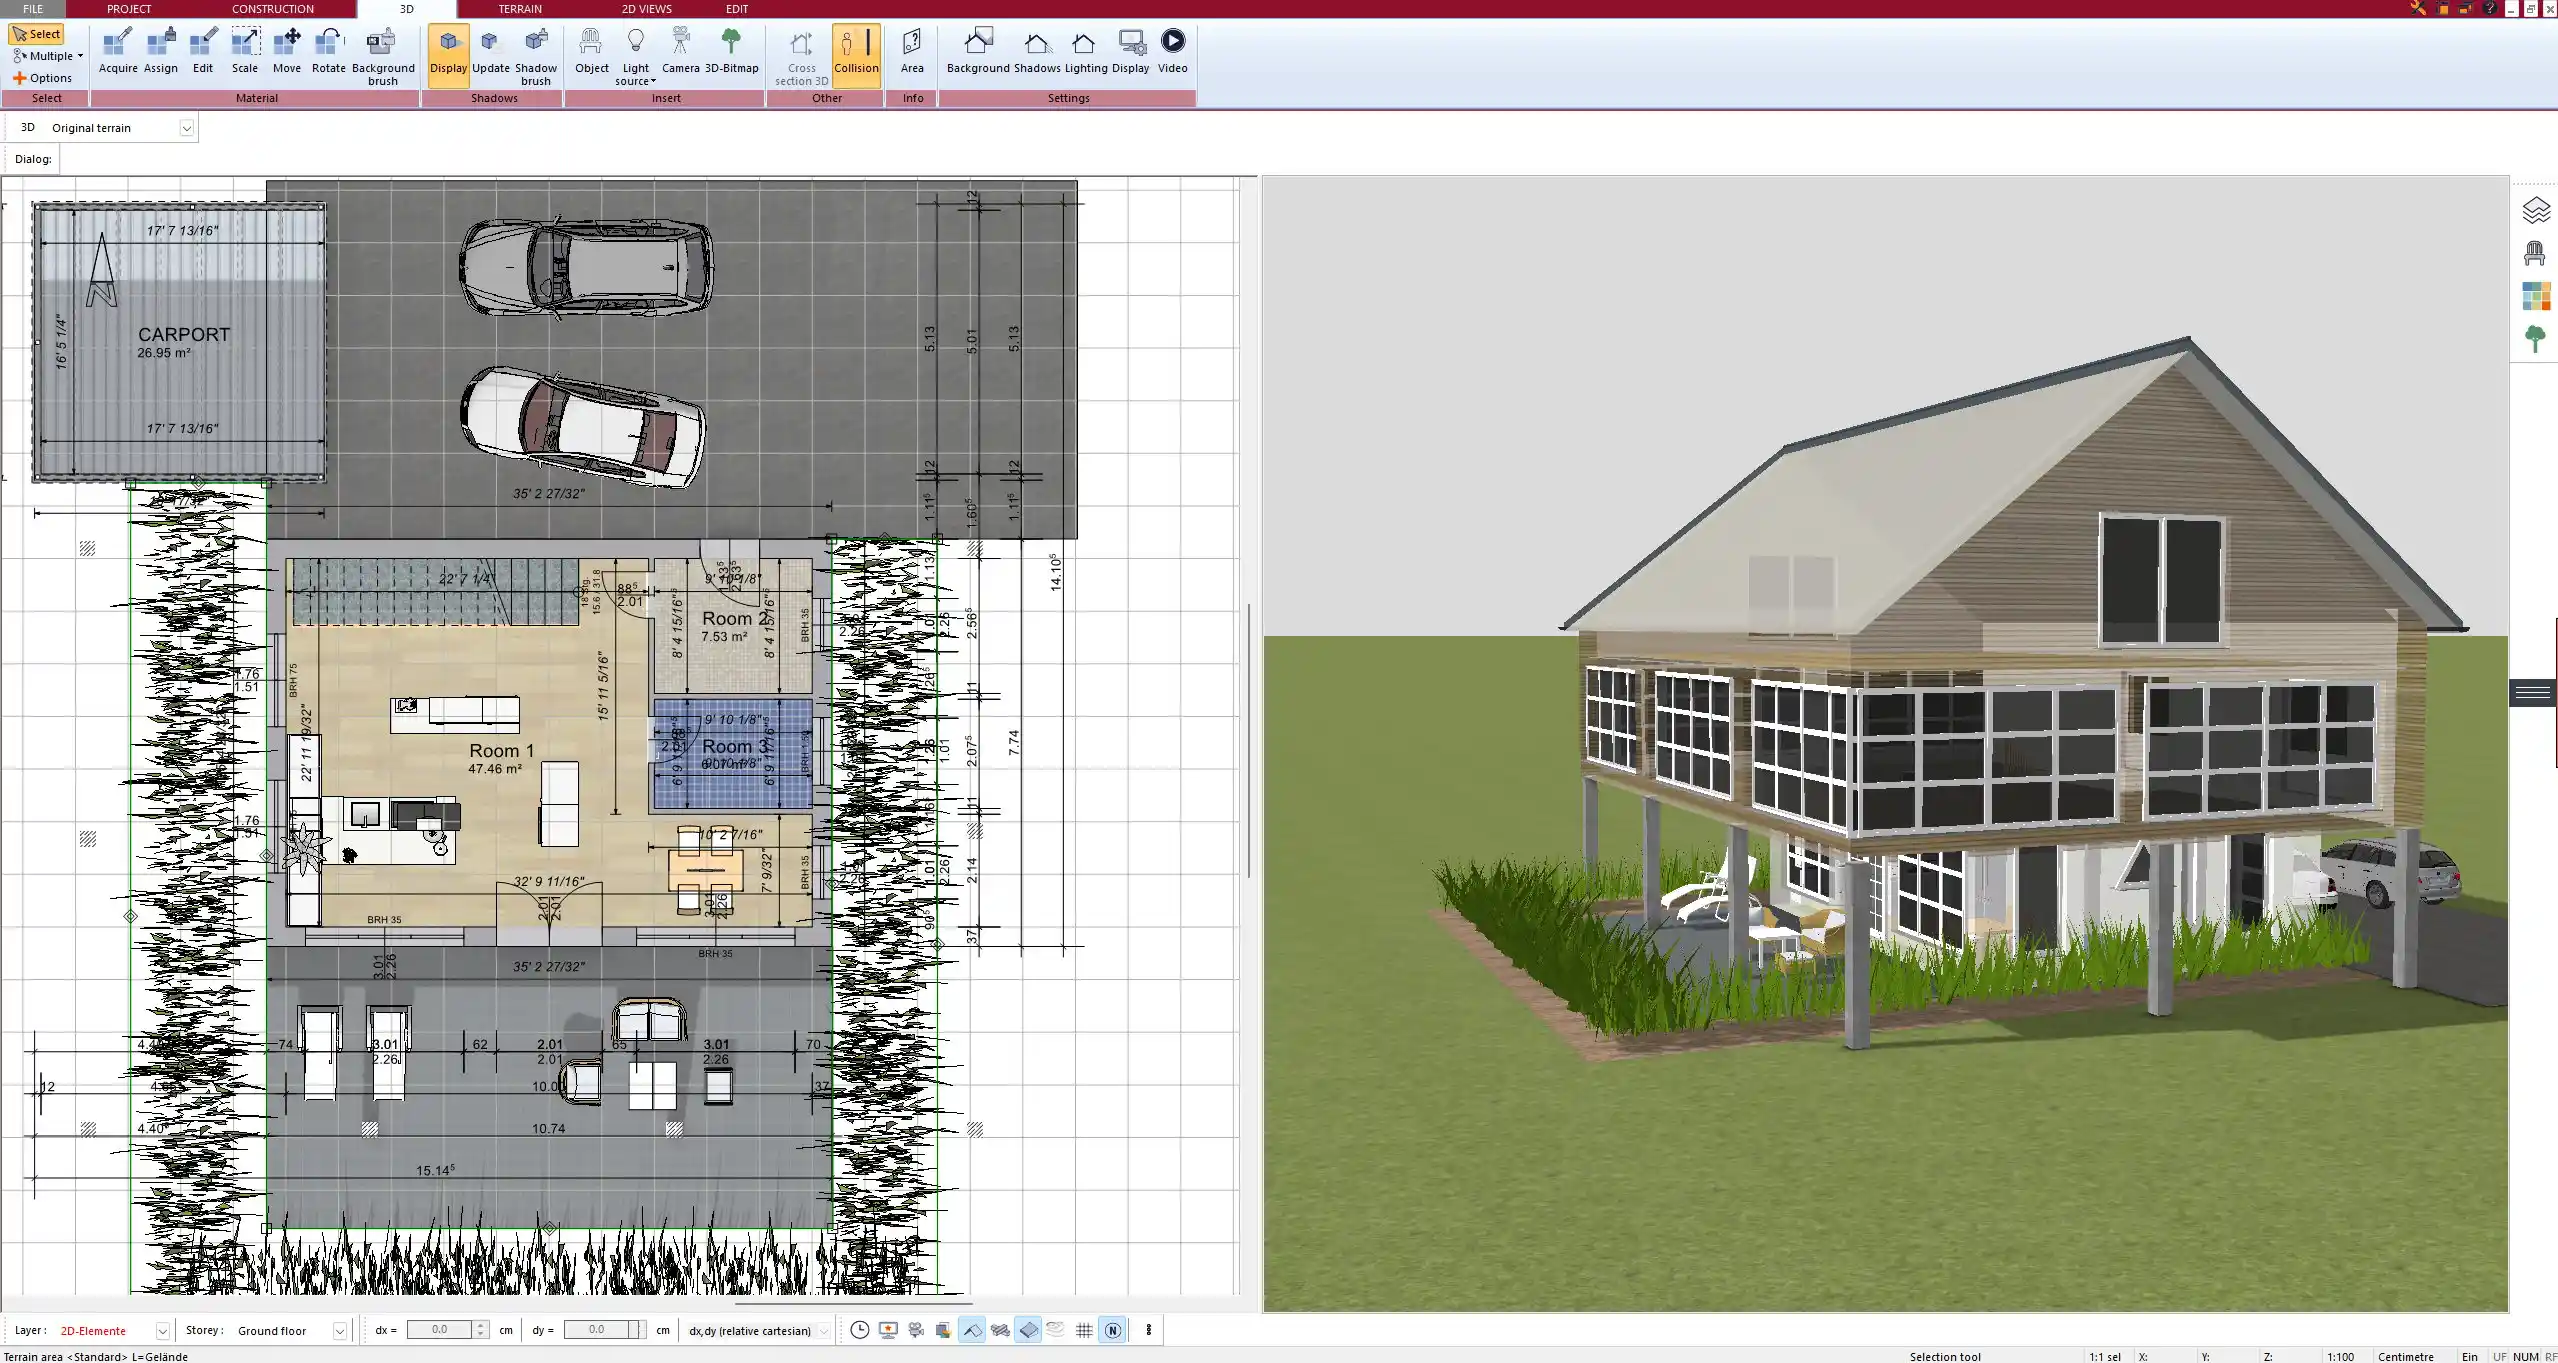
Basement or Utility Zones (Optional)
If your chalet includes a basement, this is the perfect place for functional areas. In my own projects, I add a wellness zone with a sauna, a storage room, and a laundry room here.
The software’s story manager allows you to easily create additional levels below the ground floor. You can also set terrain height for sloped sites, which is especially helpful in mountain regions.
Common basement features:
-
Sauna and relaxation room
-
Technical and heating room
-
Storage for outdoor gear
-
Utility room with washing machine
Use of Chalet-Friendly Tools in the Software
Plan7Architect includes several tools that are perfect for chalet planning. The timber beam planner lets you add structural or decorative beams that are typical in mountain-style homes. You can also model different roof types like cross-gabled or multi-layered designs.
When I design a chalet, I often need complex roof shapes to reflect the alpine style. The multi-roof editor lets you combine multiple roof sections with different angles and overhangs.
Tools I often use for chalet designs:
| Feature | Use Case |
|---|---|
| Roof Editor | Create sloped, gable, or hip roofs |
| Beam and Timber Planner | Add visible beams inside and out |
| Terrain Editor | Design on sloped land or hills |
| Story Manager | Define levels like basement or loft |
Importing Furniture and Materials
I usually furnish the chalet using rustic furniture found in the software’s built-in library. There are many ready-made objects like wood-burning stoves, cabin beds, wooden tables, and leather couches.
For more options, I import 3D objects from the SketchUp warehouse directly into Plan7Architect. This is helpful when I want to match a specific design style or replicate real furniture.
You can also apply wood and stone textures to floors, walls, and ceilings. This gives your chalet the authentic alpine look.
Tip:
Once you find a texture or object you like, you can save it to your own catalog in the software and reuse it in future projects.
Working with Dimensions, Units, and Construction Details
One advantage of Plan7Architect is the ability to work in both metric and imperial units. Whether you’re designing a chalet in Europe or North America, you can simply choose the measurement system that matches your location or building standards.
The software allows you to precisely define:
-
Wall thickness and height
-
Roof angles and overhangs
-
Floor-to-ceiling height
-
Window and door dimensions
This makes it easier to meet local construction requirements and ensure the building is feasible.
From Idea to Permit-Ready Plans
After finishing the design, you can export the plan in several formats: PDF, image file, or DWG/DXF for professional use. I often use the export feature to send floor plans, elevations, and sections to builders or planning offices.
Everything is customizable: room names, wall dimensions, scale, and labels. If needed, you can add layers for electrical, plumbing, or lighting plans.
Export options include:
-
Floor plans with dimensions
-
Elevations and roof layouts
-
Print-ready formats and custom scales
Visualizing Your Chalet Design
The integrated 3D mode shows your chalet in full detail. You can walk through it room by room, adjust lighting and time of day, and even simulate sunlight based on location.
For presentation purposes, I often use the photo-realistic rendering function. This helps clients or family members understand what the final result will look like.
What you can do in visualization mode:
-
Take screenshots of 3D views
-
Simulate different seasons or light settings
-
Create virtual walk-throughs
-
Adjust textures and shadows in real time
Conclusion: Plan Your Dream Chalet Easily with Plan7Architect
With Plan7Architect, you can design your entire chalet floor plan by yourself. From rustic interiors to detailed roof planning, the software includes everything needed to build a professional layout. It supports both metric and imperial units and is ideal whether you’re designing in the Alps or the Rockies.
There’s no subscription. You pay once and can use the software on up to three devices. Plus, you can try it risk-free thanks to the 14-day money-back guarantee.
Plan your project with Plan7Architect

Plan7Architect Pro 5 for $109.99
You don’t need any prior experience because the software has been specifically designed for beginners. The planning process is carried out in 5 simple steps:
1. Draw Walls

2. Windows & Doors

3. Floors & Roof

4. Textures & 3D Objects

5. Plan for the Building Permit

6. Export the Floor Plan as a 3D Model for Twinmotion

- – Compliant with international construction standards
- – Usable on 3 PCs simultaneously
- – Option for consultation with an architect
- – Comprehensive user manual
- – Regular updates
- – Video tutorials
- – Millions of 3D objects available


