In order to be able to further enhance your drawings to be usable for working drawings and building regulations, Arcon Evo enables you to specify your wall constructions not just by wall thickness but by individual wall layer. Whilst there are already standard multi-layer walls within the library, the flexibility of this approach means that Arcon Evo can be used to show walls of any construction type from brick and block, cavity wall, solid stone or even straw bale.
There are two methods to produce this effect. You can either draw your buildings using any set wall type and then adjust them later or draw a single wall to create the desired wall type and then use that new wall type for each subsequent wall. The actual result is the same and is just a preference of whether you draw the walls then change them, or create the wall then draw.
1) Using the standard wall drawing tool and any of the pre-set wall types, draw a single length of wall on your project
2) Once placed on the plan, click on the wall to select it
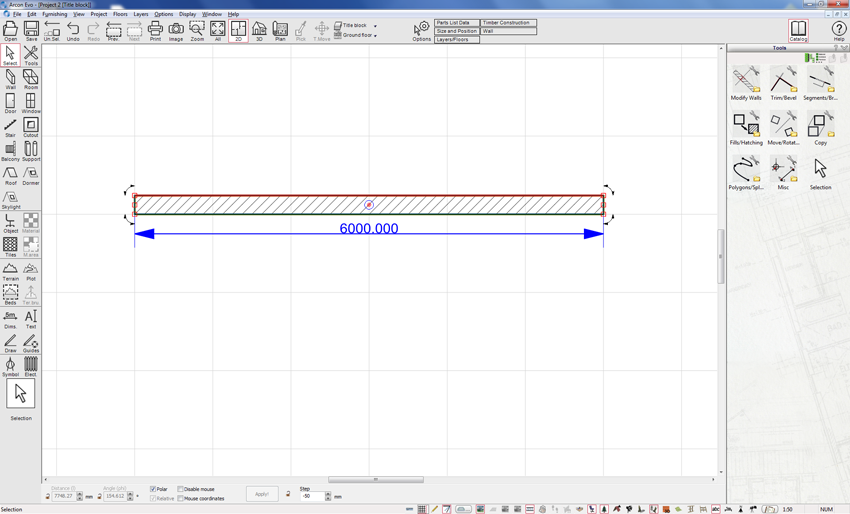
3) From the top toolbar context menu select Wall
4) This will open the wall details dialogue box and will open by default on the ‘layers’ tab
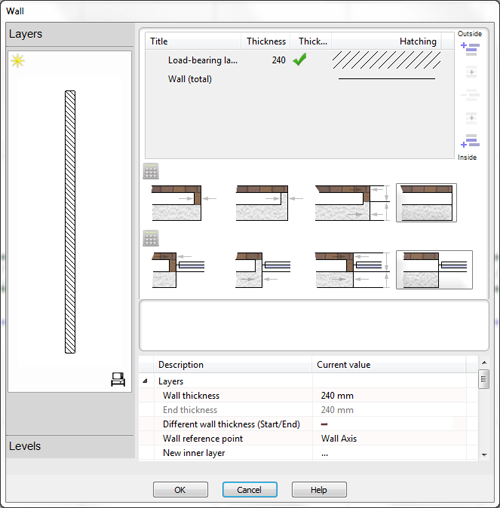

5) As you can see from the image above, the current wall consists of a single layer. This can be seen in the wall layer view section of the dialogue box on the top left
6) The details of each layer are shown giving the name (title) of the layer, the thickness (depth) of the layer and the hatching pattern used to identify the layer. To the immediate right of the layer box we have a series of icons which we can use to add and amend layers for this wall type
7) So firstly we will change the details of the existing layer. Click on the Title field for this layer. You will be given a drop-down menu of pre-selected options. Either choose the correct option of simply type the name of this layer.
8) Next, change the thickness, again click on the field and enter the desired value
9) Finally select the appropriate hatching pattern for this layer (a small icon next to the hatching also enables you to change the fill style, colour etc.). Once changed you should now have a new outer layer for your wall
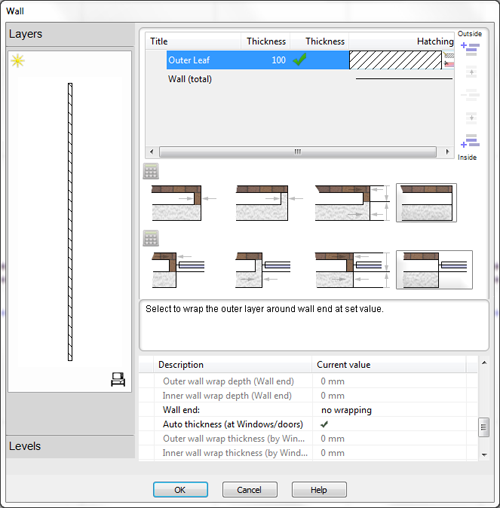

10) Now to add more layers, you need to select an existing layer and then, using the icons to the right of the layer pane select to add a new layer either above (i.e. towards the outside edge) or below (i.e. towards the inside edge) of the currently selected layer. I’m going to use the current layer as my outer leaf, so I will select add a new layer below to add more layers.
11) The original layer is then duplicated in the desired position (i.e. above or below). We can now amend the name, thickness and hatch pattern for this layer as before.
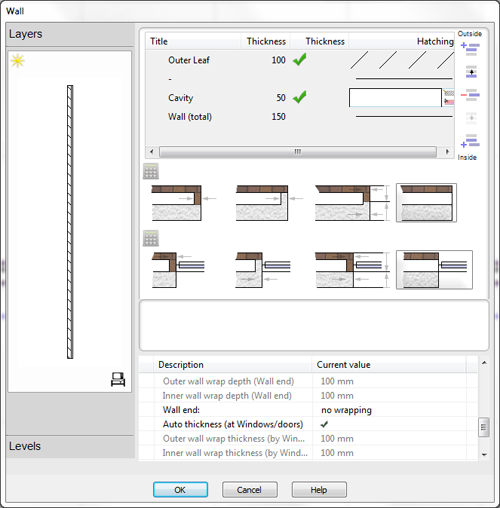

12) Repeat this process as many times as required to create you wall structure
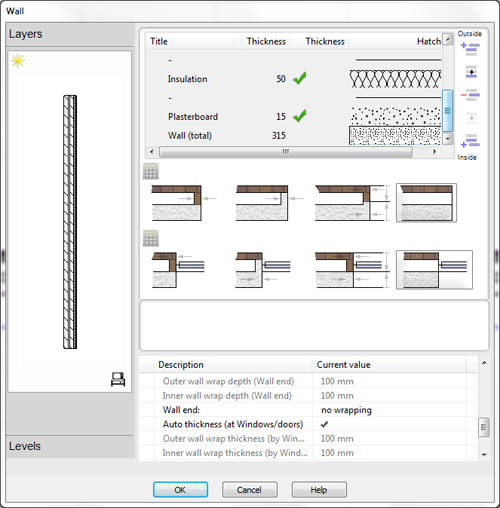

13) You will see that as we add further layers, there are additional icons on the right to move layers up/down the structure or to delete a layer
14) The wall in your project is now changed to this new structure
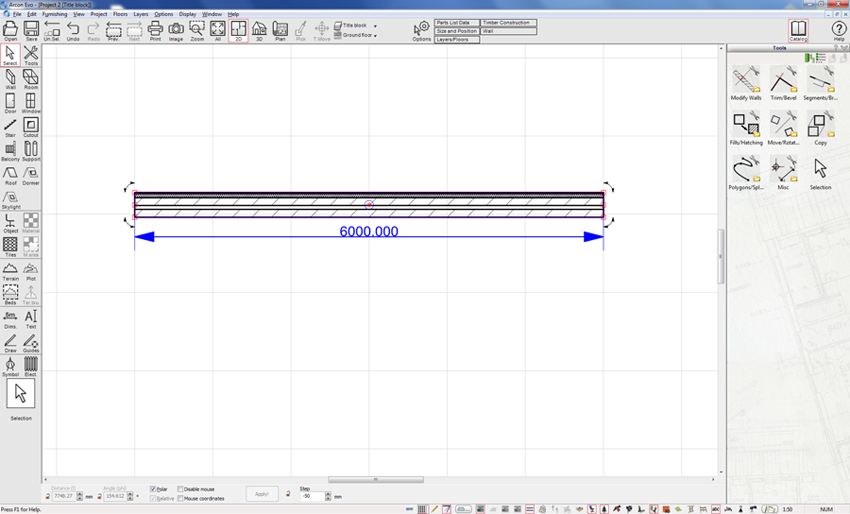

15) However, only this wall is now changed and these settings have not been saved. If you intend to use this wall type again, it is worth saving it to the database (note that you can do this right away at step 13 above)
16) Open the wall properties again
17) In the lower section of the layer window in the wall dialogue, scroll down through the field settings to the section headed ‘Other’. Expand this section and locate the field labelled ‘Save current wall construction in database’. Left click on this field
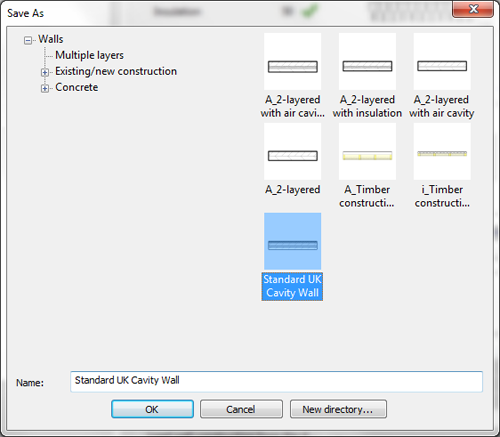
18) In the dialogue box that opens, choose a folder you wish to save the new wall structure to and enter a name for this wall type

19) Click OK to save this wall type. This wall will now be selectable as a new wall type from the walls database when you use the wall tool.


