If you want to design a house in timber frame construction, Plan7Architect gives you everything you need. You can define stud walls with custom thicknesses, design your entire structure layer by layer, and visualize it in 2D and 3D from every angle. It does not matter whether you are working with metric or imperial measurements – the software supports both unit systems and lets you switch between them as needed.
You can set up exterior and interior walls based on actual timber construction principles, including insulation zones, cladding layers, and beam structures. What makes it especially useful is the ability to add posts, beams, joists, and rafters exactly where you want them. Everything is editable, and you can make changes at any time without having to redraw the entire layout.
Whether you’re planning a small timber cabin or a two-story frame house, the floor plan can be fully configured with realistic construction details. You can also prepare plans for submission to professionals such as engineers or permit authorities by exporting detailed, scaled layouts.
Step-by-Step: How to Design a Timber Frame Floor Plan in Plan7Architect
Choose or Create a New Project File
To start a timber frame floor plan, you can either open an empty project or select one of the templates. Immediately after opening, choose whether you want to work with metric (meters, centimeters) or imperial (feet, inches) units. This is especially important if you are working with standardized timber dimensions commonly used in your country.
Once you have selected the unit system, define the number of floors, the plot size, and the overall floor dimensions. Plan7Architect gives you a clear 2D floor view where you can place walls, doors, and structural components using drag-and-drop.
Set Wall Types Suitable for Timber Frame
One of the key parts of timber construction is the use of layered wall structures. Plan7Architect includes a powerful wall editor where you can define walls made up of multiple materials. A typical exterior wall for timber framing might consist of:
-
Interior drywall or paneling
-
Vapor barrier
-
Timber stud layer (for example 16 cm or 6.3 inches deep)
-
Insulation material
-
OSB board or plywood
-
Exterior cladding or facade finish
You can assign materials visually, adjust thicknesses individually, and save your custom wall types to reuse them across projects. For each wall, you can also define whether it is load-bearing or not, which is important for further planning.
Add Load-Bearing and Non-Load-Bearing Elements
In timber construction, the exact placement of posts and beams is crucial. Plan7Architect allows you to insert vertical posts, horizontal beams, or full frame modules anywhere in your plan. You can choose whether to work with predefined timber profiles or define your own beam cross-sections.
You can position these elements manually, or use snapping tools and alignment aids to place them at regular intervals – for example every 60 cm or 24 inches, which is standard for timber stud spacing.
Partition walls can be planned with lighter, non-load-bearing materials and reduced thickness. These are just as editable as external walls, and you can add wall openings, sockets, and other components at any time.
Plan Openings Precisely
Adding doors and windows in a timber frame wall requires precise spacing, since the framing must allow for headers and load transfer. In Plan7Architect, you can insert any number of doors or windows and place them at an exact distance from nearby walls or corners.
Each opening can be freely scaled, and the software automatically adapts the wall cutout. You can manually add structural headers or blocking beams above windows if you wish to visualize a realistic frame.
To make alignment easy, you can turn on rulers, grid snapping, and exact numerical input. For example, you can set a window to begin exactly 90 cm (or 36 inches) from the left edge of the wall.
Adjust Floor and Roof Structures
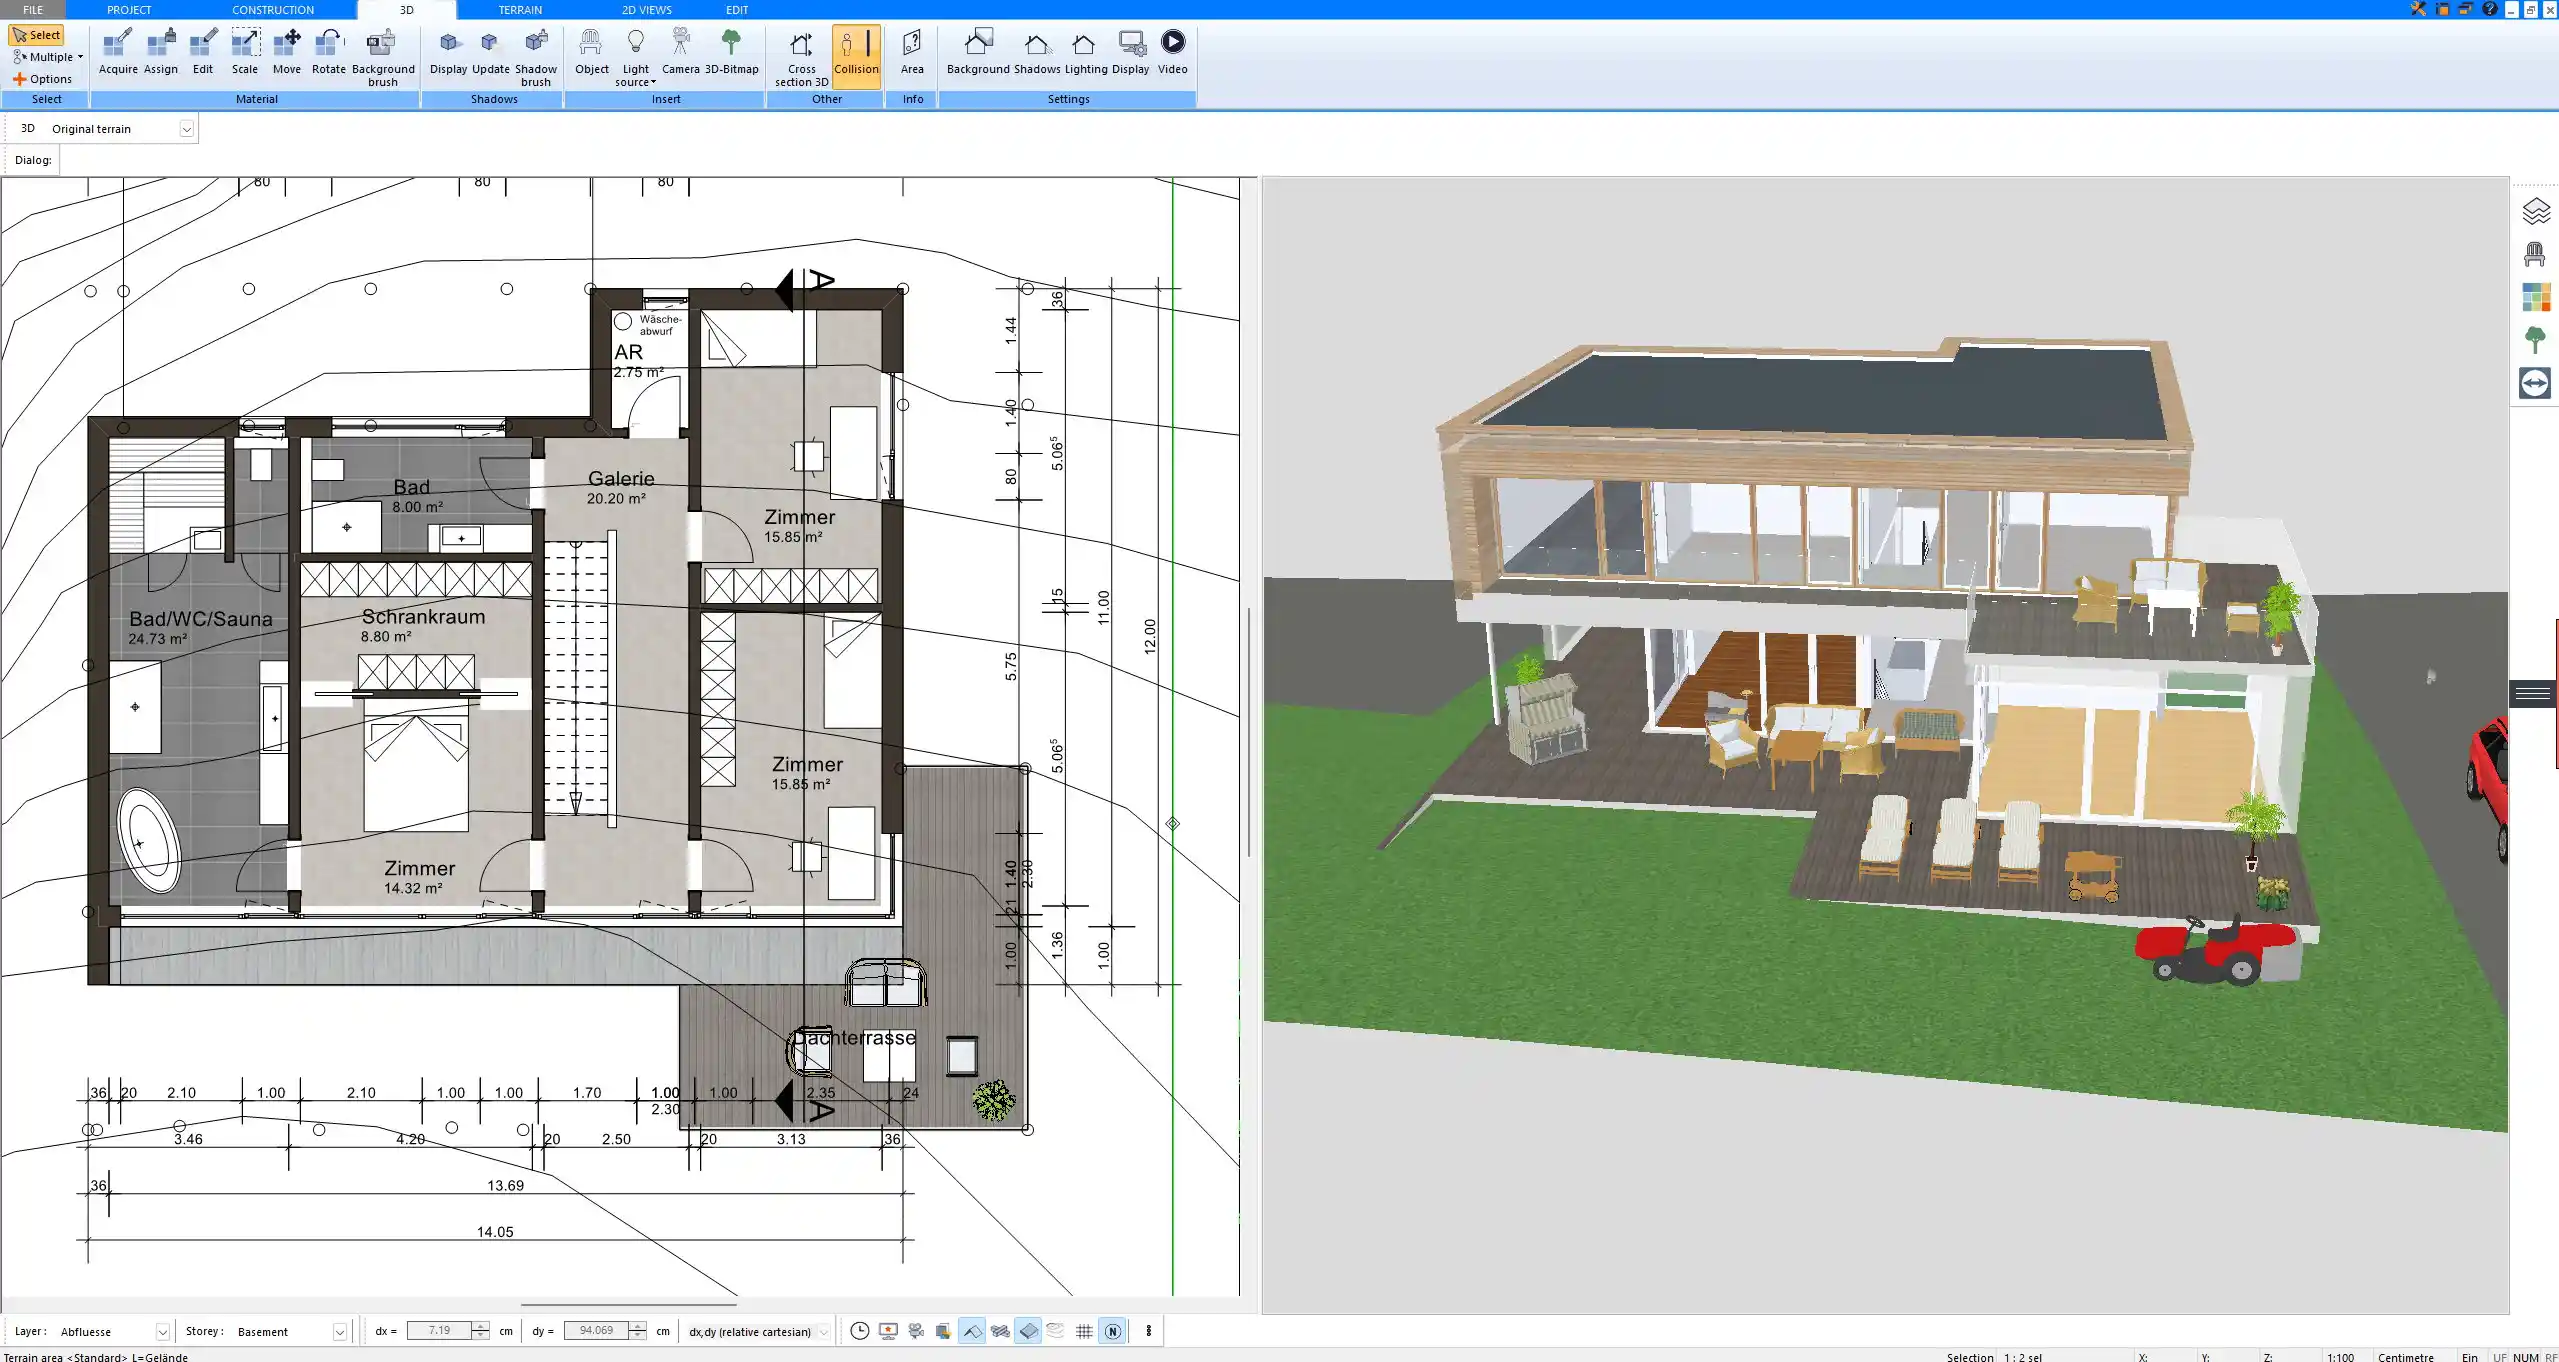
You can define floors and ceilings with multiple construction layers. In timber frame houses, this might include floor joists, sound insulation, subfloor panels, and surface coverings. Each of these can be added in the floor editor, and the resulting structure can be visualized in cross-section.
For the roof, you can either use predefined shapes (gable, hip, flat) or build custom roofs with rafters and beams. Set the pitch angle, wall plate height, insulation depth, and overhangs. Plan7Architect lets you choose whether to display structural elements like purlins and collar ties in your roof plan.
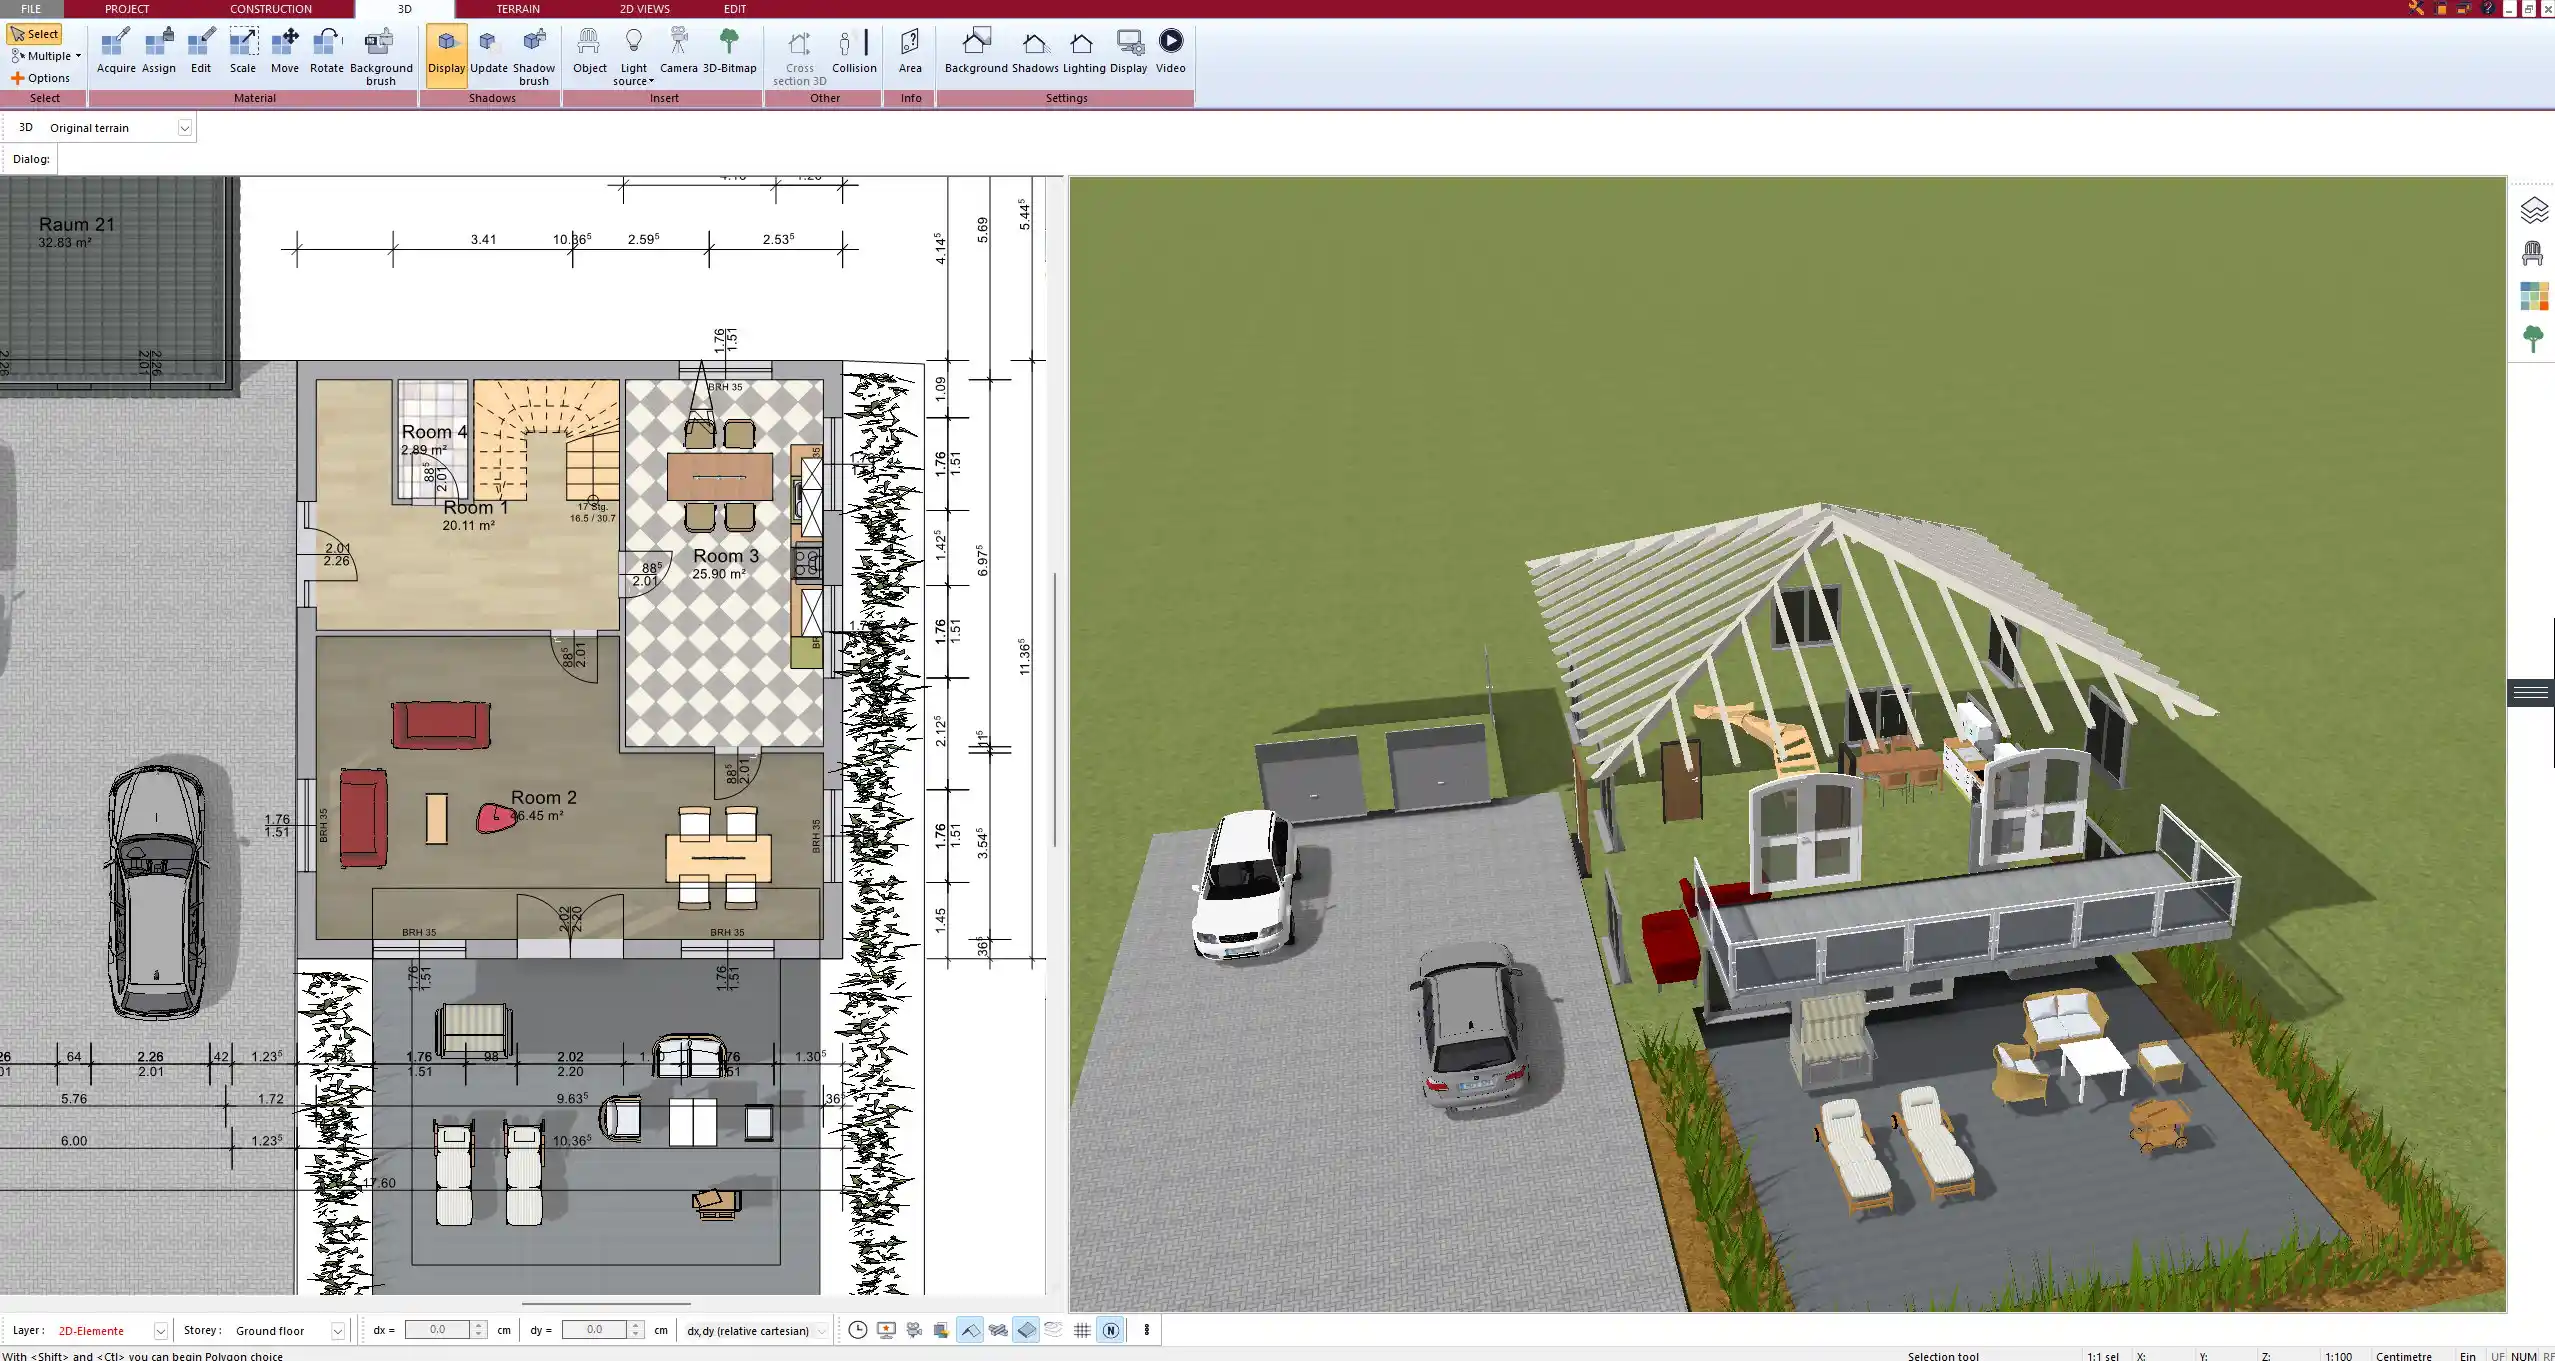
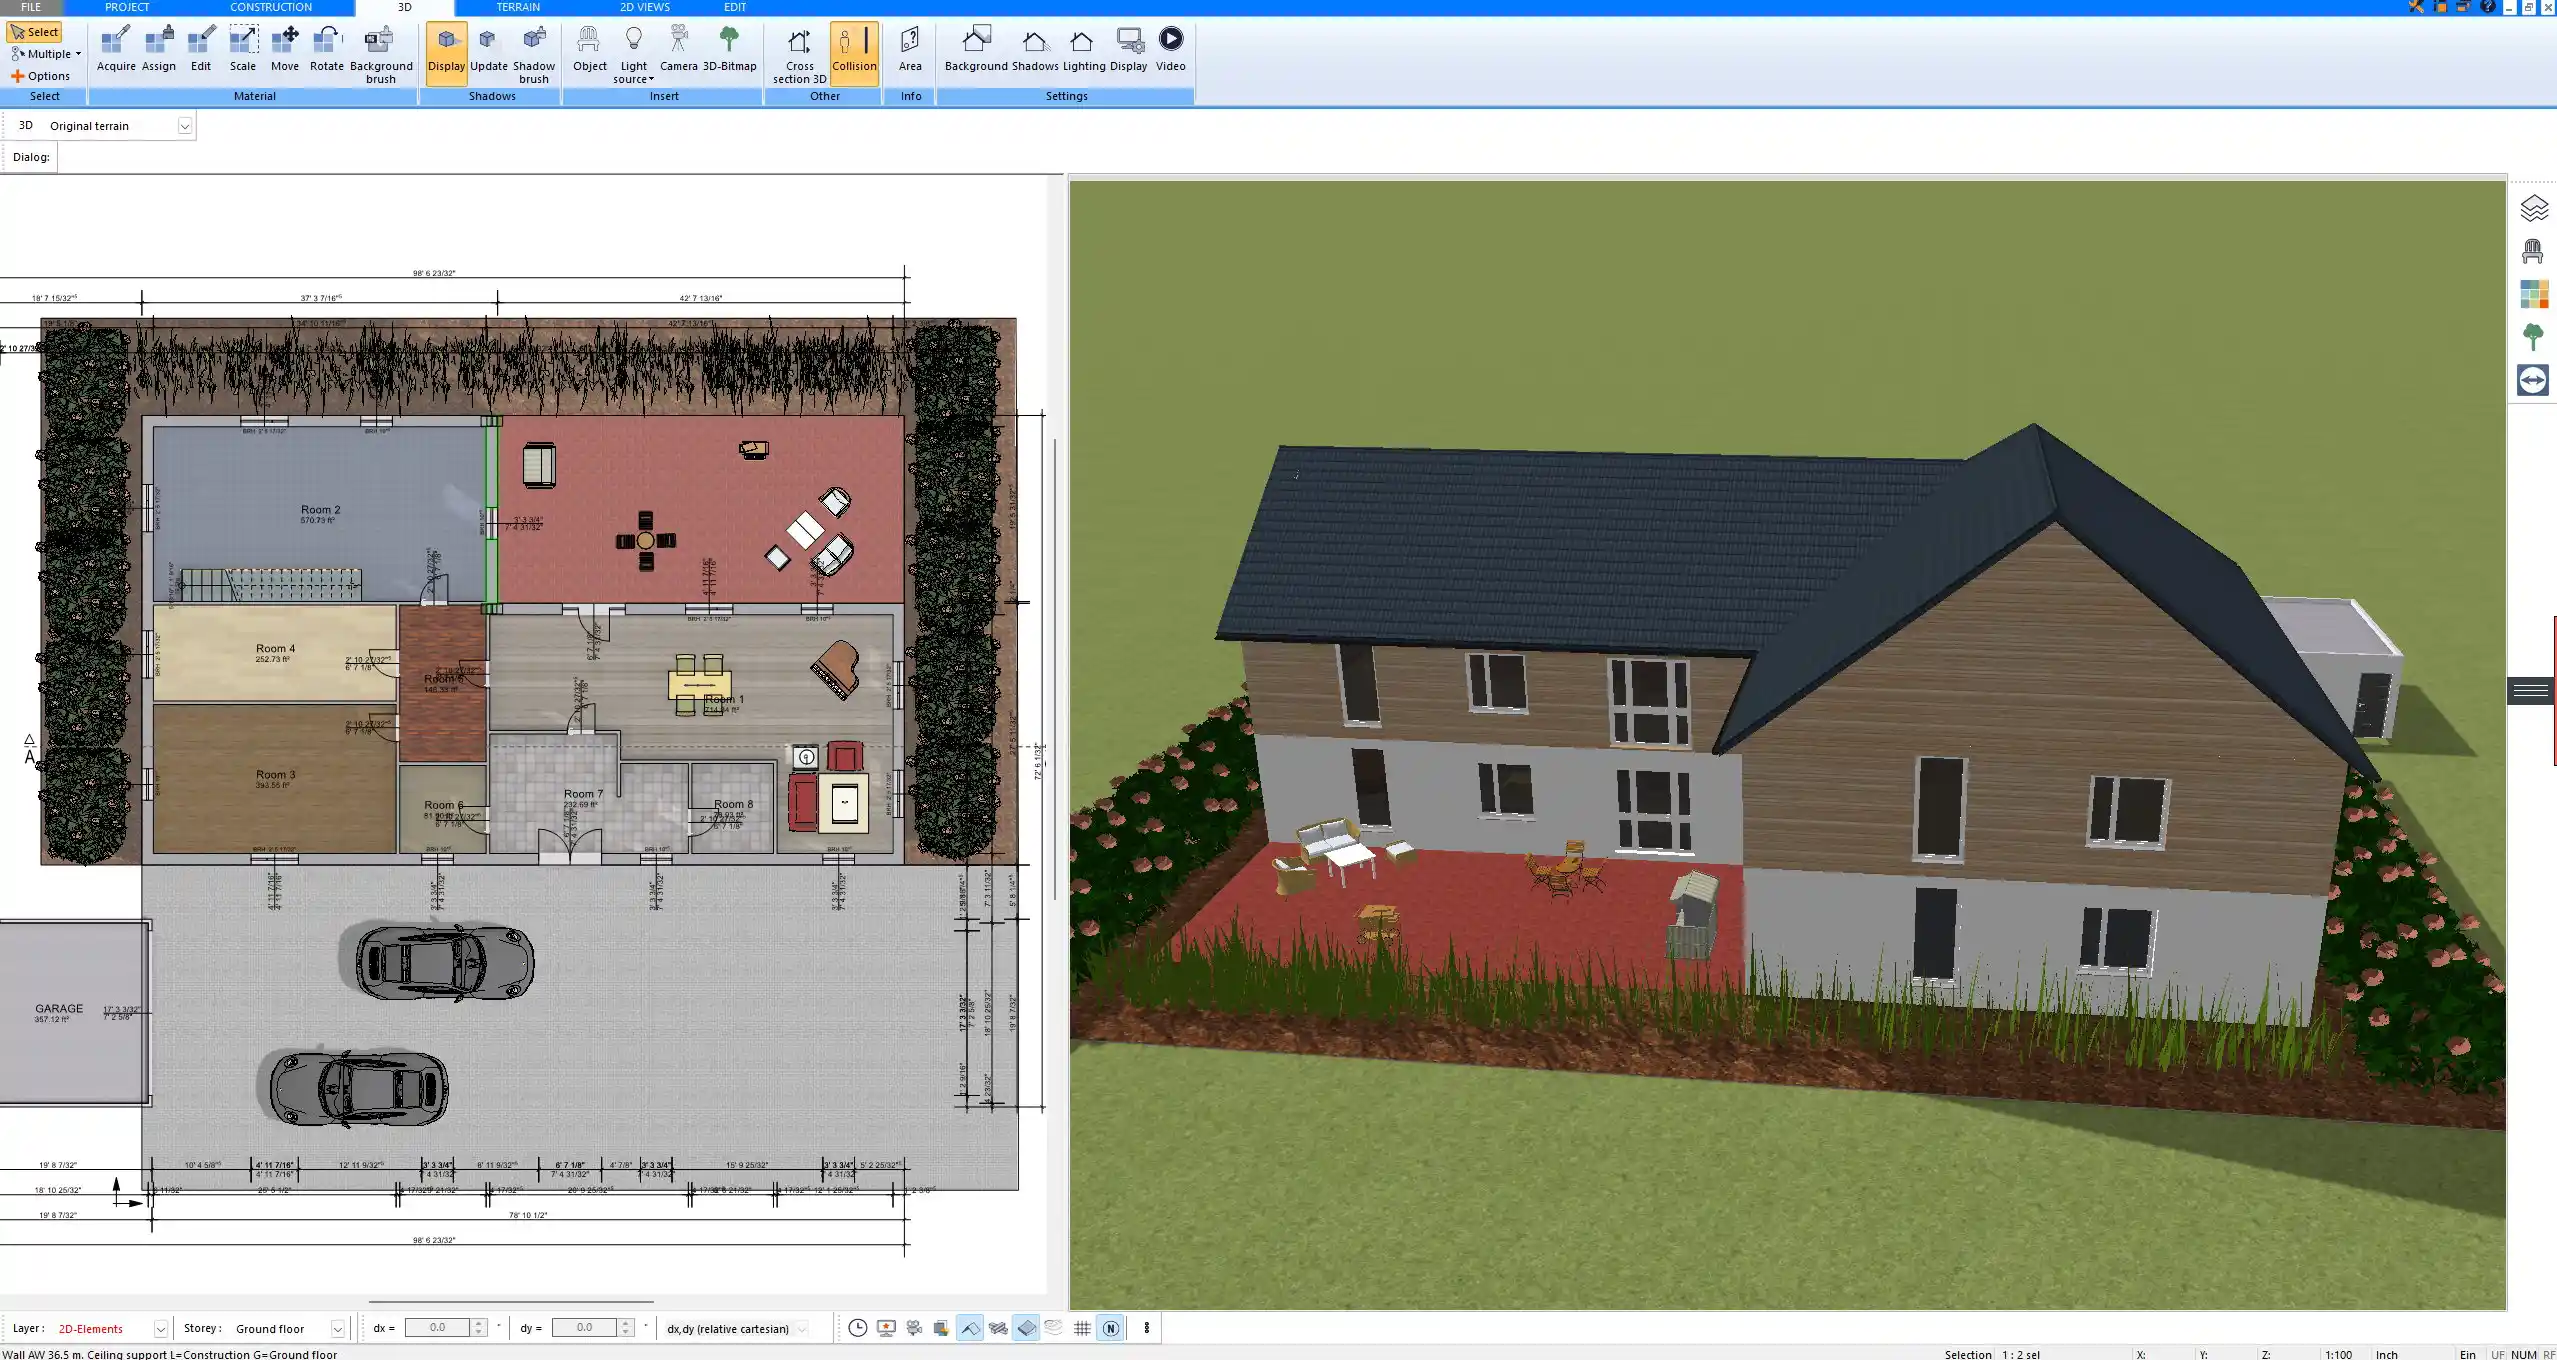
Review Framing in 3D and Cross-Section Views
To verify your design and detect planning issues, switch to 3D mode or generate a vertical cross-section. You will see how wall layers come together, how posts and beams align, and whether everything fits together spatially. You can rotate the view freely and highlight different elements to check for gaps or conflicts.
These views are not just for presentation – they are an essential part of quality control during planning. Especially in timber construction, it is important to understand how the components overlap and connect.
Useful Tools and Features for Timber Construction Projects
| Feature | Description |
|---|---|
| Layered Wall Editor | Define timber, insulation, and cladding layers in any sequence |
| Custom Wall Profiles | Save wall setups and reuse them in future projects |
| Roof Generator | Create truss-based or rafter-based roofs in just a few clicks |
| 2D and 3D View Sync | Changes made in one view are reflected instantly in the other |
| Manual Dimensioning | Input precise lengths and distances between framing components |
| Material Assignment | Apply real textures for timber, glass, and insulation visualization |
Tips for Planning a Timber Frame House Floor Plan
-
Plan extra space around load-bearing posts, especially in living areas or corridors.
-
Keep insulation thickness consistent to avoid thermal bridges.
-
When inserting windows and doors, remember to check if there’s enough space for headers.
-
Avoid placing electrical outlets directly over structural studs.
-
Use repeating module lengths (60 cm or 24 inches) to simplify construction and reduce waste.
Planning Tip
Use the snapping and measurement tools to stick to standard grid spacing. This makes it much easier to order prefabricated timber elements or to align your plan with real construction material sizes.
Can I Use This for Building Permit Plans?
Yes. You can create complete floor plans with wall construction layers, dimensions, material lists, and annotations. These plans can be printed or exported as PDFs and submitted to architects, structural engineers, or local building authorities.
The software does not automatically calculate structural loads or thermal efficiency, but the floor plan you create will be accurate, realistic, and usable as a base for further professional work.
Compatible with Metric and Imperial Units
Plan7Architect allows you to work with both metric and imperial units. You can switch between them at any time during the planning process. This is ideal whether you are working in Europe, the United States, Canada, or any other region.
All tools and dimensions update automatically, and materials can be assigned visually regardless of unit system. There is no need for manual conversion or guessing – the software takes care of all scaling and display settings.
Conclusion: Timber Frame Planning Has Never Been Easier
With Plan7Architect, you can create a complete and realistic floor plan for your timber frame project on your own – no drafting experience required. The intuitive tools, flexible construction elements, and real-time 3D visualization make it easy to plan everything from the structural frame to the smallest detail. Whether for personal use, construction preparation, or professional consultation – this software gives you full control over your building design.
Plan your project with Plan7Architect

Plan7Architect Pro 5 for $109.99
You don’t need any prior experience because the software has been specifically designed for beginners. The planning process is carried out in 5 simple steps:
1. Draw Walls

2. Windows & Doors

3. Floors & Roof

4. Textures & 3D Objects

5. Plan for the Building Permit

6. Export the Floor Plan as a 3D Model for Twinmotion

- – Compliant with international construction standards
- – Usable on 3 PCs simultaneously
- – Option for consultation with an architect
- – Comprehensive user manual
- – Regular updates
- – Video tutorials
- – Millions of 3D objects available


