If you want to create a floor plan for your kit house, you can do it entirely on your own using Plan7Architect. The process is fast, intuitive, and does not require architectural knowledge. You simply open the software, select whether you want to work with metric or imperial units, and begin sketching the outer walls of your house. You can then insert interior walls, doors, windows, and stairs. Everything can be customized according to your needs or your supplier’s building specifications. The 3D mode lets you walk through your house virtually while planning. When you’re done, you can export the plans in professional formats for your builder or local building authority.
Why Plan7Architect Is Ideal for Planning a Kit House
Ready-Made Tools for Modular Construction
When planning a kit house, every millimeter or inch counts. Plan7Architect lets you define exact wall thicknesses and panel dimensions so they match your kit provider’s requirements. The wall tool is highly flexible and allows you to input the exact measurements of pre-manufactured elements. You can define the outer shell, inner partition walls, roof structure, and even the floor slab.
The software supports the planning of:
-
Timber-framed walls
-
SIP panels (Structural Insulated Panels)
-
Steel or hybrid modular structures
It’s also possible to define the layers of a wall (e.g., insulation, sheathing, interior finish) and assign materials for better visualization.
Flexible Planning – Customize Everything
Many kit house providers offer standard floor plans. However, if you want to rearrange rooms or add extra modules, Plan7Architect gives you full control. You can move walls, resize rooms, add or remove elements, and immediately see the result in both 2D and 3D. You can plan a fully custom layout while still respecting the technical limits of your kit components.
Customizable features include:
-
Wall lengths, angles, and heights
-
Roof pitch and style
-
Positioning of doors, windows, and stairs
You are not locked into a fixed design. Every detail is editable, even after the initial planning is complete.
Use Both European and American Measurement Systems
You can choose whether to work in meters and centimeters or in feet and inches. This makes the software equally suitable for users in Europe, the US, Canada, Australia, or anywhere else. All dimensioning tools, object sizes, and templates automatically adapt to the chosen system. This is essential when working with international suppliers or builders who expect specific formats.
Step-by-Step – Creating the Floor Plan
1. Start a New Project
Open Plan7Architect and create a new project. You’ll be prompted to select your preferred unit system. Choose between metric or imperial. Then define how many stories your building will have. For most kit houses, a single-story setup is common, but you can also plan lofts or two-story homes. Set the floor height and slab thickness according to your kit specifications.
If you have a supplier brochure or technical sheet, keep it at hand to match the values accurately.

2. Draw the Basic Shape
Use the wall tool to draw the external outline of your house. You can input exact measurements for each segment. If your kit house has a predefined footprint (e.g., 10 x 12 meters or 32 x 40 feet), you can set these dimensions precisely. Corners, angles, and extensions can be added manually or via snapping tools for perfect alignment.
Walls can be automatically joined, trimmed, or extended with a single click.
Wall Settings Overview:
| Feature | Description |
|---|---|
| Wall thickness | Customizable (e.g., 24 cm or 9.5 inches) |
| Construction layers | Define insulation, cladding, and more |
| Wall height | Set to match ceiling height (e.g., 2.40 m / 8 ft) |
| Material assignment | Wood, concrete, SIPs, etc. |
3. Add Internal Layout
Once the shell is in place, define the interior. Use partition walls to create rooms like kitchen, bedrooms, bathrooms, and utility areas. You can label each room, assign surface materials (e.g., tiles for the bathroom), and even set floor levels individually if needed.
The drag-and-drop room tool helps you:
-
Snap to wall edges
-
Center rooms symmetrically
-
Set minimum area for building codes
4. Insert Openings and Fixtures
Add windows, doors, and staircases from the object catalog. The software includes a wide range of standard and modern styles. You can modify the dimensions of each opening to fit your specific kit elements. For example, if your door module is 36 inches wide, simply enter the value directly.
For multi-story kits, use the stair tool to place straight or spiral staircases between levels. You can also add loft ladders or attic accesses.
Available fixture categories:
-
Exterior and interior doors
-
Windows with or without shutters
-
Sliding and folding doors
-
Roof windows and skylights
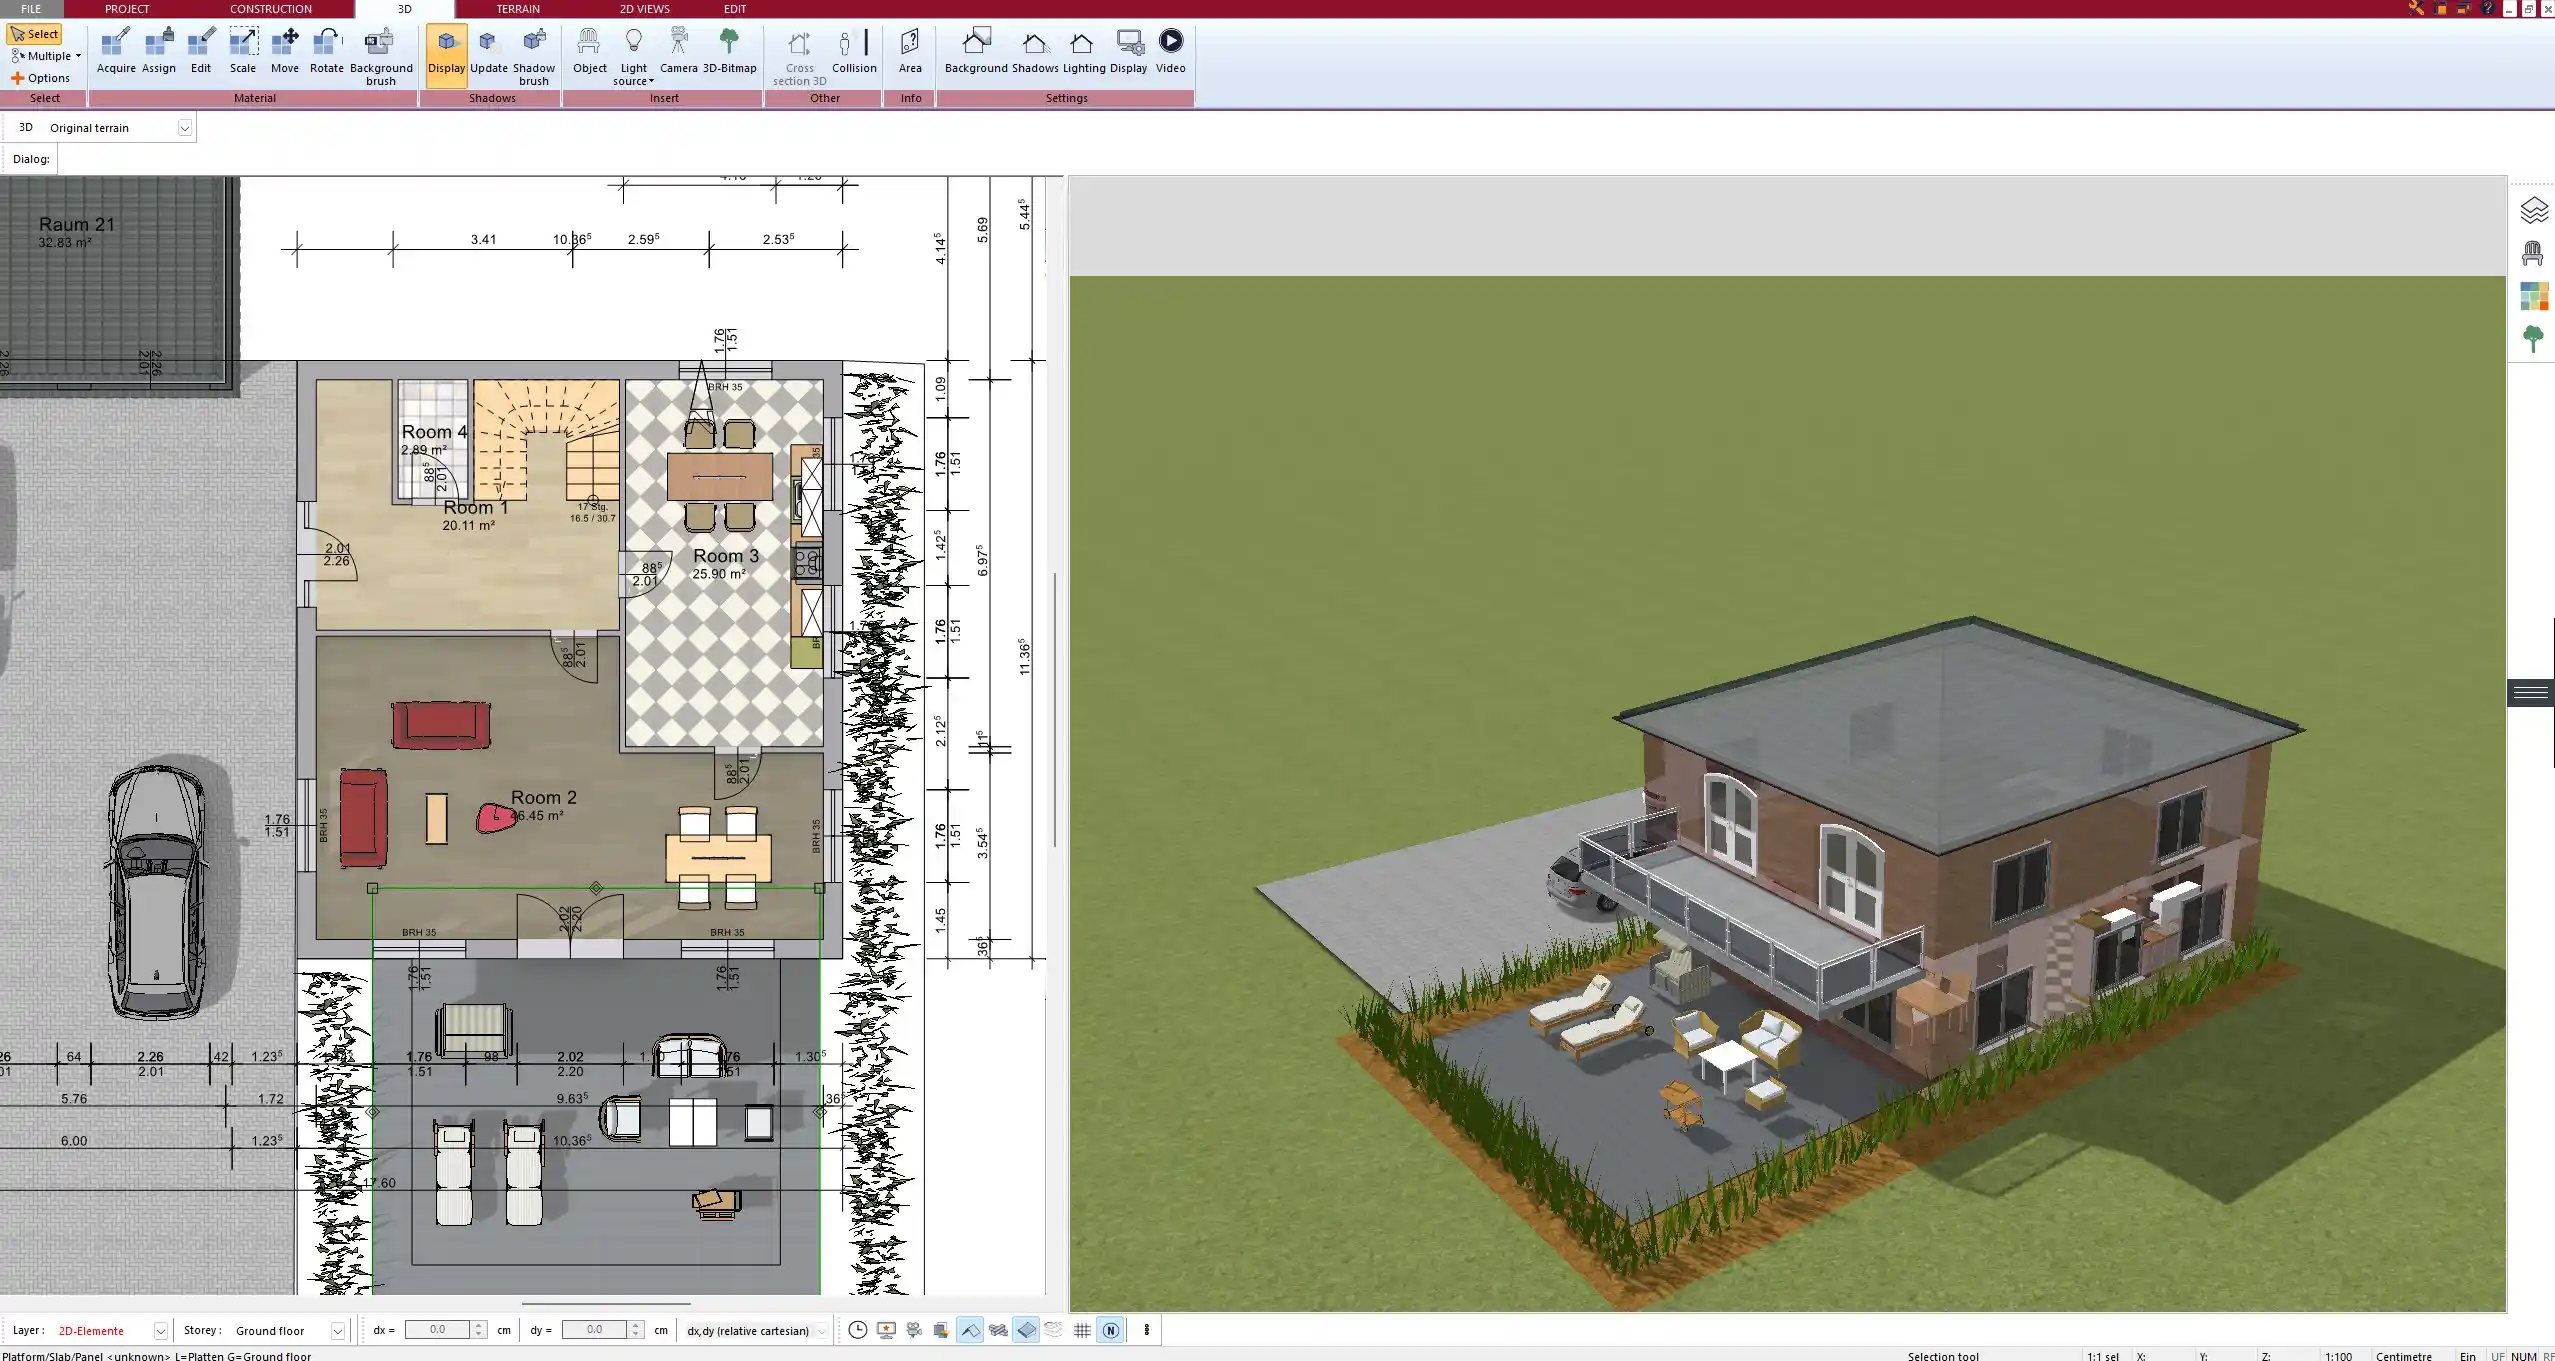
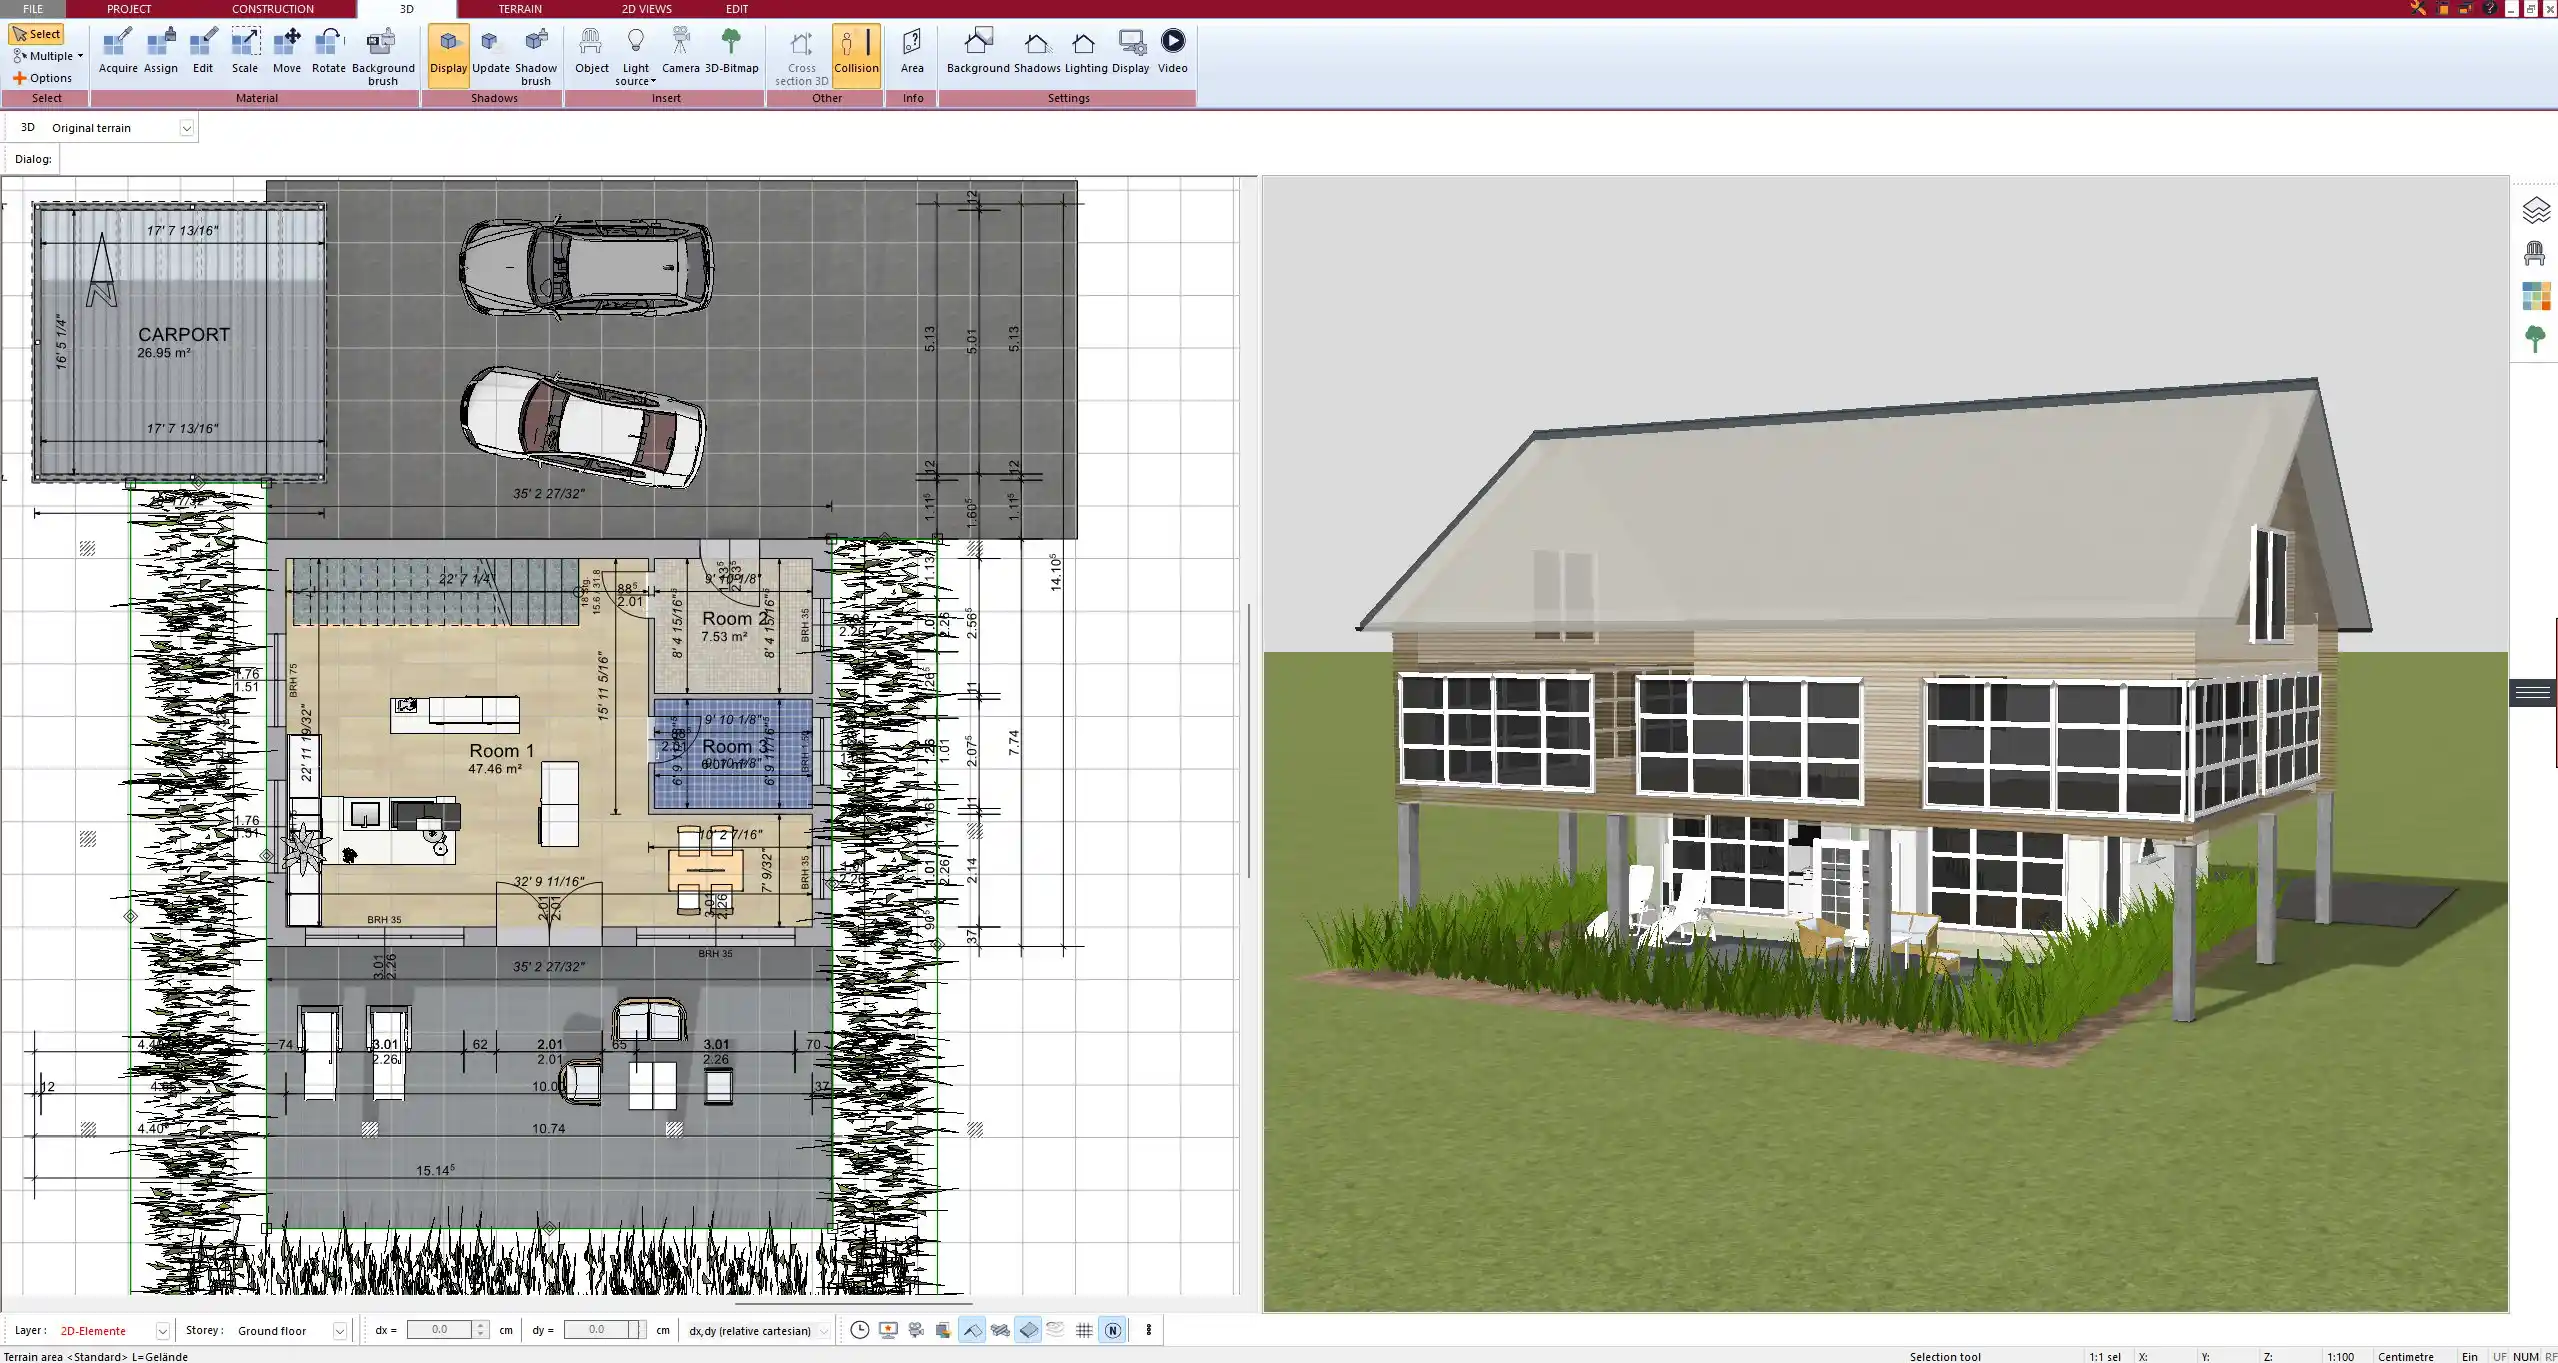
5. Switch to 3D View
Switching to 3D is instantaneous. You can view the house from above, from eye-level, or fly through it using your mouse. Shadows and lighting conditions can be recalculated to simulate sunlight throughout the day. Every change made in 2D is reflected in real time in 3D.
In this view, you can:
-
Check furniture layouts
-
Ensure hallway widths are walkable
-
Get a realistic idea of space proportions
6. Export Plans
Once you’re happy with your plan, you can export it. The software allows exporting to:
-
PDF (for printing)
-
PNG or JPG images (for presentations)
-
DWG and DXF (for sharing with builders or architects)
All exports include scale, dimensions, and annotations. You can even create building permit drawings, sections, elevations, and roof views.
Tip: If your kit supplier gave you a floor plan in PDF or DWG format, you can import it into Plan7Architect and use it as a tracing layer. This saves time and increases accuracy.
Tips for Kit House Planning
Consider These Before Finalizing Your Layout
Planning a kit house floor plan is different from designing a custom masonry house. You need to take into account the fixed panel sizes, load-bearing wall locations, and transport limits.
Key planning considerations:
-
Align room walls with structural panel breaks
-
Keep plumbing areas (bathroom, kitchen) close to minimize installation effort
-
Don’t forget space for insulation and electrical routes
-
Check window and door sizes before ordering anything
Common Module Widths in Kit Construction:
| Component | Typical Size (Metric) | Typical Size (Imperial) |
|---|---|---|
| Wall Panels | 1.20 m wide | 4 feet wide |
| Door Modules | 0.90 m x 2.00 m | 36″ x 80″ |
| Ceiling Height | 2.40 m | 8 feet |
Tip: Always confirm whether your supplier’s dimensions are inclusive of finishes like drywall or cladding. Plan7Architect lets you layer materials realistically so you can simulate the final built dimensions.
FAQ – Kit House Planning with Plan7Architect
Can I import a kit house PDF floor plan?
Yes. You can insert a PDF or image file as a background and trace it. You can also import a DWG file if your supplier provides CAD drawings.
Does the software work for American-style prefab houses?
Yes. You can switch to feet and inches, and use standard US-style doors, windows, and room dimensions. The software adapts all components to your chosen unit system.
Can I preview my house in 3D with furniture?
Yes. The object catalog includes furniture, kitchen units, lighting, and even garden elements. You can preview the entire interior and exterior in full 3D and even simulate sunlight.
Is the software suitable for complete planning or only for visualization?
It’s suitable for complete planning. You can create detailed, professional construction plans including:
-
Floor plans
-
Elevations
-
Cross-sections
-
Site plans
These can be used for permits or contractor discussions.
Conclusion – Build Your Kit House Floor Plan with Confidence
With Plan7Architect, you don’t need expensive architectural services to create a professional floor plan for your kit house. The software guides you step by step from layout to full 3D visualization. You can plan freely, adjust your ideas on the fly, and prepare all necessary files for your builder or local authority.
If you want, I can now generate suitable captions for 6 images created with the software to include in this article. Let me know.
Plan your project with Plan7Architect

Plan7Architect Pro 5 for $109.99
You don’t need any prior experience because the software has been specifically designed for beginners. The planning process is carried out in 5 simple steps:
1. Draw Walls

2. Windows & Doors

3. Floors & Roof

4. Textures & 3D Objects

5. Plan for the Building Permit

6. Export the Floor Plan as a 3D Model for Twinmotion

- – Compliant with international construction standards
- – Usable on 3 PCs simultaneously
- – Option for consultation with an architect
- – Comprehensive user manual
- – Regular updates
- – Video tutorials
- – Millions of 3D objects available


