Begin by launching Plan7Architect and opening a new project. Select your preferred unit system—metric or imperial—before starting. This setting can be adjusted at any time.
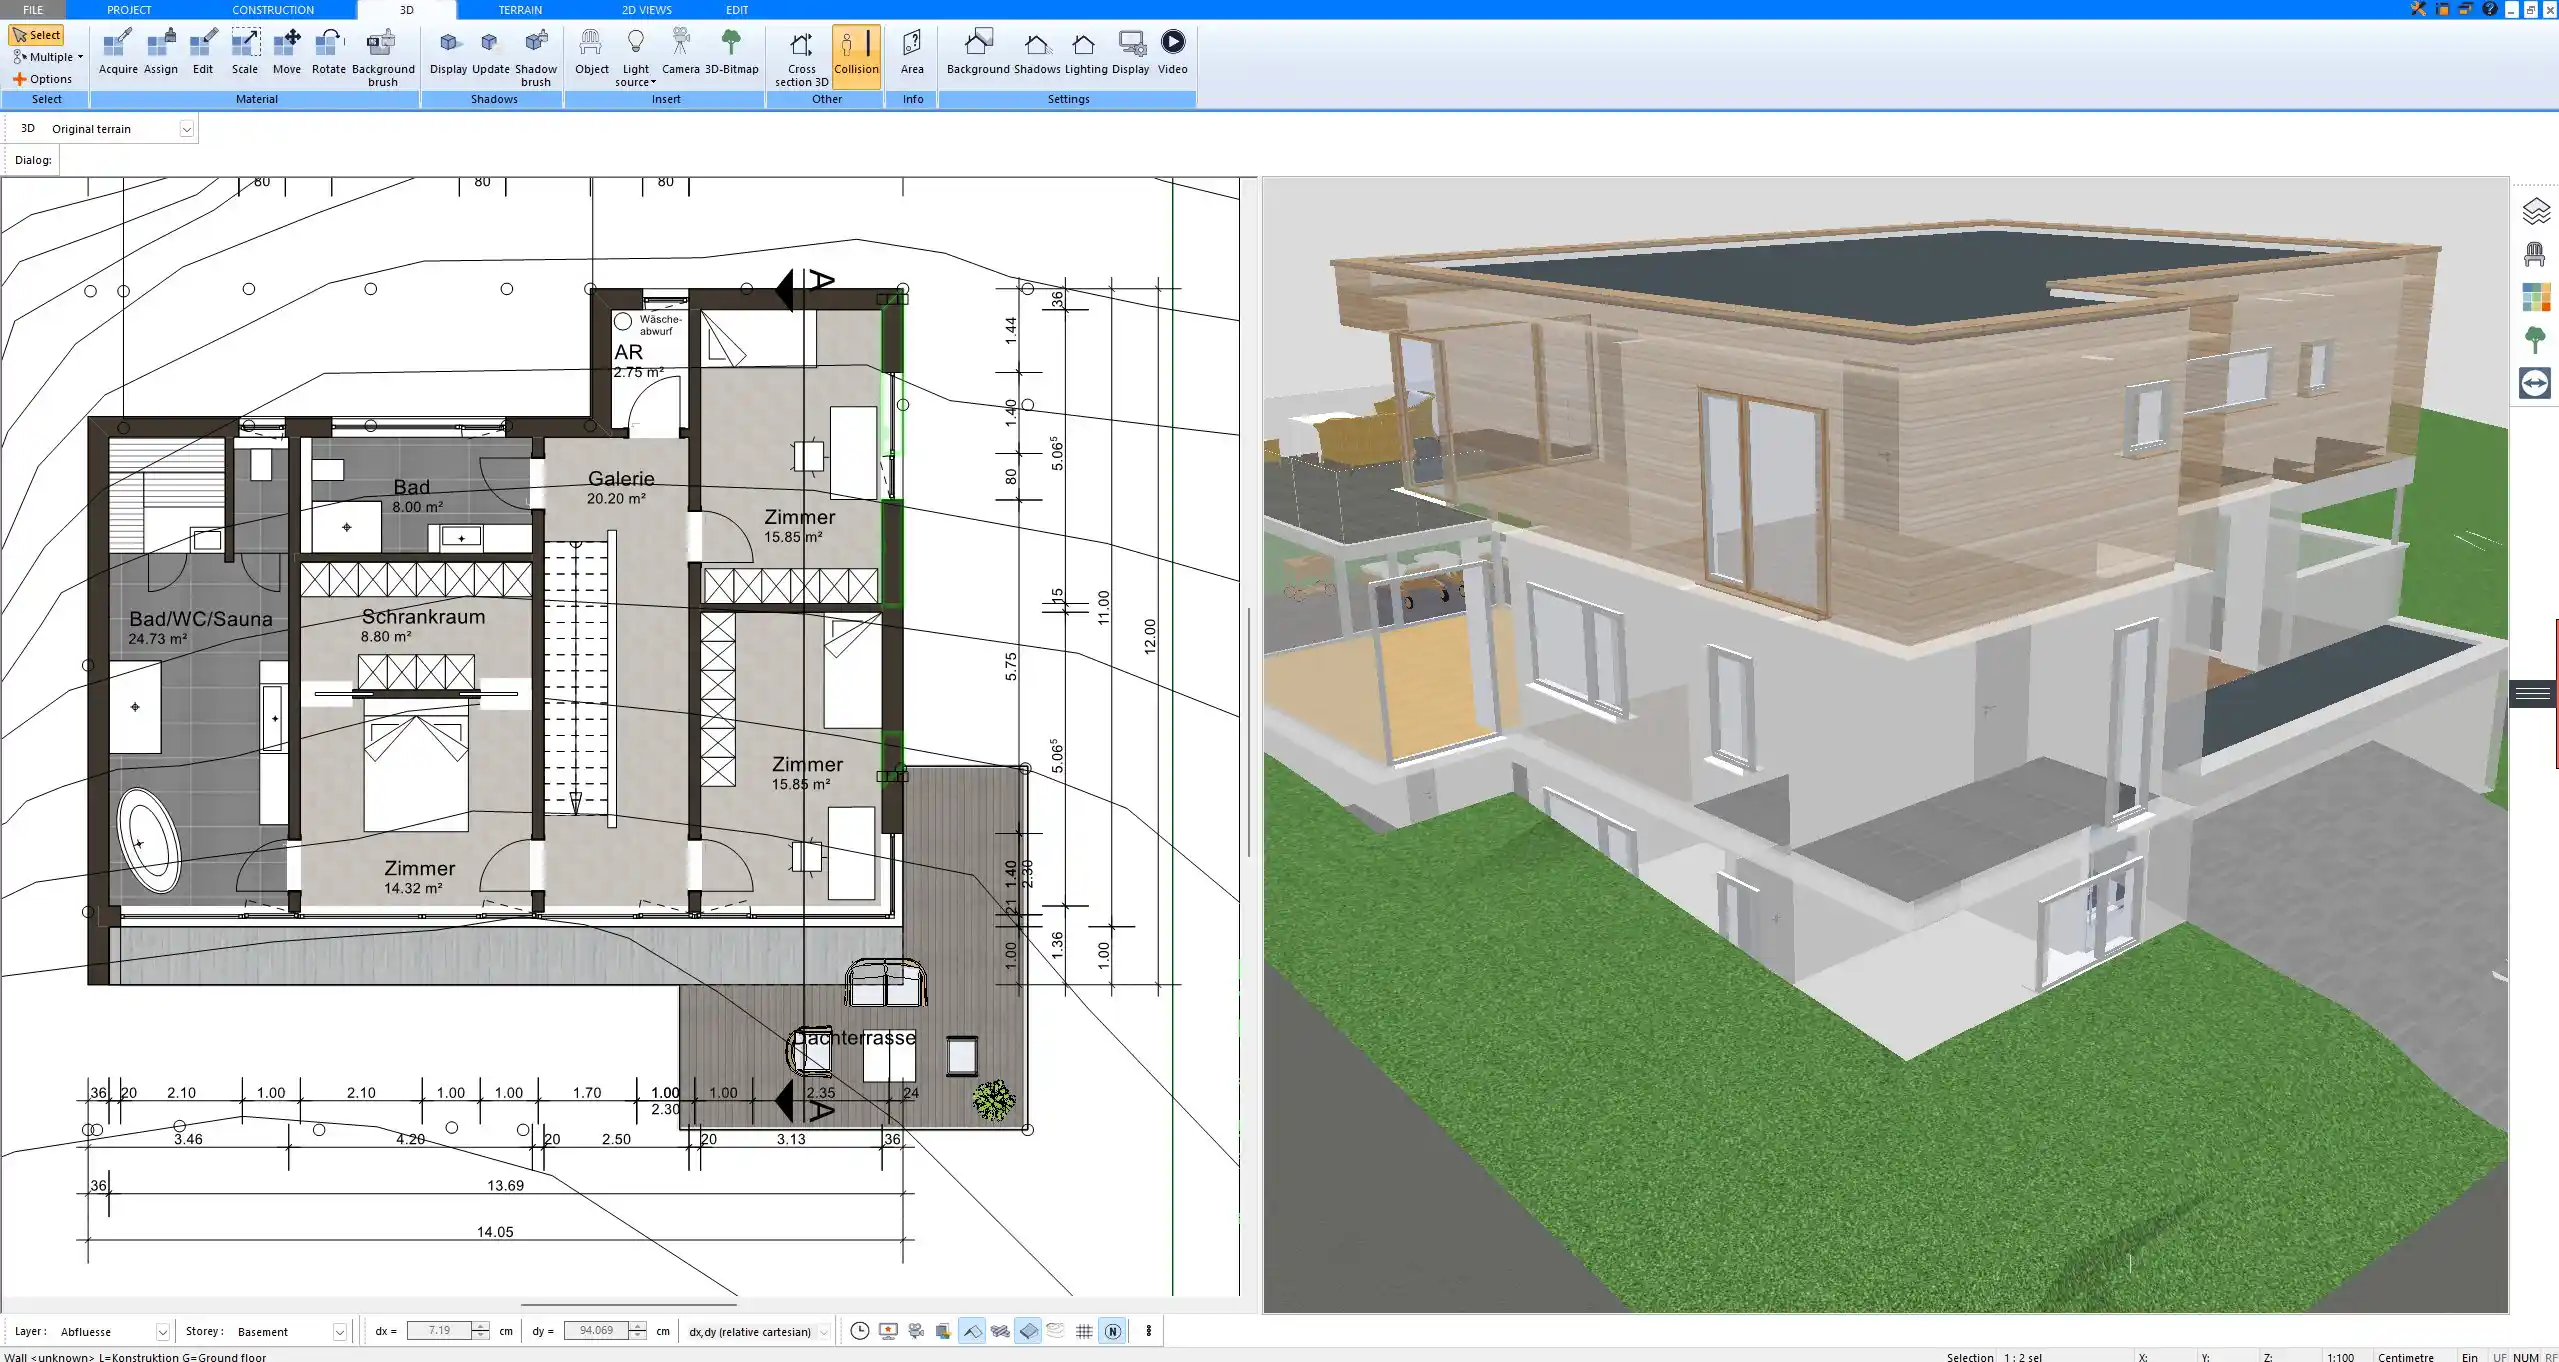
Draw the building outline using the wall tool. You can click and drag walls freely or input exact dimensions. The software supports both interior and exterior wall types, with automatic snapping for corners and intersections.
Tipp: Use a scanned blueprint or hand sketch as a background layer to trace over. This feature helps replicate existing layouts precisely.
Add Doors, Windows, and Fixtures
Once your wall layout is done, it’s time to add elements that define the space:
-
Doors: Choose from single, double, sliding, and more. Drag them into place.
-
Windows: Insert standard or custom-sized windows anywhere along the walls.
-
Fixtures: Add kitchen elements, bathroom appliances, built-in closets, and more.
Each element can be resized, rotated, and positioned with exact values or visual tools.
Common components you may need:
| Element | Options available in Plan7Architect |
|---|---|
| Doors | Single, double, French, sliding, custom |
| Windows | Standard, bay, panorama, roof windows |
| Staircases | Straight, spiral, U-shape, with or without railings |
| Bathrooms | Bathtubs, showers, sinks, toilets, bidets |
| Kitchen furniture | Cabinets, counters, islands, stoves, sinks, hoods |
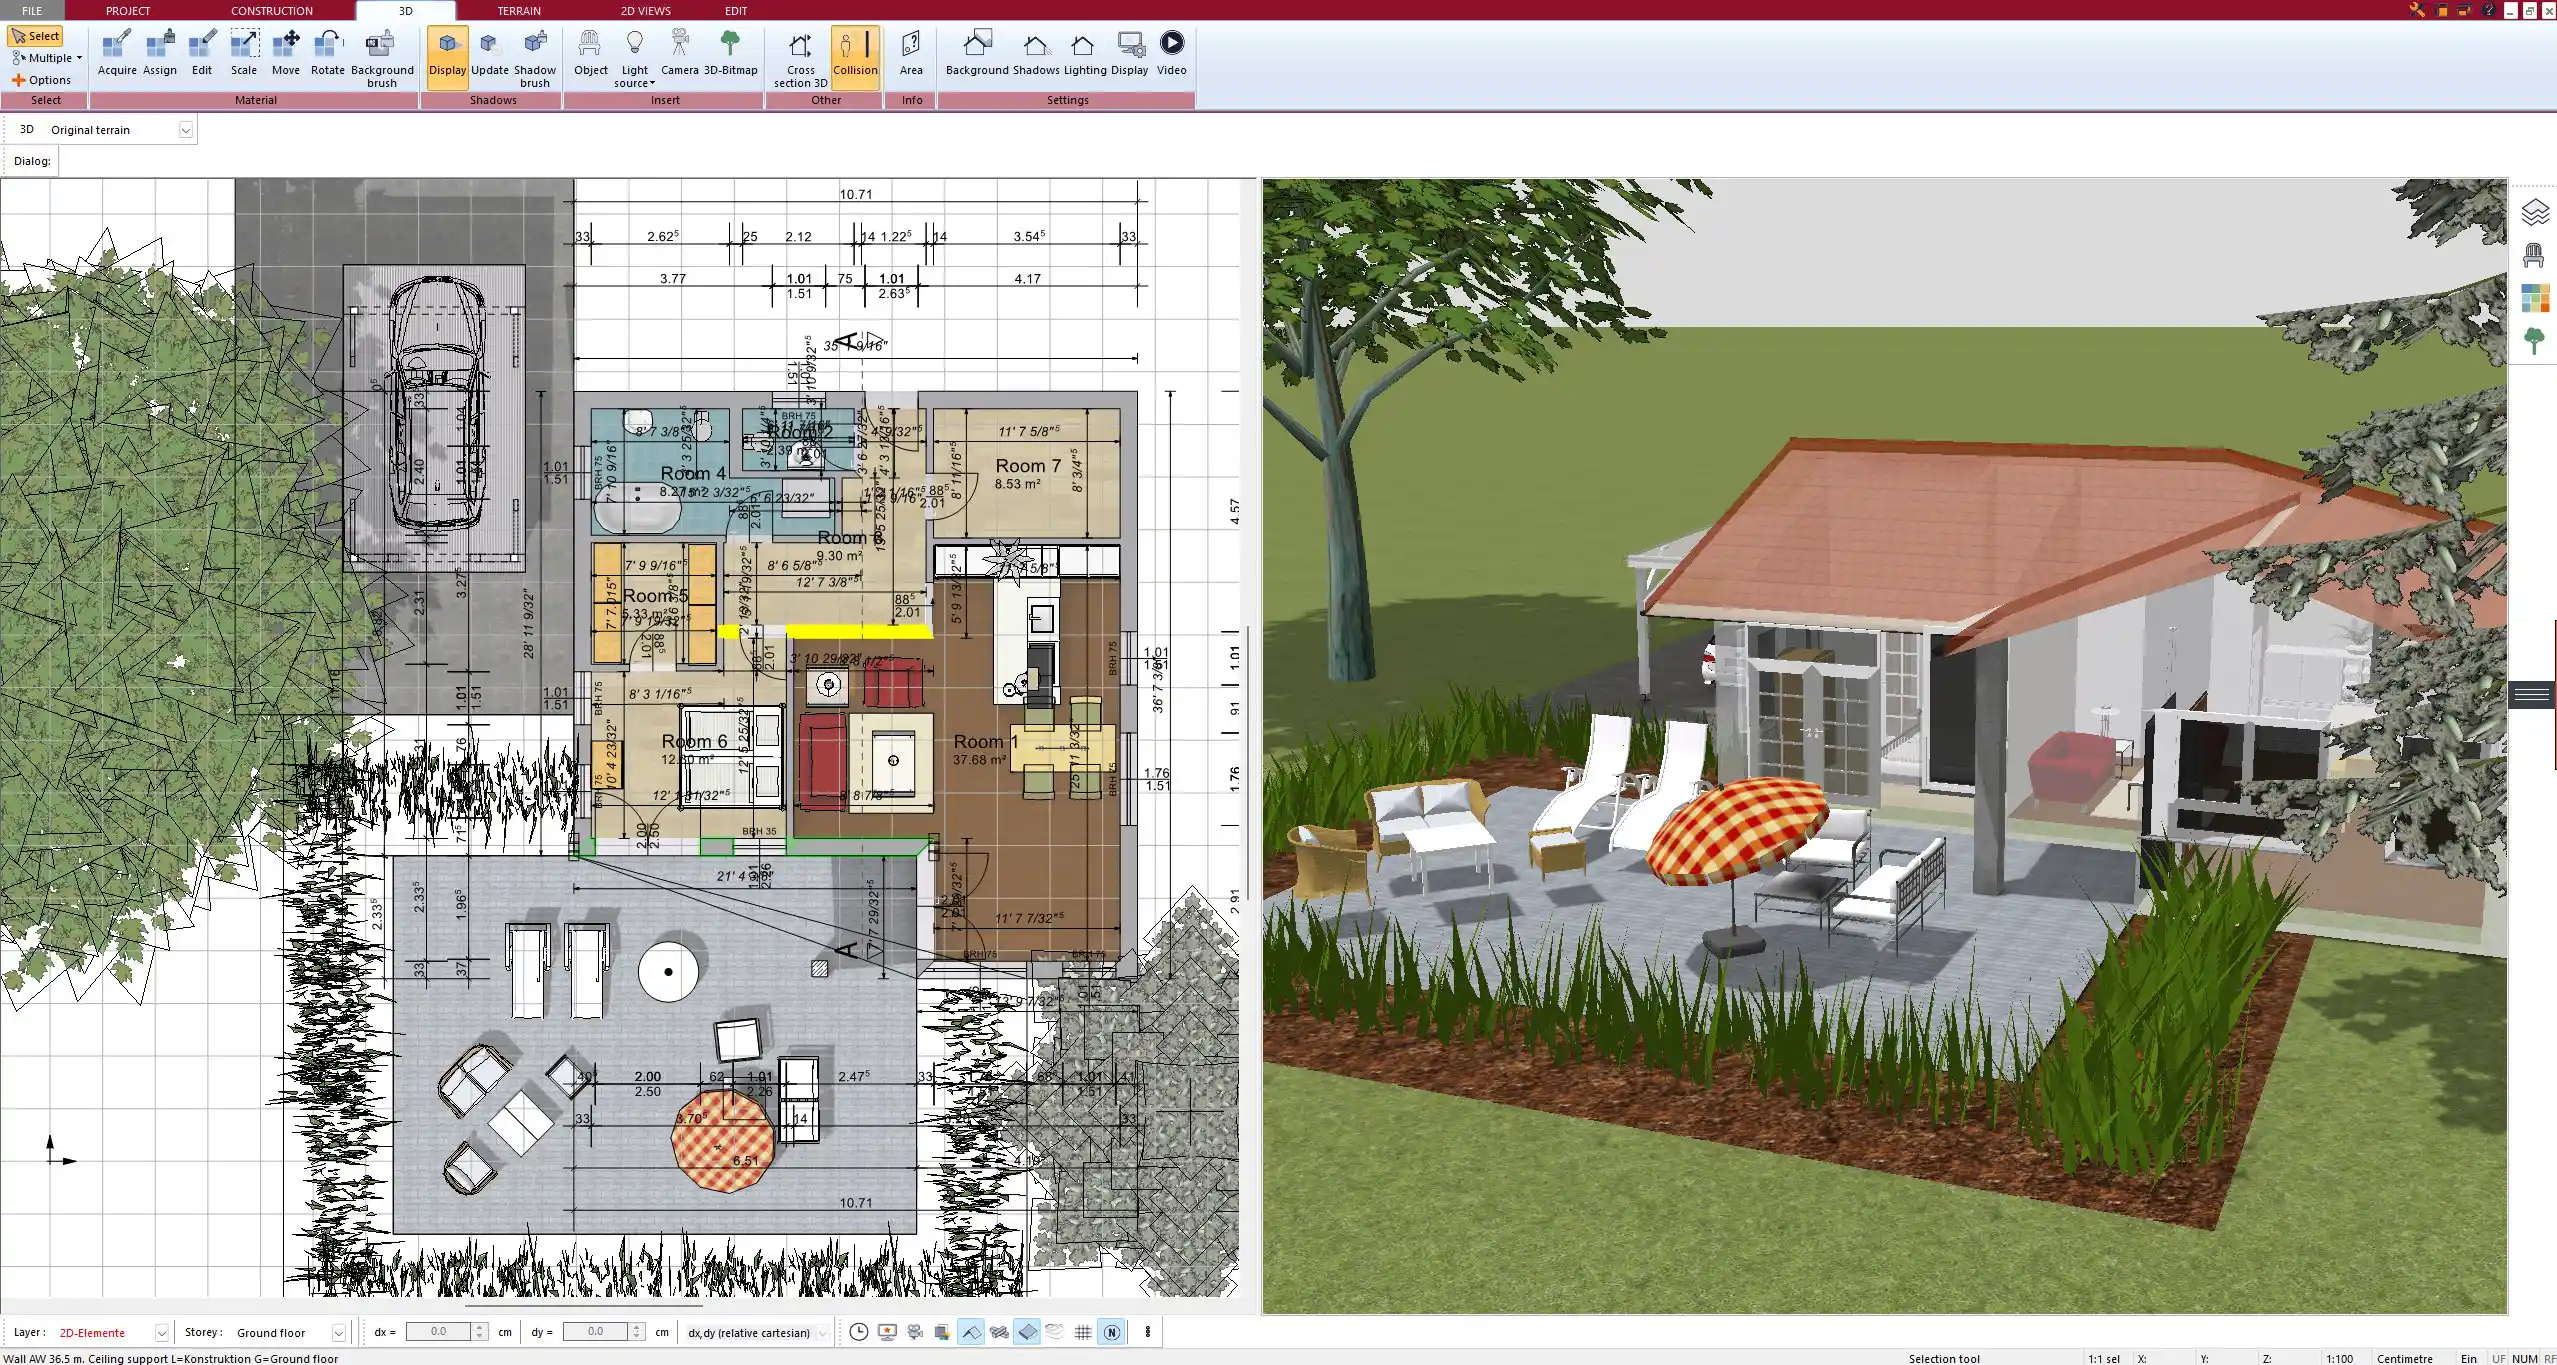
The visual library includes thousands of elements, making it easy to match your property’s actual interior or suggest renovation potential.
Furnish the Space (Optional but Helpful)
Although not mandatory, furnishing your floor plan helps potential buyers imagine how rooms might be used. I’ve noticed that this makes a big impact in listings—especially when the property is currently empty.
You can choose from different furniture styles and sizes. While keeping it minimal is ideal, placing beds, sofas, or tables gives scale and makes rooms feel relatable.
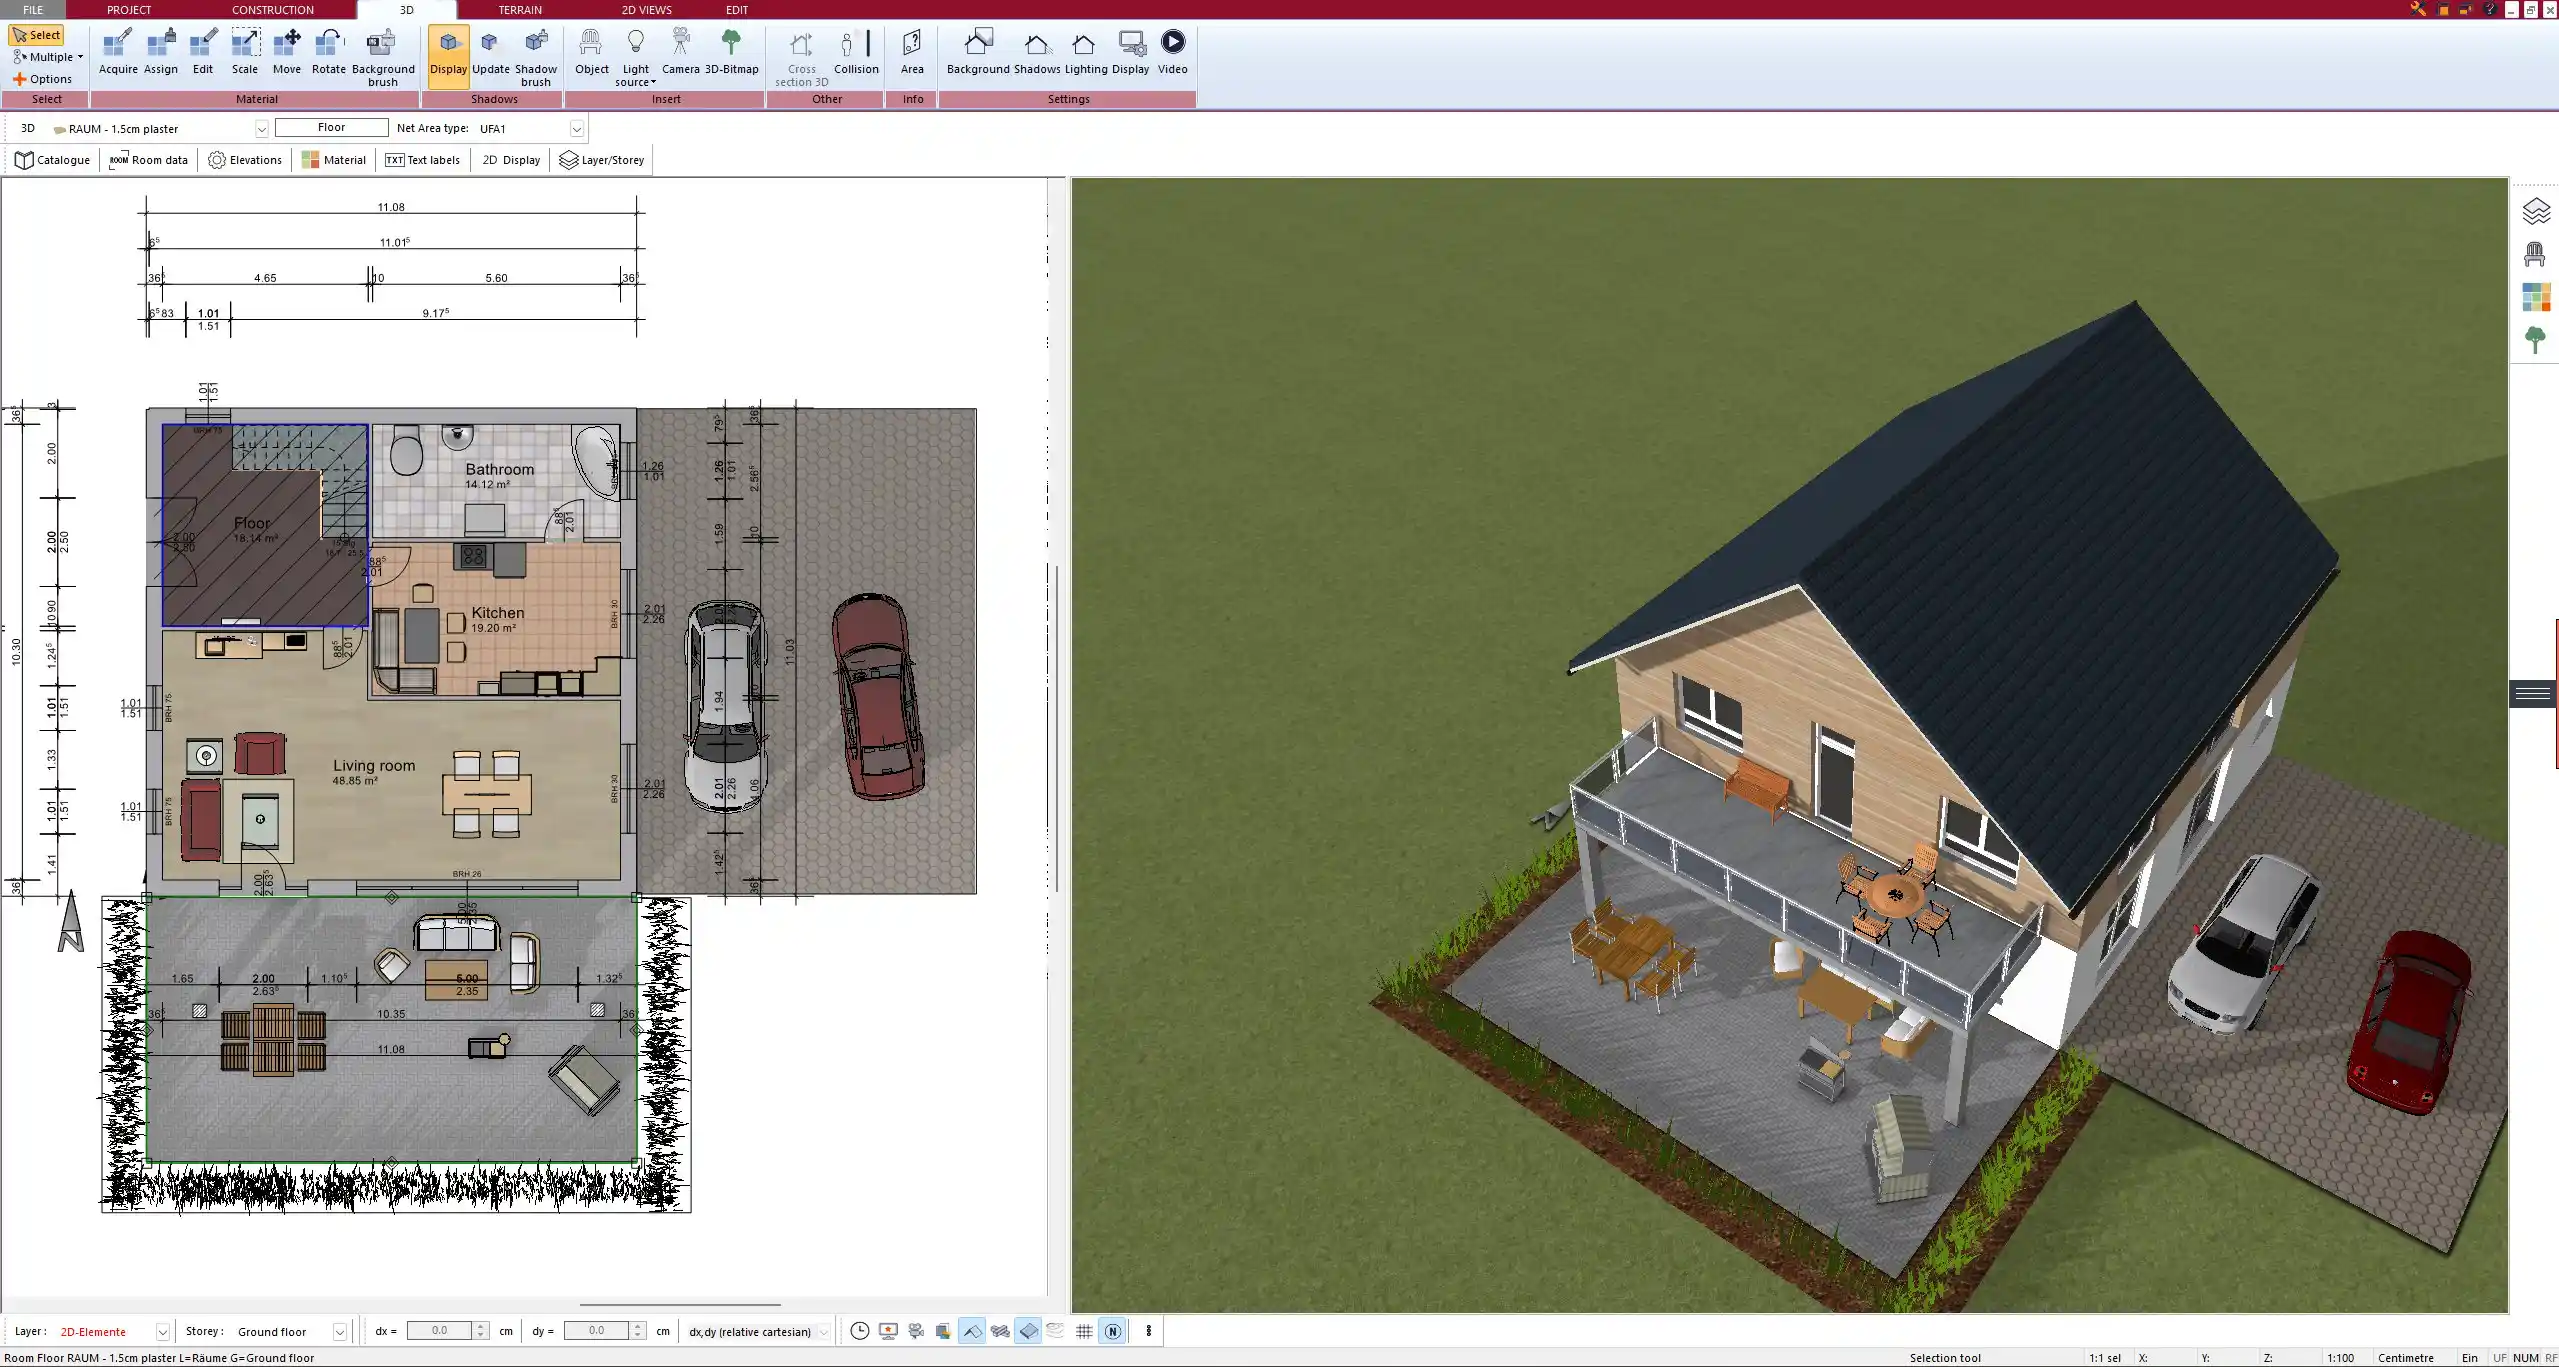
Add Labels and Measurements
This step is crucial for exposé use. You can:
-
Add room names directly (e.g., Living Room, Bedroom 1, Storage)
-
Insert automatic area calculations
-
Display dimensions along the walls
You can toggle the visibility of labels, dimensions, and measurement units, depending on your design preference.
Helpful tip: Avoid abbreviations that international buyers might not understand. Write out room names fully for clarity.
Export for the Exposé
Once your floor plan is complete, you can export it with a few clicks:
-
Image formats: JPG or PNG (great for websites and brochures)
-
Document format: PDF (ideal for printable exposés or email attachments)
-
View options:
-
Clean black-and-white 2D layout
-
Stylized 3D overview with textures and furniture
-
Wireframe or technical drafts (if needed)
-
Plan7Architect ensures all exports are high resolution and professional in appearance. No watermarks, no branding—just your clean design, ready to use.
Tips for an Effective Real Estate Floor Plan
Over the years, I’ve learned that simplicity often works best. Don’t overload the plan. Use color and furniture sparingly, and focus on clarity.
Best practices checklist:
-
Use readable font size for labels
-
Ensure high contrast between walls and background
-
Keep furniture minimal and neutral
-
Don’t display unnecessary architectural elements (unless relevant)
-
Double-check unit settings before export
What to include in every real estate floor plan:
| Must-Have Elements | Why It Matters |
|---|---|
| Room names | Helps buyers identify usage |
| Dimensions | Essential for space planning |
| Floor area (per room) | Adds value to the exposé |
| Total usable/living area | Especially important for legal or sales use |
| Compass orientation (optional) | Useful for light planning and energy efficiency |
Real Estate Use Cases & Export Options
Whether you’re listing:
-
A one-bedroom apartment
-
A multi-level townhouse
-
A detached single-family home
-
A commercial unit or office space
Plan7Architect lets you adjust the floor plan style for your target audience.
You can generate different exports for:
-
Online listings on platforms like Zillow, Realtor.com, Rightmove, ImmoScout24, Immowelt
-
Printed exposé brochures
-
Email attachments for buyer packages
-
Social media marketing materials
The exports are lightweight enough for web use, but high-res enough for glossy prints.
Benefits of Using Plan7Architect
From my experience, Plan7Architect is especially strong for real estate use cases because of its ease of use and export quality. You don’t need prior design experience, and you don’t have to worry about compatibility or file formats.
Key advantages:
-
Metric and imperial unit support
-
Clean, professional 2D and 3D outputs
-
Drag-and-drop interface
-
Fast learning curve
-
No ongoing subscription required
-
Includes large furniture and fixture libraries
-
Suitable for private sellers, agents, and developers
You can go from blank canvas to print-ready floor plan in less than an hour—even faster once you’re familiar with the software.
Conclusion: Floor Plans Made Simple
Plan7Architect gives you all the tools to create accurate, clear, and attractive floor plans for your real estate exposés. It supports both American and European unit systems and is tailored for users who need professional results without complex workflows. Whether you’re listing your own home or managing multiple properties, the software helps you make your exposés more effective—fast.
Plan your project with Plan7Architect

Plan7Architect Pro 5 for $109.99
You don’t need any prior experience because the software has been specifically designed for beginners. The planning process is carried out in 5 simple steps:
1. Draw Walls

2. Windows & Doors

3. Floors & Roof

4. Textures & 3D Objects

5. Plan for the Building Permit

6. Export the Floor Plan as a 3D Model for Twinmotion

- – Compliant with international construction standards
- – Usable on 3 PCs simultaneously
- – Option for consultation with an architect
- – Comprehensive user manual
- – Regular updates
- – Video tutorials
- – Millions of 3D objects available


