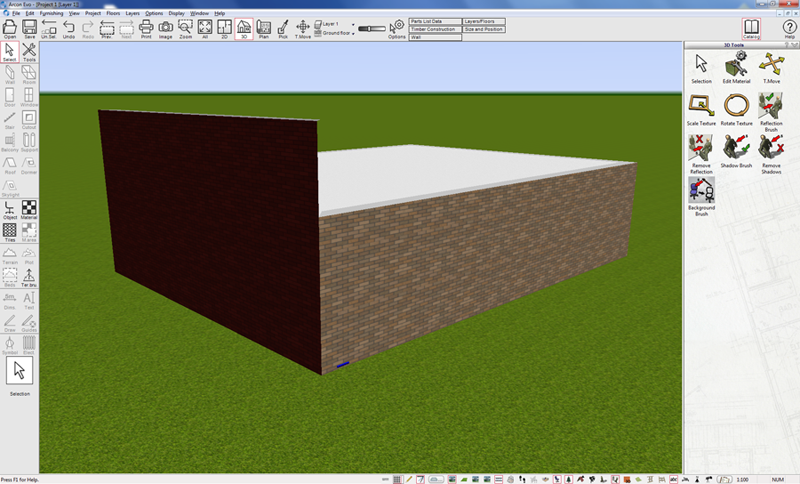
By default, the walls of a specific floor adhere to the ‘floor-to-floor height’ setting. This means that when placing a wall, it will normally span the height from the floor surface to the floor surface of the floor above. Depending upon the design requirements of the building being planned, it may be necessary to alter an individual walls height (either by increasing the height of the top edge or lowering the height of the bottom edge). This can easily be achieved as follows:
1) Start as normal and draw in the walls required to create your floorplan. As you can see from the image below, the walls adhere to the standard floor-to-floor height for this project
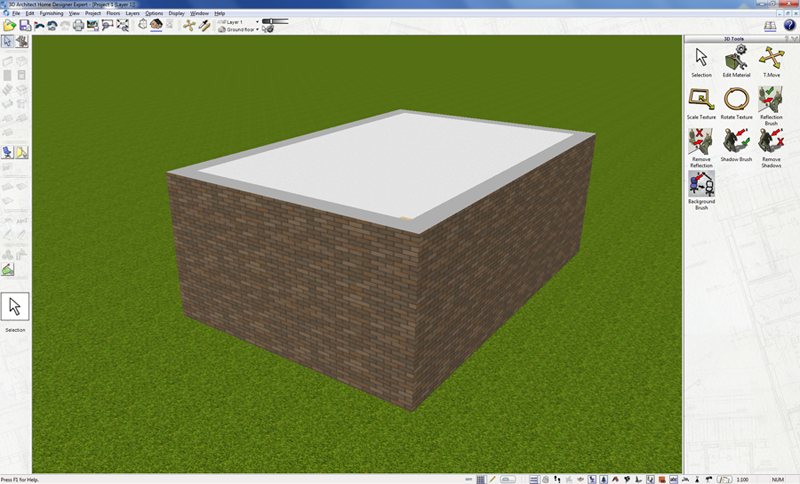
2) Click on the wall to wish to alter to highlight it (in either 2D or 3D)
3) Whilst the method is basically the same for 3D Architect and Arcon Evo, the location of the menu options differs slightly. For 3D Architect see below. For Arcon Evo skip to step 9
4) In 3D Architect, with the wall highlighted, select Levels from the top toolbar context menu. The following dialogue box is displayed
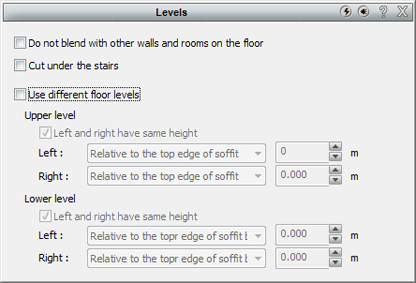

5) As you will see, the default setting is for the ‘Use different floor levels’ option to be unticked. In order to apply a different setting to this wall we need to tick this box.
6) The next option allows for further flexibility, untick the ‘Left and right have same height’ box to be able to apply a different setting to each end of the wall (Pro Tip: If you use two short sections of wall instead of a single wall length, you can use this feature to make a triangular wall)
7) Select the reference point for the height change using the drop-down list (note that if you select to keep left and right the same only the ‘left’ drop down is available but this applies to the whole wall)
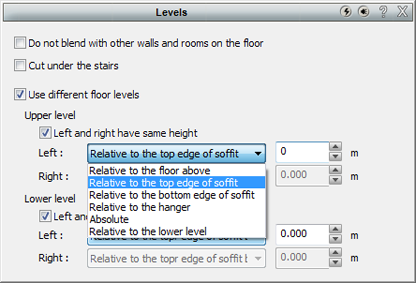

8) With the reference point selected, simply enter the adjustment value (use – for negative values) in the value field and close the dialogue
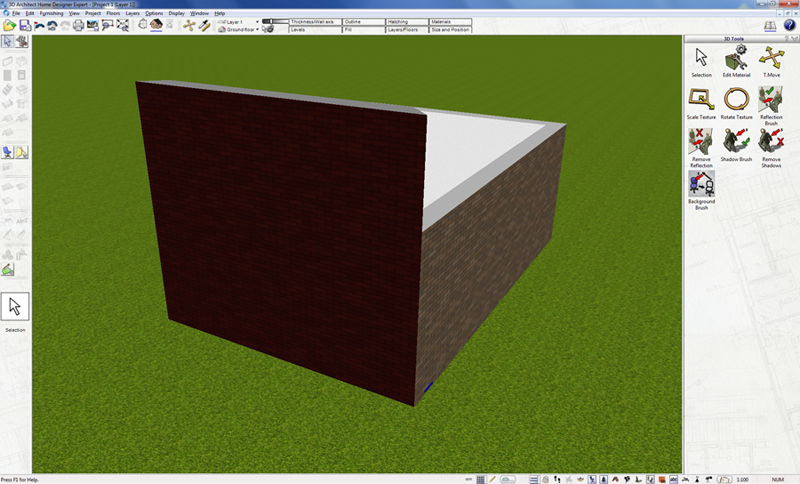

9) In Arcon Evo the method is basically the same, however due to the added features of Arcon Evo, the location of the menu option is slightly different
10) In Arcon Evo, with the wall highlighted, select Wall from the top toolbar context menu. The following dialogue box is displayed
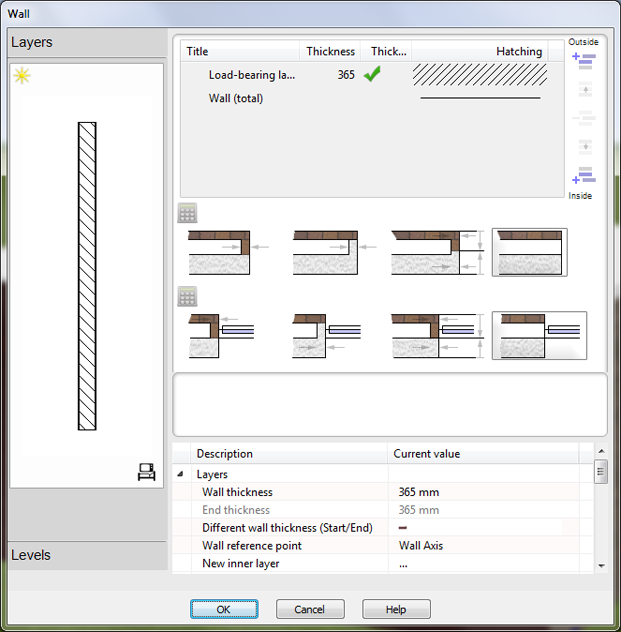

11) On the left hand menu of the dialogue, select the Levels option
12) In the lower section of the main window, locate the entry labelled Use different floor levels and change it to a tick
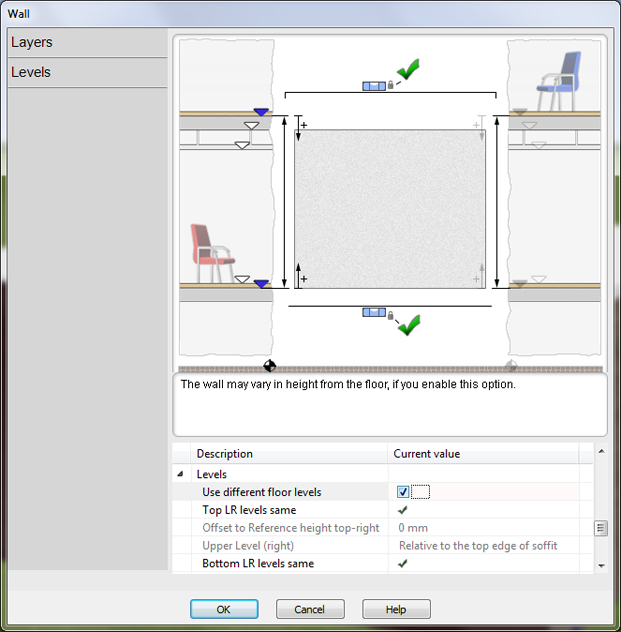

13) Here we can also set the value for whether or not the left and right sides share the same or different values. By default the Top LR levels same field is ticked. Untick this to select separate values for each side (You can also simply tick/untick the icon on the main graphic of this dialogue)
14) Scrolling down the options available you can set the reference point to be used for the offset measurement by selecting from the values in the Upper level (left) field.
15) With the reference point selected, simply change the value in Offset to reference height top-left field (use – for negative values) of click on the corresponding icon on the graphic and change the value there
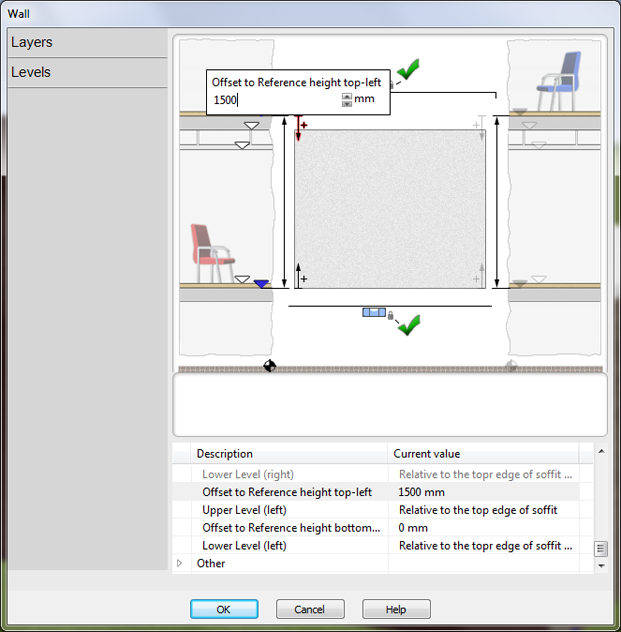

16) With the desired value added, press OK or close the dialogue to apply the change (depending which icon set you are using in Arcon Evo)
