Whilst elevations and cross-sections are basically automatic in Arcon Evo, for cross sections or non-standard elevations you need to define the viewpoint.
1) In order to add a section, you need to be in 2D construction mode. Make sure you have the standard selection cursor tool chosen and on the left hand database pane, select the ‘Misc’ folder:
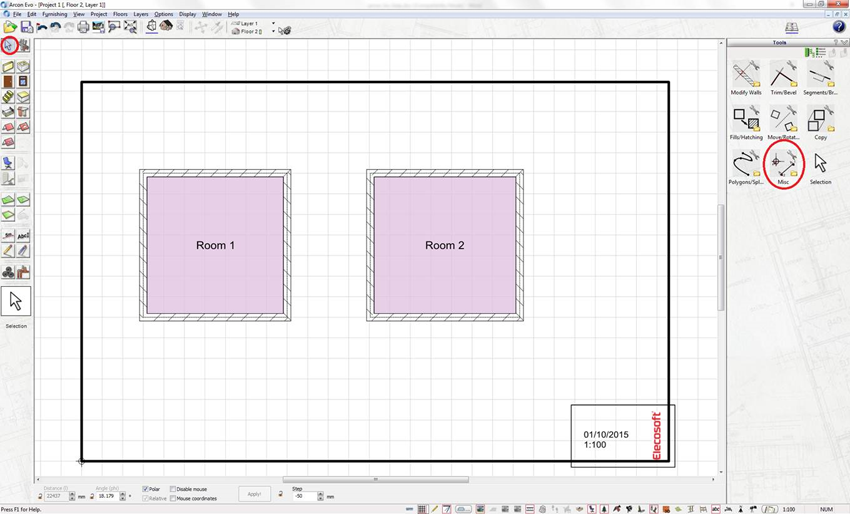
2) Choose the ‘Define Section’ tool from the right hand database panel and then click to place the start and end point of the section on the page (draw left-right to view up the page, right-left to view down for example)
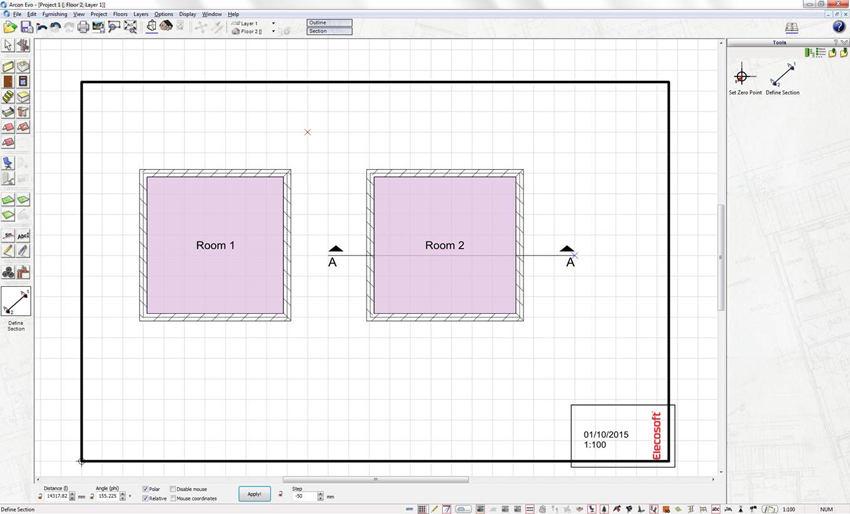

3) Once you have defined sections they are available to view in ‘Plan Layout Mode’
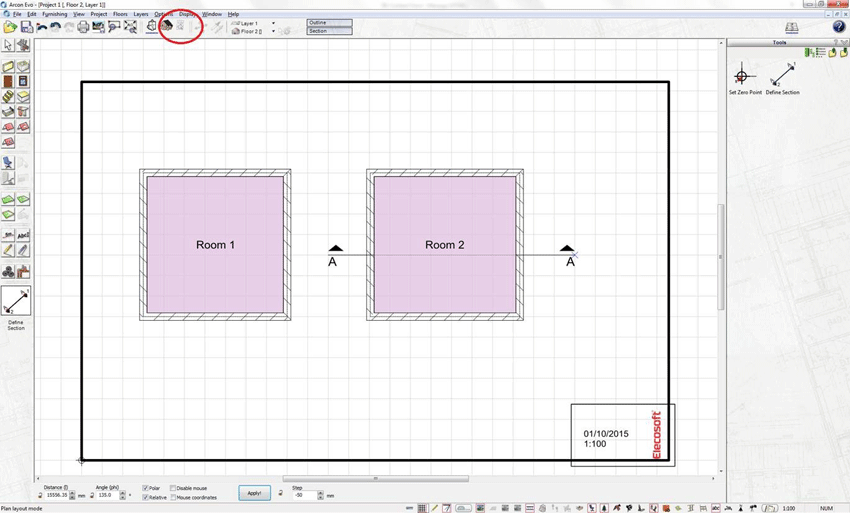

4) Click on the ‘Plan Layout’ mode on the top icon bar (highlighted above) Follow the on-screen options to set-up the layout
5) In the right-hand database pane, you now have options for what to place on the layout. Select ‘2D Section/Elevation’. And drag to place it on your page. Click to set its position
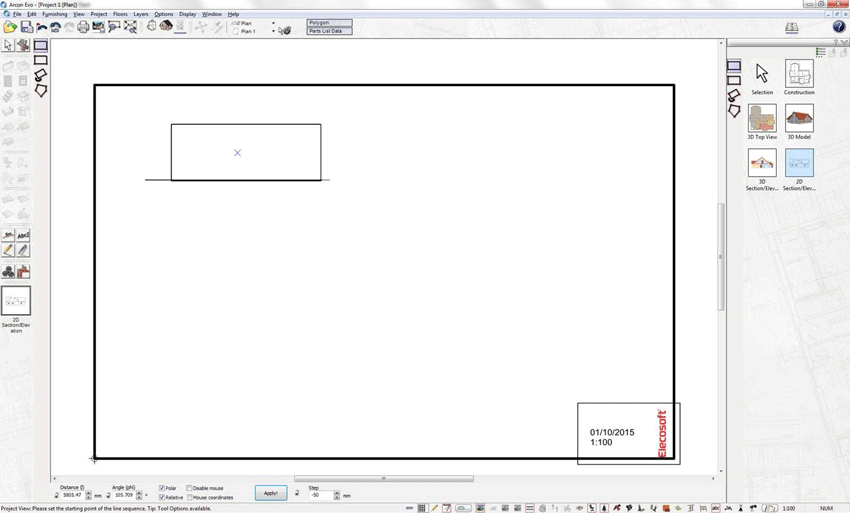

6) The elevation defaults to a certain view (East). To change it, click on the one you have placed to select it. Then choose the ‘View’ option from the top context menu:
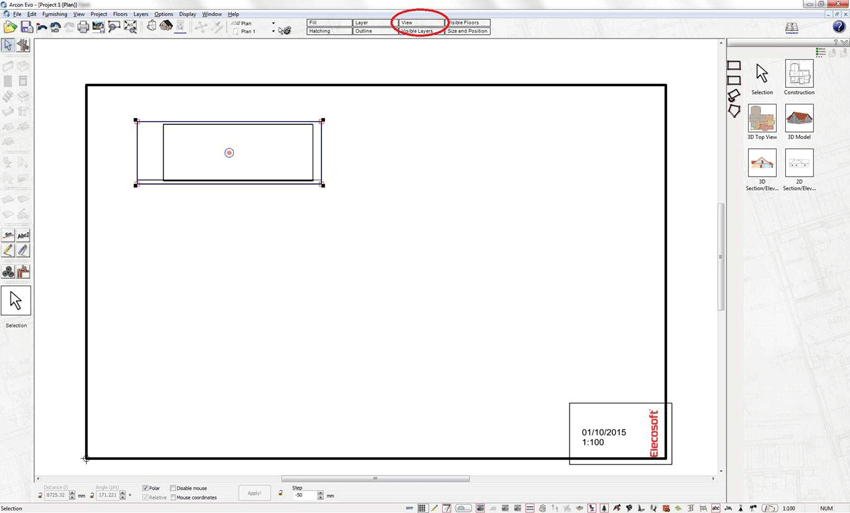

7) You will then be presented with a dialogue box to choose which view goes into this view port:
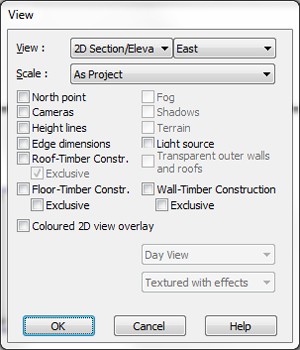

8) You can see above it defaults the view to ‘East’. Click that drop-down and you can change the view in this port to any elevation or the previously defined cross sections (A-A for example). Using this method, you can place multiple elevations/cross-sections on the same sheet.


