For most homes, plan at least 6–8 m2 (65–85 sq ft) for a functional utility room that fits a washer, dryer, counter, and base storage. For a more comfortable layout with sink, tall cabinets, and better circulation, 8–12 m2 (85–130 sq ft) works well. Larger families or multi-use rooms (mudroom, pet wash, extra pantry) benefit from 12–15 m2 (130–160 sq ft) or more. In Plan7Architect you can design in either metric or imperial units and switch at any time.
At-a-glance size guide
| Household & Use | Recommended area | Typical footprint examples |
|---|---|---|
| Compact, single or couple | 6–8 m2 (65–85 sq ft) | 2.0 x 3.0 m; 2.4 x 3.0 m; 6 x 12 ft |
| Average family | 8–12 m2 (85–130 sq ft) | 2.7 x 3.0 m; 3.0 x 3.5 m; 8 x 12 ft |
| Large family / multi-use | 12–15 m2+ (130–160 sq ft+) | 3.0 x 4.0 m; 3.5 x 4.0 m; 10 x 16 ft |
Tip: If you already know the exact appliances you will buy, model their real dimensions instead of relying on generic sizes. This can save you 0.3–0.6 m2 (3–6 sq ft) just by tightening gaps and cabinet widths.
Factors That Influence the Ideal Size
Household Size and Laundry Volume
Plan for the number of laundry loads per week, not just the number of people. A household with sports uniforms or workwear generates more laundry and needs additional counter and hamper space. If you air-dry frequently, allocate wall length or ceiling rails for drying racks.
Appliances and Layout Choices
Decide early between side-by-side and stacked machines. Side-by-side requires more wall length; stacked reduces width but needs taller clearances and a sturdy platform. If you include a utility sink, allow cabinet width plus elbow room for scrubbing. Add tall storage for brooms, vacuum, and bulk items if your kitchen pantry is small.
Multi-Purpose Use
If the room doubles as a mudroom, add bench seating, cubbies, and a boot tray zone. For pet care, a low curb shower or raised wash station needs extra depth and waterproof finishes. If you plan overflow pantry shelves, reserve a cool, ventilated corner away from dryer heat.
Layout and Design Tips
Workflow and Clearances
Arrange the flow like a small production line: sort → wash → dry → fold → store. Keep hampers near the door, machines centered on the main wall, and counter space directly adjacent to the dryer for immediate folding.
Common clearances and working spaces
| Item | Minimum clearance (metric) | Minimum clearance (imperial) | Notes |
|---|---|---|---|
| Front of washer/dryer door swing | 900–1000 mm | 36–40 in | Comfortable loading zone |
| Walkway in front of appliances | 900 mm | 36 in | 1000–1100 mm or 40–44 in feels better |
| Counter depth | 600 mm | 24 in | 650 mm or 26 in for deep machines |
| Side gap each side of appliance | 25–50 mm | 1–2 in | Check manufacturer ventilation |
| Stacked unit height zone | 2000–2100 mm | 79–83 in | Ensure overhead cabinet clearance |
| Utility sink zone width | 600–800 mm | 24–32 in | Add 300 mm or 12 in elbow space if possible |
Tip: A continuous counter over the machines is the single biggest upgrade in daily use. Use a rigid top with an access panel for service.
Ventilation, Moisture, and Noise
Provide a dedicated exhaust route for vented dryers or specify a condensing or heat pump dryer and allow room-side air movement. Add acoustic insulation in stud walls if the room is adjacent to bedrooms. Use a floor drain where local practice supports it and slope the floor subtly toward it.
Storage That Works Hard
Mix tall cabinets for cleaning tools, 400–500 mm deep wall cabinets for supplies, and at least one pull-out hamper near the dryer. Open shelves above the counter make detergents and baskets easy to grab. Use ceiling rails or retractable drying racks to free up floor space.
Doors, Windows, and Access
Pocket or sliding doors save swing space in tight corridors. If you must use a hinged door, swing it away from the appliance handles. For garage or garden access, plan a drip zone with washable surfaces and a mat well.
Utility Room Size Examples
Small footprint, 6–8 m2 (65–85 sq ft)
-
2.0 x 3.0 m or 6 x 12 ft
-
Stacked washer and dryer on one end
-
600 mm or 24 in deep counter with base cabinets on the long side
-
One tall cabinet for broom and vacuum
-
Wall rail drying above the counter
Medium footprint, 8–12 m2 (85–130 sq ft)
-
2.7 x 3.0 m or 9 x 10–12 ft
-
Side-by-side machines with continuous countertop
-
Utility sink next to washer for pre-soak
-
Two tall cabinets and overhead wall units
-
Space for fold-down ironing board and pull-out hampers
Large footprint, 12–15 m2+ (130–160 sq ft+)
-
3.0 x 4.0 m or 10 x 14–16 ft
-
Separate wet zone with sink and pet wash
-
Bench and cubbies at the entrance for mudroom use
-
Dedicated drying cabinet or ceiling airers
-
Secondary overflow pantry shelving
Utility Room vs. Laundry Closet
A closet is enough when
-
You use stacked machines and rarely need to hand-wash or iron
-
You are fine folding laundry elsewhere
-
You prioritize living space and can accept minimal storage in this zone
Prefer a full room when
-
You do multiple loads per week and want everything in one place
-
You need a sink, tall storage, drying space, or mudroom features
-
You want to close the door and contain noise and humidity
Minimum closet benchmarks
-
Side-by-side closet: width 1500–1650 mm or 60–66 in; depth 800–900 mm or 32–36 in
-
Stacked closet: width 750–800 mm or 30–32 in; depth 800–900 mm or 32–36 in
-
Allow 900 mm or 36 in in front for access and maintenance
Tip: Even a closet benefits from a shallow 300 mm or 12 in shelf above the machines for detergents and a rail for hang-drying shirts.
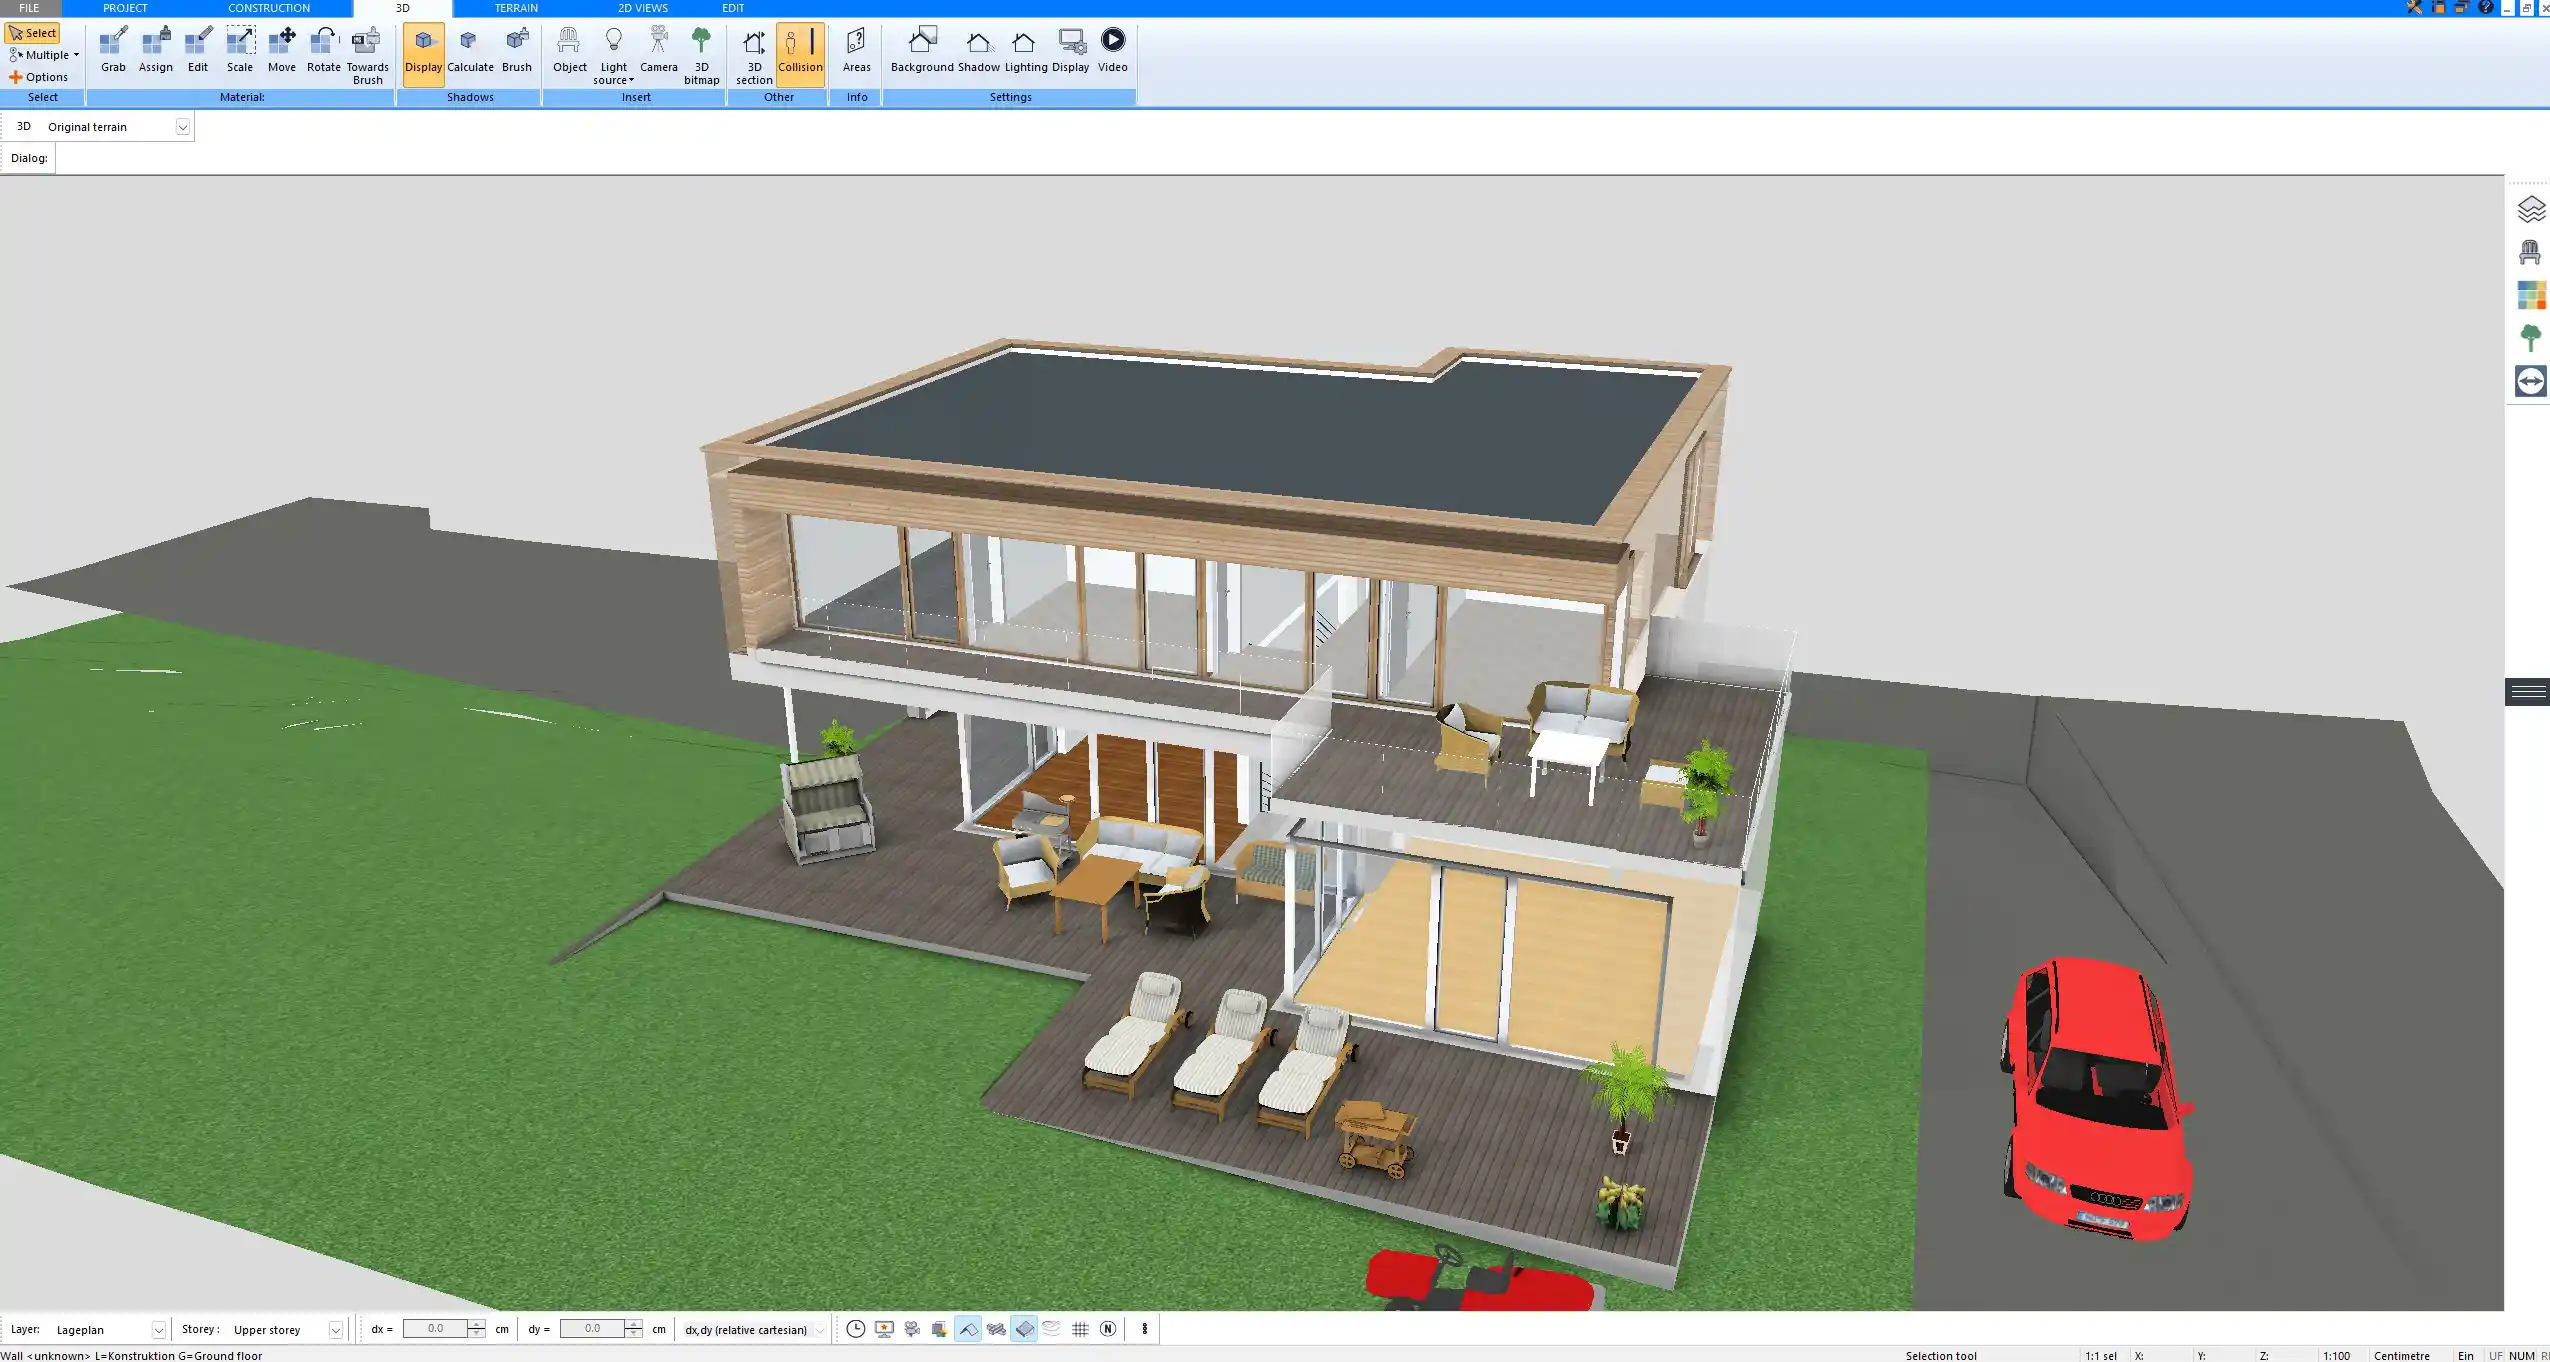
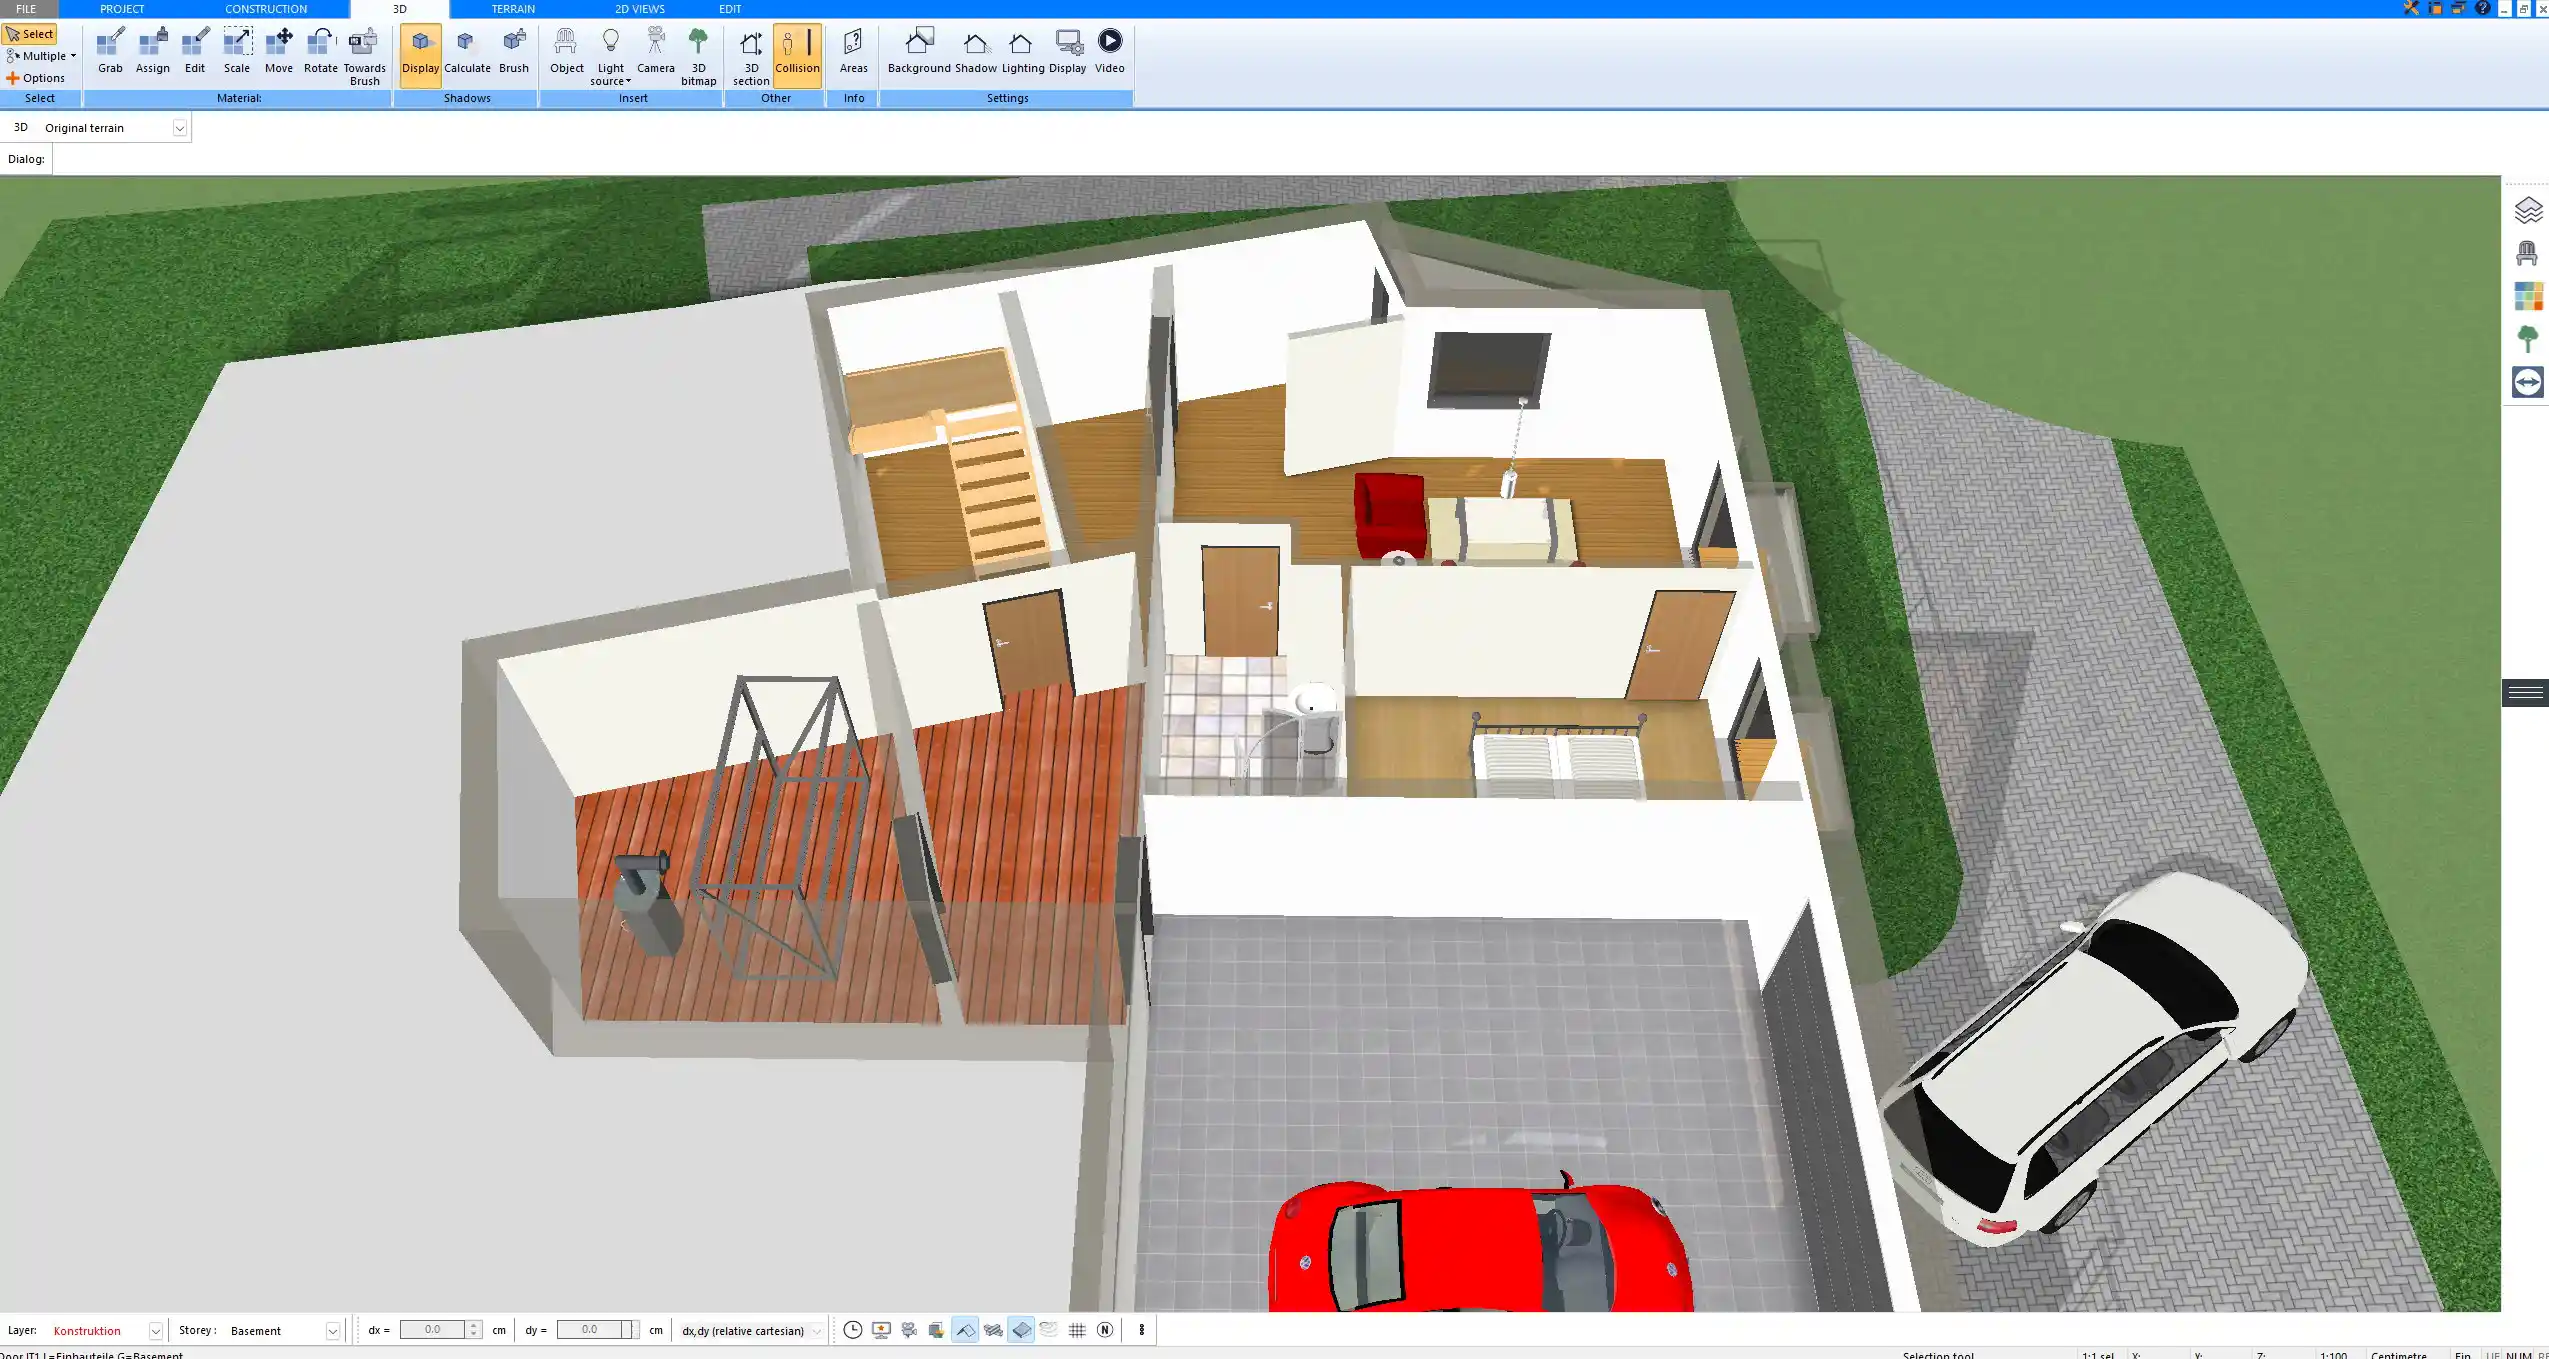
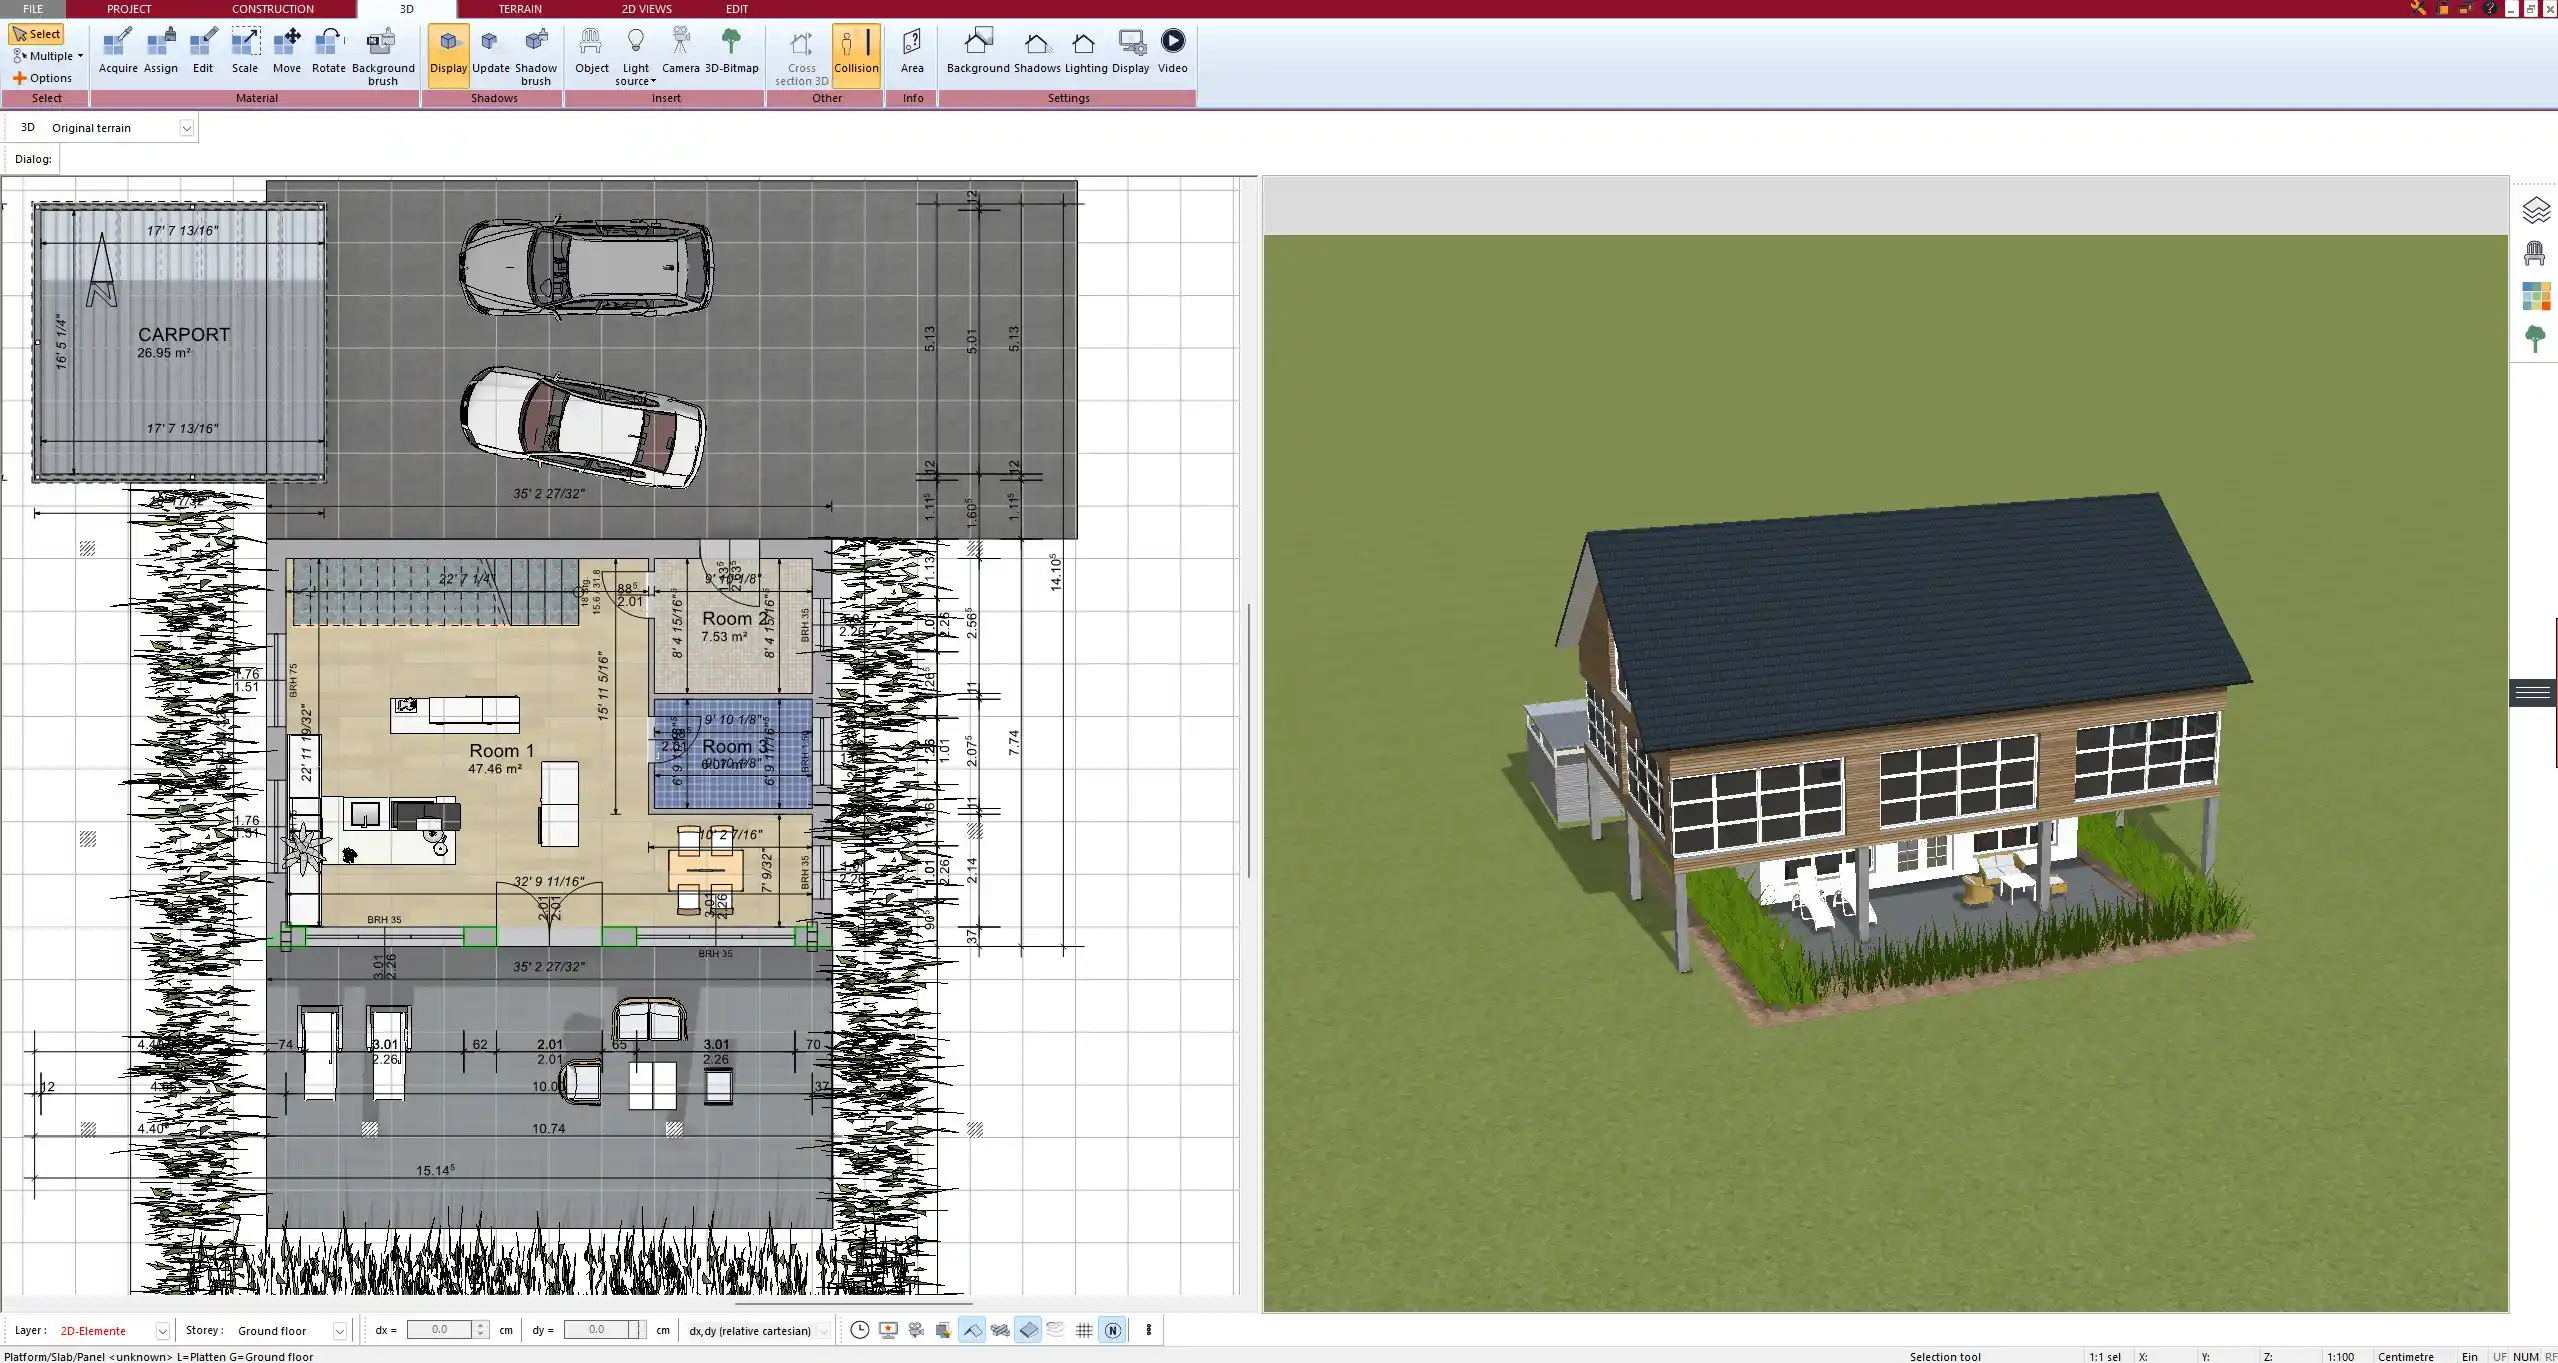
Planning Your Utility Room with Software
Model the exact appliances, cabinets, and doors to scale and check the walking lines around open doors. In Plan7Architect you can switch between metric and imperial units while you work, view the room in 2D and 3D, and test stacked vs. side-by-side layouts, counter overhangs, and cabinet heights. Use layers to toggle mudroom features on and off and compare variants of the same footprint to see which one handles your laundry workflow best.
Tips for Maximizing Small Utility Rooms
-
Choose stacked appliances to free wall length for counter space
-
Use a single run of base cabinets and a full-width floating shelf instead of deep wall units
-
Install a pull-out ironing board inside a 400 mm or 16 in cabinet
-
Hang a retractable clothesline between two wall cabinets
-
Add a pocket door to reclaim swing space
-
Specify light-reflective finishes and good task lighting over the counter
-
Keep the floor clear; mount hampers and hooks on walls
Typical Appliance Sizes to Plan Around
Always verify with the chosen manufacturer, but these planning numbers are reliable for early design.
| Appliance type | Width x Depth x Height (metric) | Width x Depth x Height (imperial) |
|---|---|---|
| Front-load washer | 595–700 x 600–700 x 850–900 mm | 24–27.5 x 24–28 x 33.5–35.5 in |
| Front-load dryer | 595–700 x 600–700 x 850–900 mm | 24–27.5 x 24–28 x 33.5–35.5 in |
| Stacked pair total height | 2000–2100 mm | 79–83 in |
| Utility sink cabinet | 600–800 x 600 x 900 mm | 24–32 x 24 x 35.5 in |
| Tall storage cabinet | 400–600 x 600 x 2100–2400 mm | 16–24 x 24 x 83–95 in |
| Counter depth over machines | 600–650 mm | 24–26 in |
Tip: If service space behind the machines is tight, route water and drain laterally through a recessed box and use low-profile dryer ducting rated for your model.
Example Equipment and Storage Mixes by Room Size
6–8 m2 (65–85 sq ft)
-
Stacked washer and dryer
-
One 600 mm or 24 in sink base or a 300 mm or 12 in drawer base
-
One tall cabinet
-
One 1800 mm or 72 in floating shelf
-
Ceiling airer
8–12 m2 (85–130 sq ft)
-
Side-by-side machines with 1800–2400 mm or 72–96 in counter
-
600–800 mm or 24–32 in sink base
-
Two tall cabinets or one tall plus broom niche
-
Two rows of wall cabinets, 300–400 mm or 12–16 in deep
-
Fold-down ironing
12–15 m2+ (130–160 sq ft+)
-
Machines plus dedicated drying cabinet or two ceiling airers
-
Large sink and splash zone
-
Bench with shoe cubbies and hooks
-
Overflow pantry shelving behind doors
-
Separate hamper tower for sorting
Tip: When space grows, do not only add cabinets. Keep a clear 1000–1100 mm or 40–44 in aisle to maintain easy movement with baskets and pets.
Cost-Saving Footprint Tweaks
-
Favor a single long wall run over a U-shape to reduce corner cabinet cost and dead space
-
Share plumbing with an adjacent kitchen or bathroom wall
-
Use open shelving where doors are not essential
-
Add a prefinished countertop over freestanding machines with simple side panels
Planning Checklist You Can Copy
-
Decide stacked vs. side-by-side
-
List must-have functions: sink, ironing, drying, mudroom, pet wash, pantry
-
Collect exact appliance and cabinet dimensions
-
Draw a circulation aisle of at least 900 mm or 36 in
-
Place a continuous counter next to the dryer
-
Add tall storage and at least one pull-out hamper
-
Confirm ventilation path and noise control
-
Choose floor and wall finishes that tolerate moisture
-
Test the plan in both metric and imperial units if you collaborate internationally
Tip: In Plan7Architect I like to duplicate the same room on one canvas and try three variants side by side. Switching between metric m2 and imperial sq ft is helpful when sharing plans with partners who use different unit systems.
Plan your project with Plan7Architect

Plan7Architect Pro 5 for $109.99
You don’t need any prior experience because the software has been specifically designed for beginners. The planning process is carried out in 5 simple steps:
1. Draw Walls

2. Windows & Doors

3. Floors & Roof

4. Textures & 3D Objects

5. Plan for the Building Permit

6. Export the Floor Plan as a 3D Model for Twinmotion

- – Compliant with international construction standards
- – Usable on 3 PCs simultaneously
- – Option for consultation with an architect
- – Comprehensive user manual
- – Regular updates
- – Video tutorials
- – Millions of 3D objects available
Why Thousands of Builders Prefer Plan7Architect
Why choose Plan7Architect over other home design tools?


