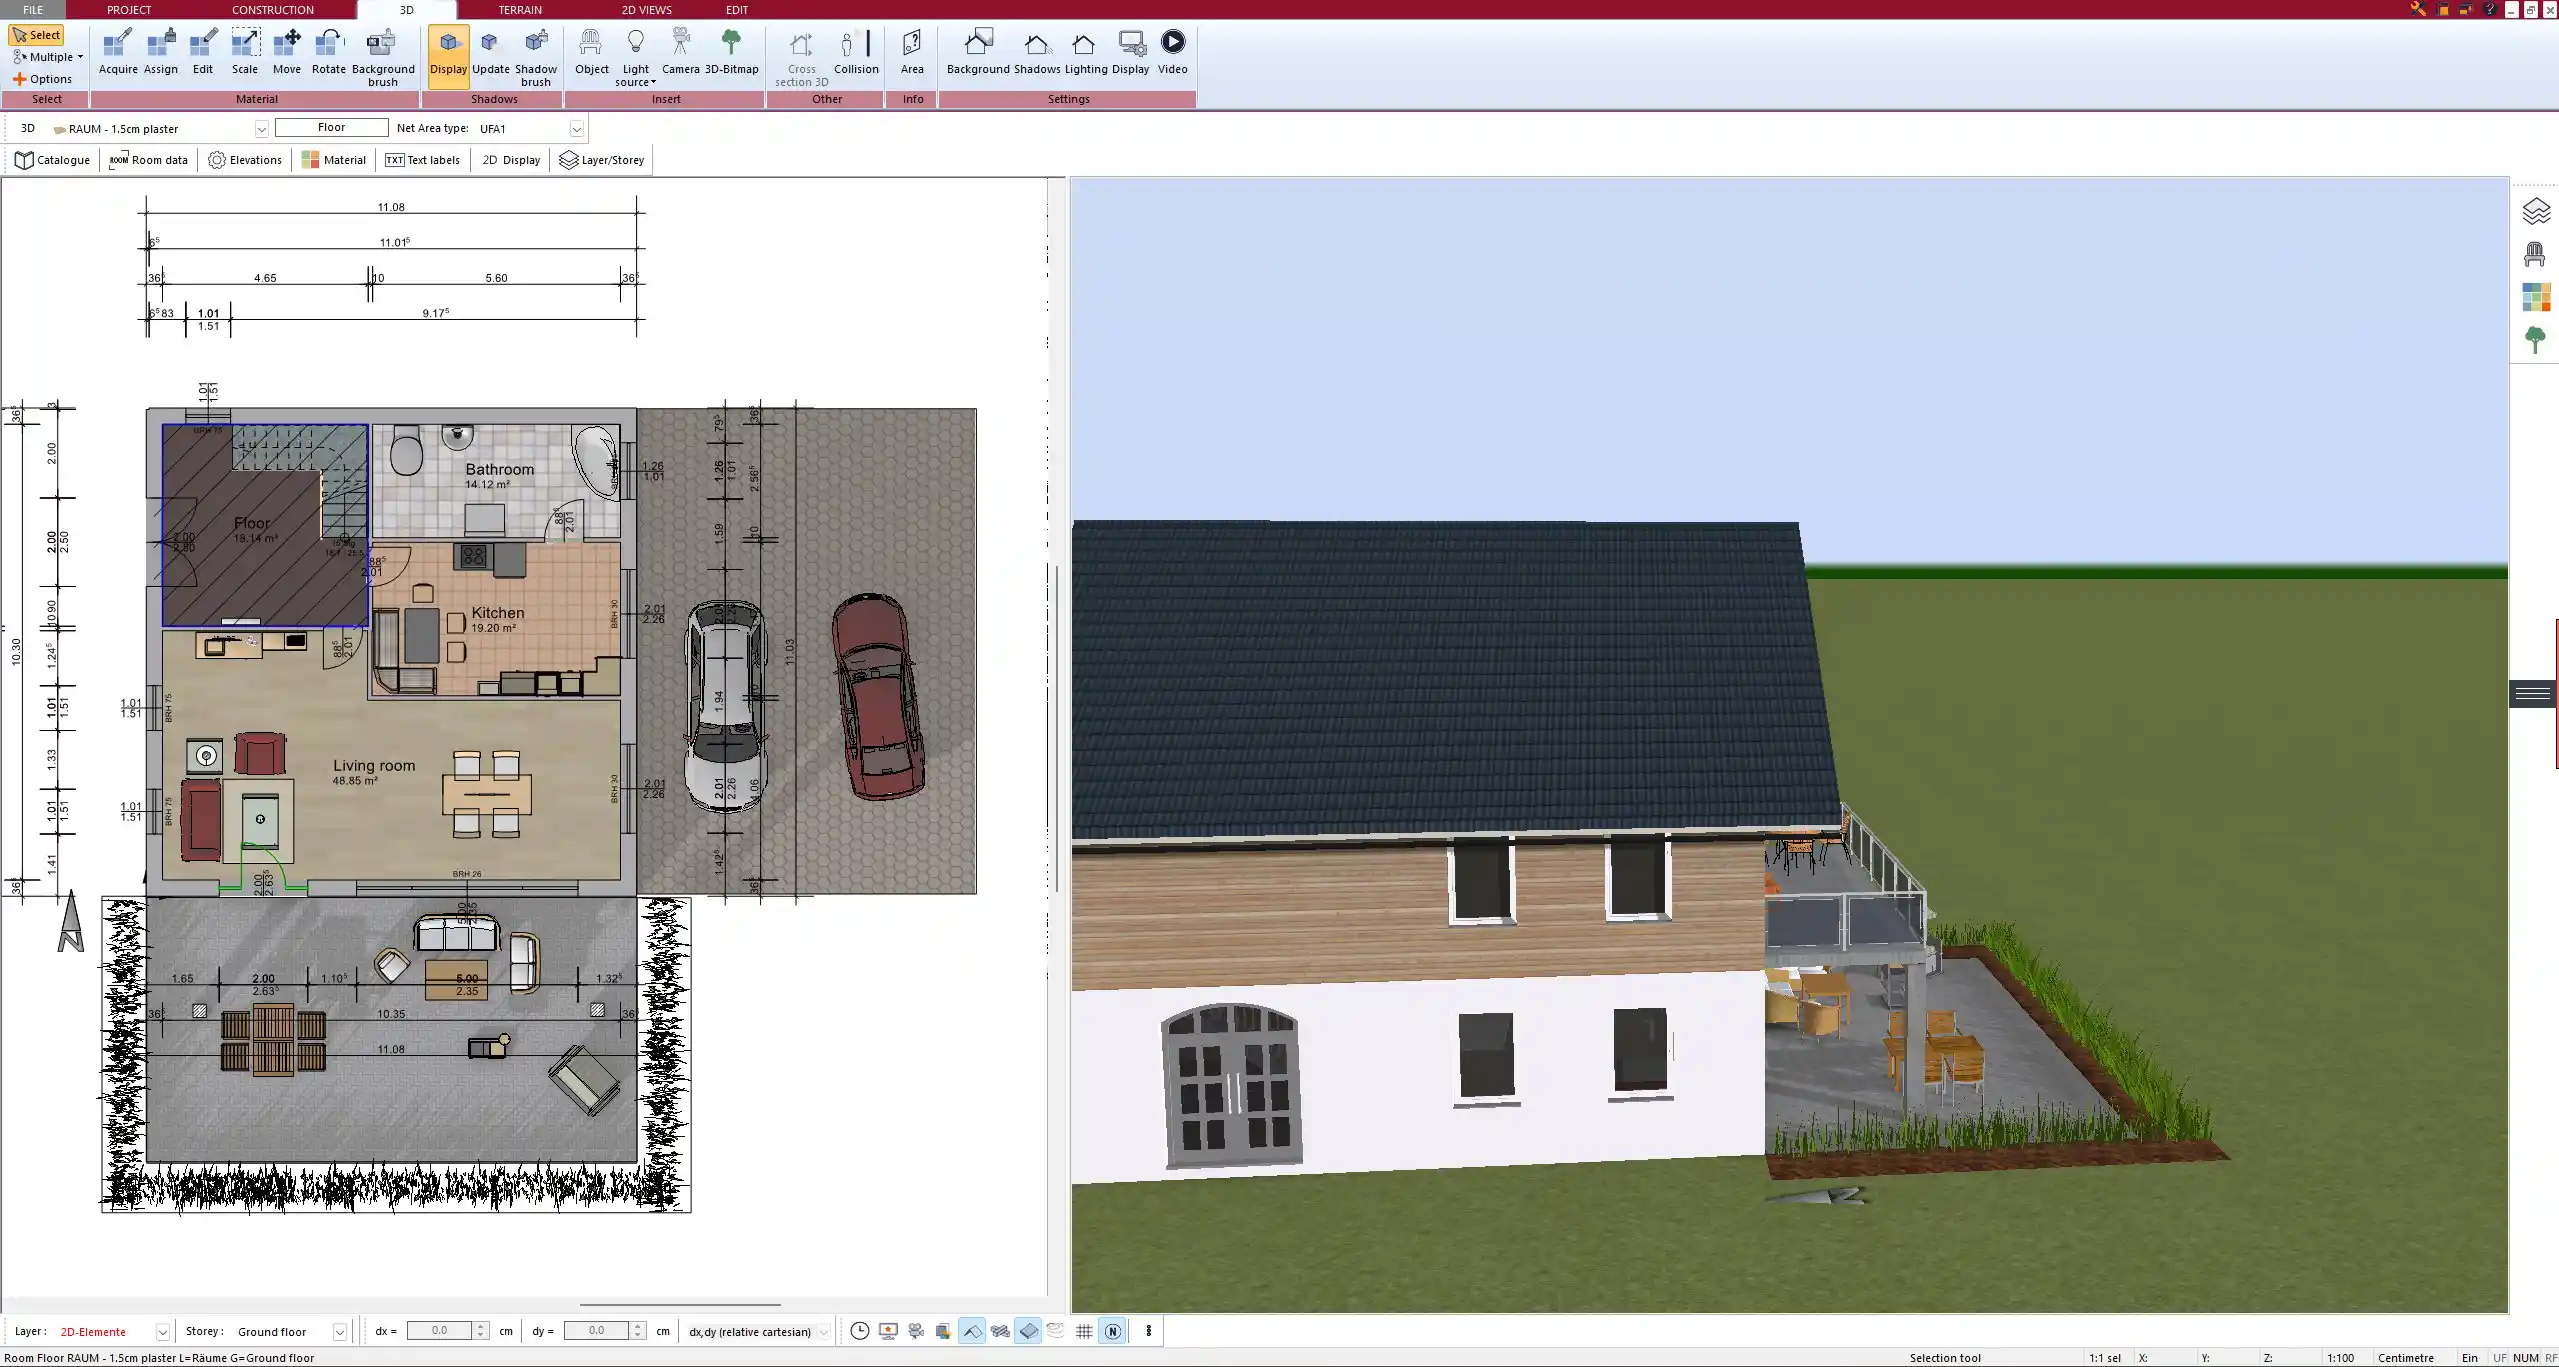
You can draw a complete and professional-looking dimensioned floor plan yourself with the Plan7Architect software—no prior experience required. The software provides an intuitive interface where you can create 2D and 3D layouts, define precise measurements for each wall, room, and architectural element, and instantly display dimensions within the plan. All this works in either metric or imperial units, depending on your regional preference. I’ve used Plan7Architect for multiple planning tasks and found it reliable for both quick sketches and detailed architectural layouts.
Step-by-Step: Drawing a Dimensioned Floor Plan with Plan7Architect
Start a New Project or Use an Existing Layout
Begin by launching the software and choosing to start from scratch or open a template. You can switch between metric units (meters, centimeters) and imperial units (feet, inches) in the settings—this is particularly useful if you’re collaborating internationally or submitting plans to authorities in different regions.
The setup wizard allows you to define the default wall thickness and floor height at the beginning. This saves time later and ensures consistency throughout the plan.
Tip:
In the settings menu, you can also define whether dimensions should appear automatically as you draw or if you prefer to insert them manually later. I recommend keeping the auto-display active for initial layouts—it speeds things up.
Define the External and Internal Walls
Select the wall tool from the toolbar and begin drawing the perimeter of your structure. Each wall segment can be entered with an exact length, and angles snap to standard degrees unless overridden.
After defining the outer walls, continue with internal walls to divide the layout into rooms or zones. You can:
-
Set the exact wall length during placement.
-
Modify thickness and height afterward.
-
Snap walls to adjacent elements or the grid for precision.
Dimension lines are added automatically if enabled, but can also be placed manually later.
Wall Input Table Example:
| Wall | Length (m/ft) | Thickness (cm/in) | Height (m/ft) |
|---|---|---|---|
| Front Wall | 10.00 m / 32.8 ft | 30 cm / 12 in | 2.50 m / 8.2 ft |
| Side Wall | 8.00 m / 26.2 ft | 25 cm / 10 in | 2.50 m / 8.2 ft |
Add Openings: Doors, Windows, Staircases
Doors, windows, and stairs are placed using drag-and-drop tools. Once placed, each element can be dimensioned relative to adjacent walls. For instance, you can position a window exactly 1.20 m (or 4 ft) from the inner wall edge.
For staircases, Plan7Architect allows you to define:
-
Step height and width
-
Number of risers
-
Total height based on floor-to-ceiling distance
Each opening updates surrounding dimensions automatically when moved or resized.
Insert Dimension Lines and Labels
Dimensioning is where Plan7Architect truly shines. Use the dimension tool to insert labels for:
-
Linear wall lengths
-
Room widths and depths
-
Ceiling heights
-
Window and door positions
-
Distances between objects
You can customize the appearance of dimensions:
-
Font size
-
Label placement
-
Unit type (metric or imperial)
-
Decimal precision
This ensures the floor plan meets specific documentation or permit submission standards.
Dimension Types You Can Apply:
-
Wall-to-wall internal dimensions
-
Total building width and depth
-
Window/door distances from corners
-
Floor height notations
-
Diagonal room dimensions
Features that Simplify Dimensioning in Plan7Architect
Plan7Architect offers several features that make drawing and dimensioning faster and more precise:
-
Automatic dimension display: As you draw or place elements, the software adds measurements in real-time.
-
Snap-to-grid and snap-to-element tools: Ensures alignment and prevents overlapping or misplacement.
-
Live unit switching: Change from meters to feet—or vice versa—without redrawing your plan.
-
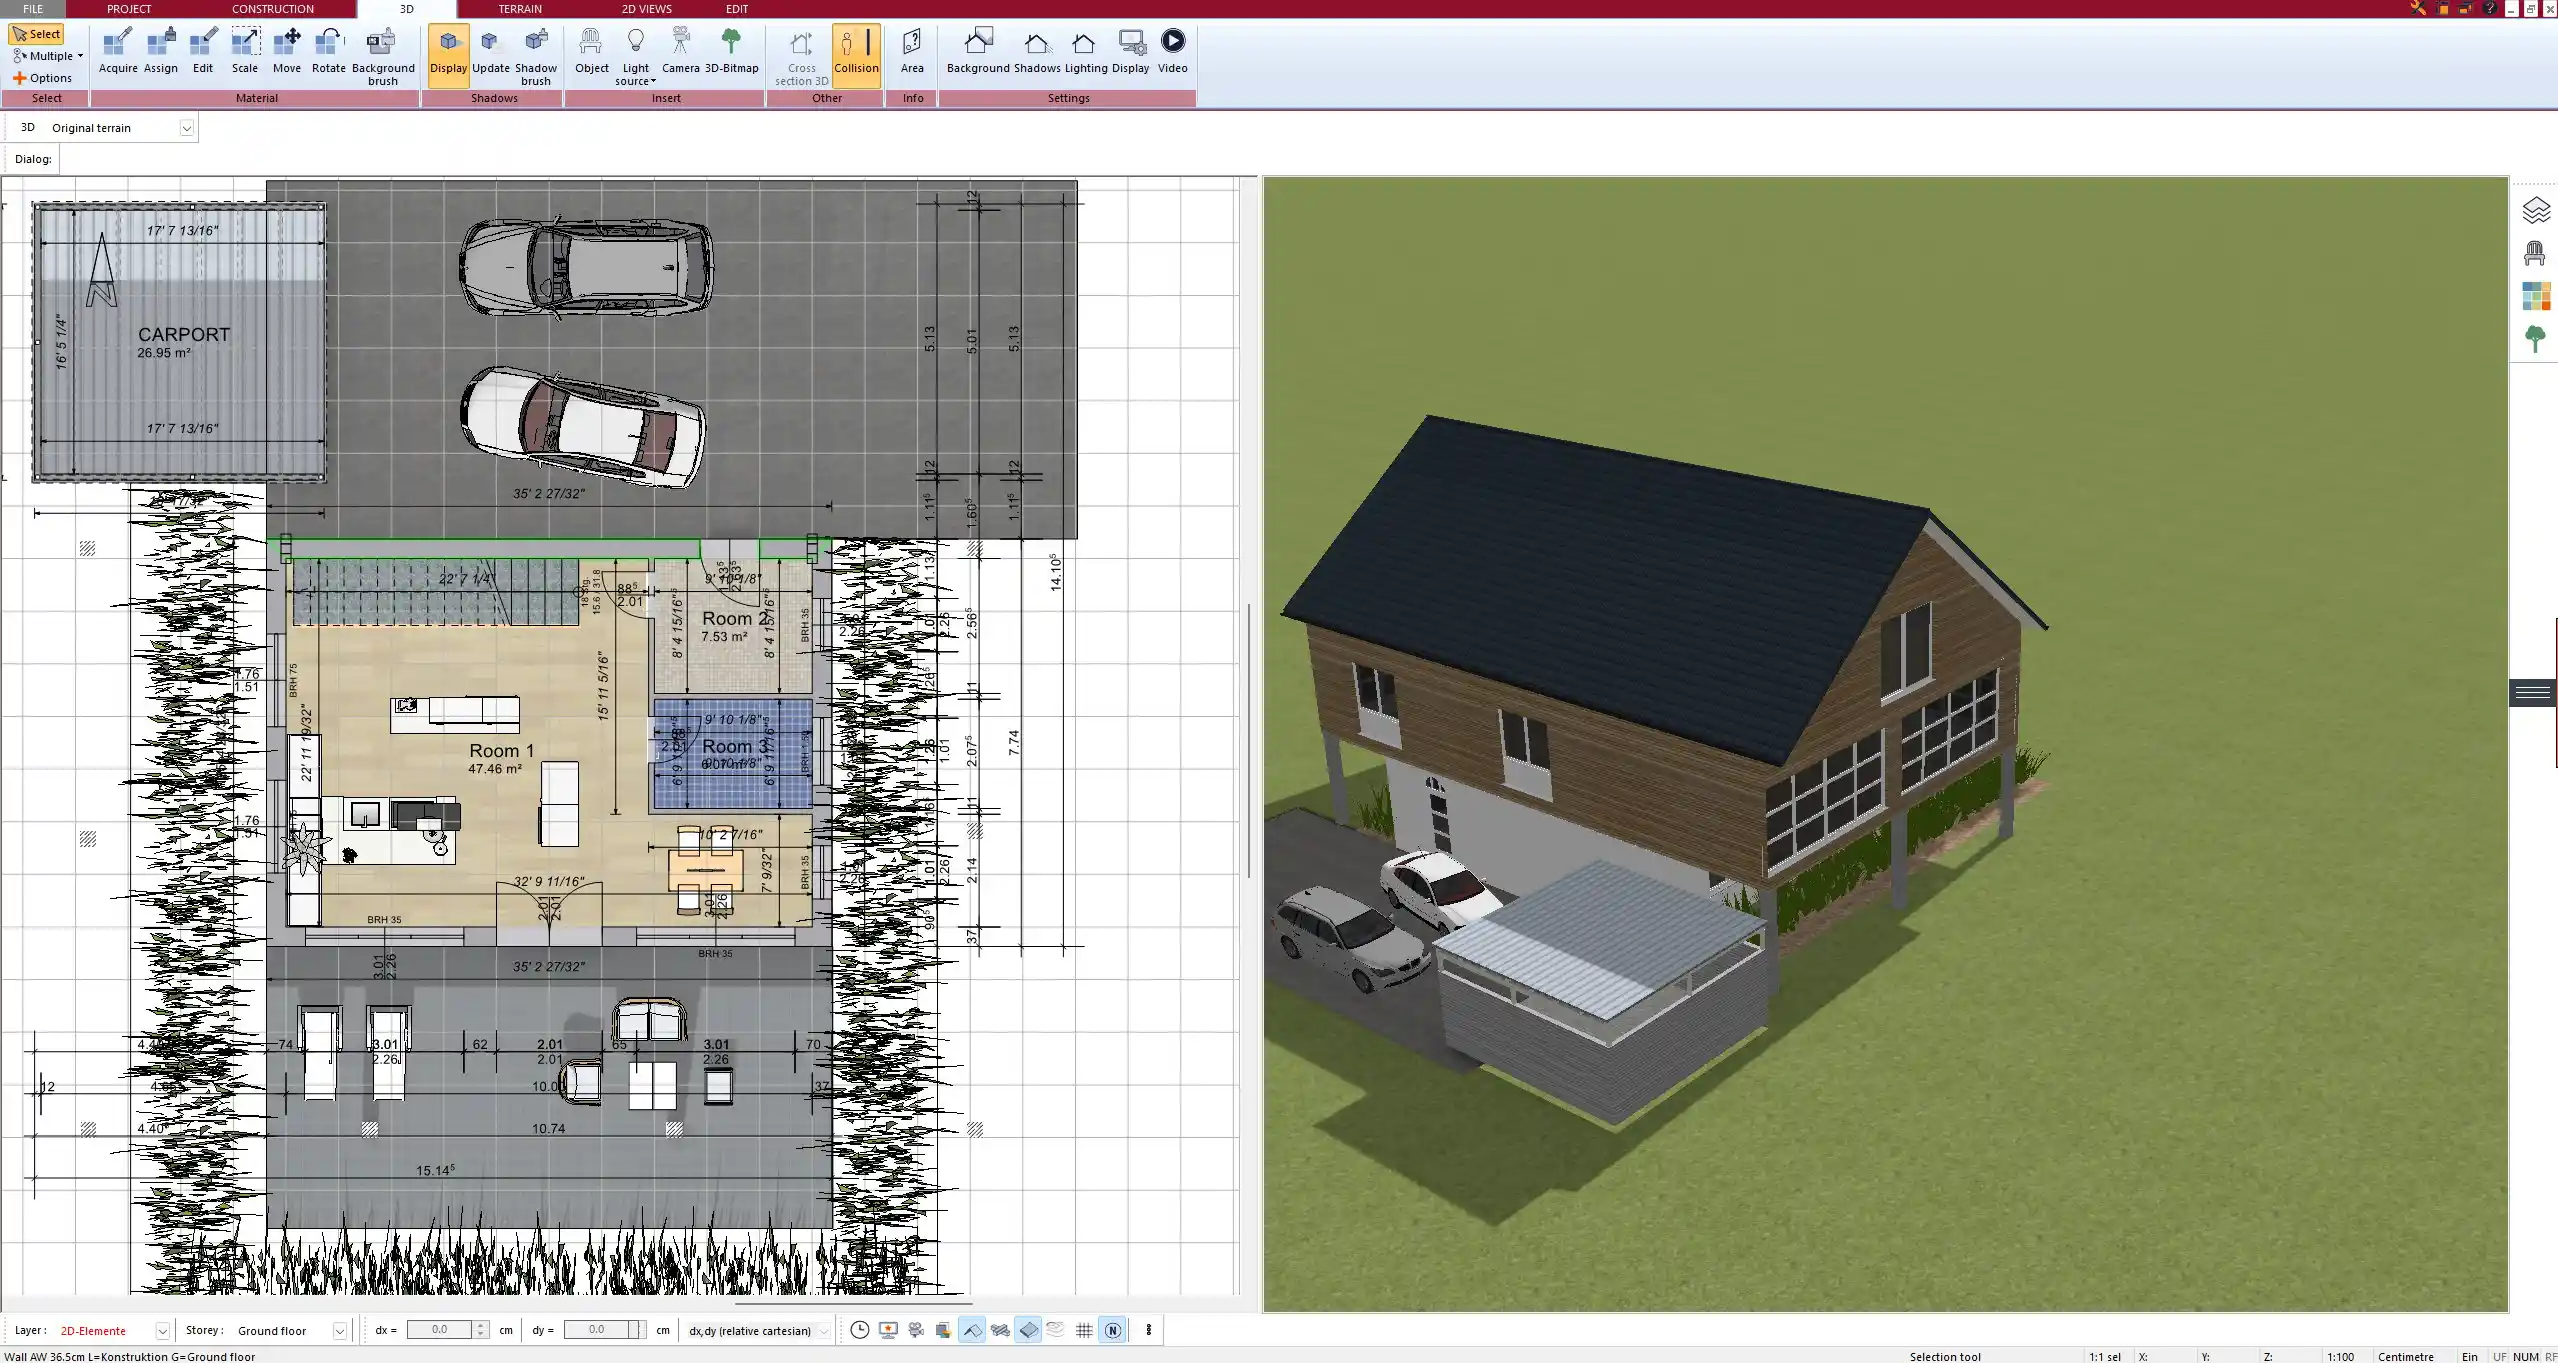
2D and 3D synchronization: Any dimension changes in 2D reflect instantly in the 3D model.
These tools let you focus on your layout rather than worrying about manual corrections.
Helpful Table – Useful Shortcuts While Dimensioning:
| Task | Shortcut / Tool | Result |
|---|---|---|
| Add dimension line | Select dimension tool > Click start and end point | Places labeled line |
| Switch unit system | Project settings > Units | Converts all existing and new measurements |
| Align element | Right-click > Align with wall/grid | Perfect positioning |
Typical Use Cases for Dimensioned Floor Plans
Dimensioned floor plans are more than just drawings—they are essential tools in many real-world applications:
-
Planning home construction or extensions
-
Applying for building permits
-
Communicating with architects, engineers, or contractors
-
Preparing real estate listings or documentation
-
Interior design and furniture arrangement
-
Converting hand-drawn plans into digital format
If you need to present clear, measurable layouts to third parties, having dimensions included is non-negotiable.
Tips for Creating Professional-Quality Floor Plans
From experience, a well-dimensioned floor plan saves hours in back-and-forth communication and prevents costly mistakes during construction. Here are some professional tips:
-
Use layers: Assign different layers for structural walls, electrical lines, plumbing, and furniture to keep the plan clean.
-
Maintain consistent spacing: Use gridlines or guides to evenly space objects.
-
Double-check dimensions: Use the zoom function and rulers to verify every key measurement.
-
Group elements logically: For example, group all windows on the same wall for easier alignment.
-
Keep dimensions legible: Avoid overcrowding with too many overlapping labels.
Tip:
When exporting your plan for professional use, check the print preview to ensure all dimension labels are within the visible margins. Plan7Architect allows you to scale your plan precisely to match paper sizes such as A4, A3, or US Letter.
Exporting and Printing with Dimensions
Once your plan is complete, exporting and printing is simple. You can include all dimensions and annotations in the export file. The software supports:
-
PDF export for sharing or printing
-
Image export (JPEG, PNG) for quick previews
-
DWG/DXF export for CAD professionals
Print scaling is fully customizable. You can choose:
-
Paper size: A4, A3, Letter, Legal, or custom
-
Scale: 1:50, 1:100, or custom ratio
-
Orientation: Portrait or landscape
Export Format Overview:
| Format | Use Case |
|---|---|
| Best for printed documentation or digital archives | |
| JPG/PNG | Ideal for web, email, or presentations |
| DWG/DXF | For collaboration with architects or contractors |
Summary: Why Plan7Architect is Ideal for Drawing Dimensioned Floor Plans
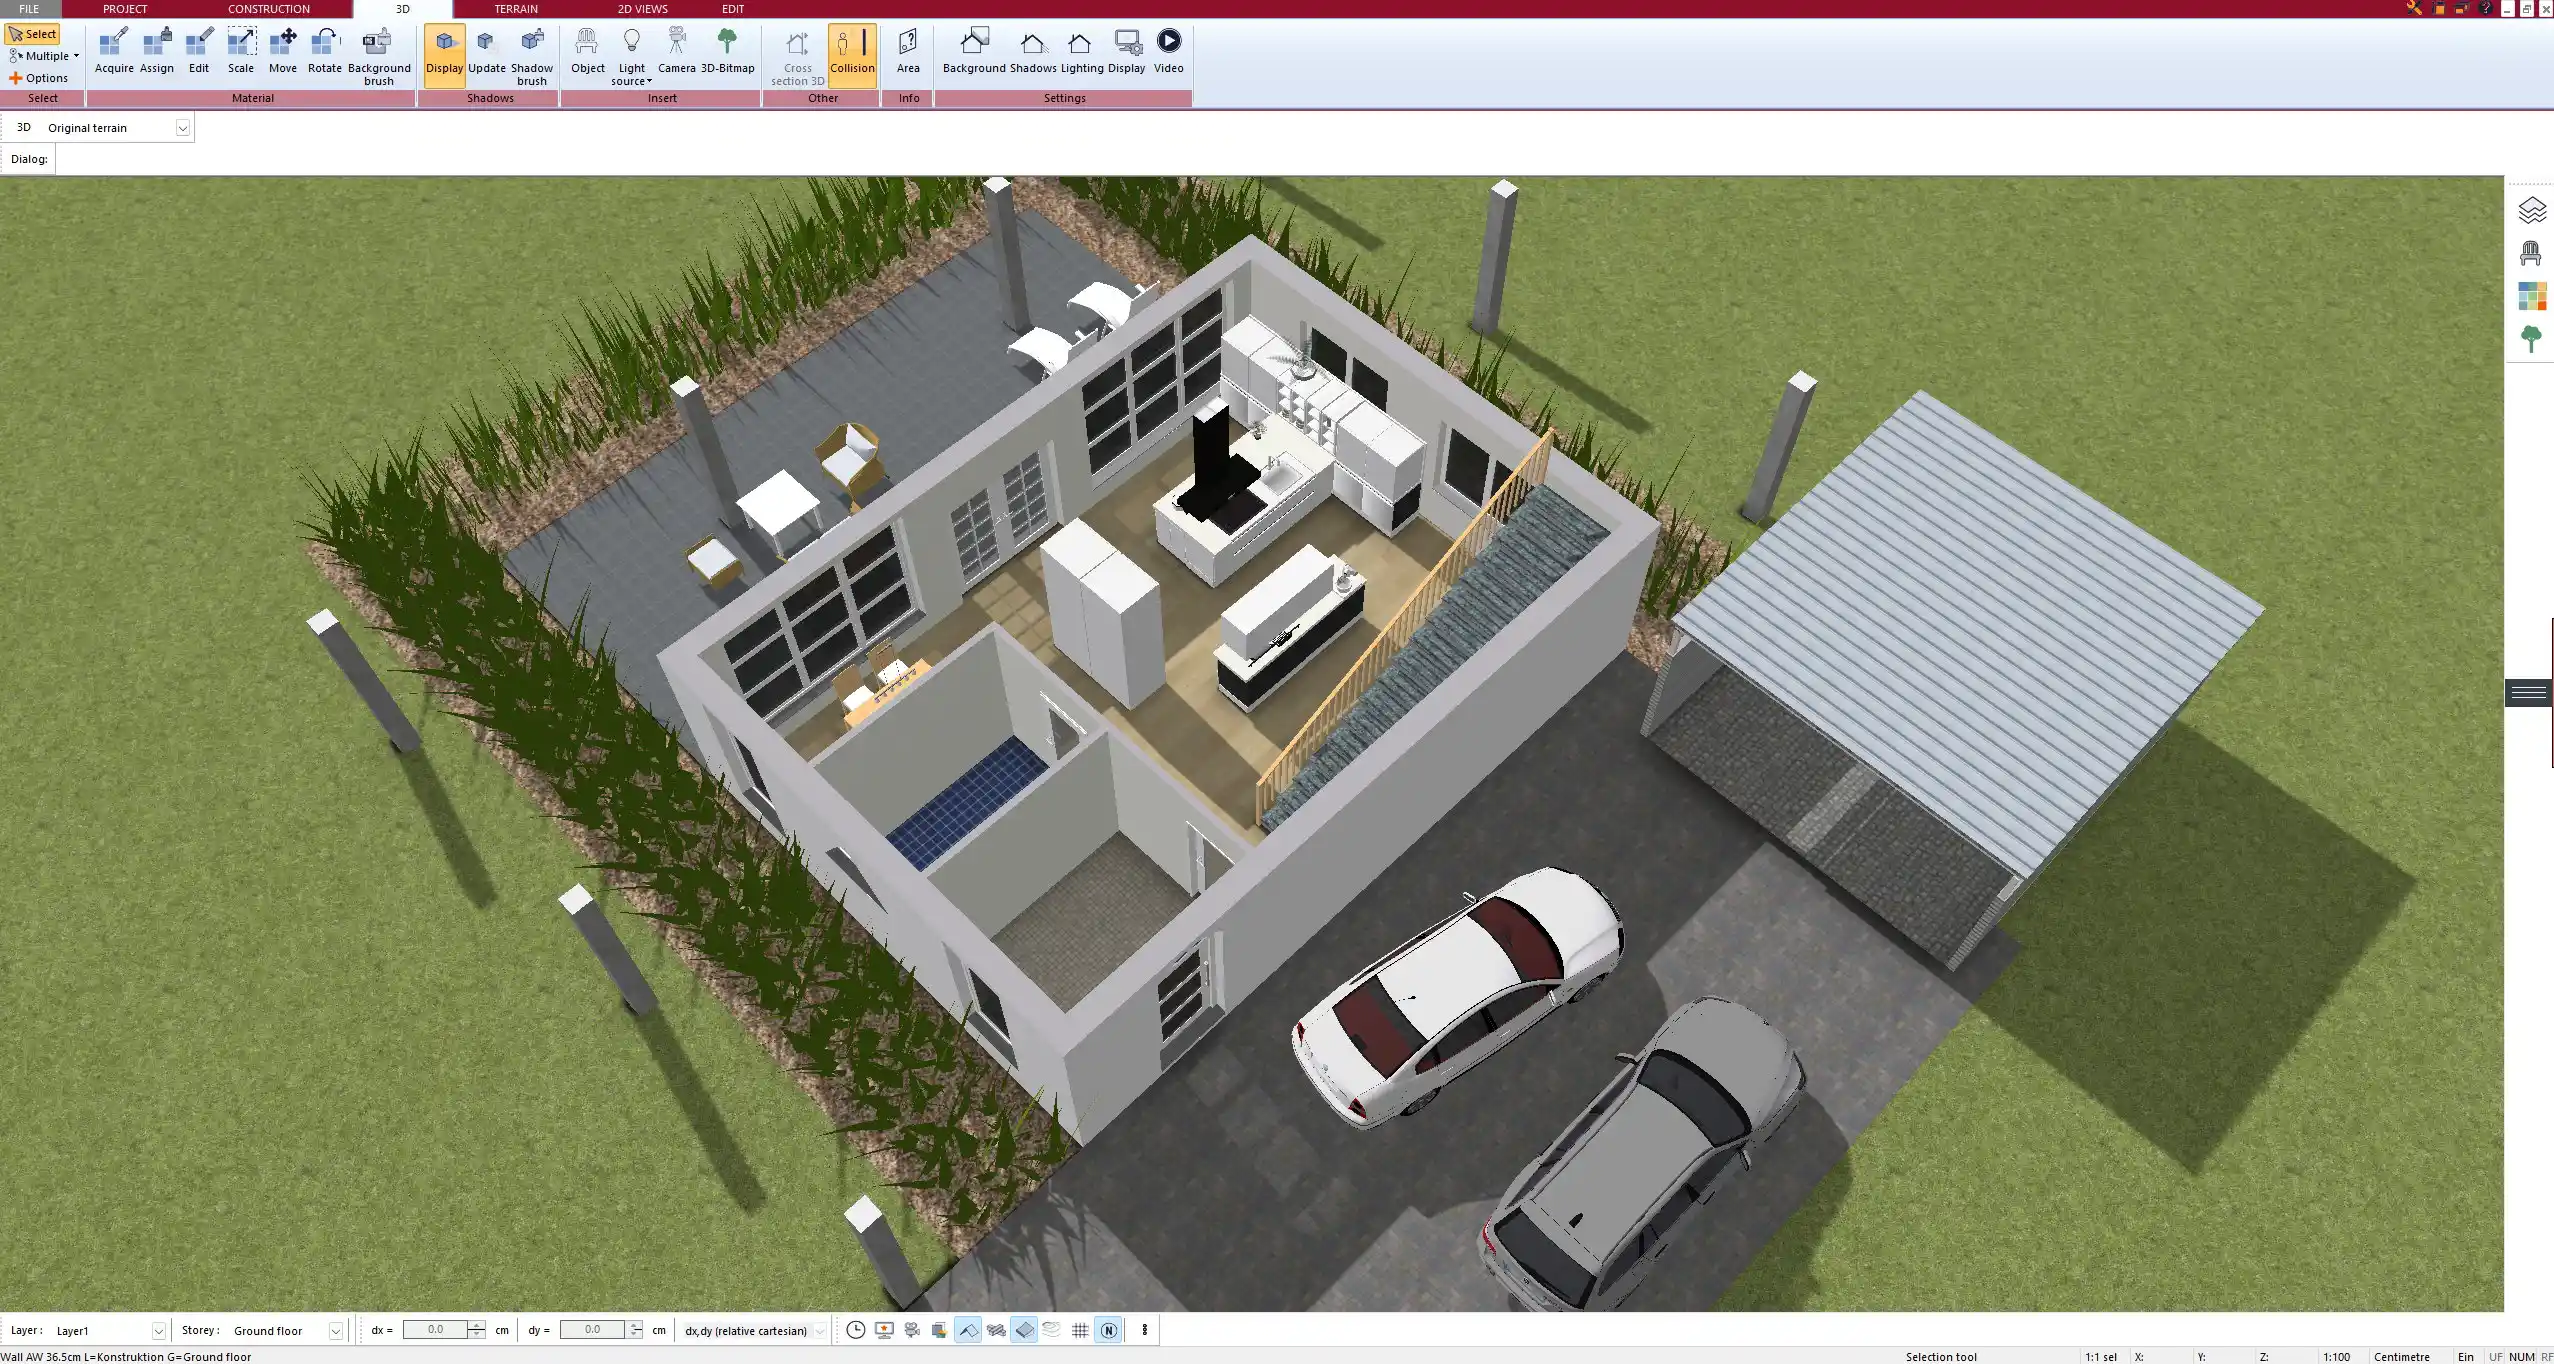
Plan7Architect allows you to draw accurate, clearly labeled floor plans without needing an architecture degree. You can work in your preferred unit system, create detailed layouts with real measurements, and export everything in professional formats. I’ve personally used it for both personal renovation projects and client documentation—and it saves time, ensures accuracy, and delivers excellent results.
Plan your project with Plan7Architect

Plan7Architect Pro 5 for $109.99
You don’t need any prior experience because the software has been specifically designed for beginners. The planning process is carried out in 5 simple steps:
1. Draw Walls

2. Windows & Doors

3. Floors & Roof

4. Textures & 3D Objects

5. Plan for the Building Permit

6. Export the Floor Plan as a 3D Model for Twinmotion

- – Compliant with international construction standards
- – Usable on 3 PCs simultaneously
- – Option for consultation with an architect
- – Comprehensive user manual
- – Regular updates
- – Video tutorials
- – Millions of 3D objects available


