If you’re looking to develop a complete house floor plan from scratch or refine an existing idea, Plan7Architect gives you everything you need in one software. Whether you’re building a new home, adding an extension, or designing a remodel, you can plan it all in 2D and 3D — without needing an architect. The software supports both metric (m²) and imperial (ft²) units and allows you to switch between them anytime, depending on your region or project requirements.
With just a few clicks, you can start laying out walls, placing rooms, inserting windows and doors, adjusting roof shapes, and even visualizing everything in real time. From my own experience, it takes only a few minutes to get used to the interface, and after that, you’ll be surprised how fast your floor plan comes together.
Step-by-Step: How to Develop a Floor Plan Using Plan7Architect
Start with a New or Existing Project
When you open the software, you’re prompted to either start a new project or open an existing one. If you’re working on a blank slate, the first step is to define your unit system. Plan7Architect lets you choose between metric (meters, centimeters) and imperial (feet, inches) — which is helpful if you’re planning a European-style home or an American-style house.
Once you’ve selected your measurement unit, you can set up project details like:
-
Number of floors
-
Wall height per floor
-
Default wall thickness
-
Floor structure (slabs, insulation, framing)
This base setup ensures all future placements fit within your structural logic.
Define the Building Envelope
Next, use the wall tool to define the outline of your building. Exterior walls are easy to draw: just click to start, drag your mouse in the desired direction, and click again to set the endpoint. You can chain walls together to quickly outline the structure.
Wall options include:
| Feature | Description |
|---|---|
| Wall thickness | Adjustable (e.g. 30 cm or 6 inches) |
| Wall type | Load-bearing, partition, or custom |
| Materials | Brick, wood, concrete, insulated |
| Height per floor | Flexible per level |
You can also add additional floors or a basement and adjust the floor height individually. For example, I often set ground floor ceilings to 2.6 m (or about 8.5 ft) and upper floors to 2.4 m (about 8 ft) for a standard residential feeling.
Add Rooms and Label Them Clearly
Now place the rooms using the room tool or simply by enclosing areas with walls. Once a room is created, you can click on it and assign a name and function — such as Living Room, Master Bedroom, Kitchen, etc.
You can manually input the size or adjust it visually by dragging the boundaries.
Tip:
Labeling your rooms early helps keep your floor plan organized and allows for automatic area calculation in m² or ft².
Examples of room labeling for better organization:
-
Living Room: 26 m² (280 ft²)
-
Kitchen: 12 m² (129 ft²)
-
Master Bedroom: 18 m² (194 ft²)
-
Bathroom: 8 m² (86 ft²)
You can also assign colors to each room type for a clearer overview.
Insert Doors, Windows, and Openings
Adding doors and windows is one of the most intuitive parts of Plan7Architect. Use the built-in object library to drag and drop elements into the floor plan.
Common customizations:
-
Change width and height of windows (e.g. 100 cm x 120 cm or 36 in x 48 in)
-
Select opening type (tilting, sliding, folding)
-
Choose materials: wood, aluminum, PVC
-
Adjust sill height and frame depth
Each item can also be moved or replaced later without affecting the wall structure.
Add Stairs, Roofs, and Ceilings
You can choose from several stair types, including:
-
Straight stairs
-
Quarter-turn stairs
-
Spiral stairs
-
Open or closed stringers
After placing stairs, switch to the 3D view to ensure ceiling heights and clearances are sufficient between floors.
When designing the roof, you can go with a flat roof or select from various pitched roof styles. Roof elements can be fully customized in slope angle, overhang, material, and structure.
For example, if you’re designing a typical American-style home, you might choose a gabled roof with a 30-degree pitch and a 60 cm (or 24 in) overhang.
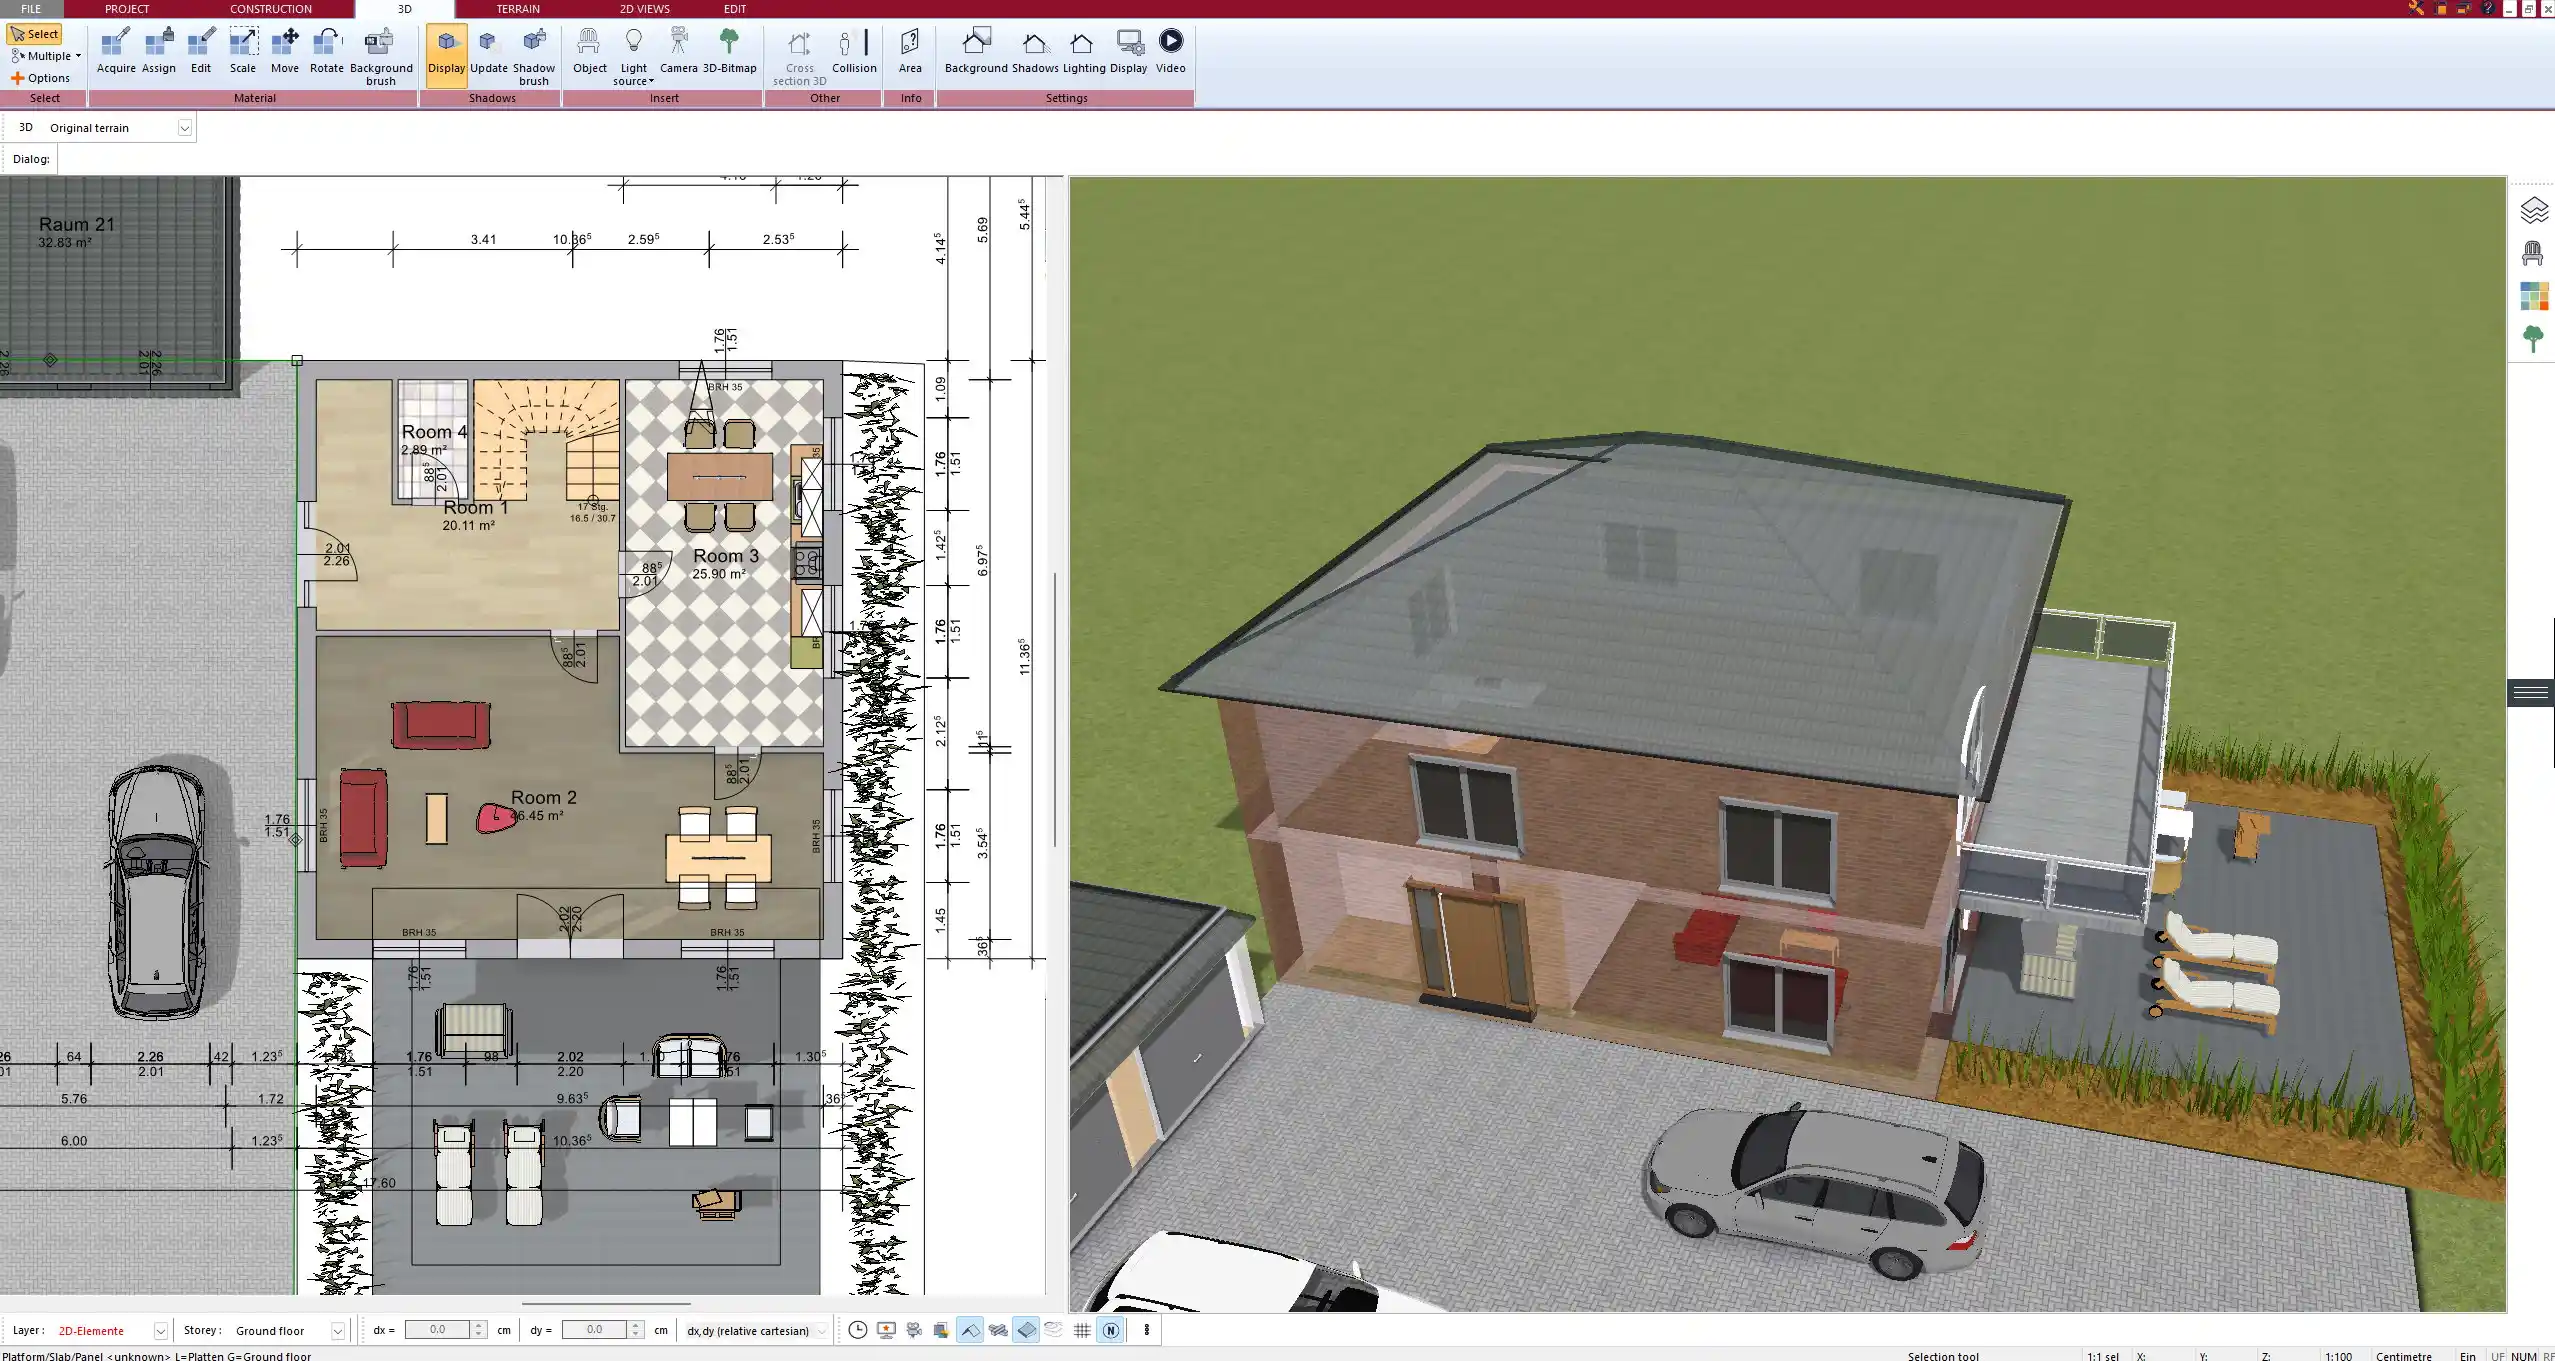
Switch to 3D for Visualization and Adjustments
One of the strongest features of Plan7Architect is its real-time 3D view. With a single click, you can switch from your 2D floor plan into a 3D model. This is incredibly useful for understanding spatial relationships and checking proportions between rooms, wall heights, and furniture layouts.
From my own use, I often toggle between 2D and 3D as I work, making adjustments directly in the 3D view when I notice visual issues like awkward room transitions or uneven window placement.
Pro Features That Support Precise Planning
Plan7Architect offers a range of advanced features that help ensure accuracy and flexibility in your planning:
Key features include:
-
Support for both metric and imperial units
-
Real-time area calculation of rooms, buildings, and levels
-
Accurate wall layer control (e.g., inner wall + insulation + outer wall)
-
Separate layer visibility (e.g., hide furniture while drawing walls)
-
Snap-to-grid and guide lines for precise alignment
-
Export options: image, PDF, and DWG-compatible files
These tools make the software suitable even for professional-level planning. I’ve used these features personally to prepare floor plans that were later submitted for permits — and accepted without issue.
Global Compatibility
Whether you’re designing a European bungalow or a North American suburban home, the software handles both styles effortlessly. You can define wall framing for typical U.S. builds using 2×4 or 2×6 studs, and set measurements to inches or feet.
Room heights, ceiling styles, foundation slabs, and even basement setups can be fully configured. And yes — even sloped terrain for garden-level entrances or garage driveways is supported.
Additional Planning Tools
Once the floor plan is in place, you can continue with:
Interior layout tools:
-
Place furniture, appliances, kitchen units, and bathroom elements
-
Customize textures and materials for walls, floors, and surfaces
-
Add light fixtures and simulate lighting conditions
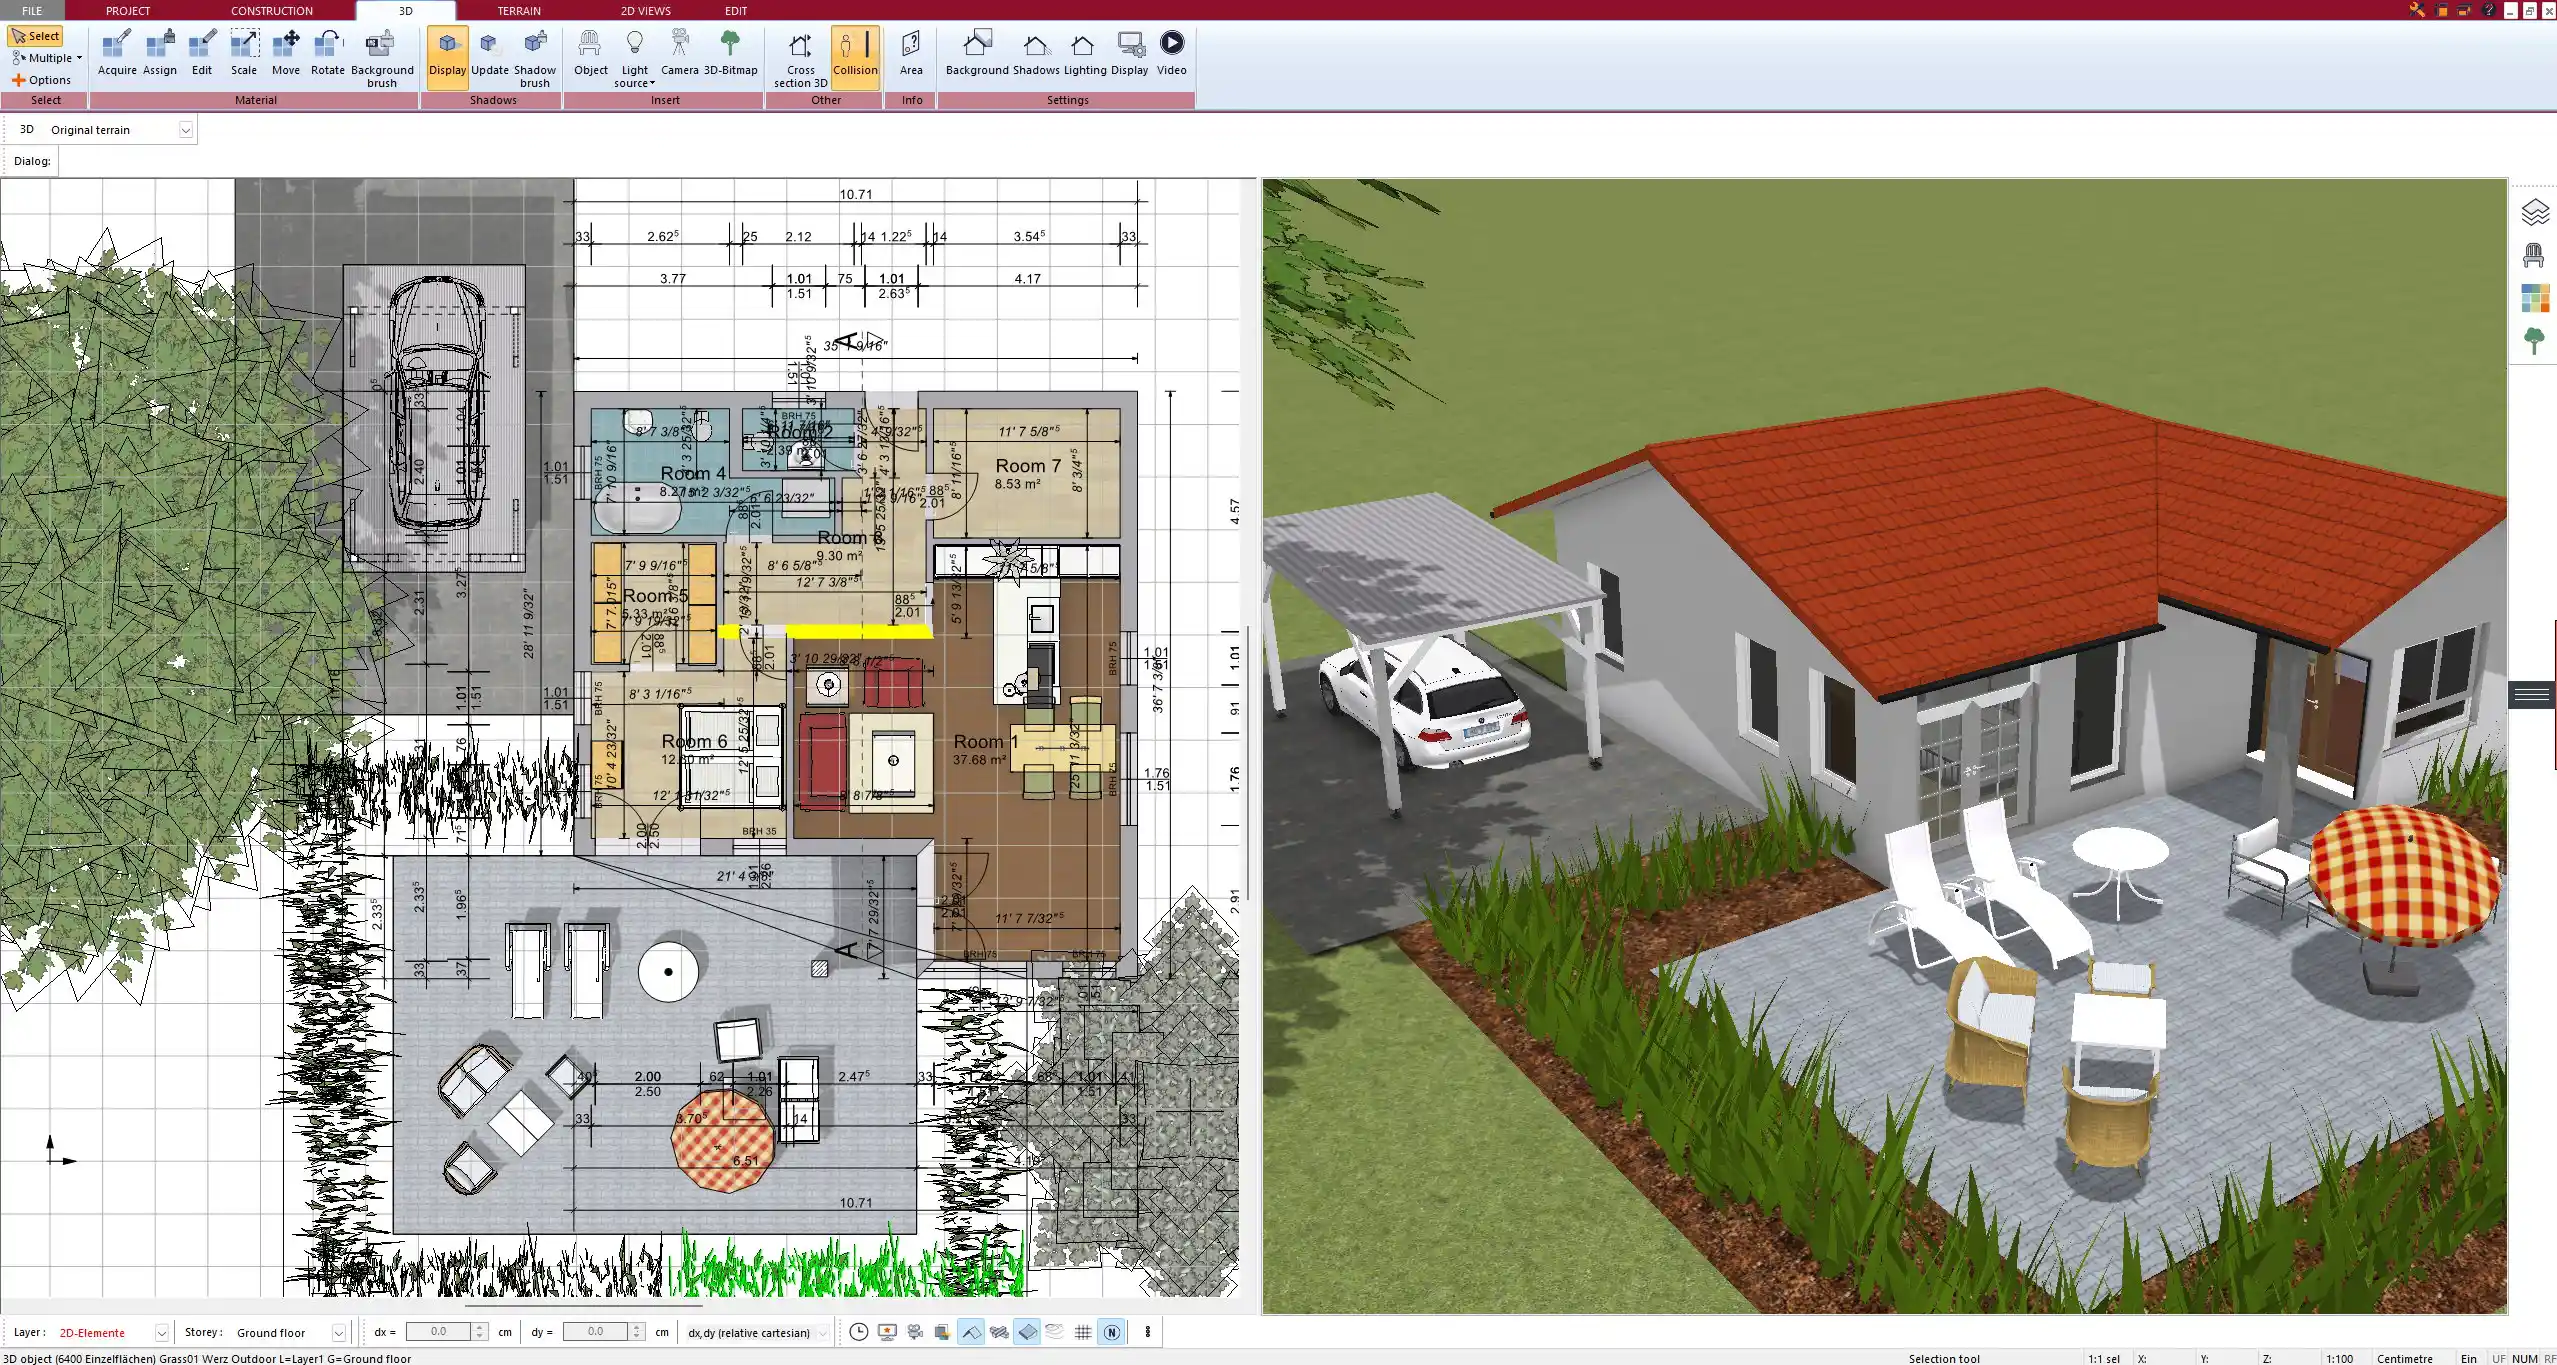
Exterior and landscape tools:
-
Plan outdoor terraces, gardens, pathways, and driveways
-
Add fences, trees, sheds, or pools
-
Define lot boundaries for site plans
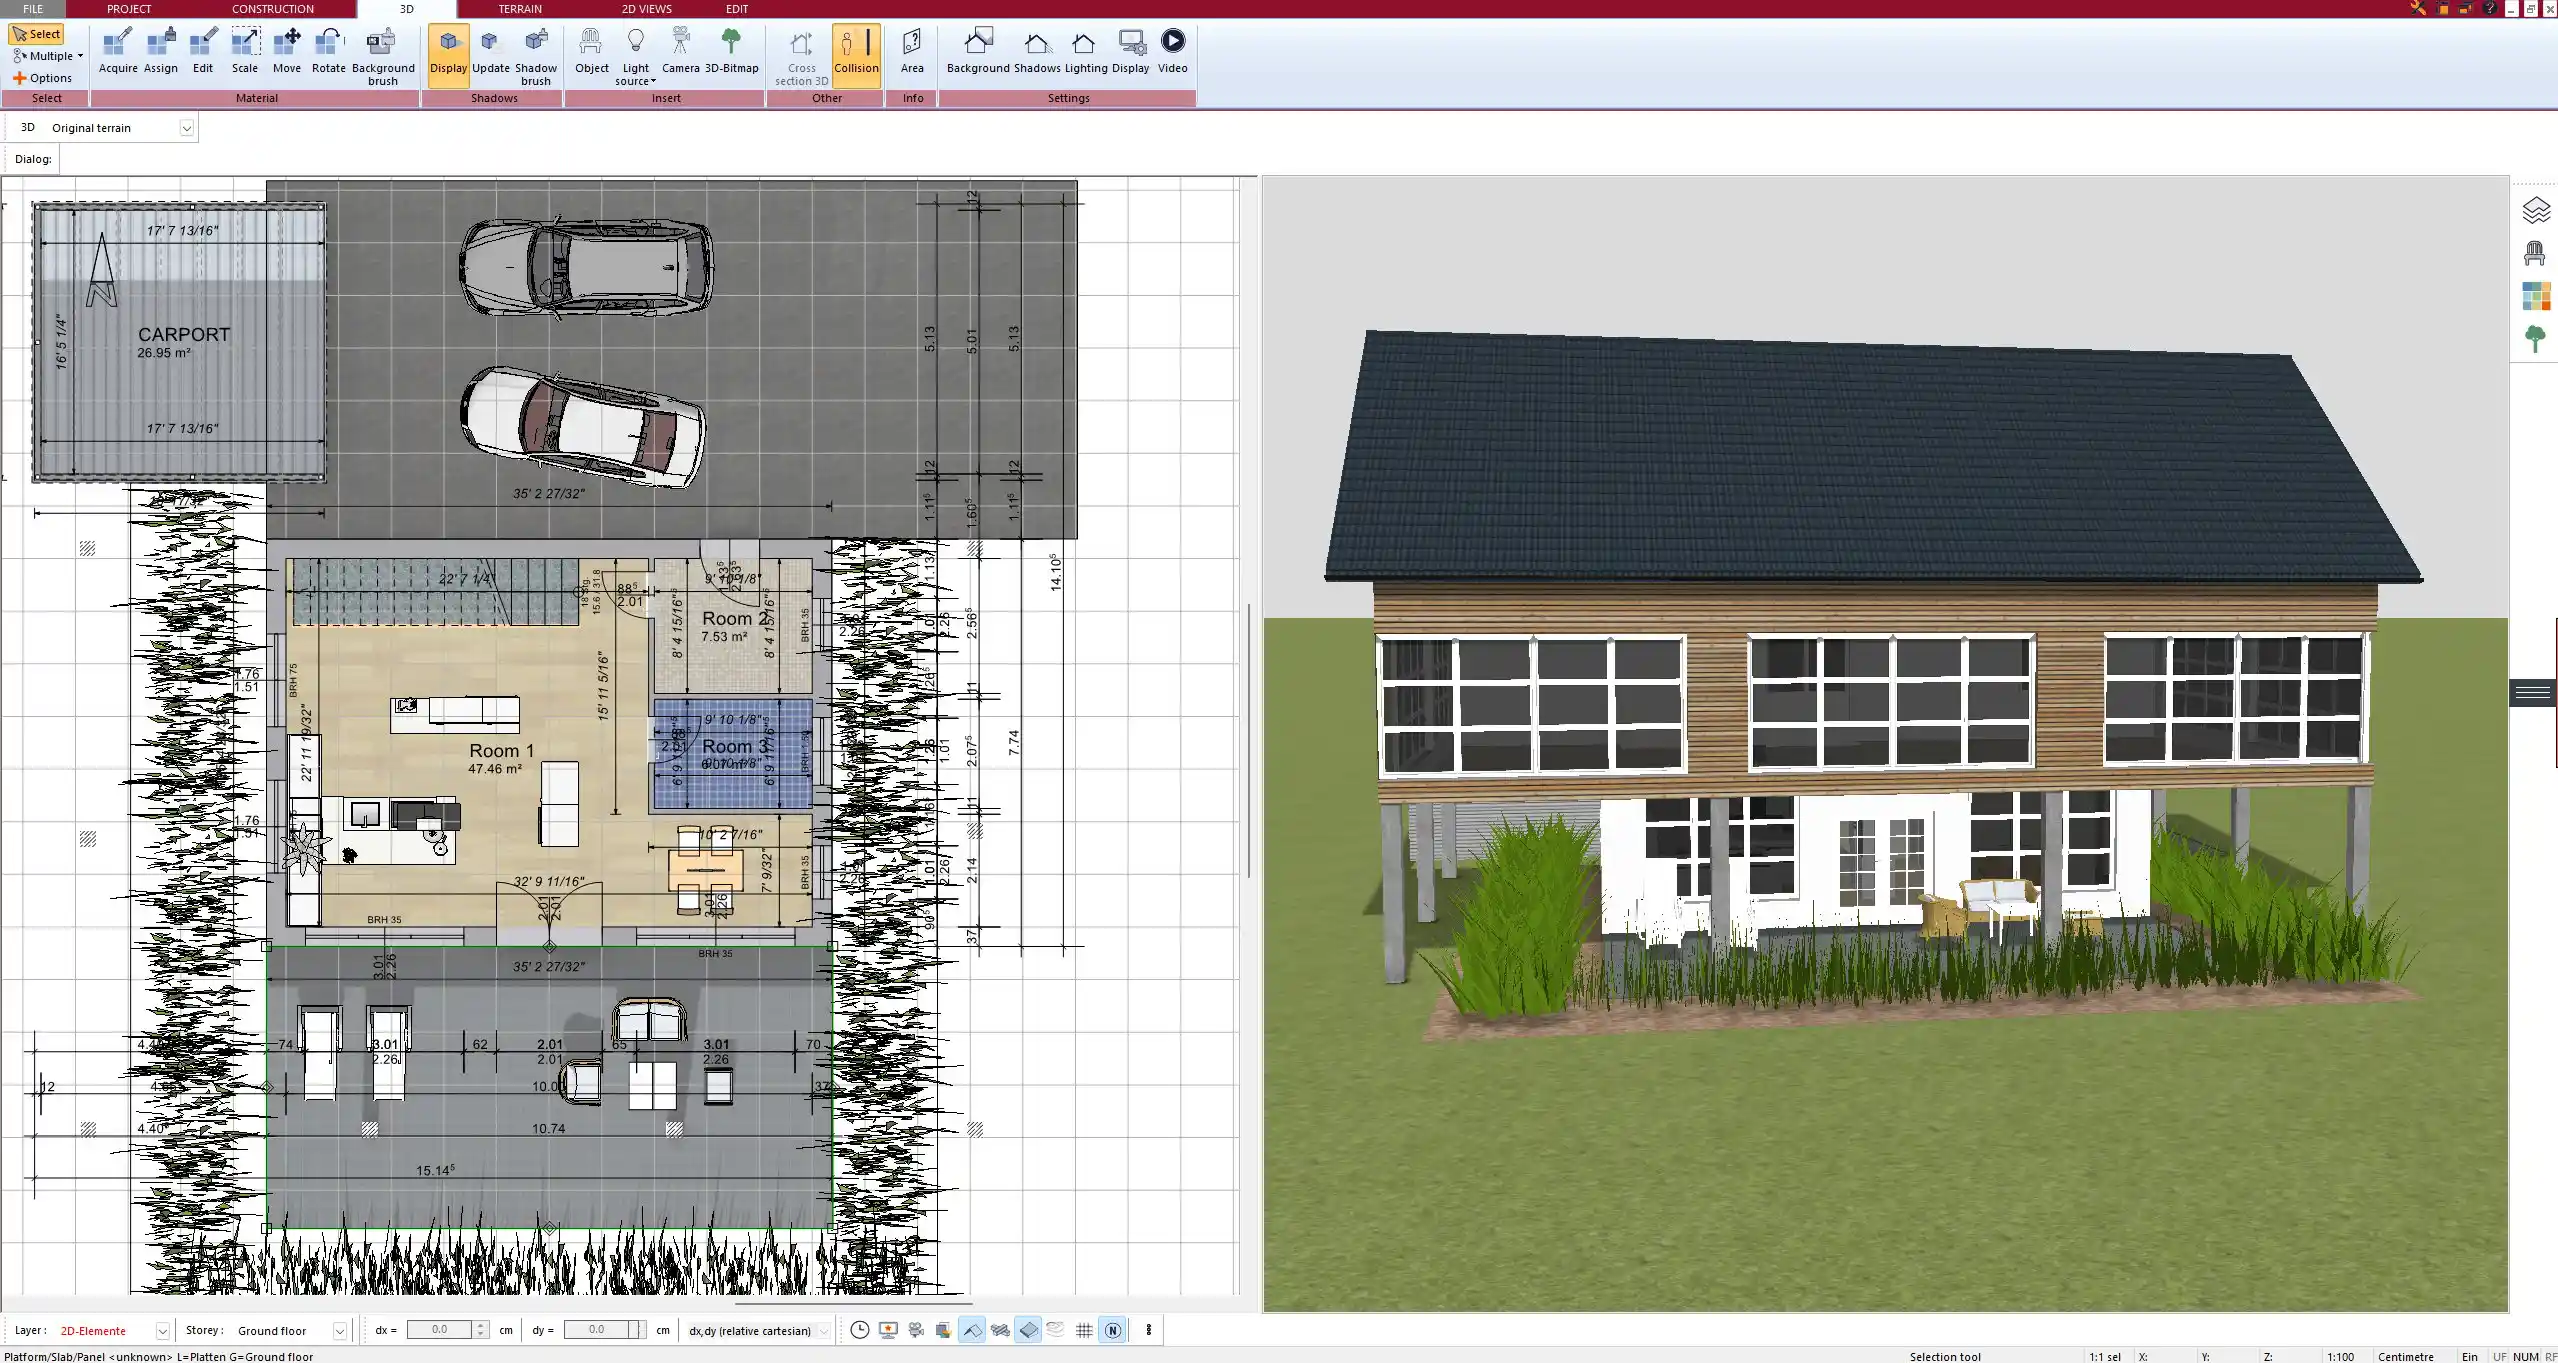
Garage and carport planning:
-
Draw carports or attached garages
-
Place garage doors and define access routes
-
Combine structures with the main building seamlessly
These additions allow you to create not just a floor plan but a complete living environment.
Easily Revise and Iterate
No floor plan is perfect on the first try — and that’s exactly why Plan7Architect includes flexible revision tools.
Revision features:
-
Unlimited undo and redo steps
-
Save multiple project versions
-
Show/hide individual layers for focused edits
-
Duplicate rooms or floors for faster iterations
-
Export your plans in multiple formats (PDF, image, CAD)
I personally save each major version under a new filename so I can go back if a design decision doesn’t work out later.
Conclusion: Design Your Floor Plan with Full Control
With Plan7Architect, you’re in complete control of your house design — from wall layout to roof pitch. Whether you’re in Europe or North America, the software adapts to your measurement system, construction style, and local needs. It’s practical, detailed, and designed to let private builders like you take the lead in their home project — without needing a background in architecture.
Plan your project with Plan7Architect

Plan7Architect Pro 5 for $109.99
You don’t need any prior experience because the software has been specifically designed for beginners. The planning process is carried out in 5 simple steps:
1. Draw Walls

2. Windows & Doors

3. Floors & Roof

4. Textures & 3D Objects

5. Plan for the Building Permit

6. Export the Floor Plan as a 3D Model for Twinmotion

- – Compliant with international construction standards
- – Usable on 3 PCs simultaneously
- – Option for consultation with an architect
- – Comprehensive user manual
- – Regular updates
- – Video tutorials
- – Millions of 3D objects available


