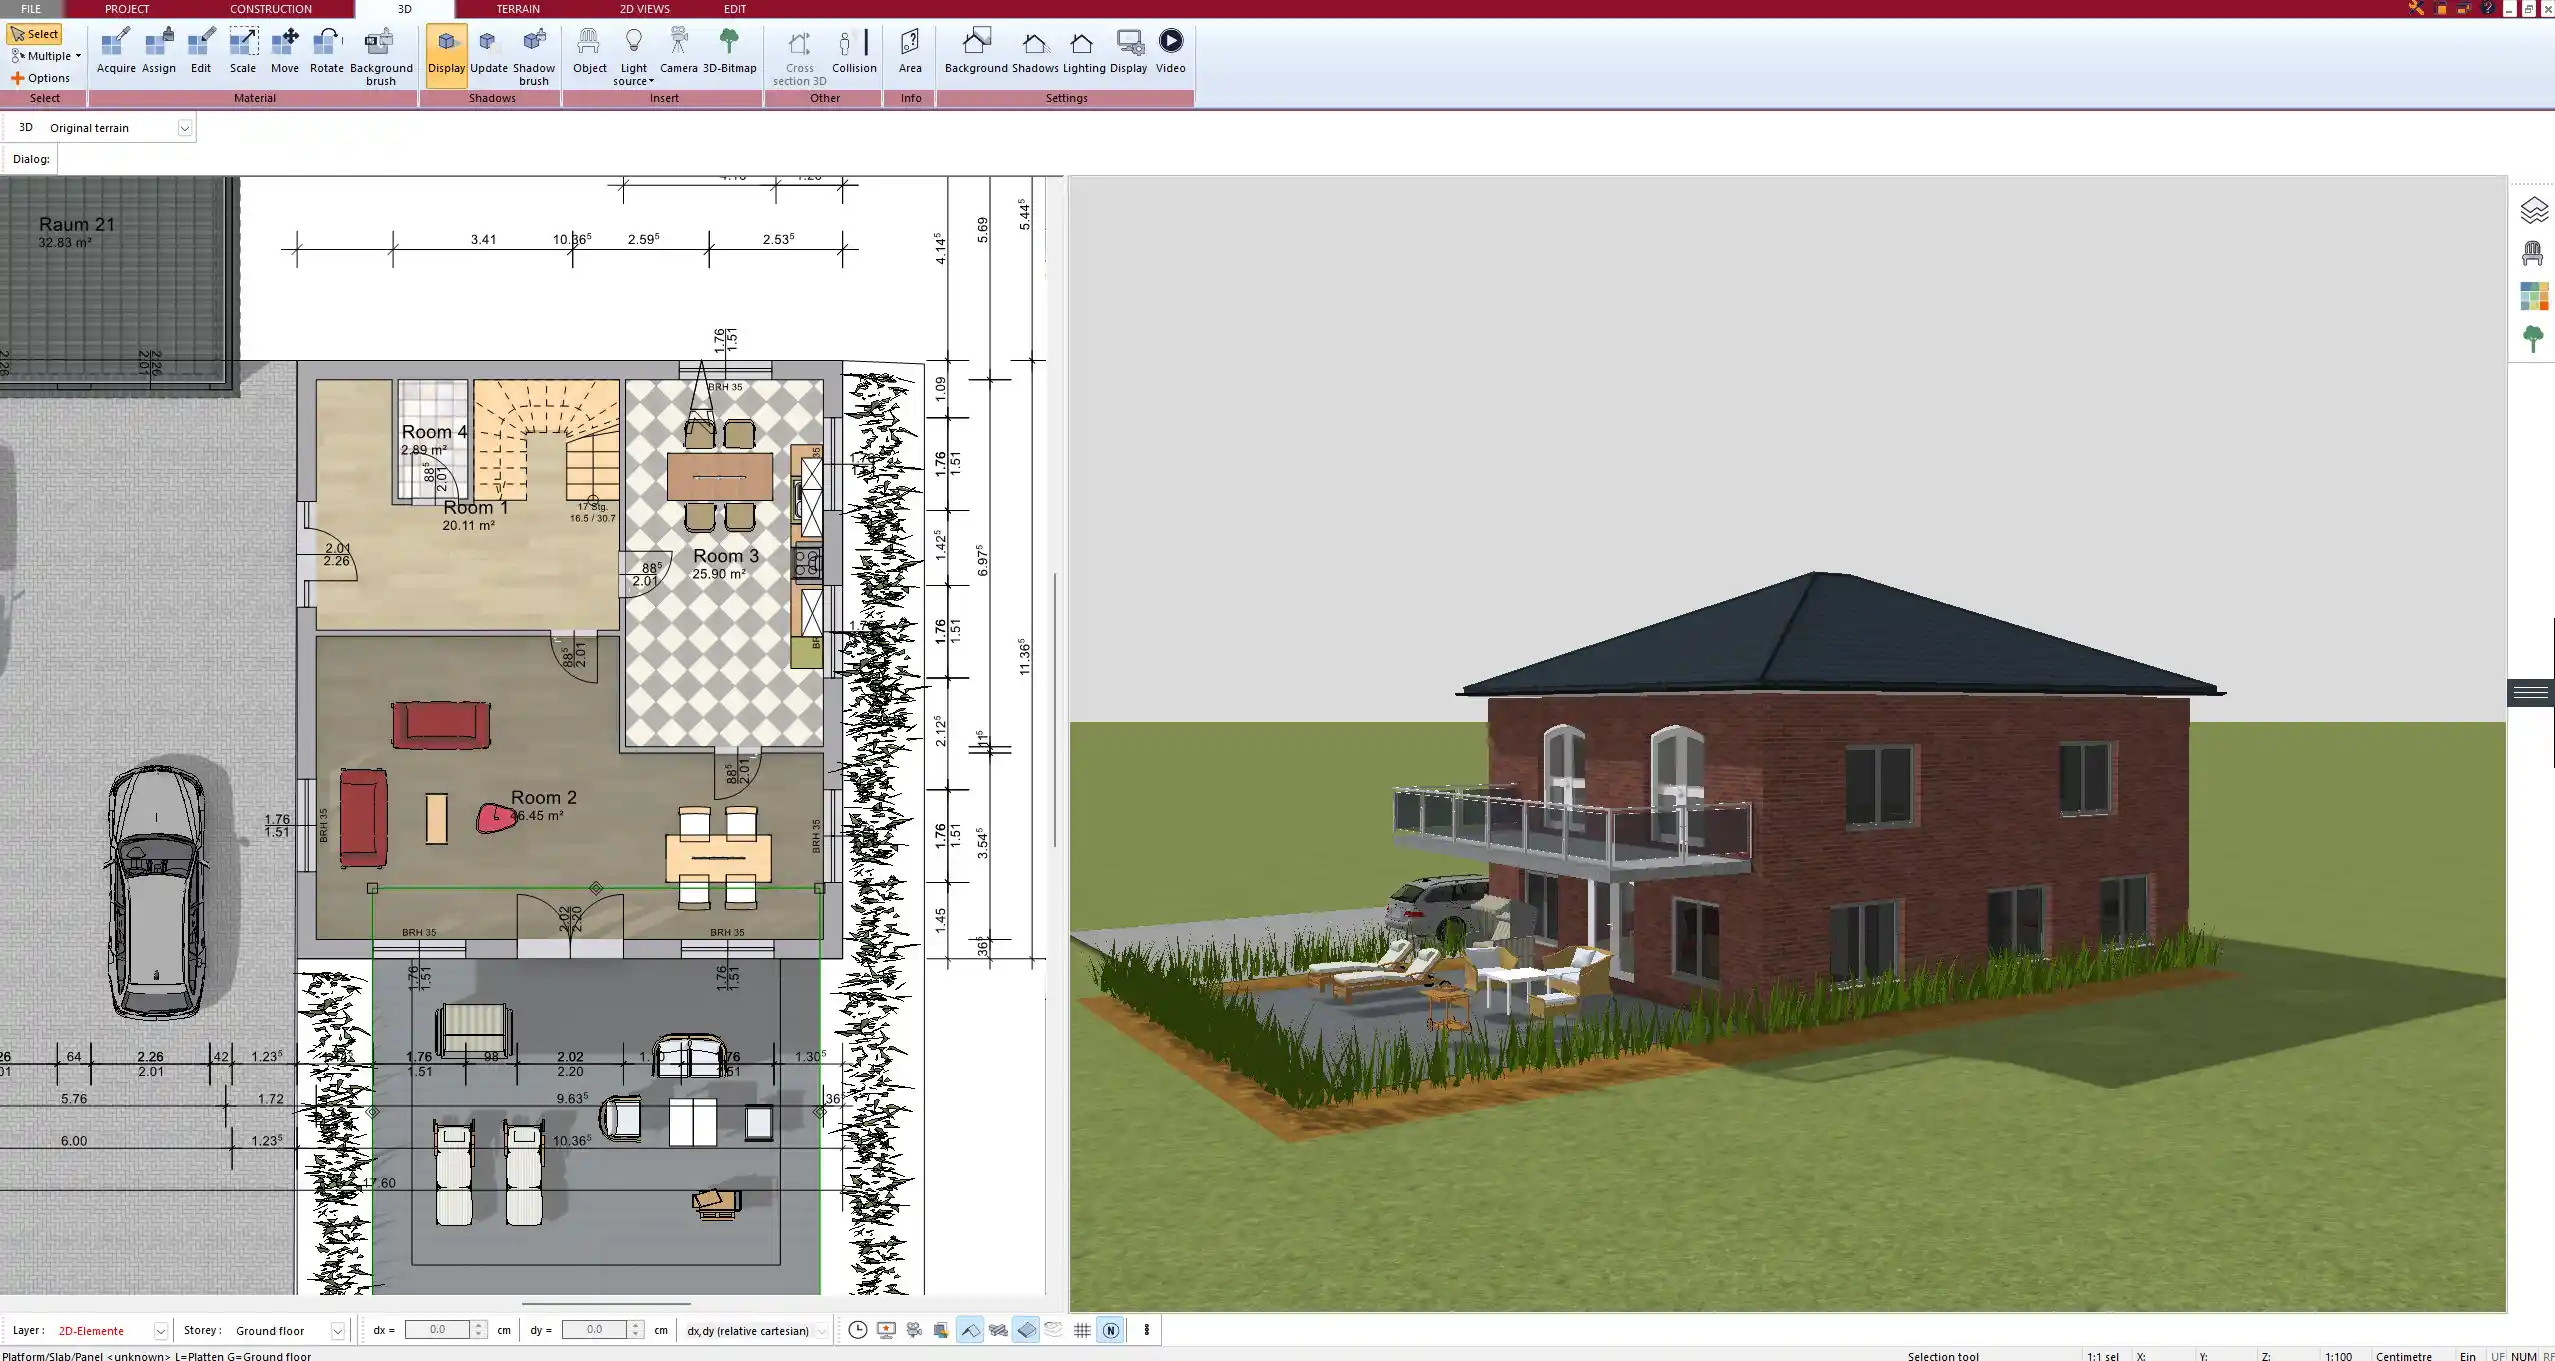
If you want to design your own eco house floor plan, Plan7Architect makes the process intuitive and efficient. Once the software is installed, you can immediately begin by choosing whether to work with metric or imperial units. This flexibility allows you to design according to local standards, whether you’re in Europe, the US, or elsewhere.
You start by setting the outer dimensions of your house. I always recommend considering the position of the house on the plot early on. Aligning the house to make the most of sunlight and wind flow can greatly improve energy efficiency. With Plan7Architect, you can rotate and position the floor plan freely on the plot layout.
Then you divide your home into zones. Place living areas on the south side (or north side if you’re in the southern hemisphere) to maximize sunlight during the day. Technical and utility rooms should be placed on the cooler side of the house. With a few clicks, you can create these zones in both 2D and 3D.
The next step is to draw walls with enhanced insulation thickness. Plan7Architect allows you to define custom wall types and adjust the materials and dimensions. Roof overhangs are easy to add as well, helping to shield the windows from summer heat.
Insert windows with optimized glazing properties. The software lets you define the exact size, placement, and insulation values. For eco homes, I always use triple-glazed windows in large openings facing the sun. The software also allows real-time editing, so you see exactly how changes affect the building.
Tip:
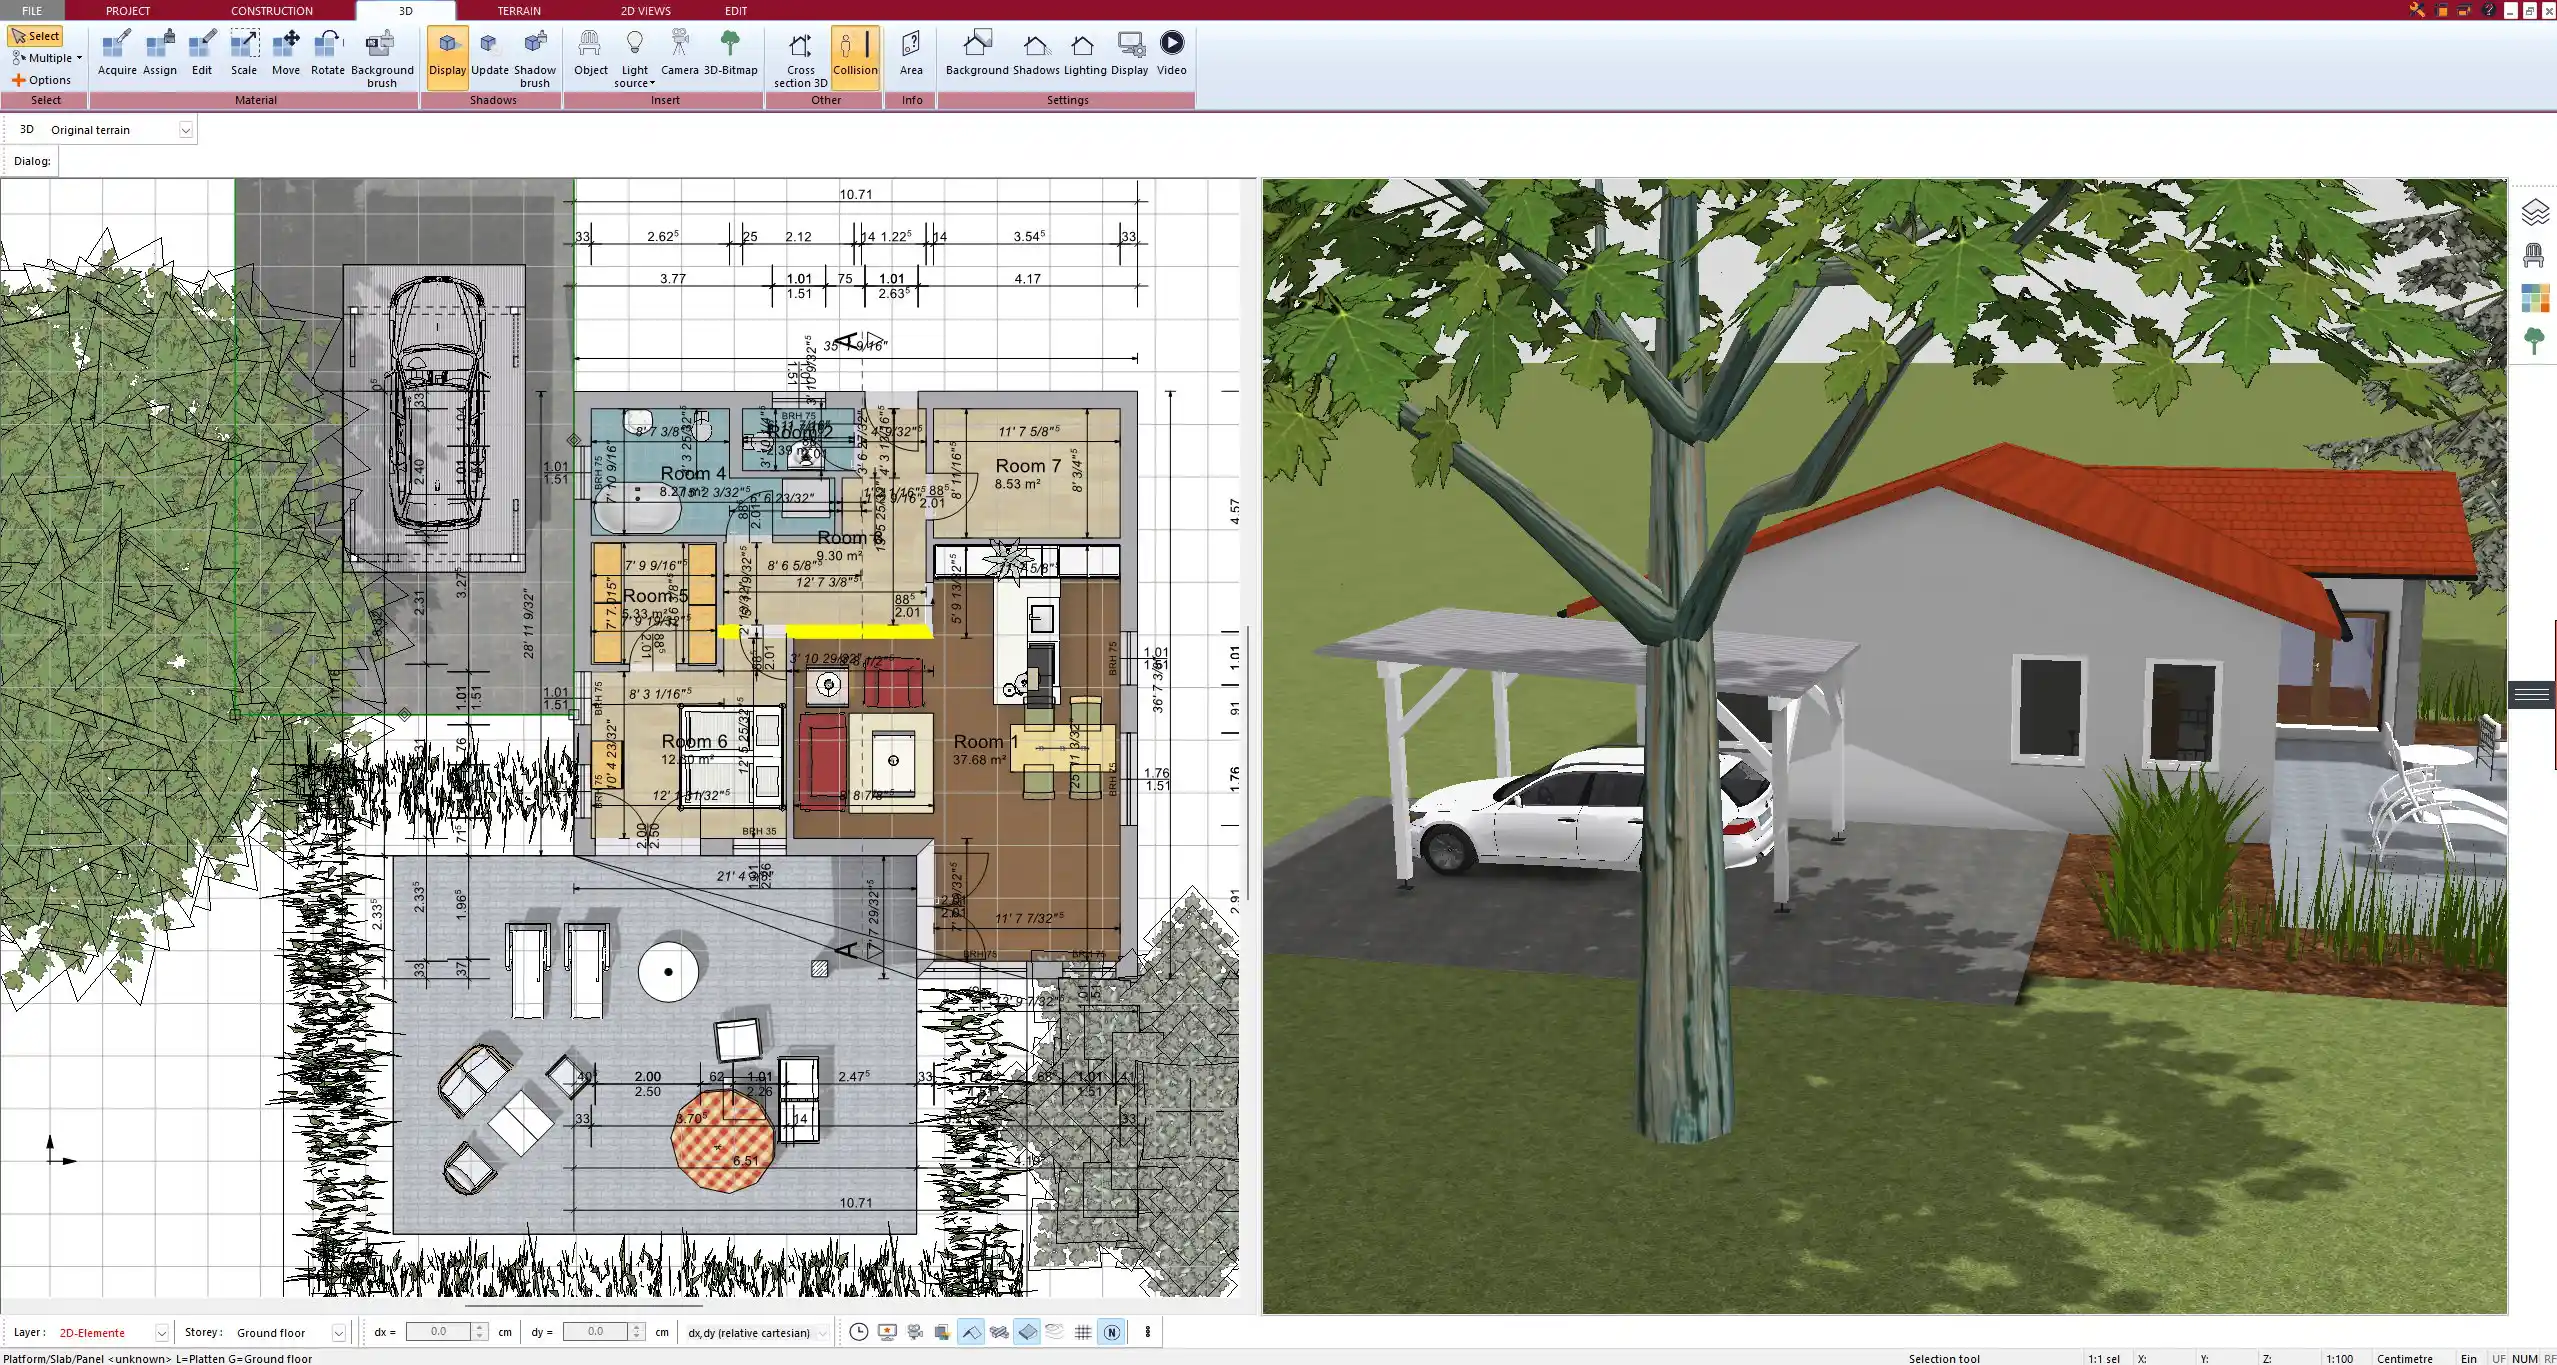
Use the 3D live mode with sun simulation to preview how light enters your home throughout the year. This makes passive solar design much easier to implement.
Key Features of Plan7Architect That Support Eco House Planning
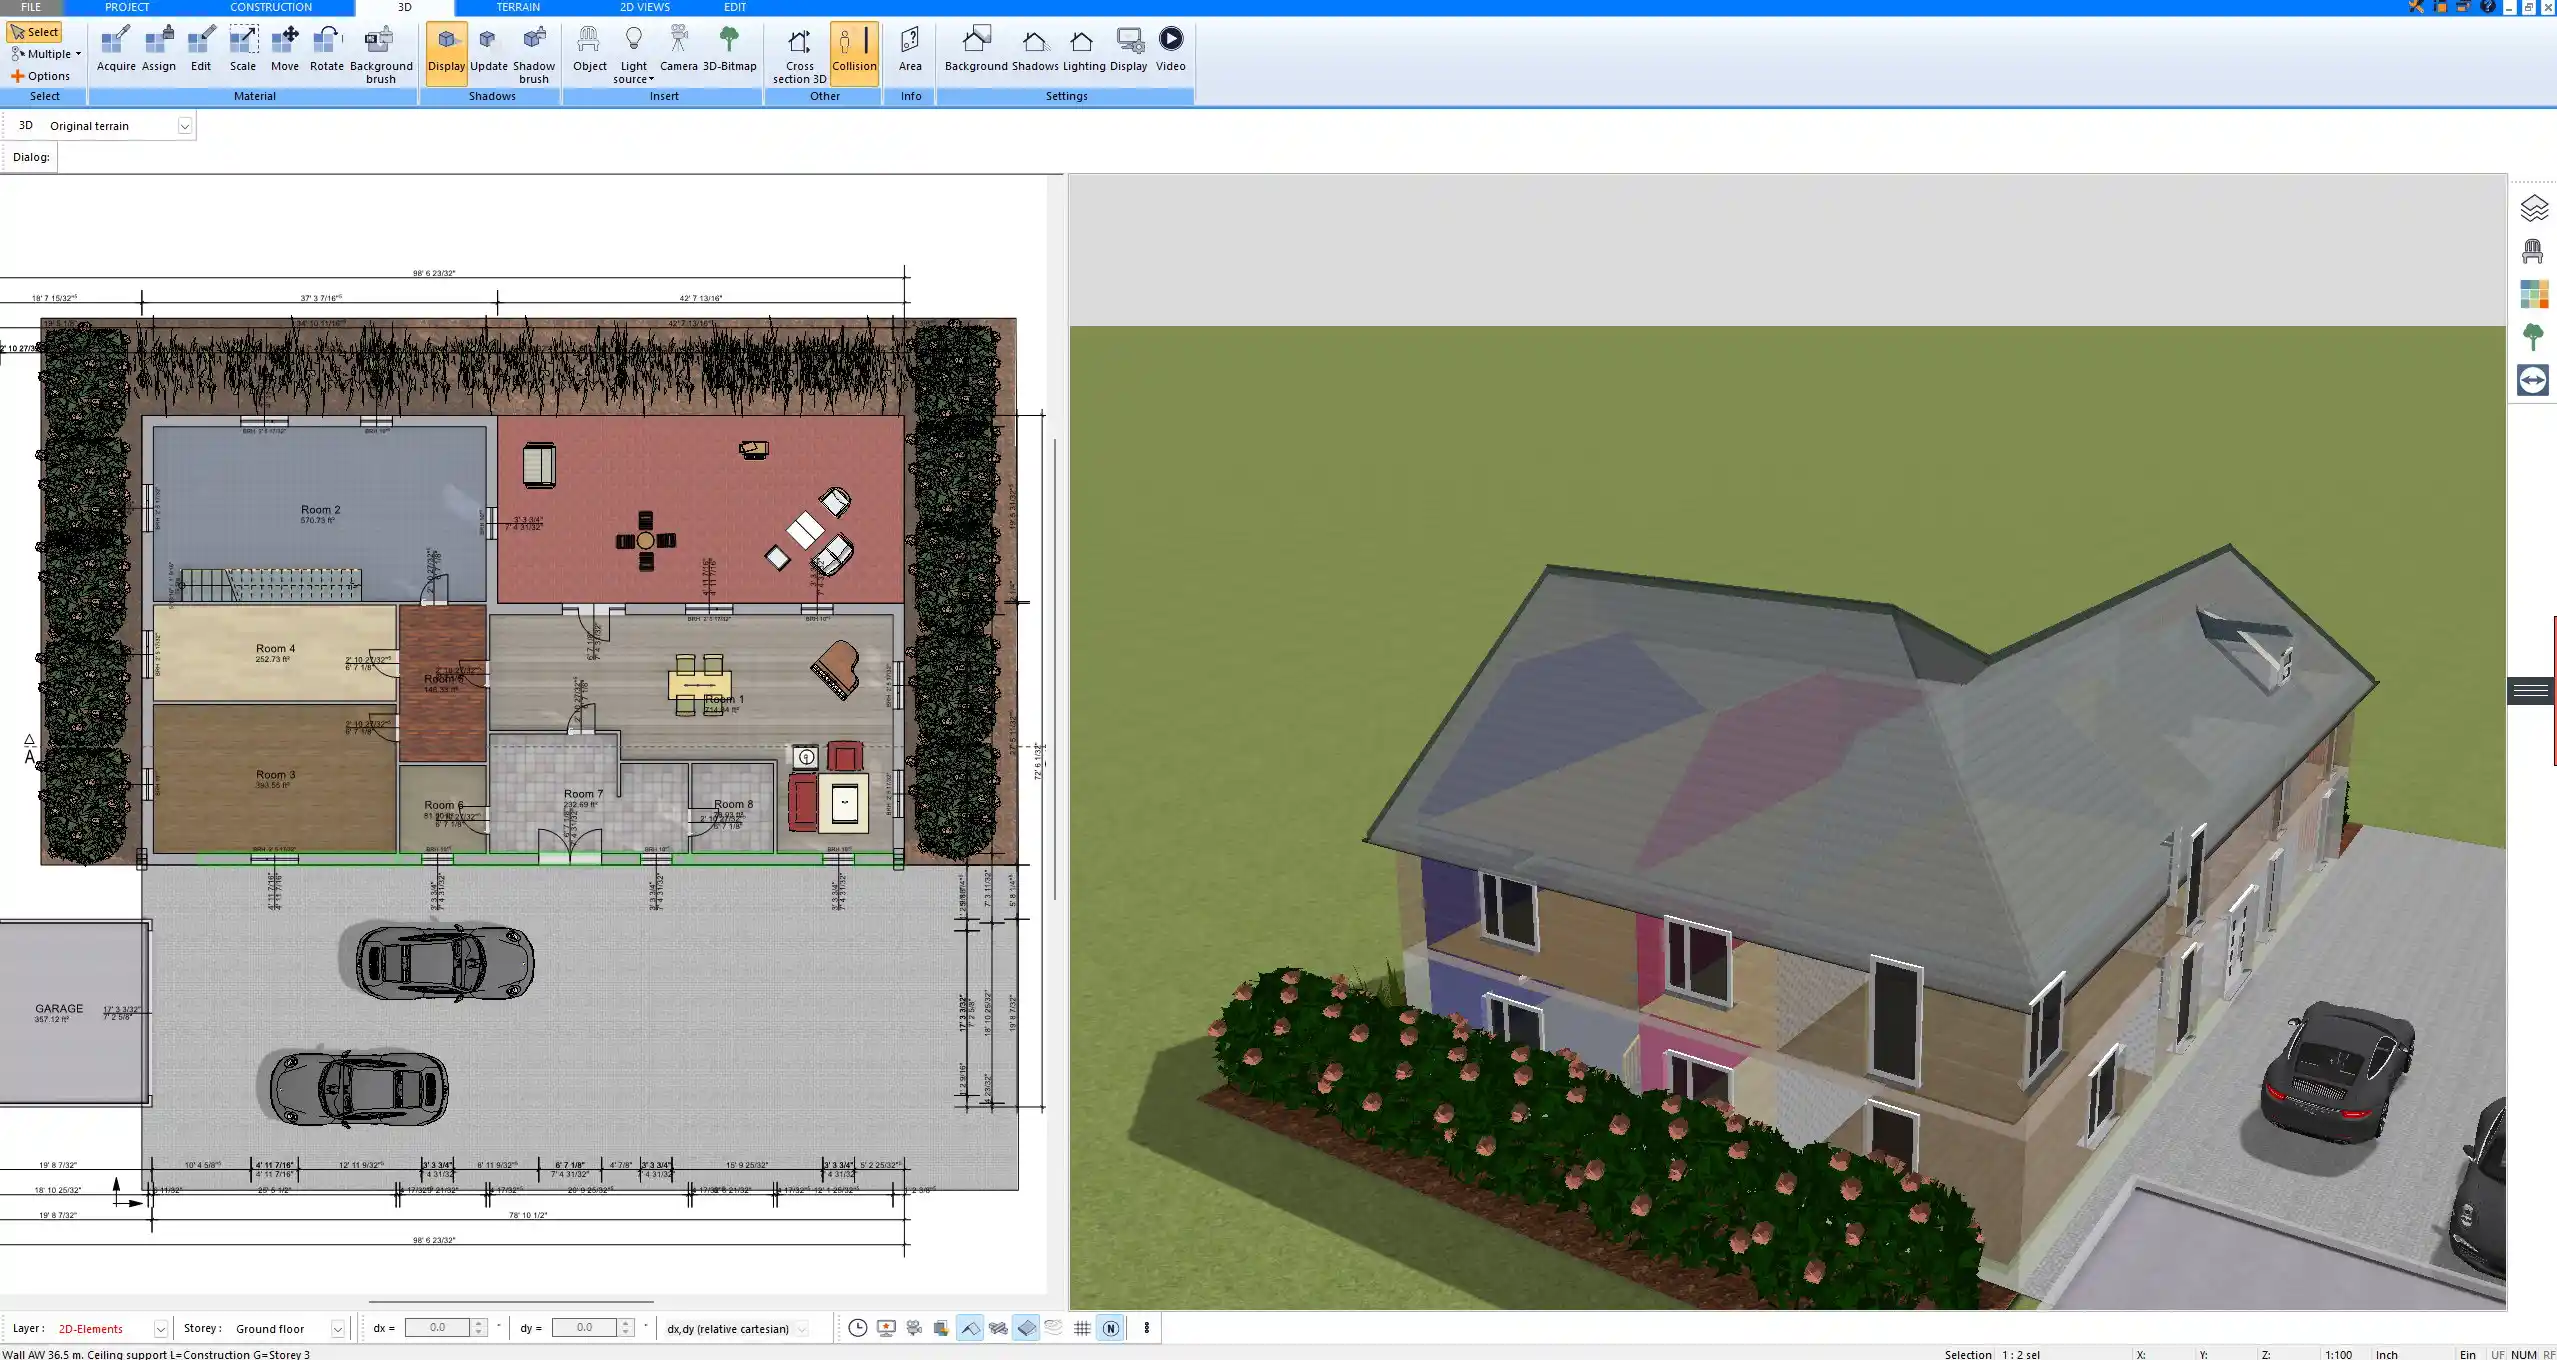
Plan7Architect provides a powerful set of features specifically suited for eco-conscious planning. First, it combines 2D precision with 3D visualization, so every design decision can be instantly evaluated.
You can adjust wall materials, insulation values, and thicknesses in just a few clicks. This is particularly useful for planning energy-efficient building envelopes. Windows and doors can be positioned with millimeter accuracy, and their U-values and frame materials can be set individually.
The software includes thousands of textures and materials, and you can import eco-specific materials such as rammed earth, hempcrete, recycled timber, and green concrete.
You can also plan for water-saving installations. I typically define wet zones in the floor plan, like bathrooms and kitchens, and mark greywater areas accordingly. You can use color-coded layers to represent different utility types for better clarity.
Solar panels can be outlined directly on the roof plan. While the software doesn’t simulate energy output, it allows you to reserve surface areas, define orientation, and ensure no shading from nearby roof elements or trees.
List of useful Plan7Architect features for eco planning:
-
Define custom wall and roof constructions with insulation
-
Insert energy-efficient windows and define glass properties
-
Add green roofs or plan areas for rooftop gardens
-
Place solar panels and mark heat pump locations
-
Allocate greywater and rainwater harvesting areas
-
Visualize orientation and daylight with shadow simulation
Example Layout Elements for an Eco-Friendly Floor Plan
Creating a sustainable layout starts with intelligent space planning. I always apply the following principles when working with Plan7Architect:
| Layout Element | Purpose |
|---|---|
| South-facing living room | Captures sunlight to naturally warm the space |
| Buffer zones | Unheated rooms on the cold side reduce heat loss |
| Compact layout | Minimizes surface area, reducing material use and energy demand |
| Centralized plumbing wall | Reduces pipe lengths, conserves water and energy |
| Green roof or roof garden | Adds insulation and improves stormwater management |
These layout decisions not only improve the ecological footprint of the house but also make it more comfortable and future-proof. Plan7Architect lets you model all of these elements in real-time, adjust them visually, and switch between floor levels to view the complete structure.
Design Tips for Maximizing Sustainability in the Floor Plan
Small decisions in the floor plan can lead to big gains in energy performance. I’ve learned that using multi-functional elements saves both space and resources. For example, you can use a staircase wall as a thermal mass storage if it’s made of stone or concrete. The software allows full control over wall material assignment.
Cross-ventilation is another major factor. I plan window openings on opposite sides of rooms to let air pass through naturally. With Plan7Architect, I can simulate this by rotating the house model and observing airflow paths.
Shading elements like pergolas or vertical fins can be drawn as 3D objects and tested in different seasons using the sunlight tool. You can draw overhangs or slatted facades directly and immediately see their effect on light entry.
Plan7Architect also allows you to leave placeholder spaces for future installations. For example, I often allocate a dedicated space near the utility room for battery storage or a future ground-source heat pump.
Tips for planning eco-efficiently with Plan7Architect:
-
Keep plumbing points close together to minimize pipe runs
-
Use internal walls for thermal mass storage
-
Insert operable skylights for passive cooling
-
Create flexible zones for evolving family or energy needs
-
Draw shading structures as custom 3D elements
Switching Between Metric and Imperial Units
In Plan7Architect, you can work in either metric (meters, centimeters) or imperial (feet, inches) units. You can change this setting at any point in the design process. This is particularly useful if you’re sharing your project with an architect or builder in another country or if you’re personally more comfortable with a certain system.
All measurements, scaling tools, and printed plans will adjust automatically. I’ve used both unit systems depending on the region of the building site, and the transition in the software is seamless.
Professional Construction Documents for Permits and Energy Certification
Once the floor plan is complete, you can generate professional documentation for submission to building authorities. Plan7Architect allows you to create detailed floor plans, elevations, sections, and views—all scaled correctly and ready for export as PDFs or image files.
For eco homes, I always include thermal zones, insulation layers, and notes about construction methods. These can be added as annotation text or symbol elements. You can draw wall compositions and label insulation types, which helps when submitting plans to energy consultants or sustainability auditors.
You can also export your designs in DXF or DWG formats if your architect or engineer works with AutoCAD or another CAD system.
List of export options in Plan7Architect:
-
Scaled PDF files (DIN A4 to A0)
-
DWG / DXF formats for CAD compatibility
-
High-resolution image exports for presentations
-
3D model exports to visualization software (e.g. Twinmotion)
Why Plan7Architect is Ideal for Eco House Floor Plans
Designing an eco-friendly house floor plan requires a mix of creativity, precision, and visual feedback. Plan7Architect combines all of these. The interface is simple enough for private builders, yet powerful enough for complex planning tasks.
It supports sustainable construction from the very beginning—letting you test light and orientation, define green materials, and export precise building plans without relying on an external architect.
The license includes installation on up to three PCs and there’s no subscription required. You buy it once and use it for as many projects as you want.
If you’re not satisfied, you can cancel within 14 days and get your money back—no questions asked. This makes it a risk-free way to explore the full range of your eco house planning ideas.
Plan your project with Plan7Architect

Plan7Architect Pro 5 for $109.99
You don’t need any prior experience because the software has been specifically designed for beginners. The planning process is carried out in 5 simple steps:
1. Draw Walls

2. Windows & Doors

3. Floors & Roof

4. Textures & 3D Objects

5. Plan for the Building Permit

6. Export the Floor Plan as a 3D Model for Twinmotion

- – Compliant with international construction standards
- – Usable on 3 PCs simultaneously
- – Option for consultation with an architect
- – Comprehensive user manual
- – Regular updates
- – Video tutorials
- – Millions of 3D objects available


