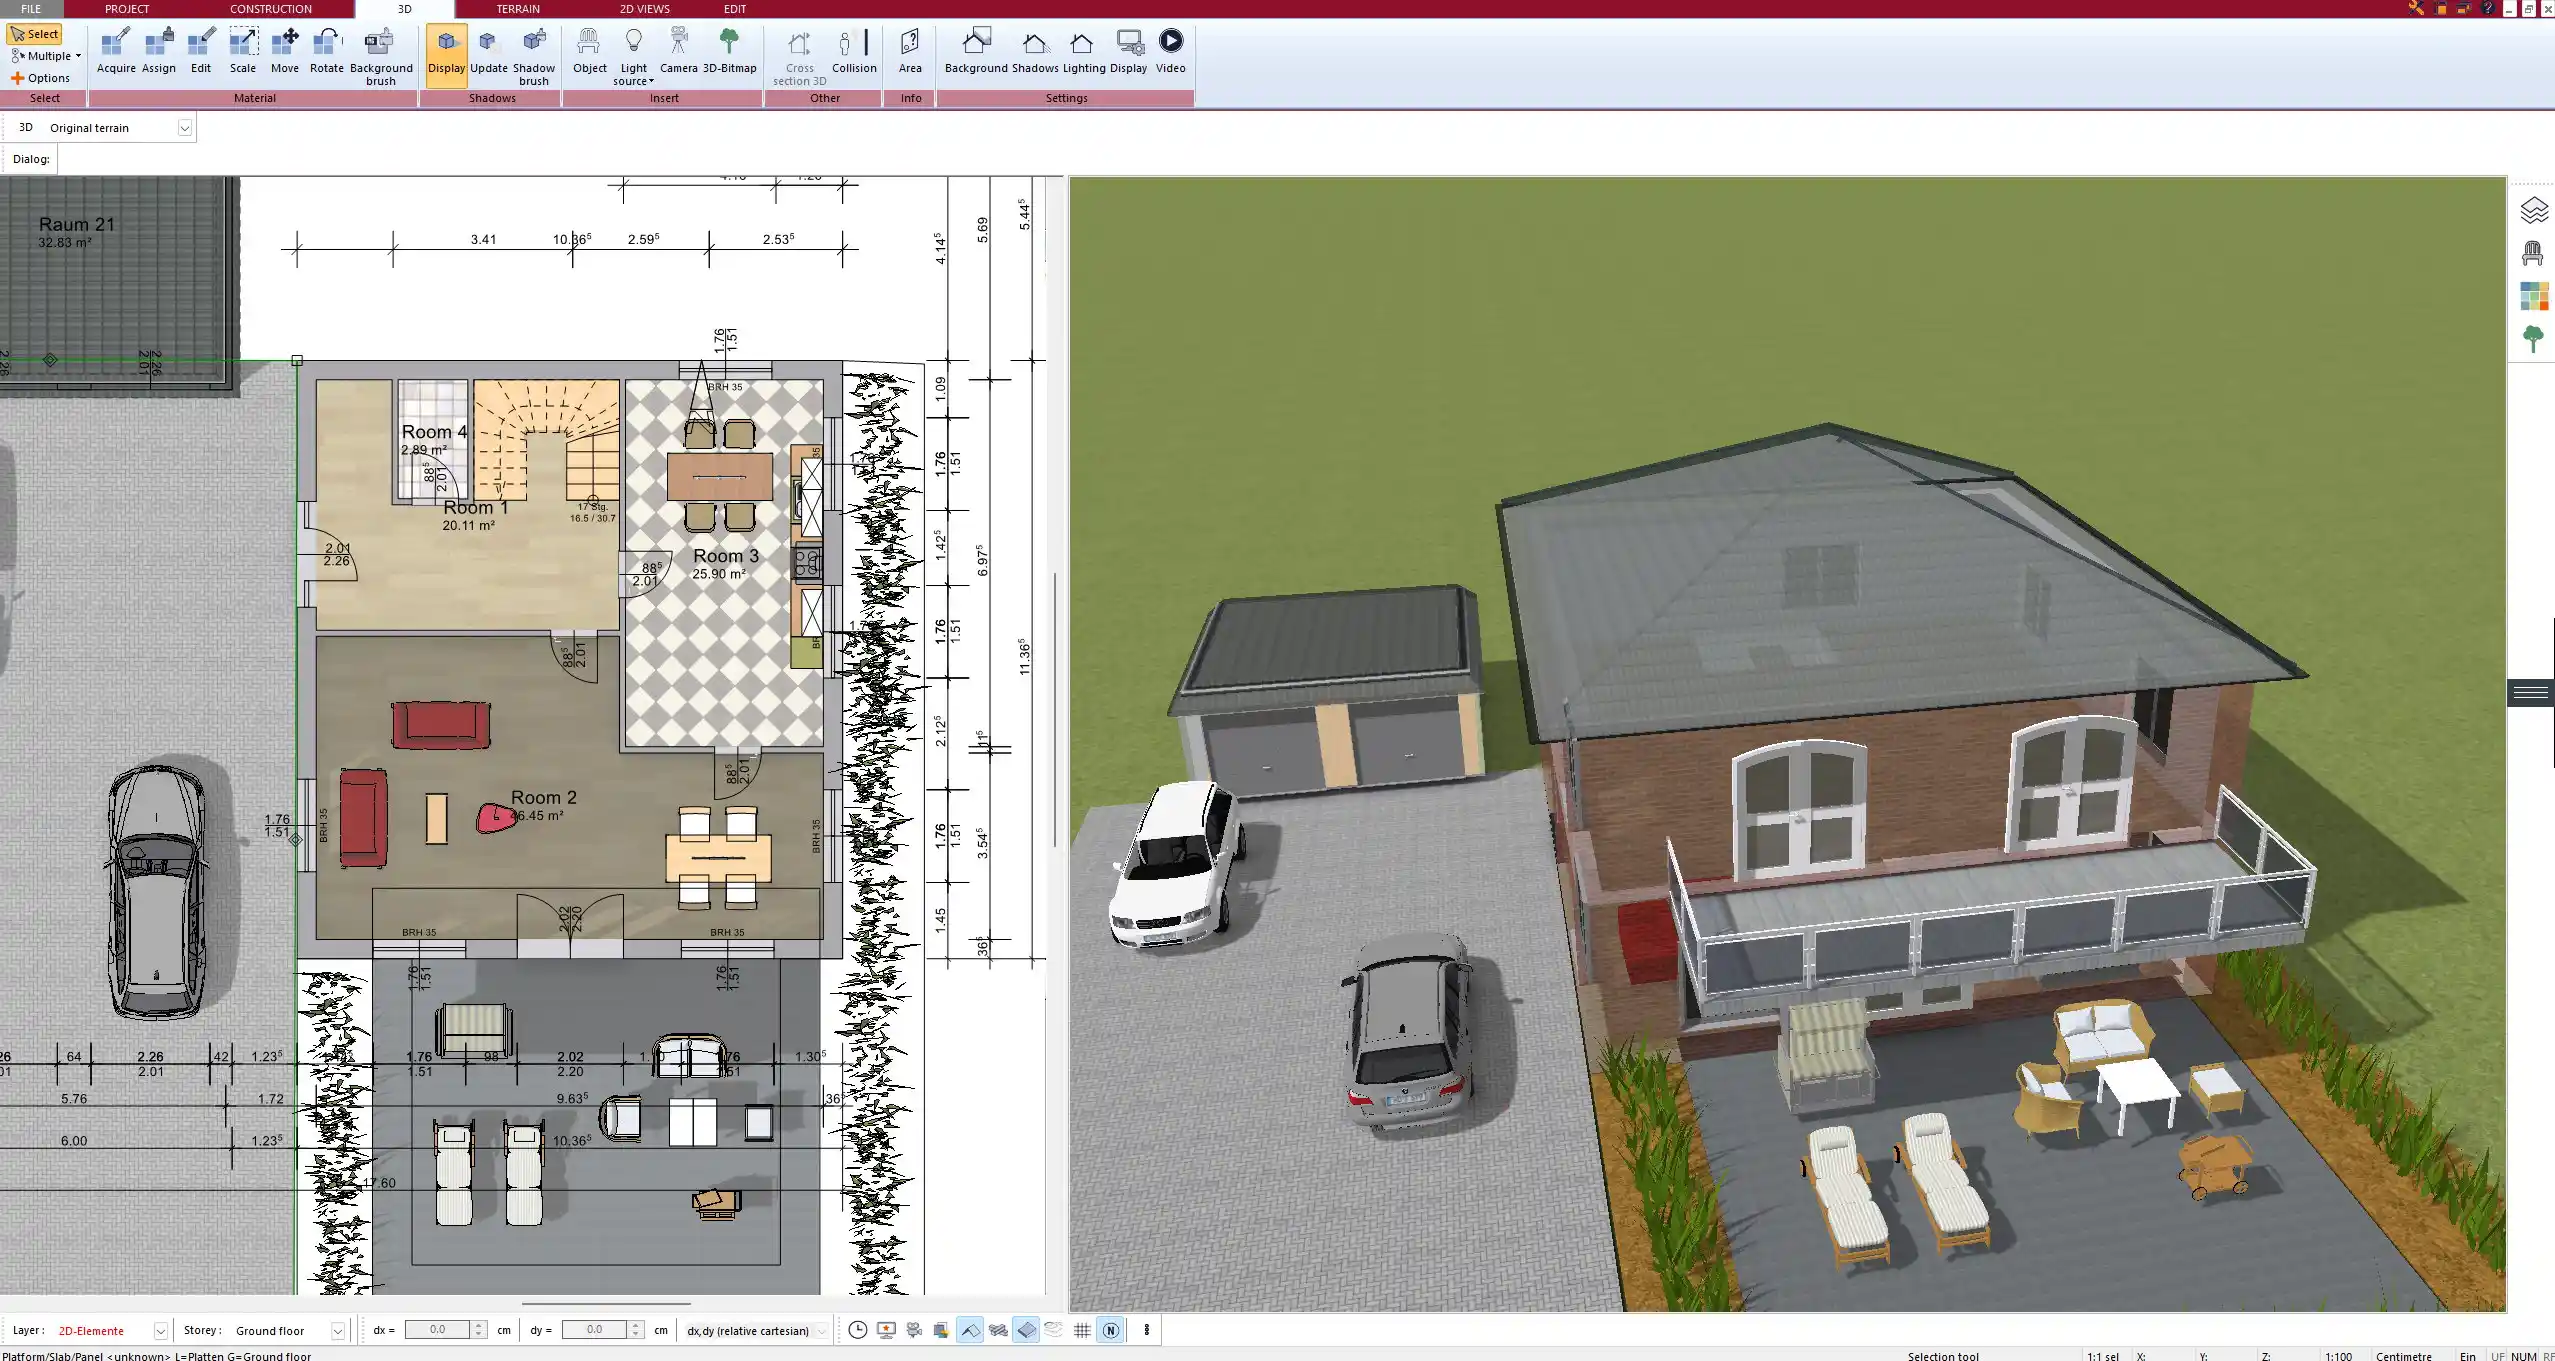
Designing an energy-efficient solar home starts with a precise and well-thought-out floor plan. With Plan7Architect, you can create a full solar house layout in both 2D and 3D, even without prior architectural experience. The software allows you to draw, adjust, and visualize your solar house step by step, from wall placement to energy-saving elements like window orientation and roof angles.
Plan7Architect supports both metric (meters, square meters) and imperial (feet, square feet) units. You can easily switch between the two in the settings, making it suitable for users in Europe, the US, and anywhere else.
You can define the orientation of your home, adjust the wall thickness for better insulation, add south-facing windows, and visually simulate how the sun will move across your floor plan during the day. The software is ideal for designing homes with passive and active solar features—whether you’re planning for photovoltaic panels, solar water heating, or just want to maximize winter sun and minimize summer heat.
Start Right Away – What You Can Do with the Software
With Plan7Architect, you can immediately begin drawing a complete floor plan for a solar house. Key features include:
-
Drawing floor plans in 2D and switching to 3D instantly
-
Defining wall structures with multiple layers (brick, insulation, plaster)
-
Placing windows and doors precisely and aligning them with solar orientation
-
Switching between metric and imperial units for international compatibility
-
Adjusting the building’s direction to optimize sunlight use
-
Creating realistic terrain and placing the house on a plot
You don’t need to be an expert. The user interface is drag-and-drop and highly intuitive.
Why Plan7Architect Is Ideal for Solar House Planning
The software is designed for private homeowners, builders, and professionals who need detailed control but want to avoid complex CAD tools. There are no subscriptions, only a one-time payment. The program runs on Windows and works offline, so you can plan your project at any time.
Plan7Architect meets international building plan requirements. If needed, you can export plans for permit applications and hand them to an engineer or builder. Many professionals use it for presentation purposes, especially when demonstrating sustainable and solar-based designs to clients.
Key Features for Solar-Oriented Floor Plans
Orientation and Sun Path Planning
You can rotate the entire building or individual floors to align them properly with the sun. This is essential for maximizing passive solar heating and daylight use. Plan7Architect includes terrain tools to reflect real-world conditions such as slope or surroundings.
With the sun simulation tool, you can visualize shadows at different times of the day and across the seasons. This is useful for adjusting window placement and roof overhangs.
Window & Shading Design
Windows are a critical factor in solar home design. In the software, you can:
-
Add floor-to-ceiling windows
-
Place them specifically on the sun-facing side of the house
-
Adjust glazing type (single, double, triple)
-
Add shading elements like canopies, pergolas, or balconies
-
Define overhangs for summer shading and winter sun access
The 3D simulation helps you instantly understand if your design will overheat in summer or underperform in winter.

Room Positioning for Energy Efficiency
A well-designed solar home places the most used living spaces—like the living room and kitchen—on the side with the most sun exposure. Less-used or cooler rooms like storage or bathrooms go on the shaded side.
Thermal mass (e.g., thick stone or concrete floors) can be placed in areas where sunlight hits directly to absorb and store heat. These details can be represented in the plan with appropriate floor materials and thicknesses.
| Room Type | Ideal Position in Solar House |
|---|---|
| Living Room | Sun-facing (south in northern hemisphere) |
| Kitchen | Sun-facing or east (morning light) |
| Bedrooms | East or west, depending on routine |
| Storage/Bathroom | North-facing or shaded side |
Practical Planning Tools in Plan7Architect
Roof & Solar Panel Integration
Plan7Architect allows detailed roof design with accurate pitch, surface area, and orientation. You can plan for solar panels by measuring the usable roof space and aligning it to the correct sun exposure.
Flat roofs or pitched roofs can be added with any angle. You can test different roof styles and instantly see how they affect shadow and solar access.
Tip:
When designing your roof, use the measuring tool to calculate panel space directly on the 3D surface.
Insulation and Wall Properties
Thermal performance begins with the right wall design. The software includes predefined wall structures or lets you build custom ones by layering materials.
You can select from:
-
Brick with internal insulation
-
Wood frame with vapor barrier
-
Concrete with exterior insulation
Each material can be customized for thickness, and this affects your overall wall dimensions in the plan. You can also define window frame types and glass performance.
Heating and Ventilation Layout
Solar houses often include solar thermal systems or underfloor heating. Plan7Architect lets you mark out the positions for:
-
Water tanks or heating systems
-
Mechanical ventilation units (e.g., MVHR systems)
-
Air channels, ducts, and vents
-
Chimneys and flues
These components can be represented as 2D and 3D symbols and placed where needed. You can build multiple layers in your project to separate structural walls, installations, and electric or ventilation layouts.

3D Visualization and Technical Exports
View Your Design from Every Angle
You can switch to 3D mode at any time and walk through your planned solar house. The software simulates natural lighting and shadows based on the building’s orientation and window positions.
This makes it easy to:
-
Adjust the design before building
-
Present the house to others
-
Test how light enters each room
-
Visualize seasonal sunlight angles
This real-time feedback is incredibly useful for refining window sizes or moving walls without guesswork.
Exporting Floor Plans and Documents
Your final floor plans can be exported as:
-
High-resolution printable drawings
-
Plans with all measurements in m or ft
-
Construction documents (e.g., wall sections, elevations)
You can also include furniture, textures, and landscaping in the exports. These documents are suitable for handing over to engineers, builders, or authorities.
Additional Tips for Solar House Designers
Design Tips from Experience
If you are planning a solar house for the first time, here are a few practical tips that work in real life:
-
Keep the shape of your house compact to reduce heat loss
-
Use thermal zoning to group rooms by heating needs
-
Plan shading early – it’s easier than fixing overheating later
-
Avoid excessive glass on east and west sides
-
Use insulated foundations or slabs for thermal mass
Useful Features You Shouldn’t Miss
Plan7Architect includes several tools that are especially helpful for energy-conscious building projects:
-
Layer system: manage structural walls, electric wiring, heating, roof layers separately
-
Terrain editor: model sloped plots, hills, and gardens
-
Import options: load a scanned sketch or PDF as a template to trace over
-
Object catalog: insert solar panels, heating units, battery storage, and more
Tip:
You can test multiple design variants in the same file. Duplicate your original plan, adjust windows or room layout, and compare energy performance visually.
Final Tip – Use Plan7Architect to Simplify the Process
Designing a solar house requires many small but important decisions. Plan7Architect makes this process faster and more visual. You don’t need technical knowledge to begin, and you can always refine your plan later.
The software helps you plan realistically while allowing space for creativity. Whether you’re preparing for a permit, working with a builder, or just experimenting with eco-friendly home ideas, Plan7Architect is a practical tool that supports the entire design process from concept to print-ready plan.
Plan your project with Plan7Architect

Plan7Architect Pro 5 for $109.99
You don’t need any prior experience because the software has been specifically designed for beginners. The planning process is carried out in 5 simple steps:
1. Draw Walls

2. Windows & Doors

3. Floors & Roof

4. Textures & 3D Objects

5. Plan for the Building Permit

6. Export the Floor Plan as a 3D Model for Twinmotion

- – Compliant with international construction standards
- – Usable on 3 PCs simultaneously
- – Option for consultation with an architect
- – Comprehensive user manual
- – Regular updates
- – Video tutorials
- – Millions of 3D objects available


