If you want to design a plus-energy house floor plan with Plan7Architect, you can get started immediately by opening a new project in the software. Select the type of building you want to plan, activate the measurement system that suits your region (you can work in metric or imperial units), and then begin defining the essential energy-efficient elements: building orientation, wall structure, roof shape, window layout, and integration of solar technology.
The software allows you to create detailed 2D and 3D floor plans that factor in insulation, window positioning, and renewable energy usage. You can visualize the effects of sun exposure, test variations of your concept, and generate detailed plans ready for approval or construction. Every energy-relevant component can be placed, adjusted, and evaluated directly in the digital plan.
Start Right Away with the Plan7Architect Software
After installation, open the Plan7Architect software and start a new project. In the project settings, choose whether you want to work with metric units (meters, centimeters) or imperial units (feet, inches). This allows you to adapt your project to your local standards, whether you’re in Europe, the United States, or elsewhere.
Next, set the number of stories and floor heights for your plus-energy home. Then begin with the exterior walls and define their structure. You can assign specific wall types with insulation properties and build the thermal envelope of the building with just a few clicks.
The software gives you layers and object libraries that are especially useful for energy-positive planning:
-
Solar panels
-
Thick insulation layers
-
Triple-glazed windows
-
Air source heat pumps
-
Roof shapes with custom angles
These tools let you model your energy-efficient building from the very beginning.
Key Features for Plus-Energy Design in Plan7Architect
To design a plus-energy house effectively, you will need the following features, all of which are included in Plan7Architect:
| Feature | Available in Plan7Architect |
|---|---|
| Roof angle and orientation control | Yes |
| Energy-efficient wall structure planning | Yes |
| Photovoltaic module integration | Yes |
| Passive solar design tools | Yes |
| Real-time sunlight simulation | Yes |
| Ventilation and heating component placement | Yes |
These tools give you full control over how the house interacts with its surroundings and how energy flows through the structure.
What Makes a House a Plus-Energy House?
A plus-energy house, also known as a positive-energy home, generates more energy than it consumes on an annual basis. This is typically achieved through a combination of architectural design, renewable energy technology, and smart building systems.
The goal is to create a house that not only consumes less energy but actively produces surplus energy through solar panels or other renewable sources. This energy can be fed back into the grid or stored for later use.
Definition and Basic Requirements
The core components of a plus-energy home include:
-
An airtight, super-insulated building envelope
-
Energy-efficient windows and doors
-
High-performance heating, cooling, and ventilation systems
-
Renewable energy production, usually solar power
-
A smart floor plan that supports energy flow and daylight use
Typical Architectural Characteristics
From my experience, the most efficient plus-energy homes share several design features. These characteristics should be part of your floor plan from the beginning:
-
A compact building shape to reduce surface loss
-
South-facing glass areas to maximize solar gain
-
Roofs optimized for solar panels
-
Well-insulated north-facing walls and smaller windows on that side
-
Room layout that supports natural temperature zones
Here’s how a typical layout looks:
| Zone | Orientation | Purpose |
|---|---|---|
| Living areas | South | Capture daylight and warmth |
| Bedrooms | East/West | Natural light in morning/evening |
| Utility rooms | North | Minimize heat loss |
Planning Energy-Positive Features with Plan7Architect
Smart Positioning of Rooms
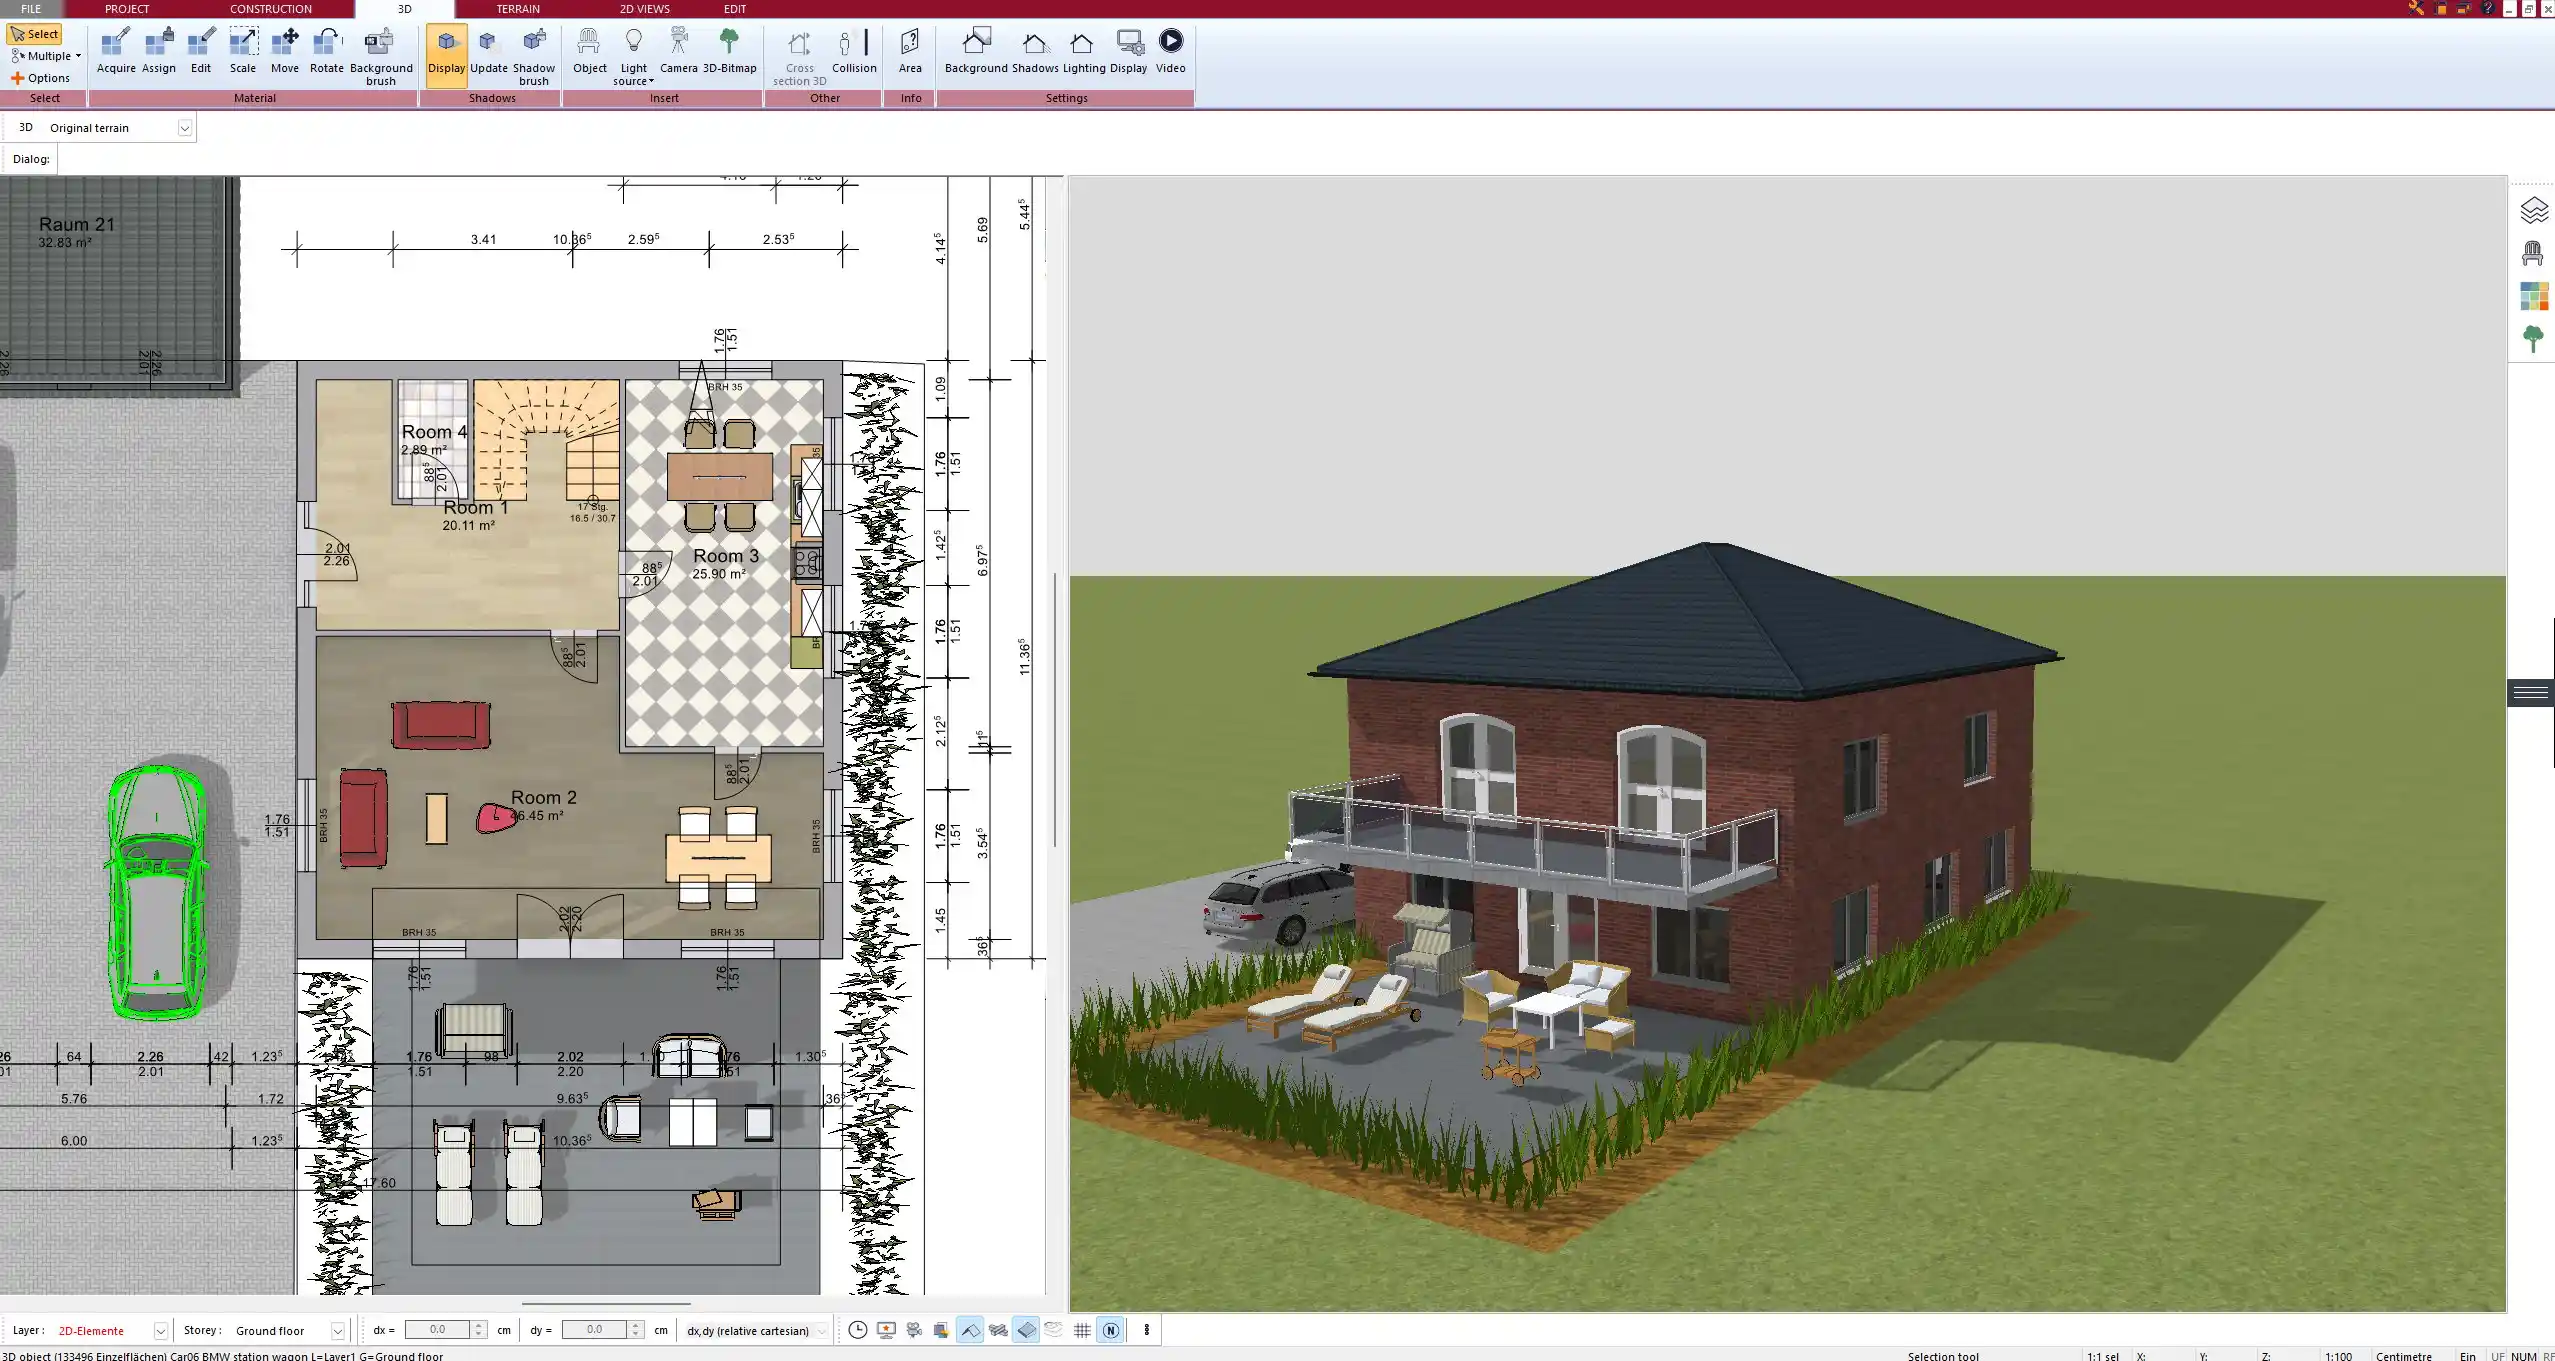
Plan7Architect lets you rotate your building and test different orientations in 2D and 3D. You can position living areas and large window fronts to the south for passive solar heating. Less-used rooms such as storage, bathrooms, or staircases can be placed on the colder north side.
You can simulate natural daylight entry at different times of the day and year. This makes it easy to test and improve your room layout based on solar exposure.
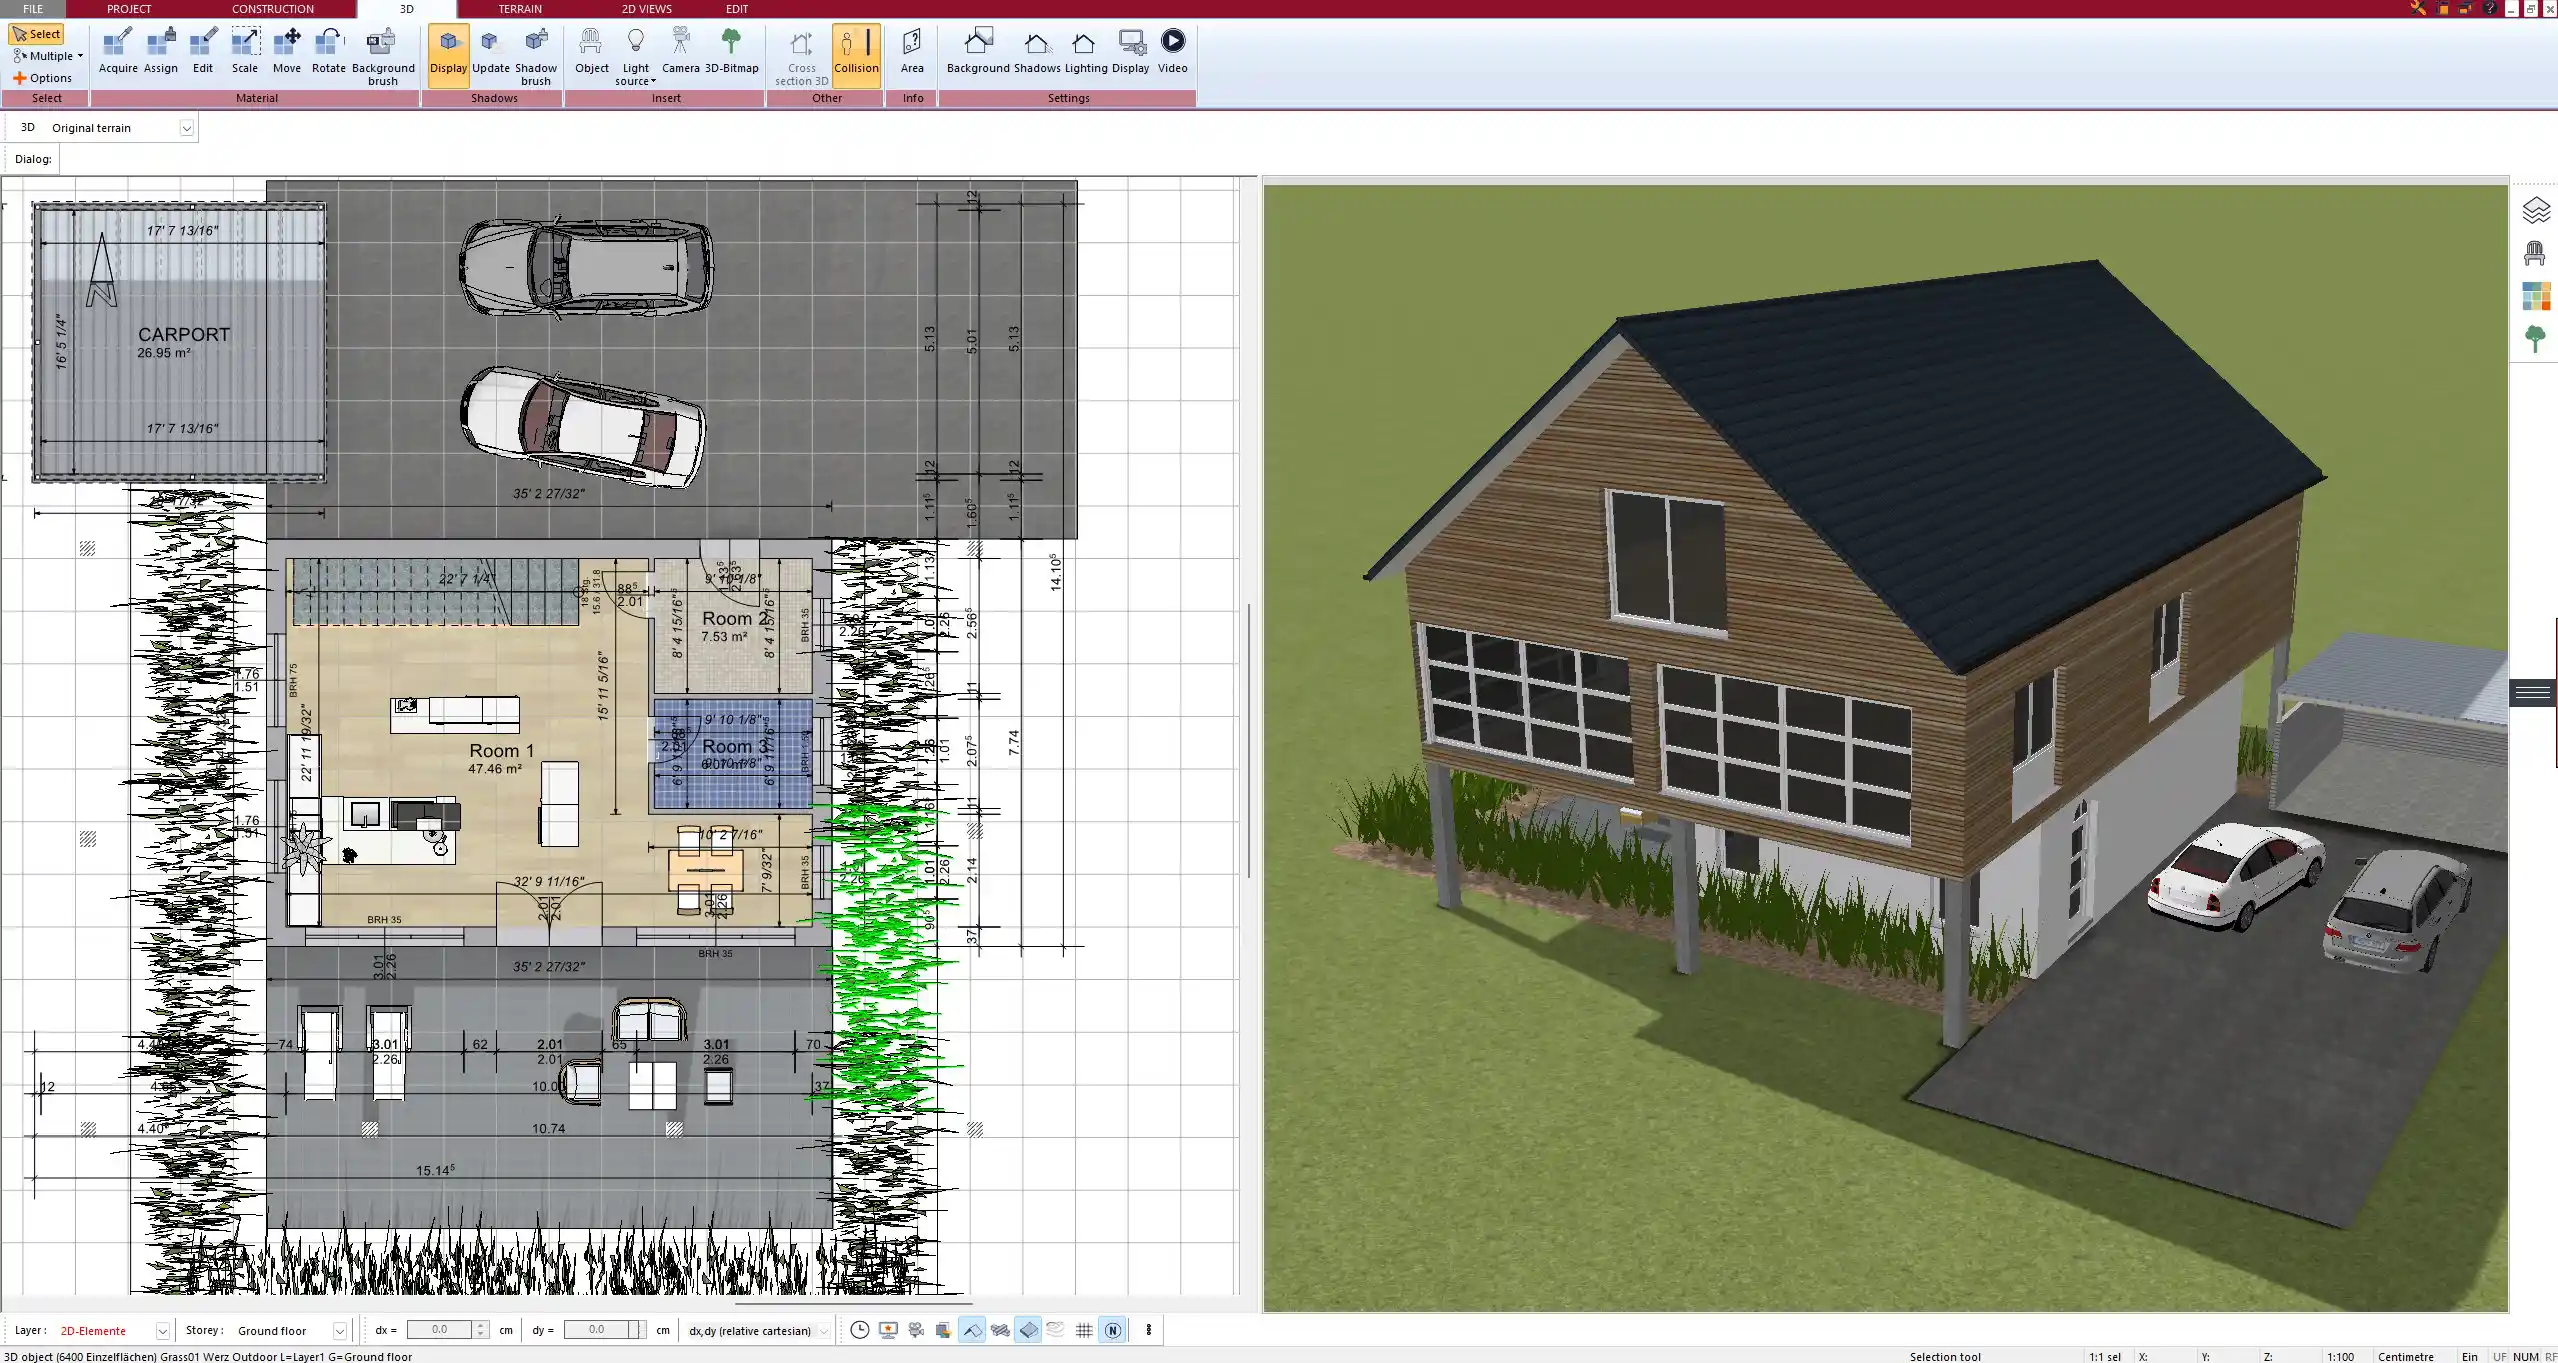
Roof and Solar Panel Design
In the roof editor, you can choose between gable, flat, monopitch, or custom roofs and define the exact pitch and orientation. Plan7Architect includes a module to place and align solar panels visually and to check their alignment for optimal efficiency.
This feature allows you to:
-
Simulate solar coverage
-
Plan panel layout in 2D and 3D
-
Integrate the panels seamlessly into the roof plan
-
Include PV elements in your construction documents
Walls, Windows, and Insulation in the Floor Plan
The wall editor lets you build multilayered walls. You can define insulation materials, thickness, and U-values. This enables realistic thermal modeling directly in the plan.
When planning windows, you can choose triple-glazed options, solar-control coatings, and define window positions to control daylight and heat gain.
Tipp:
Use shading elements such as roof overhangs or balconies, which you can model easily in 3D, to avoid overheating in summer while keeping winter sun access.
Ventilation and Heating Systems Layout
Ventilation systems with heat recovery are essential in a plus-energy house. In Plan7Architect, you can place technical units and ventilation ducts in the floor plan and visualize airflow directions.
This is also useful for planning the position of heat pumps and external units, which are often installed in basement rooms or on exterior walls.
You can define the energy zones for:
-
Fresh air intake
-
Warm air circulation
-
Extraction points in kitchens and bathrooms
This setup helps when coordinating with HVAC professionals or for documentation.
Measurement Units and Compatibility
Plan in Metric or Imperial Units
In Plan7Architect, you can switch at any time between metric (meters, centimeters) and imperial (feet, inches) units. This is ideal if you’re working in an international team or planning for a country with different measurement standards.
You can:
-
Enter values in the system you are used to
-
Automatically convert existing projects to the other unit system
-
Export and print in both formats for global compatibility
Exporting and Using Your Plus-Energy House Plan
Output for Building Permits and Engineers
Once your design is complete, you can export your project as 2D construction drawings or 3D models. The output formats include PDF, DWG, DXF, and image files.
You can generate:
-
Floor plans with layer structures
-
Cross-sections with energy-relevant dimensions
-
Elevations showing solar panel placement
-
Legends and documentation tables
This is especially useful when submitting plans for energy certification or approval processes.
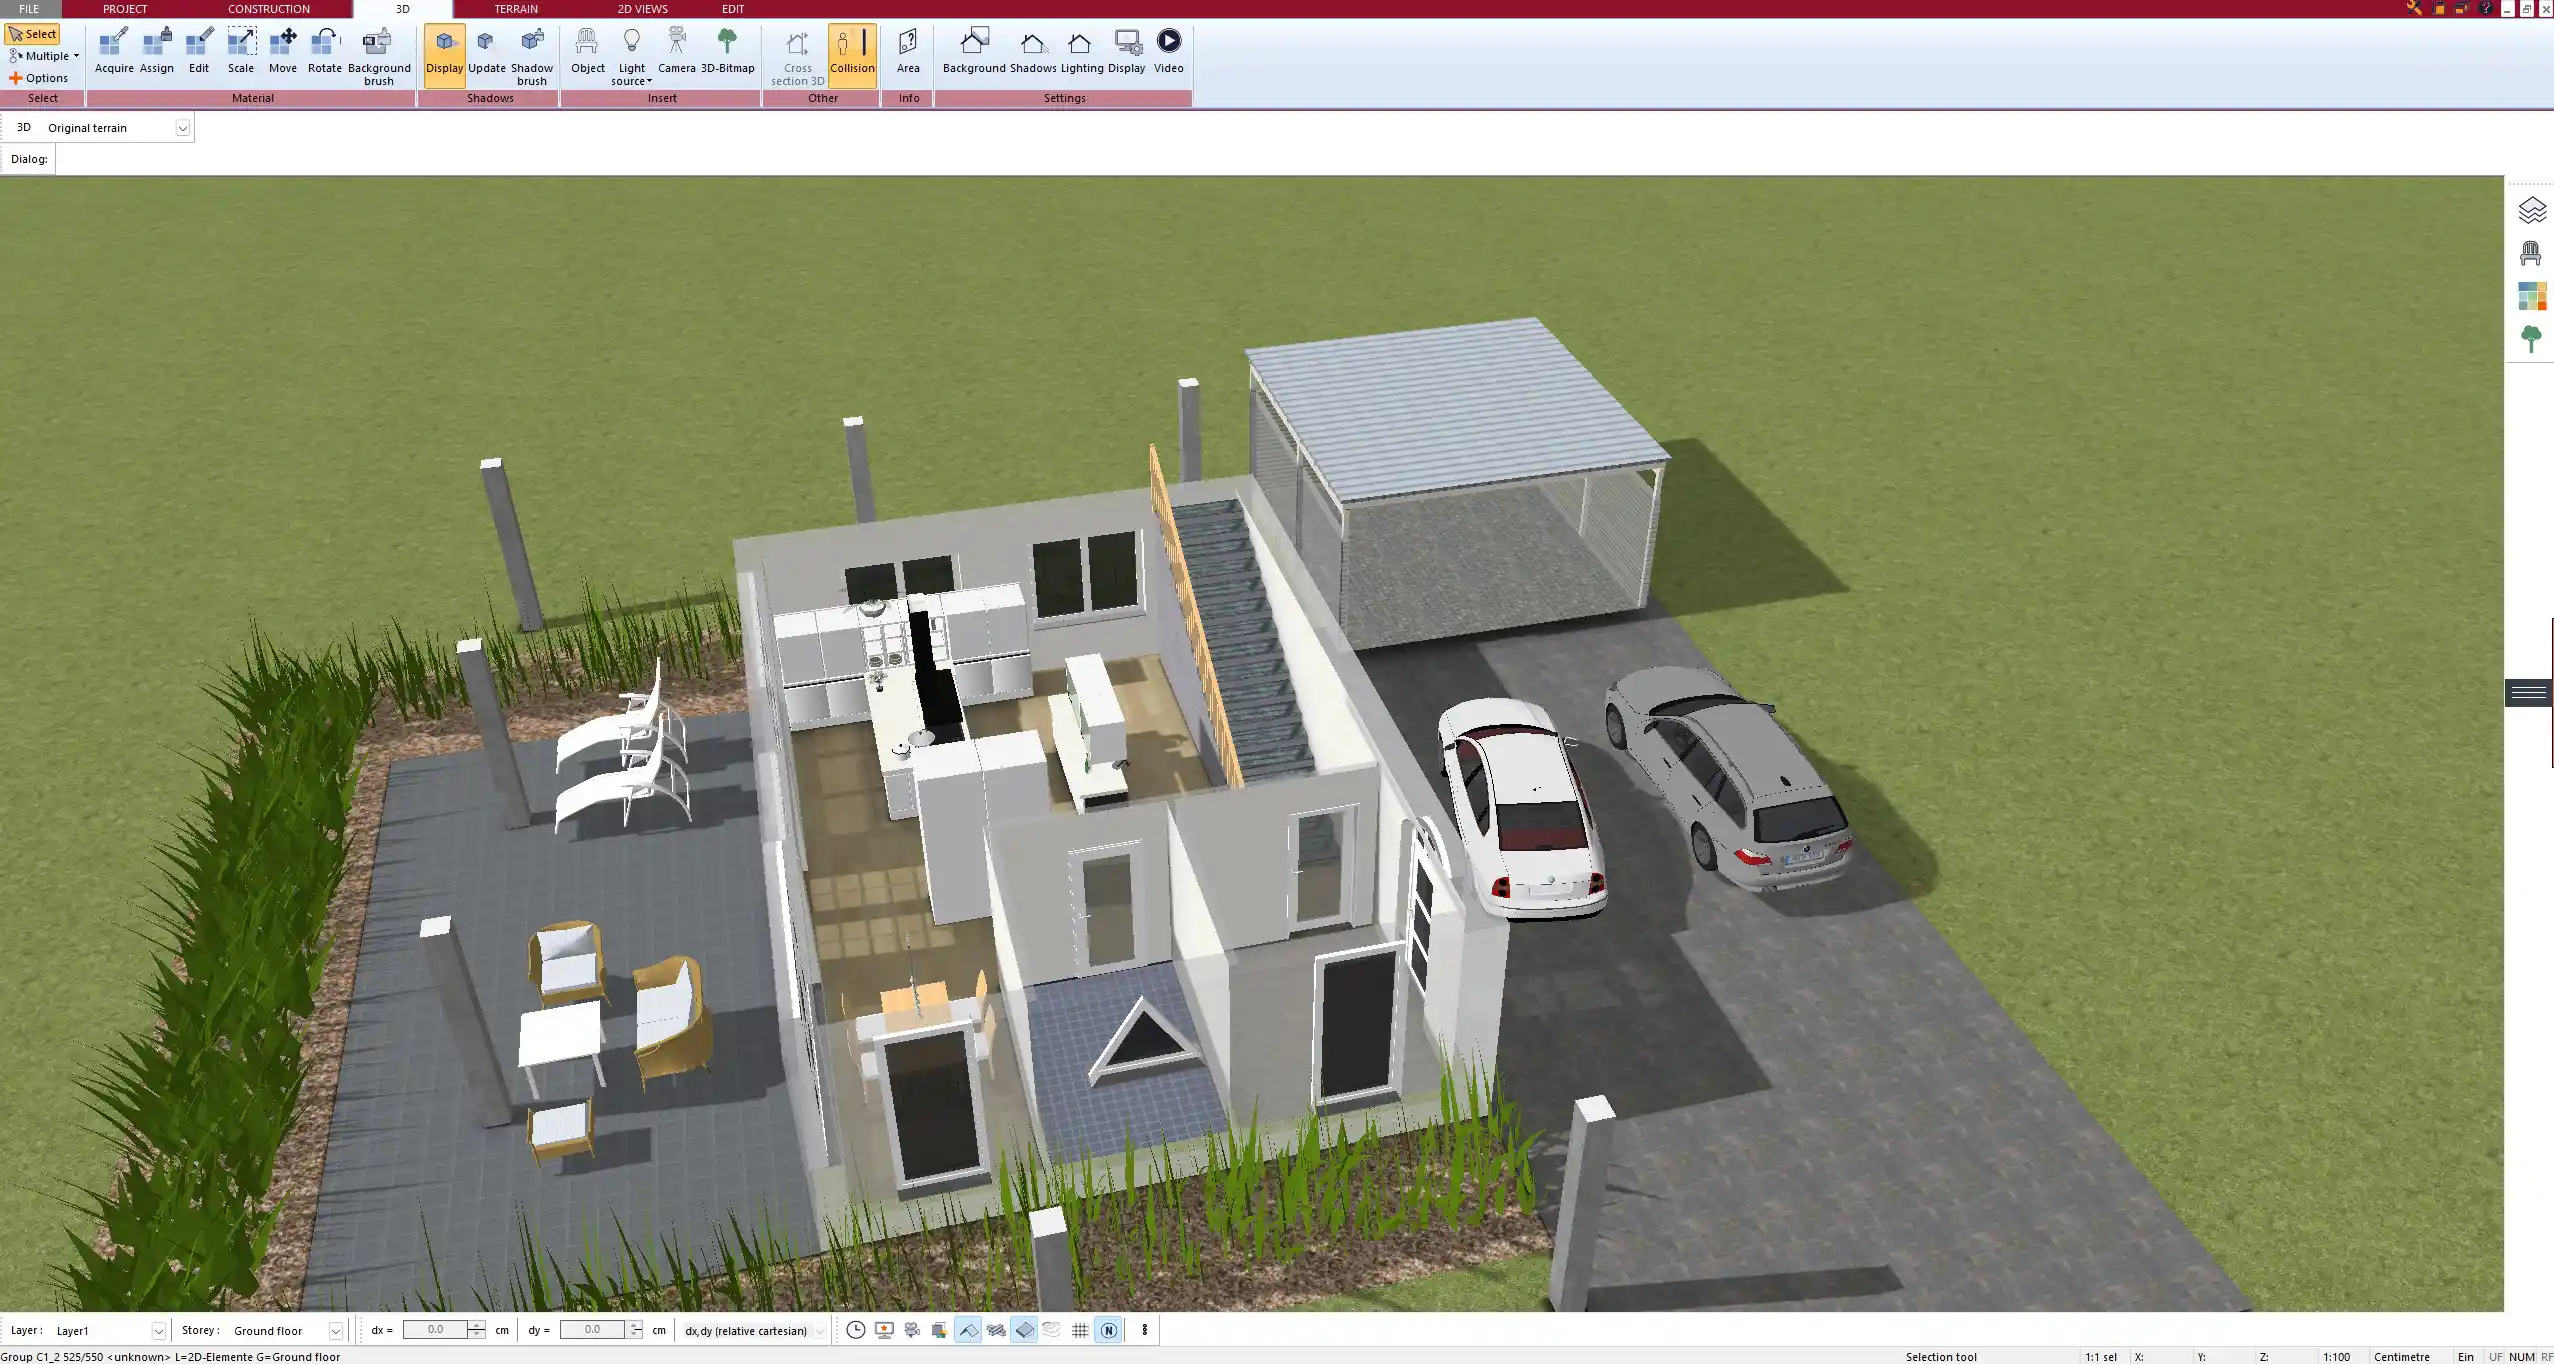
3D Visualization for Clients and Contractors
The software also offers photorealistic rendering and full 3D walkthroughs. This allows you to present the building not only as a technical plan but as a complete energy-efficient home ready for construction or sale.
You can:
-
Present light and shading simulations
-
Show indoor temperature zones
-
Include solar production visuals in presentations
-
Export animations and screenshots for clients or marketing
Pro Tip for Plus-Energy Planning
Tip:
Before finalizing your roof plan, use the sun path simulation to test how much shade is created by nearby trees or neighboring buildings. This helps you optimize your solar system layout and ensure long-term efficiency.
Conclusion – Create Your Energy-Positive Home Today
Plan7Architect gives you the tools you need to design a plus-energy home with precision and ease. Whether you’re building your own house, preparing permit documents, or working with a contractor, this software supports every step of the process—from smart floor planning to realistic solar simulations.
Plan your project with Plan7Architect

Plan7Architect Pro 5 for $109.99
You don’t need any prior experience because the software has been specifically designed for beginners. The planning process is carried out in 5 simple steps:
1. Draw Walls

2. Windows & Doors

3. Floors & Roof

4. Textures & 3D Objects

5. Plan for the Building Permit

6. Export the Floor Plan as a 3D Model for Twinmotion

- – Compliant with international construction standards
- – Usable on 3 PCs simultaneously
- – Option for consultation with an architect
- – Comprehensive user manual
- – Regular updates
- – Video tutorials
- – Millions of 3D objects available


