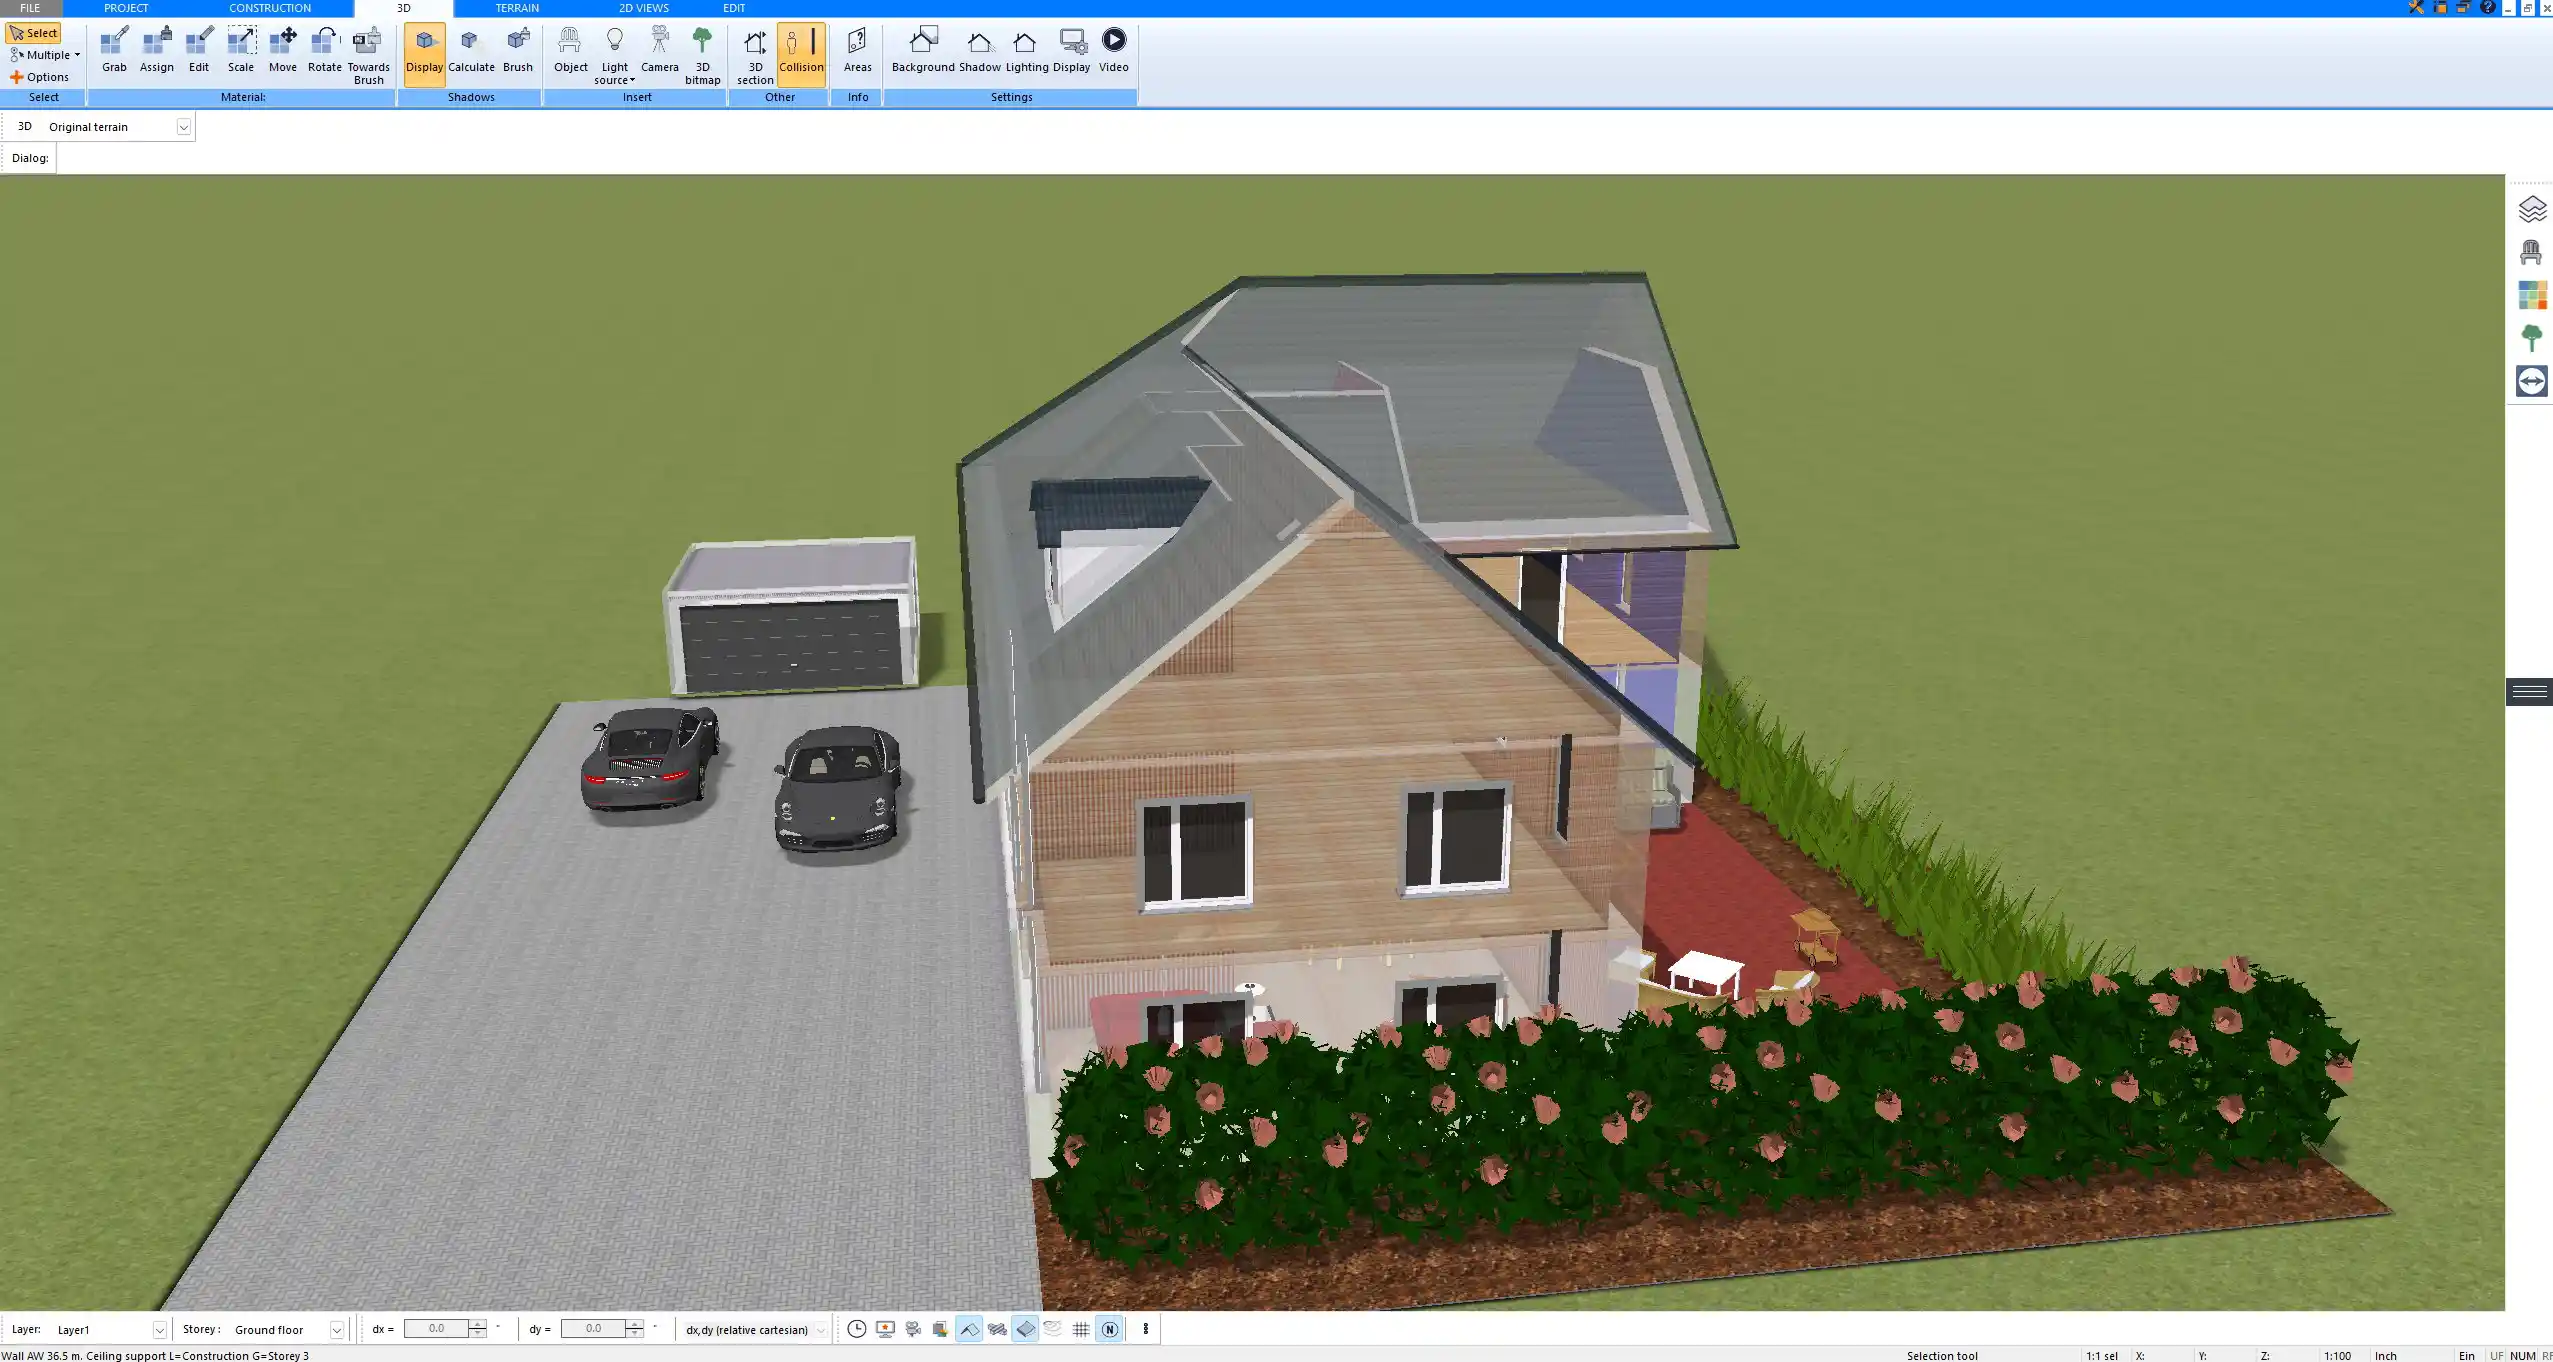
With Plan7Architect you can create tilt-up construction drawings directly in both 2D and 3D views. You begin by defining your project parameters, choose between metric or imperial units depending on your region, and then place the tilt-up wall panels into your floor plan. The software allows you to quickly draw walls, adjust thickness and height, insert doors and windows, and prepare the panels for tilt-up construction. All dimensions are displayed precisely, and you can export or print the drawings for use on the construction site.
Step-by-Step Process
Setting Up the Project
When you open a new project in Plan7Architect, the first step is to decide which units you want to work with. You can set measurements in meters and centimeters or in feet and inches. Next, define the wall thickness that suits tilt-up construction and enter the typical panel heights. It is also important to draw the foundation layout so that every wall panel can be aligned correctly.
Drawing Tilt-Up Wall Panels
The wall tool in Plan7Architect makes it simple to create tilt-up wall panels. You can draw straight or angled walls and adjust their height and thickness to match tilt-up specifications. Openings for doors, windows, or mechanical penetrations can be inserted directly into the panels. Each element is displayed with accurate dimensions, allowing you to prepare drawings that match the requirements of contractors and engineers.
Adding Structural Details
Structural details are crucial in tilt-up design. You can represent control joints and mark reinforcement zones on your panels. For example, bracing points or lifting inserts can be indicated with annotations. The software lets you layer these details so that your drawing remains clear and easy to read. Connections between adjacent panels can also be shown by overlapping dimensions or marking joint lines.
Generating Elevations and Sections
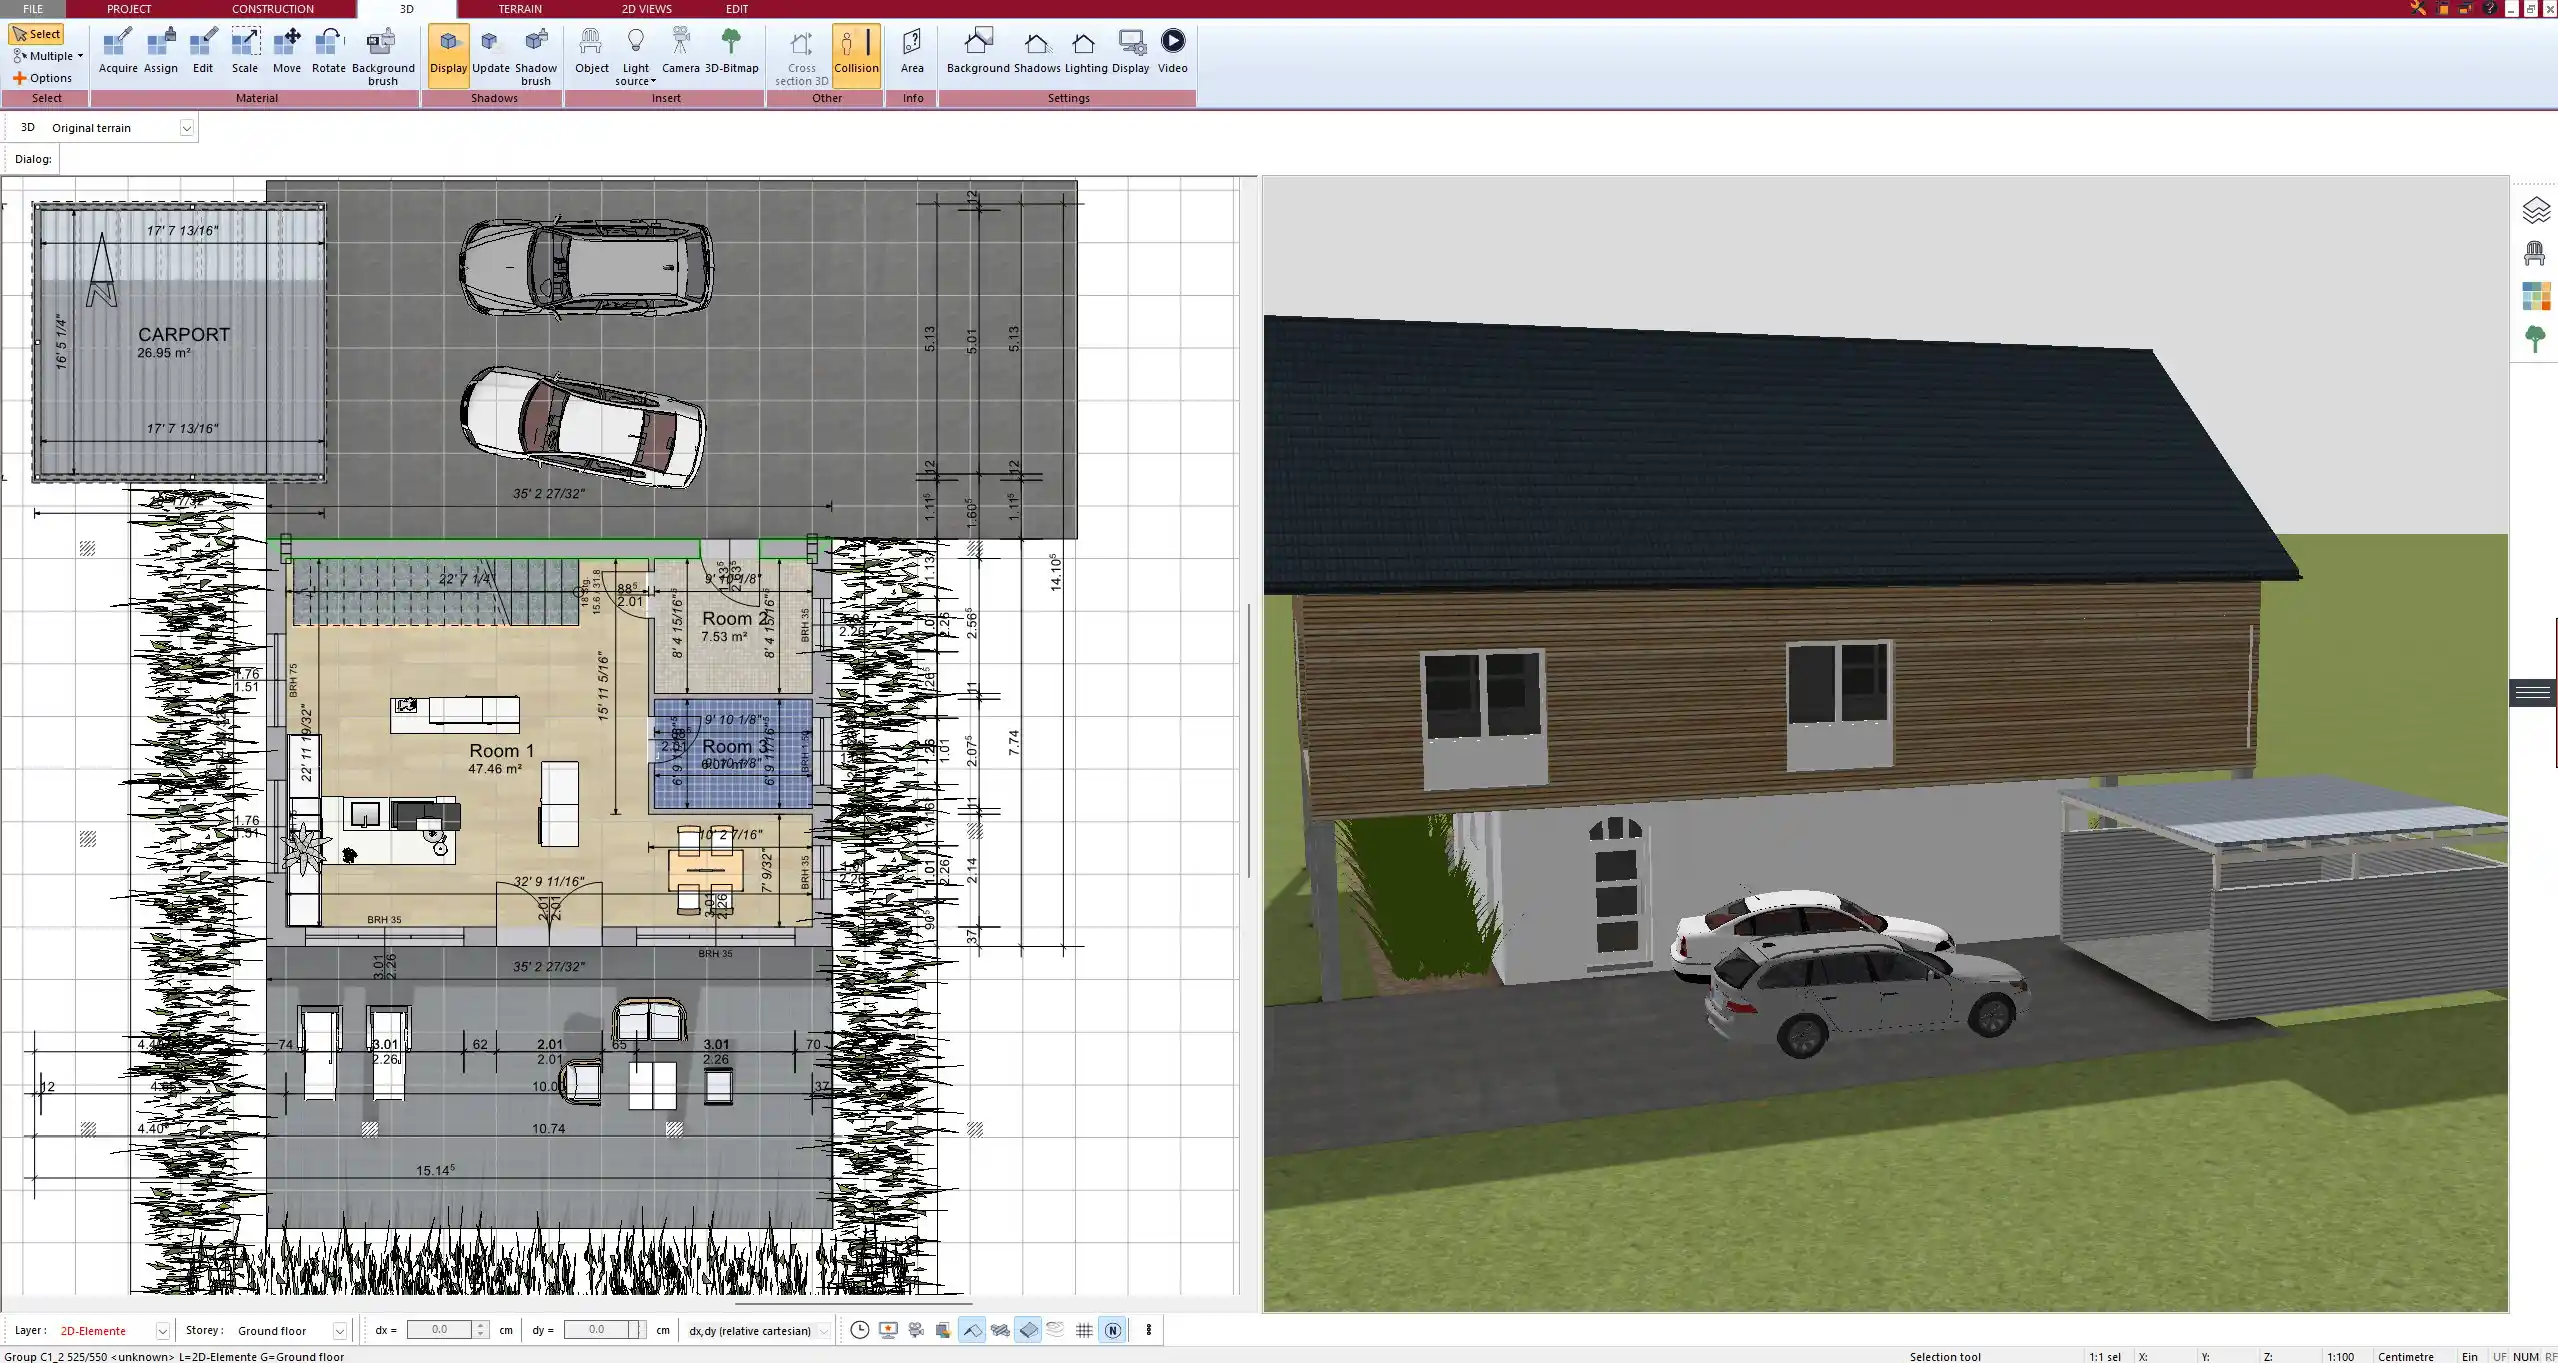
From the 2D plan you can generate panel elevations automatically. These drawings give you the front view of each tilt-up wall with height, openings, and reinforcement positions clearly visible. Adding cross-sections is equally straightforward. Sections show the panel thickness, reinforcement, and relationship to the foundation, which is often requested for approval before construction begins.
Why Use Software Instead of Hand Drawings
Creating tilt-up construction drawings by hand takes significant time and is prone to mistakes. With Plan7Architect you gain:
-
Speed: changes to dimensions or wall placement update across all views instantly.
-
Precision: every measurement is accurate and consistent.
-
Visualization: you can view your tilt-up panels in 3D, including how they will stand on site.
-
Collaboration: drawings can be exported in DWG or DXF for use by other professionals.
Key Features in Plan7Architect for Tilt-Up Construction
-
Wall customization for thickness, material, and reinforcement.
-
Automatic dimensioning to keep drawings precise.
-
Real-time 3D visualization of tilt-up panels being positioned.
-
Compatibility with DWG and DXF file formats for engineers and contractors.
Tips for Accurate Tilt-Up Construction Drawings
-
Verify that each panel dimension matches transport and lifting restrictions.
-
Indicate lifting inserts and bracing positions clearly.
-
Include annotations for panel erection sequence to help site crews.
-
Use layers to organize structural details, foundation layout, and reinforcement separately.
Tip: Always keep a consistent unit system across your project. Plan7Architect allows you to switch between metric and imperial units, but for collaboration it is best to confirm with your team which system will be used in the final drawings.
Common Mistakes to Avoid
-
Forgetting to account for openings like windows, doors, or mechanical ducts.
-
Misalignment between wall panels and the foundation slab.
-
Mixing metric and imperial measurements within the same drawing.
Example Applications
Tilt-up construction is widely used for:
-
Commercial warehouses
-
Office buildings
-
Industrial facilities
-
Large retail stores
-
Residential projects in certain regions
Create Professional Floor Plans with Plan7Architect
With Plan7Architect you are not limited to tilt-up drawings. You can also create complete professional floor plans for houses, apartments, commercial spaces, or industrial projects. Every wall, roof, window, and door can be designed in both metric and imperial units, making the software flexible for international projects. The interface is intuitive, so you can produce construction-ready plans without long training times. If you decide to purchase, you benefit from a 14-day cancellation policy: simply send us an email if you change your mind and we will refund your purchase. This policy replaces a trial version and ensures that you can test the software risk-free.
Plan your project with Plan7Architect

Plan7Architect Pro 5 for $109.99
You don’t need any prior experience because the software has been specifically designed for beginners. The planning process is carried out in 5 simple steps:
1. Draw Walls

2. Windows & Doors

3. Floors & Roof

4. Textures & 3D Objects

5. Plan for the Building Permit

6. Export the Floor Plan as a 3D Model for Twinmotion

- – Compliant with international construction standards
- – Usable on 3 PCs simultaneously
- – Option for consultation with an architect
- – Comprehensive user manual
- – Regular updates
- – Video tutorials
- – Millions of 3D objects available
Why Thousands of Builders Prefer Plan7Architect
Why choose Plan7Architect over other home design tools?


