With Plan7Architect, you can create professional construction drawings in just a few simple steps. The software combines an intuitive interface with precise tools, making it suitable for both private builders and professionals. Below you will find a clear step-by-step workflow to start your own project.
Step 1 – Open a New Project and Set Units
When you start a new project, the first step is to set the measurement system. Plan7Architect allows you to work with both metric units (meters, centimeters) and imperial units (feet, inches). This flexibility makes it possible to work according to your local standards without extra conversions.
You can also define wall thickness, drawing scale, and page setup at this stage. It is best to set these correctly at the beginning to avoid adjustments later.
Step 2 – Draw the Floor Plan Layout
Begin with the exterior walls. Simply use drag-and-drop to place them accurately on the canvas. Plan7Architect’s snapping function ensures that corners meet correctly and that all angles align with precision.
Next, add interior walls, partitions, and structural elements. You can switch between different wall types, thicknesses, and materials depending on the building you are designing.
Step 3 – Insert Openings (Doors, Windows, Stairs)
After the basic wall layout, you can place standard elements such as doors, windows, and stairs. The software offers an extensive library of ready-made objects that you can insert with a click.
Dimensions adjust automatically so you always know if your elements fit properly. This makes it easy to design spaces that are not only visually correct but also technically usable.
Step 4 – Add Technical Details
For construction drawings, details are essential. In this step, add dimensions, labels, and annotations directly on your plan. You can define materials, adjust roof slopes, and create multi-layer wall structures.
Technical drawings can include:
-
Dimension lines with automatic measurements
-
Material specifications
-
Roofing details
-
Construction labels for each room
These details ensure your drawing is clear and professional, ready for collaboration with builders or contractors.
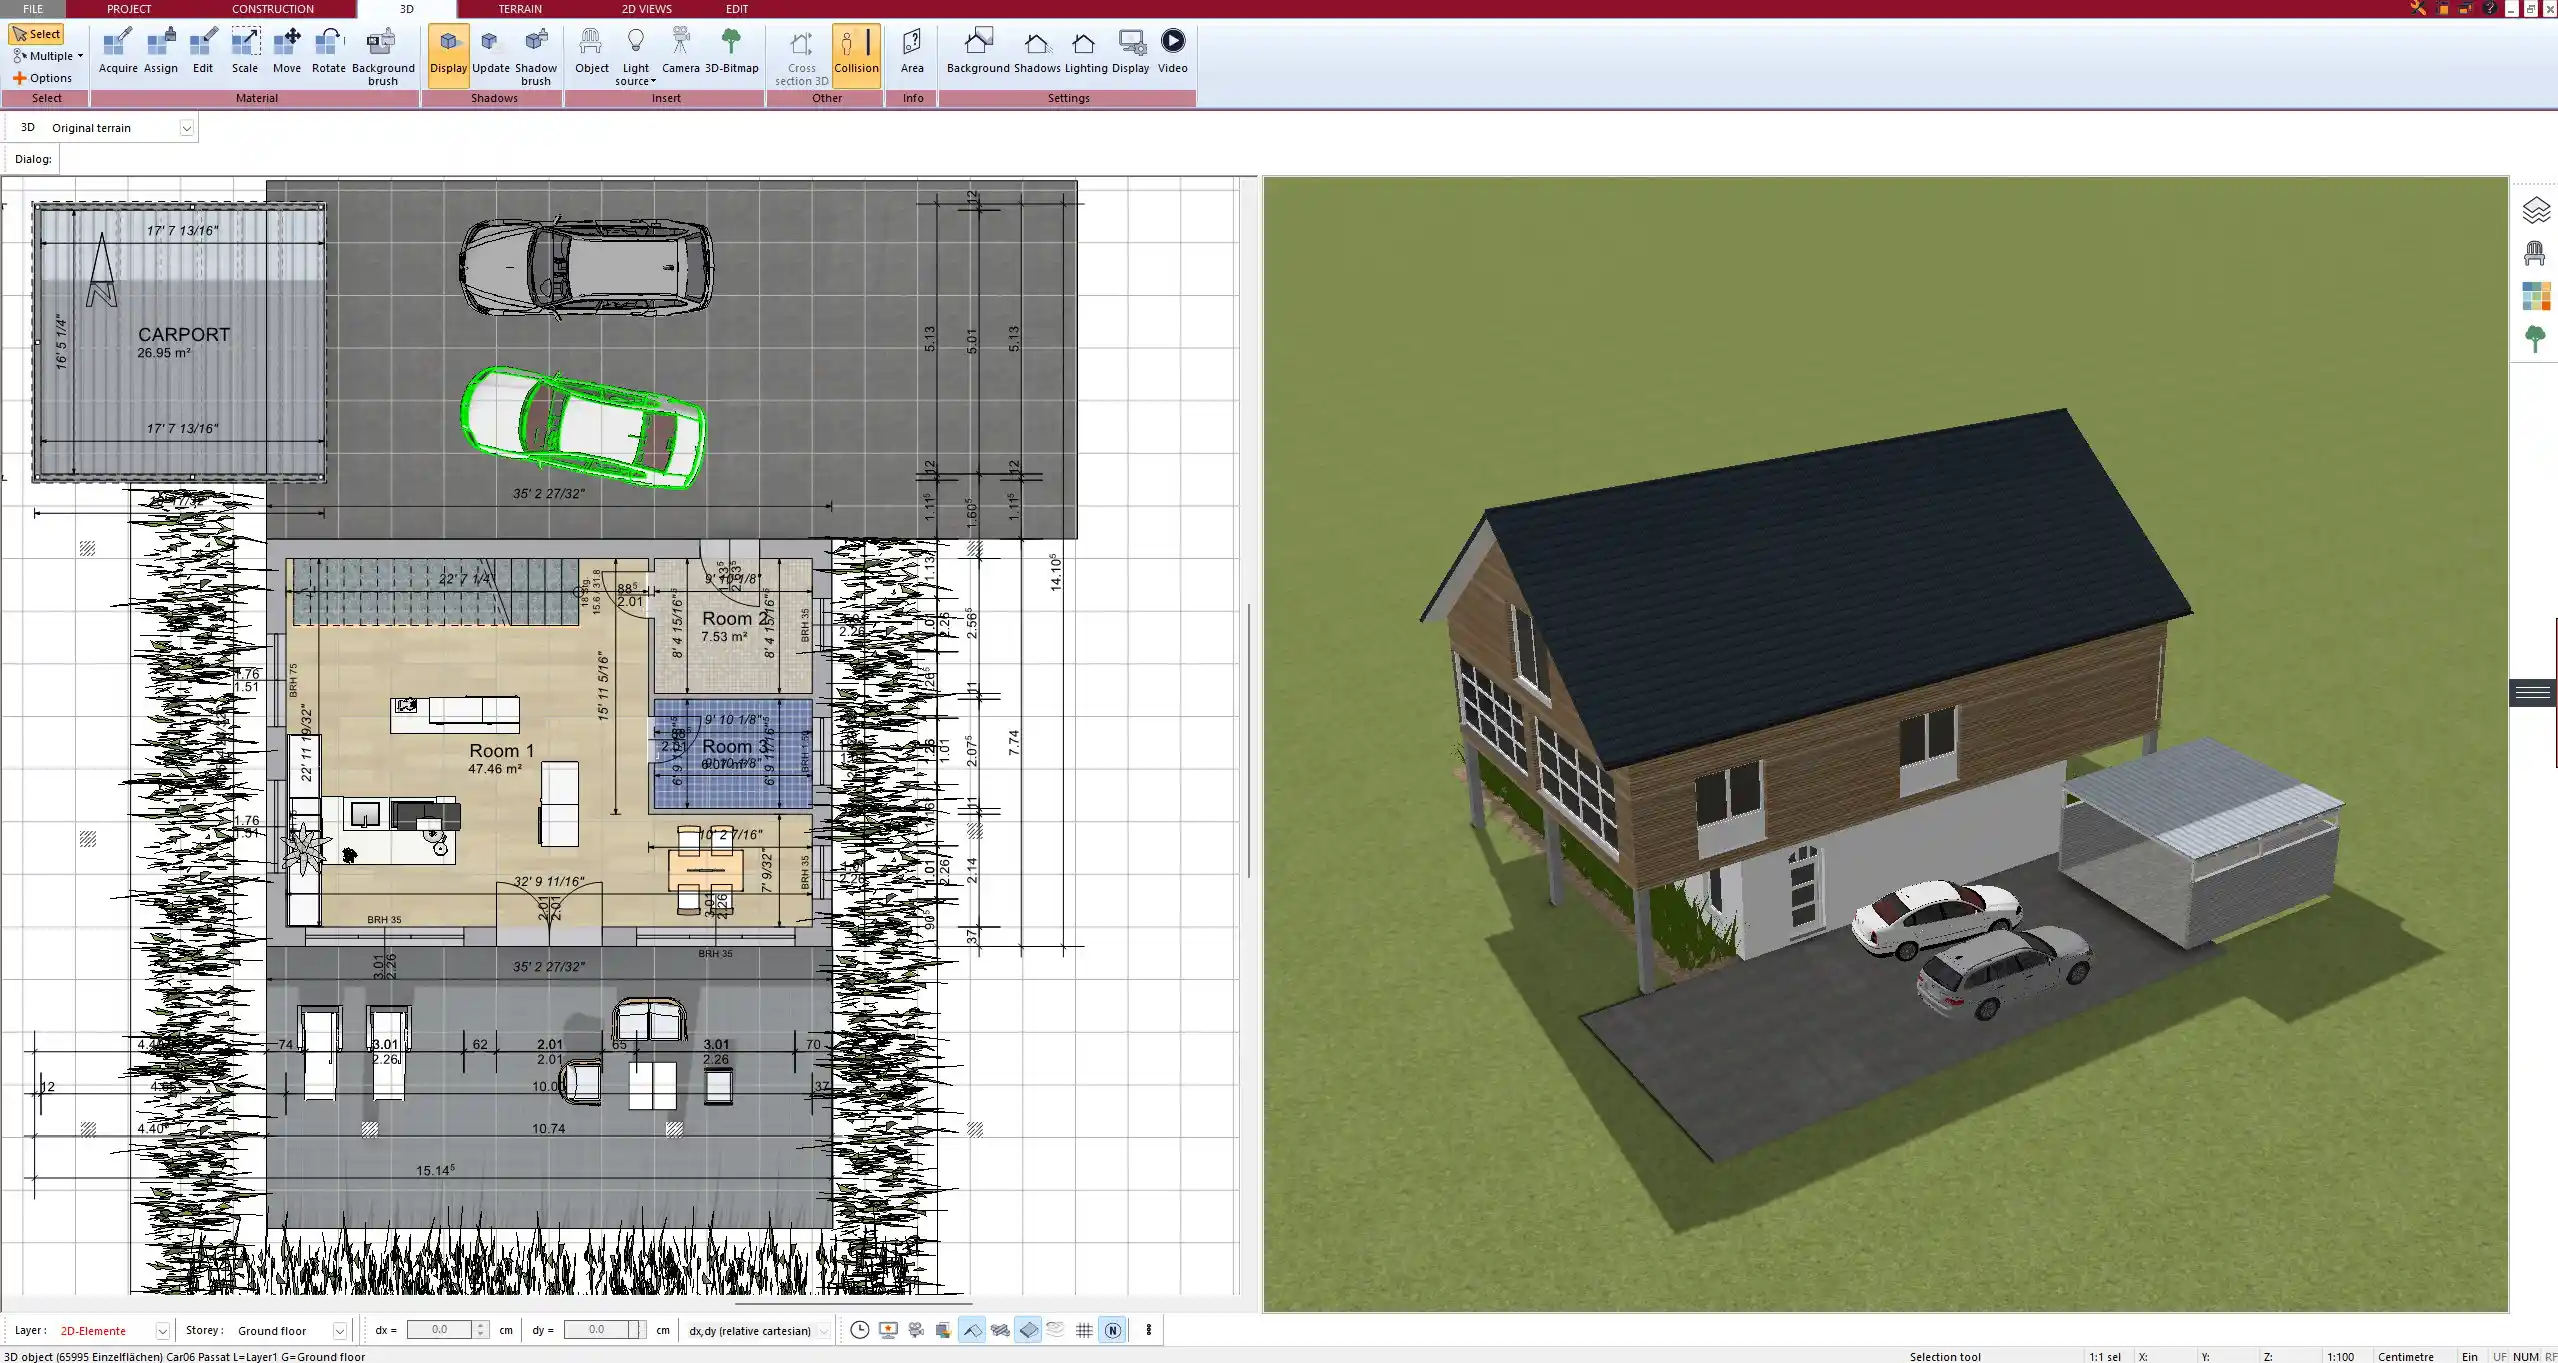
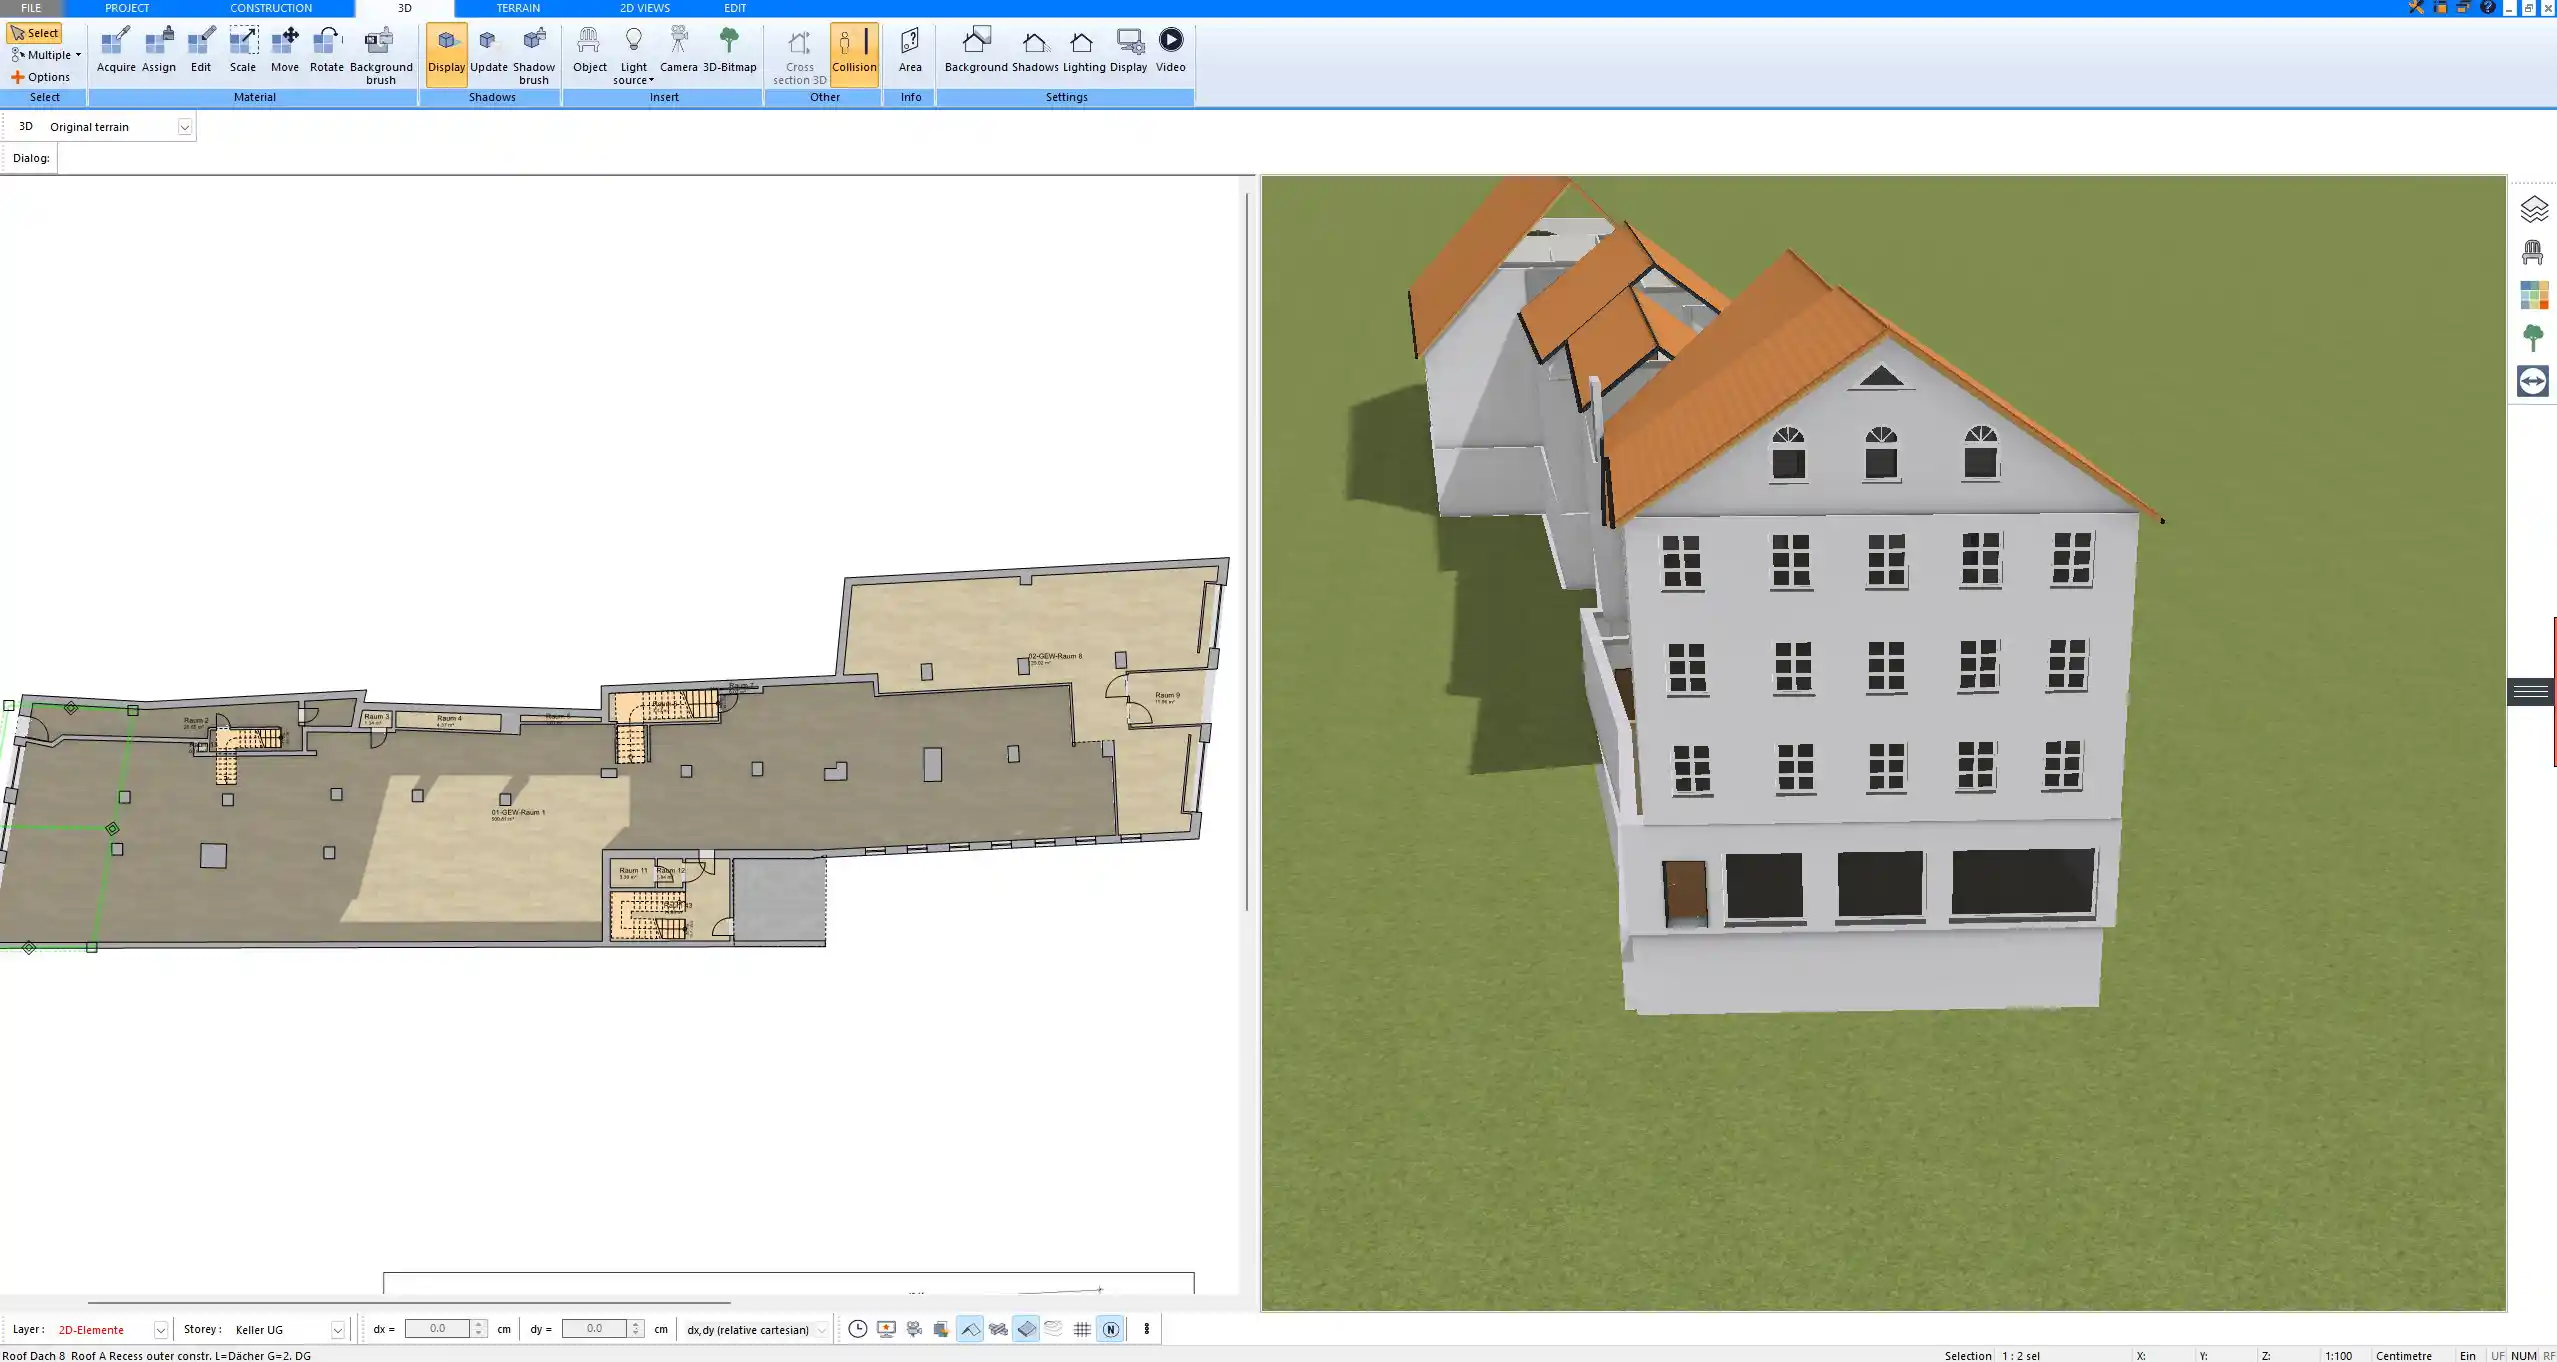
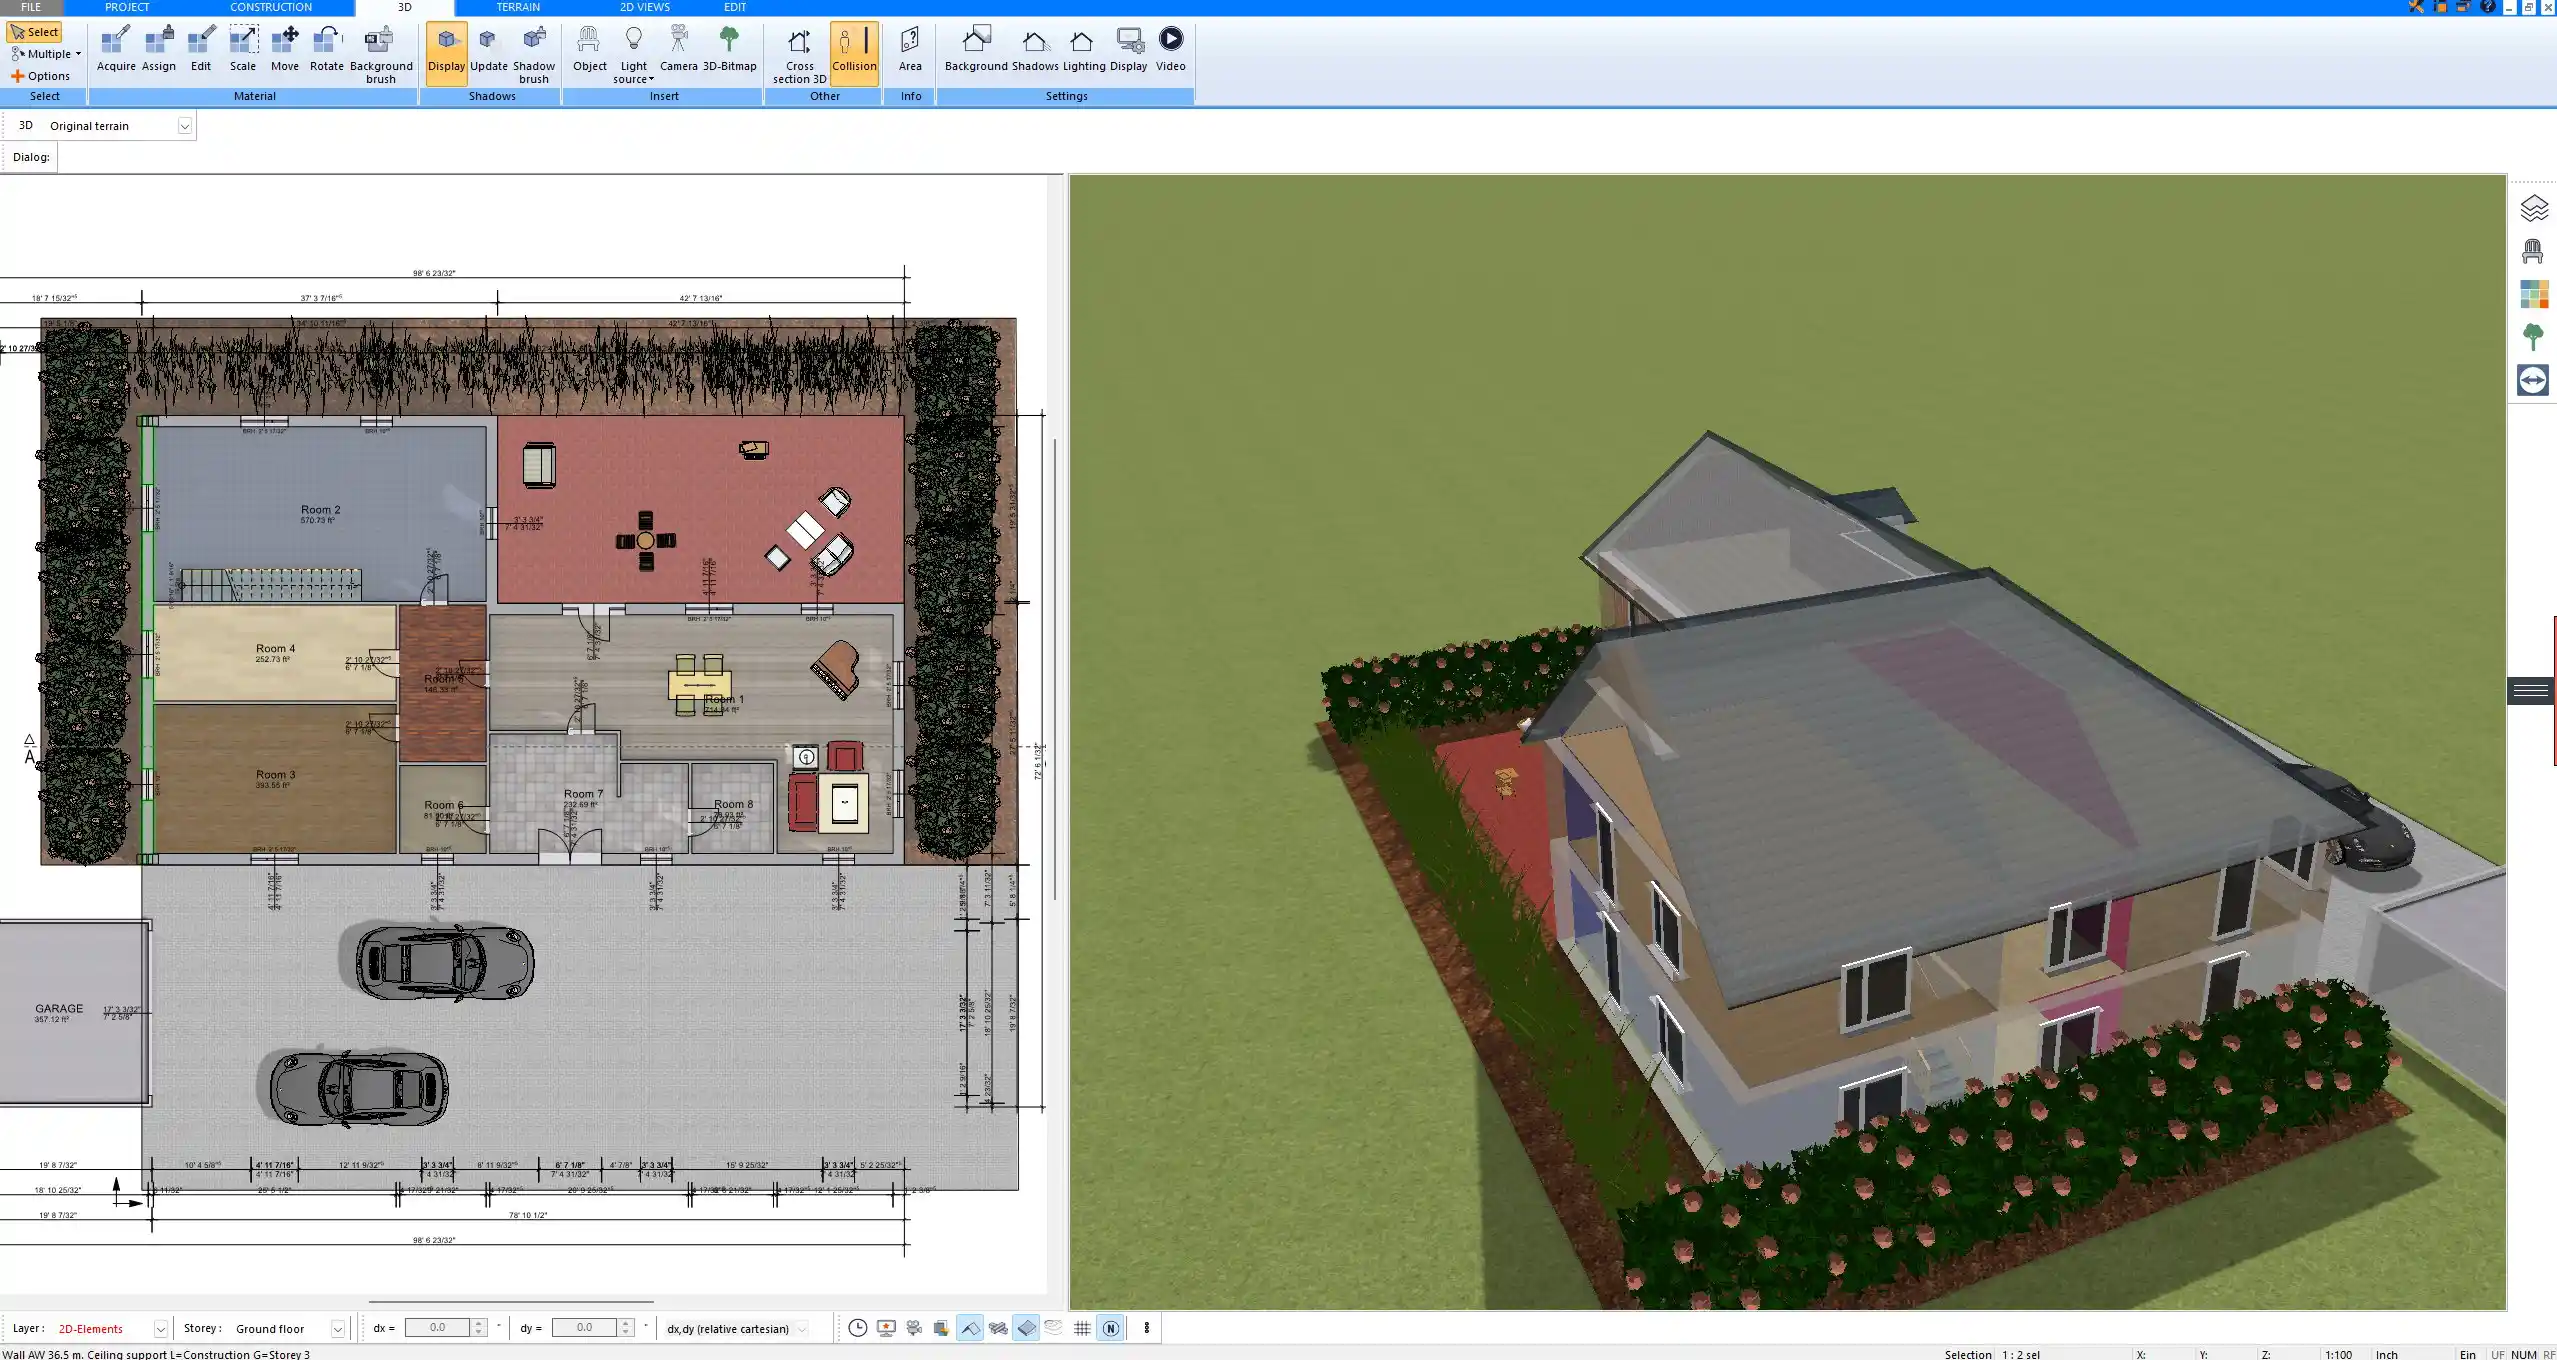
Step 5 – Generate 3D Views Instantly
Switching between 2D and 3D is seamless. With a single click, you can view your design in 3D, allowing you to walk through the project virtually. This gives you the chance to spot potential issues early and make adjustments directly in the software.
The real-time 3D view helps you better understand the proportions and design flow before moving on to execution.
Step 6 – Export and Share the Construction Drawing
Once your drawing is complete, you can export it in different formats.
-
2D export: DWG, DXF, or PDF for use by professionals.
-
3D export: ideal for presentations and client communication.
These files can be sent directly to architects, contractors, or engineers, ensuring that your design can be used immediately for planning and building purposes.
Why Plan7Architect Makes Construction Drawings Easy
Plan7Architect offers an intuitive drag-and-drop interface that eliminates the steep learning curve of traditional CAD software. It is powerful enough for professional results yet simple enough to use without technical training.
Key advantages include:
-
Accurate dimensioning tools
-
Real-time visualization
-
Large library of construction elements
-
Compatibility with professional file formats
Common Use Cases for Construction Drawings with Plan7Architect
New Builds
Plan the full structure of a house from scratch, including all levels, technical details, and 3D visualization.
Renovations and Extensions
Easily integrate new walls, staircases, or rooms into an existing plan, ensuring that the new structure fits seamlessly.
Garages, Carports, and Outbuildings
Design stand-alone or attached buildings with accurate construction drawings and 3D visualization.
Landscaping and Outdoor Areas
Create terraces, driveways, or garden layouts with precise measurements and realistic previews.
Tips for Accurate Construction Drawings
-
Always choose your preferred units (metric or imperial) before starting.
-
Use layers to separate walls, furniture, annotations, and technical elements.
-
Check dimensions twice before finalizing the plan.
-
Switch frequently between 2D and 3D to ensure the design works in both views.
Create Professional Construction Drawings with Plan7Architect
With Plan7Architect, you can design professional construction drawings step by step – from the first wall to complete technical details and 3D visualization. Whether you are planning a new build, a renovation, or an extension, the software gives you all the tools you need to create accurate and presentation-ready plans. You can switch between European and American units, making it suitable for projects worldwide. If you want to try it risk-free, you benefit from a 14-day right of withdrawal and can easily cancel your purchase by email. This replaces the need for a trial version and gives you full access from the start.
Plan your project with Plan7Architect

Plan7Architect Pro 5 for $99.99
You don’t need any prior experience because the software has been specifically designed for beginners. The planning process is carried out in 5 simple steps:
1. Draw Walls

2. Windows & Doors

3. Floors & Roof

4. Textures & 3D Objects

5. Plan for the Building Permit

6. Export the Floor Plan as a 3D Model for Twinmotion

- – Compliant with international construction standards
- – Usable on 3 PCs simultaneously
- – Option for consultation with an architect
- – Comprehensive user manual
- – Regular updates
- – Video tutorials
- – Millions of 3D objects available
Why Thousands of Builders Prefer Plan7Architect
Why choose Plan7Architect over other home design tools?


