If you want a quick overview of the process, here are the essential steps you will follow when building a house extension:
-
Define your goals and budget
-
Check permits and regulations
-
Create detailed plans and drawings
-
Arrange financing
-
Hire professionals or plan DIY tasks
-
Prepare the site
-
Build foundations and structure
-
Install utilities (electricity, plumbing, HVAC)
-
Complete walls, roof, and insulation
-
Interior finishing and decoration
Step 1 – Define Goals and Budget
The first step is to be very clear about why you are building the extension. Do you need more bedrooms, a larger kitchen, a home office, or a living room with more light? Your purpose will guide the design and the required size.
Once you know what you want, define your budget. Include costs for:
-
Construction materials
-
Labor and contractor fees
-
Permits and approvals
-
Utility connections
-
Interior finishes and furniture
-
A financial buffer of at least 10 to 20 percent
Step 2 – Check Permits and Regulations
Before you can start, you must check local building codes and zoning rules. In some countries, the approval process is very fast, while in others it requires detailed documentation and months of waiting.
Typical documents needed:
-
Floor plans and elevations
-
Structural calculations
-
Energy efficiency details
-
Site plan showing property boundaries
In many cases, you will need an architect or structural engineer to sign off on the plans before submission.
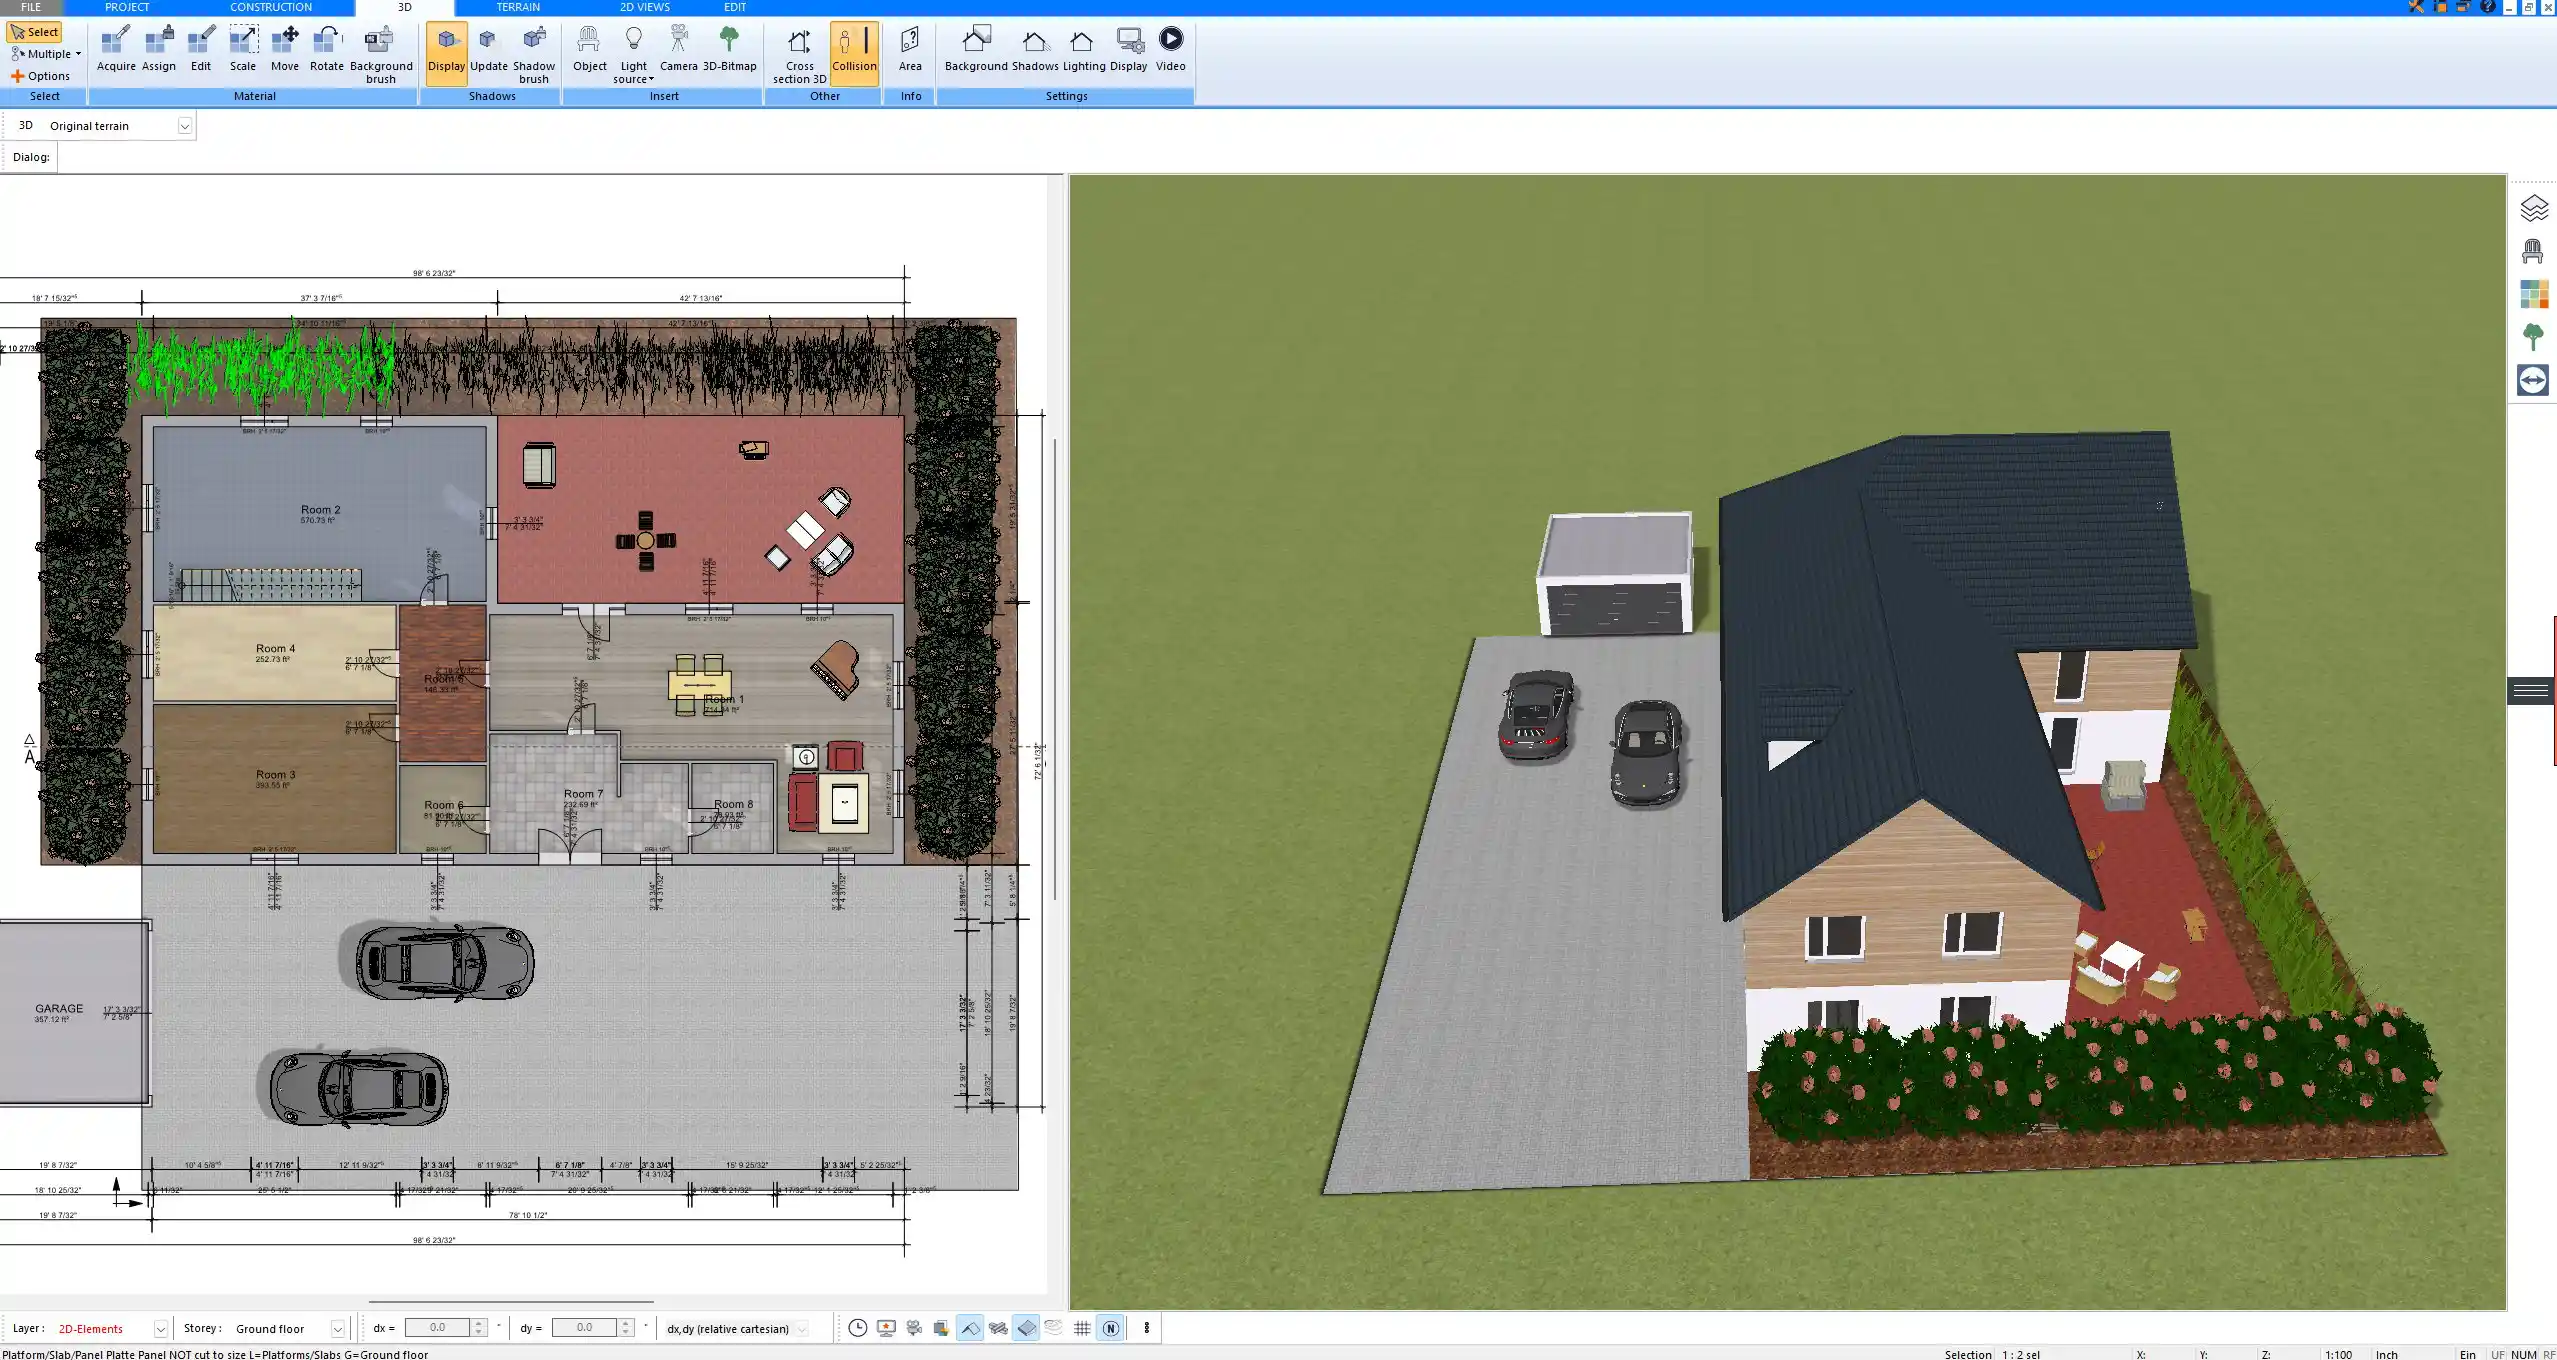
Step 3 – Create Detailed Plans
Accurate planning avoids costly mistakes during construction. With software like Plan7Architect, you can create detailed 2D and 3D floor plans and visualize the extension in realistic views. The advantage is that you can switch between European and American units, making it flexible for any region.
Professional drawings help to:
-
Check proportions and room layouts
-
Ensure the extension integrates with the existing building
-
Plan window placements for natural light
-
Visualize roof shapes and façade finishes
Step 4 – Arrange Financing
If savings are not enough, financing options include:
-
Bank loans or refinancing an existing mortgage
-
Special programs for energy-efficient extensions
-
Private financing
Always request a clear cost breakdown from contractors before applying for financing.
Step 5 – Hire Professionals or DIY
Decide which parts you want to do yourself and which require professionals.
Tasks usually done by professionals:
-
Structural calculations
-
Foundation and roof work
-
Electrical wiring and plumbing
Possible DIY tasks if you have experience:
-
Painting
-
Flooring
-
Landscaping around the extension
It is best to request quotes from at least three contractors for comparison.
Step 6 – Site Preparation
The site must be prepared before construction can begin. This includes:
-
Clearing vegetation or old structures
-
Setting up safety barriers
-
Marking the layout with string lines or spray paint
Step 7 – Build Foundations and Structure
The foundation depends on soil type and house design. Common foundation types include:
-
Concrete slab
-
Strip foundations
-
Pile foundations
Once the foundation is ready, the structural walls and roof are built. Options for walls include brickwork, traditional wood framing, or insulated concrete forms. The roof design can be flat, pitched, or matched to the existing structure.
Step 8 – Install Utilities
At this stage, the main systems are added:
-
Electrical wiring and outlets
-
Plumbing pipes and fixtures
-
Heating, ventilation, and air conditioning
Coordination is very important, as trades must work in sequence without delays.
Step 9 – Complete Walls, Roof, and Insulation
The structure is closed with exterior finishes and insulation. Key tasks:
-
Installing windows and doors
-
Adding thermal and sound insulation
-
Exterior cladding, plaster, or siding
Energy-efficient insulation is especially important in colder climates.
Step 10 – Interior Finishing and Decoration
The final stage is the interior. This step turns the extension into a comfortable living space.
-
Flooring: tiles, wood, or carpet
-
Painting or wallpaper
-
Kitchen or bathroom installation
-
Interior lighting and fittings
Once completed, a final inspection ensures everything is safe and compliant.
Additional Considerations
Timeline for a House Extension
The duration of a project depends on the size of the extension:
-
Small single-room extension: 3–4 months
-
Larger multi-room extension: 6–12 months
Delays can occur due to weather, material shortages, or waiting times for permits.
Common Mistakes to Avoid
-
Underestimating costs and not including a buffer
-
Poor planning of natural light and ventilation
-
Not getting enough professional advice
-
Hiring the cheapest contractor without checking references
Tips for a Smooth Project
-
Keep all agreements with contractors in writing
-
Visit the site regularly to check progress
-
Communicate clearly with all professionals
-
Always plan for extra time and money to handle unexpected issues
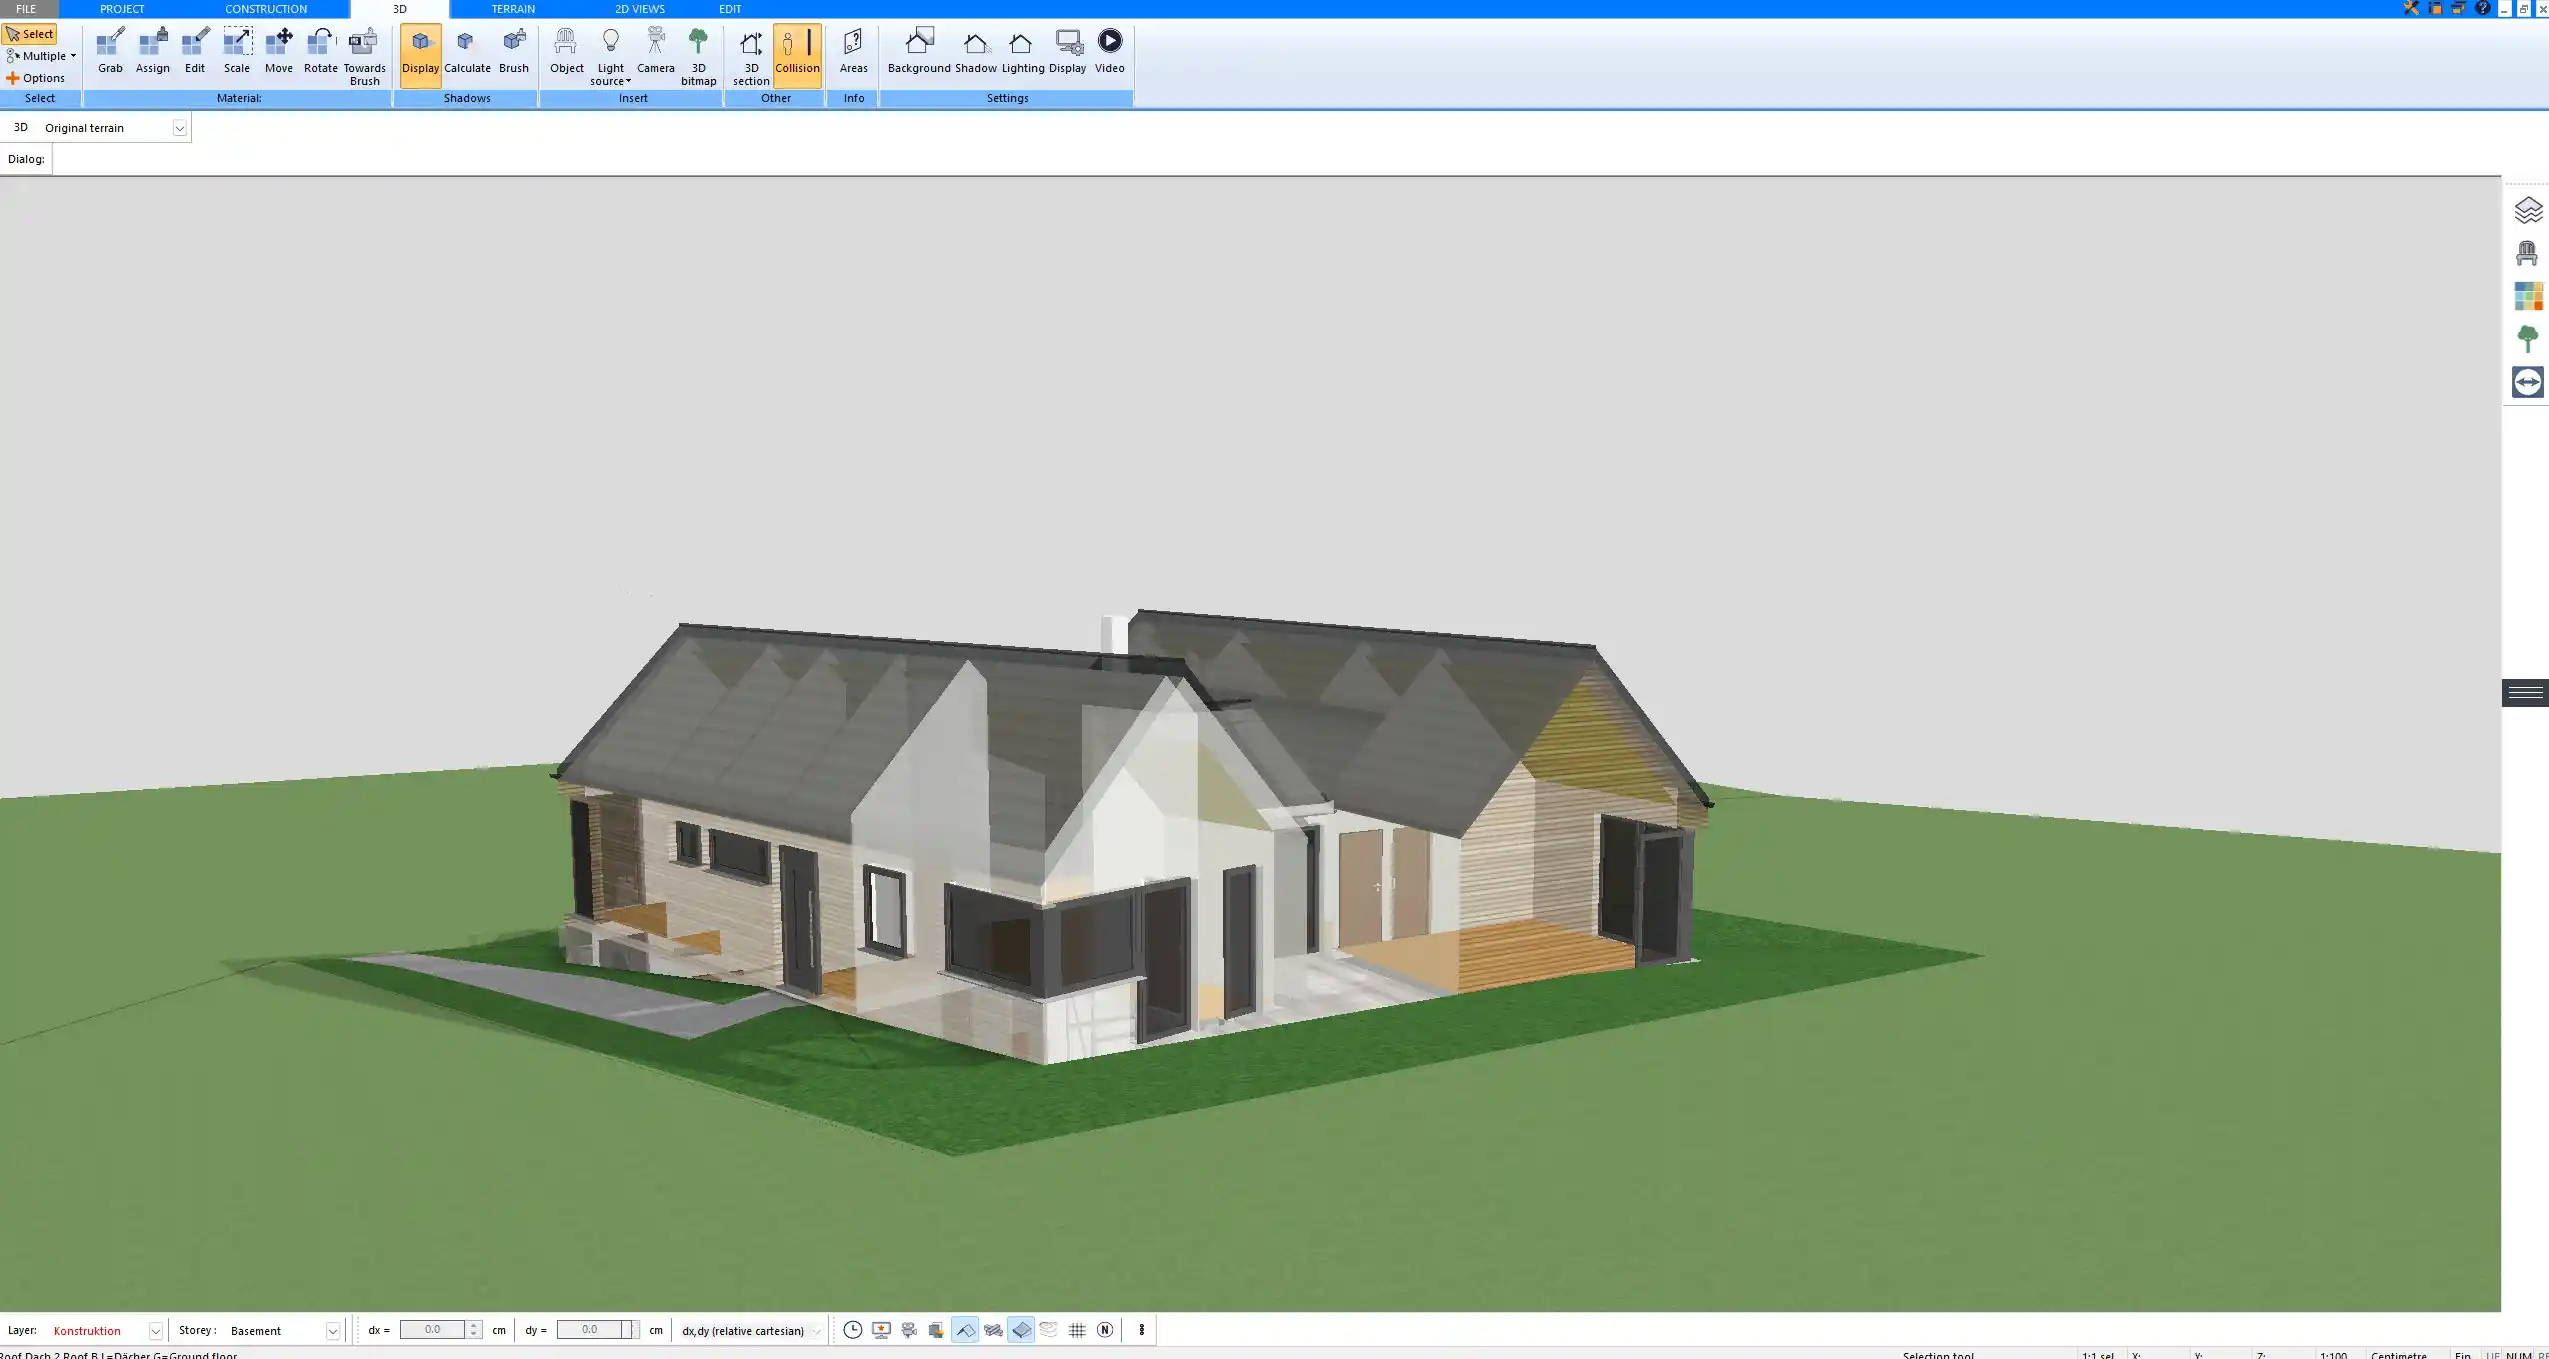
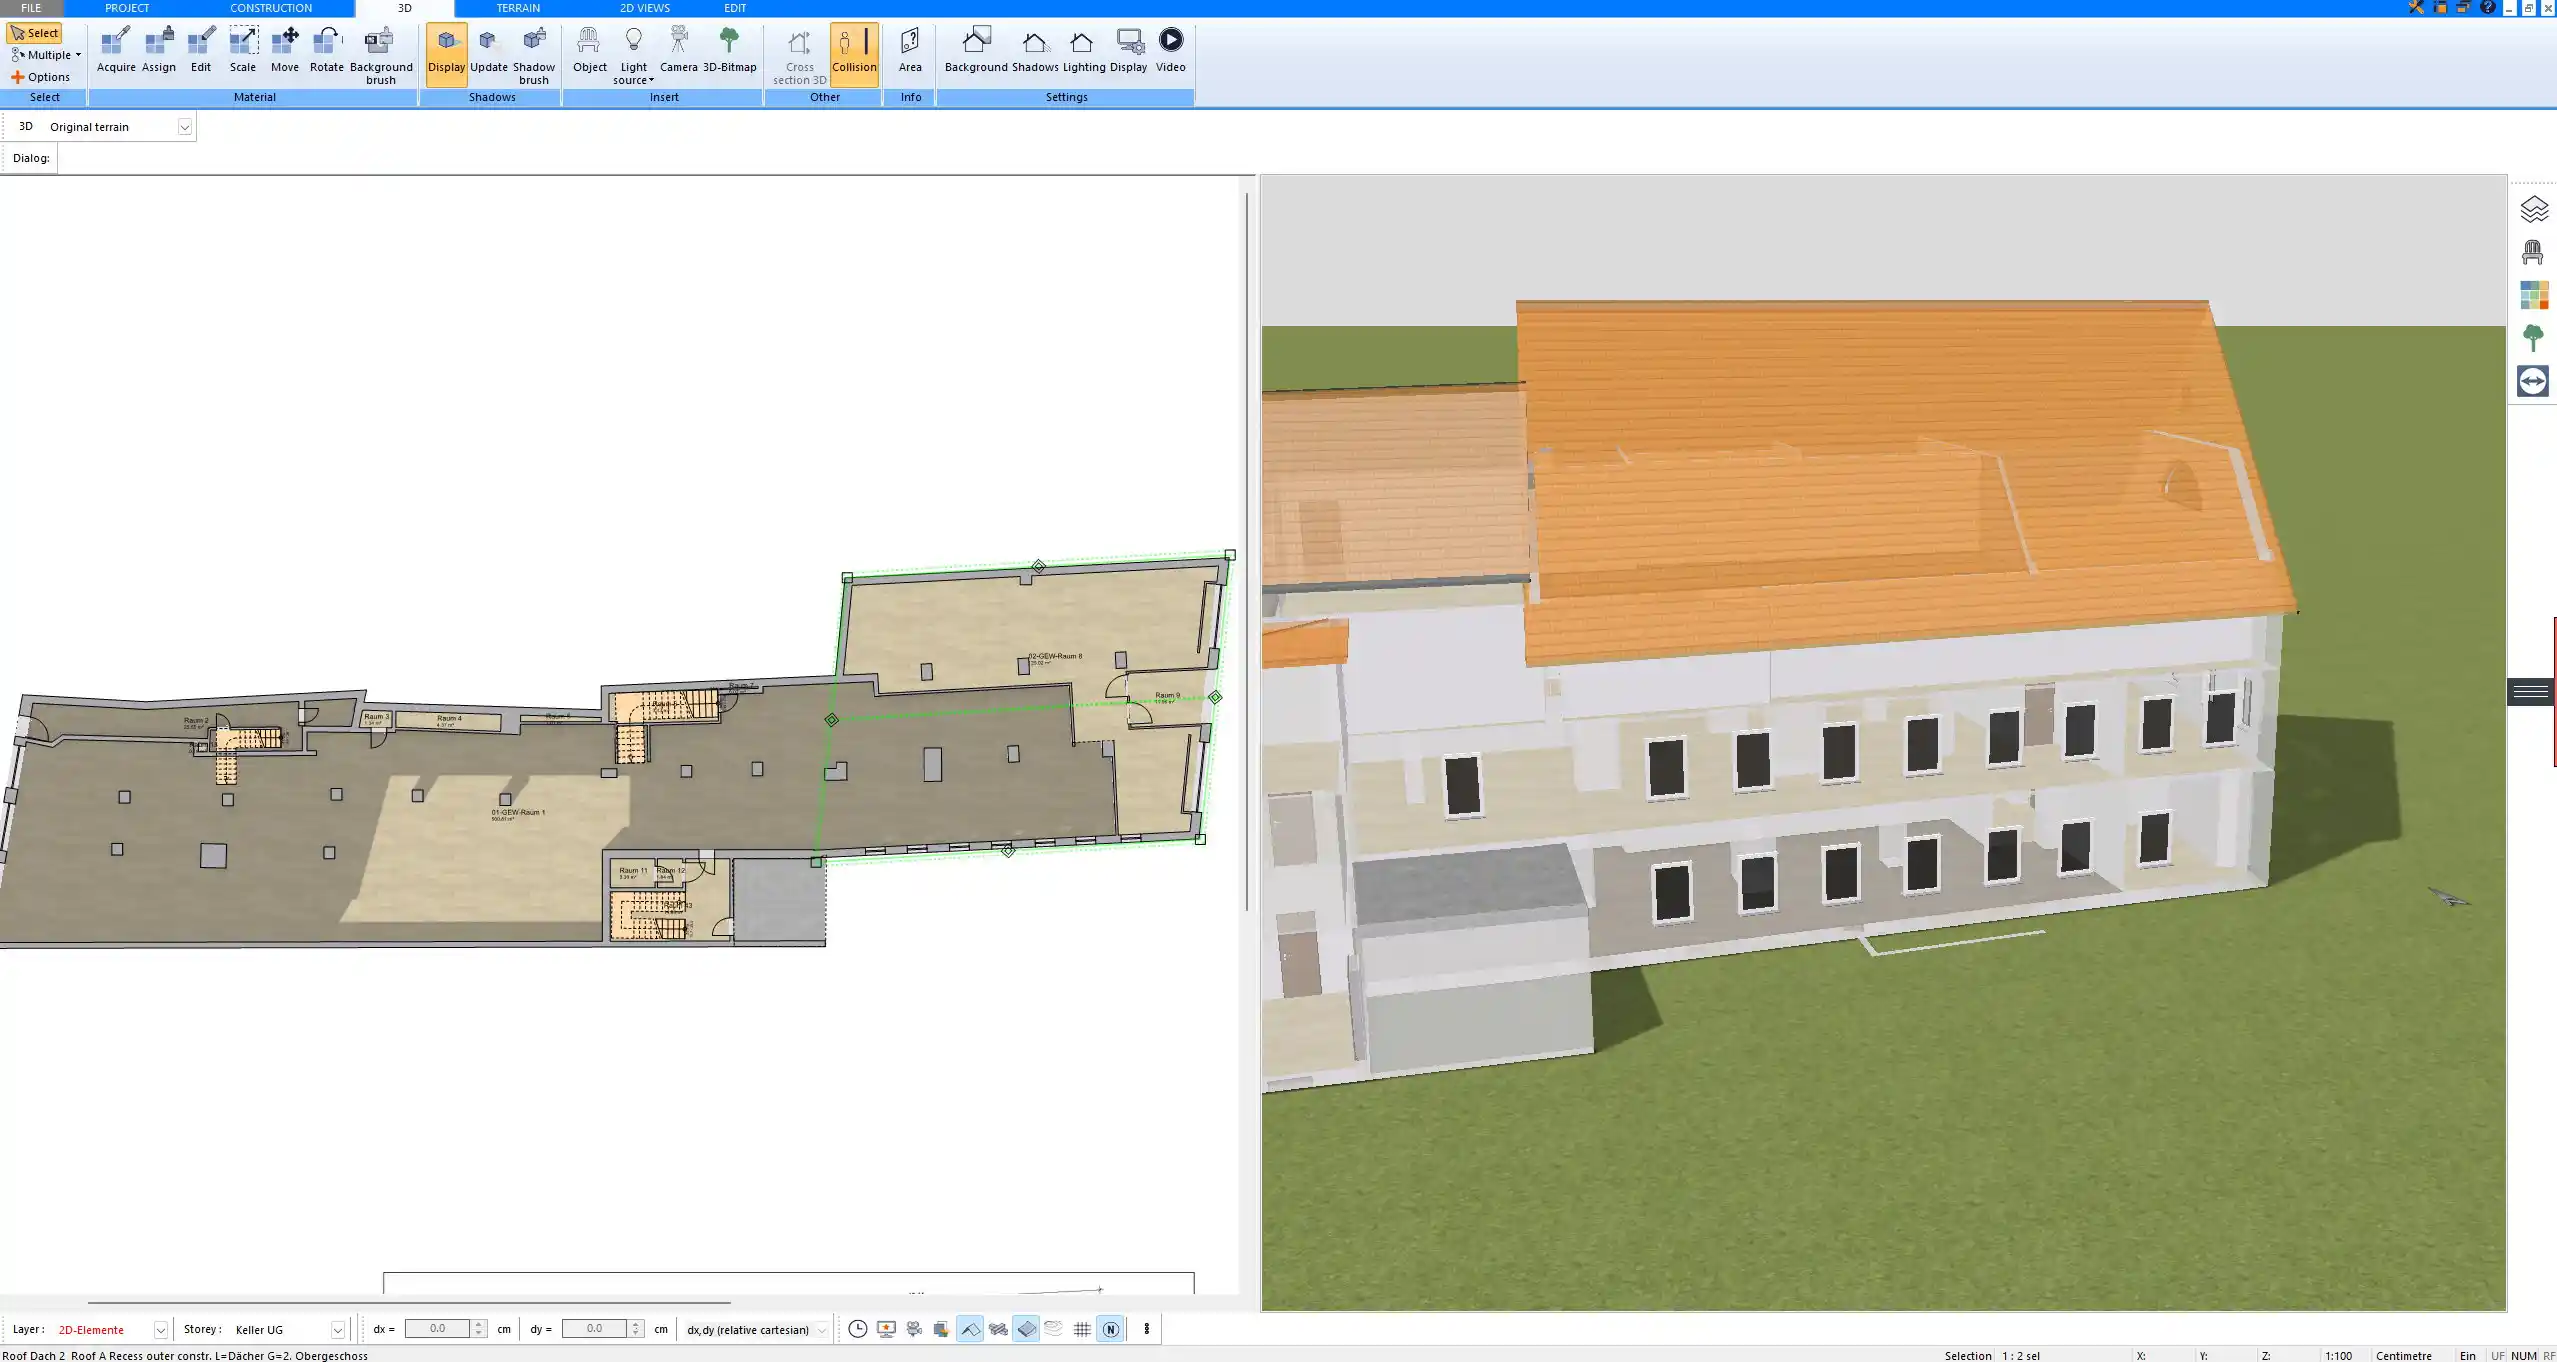
Plan Your Extension with Plan7Architect
With Plan7Architect, you can create professional floor plans and realistic 3D models of your house extension. You can easily design every step mentioned above, from foundations and walls to interior finishing. The software allows you to work with both European and American measurement units, making it suitable no matter where you are building. Customers benefit from a 14-day right of withdrawal and can cancel their purchase simply by email. This replaces the need for a trial version and gives you full flexibility. If you want to plan your extension professionally and with confidence, Plan7Architect is the right solution for you.
Plan your project with Plan7Architect

Plan7Architect Pro 5 for $109.99
You don’t need any prior experience because the software has been specifically designed for beginners. The planning process is carried out in 5 simple steps:
1. Draw Walls

2. Windows & Doors

3. Floors & Roof

4. Textures & 3D Objects

5. Plan for the Building Permit

6. Export the Floor Plan as a 3D Model for Twinmotion

- – Compliant with international construction standards
- – Usable on 3 PCs simultaneously
- – Option for consultation with an architect
- – Comprehensive user manual
- – Regular updates
- – Video tutorials
- – Millions of 3D objects available
Why Thousands of Builders Prefer Plan7Architect
Why choose Plan7Architect over other home design tools?


