When planning a hallway, the ideal width depends on how the space will be used. Still, there are clear recommendations based on comfort and functionality:
-
Minimum width: 90 cm (3 ft) – This is the tightest acceptable width. It works in small apartments but feels narrow for two people passing each other.
-
Recommended width: 100 to 120 cm (3.3 to 4 ft) – This range is ideal for most homes. It allows for smooth walking and natural flow between rooms.
-
Generous width: 130 to 150 cm (4.3 to 5 ft) – This creates a luxurious, open feel and is great for homes with high foot traffic or large furniture.
There is no fixed standard for hallway length since that depends entirely on the floor plan. But width is critical to usability and comfort.
Tip:
When working in Plan7Architect, you can set your preferred unit system to either metric or imperial, depending on your location or project needs.
Functional Considerations for Hallway Size
Traffic and Flow
The number of people regularly using the hallway is one of the main factors to consider. A hallway that connects a living room to bedrooms, bathrooms, and staircases should never feel cramped.
Ask yourself the following:
-
Will two people often walk past each other?
-
Are there children or pets who will be moving through at the same time?
-
Does the hallway connect to doors that open into it?
If doors swing into the hallway, extra clearance is necessary to avoid blocking passage. For example, a door opening into a 90 cm (3 ft) hallway may make the space feel even tighter. In such cases, aim for at least 100 or 110 cm (3.3 to 3.6 ft) width to keep the hallway usable even when doors are open.
For high-traffic areas such as the main corridor in a family home, planning for at least 120 cm (4 ft) is a safe and comfortable choice.
Accessibility Requirements
If you’re planning for accessibility – whether for a wheelchair user, someone using a walker, or simply thinking ahead for age-friendly design – the hallway must be wider.
Recommended accessibility widths:
-
Minimum: 120 cm (4 ft)
-
Comfortable and safe: 150 cm (5 ft)
A wider hallway allows a wheelchair to move freely and provides space to turn, especially near doorways or corners. If there are multiple room entries along the hallway, be sure to allow extra room so that turning into the doorways doesn’t feel cramped.
Tip:
Consider placing light switches, handrails, and storage at heights that support universal design.
Aesthetic and Design Aspects
Narrow vs. Wide Hallways
While a wider hallway offers a more comfortable experience, it does require more square footage. In small homes, especially in apartments or compact houses, every centimeter (or inch) counts.
Narrow hallways (90–100 cm / 3–3.3 ft):
-
Save space
-
Can feel cramped without proper lighting
-
Are acceptable in areas with very low foot traffic
Wide hallways (130 cm+ / 4.3 ft+):
-
Provide a premium look and feel
-
Allow for decorative elements like console tables, artwork, or benches
-
Improve accessibility and overall home flow
The choice ultimately depends on your layout priorities. If you have space to spare, investing in a slightly wider hallway adds lasting value.
Lighting, Flooring, and Wall Design
Design choices can make a significant difference, especially in narrow or windowless hallways.
Suggestions to visually expand a hallway:
-
Use light, neutral colors on walls
-
Install wall-mounted lighting or recessed ceiling lights
-
Consider mirrors to reflect light and create depth
-
Avoid abrupt changes in flooring between hallway and adjoining rooms
-
Keep wall decorations minimal to prevent visual clutter
Practical Planning Tips
Hallways in Small Homes or Apartments
When space is limited, hallways need to be highly efficient. In such layouts, it helps to:
-
Use sliding doors to eliminate swing clearance
-
Minimize hallway length to maximize usable living space
-
Incorporate storage niches into the hallway wall
-
Avoid decorative elements that reduce effective width
In some cases, replacing long hallways with open-concept transitions or combined spaces is a smart solution.
Hallways in Larger or Multi-Storey Homes
In larger homes, hallways are often longer and more central to the overall layout. In these cases, a wider hallway provides a more balanced look and a sense of openness.
For example:
-
A main entrance hallway with a width of 130–150 cm (4.3–5 ft) creates a welcoming, spacious first impression.
-
Upstairs hallways between bedrooms can be slightly narrower, around 100–110 cm (3.3–3.6 ft), unless accessibility is a concern.
In multi-storey homes, be mindful of staircase landings and their connection to upper-floor hallways. The transition between stair and hallway should allow enough space to turn safely and move furniture if needed.
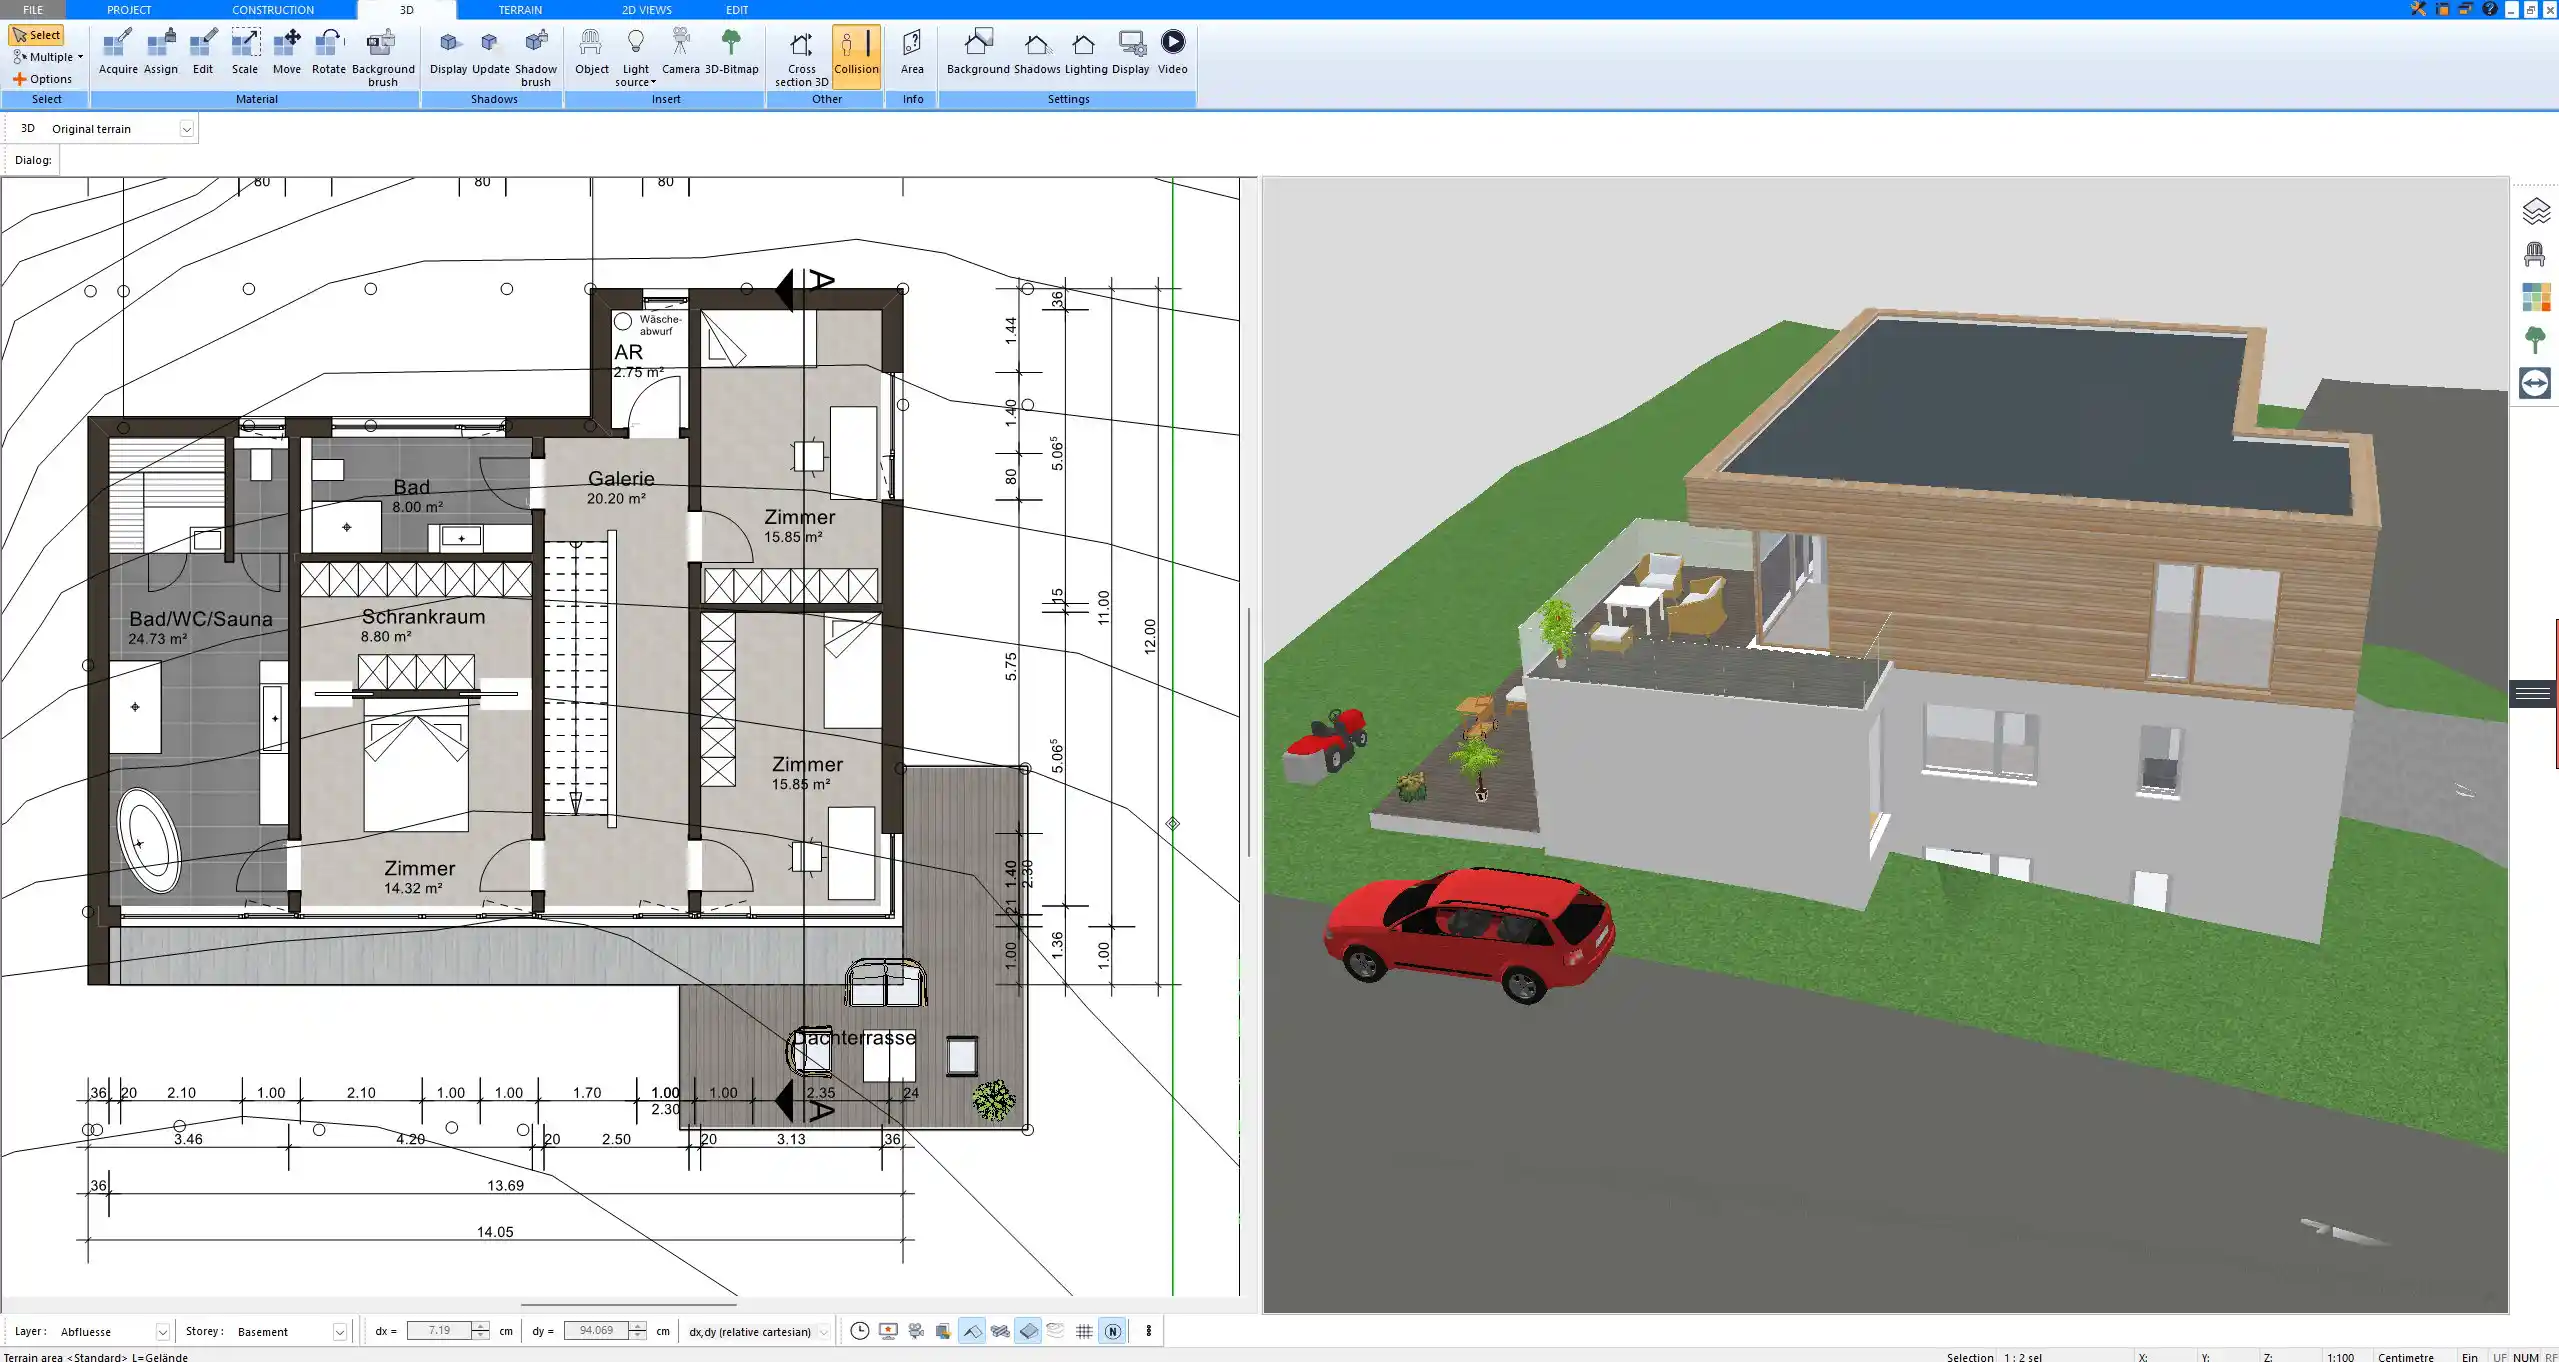
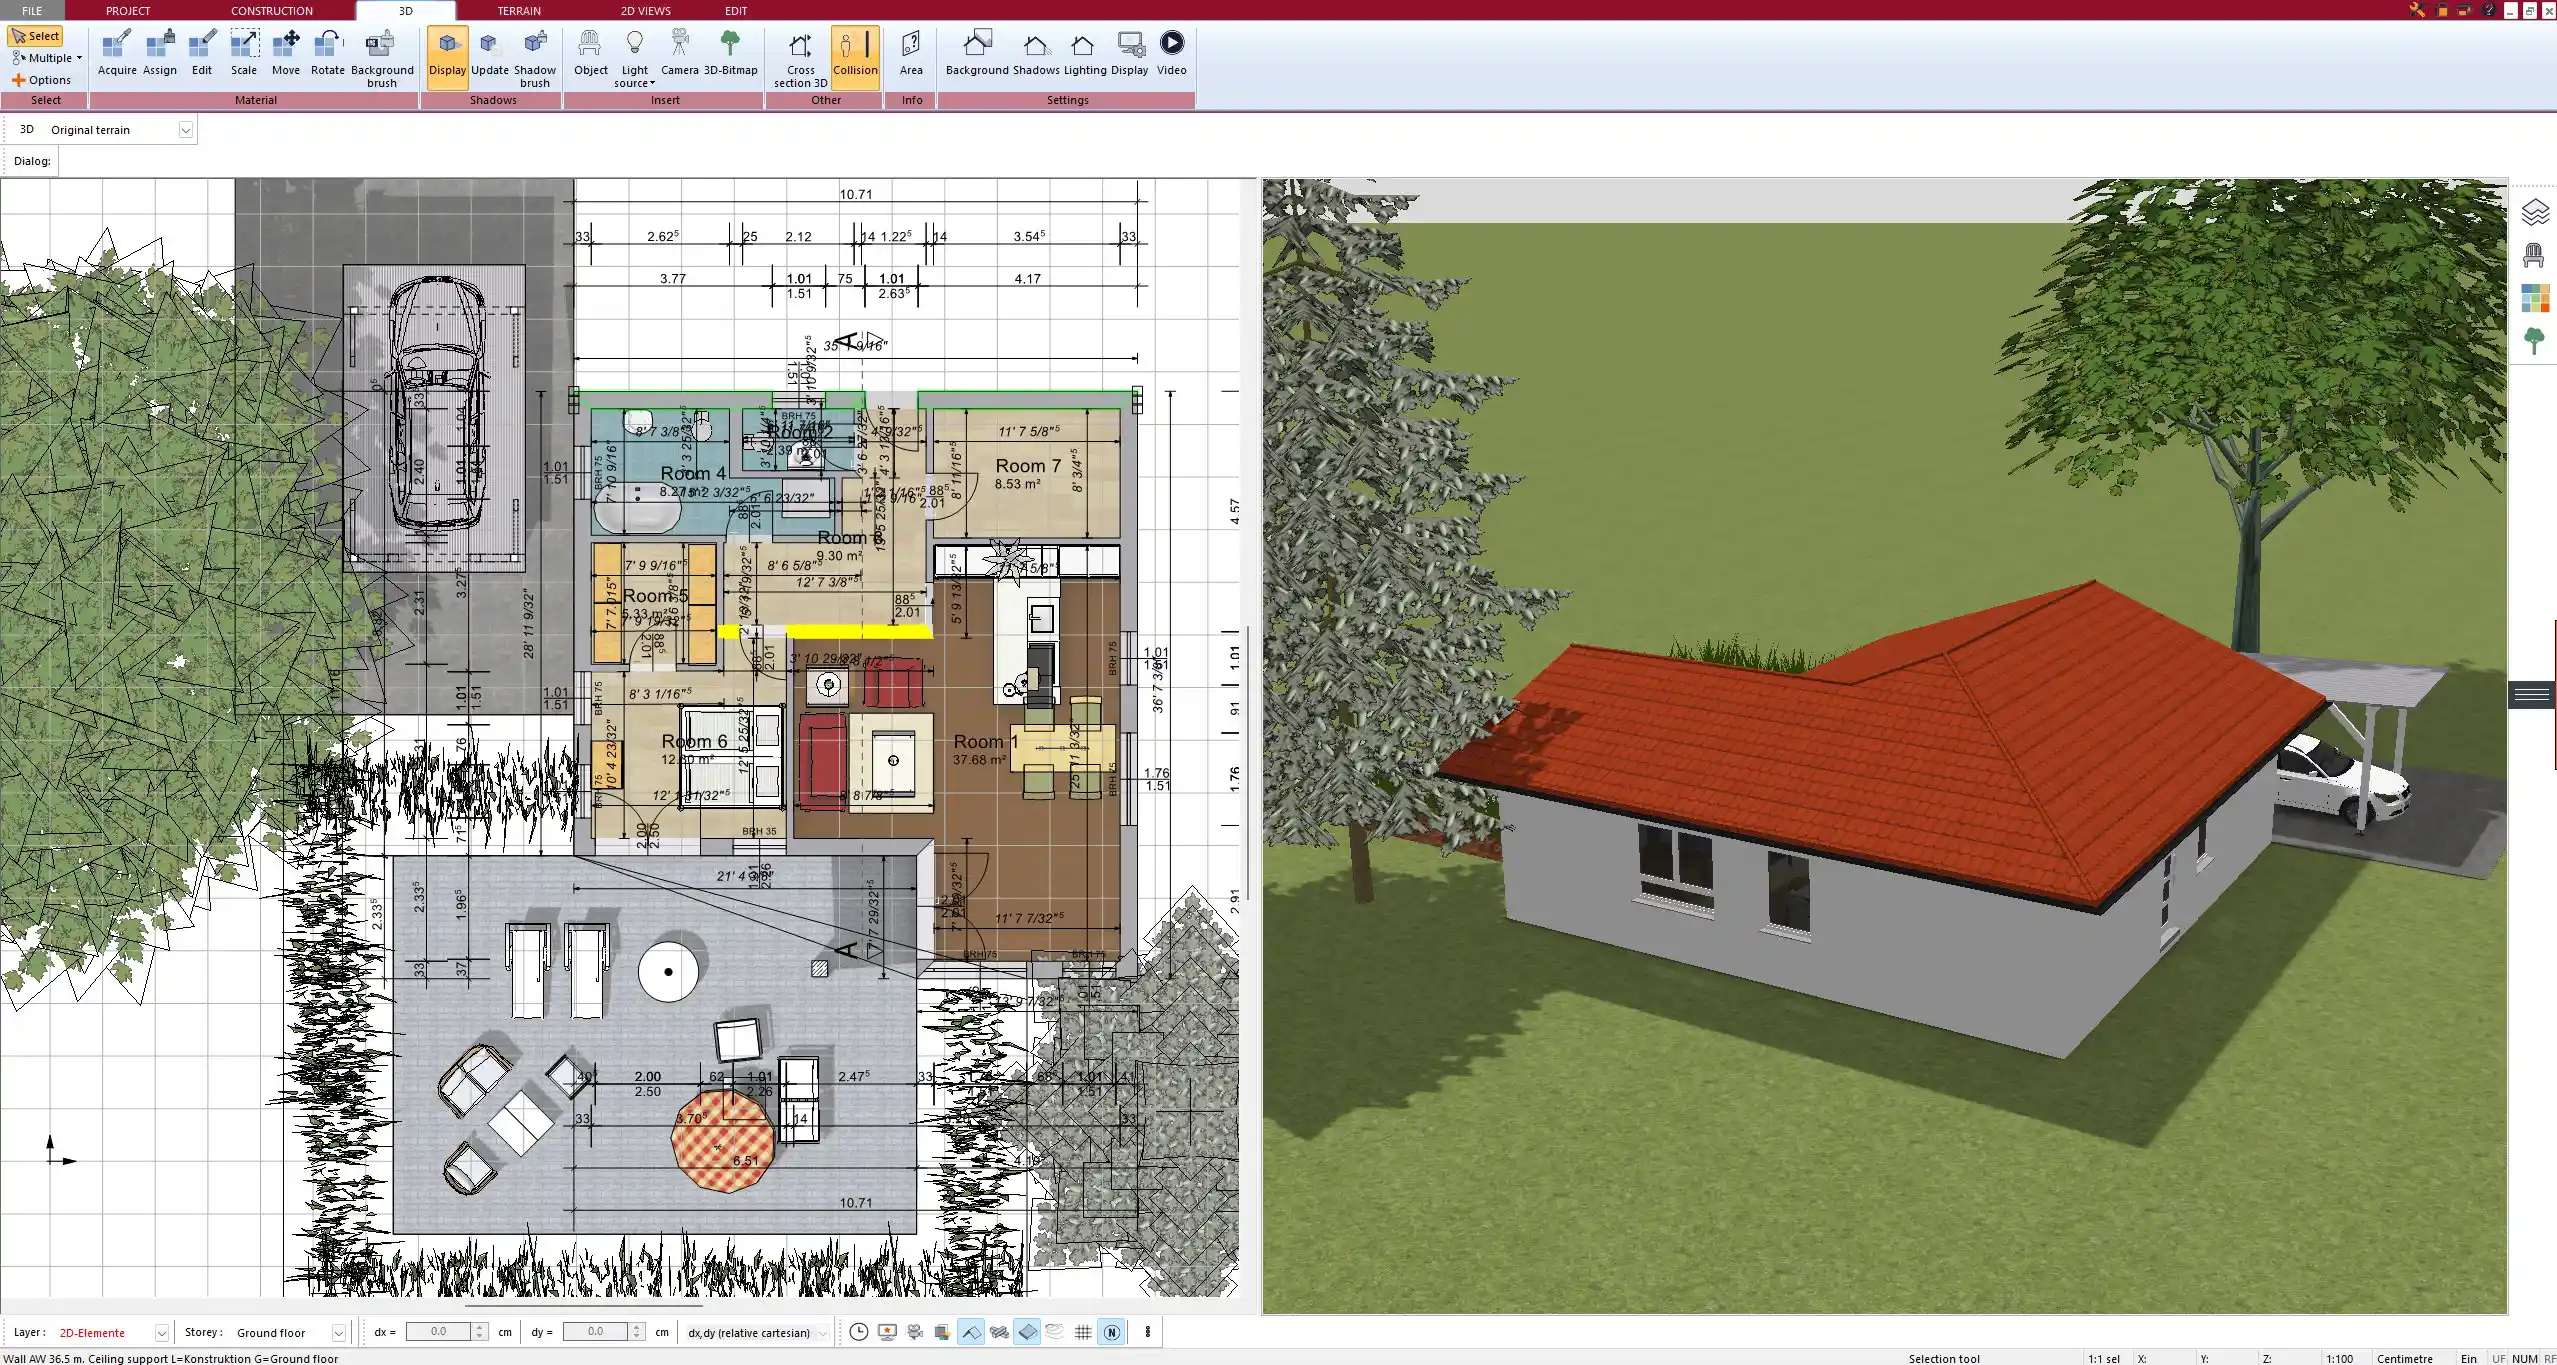
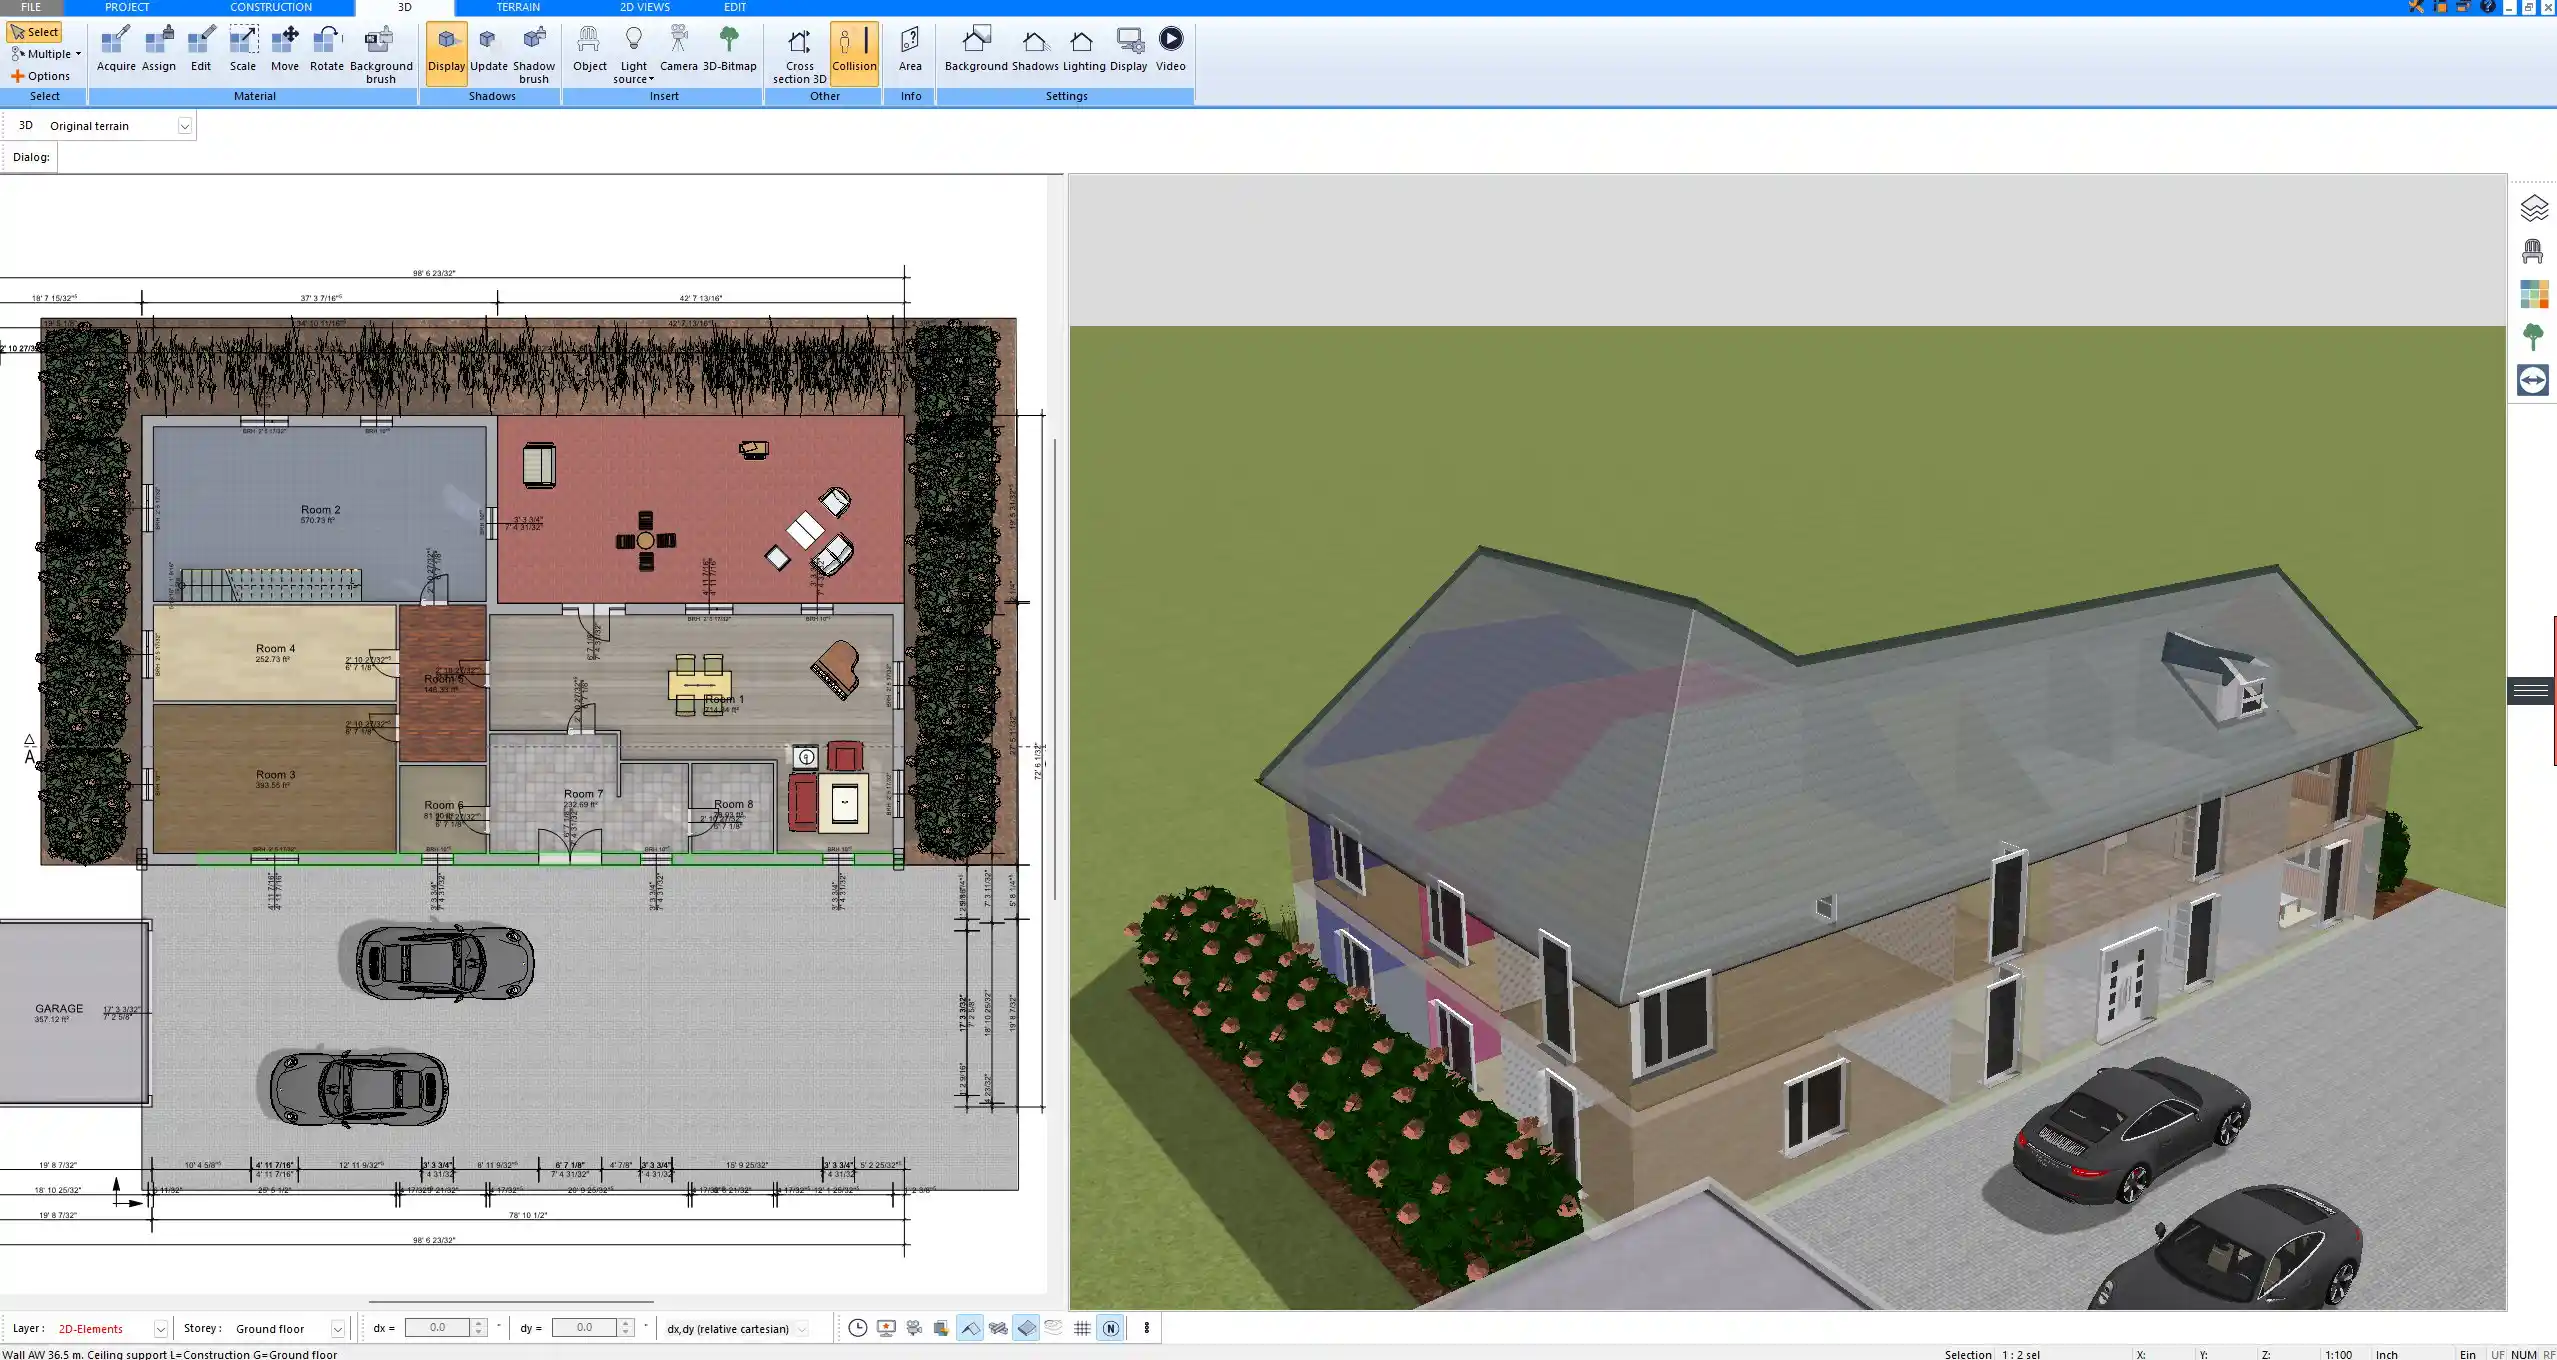
Planning Hallways with Software
With a tool like Plan7Architect, hallway planning becomes much easier. You can:
-
Draw precise 2D and 3D layouts of hallways and adjoining rooms
-
Adjust hallway width to test different flow scenarios
-
Walk through your design virtually to understand real-world usability
-
Use metric or imperial units, depending on your region or project needs
You can also import furniture, lighting elements, and structural details to see how everything fits. This is especially useful when dealing with tight spaces or when planning for accessibility.
Summary – Key Hallway Size Guidelines
Below is a practical table that helps you determine the best hallway size for your project:
| Use Case | Minimum Width | Ideal Width |
|---|---|---|
| Small private home | 90 cm / 3 ft | 100–110 cm / 3.3–3.6 ft |
| Regular family home | 100 cm / 3.3 ft | 120–130 cm / 4–4.3 ft |
| Luxury home / High-traffic | 130 cm / 4.3 ft | 140–150 cm / 4.6–5 ft |
| Accessible (wheelchair use) | 120 cm / 4 ft | 150 cm / 5 ft |
Planning with the right hallway width ensures a comfortable, safe, and well-balanced home layout. Use these dimensions as a guide, and adjust them based on your home’s specific needs.
Plan your project with Plan7Architect

Plan7Architect Pro 5 for $99.99
You don’t need any prior experience because the software has been specifically designed for beginners. The planning process is carried out in 5 simple steps:
1. Draw Walls

2. Windows & Doors

3. Floors & Roof

4. Textures & 3D Objects

5. Plan for the Building Permit

6. Export the Floor Plan as a 3D Model for Twinmotion

- – Compliant with international construction standards
- – Usable on 3 PCs simultaneously
- – Option for consultation with an architect
- – Comprehensive user manual
- – Regular updates
- – Video tutorials
- – Millions of 3D objects available


