With Plan7Architect, you can quickly and accurately visualize your entire house floor plan in both 2D and 3D. All you need to do is draw your layout in 2D and switch to 3D view with a single click. You can walk through your design virtually, zoom in on details, and make changes in real time. Whether you prefer metric (meters, centimeters) or imperial (feet, inches) units, the software supports both systems seamlessly. You can adjust dimensions precisely and view your plan from any angle.
Step-by-Step: From Sketch to Visual Floor Plan
Set up your project
Start by opening a new project in Plan7Architect. The software asks for basic parameters such as the number of stories, wall thickness, and ceiling height. You can choose between metric or imperial units depending on your region or preference. Everything will be measured accordingly throughout your design. This is particularly useful if you’re working in an international environment or collaborating with others using different standards.
You can also import a scanned paper sketch or a digital floor plan as a background. This allows you to trace over an existing layout with full precision, ensuring that your digital version matches real-life measurements exactly.
Design the floor layout
Use the wall drawing tool to sketch out your home’s external and internal walls. Each wall can be drawn to exact dimensions. As you click to create wall sections, you’ll immediately see the length and angle displayed. Adjustments can be made later at any time.
Once the basic layout is in place, begin labeling rooms and assigning functions such as kitchen, bathroom, bedroom, or living room. This helps you organize your plan and later apply correct furnishing and design elements.
Add doors and windows from the library. Simply drag and drop them into place. You can customize each object by width, height, and placement above the floor. All changes are updated live in both 2D and 3D views.
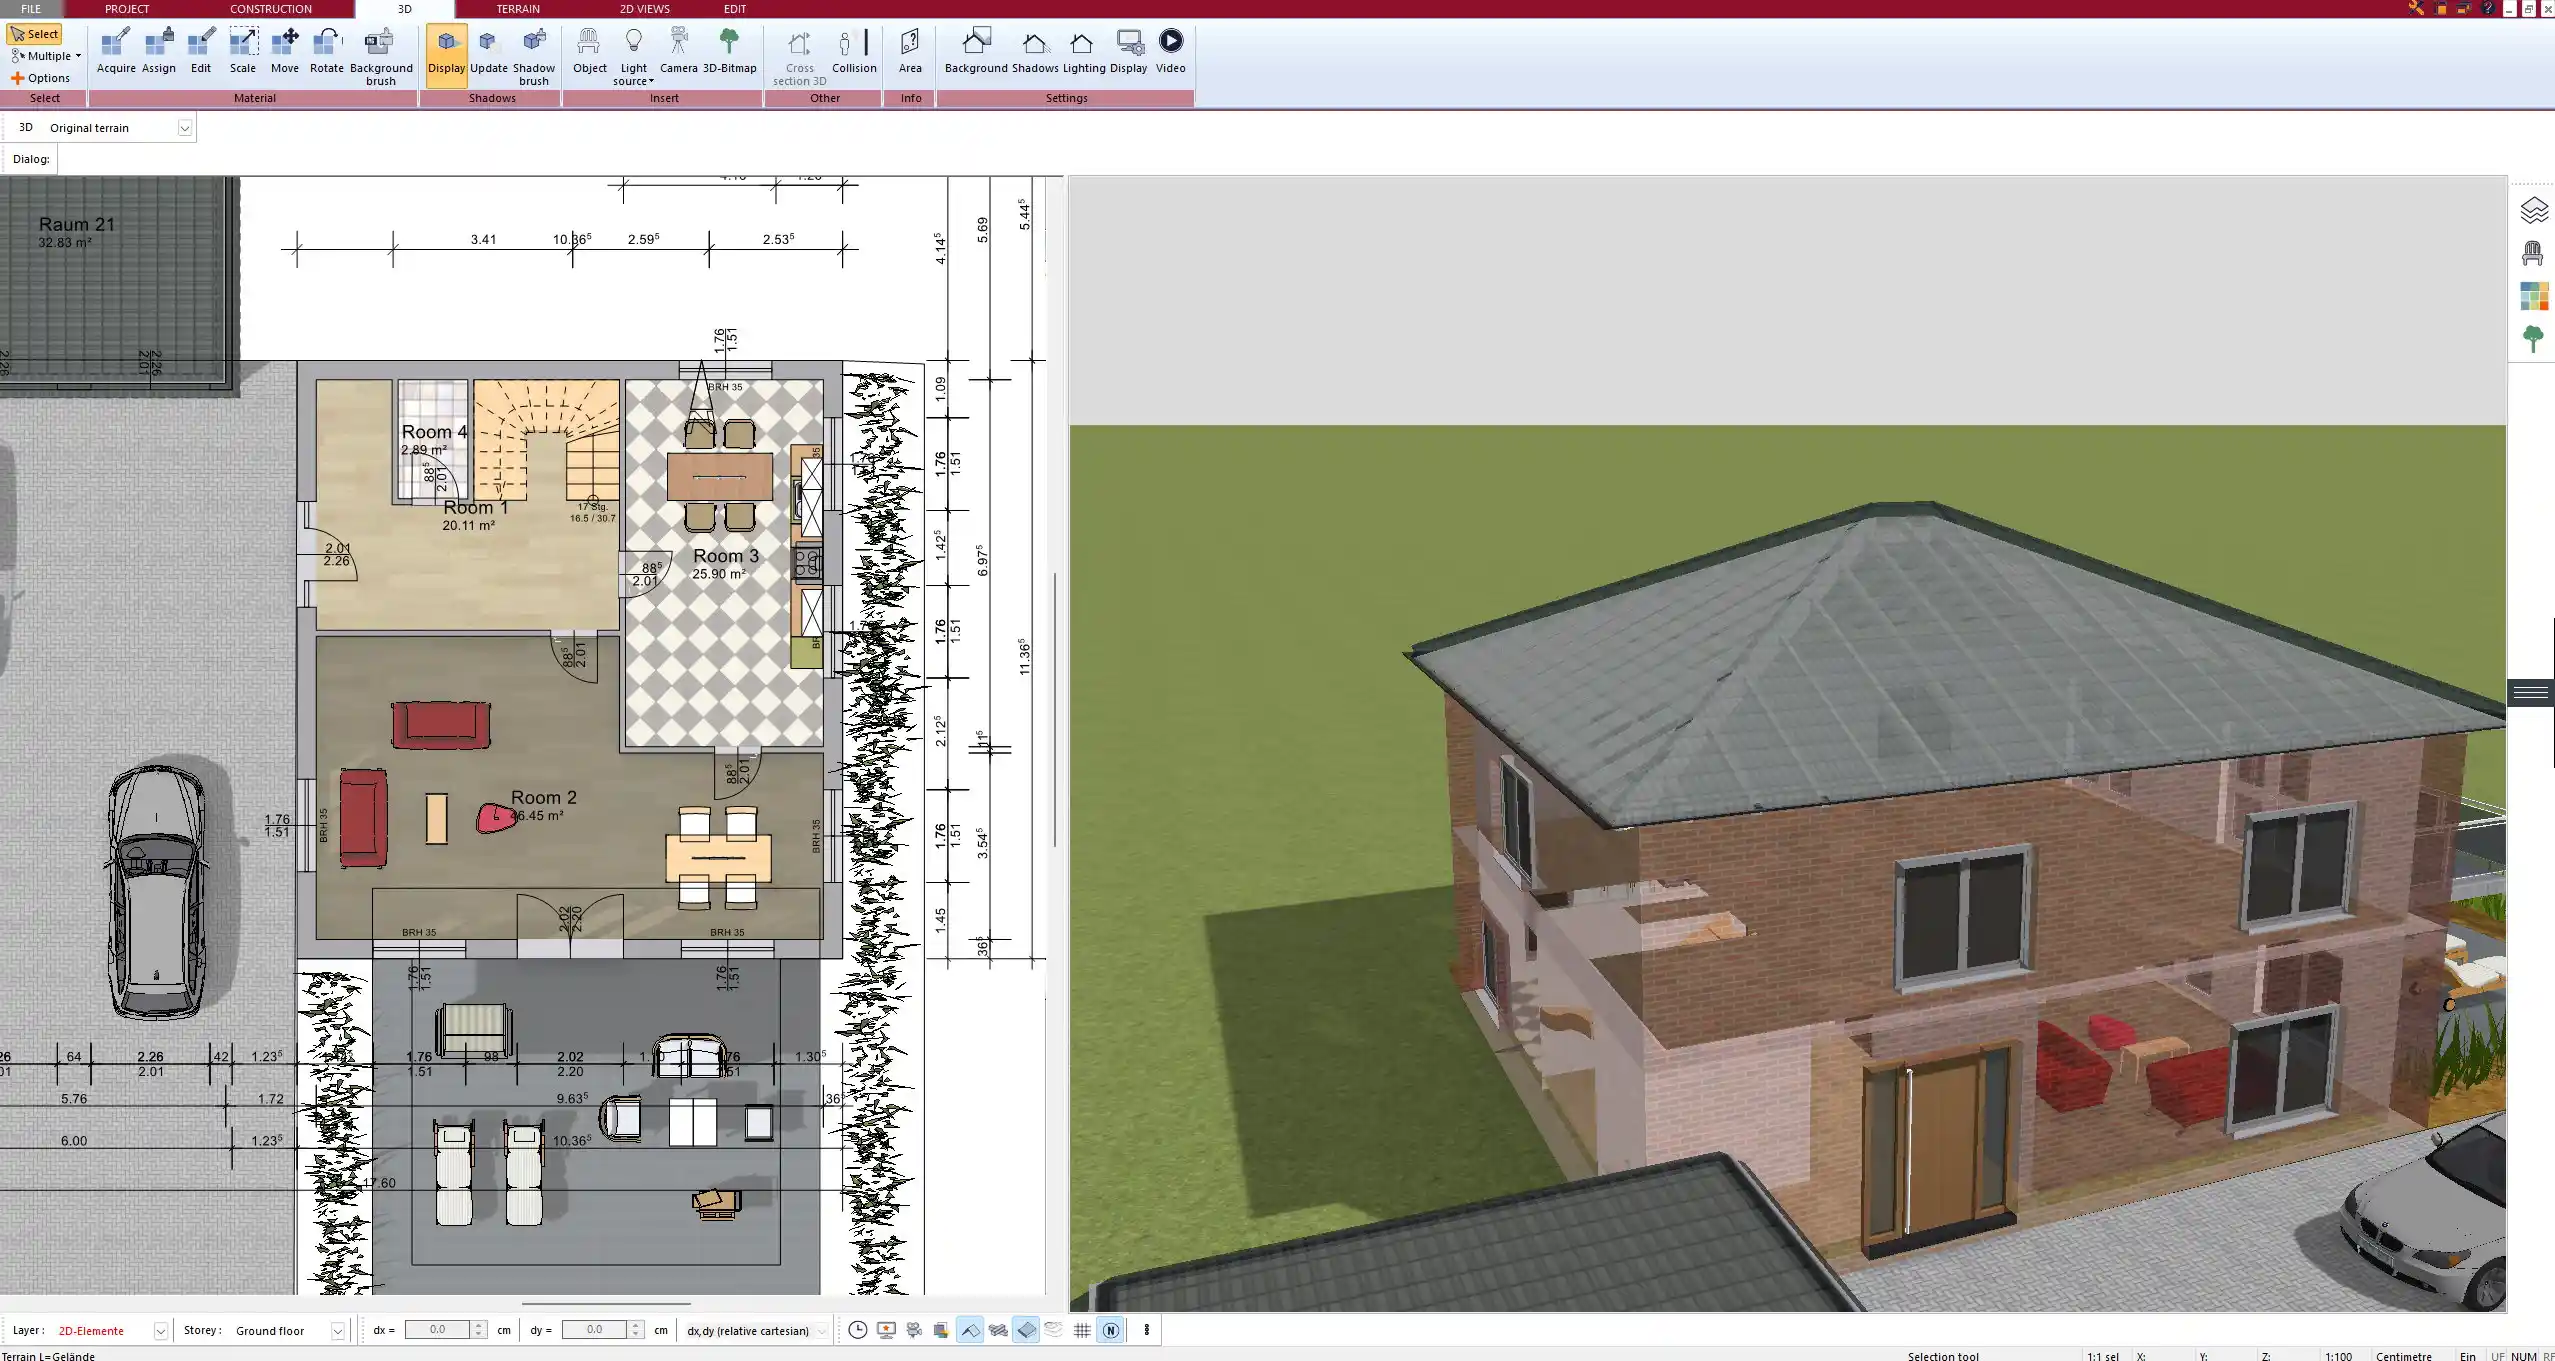
Visualize in 3D with one click
After defining your floor plan in 2D, switch to 3D mode instantly. Your walls, windows, doors, and room labels will now appear in a fully rendered 3D environment. You can zoom, rotate, and move through the plan freely.
I personally find this feature helpful to understand proportions—especially the relationship between room size and ceiling height. You can evaluate how much light enters through windows and where to adjust placements. Staircases, multiple floors, balconies, and roof shapes can also be viewed in detail.
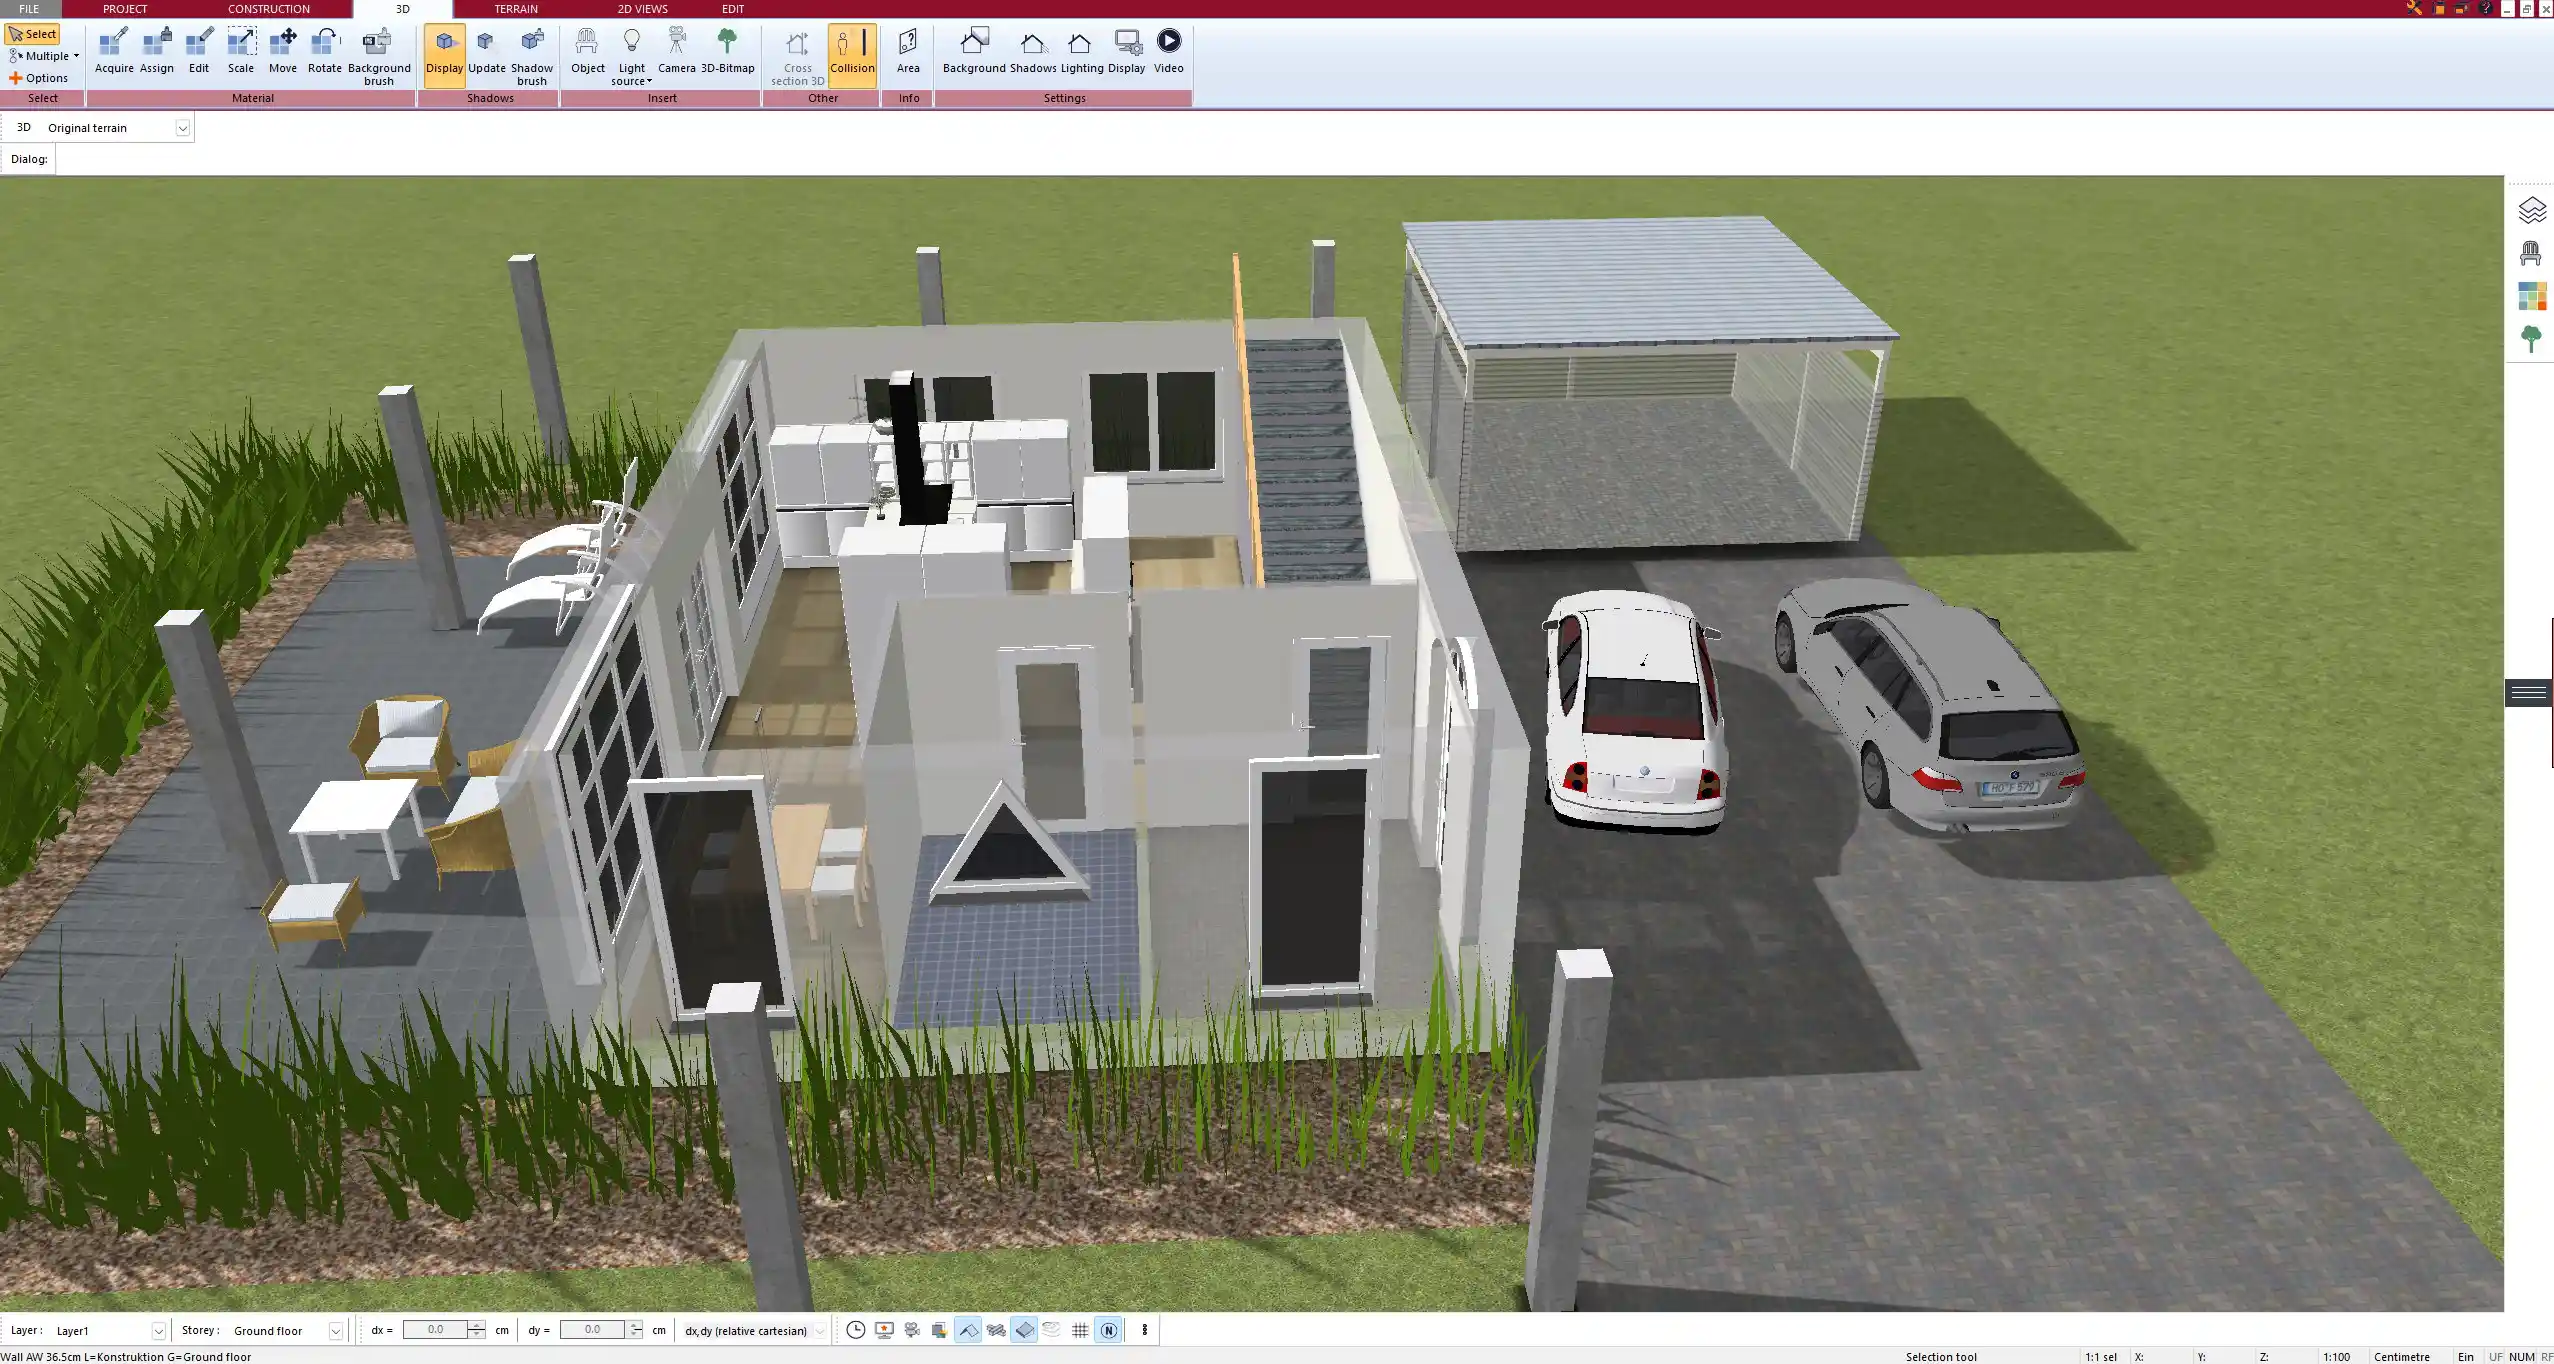
Add furniture and textures
To bring your visualization closer to reality, start adding furniture and finishes. You’ll find a wide range of items in the integrated object library, such as beds, tables, kitchen cabinets, and bathroom fixtures.
Once added, you can position each item exactly where it belongs, rotate it, and adjust its size. You can then apply different wall colors, floor coverings like wood or tile, and ceiling textures.
There’s also a lighting simulation. You can place lamps or spotlights and preview the result in different times of day using the sunlight simulation tool. This is particularly useful if you want to plan how your home will look in the morning or evening.
Helpful Features for Visualization
-
Real-time 2D to 3D switching
-
Drag-and-drop furniture and structural elements
-
Height and angle editing for walls, ceilings, roofs
-
Dynamic measurement tools for floor area and room size
-
Daylight simulation for realistic lighting conditions
-
Layer control: show or hide electrical plans, plumbing, furniture, etc.
-
Screenshot and rendering options for presentation and approval
Use Cases: Why Visualization Matters
Visualizing your house floor plan helps avoid design mistakes early on. When you can walk through your layout in 3D, you realize things like furniture not fitting through hallways or kitchens being too cramped.
It also makes communication easier. I’ve used visual plans to explain ideas to contractors who otherwise might not fully understand 2D drawings. A 3D walk-through clarifies everything.
Many users also use it for presentation purposes—to family, investors, or local authorities for permit discussions. When people see the plan in 3D, they grasp the space instantly.
Pro Tip: Work with Accuracy from the Start
Tip:
Define your wall thickness, story height, and preferred measurement system at the very beginning. Consistency saves time and prevents scale issues later. Even when working creatively, sticking to accurate dimensions ensures that what you design will work in real life.
Supported Units and Regional Preferences
Plan7Architect supports both imperial and metric units throughout the software. Whether you’re used to working in meters and centimeters or feet and inches, you can enter exact values accordingly. You can switch between units in your project settings at any time, and all elements will be recalculated.
This flexibility makes it easy to collaborate across countries. I’ve used the software for both European and U.S.-based projects without running into compatibility problems.
Example Visualization Tasks You Can Do
| Task | Visualization Outcome |
|---|---|
| Living room layout | 3D view of furniture positioning, spacing, and walking paths |
| Kitchen planning | Preview cabinet setup and appliance distances |
| Two-story home | Vertical cut between floors, stair positioning, ceiling gaps |
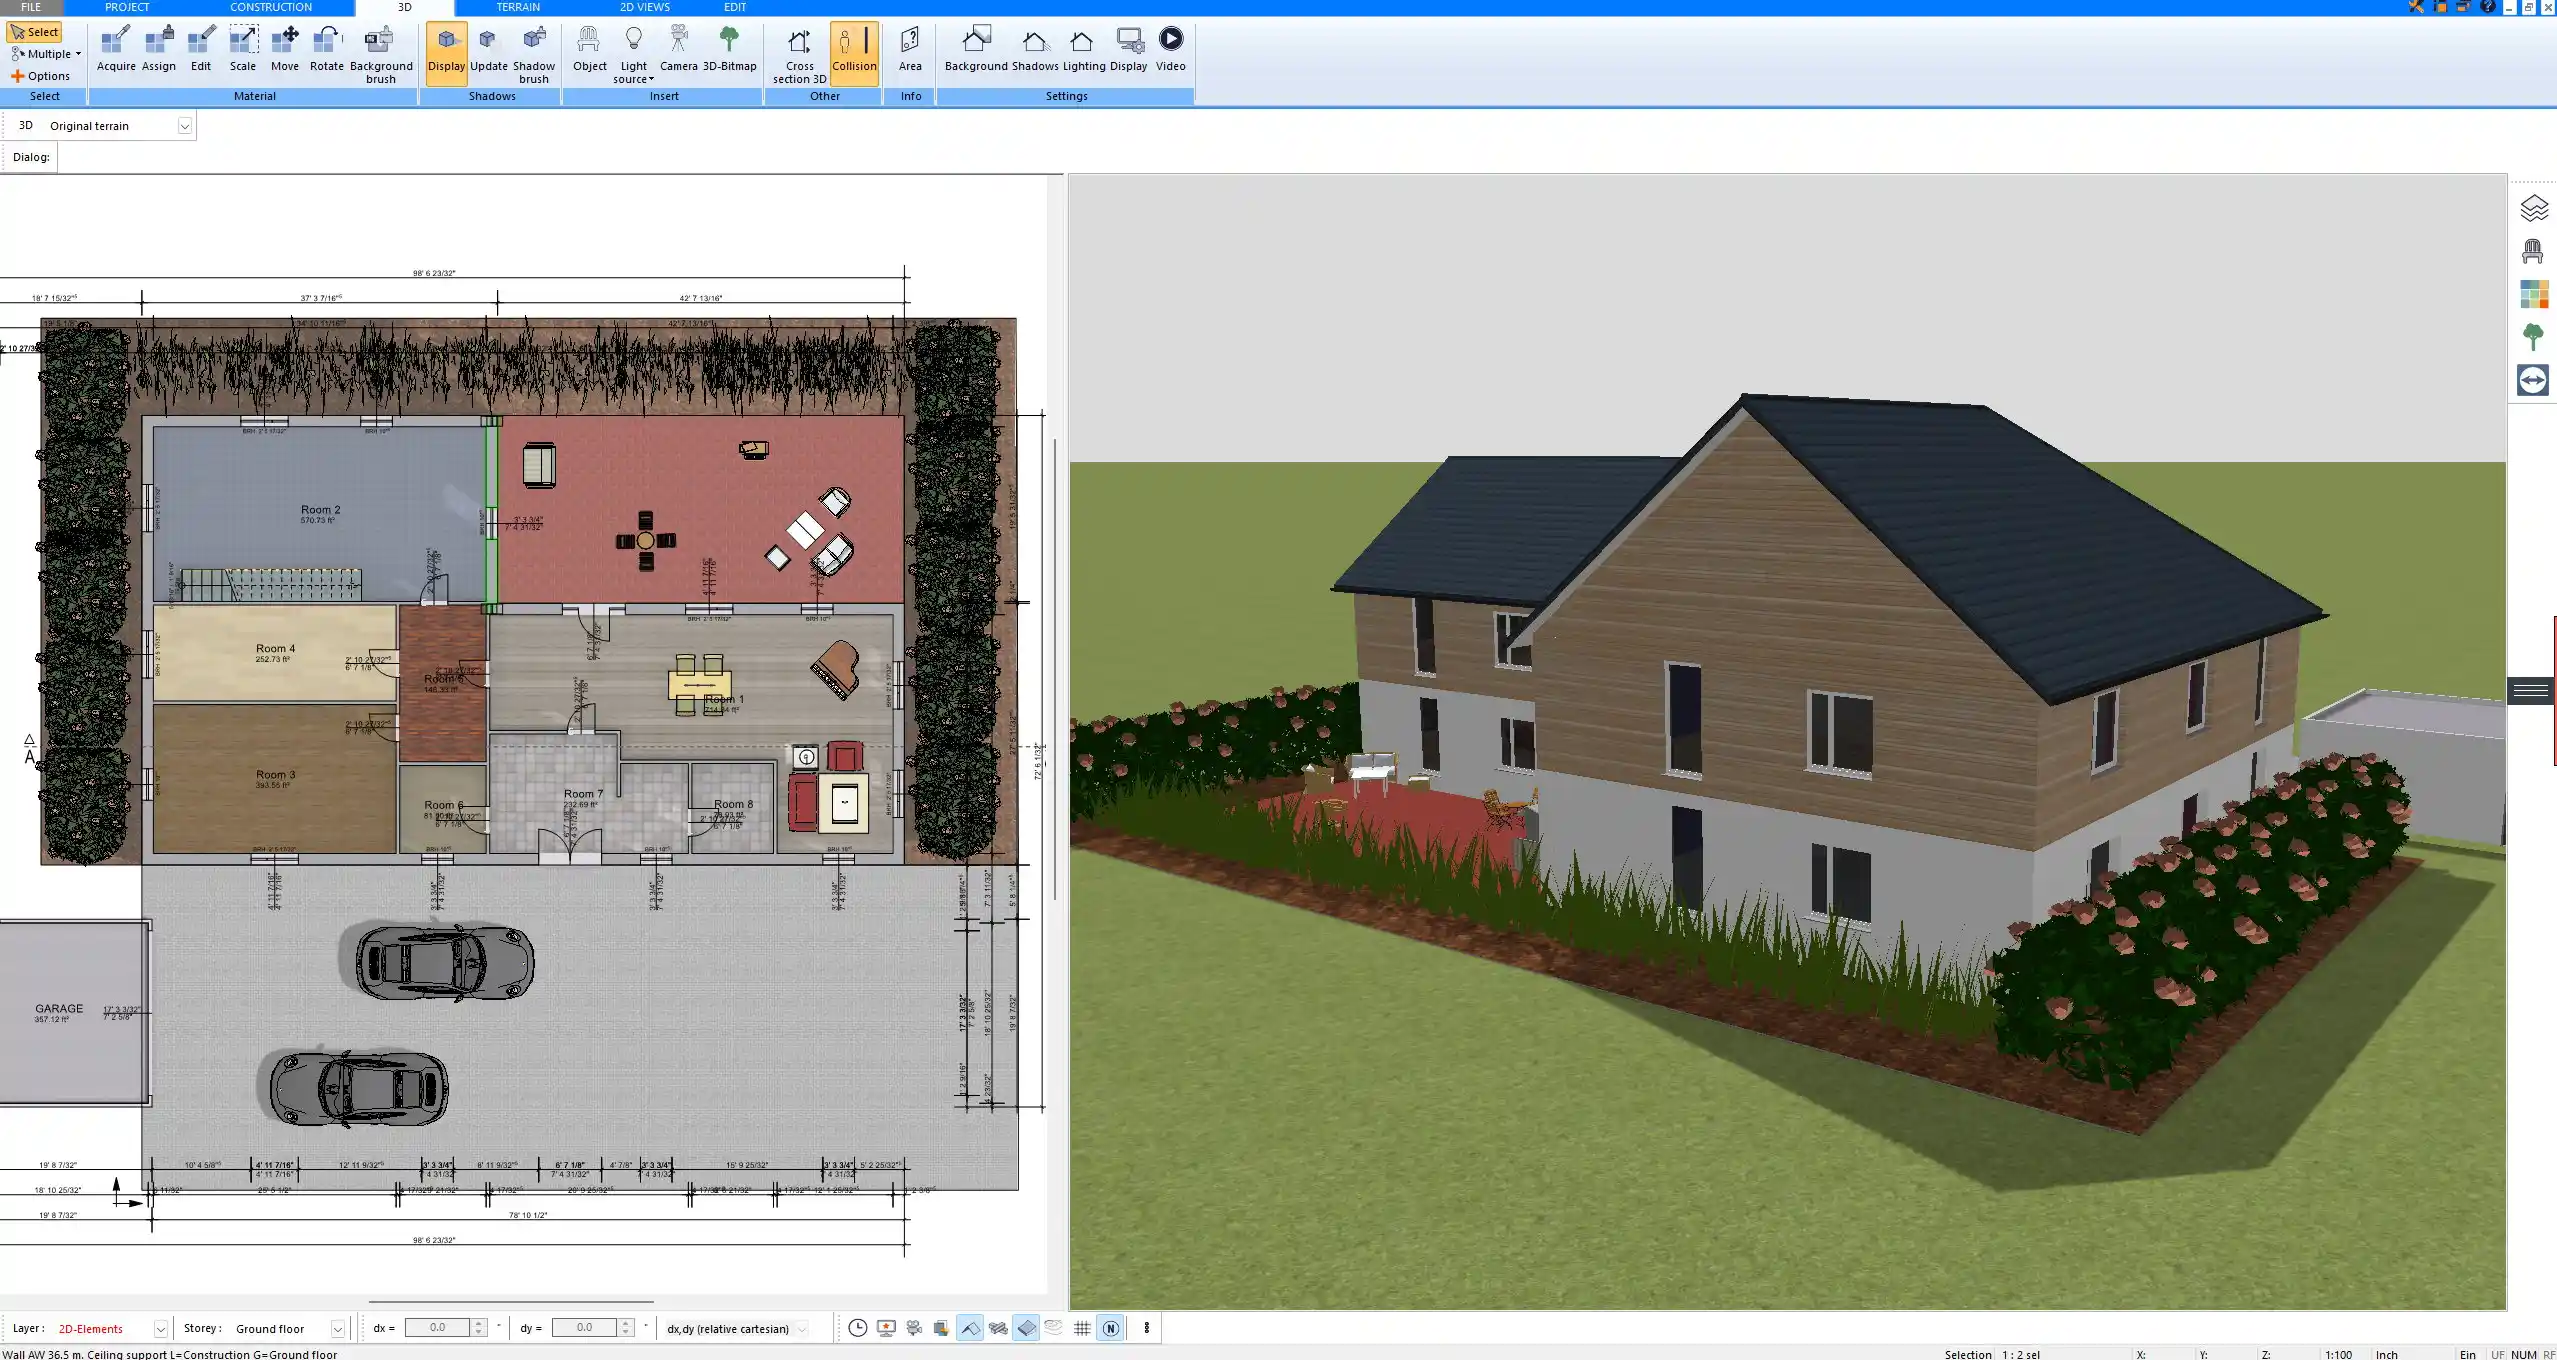
| Roof visualization | View of pitched, flat, or custom roofs from inside and above |
| Garden and terrace | Outdoor planning integrated with house view |
| Lighting simulation | Shadows and brightness throughout the day |
Export Options for Your Visual Plan
Once your floor plan is ready, you can export it in multiple formats. This includes high-resolution images, PDFs, and 3D renderings. You can also save detailed construction documentation to hand over to contractors or submit for building permits.
You can print floor plans to scale, include measurement labels, or generate sectional views. If needed, you can export the model to collaborate with an external architect or designer.
Who Can Benefit from Plan7Architect’s Visualization Tools
-
Private home builders designing new houses or extensions
-
DIY remodelers preparing for renovation
-
Interior designers presenting concepts to clients
-
Real estate agents creating custom presentations
-
Construction teams needing clear design overviews
I’ve personally seen how even non-technical people benefit from a clear 3D view. They can immediately understand spatial relationships and give more useful feedback.
Final Tip for Smooth Visualization
Hint:
Once you begin applying furniture, colors, and materials, try to keep the structure of your floor plan stable. Big layout changes afterward may require reworking visual elements. It helps to save different versions or snapshots at each major stage, so you can go back and compare visual options later.
Plan your project with Plan7Architect

Plan7Architect Pro 5 for $99.99
You don’t need any prior experience because the software has been specifically designed for beginners. The planning process is carried out in 5 simple steps:
1. Draw Walls

2. Windows & Doors

3. Floors & Roof

4. Textures & 3D Objects

5. Plan for the Building Permit

6. Export the Floor Plan as a 3D Model for Twinmotion

- – Compliant with international construction standards
- – Usable on 3 PCs simultaneously
- – Option for consultation with an architect
- – Comprehensive user manual
- – Regular updates
- – Video tutorials
- – Millions of 3D objects available


